
Yesterday I shared with you a set of thank you cards. You can see that post HERE if you missed it. Today I am going to share 2 ways to present your cards for gift giving. I put yesterday’s cards in a clear stamp case as I wanted to put a little chocolate in there too. Chocolate is like stamping vitamins right? Here’s the case and directions for the insert.

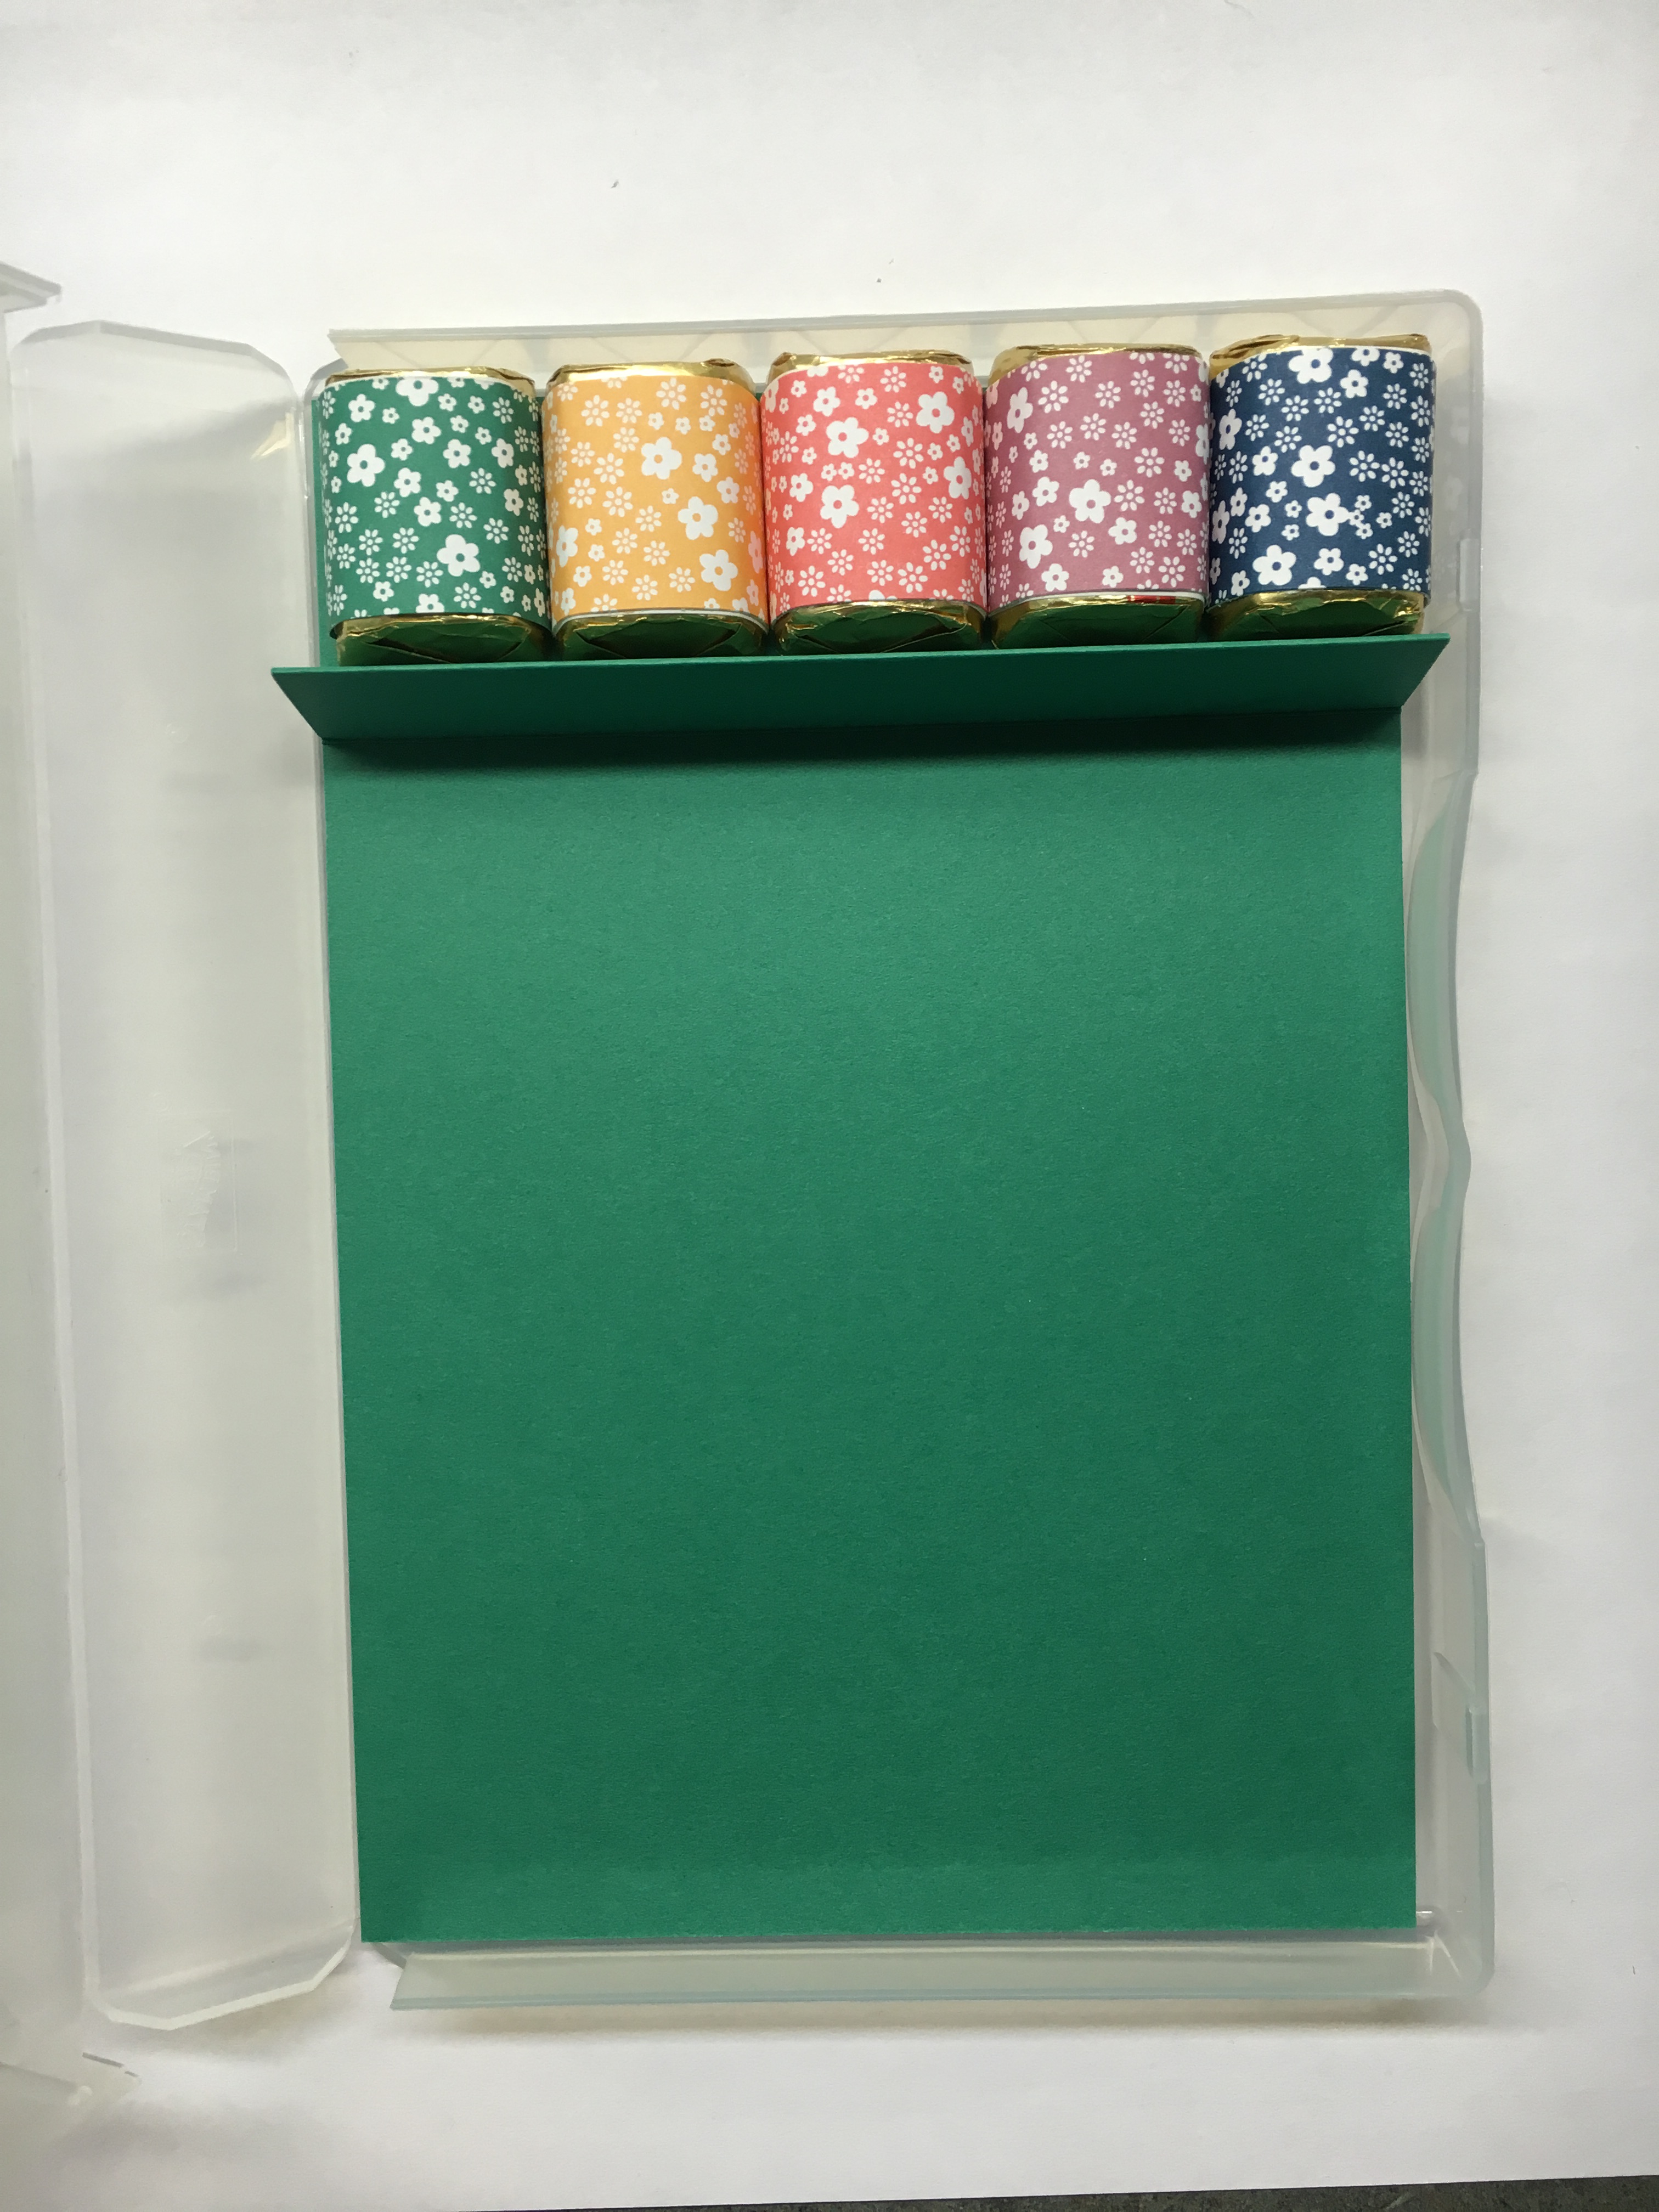
To make the insert for the stamp case start with a piece of cardstock measuring 5 x 8 1/2. Score at 5 3/4, 6 1/2, 7 1/4. Fold as shown in the photo.


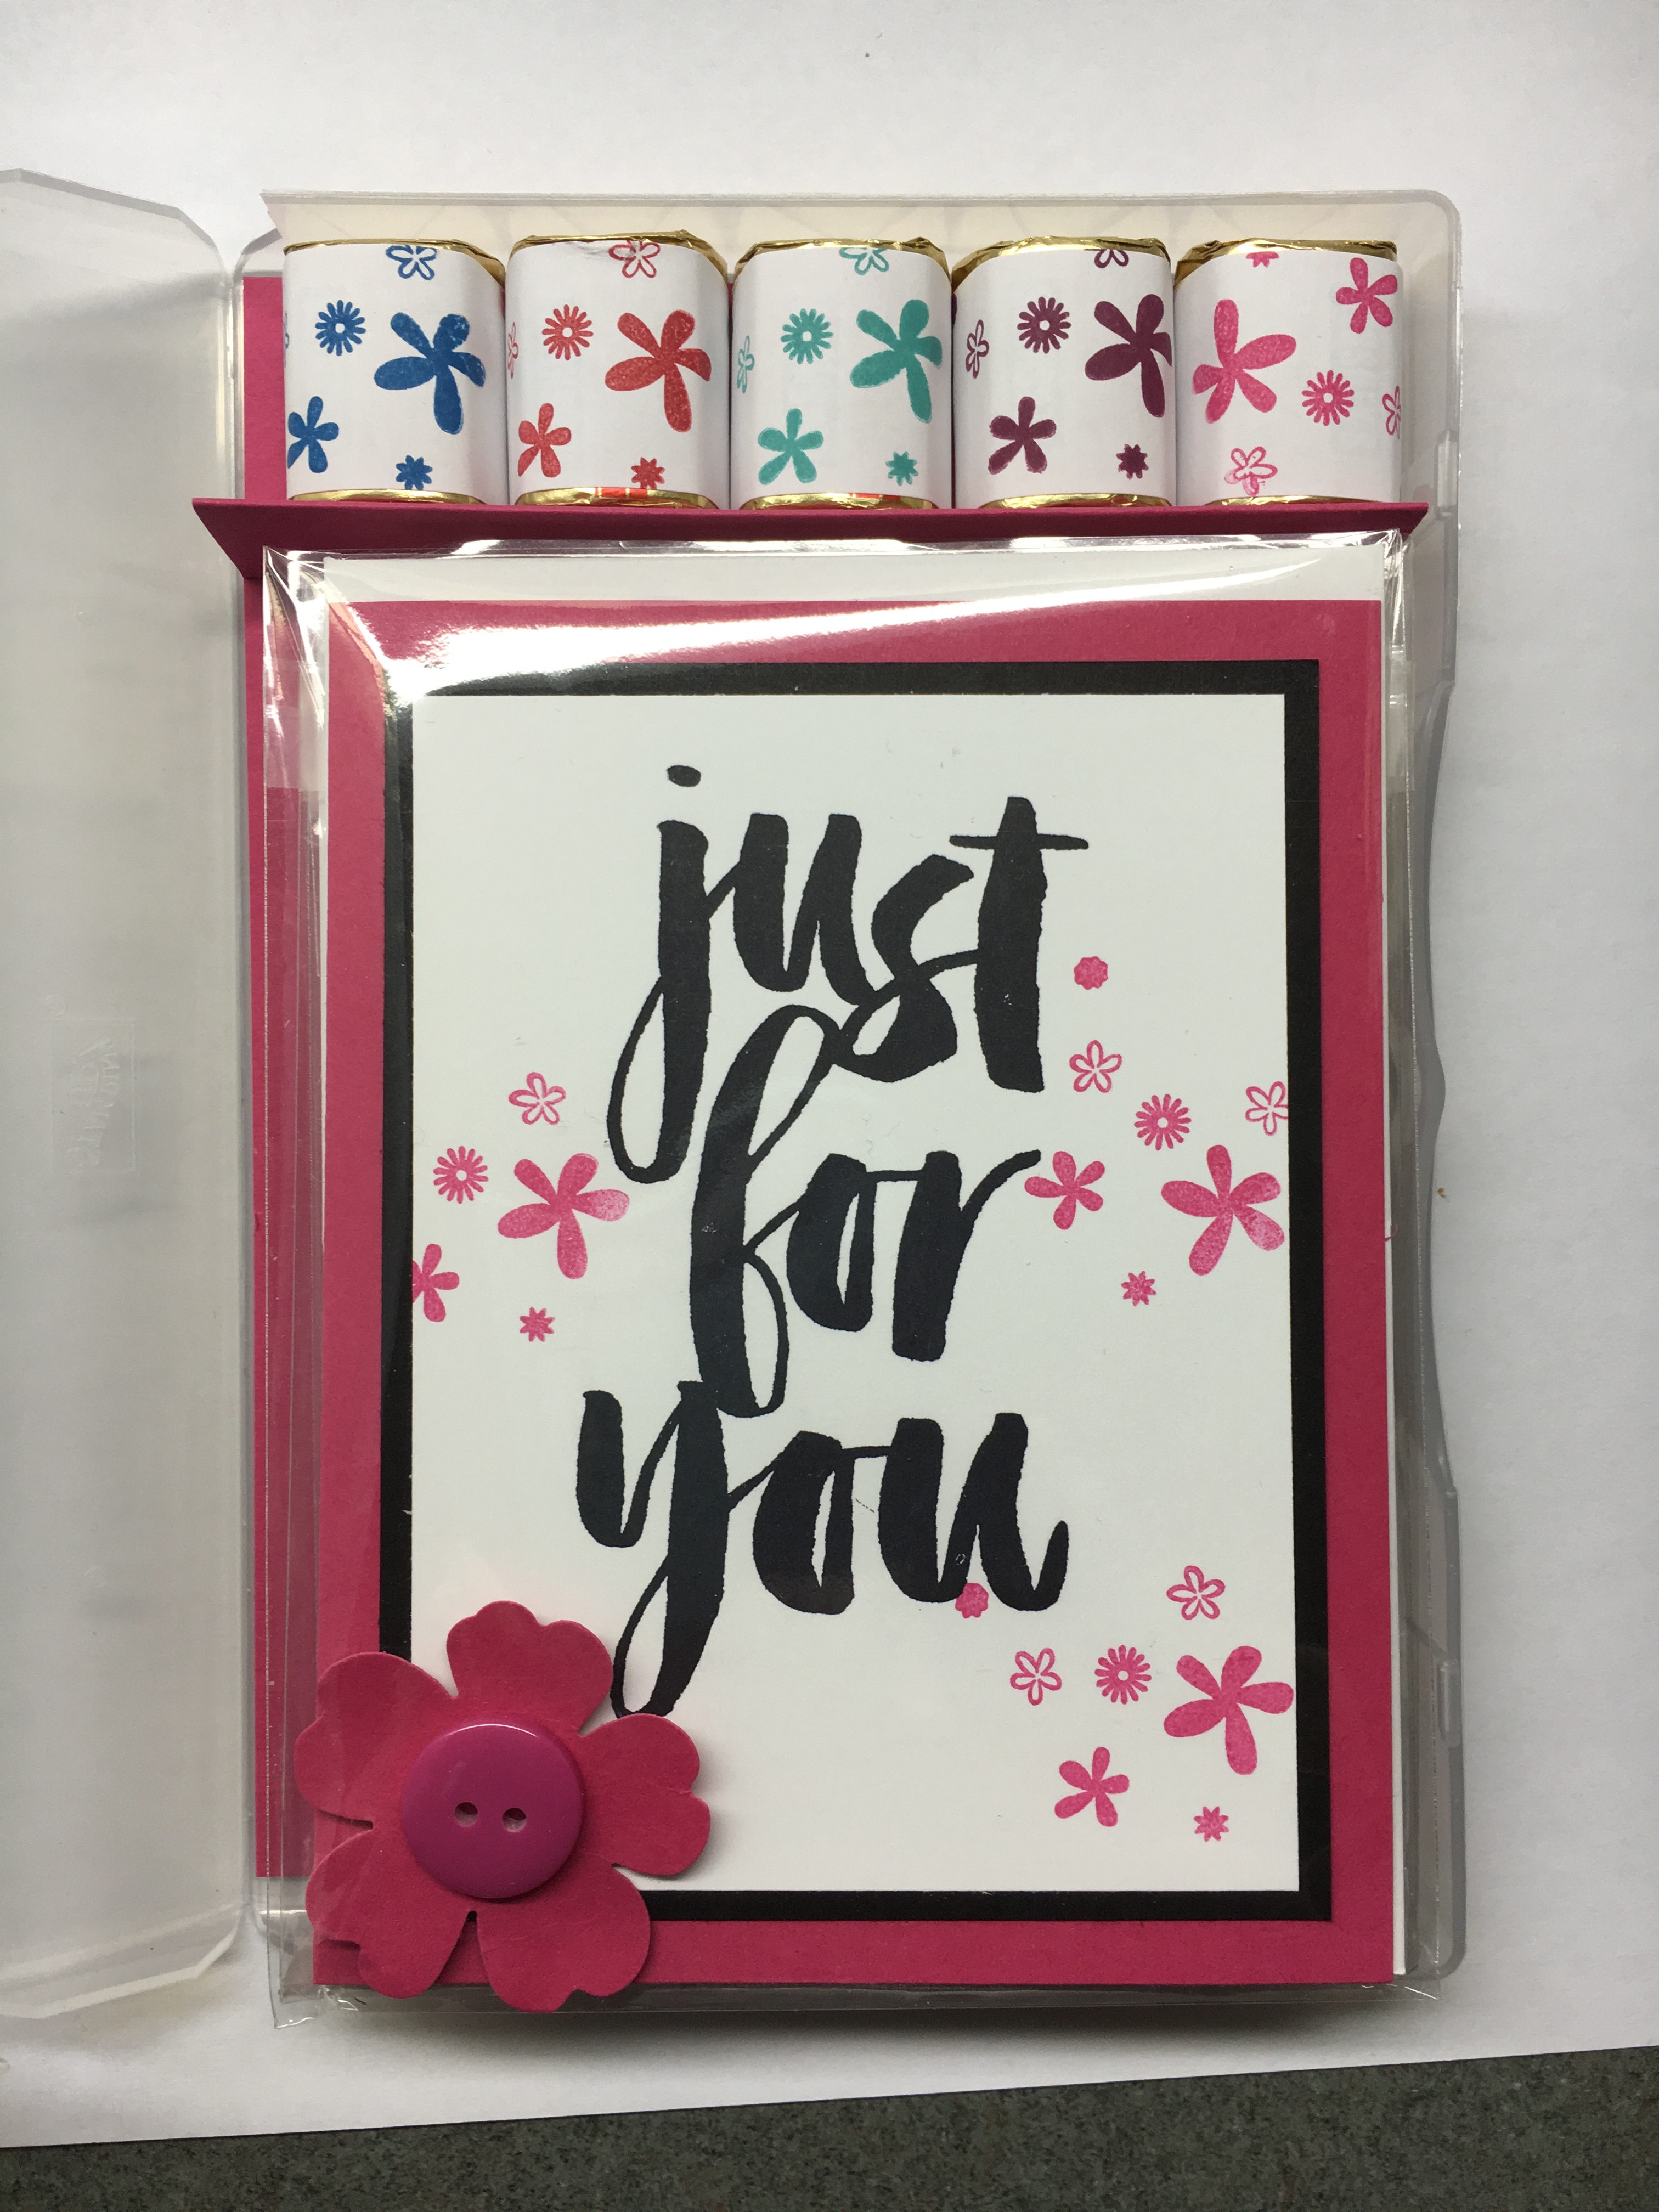
The inset for the stamp case holds your cards and envelopes in place. The extra section is perfect for a little candy. I started out with these Hershey Nuggets wrapped in 1 x 3 In Color Designer Series Paper but changed my mind and went with the kisses to go with the contest theme.
Not only can you wrap the nuggets with DSP but you can also stamp the Avery address labels and just stick them over the wrappers (I use this idea a lot!). Here’s a set I stamped with the Perpetual Birthday Calendar Stamp Set.
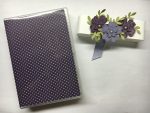
You can also decorate the stamp case for gift giving. Cut a piece of Designer Series Paper 7 x 11 1/4. Score it at 5 and 6 1/4. Slip the DSP in the sleeve on the stamp case and you have a gift wrapped box! I made a belly band and decorated it with flowers and die cut leaves for my daughter and put some monogrammed notecards inside. Can you tell her favorite color?

Did you know you can purchase these empty stamp cases? You can find them on page 183 in the annual catalog. I could do another whole post on ways to use these cases! They are great for markers, reinkers, gift tags, etc. You get 4 wide cases (like these that I’ve shown) for $7 and they are so nice and sturdy. I’m sure you’ll find many uses for them.
I promised you 2 card holder ideas today so let’s get to the second one. I use this idea a lot to display card sets in my craft area as well as for gift giving. The box can hold 5 -6 cards and envelopes depending on how many layers or embellishments you add.

Start with a piece of 7 1/2 x 11 cardstock. With the short side along the top, score at 1 1/2 and 6. Score the other side at 3 3/4 and 5 1/4. Fold along the score lines and cut as shown.


Add tear & tape adhesive and stick the sides together. Decorate the front as desired. I usually decorate it match my cards. You can cut the sides at an angle if you prefer (like I shared previously with the business card holders). So many possibilities! Quick & Easy!


I hope you enjoyed these ideas. If you make one send me a photo! I would love to see your creations!
Have a wonderful day!
Just Stampin’
Jeanie

These might work for the project I talked to you about. They are really versatile. Thanks for sharing!
I was thinking about you as I photographed some of the different ones I have done.
Do you sleep????? Come teach me – this is an adorable project but then again, it doesn’t surprise me…you are soooo talented! Do you have a countdown calendar going at the Stark house until the princess comes home? That would be a great post!
No countdown yet but I do have 2 different airline reservations to go see her! Thank goodness for texts and face time! She is marking her calendar with x’s for her candy kiss each day. 🙂
What a great idea to give cards and a small yummy treat! Your instructions are so easy to follow. I also love the card box…so clever. Thanks Jeanie…great tips!
Thanks Mary Ann! When I send a set of cards to my mom I also include the stamps so it makes it easy for her to just drop them in the mailbox outside her door. She really appreciates them.