
During this busy time of year we all need quick gift ideas. Here are two projects I included in my Just Stampin’ Special Edition Holiday Kit to Go!

The best part about my kits to go is everything is included for you to quickly put your projects together. For most projects you just need to stamp and adhere. I precut everything for you and email a step by step photo tutorial with all the measurements and supplies if you want to make more!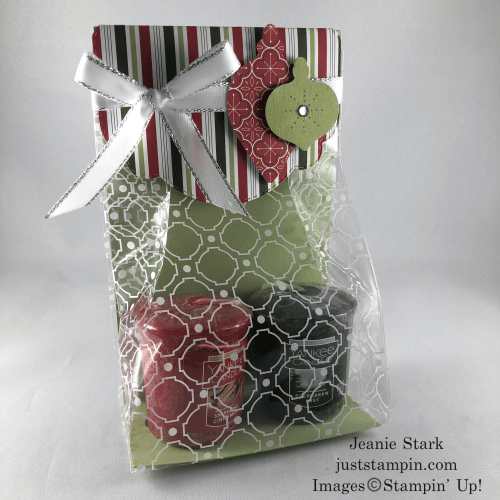
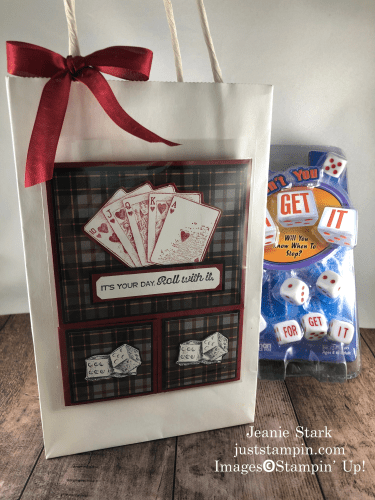
I filled the Mosaic Cellophane Bag (retiring) with some Christmas candles. You could put candy, socks, gloves, a scarf, Christmas masks (so 2020!), etc. What would you put in this bag?

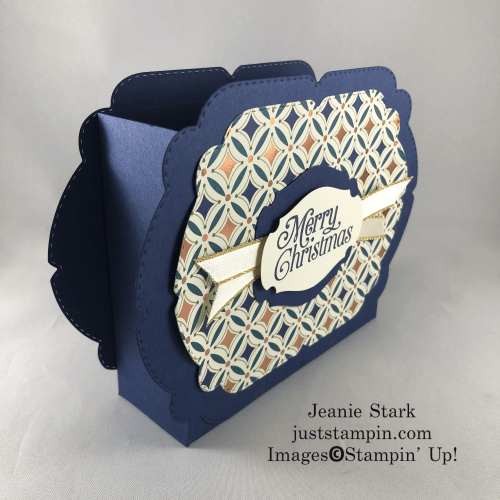
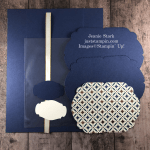
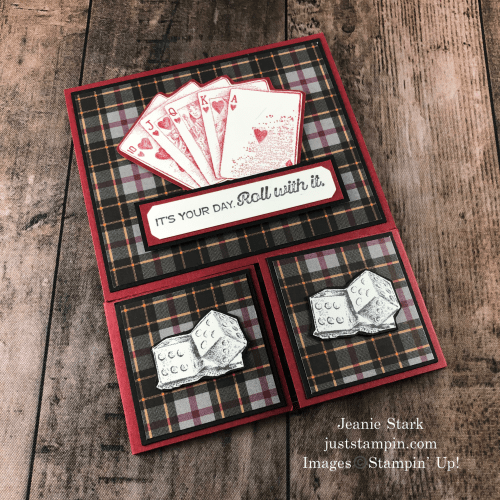
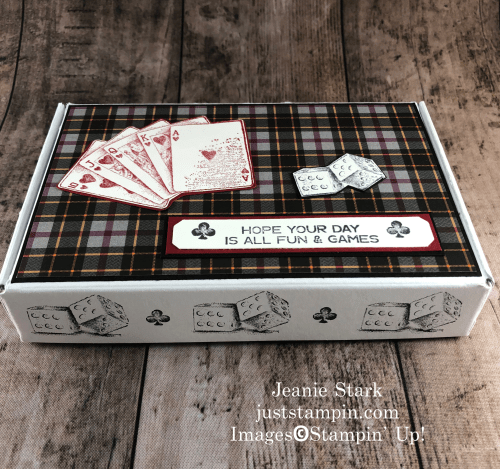
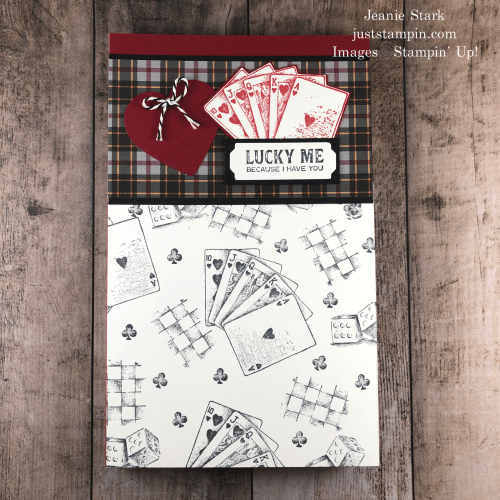
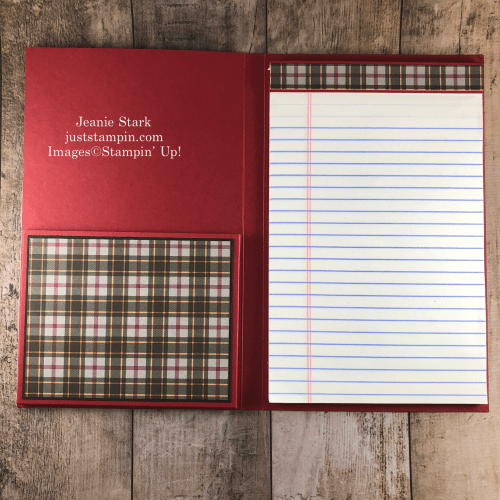
I love to give sets of cards for gifts and this box (inspired by Ronda Wade) can hold a set of 5 (or more) cards and envelopes. It makes for a nice gift presentation and you could change the sentiment to give for birthday or any occasion. I made a lot of these to give to family and friends this year. You could even toss in some postage stamps. Of course this box can hold more than just cards. What would you put in this box?
The Celebration Labels Dies ($17.50) and Ornament Punch Pack ($17) I used to create these projects are retiring and available while supplies last! They are on sale for 50% off!!! You can view the complete product list below.
Which one is your favorite…box or bag? Leave me a comment below and I will pick a random winner to receive one of these kits and tutorial to make it.

It’s time for another winner in my 12 Days of Giveaways! It seems many of you give gift cards for the holidays! The winner of my gift card holder (shown HERE) is…..Pat V. Congratulations Pat! Email me your address and I will put your gift card holder in the mail to you!
Here’s our winners so far…
Day 1- Karen from Florida – calendar card
Day 2 – Denise Wekwert – your choice of a set of tutorials *See below.
Day 3 – Linda – friendship card
Day 4 – Nancy Farrell – Christmas card kit
Day 5 – Pat V. – Gift card holder
Day 6 – ??? Could be you! Leave a comment below – Gift package kit & tutorial
The new 2021 Mini Catalog is coming! Order your PRODUCT SHARES now! Click HERE for details.

Have a great day! Stay safe! Stay well!
Just Stampin’
Jeanie
Host Code Exclusive Offer! All orders placed through my online store are eligible for my FREE monthly gifts. Please use the current host code. *If your order is $150 or more, do not use this code as You become the hostess and get the Rewards! Click HERE to Shop!
Current Host Code: 6XYUCY23
Product List (Click on image to shop my online store.)
|
|
|
|
|
|
|
|
||
|
|
|
|
|


 Metallic-Edge Ribbon")


Just Stampin’ Rewards
I appreciate each and every order! Here are some of the things you can expect when you place an online order with me in December:
- A 2021 Calendar card in the mail with any order as my thanks to you. *Cardstock colors and DSP may vary.

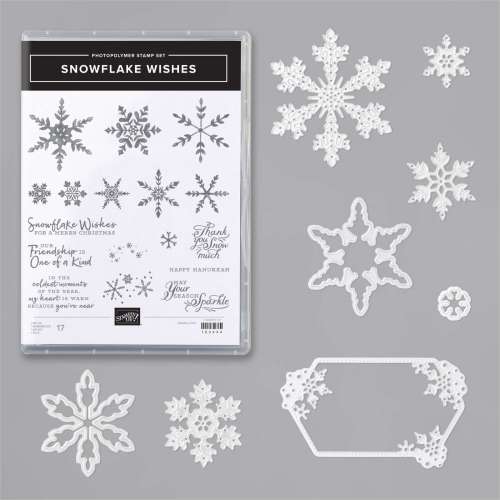
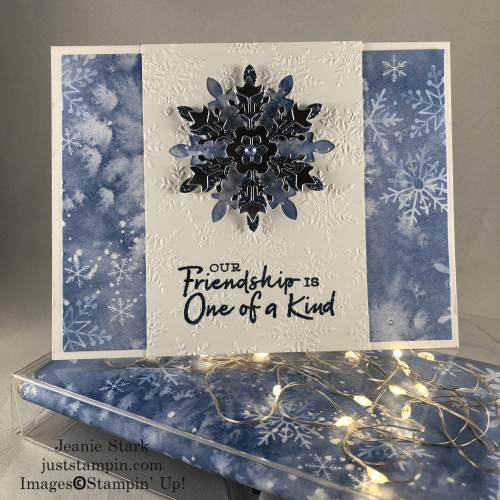
- 3 FREE Exclusive Tutorials PLUS 3D Project Tutorial featuring the stamp/bundle of the month when you order $40 or more (before tax & shipping). New tutorials every month! December tutorials feature the Snowflake Wishes Bundle. *The stamps and dies are not retiring; however, the bundle (10% savings) is only available through January 4th.
- Snowflake Wishes card kit – Purchase the Snowflake Wishes Bundle and get a free card kit to make one of the cards featured in the tutorial. *Click on the image below to purchase.
|
|
")
Exclusive Tutorials FREE with Purchase (or as member of my team)
- Poinsettia Petals – Purchase the Poinsettia Petals Bundle and get 3 exclusive tutorials Plus an extra Bonus tutorial featuring a 3D project (shown HERE). *The stamps and dies are not retiring; however, the bundle (10% savings) is only available through January 3rd.
- Celebration Tidings – *Retiring – AWSL Purchase the Celebration Tidings Stamp Set and Celebration Labels Dies and get 3 exclusive tutorials Plus an extra Bonus tutorial! Click HERE to see one of the cards included in the tutorials. *Note – It is cheaper to purchase the dies and stamp set separately (rather than the bundle) during the YEAR-END Closeout SALE going on now! (The dies are 50% off!!!)
- Arrange A Wreath– Get 3 exclusive tutorials with the purchase of the Arrange A Wreath Bundle. (Click HERE to view one of the cards included in the tutorials.)
- Celebrate Sunflowers – Get 3 exclusive tutorials with the purchase of the Celebrate Sunflowers Bundle. (Click HERE to view one of the cards included in the tutorials.)
- Jar of Flowers – Get 3 exclusive card tutorials with the purchase of the Jar of Flowers Bundle. (Click HERE to view one of the cards included in the tutorials.)
- Ornate Garden – Purchase the Ornate Styles Bundle or Ornate Thanks Bundle and receive 3 exclusive card tutorials. If you purchase both the Ornate Styles Bundle and Ornate Thanks Bundle I will send you all three kits to create each of the cards featured in the tutorials!
- Timeless Tulips – Get 3 Exclusive Card Tutorials PLUS my 3D Tulip Treats Tutorial (Click HERE to view tulip treats) with the purchase of the Timeless Tulips Bundle!
- So Sentimental – Get 3 exclusive tutorials with the purchase of the So Sentimental Bundle.
- Peaceful Poppies – Get 3 exclusive tutorials with the purchase of the Painted Poppies Bundle or the Peaceful Moments Bundle. If you purchase both the Painted Poppies Bundle and the Peaceful Moments Bundle I will send you all three kits to create each of the cards featured in the tutorials!
FYI…All Current Whisper White products are Available While Supplies Last! Read all about the changes and the new “Basic White” HERE.

Clearance Rack Refresh & Year-End Closeouts On Sale NOW!

Save up to 50% on select retiring items and up to 60% on Clearance Rack. Items are available while supplies last! Click HERE to Shop.
|
|


")


 Ribbon")


")
 Designer Series Paper")


")