Welcome back for another Mystery Monday Stampin’! I hope you are ready for a fun creative challenge! One of the wonderful things I love about mystery stamping is you use what you have! Are you ready to choose your creative adventure and solve this week’s mystery? Grab your supplies, follow the clues, and see what your finished card looks like at the end — it’s always a fun surprise.
CLUE #1 -Gather your supplies! *You will be creating a portrait style card.
- Cardstock – 5 1/2 x 6, 1 3/4 x 4 1/4, 1 3/4 x 3
- Designer Series Paper –1 1/2 x 12 (H), extra for envelope (*optional)
- *Optional – 4 x 5 1/4 DSP or cardstock/embossed layer
- Basic White Cardstock – 2 3/4 x 2 3/4
- Sentiment/Focal piece
- Envelope
- Stamps
- Ink
- Adhesive
- Ribbon/Embellishments of choice (optional)
- Tools – Trimmer/Score Board, Bone Folder
- *Optional – coloring tools, die cut/punch, Cut & Emboss Machine
CLUE #2
Score the 5 1/2 x 6 cardstock along the 6″ side @ 1 3/4″. Fold & burnish with the fold on the left side.
CLUE #3
Cut the 1 1/2 x 12 DSP @ 5 1/4. Cut remaining piece @ 4. *You will have 3 pieces measuring 1 1/2 x 5 1/4, 1 1/2 x 4, and 1 1/2 x 2 3/4.
CLUE #4
Adhere the 1 1/2 x 5 1/4 DSP to the front of the card base. Adhere the remaining DSP strips to the 1 3/4 x 4 1/4 and 1 3/4 x 3 cardstock layers.
CLUE #5 (*Optional)
Adhere 4 x 5 1/4 DSP/cardstock/embossed layer inside the card.
CLUE #6
Adhere the 1 3/4 x 4 1/4 layered cardstock to the front of the card overlapping ~ 1/2″. Make sure you just put adhesive along the left side. *This piece should be centered from top to bottom. Adhere the remaining 1 3/4 x 3 cardstock layer overlapping the previous layer and centered from top to bottom. *The right edge should align with card base. Make sure to just put adhesive along the left side.
CLUE #7
Create a focal piece for the front. Stamp/punch/die cut sentiment and or image. Adhere to the front. Stamp inside sentiment on 2 3/4 x 2 3/4 white cardstock and adhere inside card.
CLUE #8
Does your card need anything else? Embellishments, etc.? Add that now.
CLUE #9
Decorate your envelope (stamp/emboss/add DSP) to coordinate with your card.
Have fun creating! I can’t wait to see what you create! Take a photo of your card and send as an attachment to my email (j.stark@goeaston.net) by Saturday. Everyone who shares will receive the PDF. Feel free to reach out if you need help or have questions.
Check back to see my mystery cards revealed.

New Online Exclusives are coming in November. I am offering product shares for the new designer series papers, ribbon, and embellishments. Click HERE for all the details.
Have a great day! Thanks for stopping by!
Just Stampin’
Jeanie

CLICK HERE TO SHOP ONLINE EXCLUSIVES
CLICK HERE to SHOP LAST CHANCE PRODUCTS *Updated 10/6
Click HERE TO SHOP KITS COLLECTION
Click HERE TO SHOP THE 12 DAYS OF CREATIVITY ADVENT CALENDAR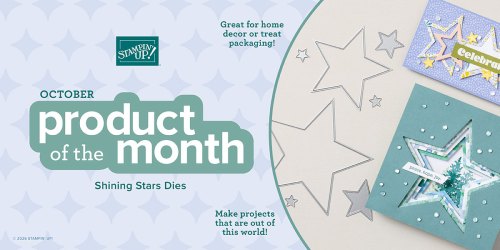
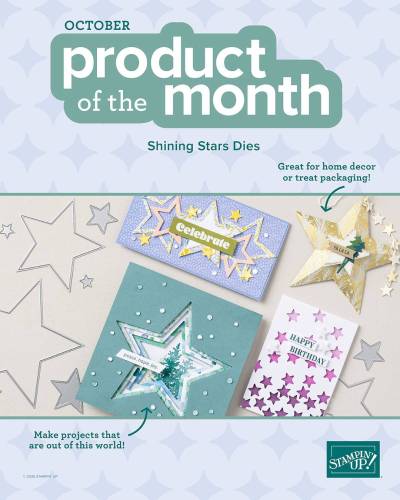
CLICK HERE FOR PRODUCT OF THE MONTH
CLICK HERE TO JOIN MY STAMPIN’ UP! Team
CLICK HERE FOR INFORMATION ABOUT JOINING STAMPIN’ UP!
Feel free to reach out if you have any questions or want to chat (j.stark@goeaston.net)
My Just Stampin’ Rewards:
I appreciate each and every order! Here are the things you can expect when you place an online order with me:
- Shop and earn 10% back in Stampin’ Rewards on orders of $20 or more. Use them on your next order or save them up to 1 year for something special!
- All orders will receive a handmade thank you card from me.
(*You can choose to remove the sticky note inside and reuse the card.) - With a $50 order you will receive the Fun Fold PDF’s from my Mystery Stampin’ cards. *You will receive that month’s PDF’s on the first of the following month.
- With an order of $75 (or more) I will send you the fun fold PDF’s as well as a thank you card & card kit!
- Orders of $75 (or more) qualify for the PRODUCT OF THE MONTH! For just $5 you can add-on the October Product of the Month or any of the previous Products of the Month. AWSL