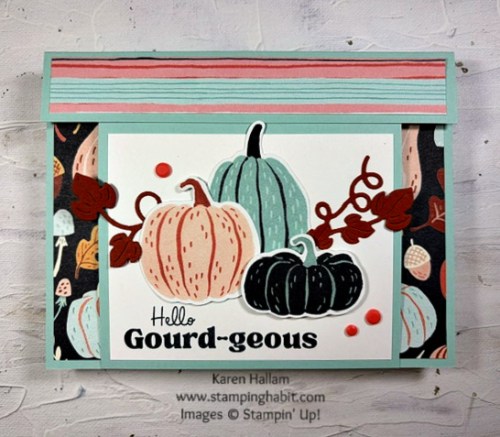
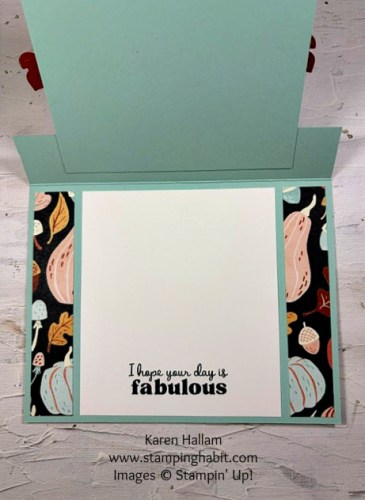
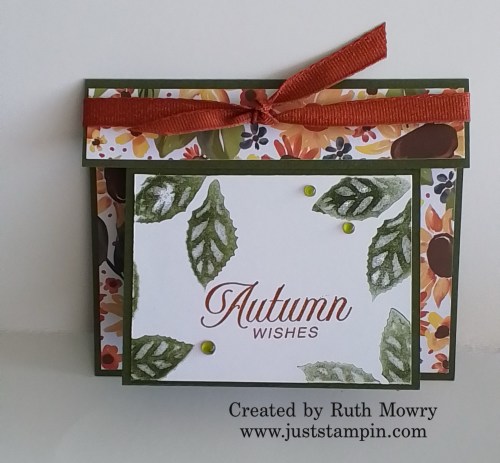
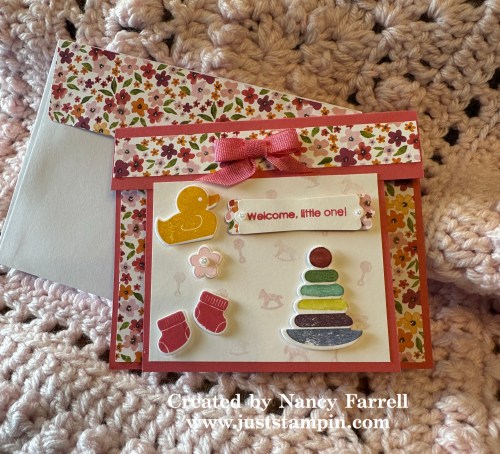
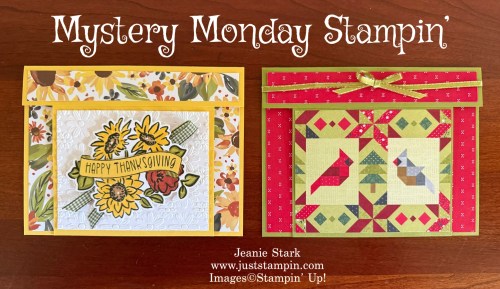
Did you play along with my Mystery Monday Stampin’? If you followed the clues you would have created a Joy Fold Card similar to these.
Mystery Solved!
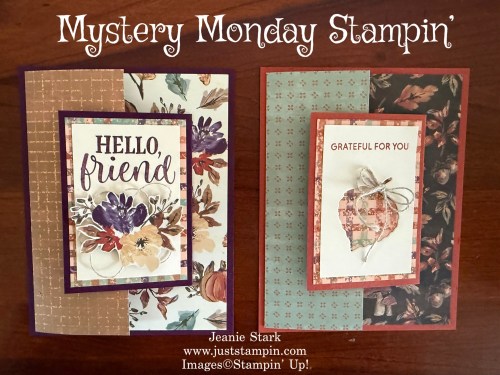
This fun fold starts with a 6 x 6 piece of DSP. It’s really quick & easy to create! Let’s take a closer look at today’s cards.
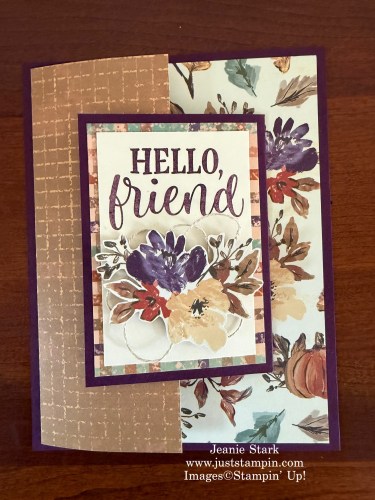
Both of today’s cards feature the Autumn Opulence Specialty Designer Series Paper. *This paper is an online exclusive…you won’t find it in the catalog!
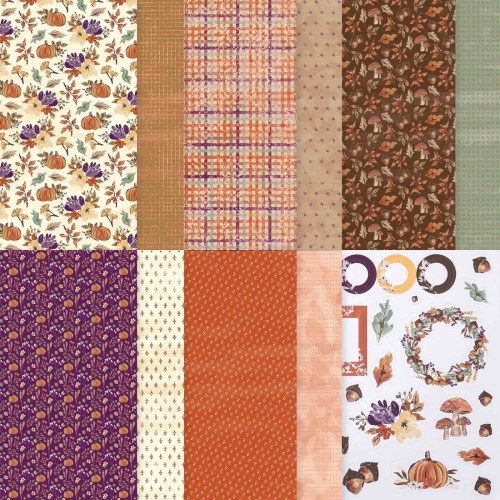
Capture the beauty of the fall season with the Autumn Opulence 12″ x 12″ Specialty Designer Series Paper. Featuring elegant painted pumpkins, acorns, foliage, coordinating patterns, and two sheets of precut designs, this paper pack brings a refined fall feel to your projects. Perfect for scrapbooking, card making, and autumn paper crafting, these designs add warm, seasonal detail to your handmade creations.
The joy fold card showcases both sides of the DSP. It has two flaps which open in opposite directions.
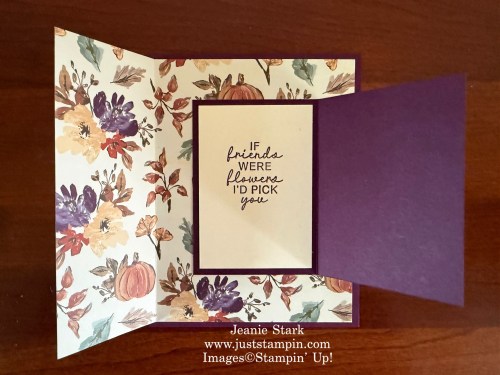
I used the 3/4 x 6 leftover piece of DSP to decorate my envelope. I love that there is no waste!

I fussy cut the flowers on the front of my card from the DSP. You could also use the precut designs included with the DSP.
My second card is one that was included in my Fall Fun Fold Kit to go that was mailed out earlier this week.
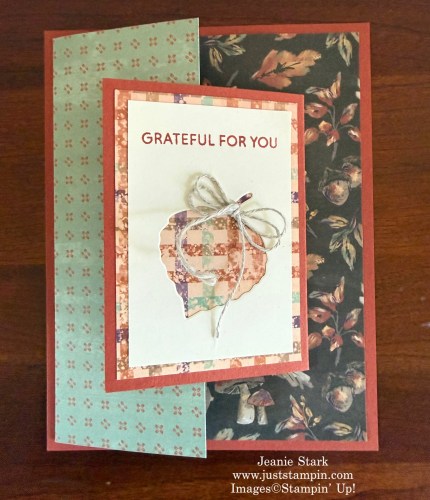
Everything was precut and ready to stamp and assemble. Each card is designed so you can use whatever stamps you already own for your sentiments.

The leaf was die cut from the Detailed Flora Dies, a Paper Pumpkin add on. I love these exclusive Paper Pumpkin Dies that coordinate with the monthly kits. You can use them for anything! I used the Thanks & Giving and Soiree Salutations stamp sets for the sentiments on my card.
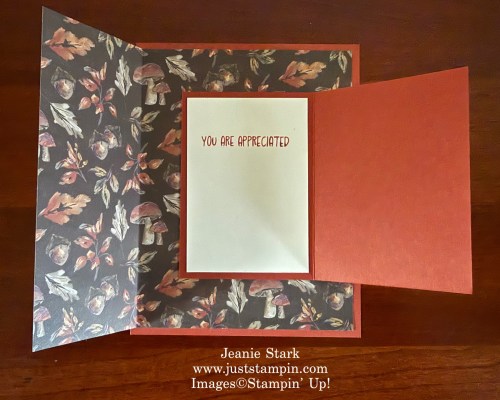
The Autumn Opulence DSP makes great fall cards!

What do you think of this fun fold? Are you ready to give it a try? Click on the link below and follow the clues. Choose your DSP and create this joy fold card. Then take a photo of your card and send an attachment to my email (j.stark@goeaston.net). I’ll share your works of art on my Sunday Showcase!
*Everyone who shares their card with me receives a Free PDF!!!!
Feel free to contact me if you have any questions.
Click HERE for the Mystery Monday Clues

New Online Exclusives are coming in November. I am offering product shares for the new designer series papers, ribbon, and embellishments. Click HERE for all the details.
Have a great day! Thanks for stopping by!
Just Stampin’
Jeanie
You can view/shop the products I used to create today’s cards by clicking on the images below.
Product List
|
|
||
|
|
||
|
|
||
|
|
|
|
|
|
|
|
![Radiant Sunflowers Photopolymer Stamp Set (English) [ 168352 ]](https://assets1.tamsnetwork.com/images/EC042017NF/168352s.jpg "Radiant Sunflowers Photopolymer Stamp Set (English) [ 168352 ]")
![Thanks & Giving Photopolymer Stamp Set (English) [ 168339 ]](https://assets1.tamsnetwork.com/images/EC042017NF/168339s.jpg "Thanks & Giving Photopolymer Stamp Set (English) [ 168339 ]")
![Soiree Salutations Photopolymer Stamp Set (English) [ 168337 ]](https://assets1.tamsnetwork.com/images/EC042017NF/168337s.jpg "Soiree Salutations Photopolymer Stamp Set (English) [ 168337 ]")
![Sunshine & Tulips Photopolymer Stamp Set (English) [ 166859 ]](https://assets1.tamsnetwork.com/images/EC042017NF/166859s.jpg "Sunshine & Tulips Photopolymer Stamp Set (English) [ 166859 ]")
![Detailed Flora Dies (English) [ 168664 ]](https://assets1.tamsnetwork.com/images/EC042017NF/168664s.jpg "Detailed Flora Dies (English) [ 168664 ]")
![Autumn Opulence 12" X 12" (30.5 X 30.5 Cm) Specialty Designer Series Paper [ 168336 ]](https://assets1.tamsnetwork.com/images/EC042017NF/168336s.jpg "Autumn Opulence 12\" X 12\" (30.5 X 30.5 Cm) Specialty Designer Series Paper [ 168336 ]")
![Blackberry Bliss 8-1/2" X 11" Cardstock [ 133675 ]](https://assets1.tamsnetwork.com/images/EC042017NF/133675s.jpg "Blackberry Bliss 8-1/2\" X 11\" Cardstock [ 133675 ]")
![Cajun Craze 8-1/2" X 11" Cardstock [ 119684 ]](https://assets1.tamsnetwork.com/images/EC042017NF/119684s.jpg "Cajun Craze 8-1/2\" X 11\" Cardstock [ 119684 ]")
![Very Vanilla 8 1/2" X 11" Cardstock [ 166784 ]](https://assets1.tamsnetwork.com/images/EC042017NF/166784s.jpg "Very Vanilla 8 1/2\" X 11\" Cardstock [ 166784 ]")
![Blackberry Bliss Classic Stampin' Pad [ 147092 ]](https://assets1.tamsnetwork.com/images/EC042017NF/147092s.jpg "Blackberry Bliss Classic Stampin' Pad [ 147092 ]")
![Cajun Craze Classic Stampin' Pad [ 147085 ]](https://assets1.tamsnetwork.com/images/EC042017NF/147085s.jpg "Cajun Craze Classic Stampin' Pad [ 147085 ]")
![Linen Thread [ 104199 ]](https://assets1.tamsnetwork.com/images/EC042017NF/104199s.jpg "Linen Thread [ 104199 ]")
![Multipurpose Liquid Glue [ 110755 ]](https://assets1.tamsnetwork.com/images/EC042017NF/110755s.jpg "Multipurpose Liquid Glue [ 110755 ]")
![Mini Glue Dots [ 103683 ]](https://assets1.tamsnetwork.com/images/EC042017NF/103683s.jpg "Mini Glue Dots [ 103683 ]")
![Stampin' Dimensionals [ 104430 ]](https://assets1.tamsnetwork.com/images/EC042017NF/104430s.jpg "Stampin' Dimensionals [ 104430 ]")
![Detail Scissors [ 170902 ]](https://assets1.tamsnetwork.com/images/EC042017NF/170902s.jpg "Detail Scissors [ 170902 ]")
![Paper Trimmer [ 152392 ]](https://assets1.tamsnetwork.com/images/EC042017NF/152392s.jpg "Paper Trimmer [ 152392 ]")
![Mini Stampin' Cut & Emboss Machine [ 150673 ]](https://assets1.tamsnetwork.com/images/EC042017NF/150673s.jpg "Mini Stampin' Cut & Emboss Machine [ 150673 ]")
CLICK HERE TO SHOP STAMPIN’ UP!
CLICK HERE TO SHOP ONLINE EXCLUSIVES
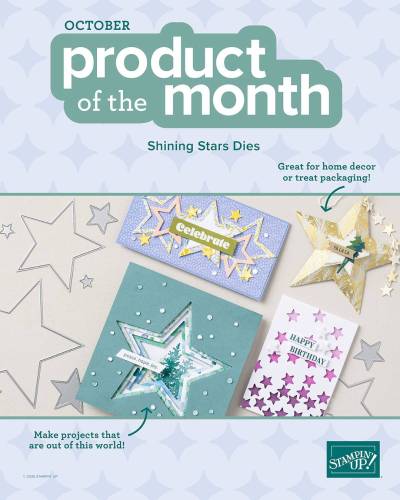
CLICK HERE FOR PRODUCT OF THE MONTH
Click HERE TO SHOP KITS COLLECTION New Kits Added!
Click HERE TO SHOP THE 12 DAYS OF CREATIVITY ADVENT CALENDAR
CLICK HERE to SHOP LAST CHANCE PRODUCTS **Updated 10/6
CLICK HERE FOR INFORMATION ABOUT JOINING STAMPIN’ UP! 
CLICK HERE TO JOIN MY STAMPIN’ UP! Team
Feel free to reach out if you have any questions or want to chat (j.stark@goeaston.net)
My Just Stampin’ Rewards:
I appreciate each and every order! Here are the things you can expect when you place an online order with me:
- Shop and earn 10% back in Stampin’ Rewards on orders of $20 or more. Use them on your next order or save them up to 1 year for something special!
- All orders will receive a handmade thank you card from me.
(*You can choose to remove the sticky note inside and reuse the card.) - With a $50 order you will receive the Fun Fold PDF’s from my Mystery Stampin’ cards. *You will receive that month’s PDF’s on the first of the following month.
- With an order of $75 (or more) I will send you the fun fold PDF’s as well as a thank you card & card kit!
- Orders of $75 (or more) qualify for the PRODUCT OF THE MONTH! For just $5 you can add-on the October Product of the Month or any of the previous Products of the Month. AWSL