R is for Ribbon

Welcome to my ABC “Sale-A-Bration” Series! This series showcases products from the 2018 Occasions catalog and Sale-A-Bration brochures. I love Ribbon and I like to add it to my cards and projects! I love the way Stampin’ Up! color coordinates everything! I’m a “everything has to match” type of person (with clothes as well as cards) and I love the special touch ribbon adds to a project. I shared previously my love for the organza ribbon.  You can view that post HERE. Today I am going to share some ribbon projects using the other new ribbons found in the Occasions catalog and share a cool tip for the Shimmer Ribbon found in the Sale-A-Bration catalog.

In addition to the new Whisper White 1/4″ Organza ribbon which I shared previously, there are 3 more new ribbons in the Occasions catalog: Berry Burst 3/8″ Metallic-Edge Ribbon, Lemon Lime Twist 3/8″ Mini Striped Ribbon, and Night of Navy 3/8″ Corduroy Ribbon.

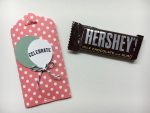
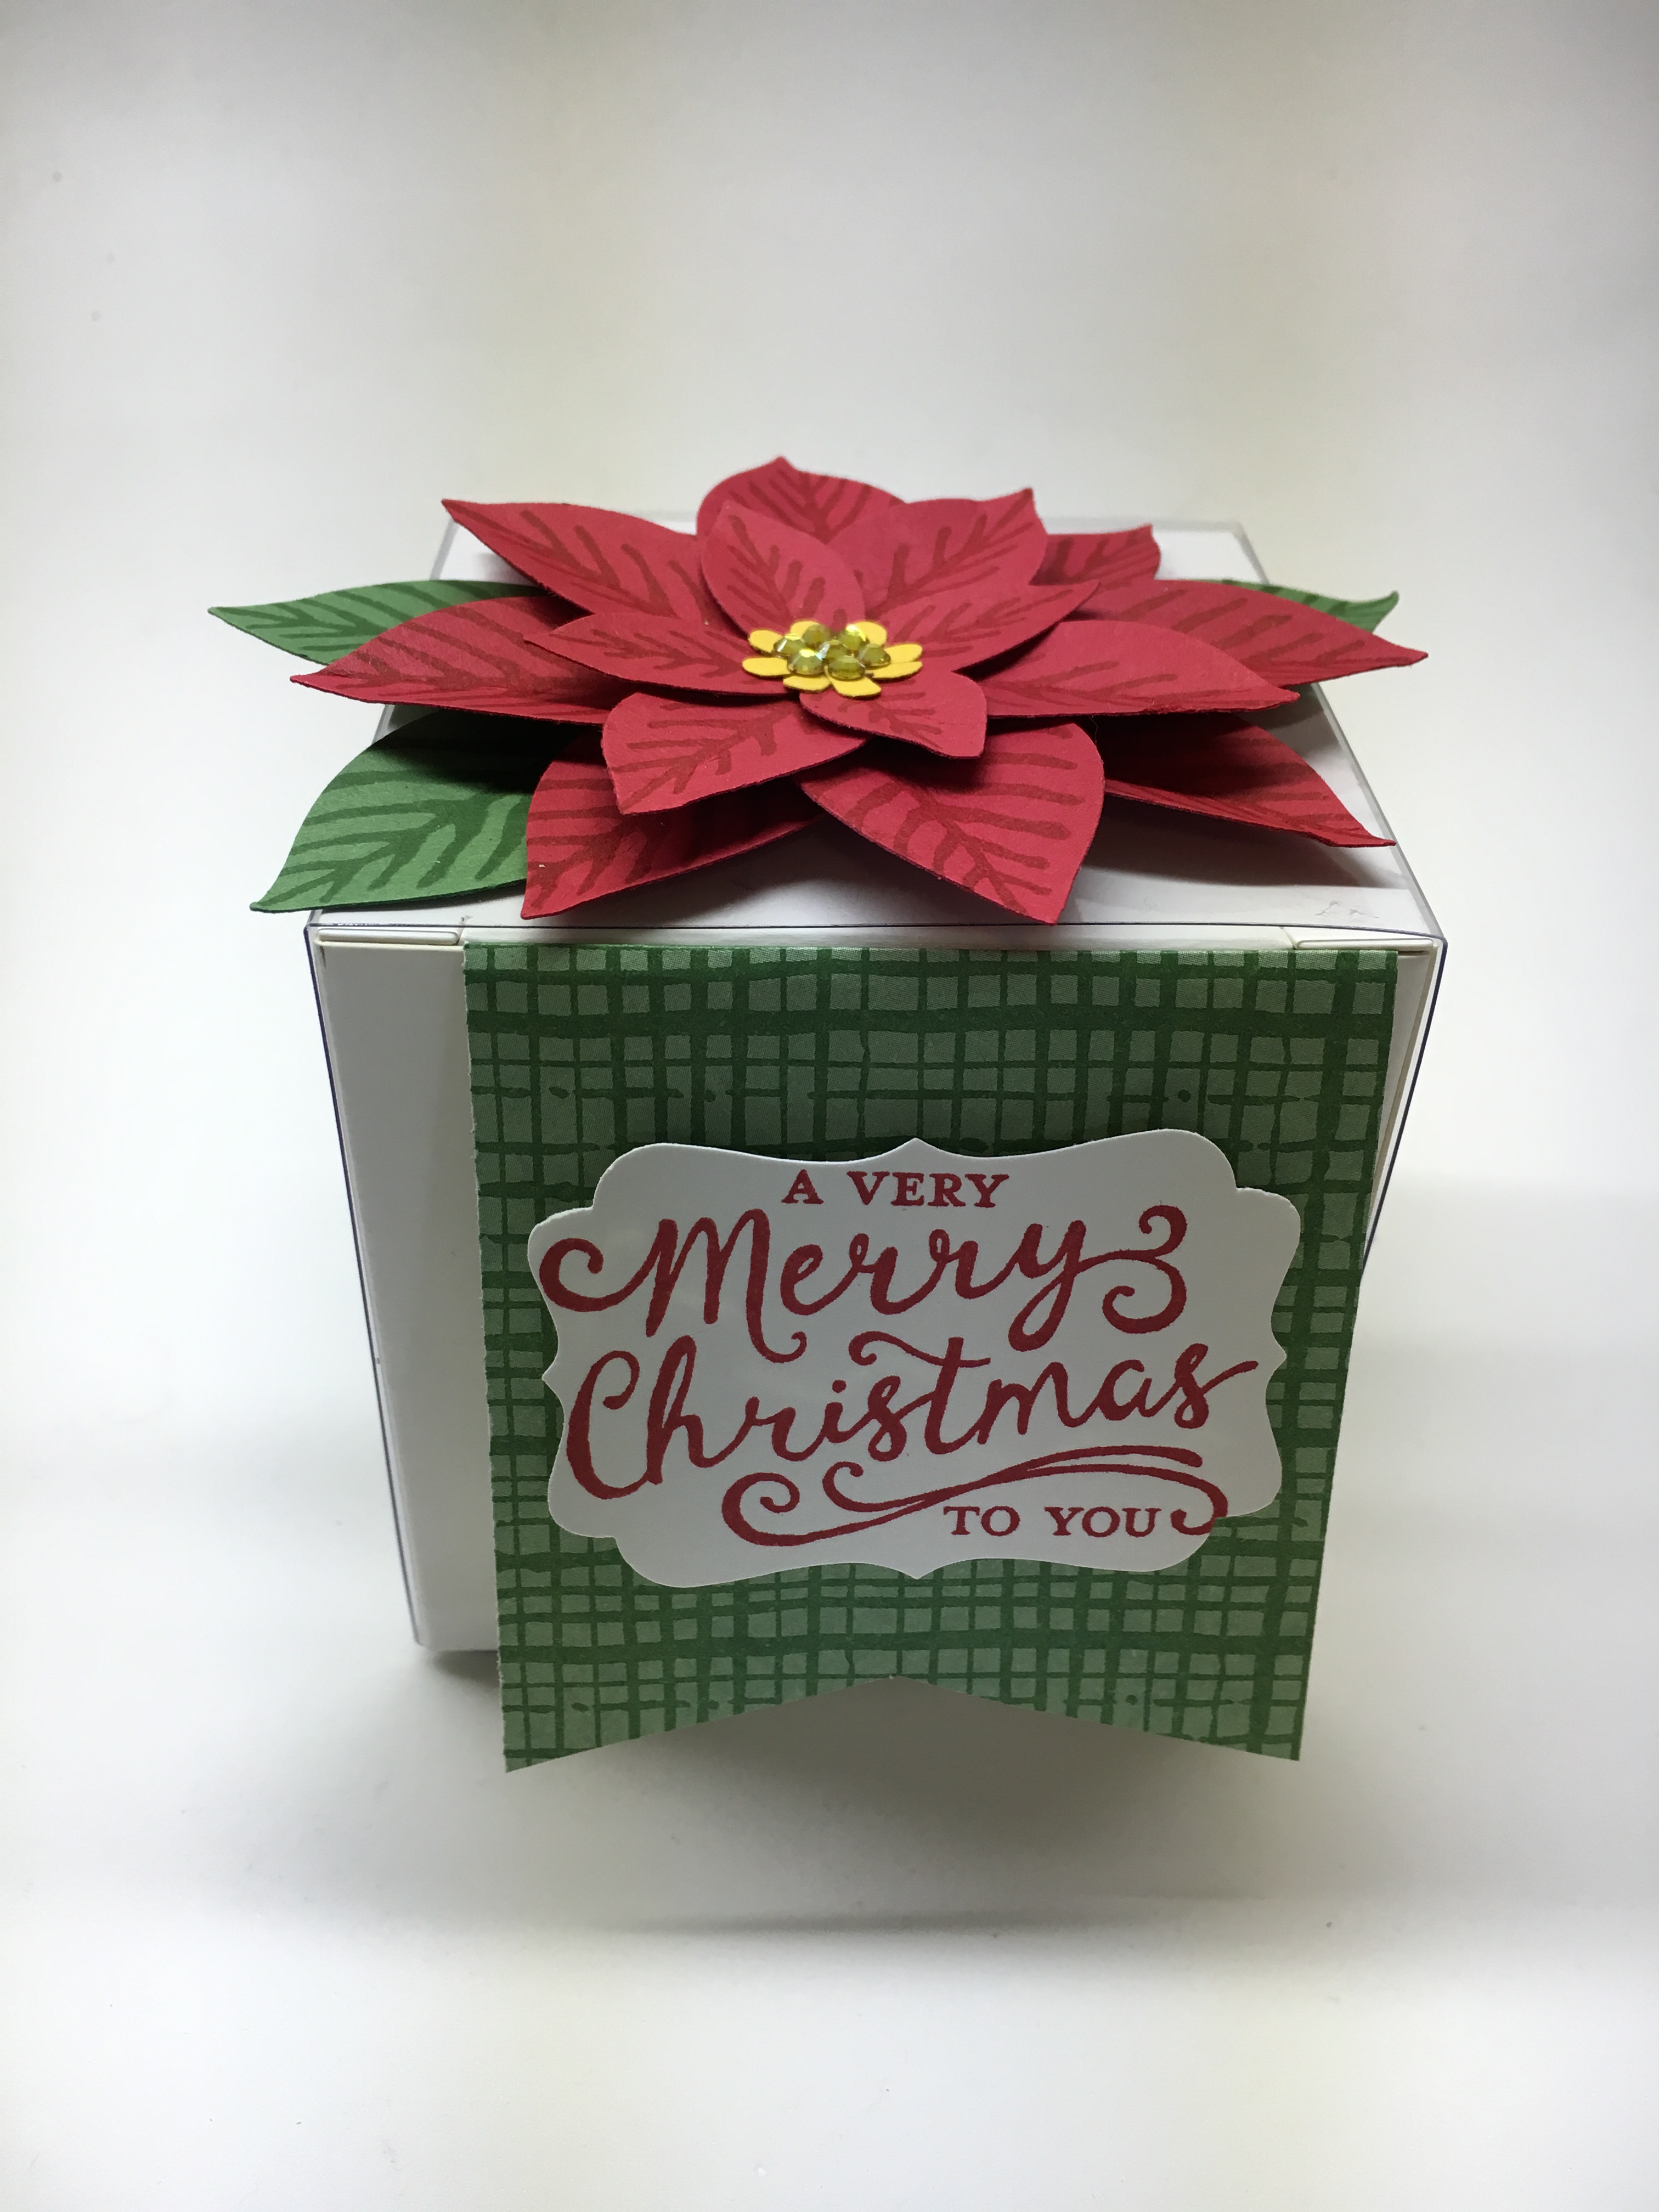
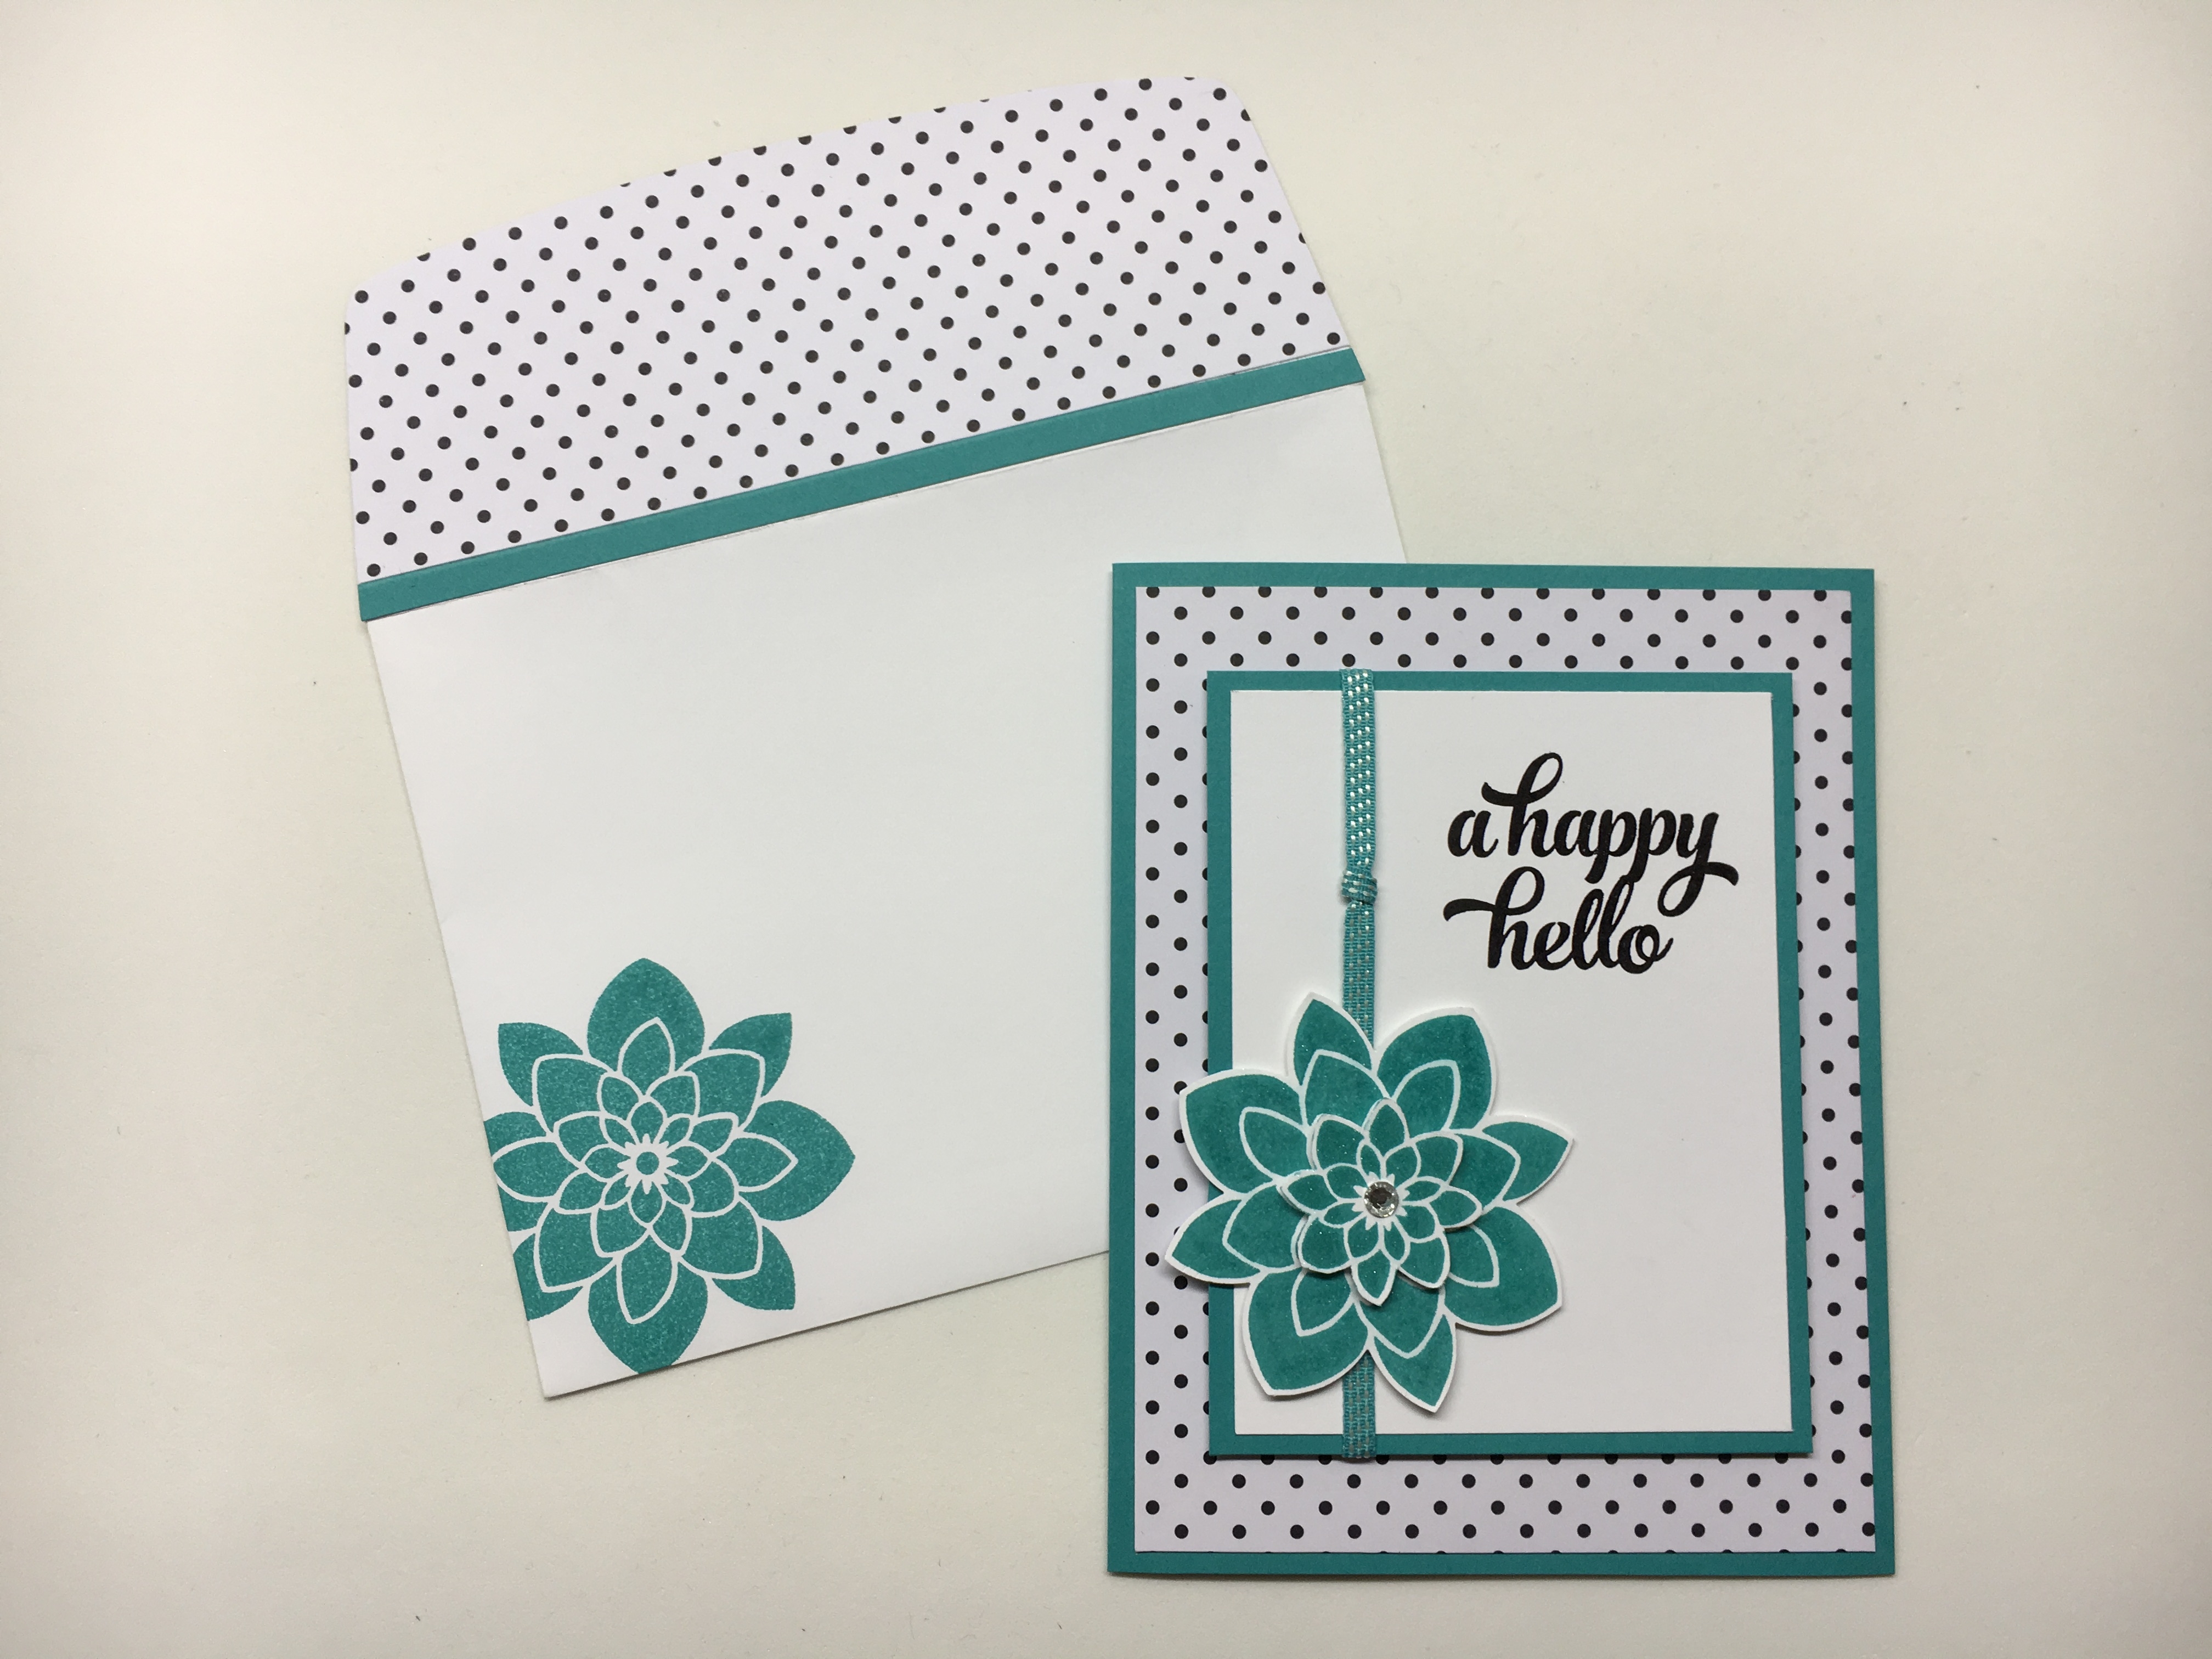
Here are some of the projects I’ve shared using these ribbons.  You can click on the image to see the original post.

Mini Gable Box embossed with Petal Pair embossing folder and Sunshine Wishes Thinlits treat box idea - Jeanie Stark StampinUp

Stampin Up Envelope Punch Board and Fruit Basket Bundle birthday card idea with a special treat - Jeanie Stark StampinUp

Stampin Up Thank you card ideas using Narrow Note Card and Tutti-frutti Designer Series Paper - Jeanie Stark StampinUp

Stampin Up True Gentleman card idea using Celebrate You Thinlits Dies - Jeanie Stark StampinUp

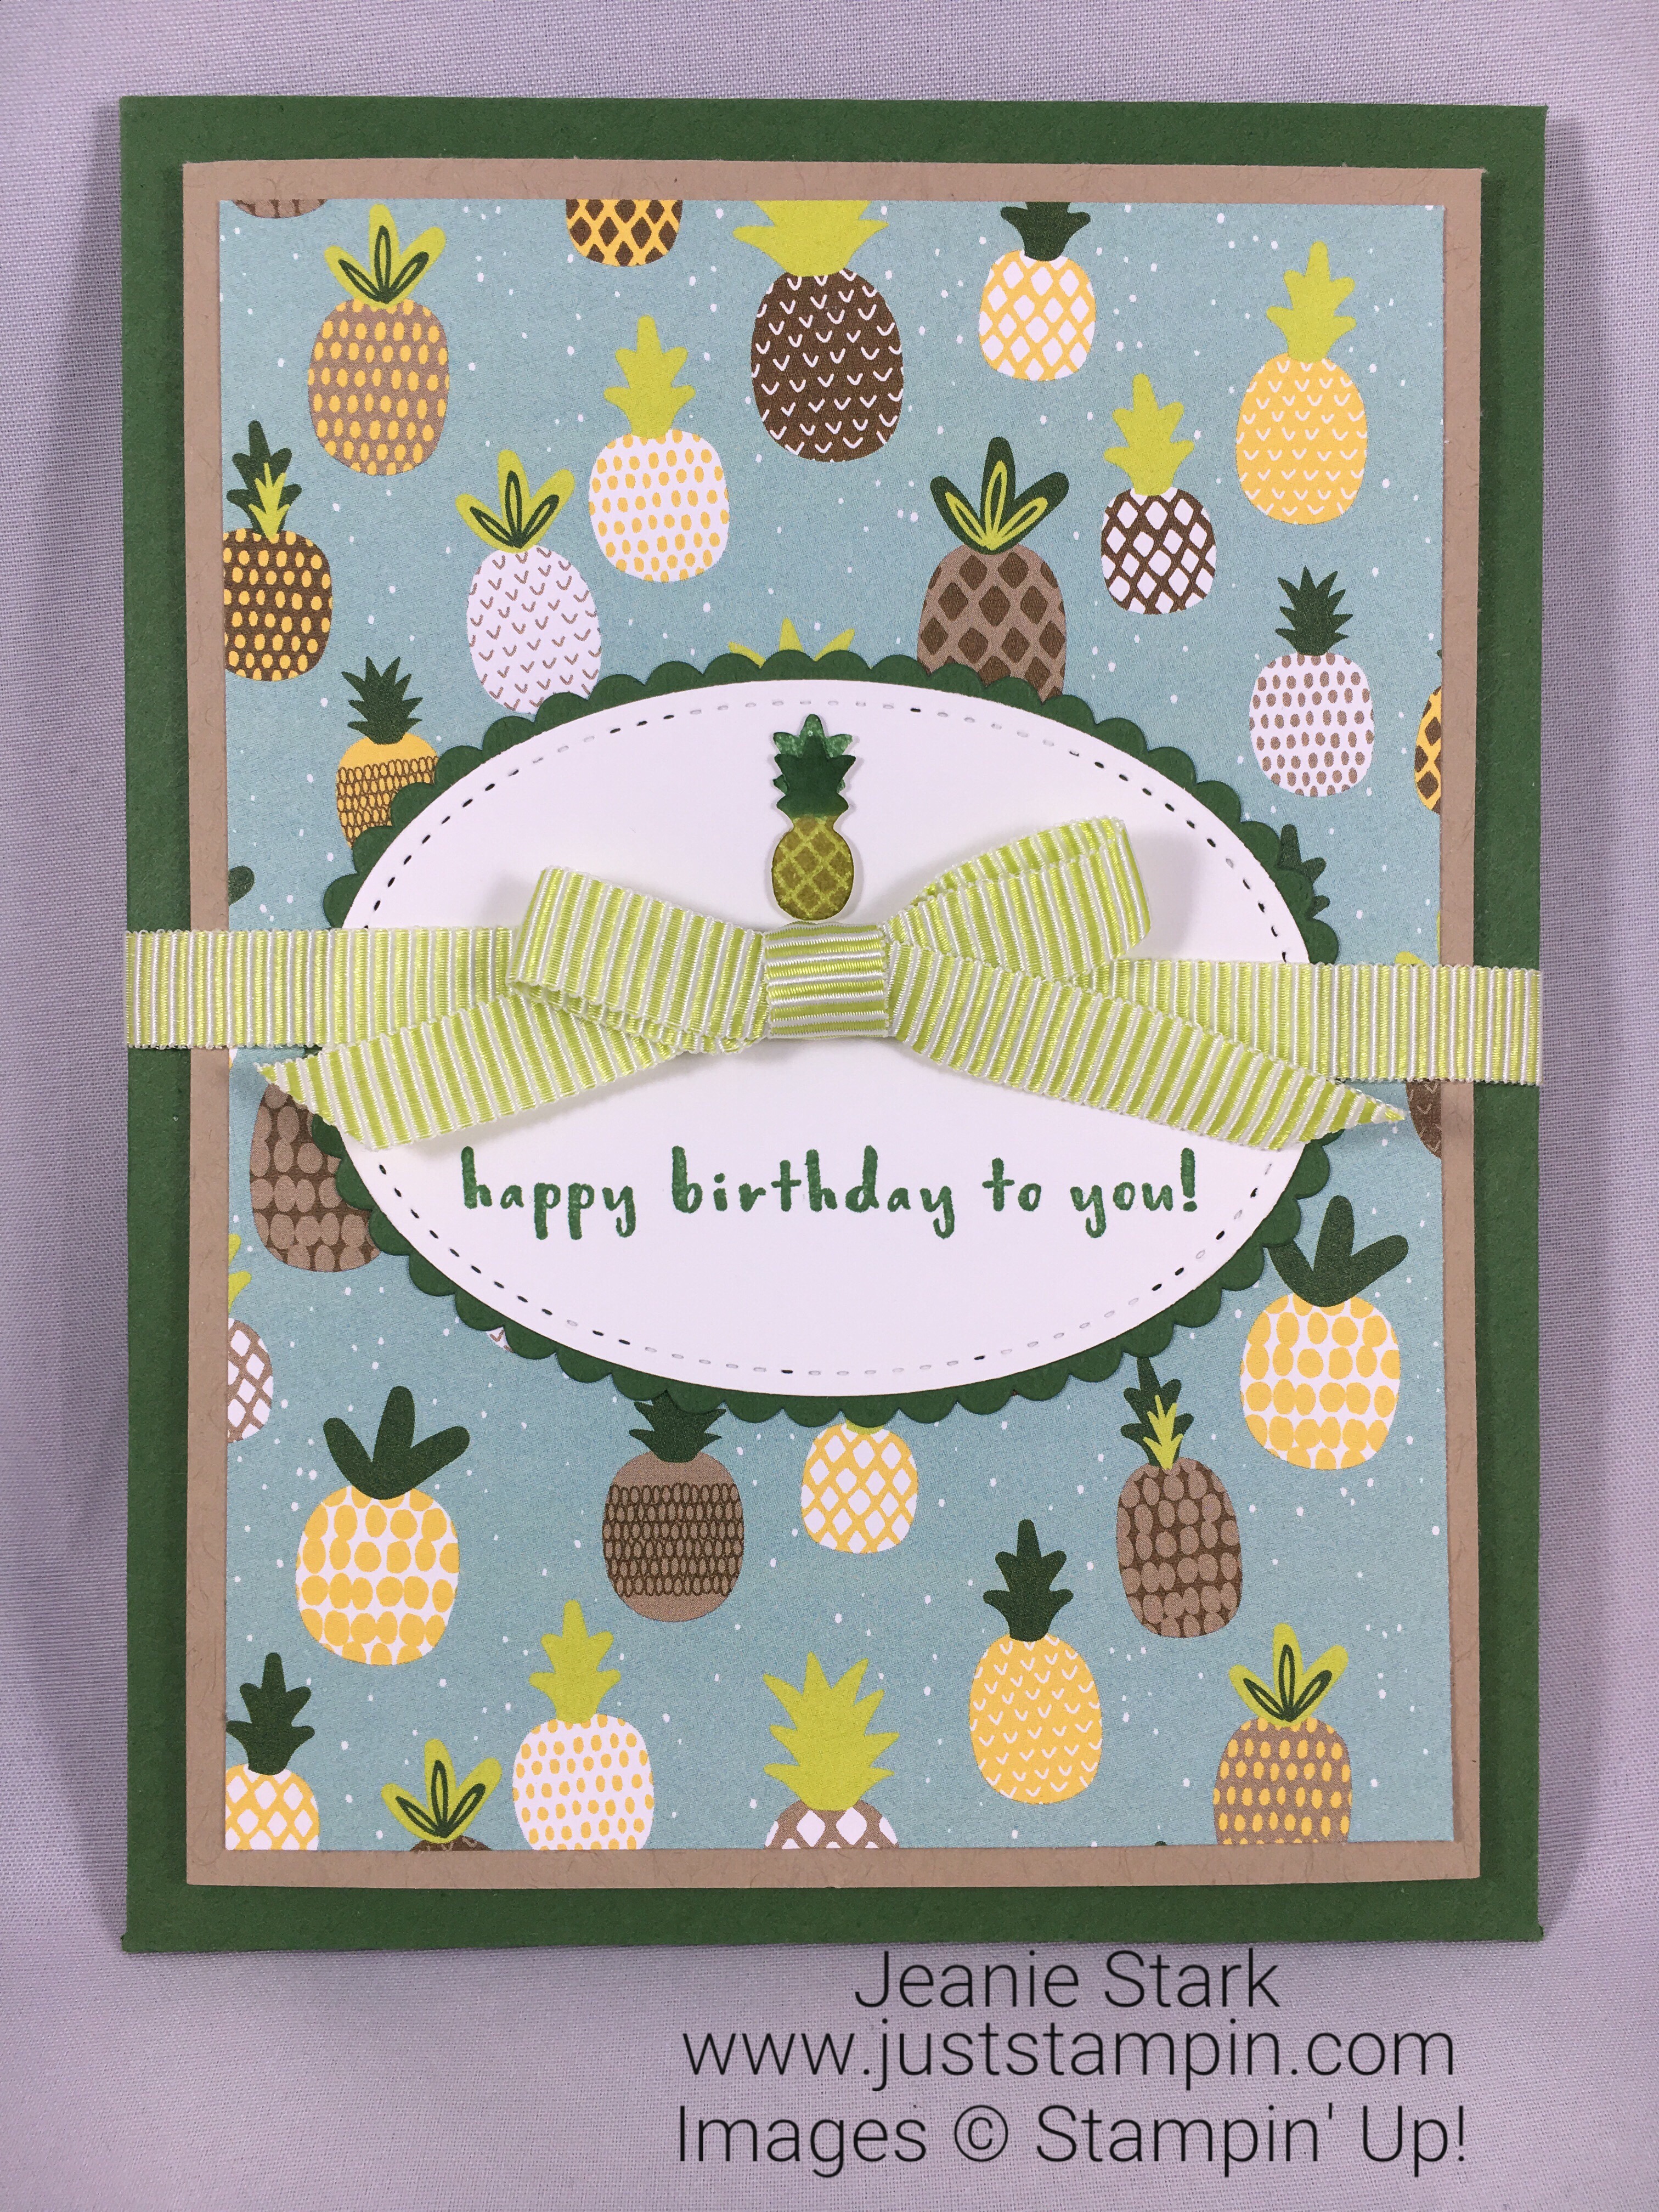
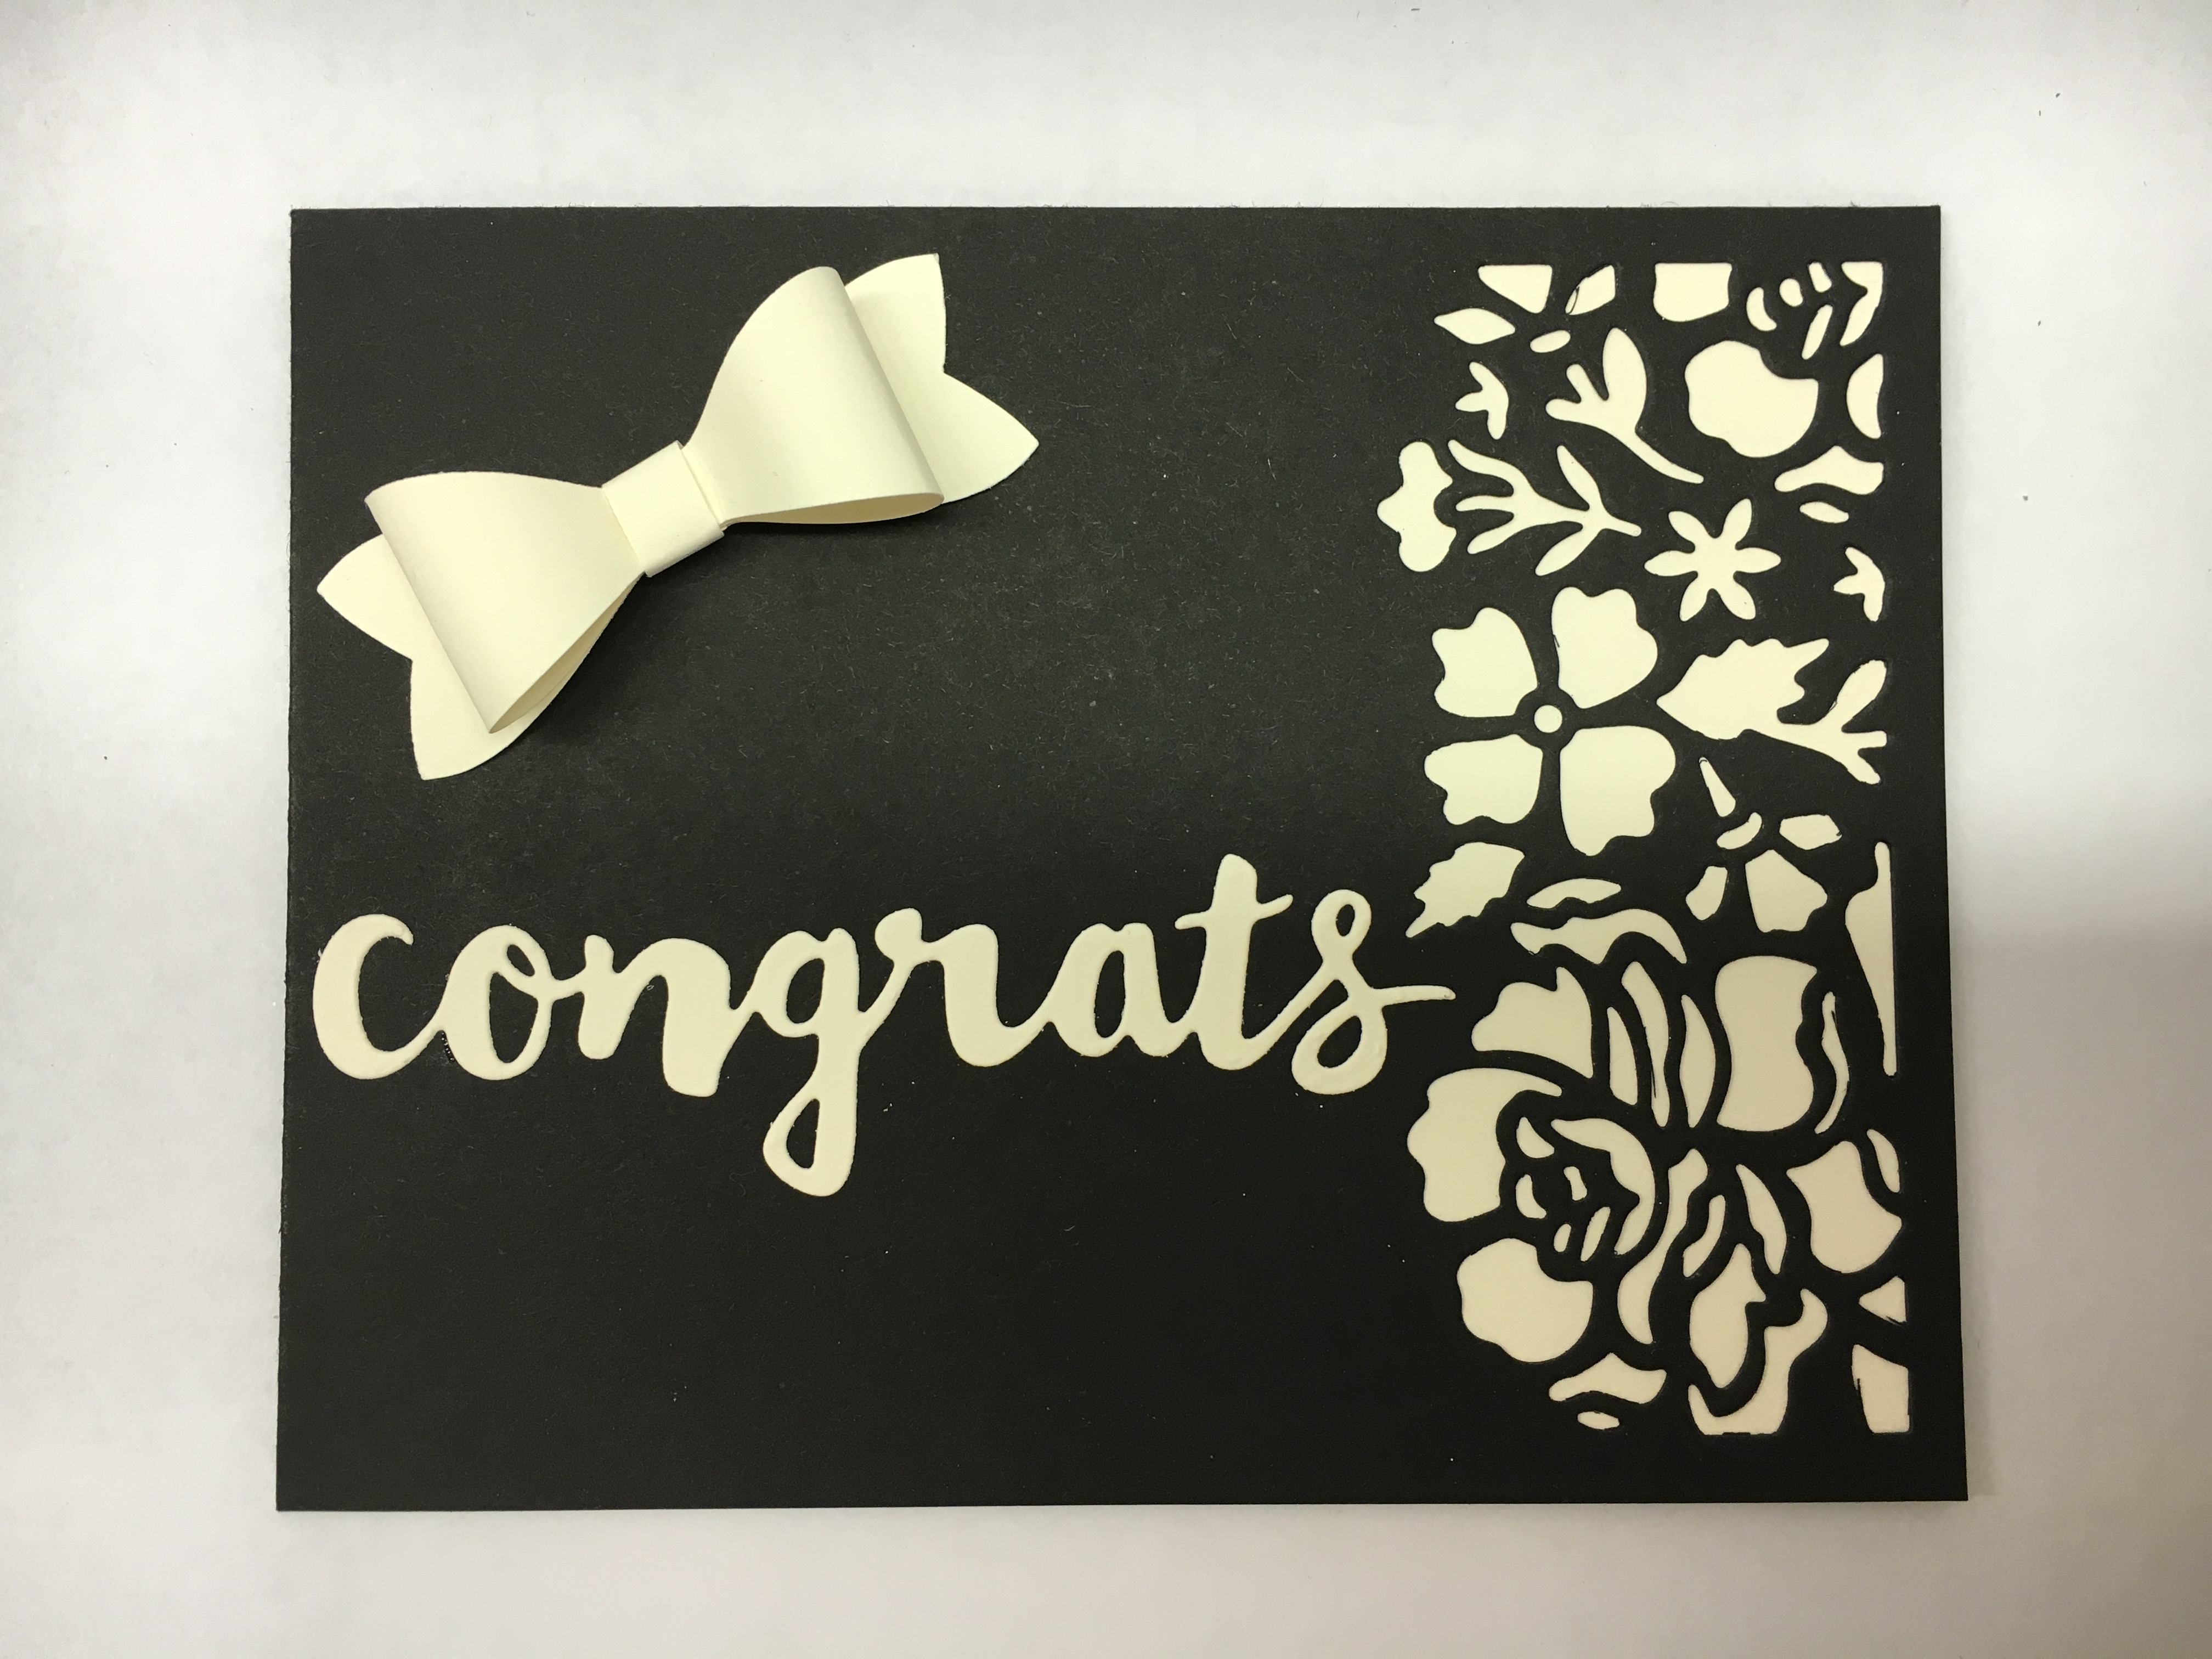
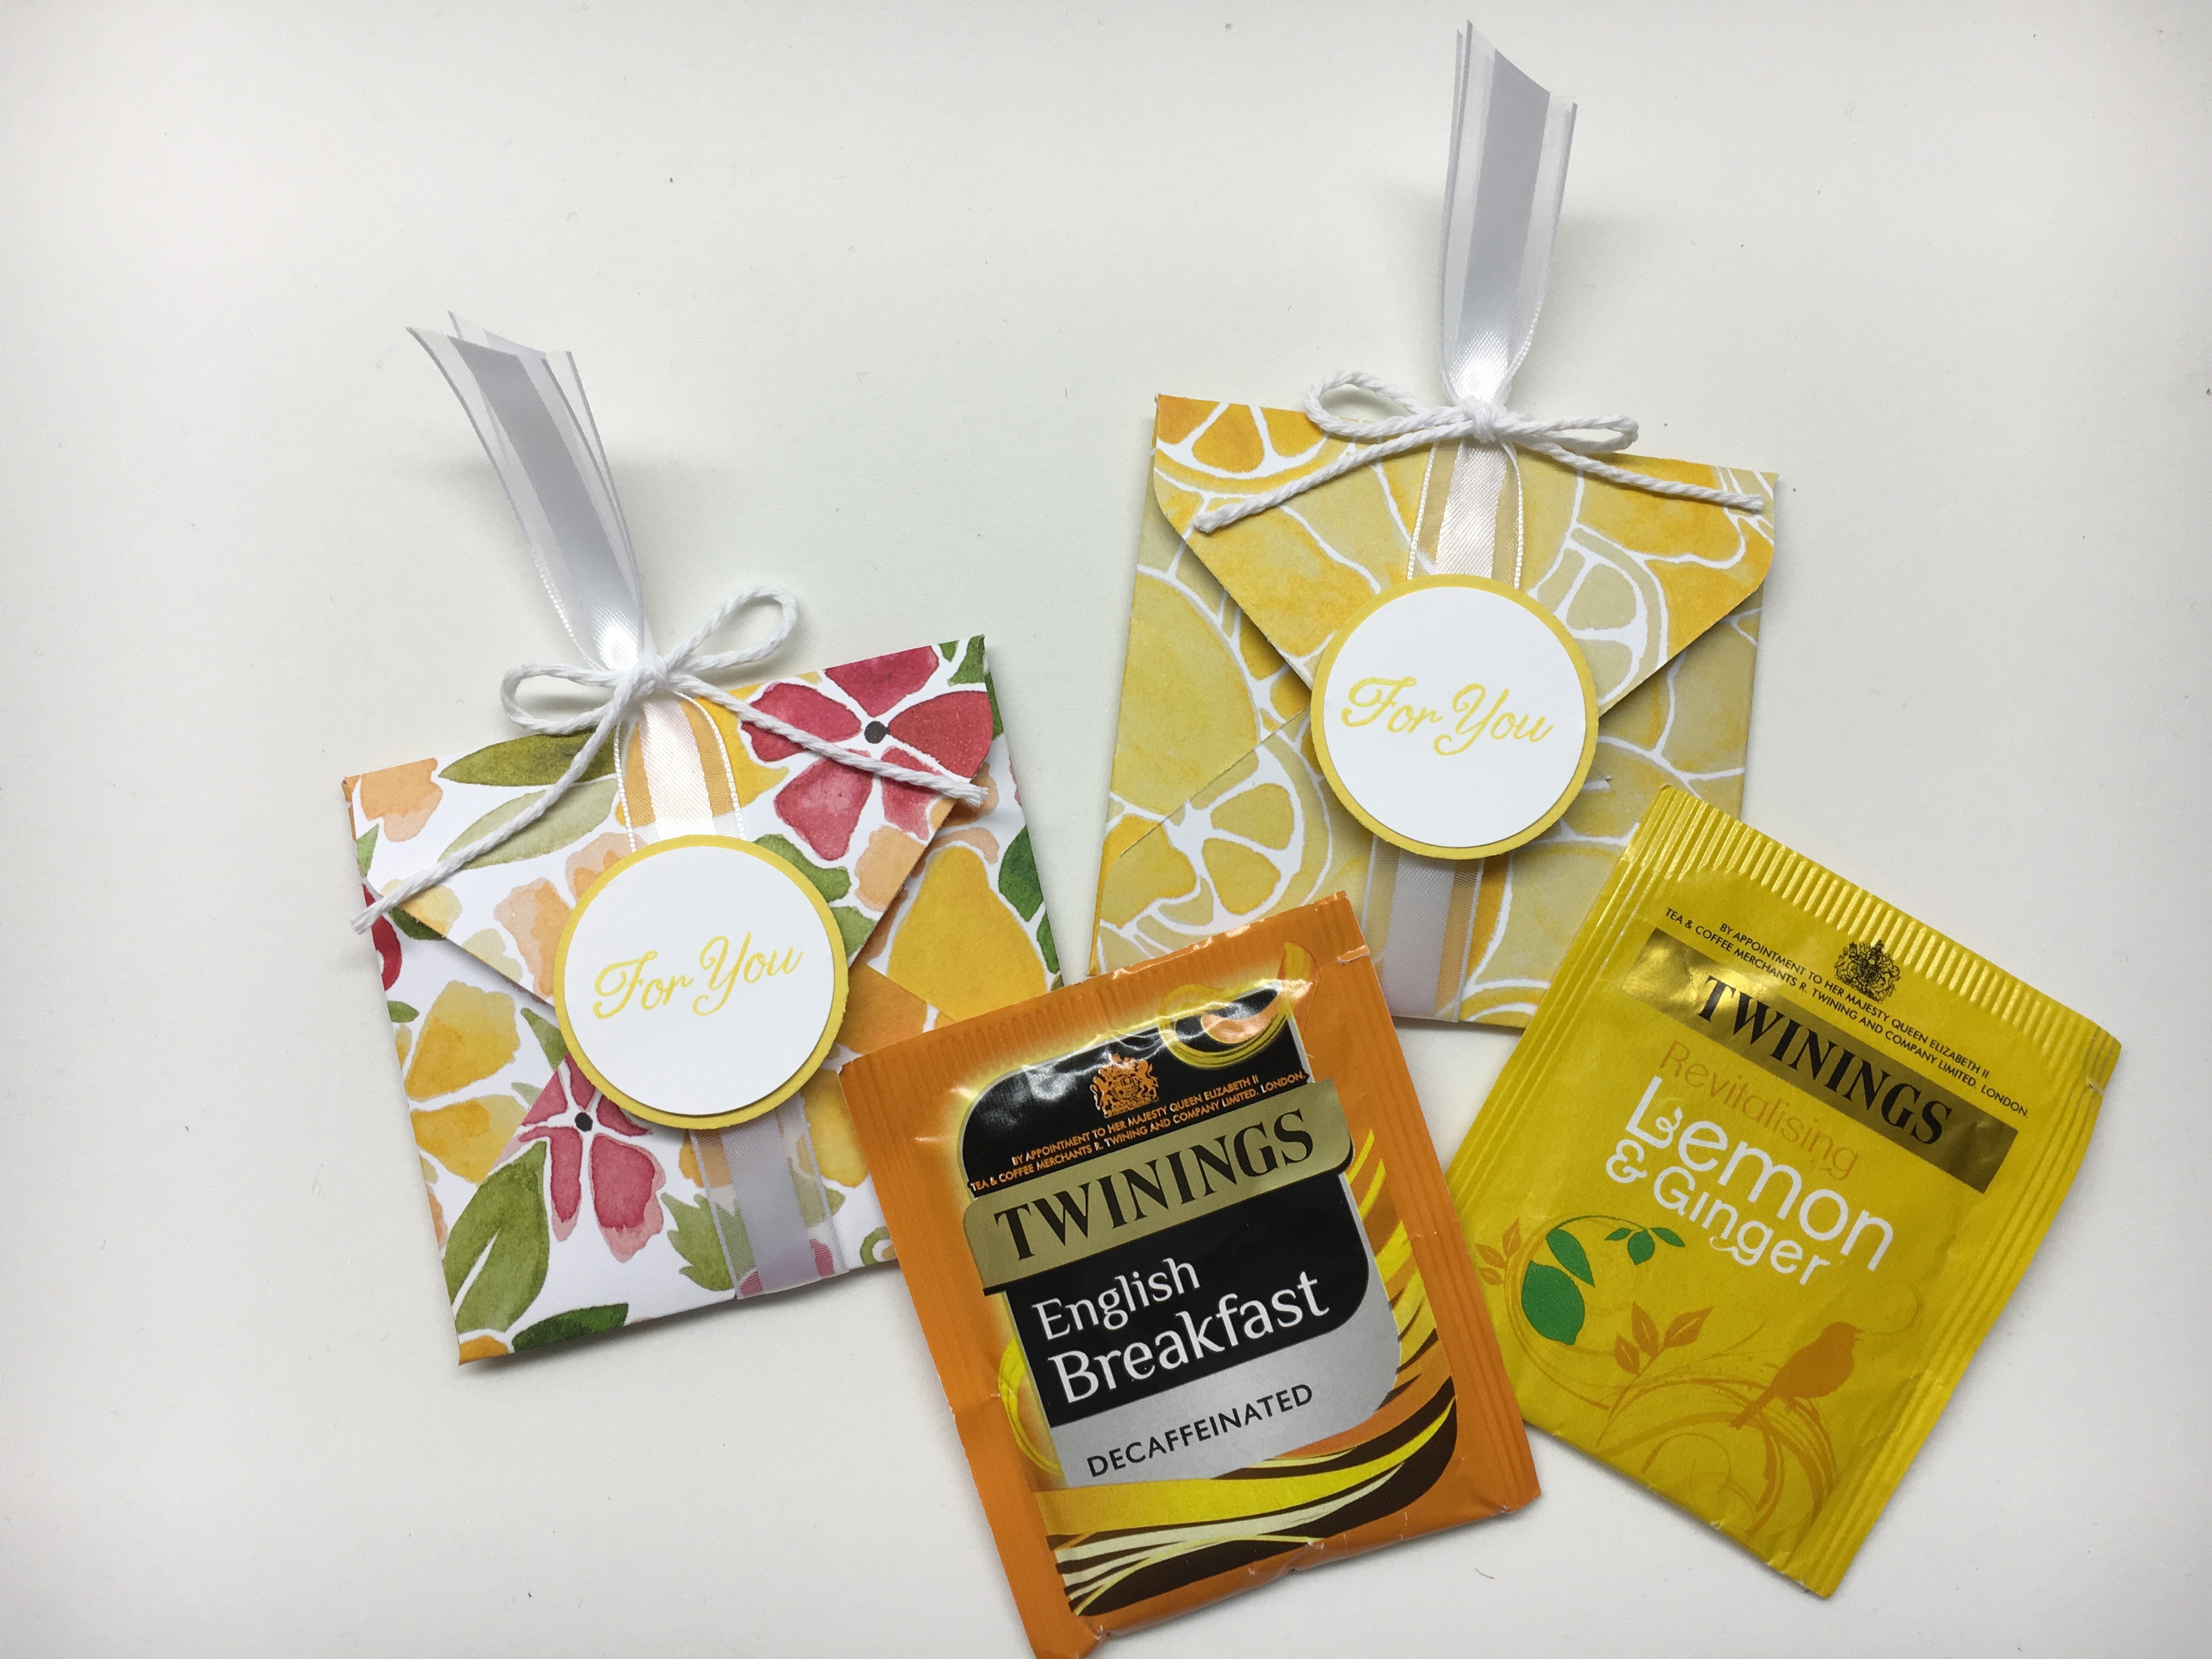
Here’s a few more ideas to add a touch of ribbon from the Stampin’ Up! Design Team.

In addition to the beautiful new ribbons  in the Occasions catalog, you can earn the gorgeous shimmery ribbon from the Shimmer Ribbon Pack in the Sale-A-Bration brochure.  It’s FREE with a $50 purchase!  The Shimmer Ribbon Pack has 3 different rolls of ribbon: 1/4″ Basic Gray, 1/8″ Bermuda Bay, and 3/8″ Calypso Coral.

Something so cool that you can do with the Shimmer Ribbon is curl it! I found this tip in the Sale-A-Bration brochure on page 9:  To curl the shimmer ribbon, wrap it around a wood dowel and wet it; dry it with a Heat Tool, let it cool, and voila – curl!

What’s your favorite ribbon? Leave a comment below.

Did you email me your answers to the catalog scavenger hunt I posted the other day? Don’t miss out on a chance to win some blog candy!!! You have until midnight Sunday to respond.  Click HERE for all the information.

Have a Happy St. Patrick’s Day and a wonderful weekend!  I’m so excited….my daughter is flying home today to celebrate my birthday with me this week! Check back for more chances to earn some blog candy!

Just Stampin’

Jeanie

Host Code Exclusive!  Earn Free gifts from me (card kits and more) with your order. Simply enter the host code at checkout. Click HERE to shop or click on the images below.

Host Code: PH6HPQF3 

  Product List


*Orders of $50 or more qualify for FREE Sale-A-Bration items.

Sale A Bration

DO NOT wait until the last minute!! As we head into the last days of Sale-A-Bration some of the gift options will sell out.

Check out these additional ways to shop and save in March!

  • New Sale -A- Bration items!! – more added March 16!
  • My Birthday Party kit – FREE with every order in the month of March!
  • Just Stampin’ Card Kit and 3D Project Buffet – 3 card kits and a 3D project for $10! Order yours before they sell out!  For more details and ordering information click HERE.
  • For every $50 you spend, you earn a FREE Sale-A-Bration product.  New $100 level! 
  • Two FREE Stamp Sets when you purchase the $99 Starter Kit during Sale-a-Bration.  Click HERE to learn more or contact me and let’s chat!
  • Save 10% on Bundles
  • Earn FREE Sale-A-Bration products with Paper Pumpkin Prepaid Subscriptions! Click HERE for details. *When you subscribe to Paper Pumpkin through me I will send you FREE Step-By-Step PDF Tutorials with 3 alternate kit ideas in the months you receive the kit.
  • 50% off your first 2 months of Paper Pumpkin – for NEW subscribers!  Click HERE to join. (*Click on Monthly Subscription/ Subscribe and enter the code SAVEFIFTY0418.)
Stampin’ Up! Statement of the Heart: 

“To love what we do and share what we love, as we help others enjoy creativity and worthwhile accomplishments…in this we make a difference.”

H is for Halloween Night Specialty DSP

halloween-night-designer-series-paper

Welcome to my ABC’s with DSP! This month I am featuring projects showcasing Stampin’ Up! Designer Series Paper. The Halloween Night Specialty Designer Series Paper comes with 12 sheets: 2 each of 5 double-sided designs, 1 each of 2 single-sided designs with silver foil.  Each sheet is 12 x 12. Look closely and you will see it’s not just for Halloween…you could use this paper for masculine cards, birthdays, etc.  Any little Spiderman fan would love to get a card with the spider web DSP I’m sure!  While one side may be Halloween themed, the other side is neutral to use for other types of projects.

I don’t make many Halloween cards but I do make lots of Halloween treats to give. I have been waiting to make this slider candy bar holder and this paper does the trick! These are so easy & fun to make.

img_5249
Hershey candy bar slider with Halloween Night DSP

I used a 6 x 6 piece of DSP and put a strip of Tear & Tape down one side.  I placed the candy bar in the middle and wrapped it like a present by bringing the side without adhesive up and over the candy then wrapping the adhesive over on top. Now comes the WOW part…take the candy bar out and punch a hole about 3/4″ from the top.  (I used my 1/4″ hole punch.)  Thread your ribbon through both holes then slide the candy bar in. (It will pull the ribbon down as it slides in.) You could tie a knot or a bow at the top. I just tied some twine around the ribbon because when I made it with a ribbon bow one time the recipient started to untie the ribbon and didn’t realize it was a slider treat holder.  I’m hoping with the ribbon tab at the top it will make it easier to just pull the tab and the candy bar slides up. How cool is that?!

img_5248
Hershey Slider Treat

I used the stamp set and leftover tags from my Paper Pumpkin kit to add the sentiments on the front. (I had 32 extra tags and more extras in my kit after I finished putting together all 16 of my test tube treats!!! 🙂 )  I punched the circles out using my 2 inch circle punch.  I adhered the tags with Stampin’ Dimensionals.

img_5250
September 2016 Paper Pumpkin alternative idea

I love seeing the look of surprise when I give these out as the slider is unexpected.  I also love that you can make these up so fast!  You can change the DSP and make Christmas stocking stuffers, Valentine treats, party favors, etc. (*I’ve used this same concept with microwave popcorn bags.) This is another great way to use up that DSP stash you have!

Here’s another quick candy gift idea I CASEd from Jessica Taylor.  Fill a mason jar with candy corn and peanuts (Love that sweet & salty!). Cut a strip of DSP (I used the Halloween Night DSP) 4 x 12 and cut a die from the middle. Attach to jar with Tear & Tape and/or glue dots. Embellish as desired.  (I added a ribbon bow to the Maple Leaf die cut).  I’m bringing this to the hairdressers after school today.  Who doesn’t love sweet & salty?!

img_5253
Sweet & Salty mix using Halloween Night DSP and Leaflets Framelits

Here’s a zig zag card I made (and shared previously).  I used the Halloween Night DSP. You can click on the image to see the original post and details how to make it using the Envelope Punch Board.

img_4694
Suite Seasons and Spooky Fun Stamp Sets, Halloween Scenes Edgelits Dies, and Halloween Night DSP

Here’s some projects featured in the catalog using the Halloween Night Specialty Designer Series Paper. You can create perfect packaging with the Spooky Night Stamp Set and products from the Halloween Night Suite.

halloween-projects-using-the-halloween-night-dsp

halloween-night-dsp-more-ideas

Click HERE to see products from the Halloween Night Suite and shop from my online store. Please use the Hostess Code 7DB3CBKS when you check out.  I’ve added a visual below to show where to enter the code. I always send a thank you gift each month when you order from me.  I appreciate each and every order!

Have a Happy Day!

Just Stampin’

Jeanie

dsp-sale

img_4672

P is for Punches (and Paper Pumpkin)

I love the Stampin’ Up! Punches! They make it so easy to add interesting layers to a project. I have plenty of photos and punched projects to share with you today as well as my Paper Pumpkin Preview, videos, and special offers. Let’s get started with a quick 2 minute video showcasing one of my favorite punches, the tag topper punch.

Oh My Gosh!!!  Did you just love the candle wrap she showed in the video?! What a clever gift presentation! Here are some projects I made with the tag topper punch.

img_4415

The tag topper punch can be used for cards, gift pouches, as well as tags and more. I love making gift sets that all go together.  The measurements for the gift pouch came from Hannah McCurley (StampinbyHannah).  Start with a piece of 4 x 4 1/2 Designer Series Paper and score on the long side @ 2″ and 4″.  Add tear & tape along the edge to adhere. Punch the top with the tag topper punch and staple the bottom closed. I decorated the front using the Balloon Bouquet Punch and stamped the sentiment from Thoughtful Banners. This is the perfect size treat holder for miniature candy bars.

I embossed the matching gift tag with the Confetti Embossing Folder and punched coordinating balloons.  The sentiment is punched out using the Duet Banner Punch. The Basic Black Bakers Twine is used on all 3 projects to “tie” it all together. 🙂


You can watch the short video below to see how I made this gift box topper using the Festive Flower Punch. The sentiment on the tag is punched with the Decorative Label Punch.

img_4211


Here’s a little trick I found on Pinterest for using the Elegant Butterfly and circle punches to make bats. So cool for Halloween projects!!

how-to-punch-bats-with-butterfly-punch

As you can see in the photo below I have Plenty of Punches! The Stampin’ Up! Punches can store flat or standing on edge. It’s best to use your whole hand when punching.  These punches work better if you set them flat on a table and then punch using direct downward pressure. Happy Punching!

Here are some past projects I’ve made using punches.

img_4155
Made using the Triple Banner Punch
img_3841
Made using the Tree Builder Punch
img_3188
Made using the Bow Builder Punch
img_4161
Made using Circle Punches (and Envelope Punch Board)

img_4257

Made using the Flower Medallion Punch

I hope you enjoyed these punched projects!  Perhaps you would like a sampling of perfectly punched pieces to play with for your craft projects?  Purchase $25 or more from my online shop and I will send you some perfectly punched pieces for your projects as my Back to School Special for today. Click HERE to see the variety of punches from Stampin’ Up! and to shop my online store. Also, be sure to check out the Clearance Rack for lots of retired punches on sale!!!

Have a Pleasant Picture Perfect Day!

Just Stampin’

Jeanie

P.S. Remember to use the Hostess Code 7CNZAUYM  when you check out. (I’ve included a visual below to show you where to enter the hostess code.)

P.P.S. Spoiler Alert!  My Paper Pumpkin for this month arrived yesterday (Perfect timing for the letter P).  If you would like to see a Preview of the kit scroll all the way down. I can’t wait to play!!!!

special-offers

Don’t forget about the Paper Pumpkin BOGO Sale Going On Now!

pp_bogo_demo-header

Right now first-time subscribers can buy their FIRST month and get their second month of Paper Pumpkin FREE!

  • Offer Dates: August 11–October 10, 2016
  •  Use promo code “BOGO” and you’ll pay the regular price of $19.95 and get your second month for FREE!  CLICK HERE then click JOIN in the top right corner

Fine Print:

  • If you subscribe with the promo code between now and September 10, you will pay full price for the September kit and get the October kit free. If you subscribe between September 11 and October 10, your first kit will be the October kit and you will get the November kit free.
  • IMPORTANT: Offer invalid if subscription is suspended or cancelled during the first two months. In other words, subscribers cannot cancel or suspend their subscription during their first two month.
  • After the first two months, the subscription will continue for $19.95 + tax per month (shipping included) unless cancelled or suspended.
  • This offer is open to first-time subscribers only.
  • Not valid on prepaid subscriptions.

Paper Pumpkin is perfect for a gift, a college student, a busy adult, children, retired or seniors, and those who love to build up their crafting supplies on a budget. With the BOGO Free offer you could buy one for yourself and one for a gift and get together with a friend or family member and have some fun crafting time each month.  Subscriptions can be suspended or canceled at any time without penalty. Come join the fun!

Paper Pumpkin Preview…Something Good To Eat Kit  September 2016