Z is for Zig Zag Edges

Welcome to my ABC’s of Stampin’ series.  We have reached the end of this alphabet series and I hope you have been inspired and learned some new things about stamping along the way. I’d love for you to leave me a comment and let me know if you had a favorite letter, tip, or project from this series. Today  I am going to share a fun way to make zig zag edges using the envelope punch board (I absolutely love the versatility of this tool!!).

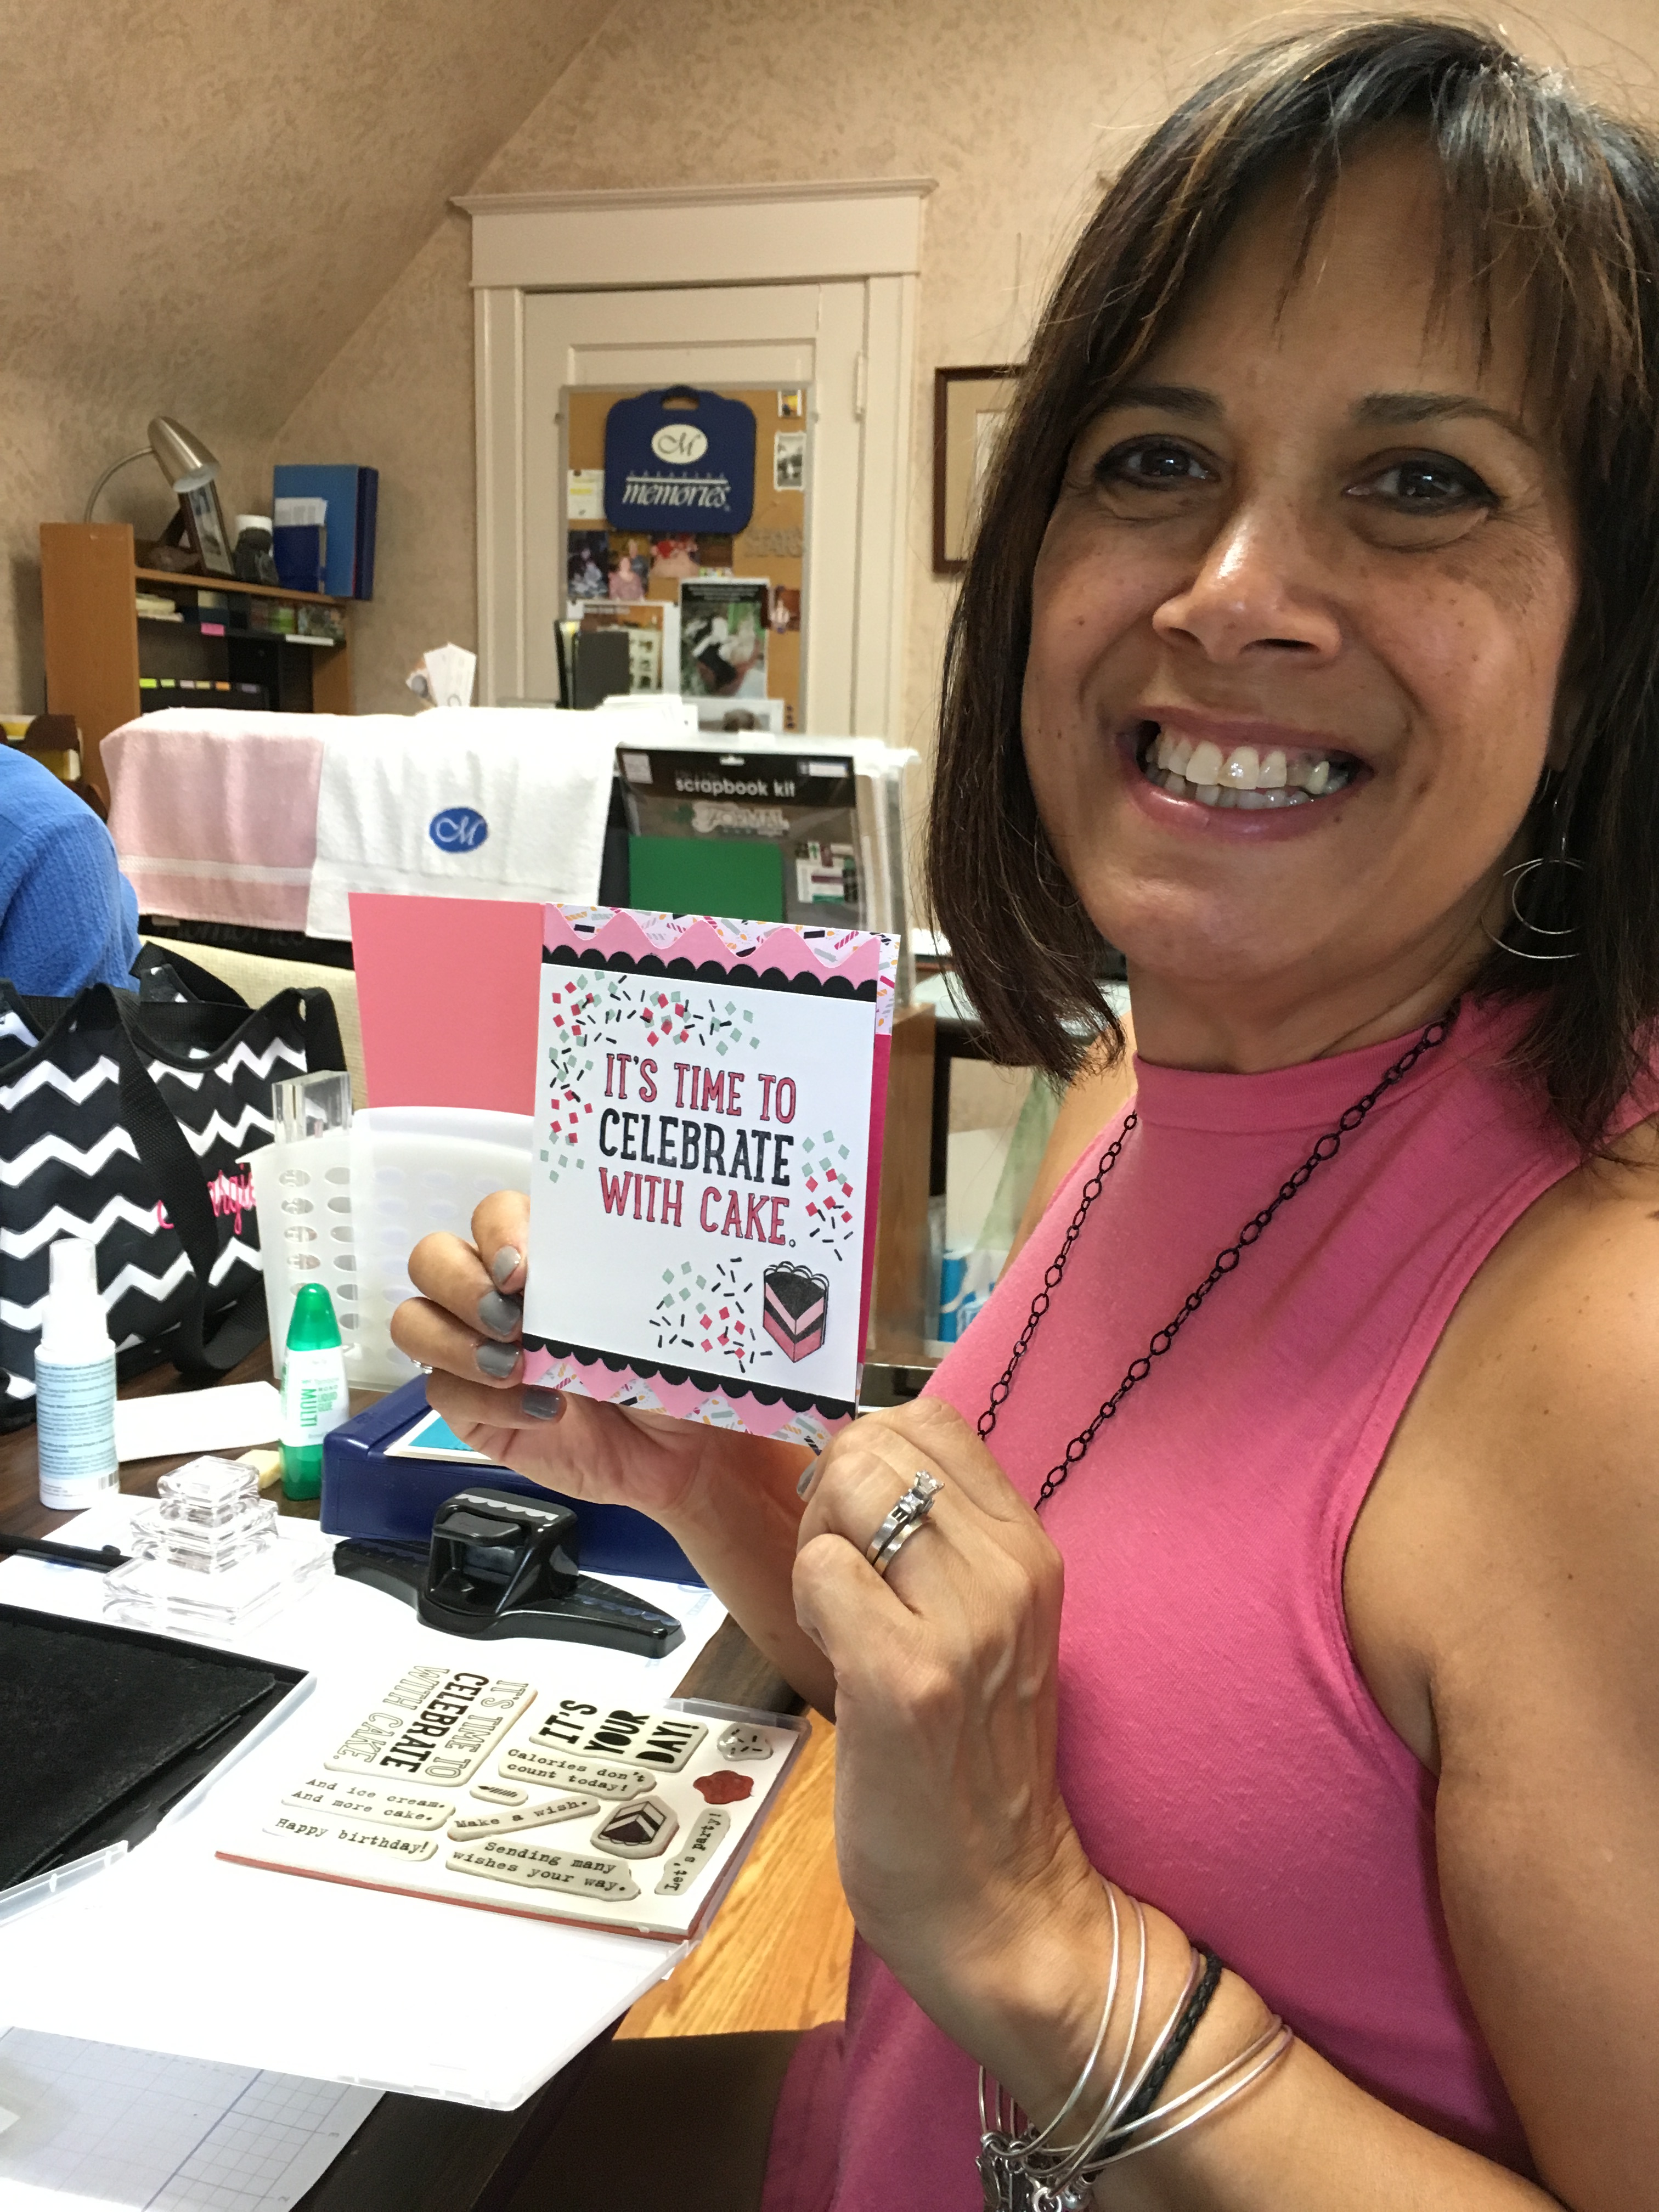
Each month I meet with a talented group of ladies to share cards, projects, techniques, and ideas. One of my team members named our group C3 (Creative Card Club). Last month Marisa shared a fun birthday card using the zig zag technique. (How perfect in seeing I had no idea what I was going to share for Z.  LOL)

img_4222

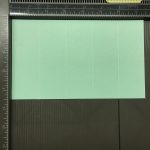
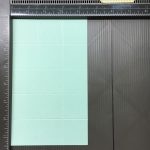
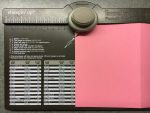
You need the Envelope Punch Board to create the zig zags on this card.  Start by lining up your card with the tip of the score guide and punch. Slide your card over to the 1 1/2″ mark and punch again.  Continue sliding over and punching each time at the 2 1/2, and 3 1/2 inch marks. Flip your card over and repeat for the bottom of the card.  Punch at each point (score guide, 1 1/2, 2 1/2, 3 1/2).  So easy!

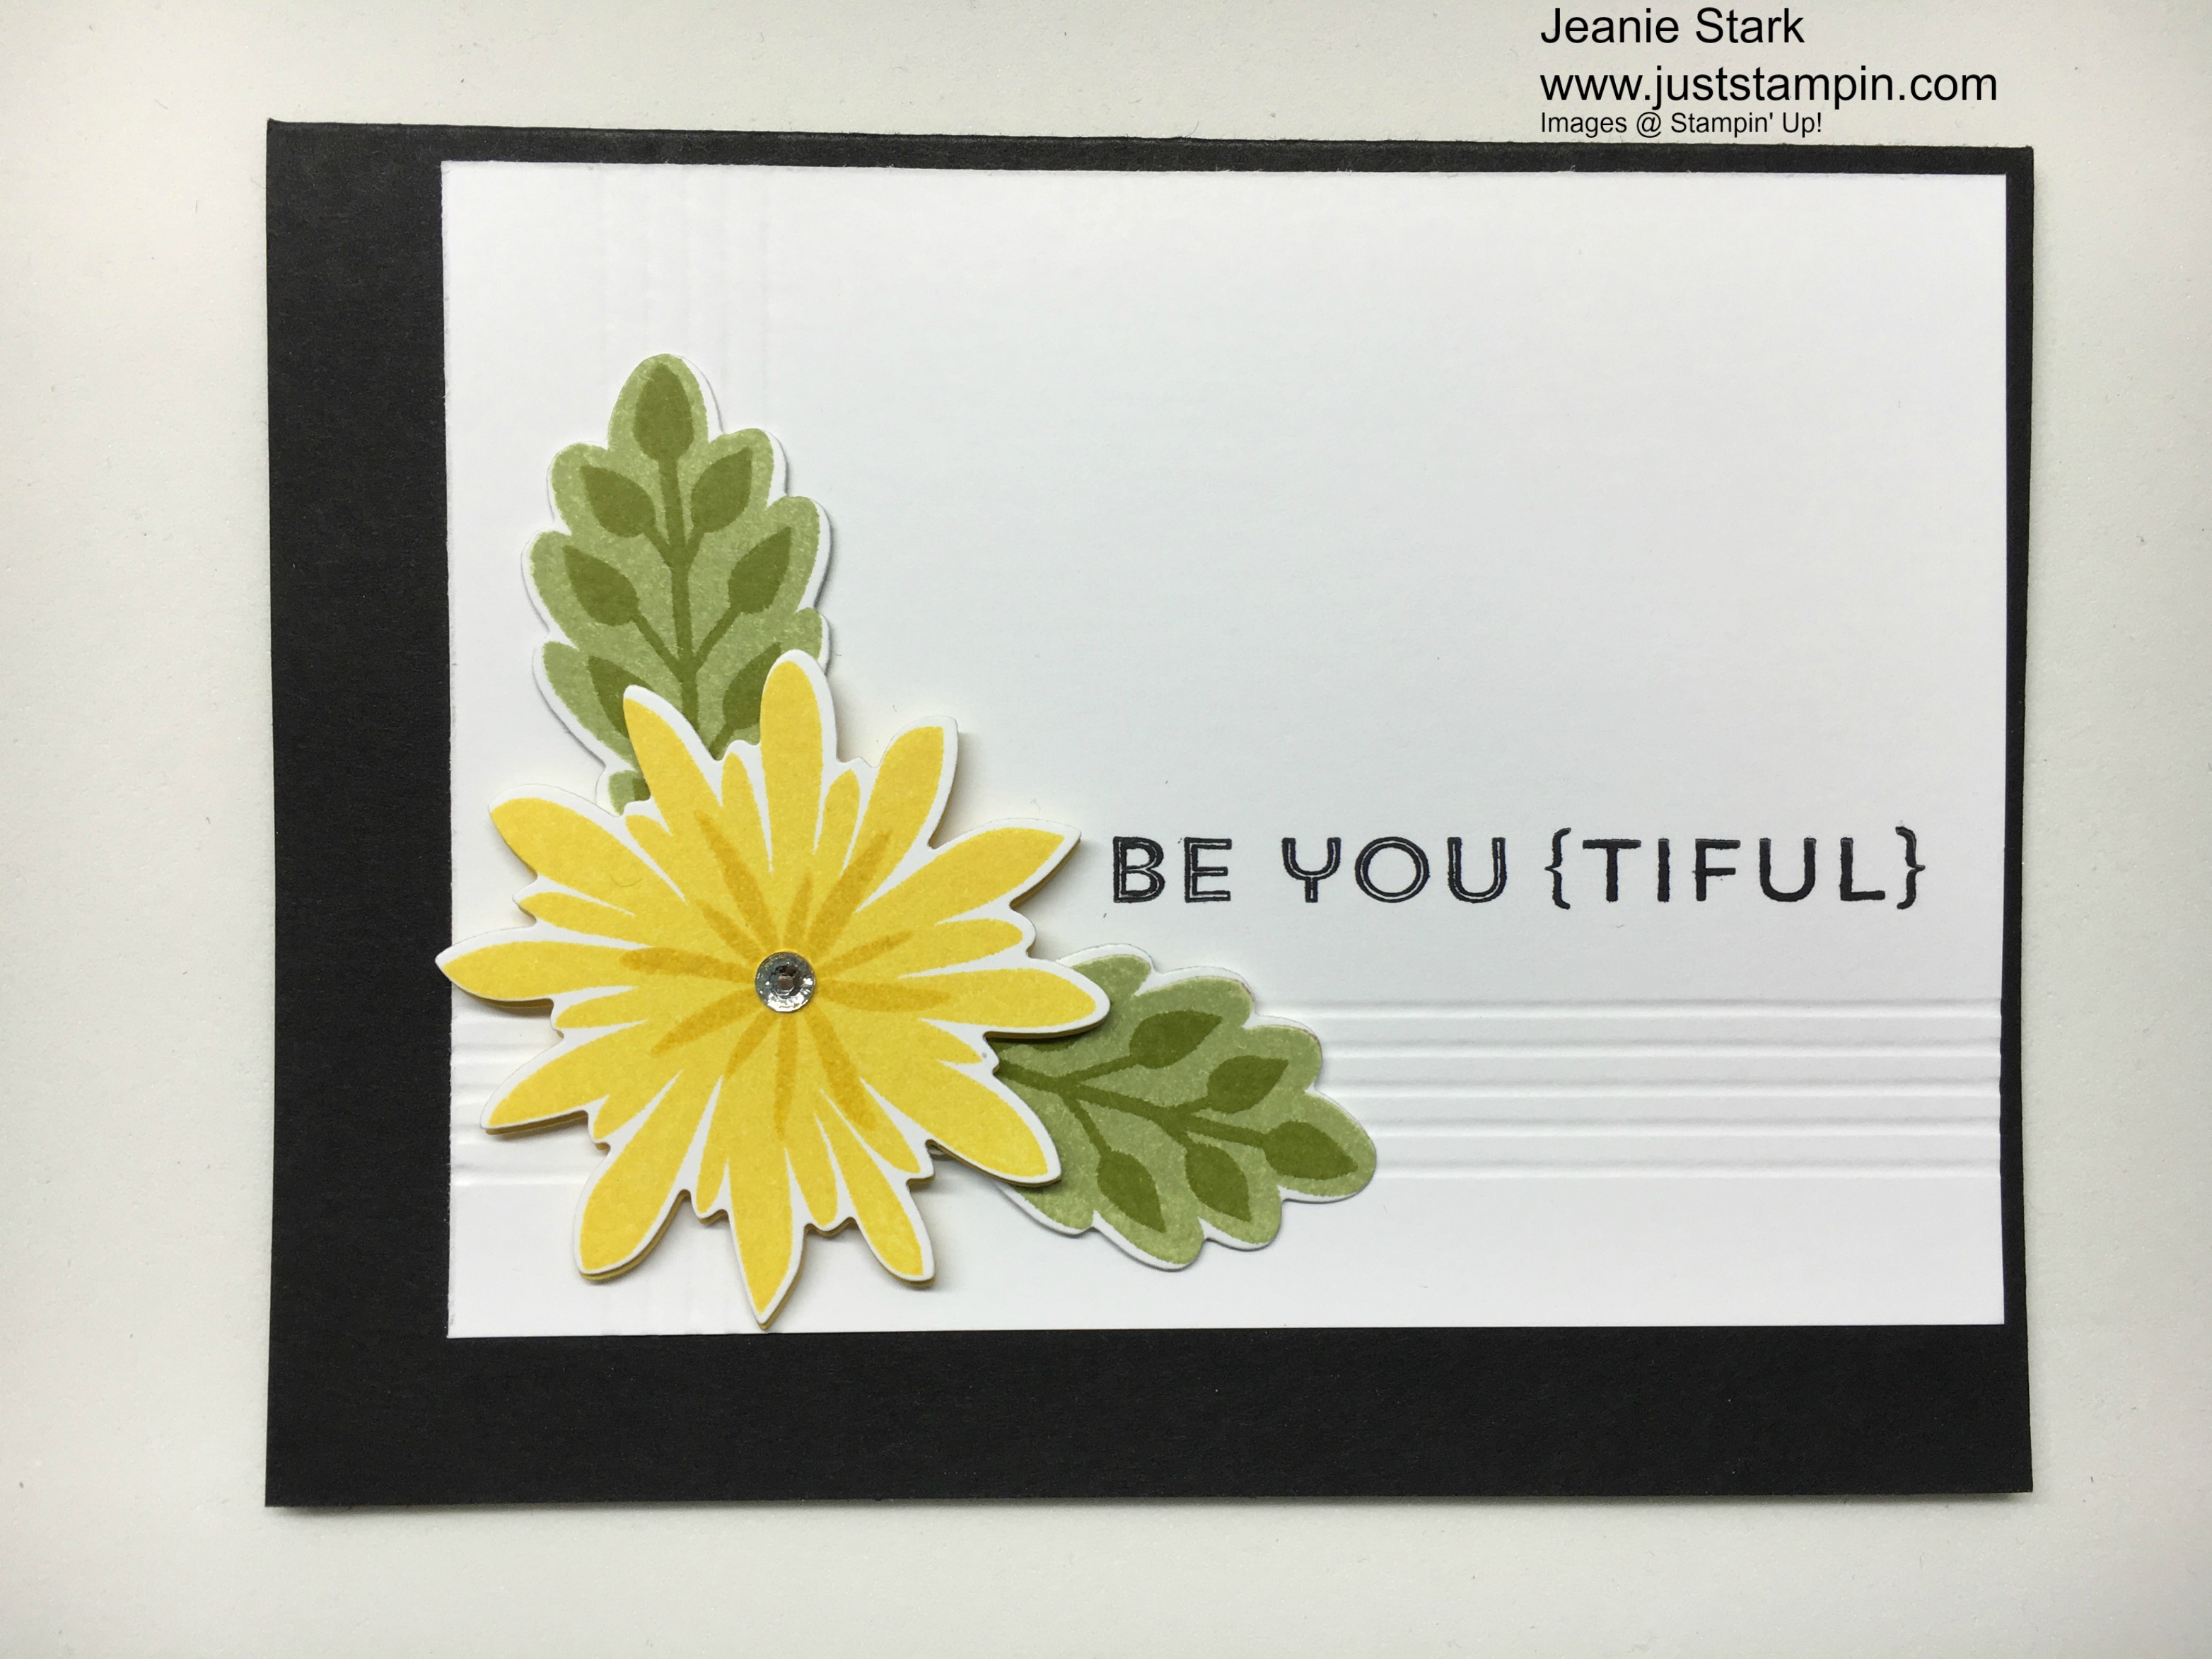
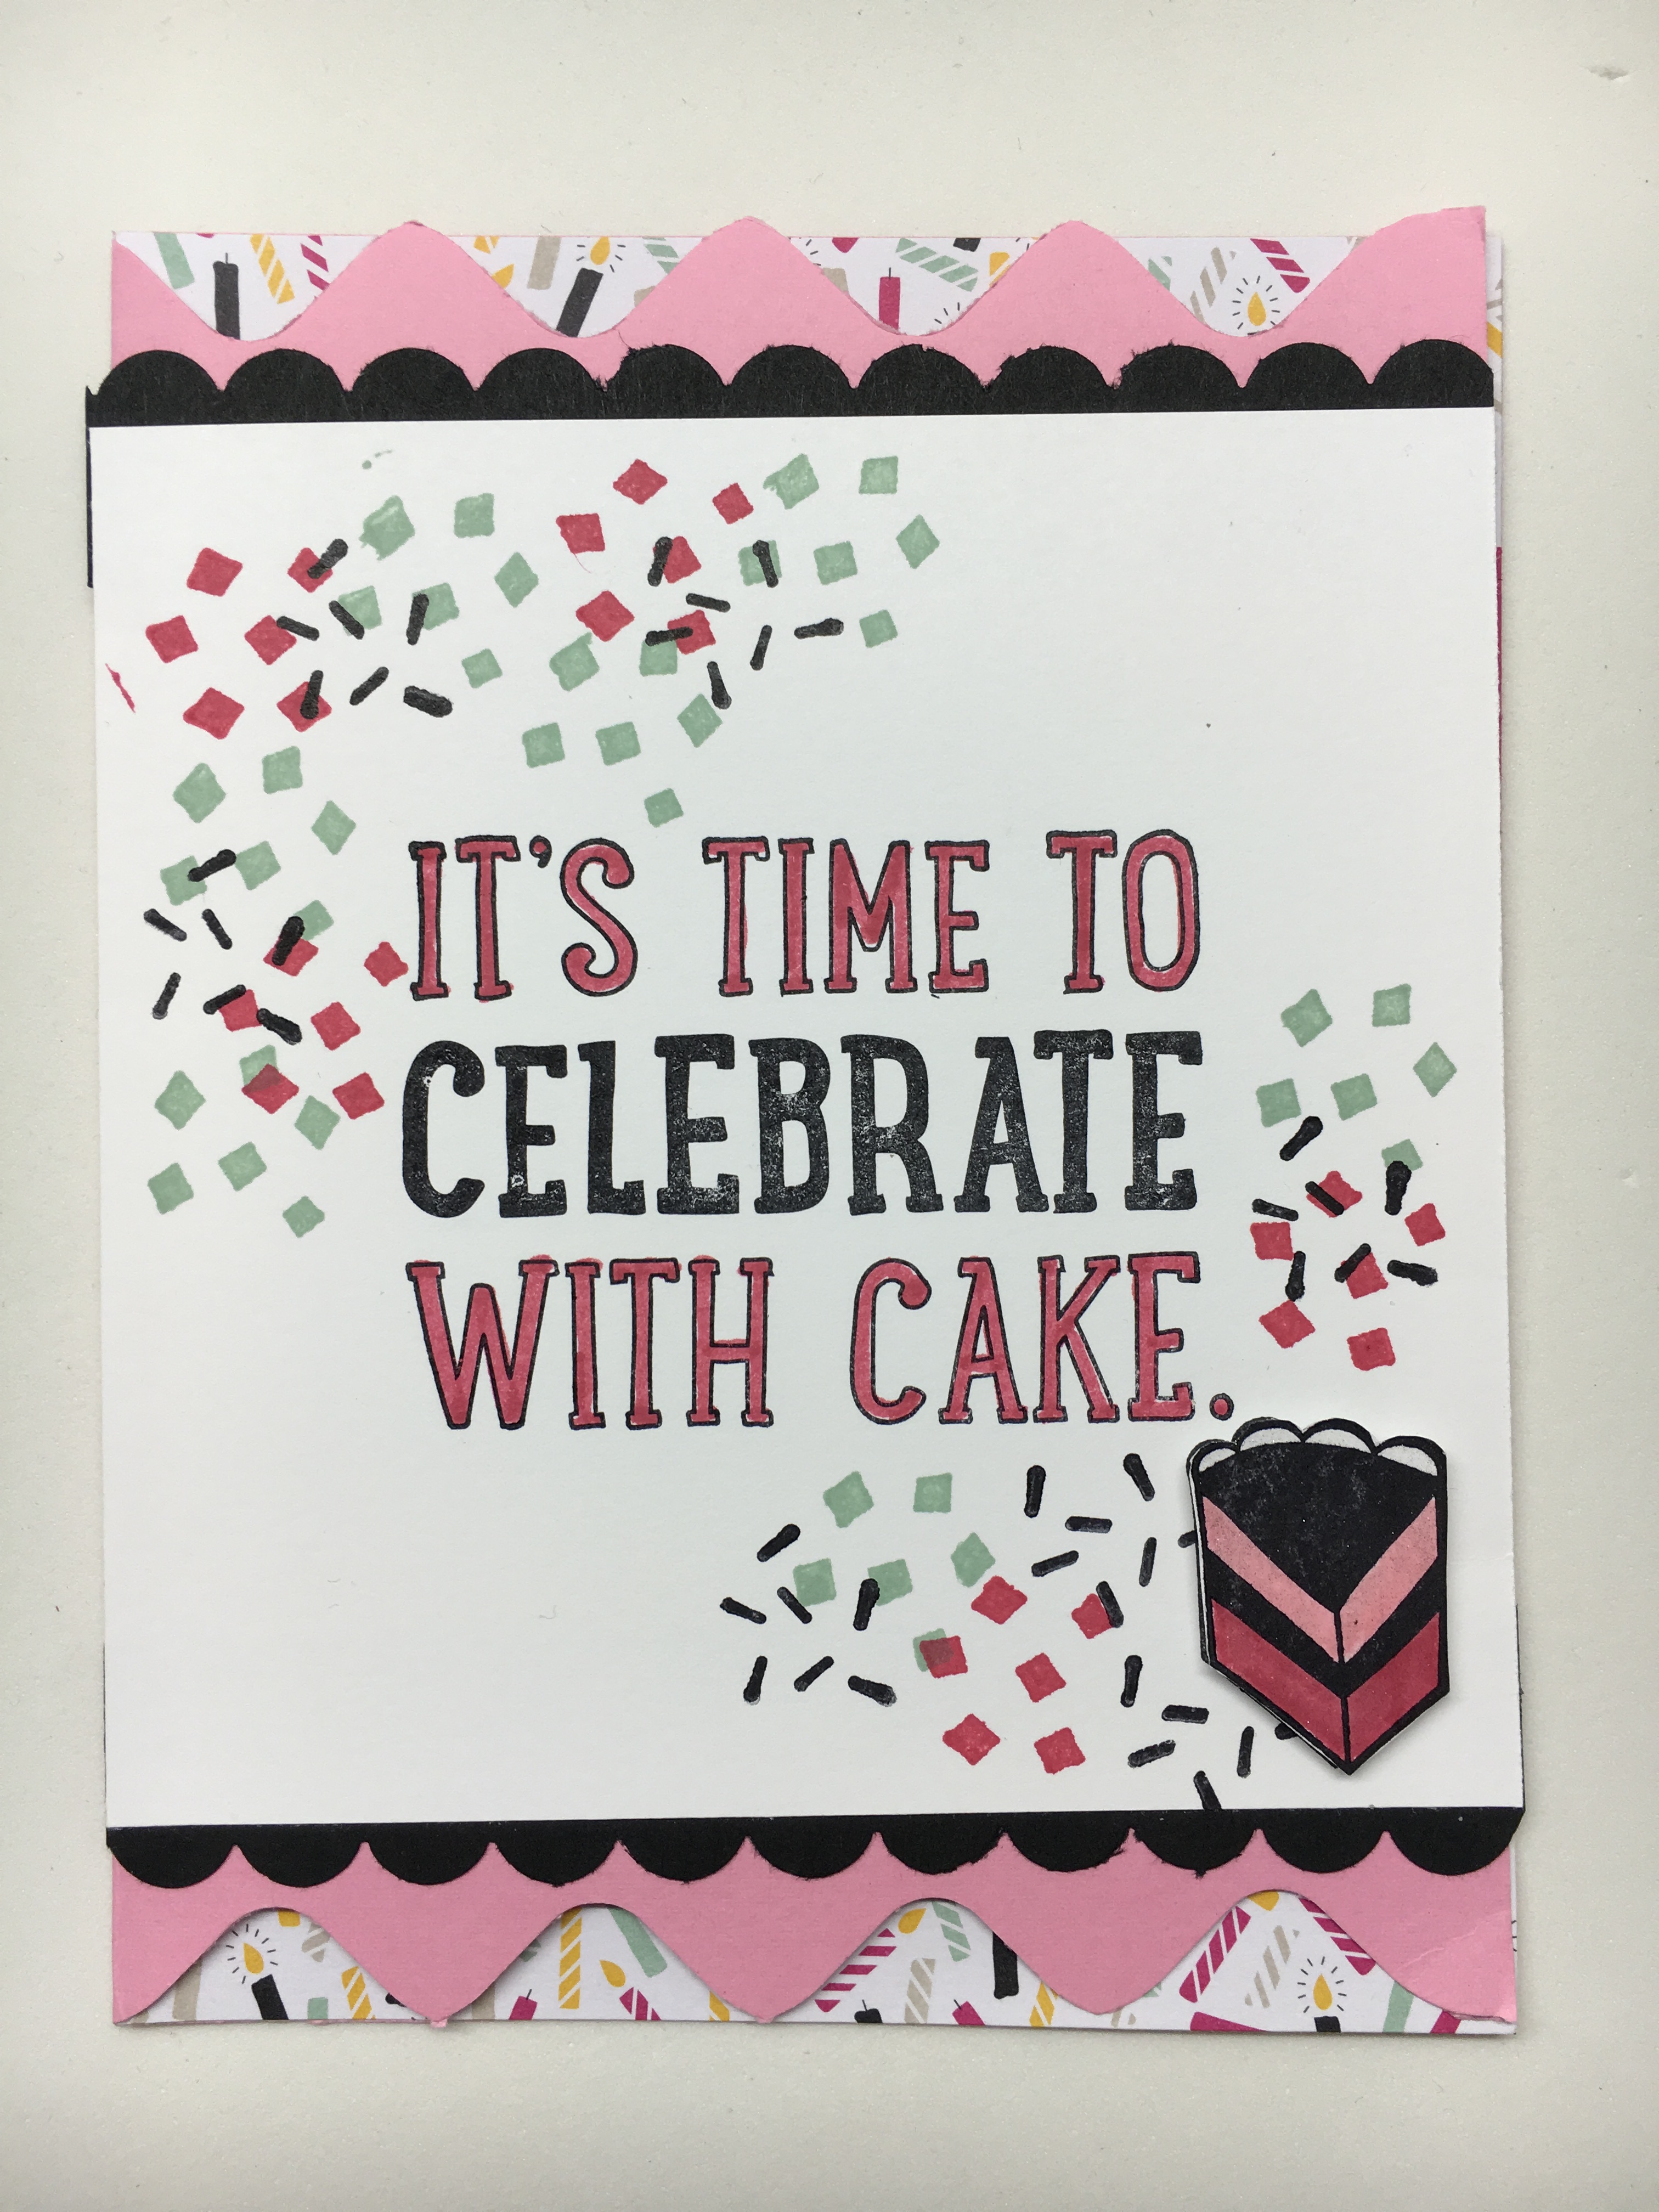
Add 1 1/4 x 4 1/4 inch strips of DSP on the inside of the card along the top and bottom so it peeks through the zig zag on the front of the card.  You can stamp and embellish any way you want. Here’s the finished card and stamped envelope to match.

img_4678
Card Design By Marisa Kenney
img_4680
http://www.juststampin.com

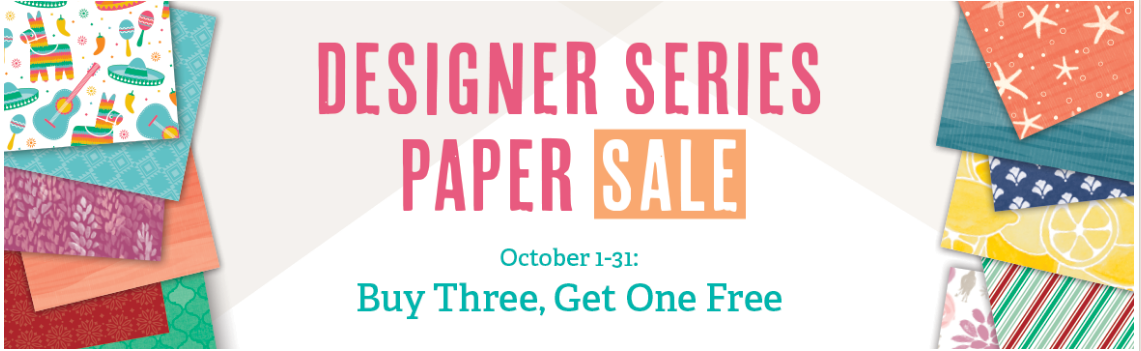
I have great news for you if you don’t already own the Envelope Punch Board…It will be on sale for $15 (reg. $20) for 5 days starting tomorrow!  I love my envelope punch board and use it for more than just custom envelopes. Here’s another zig zag card I made using this tool.

img_4694
Zig Zag Edges made with the Envelope Punch Board

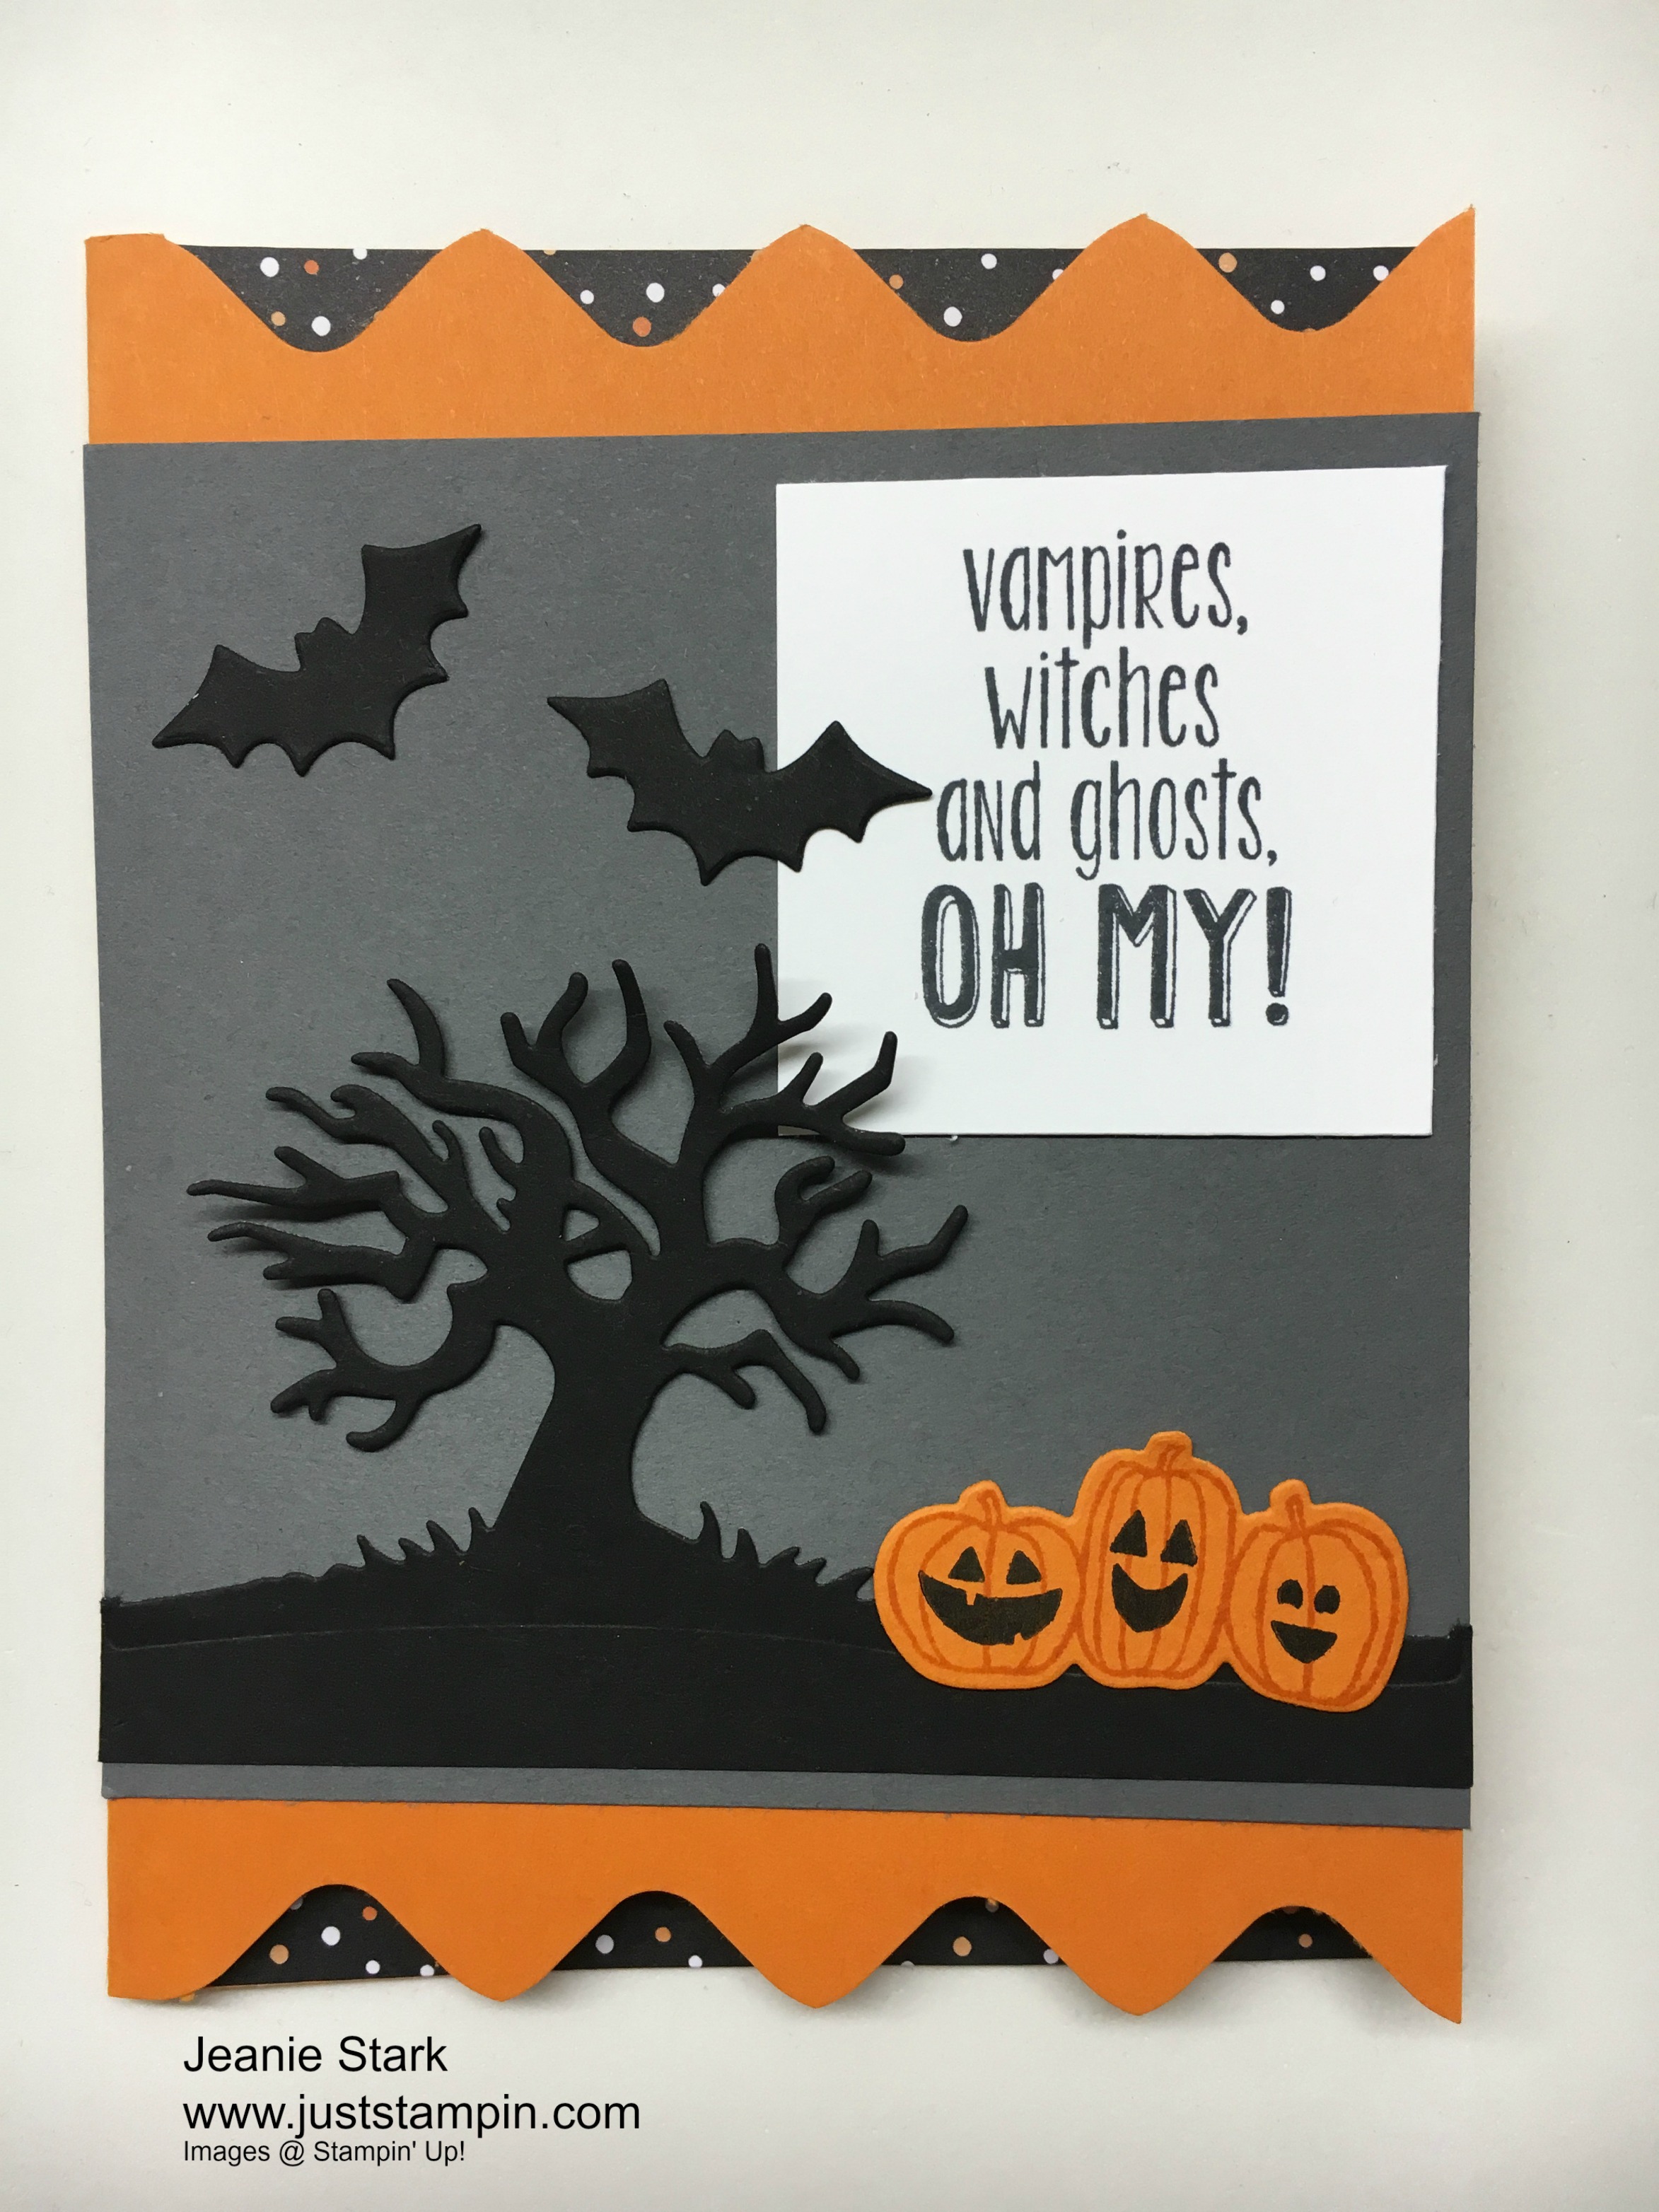
Stamp sets: Spooky Fun, Suite Seasons  Ink: Basic Black  Papers: Pumpkin Pie, Basic Gray, Basic Black, Whisper White, Halloween Night Specialty Designer Series Paper  Tools & Accessories: Envelope Punch Board, Halloween Scenes Edgelits Dies

Have a Zippy Day!

Just Stampin’

Jeanie

P.S. Tomorrow is World Card Making Day.   Click the link below to see all the items that will be on sale in honor of World Card Making Day! Share some handmade kindness with someone!

world-card-making-day

You can view/print the flyer HERE


Y is for YOU…You can do this!

img_4671

Welcome to my ABC’s of Stampin’ series.  I appreciate You stopping by and love it when you leave comments.  I have had so much fun doing this series and just blogging in general.  If you asked me a few months ago if I would ever be doing this I would have said, “No way!”  I consider myself “technology challenged” (and so does my daughter and a few others!  LOL) but here I am!  Anything is possible!

I want to share with you a little of my stamping journey.  I started stamping just 3 1/2 years ago when I attended a class with a friend. I was hooked after my first card!  I have always enjoyed crafting, scrapbooking, and making homemade gifts and my first thought was, “Where has this been my whole life?”  LOL  I had seen all the stamp supplies at the craft stores but always found it a bit overwhelming (and underwhelming at the same time).  What I love about Stampin’ Up! is not only the quality, but how it all coordinates so I don’t have to worry about finding the right color or shade of paper, ink, ribbon…it’s already done for me. The stamps sets coordinate with the punches and framelits so I know they are going to be the right size. I can spend my time creating which I not only enjoy, but find very relaxing… it’s a wonderful way to unwind.  To me, it’s a Win! Win!  I get to spend time creating and have something to give to someone else which will bring a smile to their face.

I will be the first to admit, I joined Stampin’ Up! to get the discount.  I was buying a lot and my friend encouraged me to sign up to save money.  It just made sense.  I had no intention of doing anything else other than buy what I want.  Along the way, people I would send my cards to would ask about them and some wanted me to show them how I did it.  So…one thing lead to another and that’s how I began to share what I love with others through classes and kits.  I want you to know you can do this too!  Another thing that’s nice about Stampin’ Up! is they welcome hobby demonstrators or business minded individuals…there’s never any pressure to hold classes or workshops, you can do as little or as much as you want.  I have enjoyed my journey and would love to have YOU come along for the ride. Some of my best customers are now demonstrators and enjoy getting the discount.  If you would like to chat and learn more about Stampin’ Up!  I would love to hear from you. I welcome hobbiests and those that want to build a business. I belong to an awesome team, called the PALS(under the leadership of Mary Fish), and we have team meetings via the internet (and there’s always prizes involved 🙂 ) as well as private facebook groups for sharing, chatting, etc. I would love to welcome you to join my team. Email me (and we can set up a time to chat) if you want to explore the possibilities!  j.stark@myactv.net

Have a BeYOUtiful day!

Just Stampin’

Jeanie

P.S. As a demonstrator you get your discount off sale prices and Paper Pumpkin too! Woo Hoo!

world-card-making-day

You can view/print the flyer HERE

paper-pumpkin-bogo

dsp-sale


X is for Box

Welcome to my ABC’s of Stampin’ series. You really didn’t think I was going to come up with something that starts with X did you?  When I teach the letter X to my Pre-K students we say “X as in Fox“.  I almost went with sharing the Foxy Friends Suite today but I love to make boxes.  As you know, I like to give little gifts to the hairdressers where I sell my cards to raise money for Breast Cancer Awareness. This is what I made for the ladies this month.

img_4661
Mini Box idea from Sam Donald of Pootles Papercraft

I got this idea from the eXtremely talented Sam Donald (Pootles.com).  Check out her YouTube video below to see how to make it.

Here’s a few photos and measurements for the mini box.  The cardstock measures 4 1/2 x 7 1/2.  Use your Simply Scored Scoring Tool and with the long side across the top score at 1 1/2, 3, 4 1/2, and 6 inches.  With the short side across the top score at 1 1/2 and 3.

See the diagram below (or refer to the video) to see where to cut and apply adhesive.  I used Tear & Tape adhesive.


The mini boxes are the perfect size for a Ferrero Rocher Chocolate.  Yum! I decorated the sides of my boxes with Blooms & Bliss Designer Series Paper.  Each square measures 1 1/4″. The flowers are punched from the Itty Bitty Accents (retired) and adhered with glue dots. You can easily substitute the smallest flower from the Blossom Bunch Punch or one of the many flower choices from thinlits dies.  I love the linen thread accent under the flower. I used a Rhinestone Basic Jewel in the center of each flower.

You can also make boxes using the Stampin’ up Gift Box Punch Board, the Curvy Keepsake Box Thinlits, or the Baker’s Box Thinlits Dies.  I already shared the Gift Box Punch Board with you (G is for Gift Giving) and the Curvy Keepsake Box (Curvy Keepsake Apples).  If you missed those posts you can see them HERE or HERE. You can check out how to use the Baker’s Box Thinlits Dies in this short video.

The Curvy Keepsake Box is so versatile and I have used it many times to put treats in for my students, hostesses, holiday table favors, gifts, etc.  Here is an exhibition of some cool projects you can make.

I received this adorable tiny treat bofrom Ramsey the other day when she came to visit.  I love the tag and how she layered the Fruit Stand Designer Series Paper with Real Red cardstock to make it pop!  She cut out the strawberry from the DSP and glued it on. How clever!  Thank you Ramsey! I love it and can’t wait to try the strawberry jam inside!

img_4642
Created by Ramsey Alexander

I have heard from so many of you about how much you like my ABC’s of Stampin’ series. Thank you so much for all your kind words, support, and encouragement!  We are almost done with this series and like you I am a little sad to see it end.  But don’t worry because  I have an eXciting new series coming up for the month of October!  Today I have 2 posts for you… X is also for EXTRA, EXTRA, Read All About It! Be sure to check your inbox for this eXciting news!

Speaking of eXciting news…Did you see the Merry Medley Stamp Kit I am offering?  Tomorrow is the last day to preorder your kit! Click HERE for all the details then email me ( j.stark@myactv.net ) to order your kit!

img_4537
Merry Medley Stamp Kit    October 2016

Here’s my Back to School Special for today…With an online purchase of $25 or more I will send you a kit to put together today’s box  I made for the hairdressers. And because this is the letter X…you will get an eXtra box kit for each additional $25 you spend!!! Be sure to enter the Hostess Code 7CNZAUYM when you check out. (I’ve included a visual below.) Click HERE to go to my online store. (Clothespins like I used with today’s box are on clearance as well as lots of gorgeous ribbons, stamp sets, etc.  Make sure you check out the Clearance Rack for eXtra savings!!!)

Have an eXtraordinary day!

Just Stampin’

Jeanie