Welcome to my ABC’s of Stampin’ series. We have reached the end of this alphabet series and I hope you have been inspired and learned some new things about stamping along the way. I’d love for you to leave me a comment and let me know if you had a favorite letter, tip, or project from this series. Today I am going to share a fun way to make zig zag edges using the envelope punch board (I absolutely love the versatility of this tool!!).
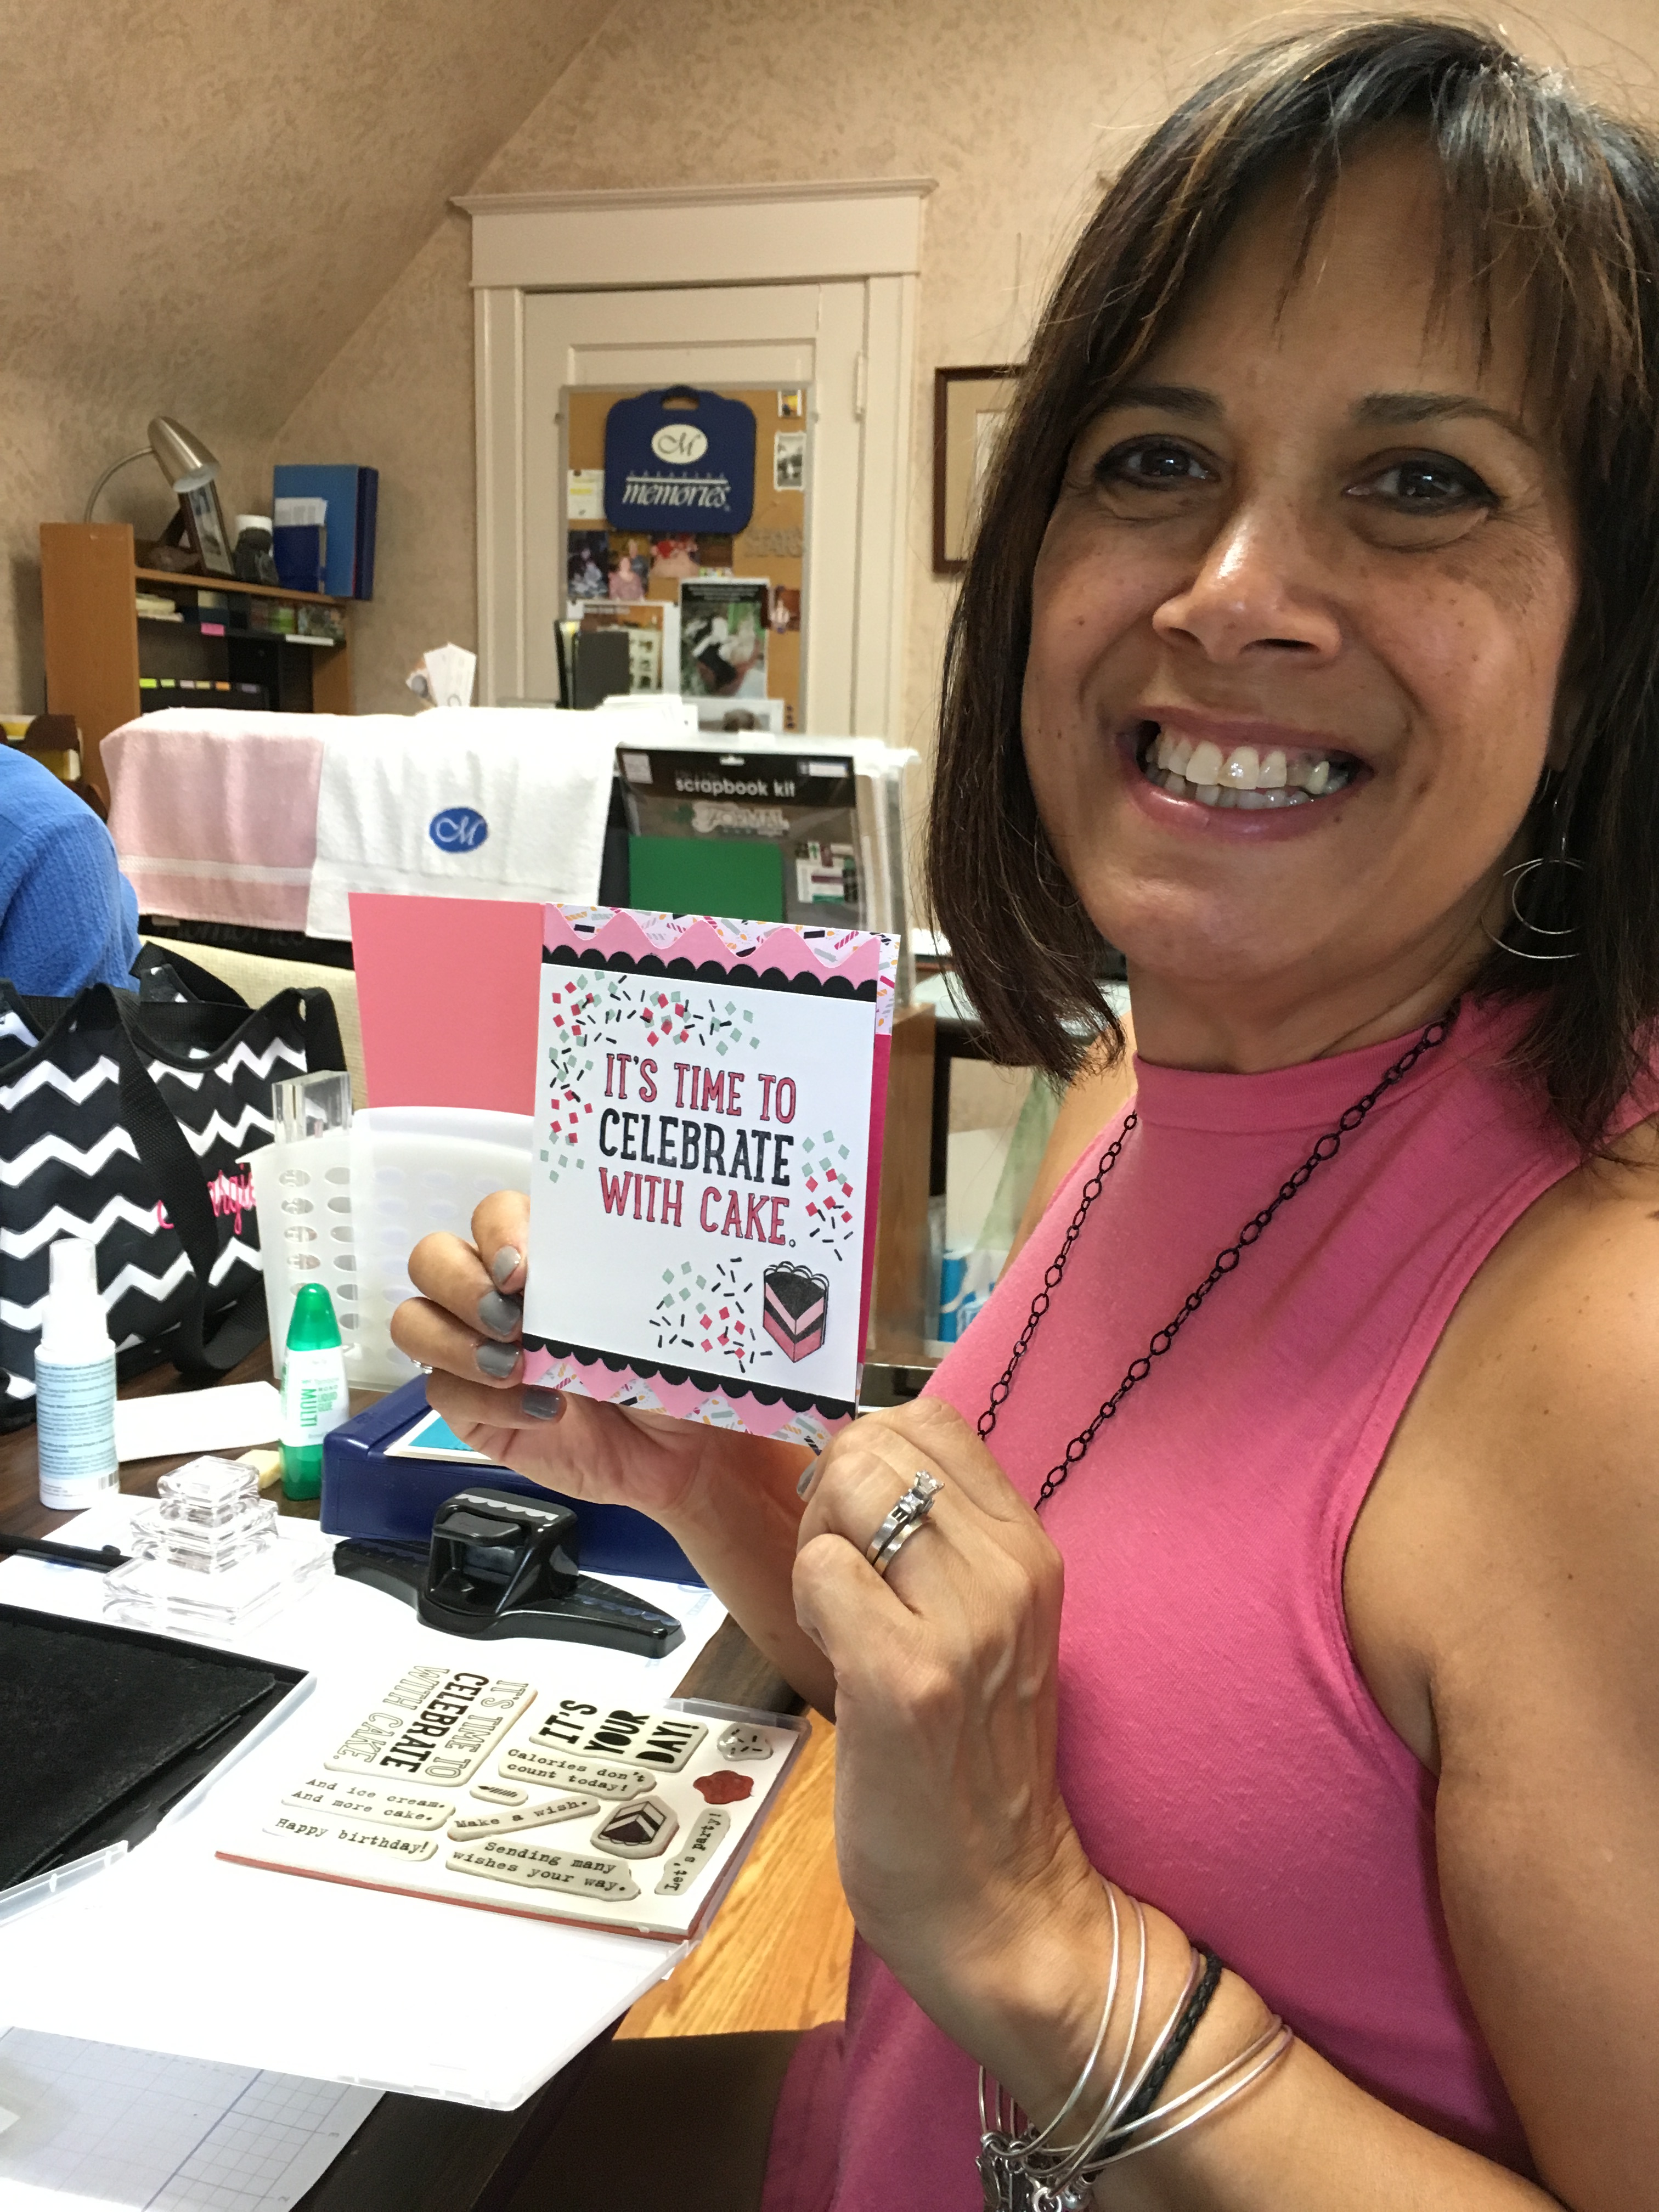
Each month I meet with a talented group of ladies to share cards, projects, techniques, and ideas. One of my team members named our group C3 (Creative Card Club). Last month Marisa shared a fun birthday card using the zig zag technique. (How perfect in seeing I had no idea what I was going to share for Z. LOL)

You need the Envelope Punch Board to create the zig zags on this card. Start by lining up your card with the tip of the score guide and punch. Slide your card over to the 1 1/2″ mark and punch again. Continue sliding over and punching each time at the 2 1/2, and 3 1/2 inch marks. Flip your card over and repeat for the bottom of the card. Punch at each point (score guide, 1 1/2, 2 1/2, 3 1/2). So easy!
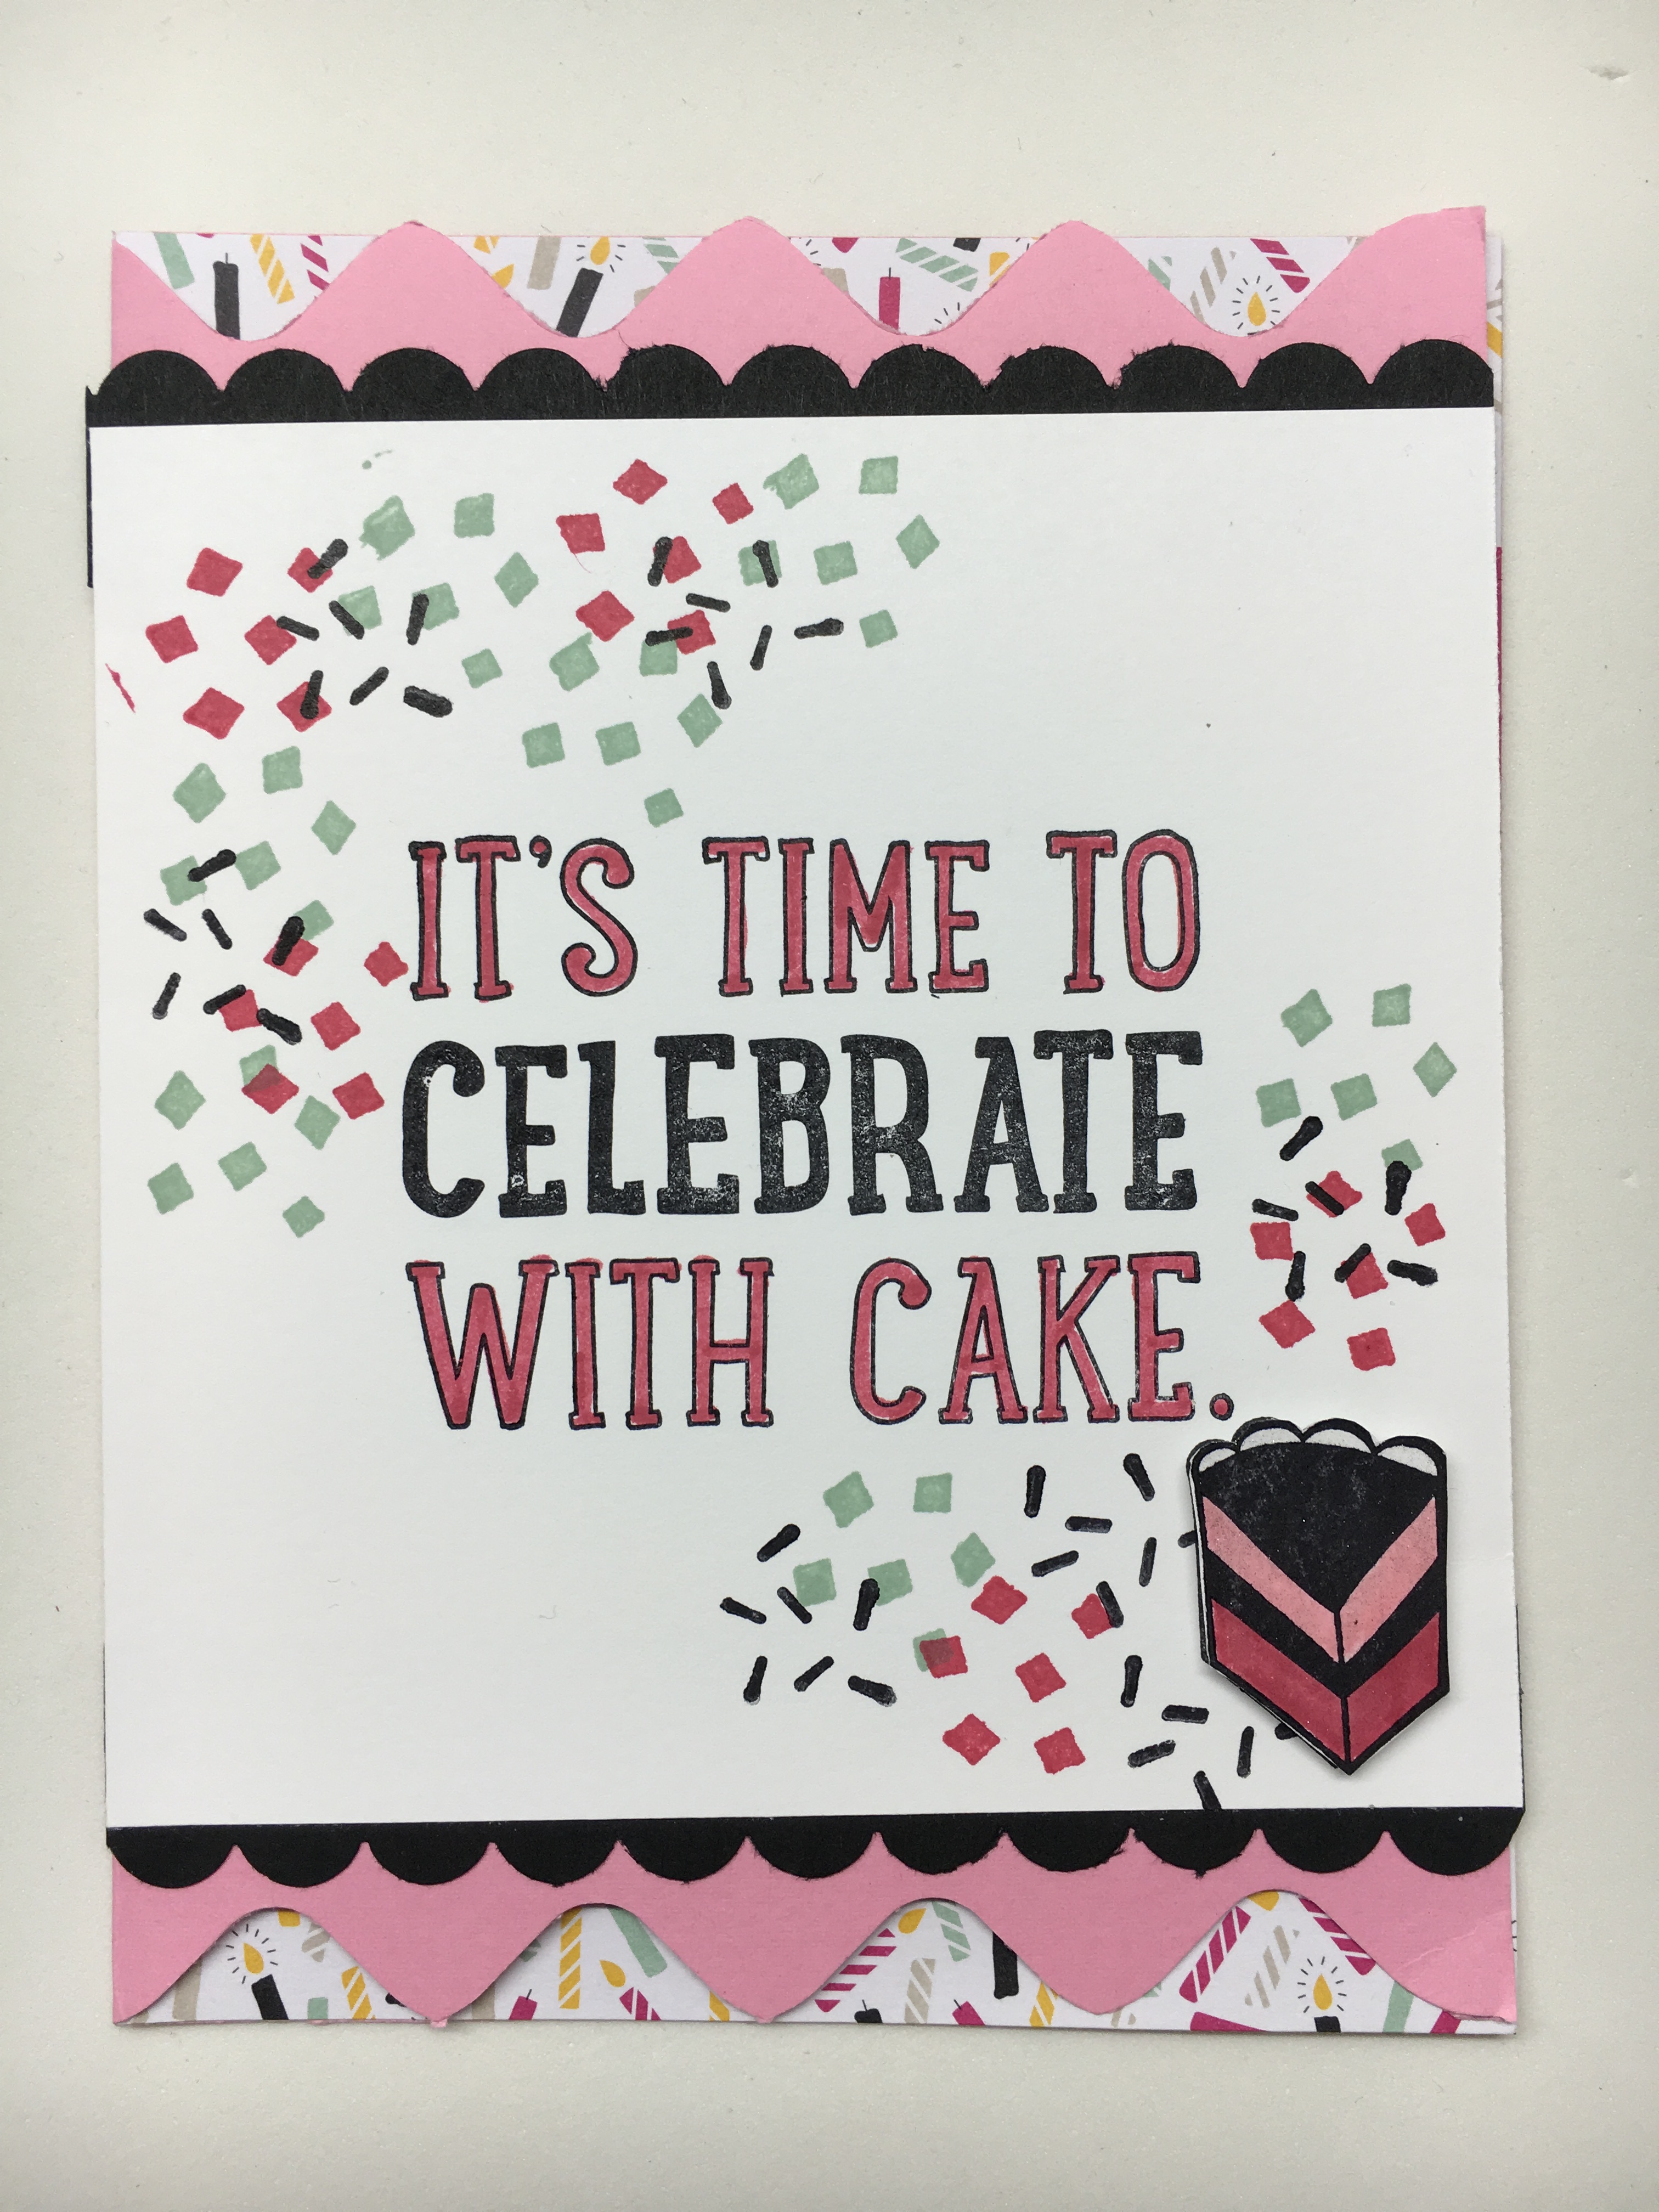
Add 1 1/4 x 4 1/4 inch strips of DSP on the inside of the card along the top and bottom so it peeks through the zig zag on the front of the card. You can stamp and embellish any way you want. Here’s the finished card and stamped envelope to match.


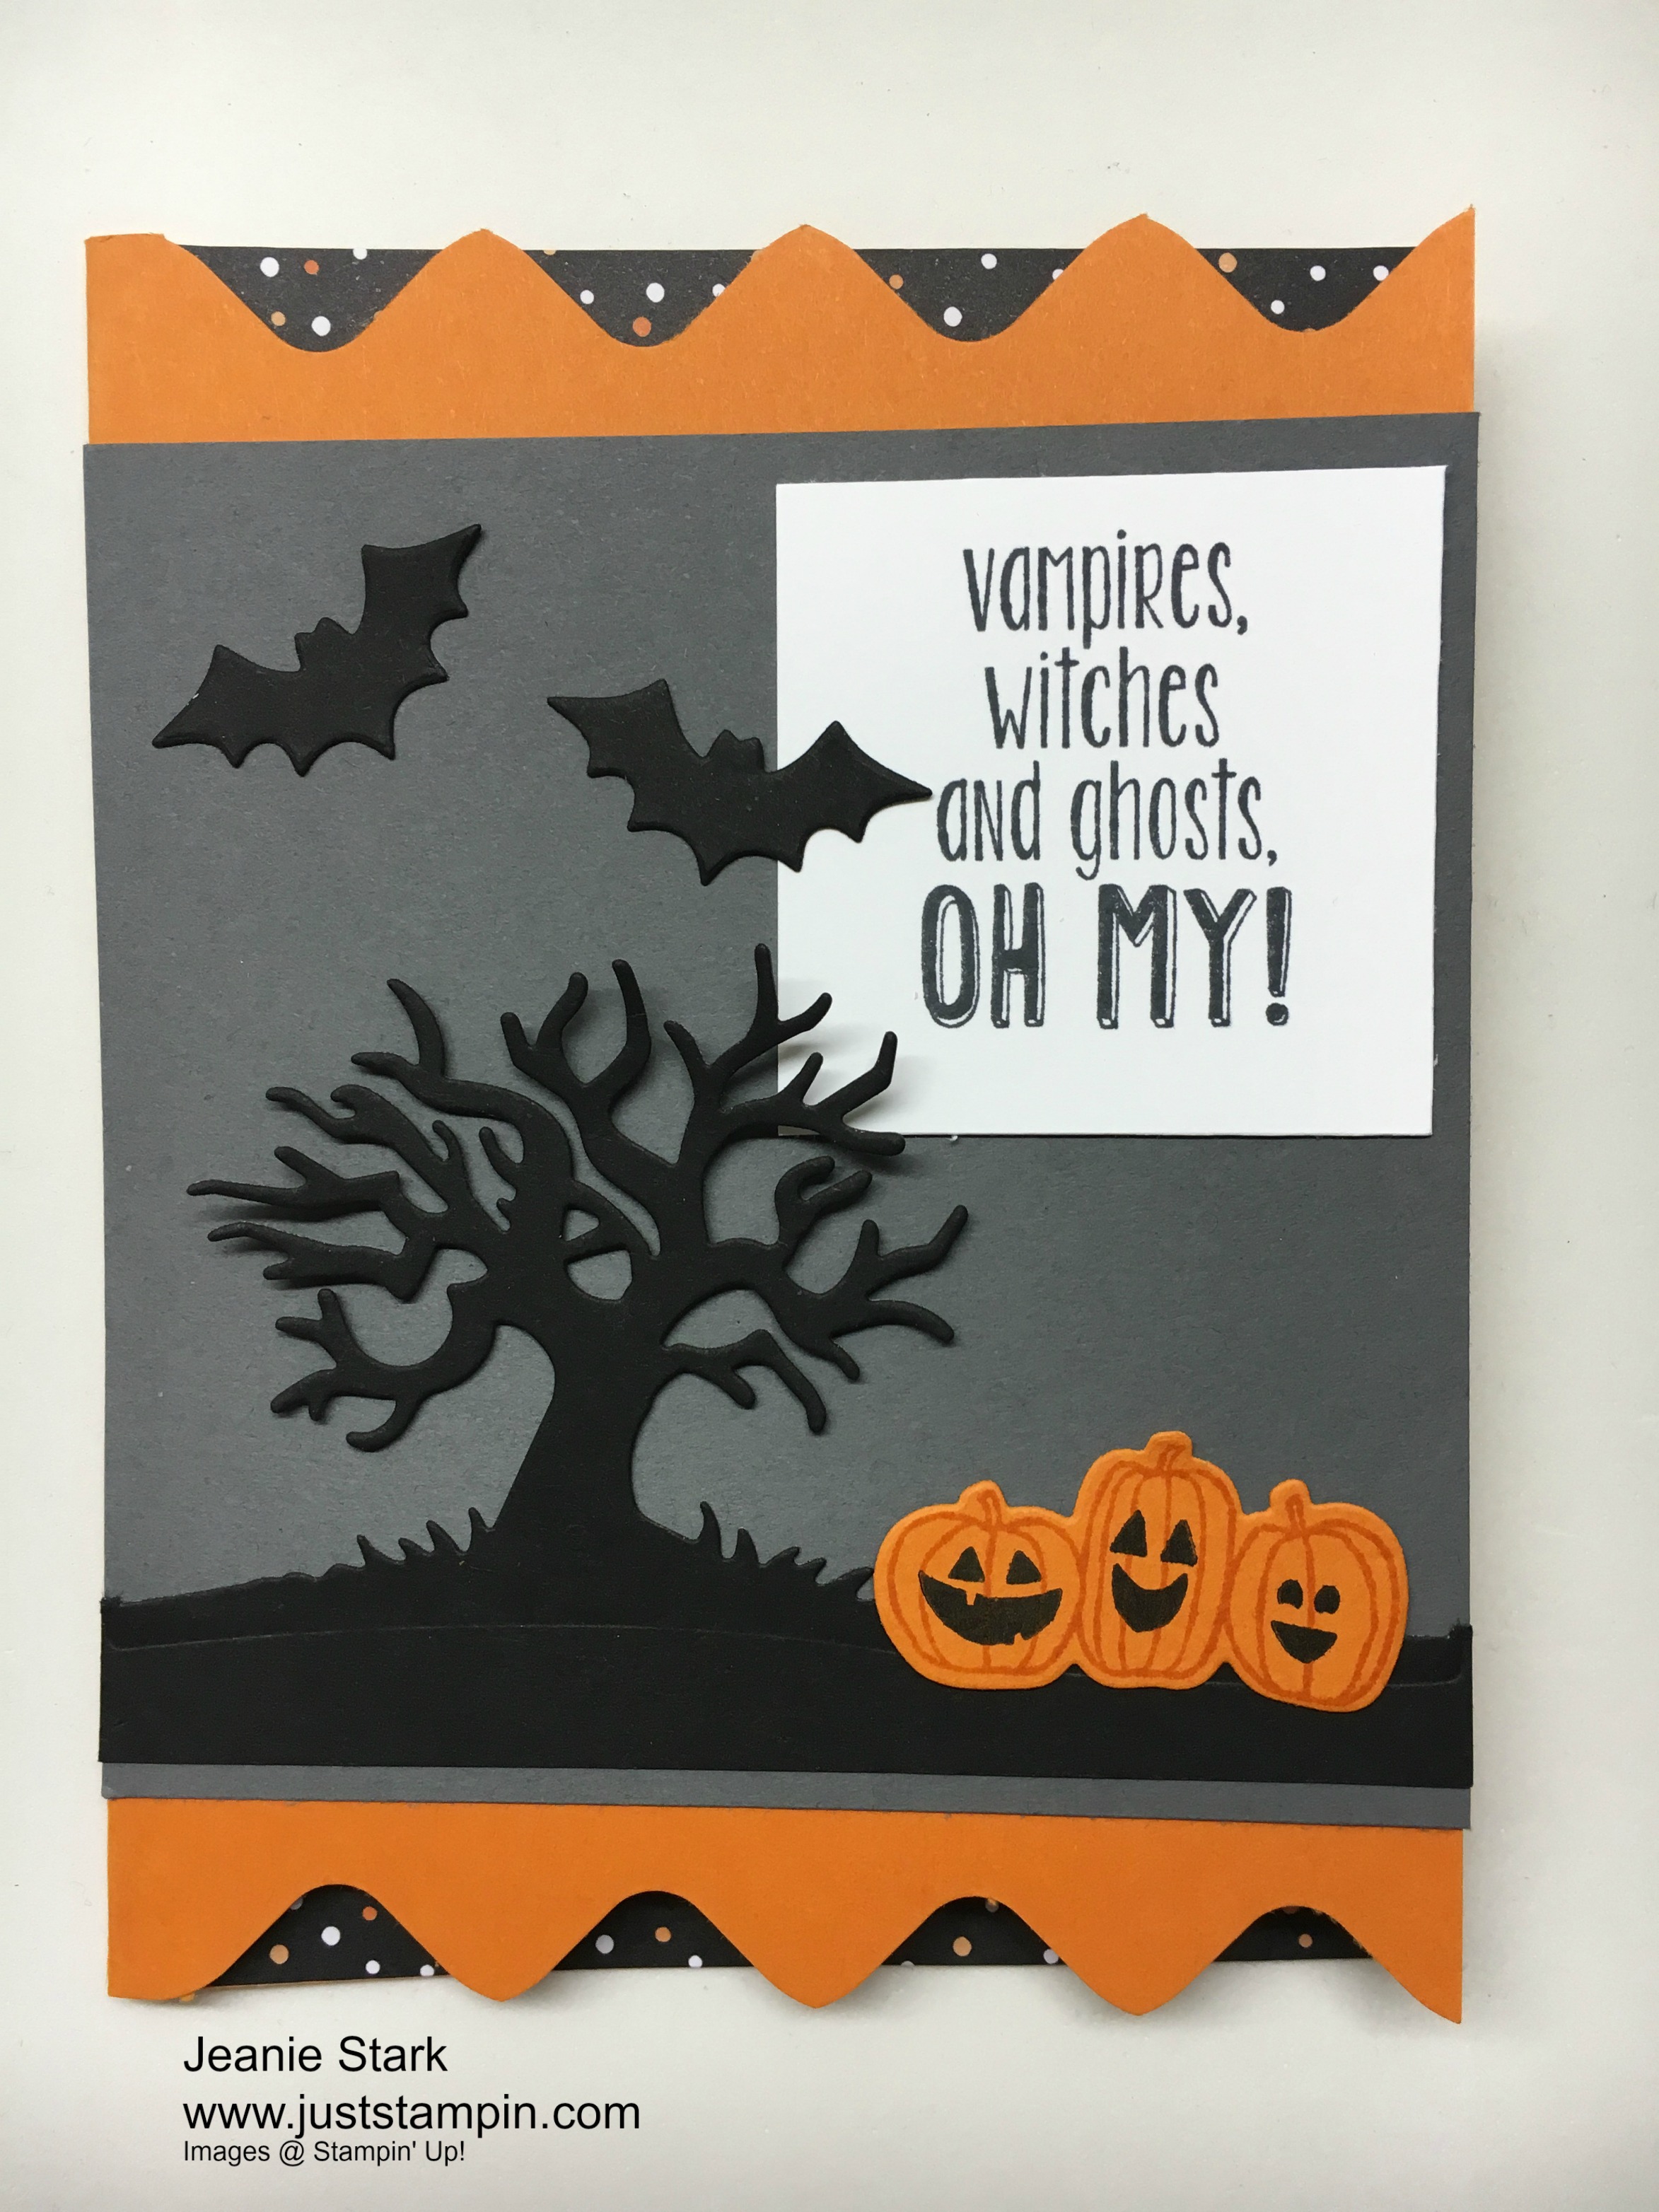
I have great news for you if you don’t already own the Envelope Punch Board…It will be on sale for $15 (reg. $20) for 5 days starting tomorrow! I love my envelope punch board and use it for more than just custom envelopes. Here’s another zig zag card I made using this tool.

Stamp sets: Spooky Fun, Suite Seasons Ink: Basic Black Papers: Pumpkin Pie, Basic Gray, Basic Black, Whisper White, Halloween Night Specialty Designer Series Paper Tools & Accessories: Envelope Punch Board, Halloween Scenes Edgelits Dies
Have a Zippy Day!
Just Stampin’
Jeanie
P.S. Tomorrow is World Card Making Day. Click the link below to see all the items that will be on sale in honor of World Card Making Day! Share some handmade kindness with someone!

You can view/print the flyer HERE


Wow! It’s so cool to wake up, read your blog, and see my picture on the Internet! Thanks for showcasing my card! What an honor!
Loved your card and your idea! Thanks for sharing your talent! Keep the ideas coming! 🙂
I looked forward everyday to read your A-Z blog. It was so informative and I cannot say I had a favorite because I learned something from each “letter.” Thanks so much for your tips and inspiration, Jeanie. Enjoy the day and “zee” you tomorrow (I threw in a French accent)!
Thanks Mary Ann! I like that French accent! Merci!
I loved this whole series! I will be trying the coloring on back of vellum for sure and the zig zag edges.
those are the two that come to mind off the top of my head but I know there are lots of others I just need another cup of coffee to motivate my memory. (LOL)
Have a great weekend!
Oh my gosh Jeanie, you have outdone yourself!!! The entire alphabet has been so much fun! So many fun tips, I could not pick just one! Even down to the last Z! Have a GREAT weekend!
I love this zigzag tip. I’ll have to remember it. It makes a really cute addition to a card. I have enjoyed learning new things. Sometimes it’s the little things that make something easier or more fun. I say why re-invent the wheel, when someone has already thought of it. Take their idea and see what happens. That’s what makes the blogging community so much fun…the sharing, the comments and the creative ideas. I don’t have just one tip that’s my favorite. Thanks for doing this series. Have a great weekend.
Your Z Z Z’ surely didn’t put me to sleep! What a great idea and thanks for sharing! I did love the entire ABCs. I’ve tried some of your tricks and tips too, although it is too early for me to think of them. Oh, I did die my own ribbon.
🙂