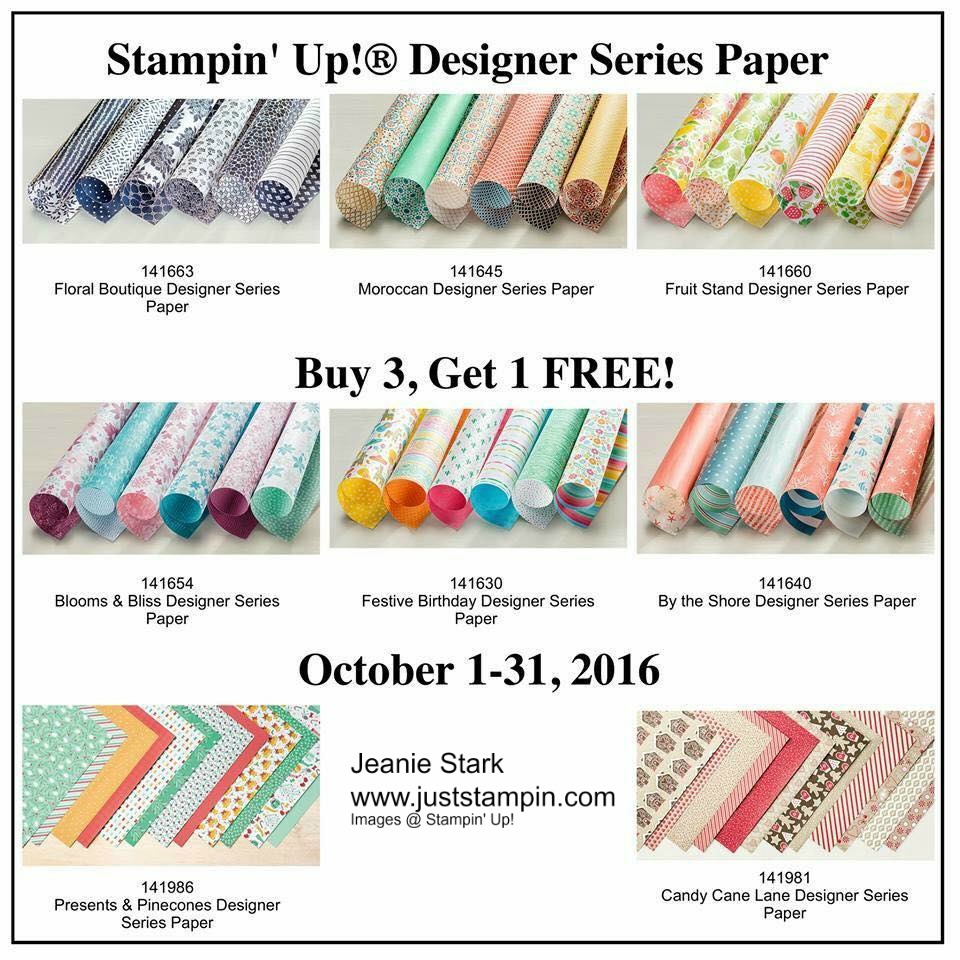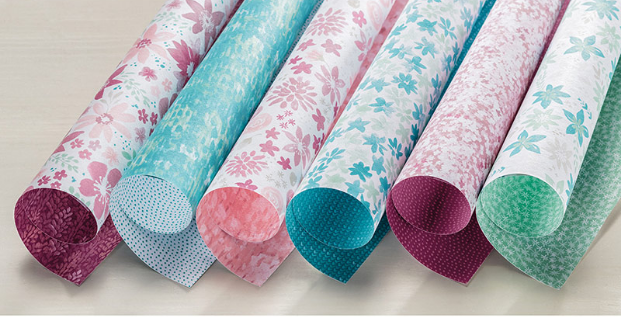
Welcome to my new alphabet series, The ABC’s with DSP. This month I am featuring projects showcasing Stampin’ Up! Designer Series Paper. Today’s cards showcase paper from the Blooms & Bliss Designer Series Paper.

I used a 6 x 6 piece of DSP for each of these cards. I love to challenge myself to use paper in different ways. I cut each piece the same, used every piece on my card, and just varied the layouts for each. Here is how I cut the 6 x 6 DSP for each. First, I cut the DSP at 3 3/4 which gave me 2 pieces: 1 measuring 2 1/4 x 6 (to be used for the envelope flap) and 1 piece measuring 3 3/4 x 6. I cut this piece at 5″. My 3 cuts measure: 2 1/4 x 6, 3 3/4 x 5, and 3 3/4 x 1.


October is Breast Cancer Awareness Month so I made this first card for the ladies at the shop where I sell my cards to raise money for our local chapter for Breast Cancer.
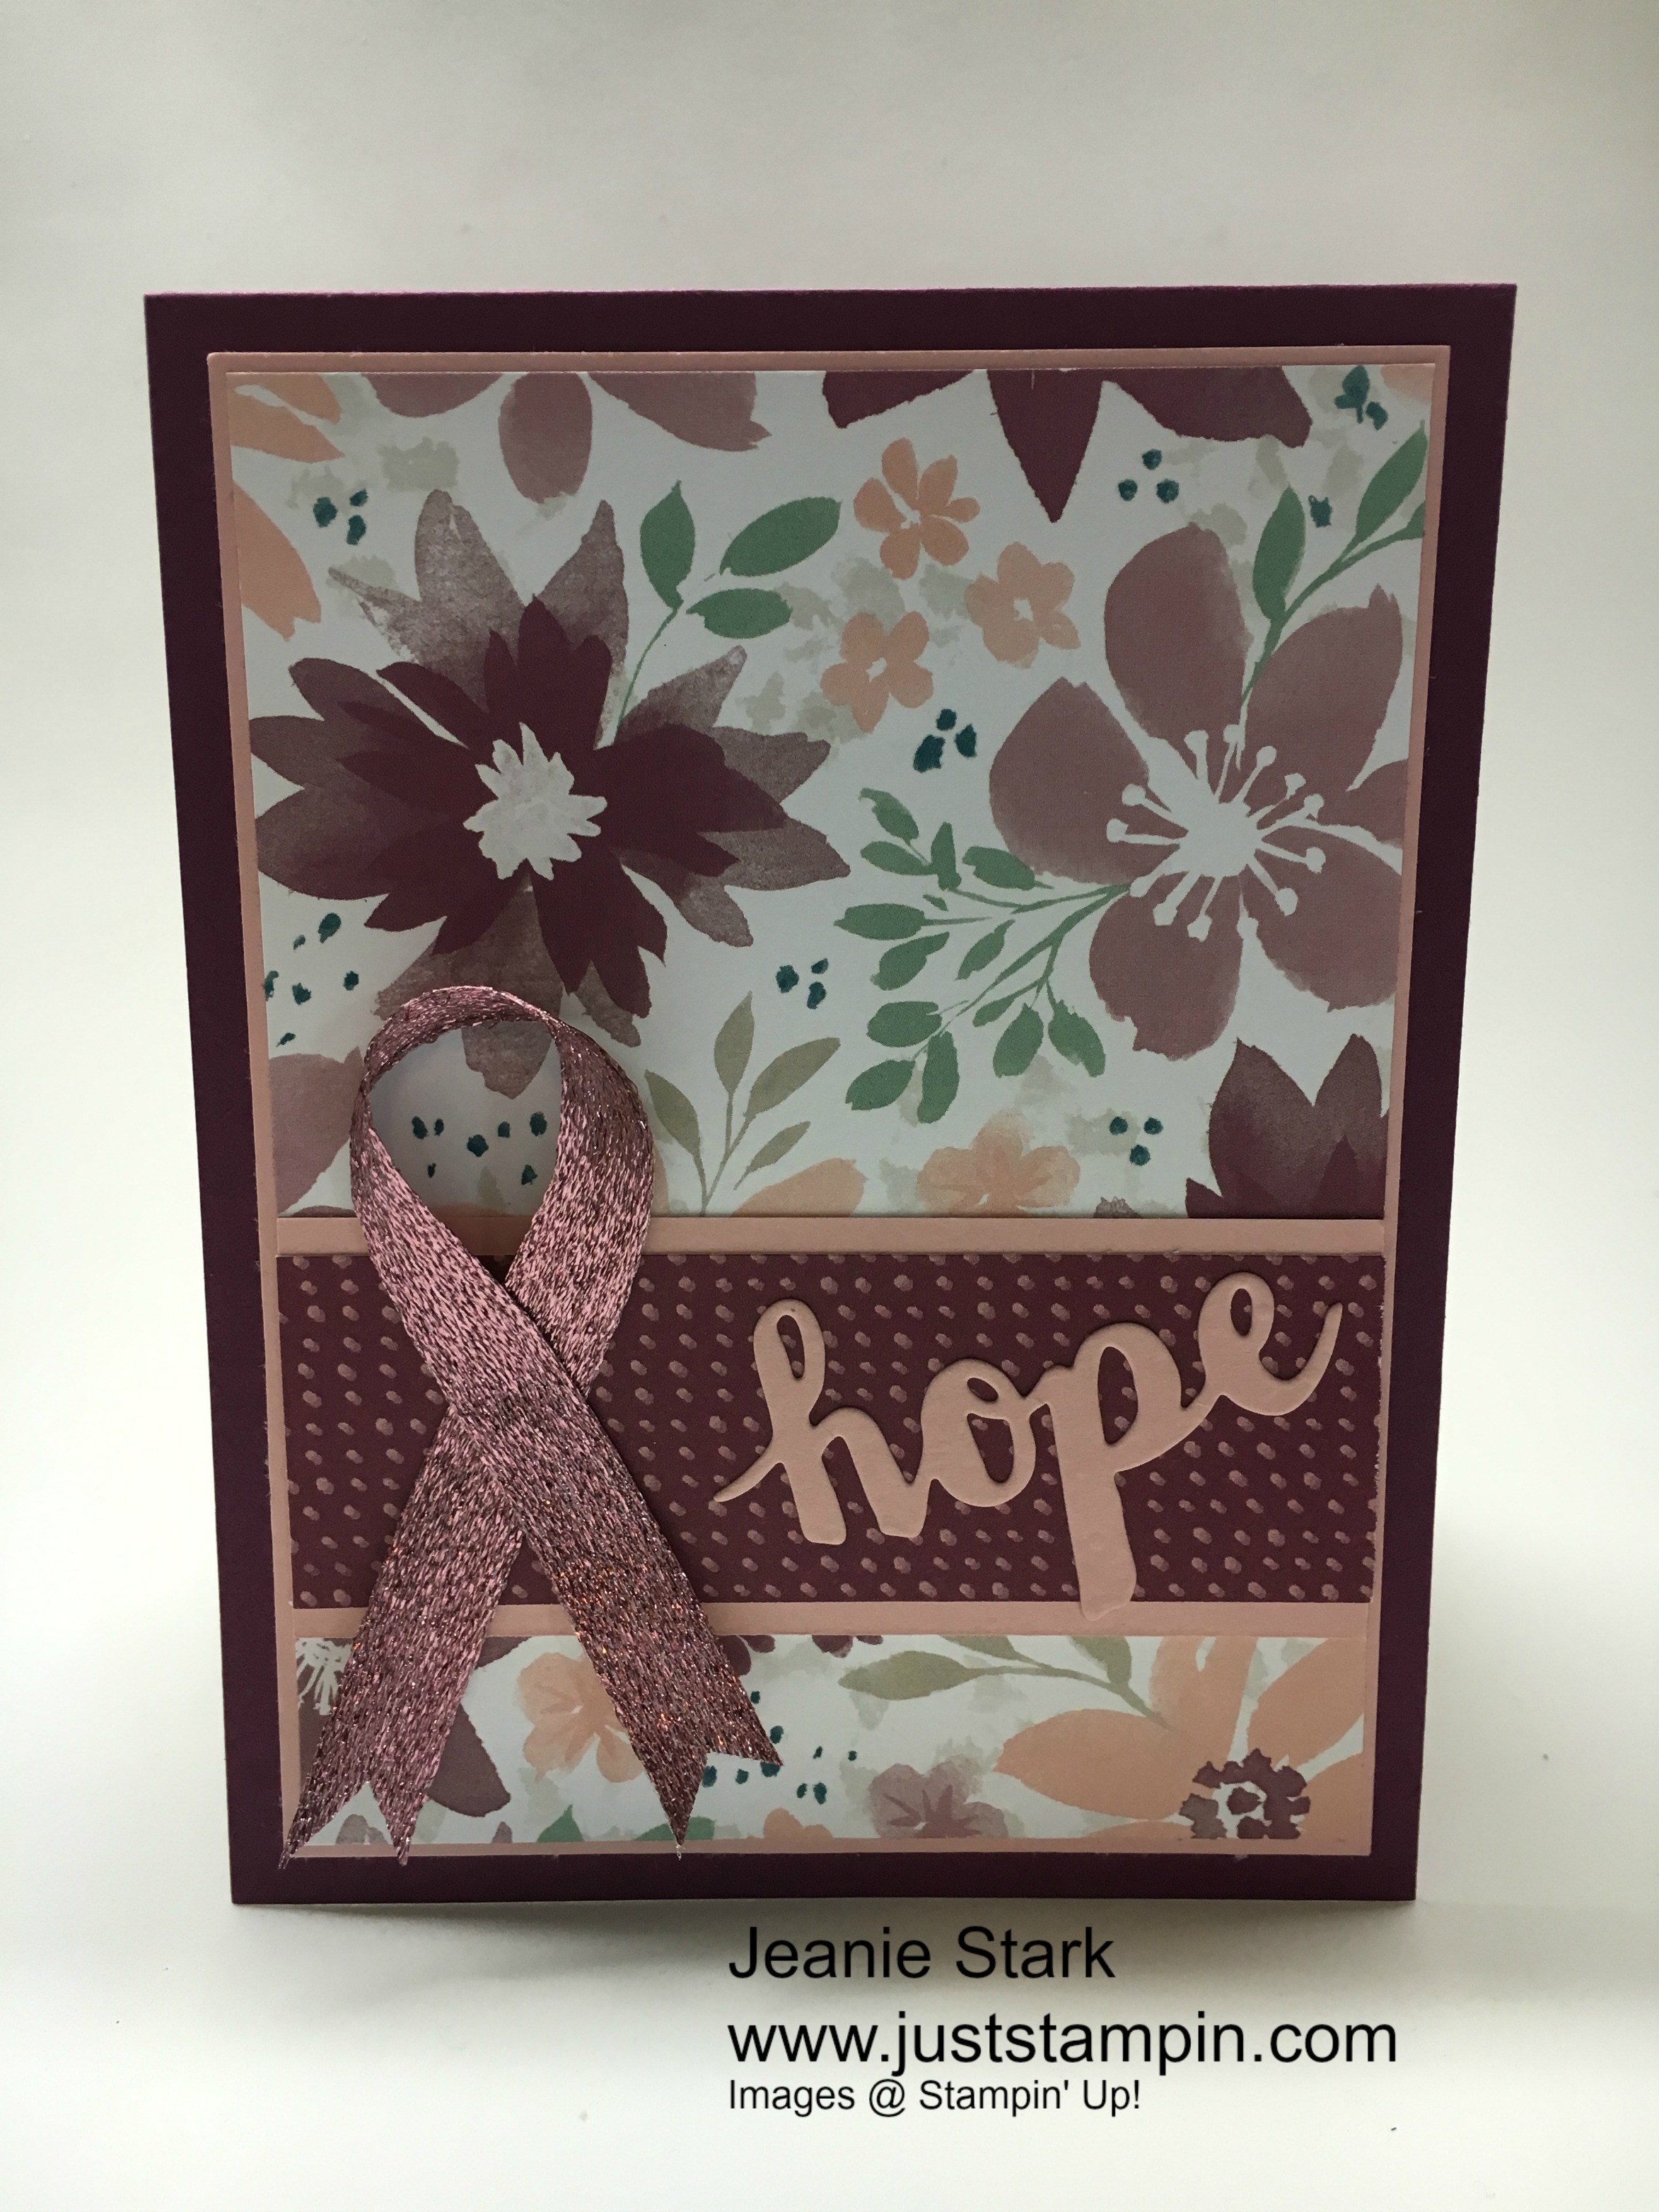
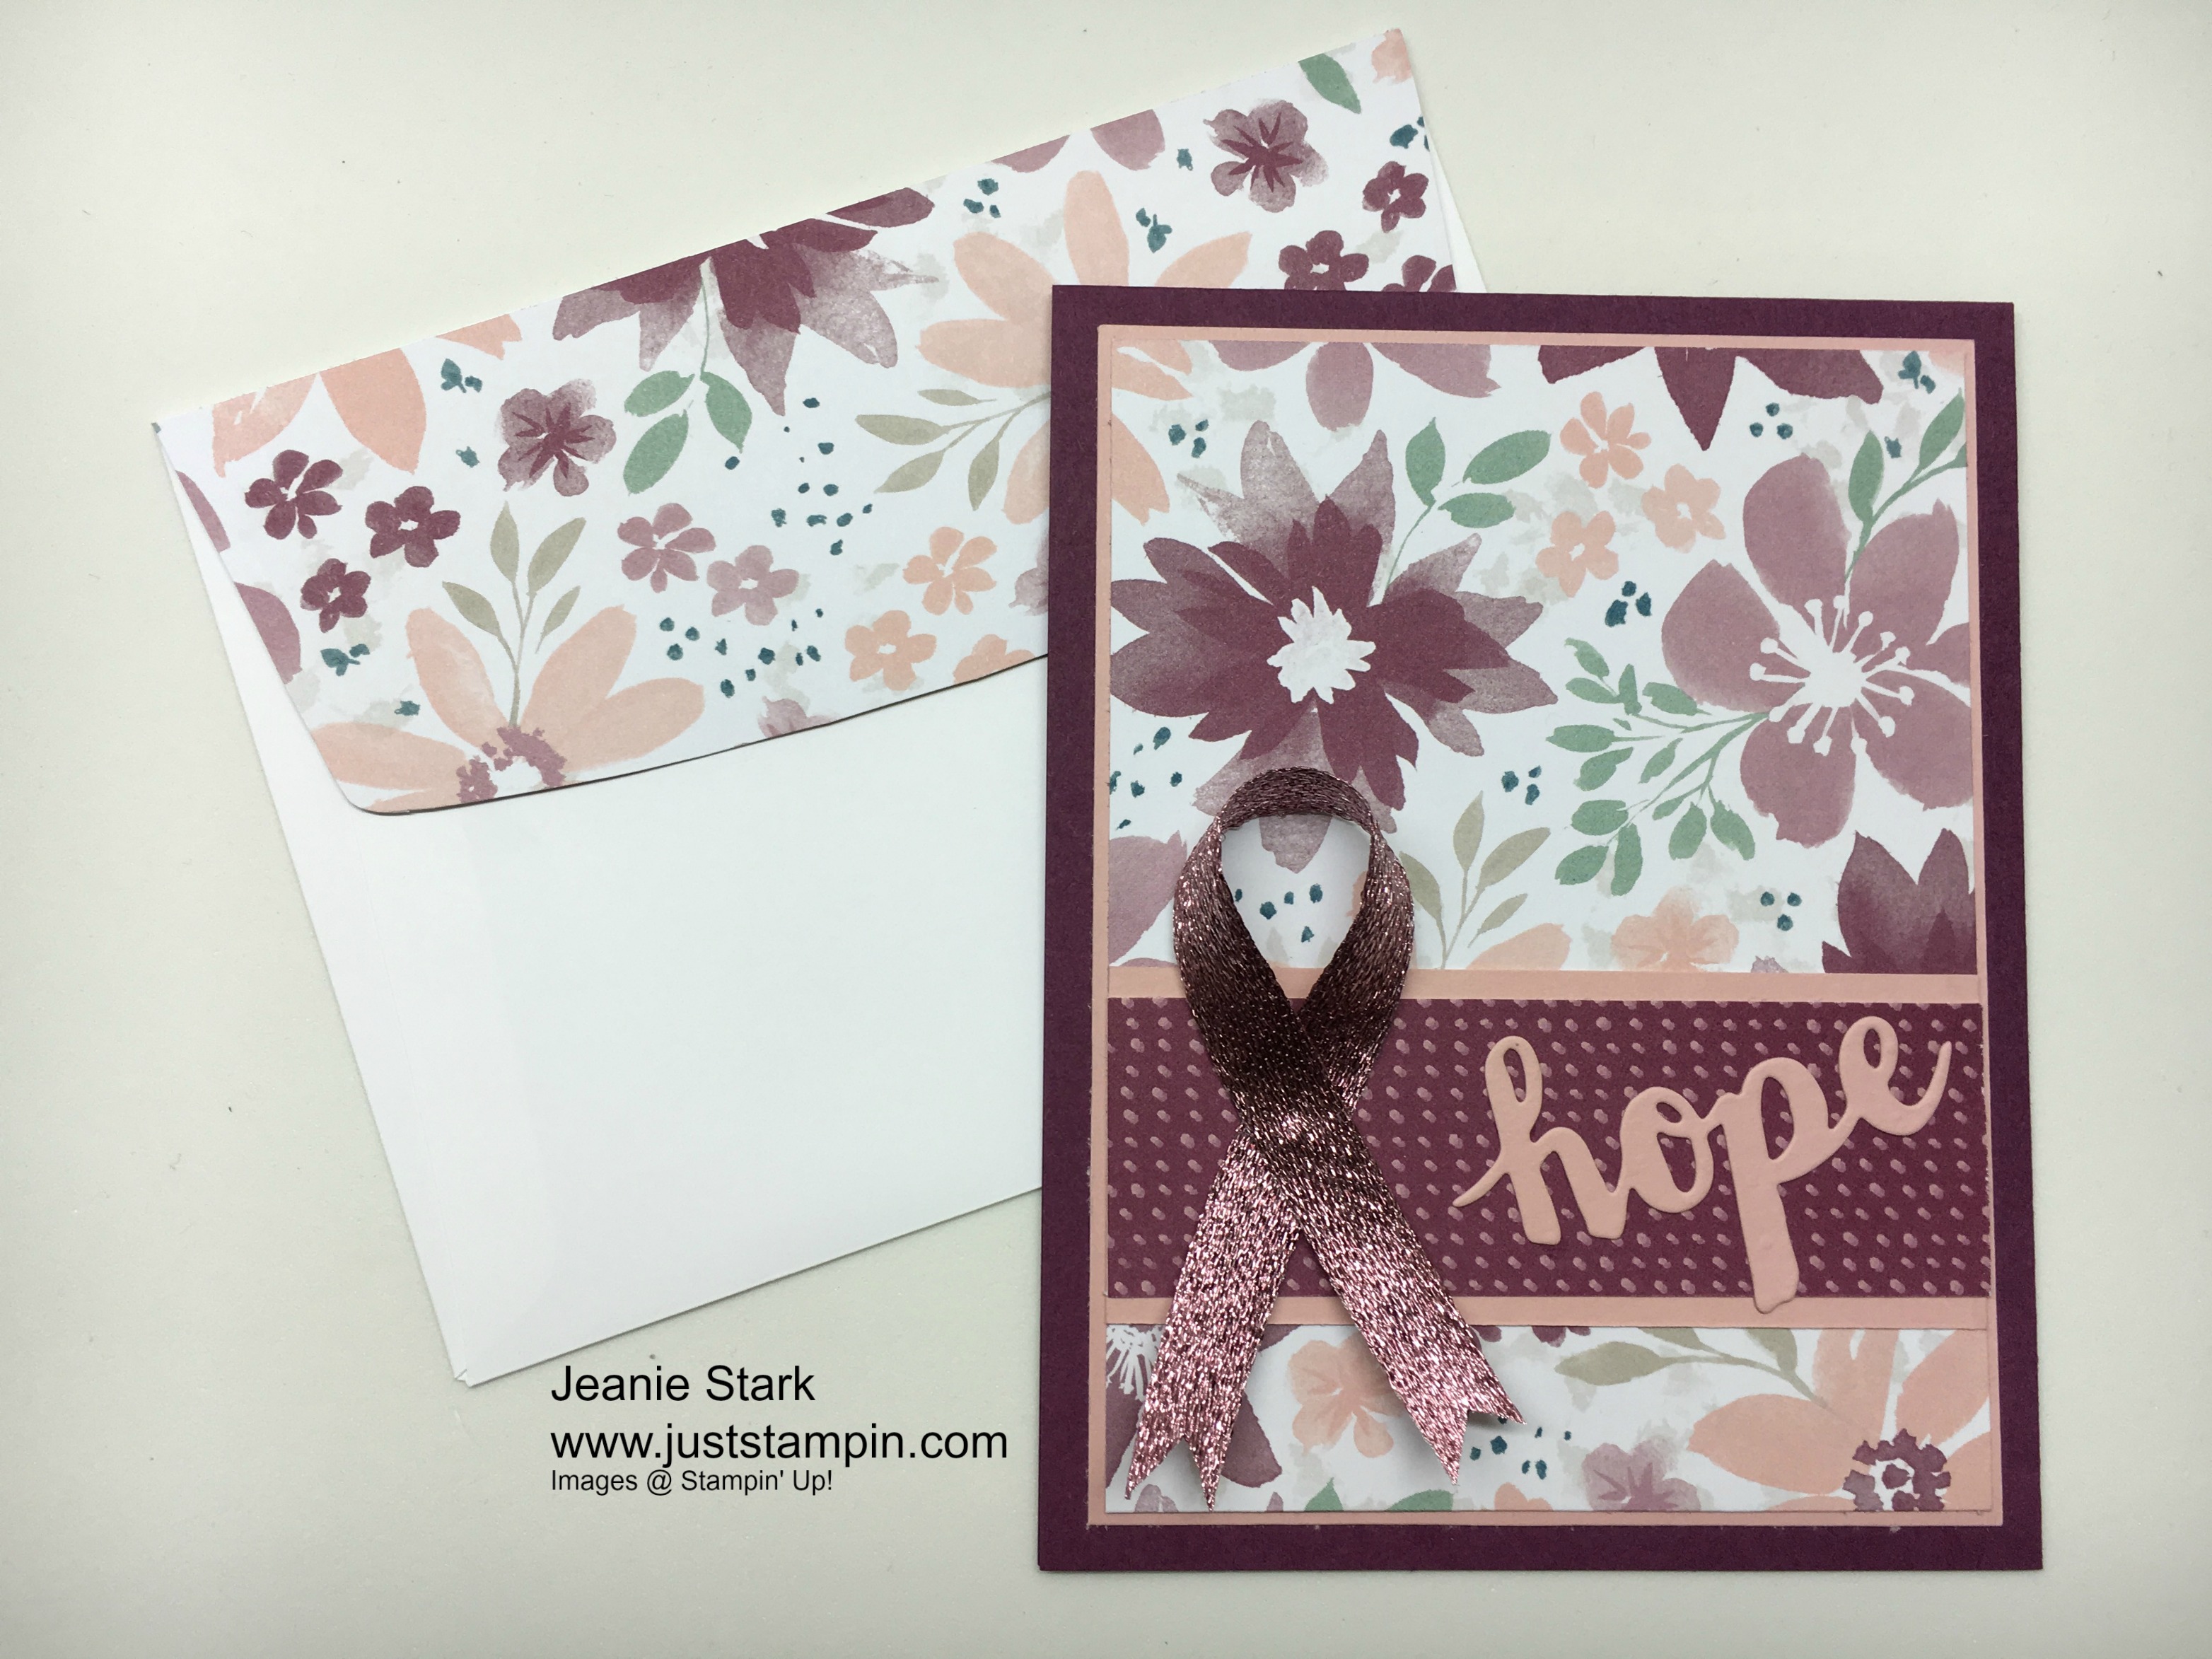
I adhered my DSP to a piece of Blushing Bride cardstock a smidge larger (3 7/8 x 5 1/8) and attached this to the Rich Razzleberry card base. I layered the 1 inch strip of DSP on a piece of 1 1/4 x 3 3/4 Blushing Bride and adhered this to the card. My sentiment is from the Sunshine Wishes Thinlits which I cut from Blushing Bride. The Sweet Sugarplum Glitter Ribbon is attached with a glue dot. Here’s my matching envelope.
For my other 2 cards I just adhered the 1″ strip of DSP on top of the larger piece and adhered these to a layer of cardstock just a smidge larger. I love the way the designs and patterns in this DSP compliment each other.


I stamped thanks from the Watercolor Wishes stamp set in Island Indigo and punched the end with the Triple Banner Punch. I used Stylized Birthday for the sentiment on the other card and cut it out with the Layering Ovals Framelits. I popped this up with Stampin’ Dimensionals. I stamped the flowers from Petite Petals in mint macaron and island indigo ink. I punched these out with the matching Petite Petals Punch. The mint macaron ribbon used on both of these cards is from the trio pack in the Holiday catalog (page 47).


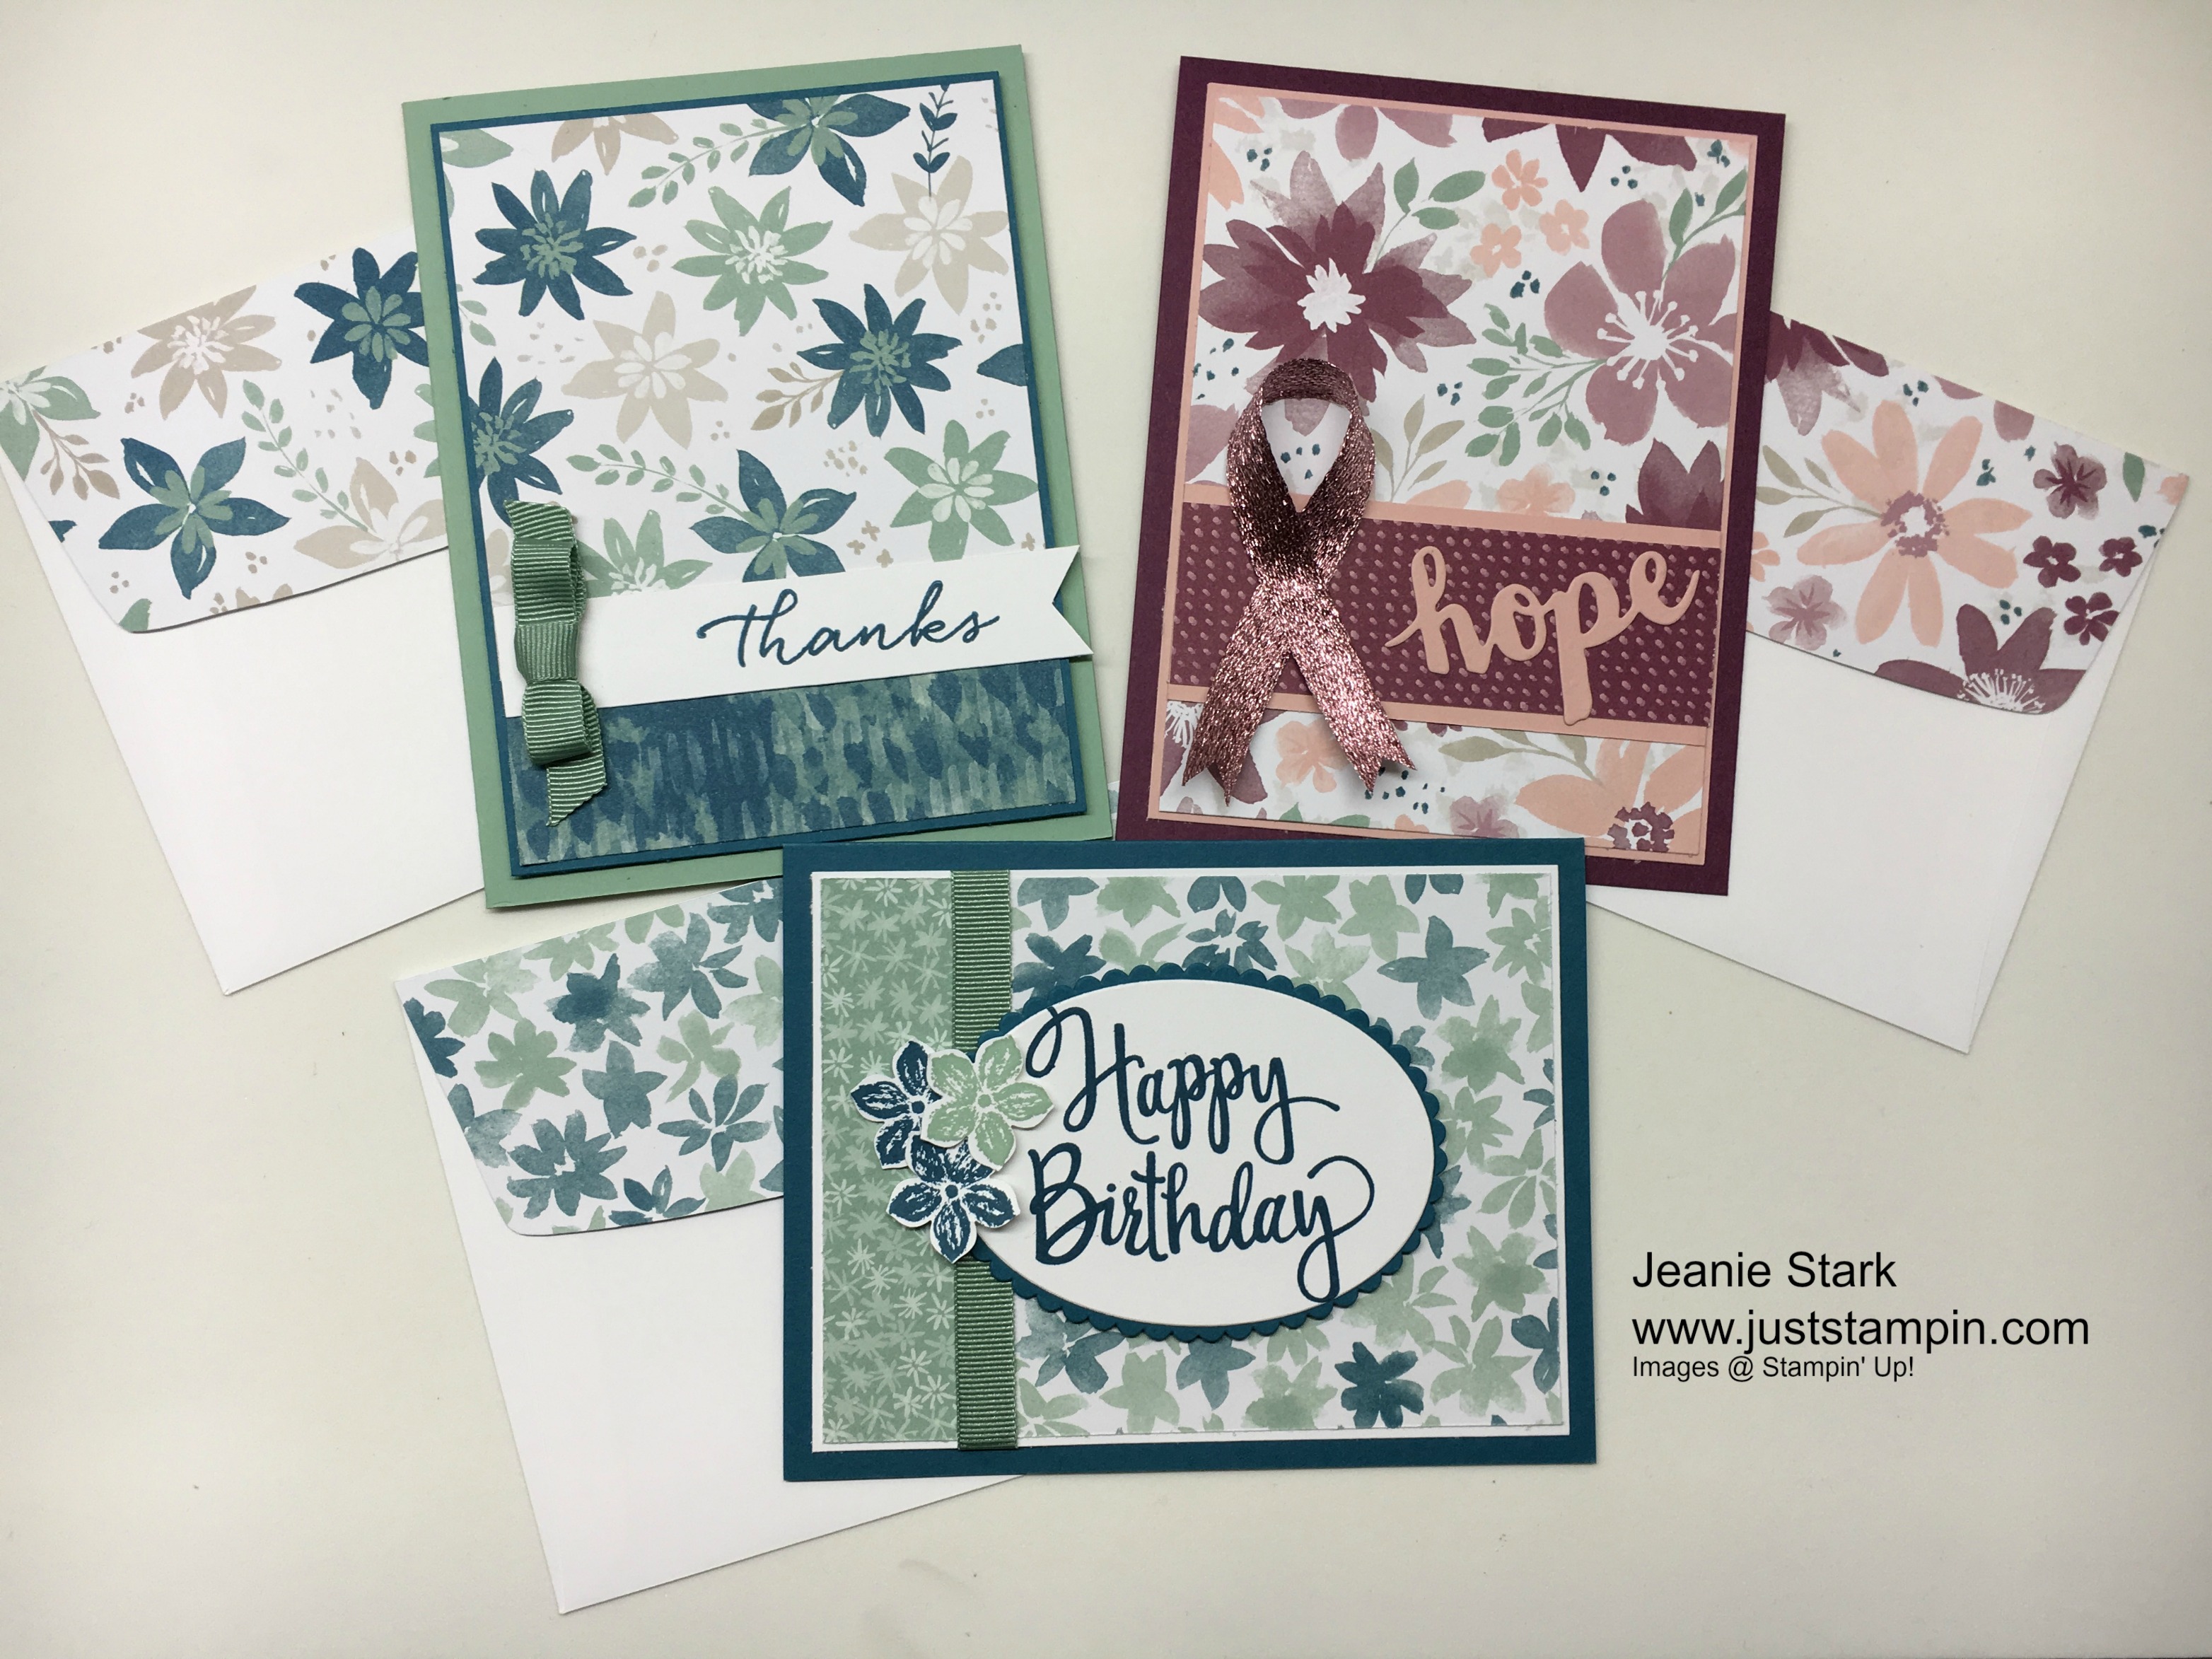
Stamp Sets: Watercolor Wishes, Stylized Birthday, Petite Petals Inks: Island Indigo, Mint Macaron Papers: Rich Razzleberry, Blushing Bride, Island Indigo, Mint Macaron, Whisper White, Blooms & Bliss Designer Series Paper Tools & Accessories: Sunshine Wishes Thinlits, Petite Petals Punch, Triple Banner Punch, Layering Ovals Framelits, Mint Macaron 3/8″ Ribbon, Sweet Sugarplum 3/8″ Glitter Ribbon, Glue Dots, Stampin’ Dimensionals
Look at all the coordinating colors that go with the Blooms & Bliss Designer Series Paper: Blushing Bride, Island Indigo, Mint Macaron, Rich Razzleberry, Sahara Sand, Sweet Sugarplum, Whisper White. There are so many possibilities you can do with these colors as you mix and match with the DSP.
Here is a project I shared previously that I made using Blooms & Bliss DSP. Click on the the image to see the original post with details how to make these boxes.

Click HERE to shop my online store and take advantage of the Stampin’ Up! specials Oct. 1-5 to Celebrate World Card Making Day as well as the Designer Series Paper special offer. Please use the Hostess Code 7DB3CBKS when you check out. I’ve added a visual below to show where to enter the code. I always send a thank you gift each month when you order from me. I appreciate each and every order!
Have a Blissful day!
Just Stampin’
Jeanie