A Treat And A Tip For Your Tuesday

Yesterday I promised to share with you a treat holder I made for my customers who shopped with me in April. I enjoy sending my card kits and little gifts to thank everyone who shops with me. I truly appreciate each and every order and hope this brightens their day.

img_2039

Did you know Ghirardelli made strawberry filled chocolates? When I saw these I knew I could use the Fruit Stand Designer Series Paper to make a fun treat holder for them.  This origami fold has been around forever! (I remember making these when I was in school to use as a drinking cup.)  Today I have a quick tip to help you line up the folds in record time!

grid paper

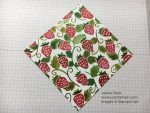
The Stampin’ Up! Grid Paper (#130148) is an often overlooked “tool” in the catalog. I love it and use it all the time! (One day I will do a post about all the ways I use it!)   Let’s get to how I used it to make this project quick & easy! I started with a piece of 6 x 6 Designer Series Paper.  Fold it in half to make a triangle then line it up along the grid paper.

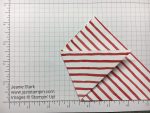
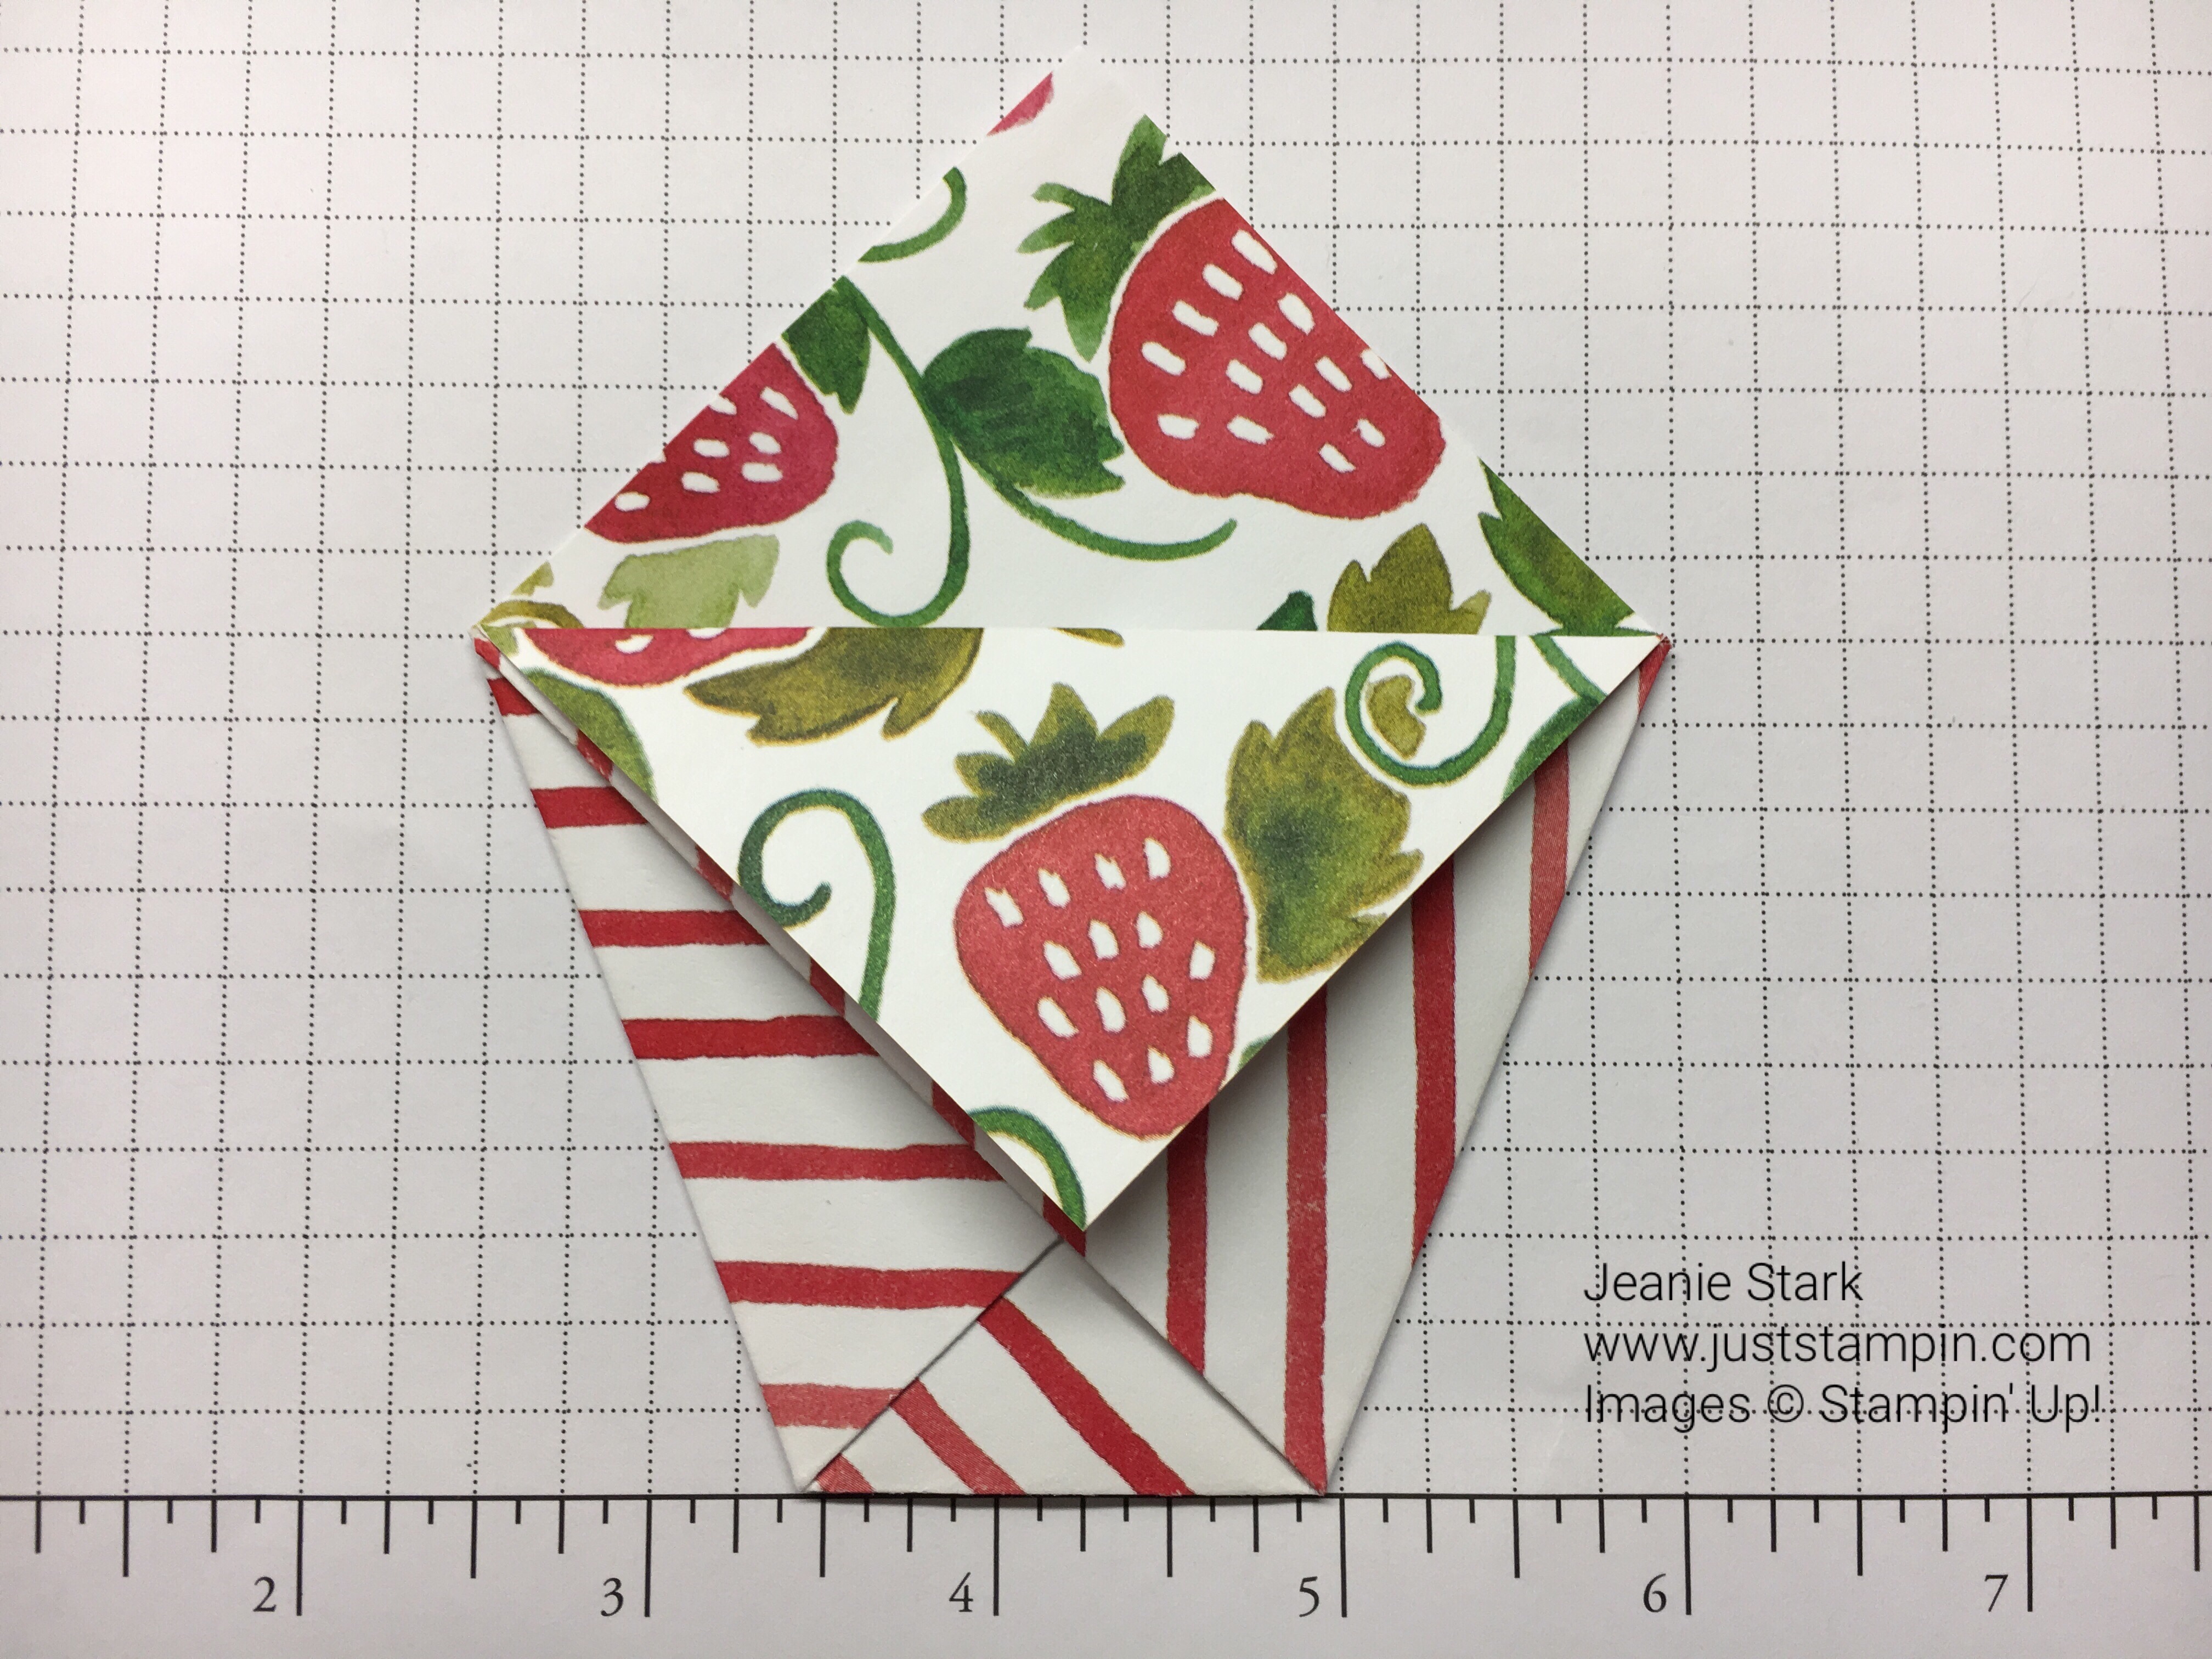
Take the point at the bottom and fold it across to line up at 2 1/2″ on the opposite side. Fold and crease with your bone folder.  Do the same for the other end…cross over and line up at 2 1/2″.  The grid lines make it fast and easy to get the perfect size without having to measure and mark with a pencil.

Then you just fold down the flap at the top and you’re done.  No adhesive necessary.

img_2033 
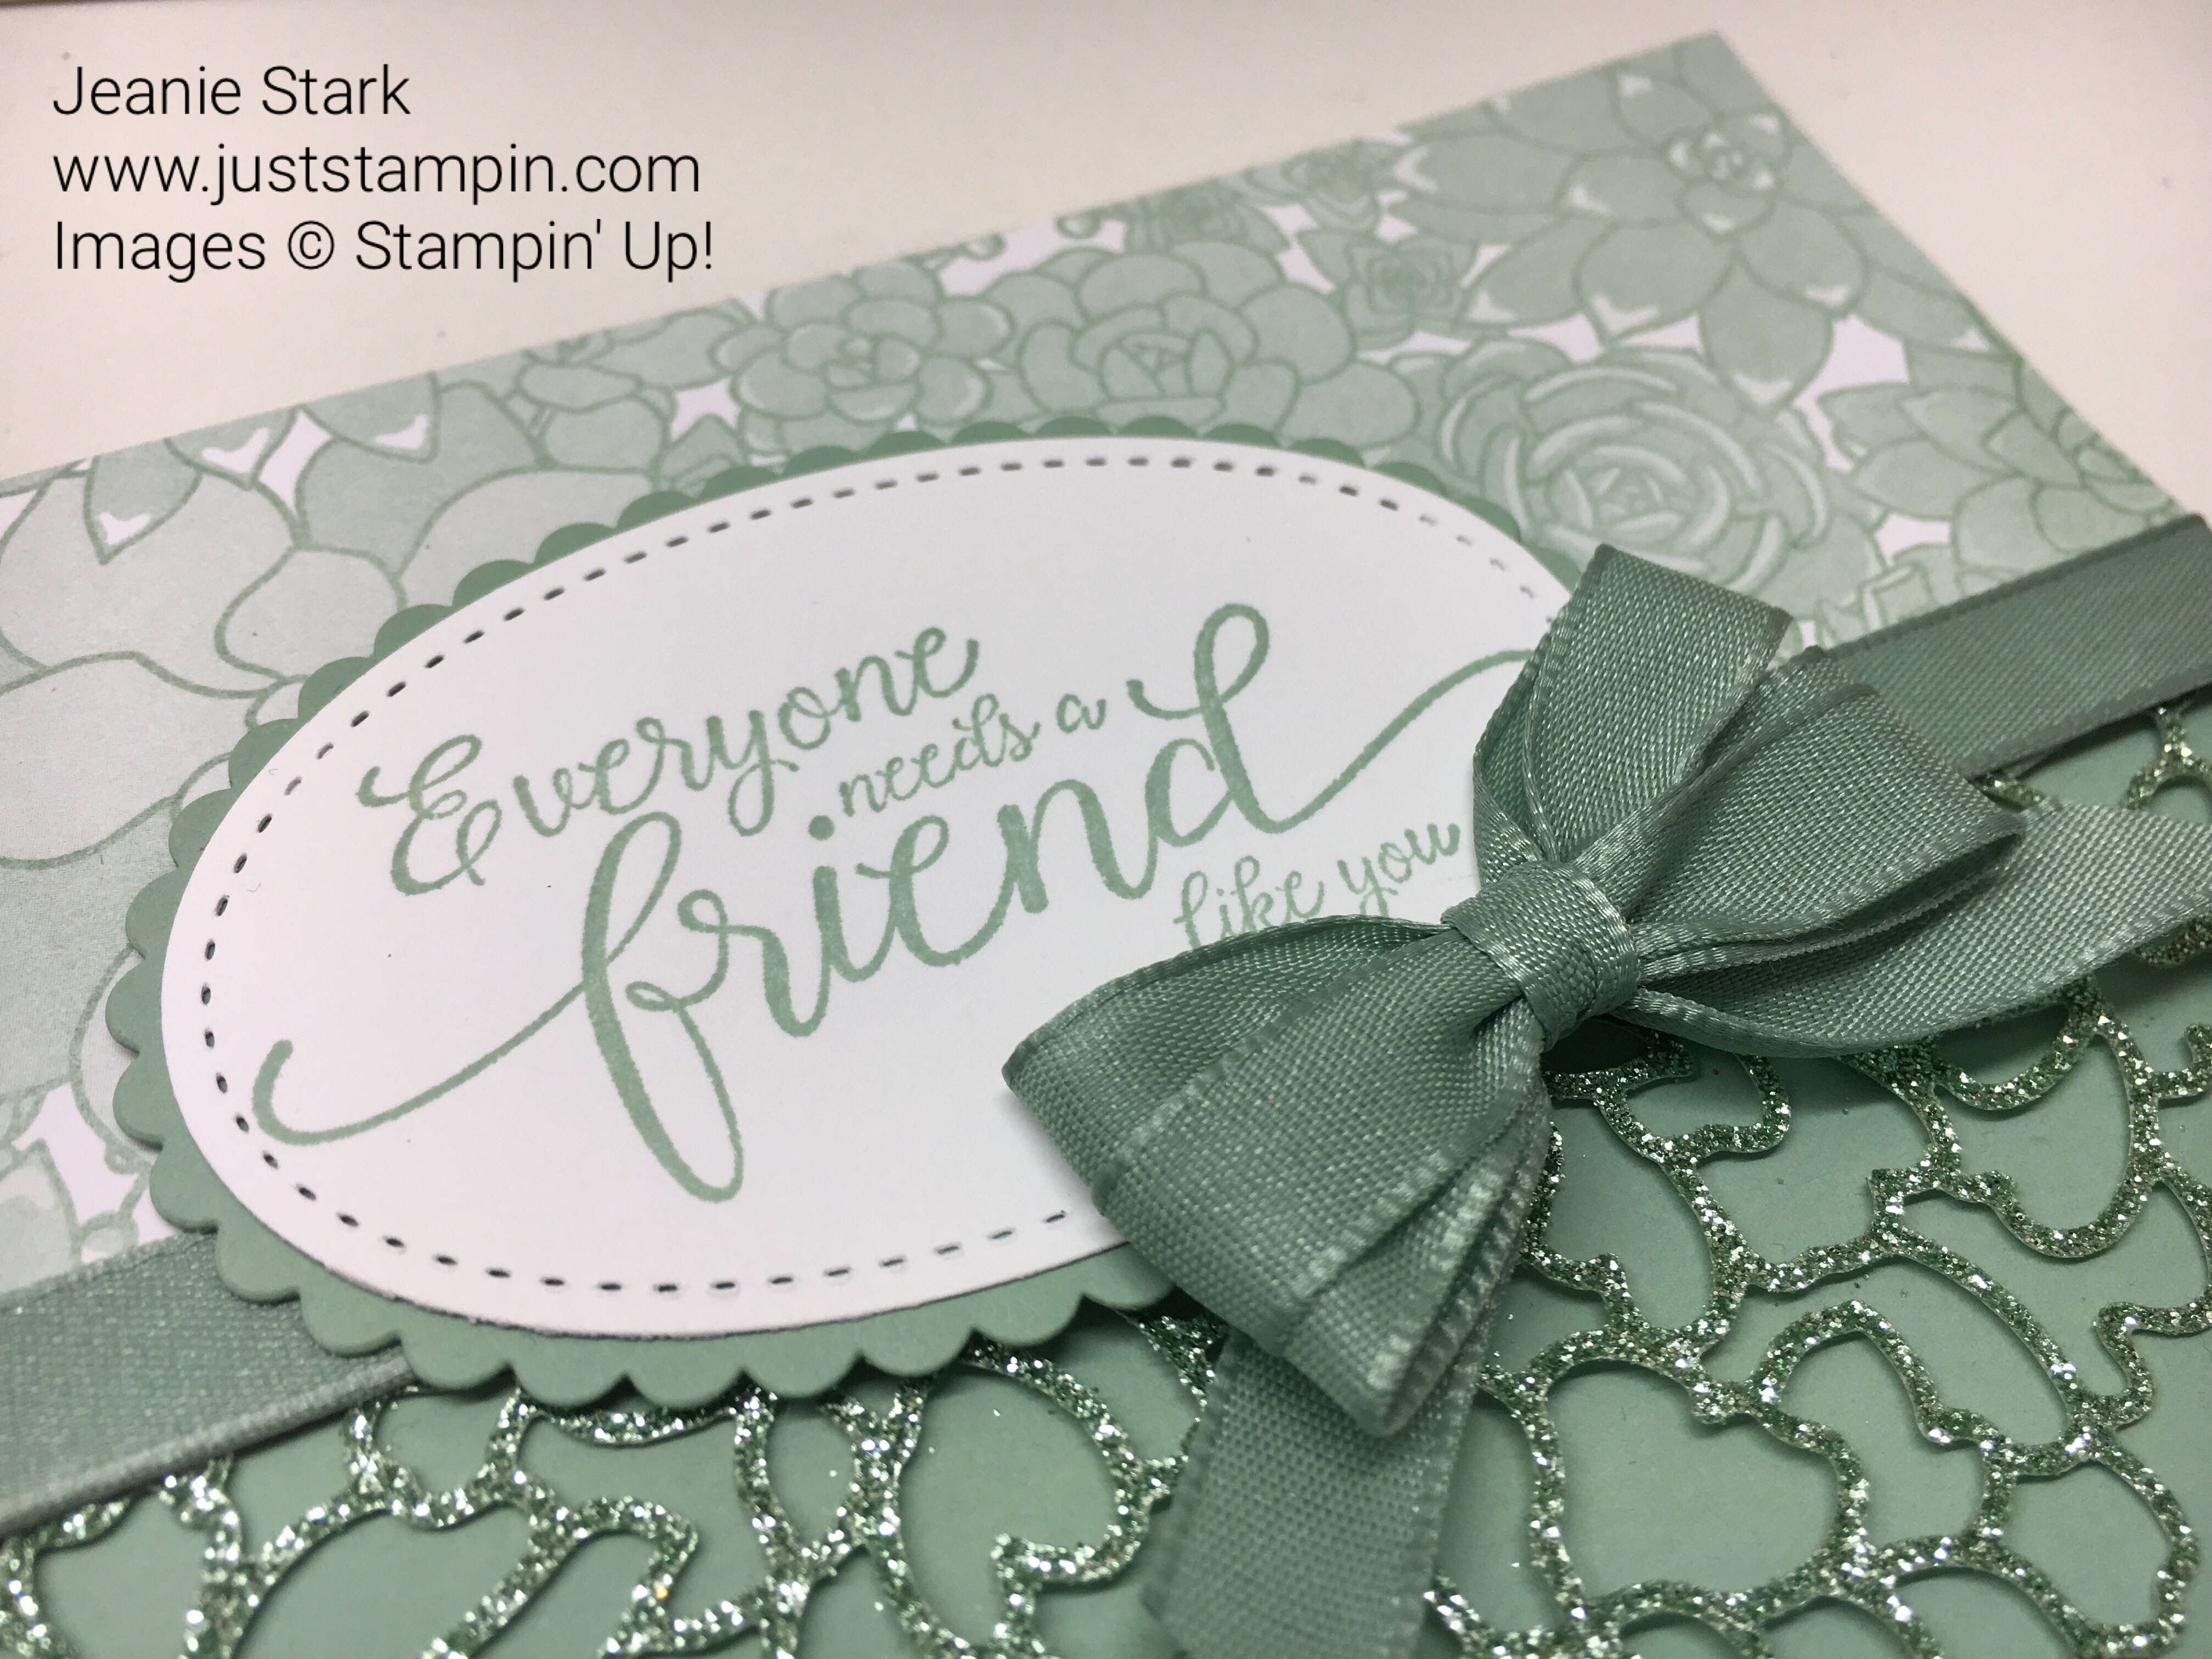
I stamped the sentiment from Birthday Blooms Stamp Set. I cut the sentiment and Red Glimmer paper with the Layering Ovals Framelits. I adhered them with Stampin’ Dimensionals.

img_2039

How would you like to receive one of these in your mailbox?  Last week Chris R. sent me an adorable treat holder, the cutest little card, and some yummy chocolate tulips from her home town.

They have a Tulip Festival every year and she sent me these yummy chocolates. She was so sweet to share with me so I thought I would “pay it forward” and send my strawberry treat to one of you along with some 6 x 6 paper so you can make some of your own.  Let’s have some fun!  I shared that I will be starting a new alphabet series this week…What do you think is the “theme” of my new alphabet series?  Leave me a comment with your guess by noon on Wednesday (EST) and I will announce the winner (the first person who comments with the correct answer) on Thursday.

FYI…the series will debut on Thursday. Wednesday I will be participating in the PALS Blog Hop…you’ll want to check back for that… Lots of great ideas and inspiration from many talented team members!!!

This new alphabet series will be my fourth in the ABC series.  You can easily access any of the past series by clicking on the drop down menu under Categories. My first series, ABC’s of Stampin’, is great for new stampers as well as experienced stampers. It has lots of information on the basics of stamping as well as helpful tips for using a variety of stamping tools. It’s also a great refresher course. I am always learning new techniques and ideas from my fellow demonstrators and stampers and love to share them with you.

Next came the ABC’s with DSP.  You know how I love my Designer Series Paper! That series showcased different ways to cut your paper to make the most out of it with little waste. I love it when I can use every last scrap!  I am still so disappointed that the 12 x 12 DSP Paper Stacks are retiring.  I know it could get a bit pricey if you bought all 6 stacks but many demonstrators (myself included) offer Paper Shares to help you get a sample of them all without breaking the bank. I have only offered paper shares to my local customers in the past but am willing to consider shipping if that is something you are interested in when the new catalog debuts June 1st.  I am hoping Stampin’ Up! will consider bringing back the paper stacks for the different color families, perhaps in 6 x 6 stacks to make it more affordable. Luckily, we will have some great new paper packs and fun color combinations available to work with when the new catalog debuts.  FYI…the In Color Designer Series Paper Stacks are still available for both 2015 – 2017 and 2016 – 2018 colors.  Unfortunately, the Brights, Neutrals, Regals, and Subtles have already sold out. Also, the current Designer Series Paper packs will be retiring the end of May and are only available while supplies last.  Many are still available at some great sale prices!  (See below for the retiring list of DSP. ) The Fruit Stand DSP used on today’s project is on sale for $8.80 (20% Savings).

My most recent alphabet series, ABC’s with the 2017 Occasions and Sale-A-Bration Catalogs, focused on the new products in these catalogs. Boy did we have some fun new and different dies, embossing folders, and gorgeous fonts in some of the stamp sets! Many of these items are retiring to make room for new ones so I hope you got what you wanted.  If not, there is a very good chance it’s on sale.  Many retiring items are discounted up to 50% off! Stamp sets are available until May 22nd and then they too will be available “while supplies last”. You can click on the links below to see what is retiring and what’s still available.  If you need any stamping supplies, I would love to be your demonstrator.

Have a wonderful day!

Just Stampin’

Jeanie

*All orders placed through my online store are eligible for my FREE monthly gifts (card kits and more!).  Click HERE to shop. Please use the current host code below.

 May Host Code:  K64KSNRE


How To Make A Triple Bow

Yesterday I shared a card I made with a triple bow. Several people asked about how I made the bow so I thought I would attempt to share the details.  First of all, I have a little wooden bow maker that a husband of one the ladies in card club made for everyone.  Here’s a picture of mine.

img_9504

This little gadget makes bow making a breeze!  You just spread out the pegs for larger bows or bring them closer for thin ribbon and/or tiny bows.  It’s quick and easy!  I did a little research and found one similar from Amazon but it was expensive and from reading the reviews it seems the pegs didn’t stay in the holes. Fortunately, two of my blog followers, Sonny and Nancy, shared information from a fellow demonstrator, Debbie Henderson, who sells them. (Thank you ladies for sharing! I love how we help each other!!) Here is the link:

https://debbiesdesignsblog.blogspot.com/p/daves-stamping-tools-for-sale.html

To make the triple bow on yesterday’s card, I just wrapped the ribbon around the pegs three times.  Cross the ribbon over in front (like an X) and take the top ribbon and bring it under and over through the center of the pegs.  Then wrap it under the ribbon in front and tie it in a knot. My photos aren’t great but hopefully you get the idea.

Then you just slide it up and off the pegs and cut the ends.The back is facing you so when you turn it around you have a perfect bow. (*I have a pair of scissors that I use just for cutting ribbon.  Believe me, it is worth the investment to get a good pair of ribbon scissors!)

I use glue dots to attach the bows to my projects.  Here’s a close up of yesterdays card with the bow. You can click HERE to see the full post.

img_9464

Here’s some bows I made using the organza ribbon. What do you think I’m doing with all these bows?

img_9503

These bows are some of the ones I made to go with one of the project kits I’m sending out to everyone who placed orders with me in February. Click  HERE to find out more about my “Just Stampin’ Card Kit and 3D Project Buffet” TO GO!

sale-a-bration

Get one FREE Sale-A-Bration product for every $50 you order. 

3 new items were added to Sale-A-Bration on February 21st.***These are WHILE SUPPLIES LAST so get the glimmer paper quickly!****

glimmer-paper make-a-medallion reverse-words

Click HERE to shop.  

February Hostess Code: K3VM6YBW  

Use the Hostess code when placing your online order to receive my Just Stampin’ Card Buffet Kit with an online order of $50 or more.

Have a wonderful day!

Just Stampin’

Jeanie

Stampin’ Up!’s Sale-A-Bration 2017 is going on now through March 31!!

img_8820

Shop!

For every $50 you spend (before tax and shipping), you get a FREE Sale-A-Bration product. That means it’s the perfect time to purchase those products you’ve had your eye on while earning more products for free.  As an added bonus, Stampin’ Up! added three new Sale-a-bration products on February 21!

VIEW: Sale-A-Bration  – release 1
VIEW: Sale-A-Bration – release 2 (new)

Host!

Place an order of $250 or greater or host a party with at least $250 in sales during Sale-A-Bration and you’ll earn $25 more in Stampin’ Rewards/Host Cash!!  You can even apply your Stampin’ Rewards toward a Starter Kit and become a demonstrator yourself!

Join!

It’s the best time of year to join Stampin’ Up! During Sale-A-Bration, you can become a demonstrator for just $99 and choose TWO additional stamp sets for your Starter Kit—any stamp set, any price! (Excludes Sale-A-Bration sets and bundles.) Plus, the kit ships for free! Send me an email (j.stark@myactv.net) if you have any questions or want to set up a time to chat. Click HERE and HERE for more information or click below to Join the Fun!

join-now

Tuesday Tips for The Most Wonderful Time of the Year

wonderul-year

I love the holidays and I love stamping! I want time to enjoy both during this busy time of year and I bet you do too!  Well, I have some tips for you and one tip doesn’t have anything to do with stamping; however, it will give you more free time to stamp! Isn’t that what we all crave…a little more time to create?

Tip # 1…Make It! I think of the time I spend in my craft room as saving me from going to the store to buy cards and gifts.  I love to give sets of cards as gifts and enjoy making my own boxes, bags, and tags for favors and other gifts I give. This is a WIN WIN!!  I get to relax and enjoy creating while making gifts to give. You can do this!!! Use the products you have on hand to make some cards to gift to others…save time and money! If you need to purchase anything, you can shop my online store without leaving the comfort of your home and it will be delivered right to your door! I love getting homemade gifts as I know it is a gift from the heart. I have shared many gift giving ideas on my blog as well as gift packaging for treats, teacher gifts, etc. Contact me if you need ideas or help! Consider giving a Paper Pumpkin subscription or a gift certificate. I will make you a homemade card to present your gift certificate or subscription!

One of the things I love to do is decorate our home for the holidays…from setting up my New England Village (for a touch of home) to adding greenery, lights, and trees in nearly every room. (I stopped at 5 trees this year…so far! LOL)  This brings me to my next tip…

Tip #2…Wrap it!  I had this brainstorm last year as I was getting ready to take down all the decorations I set up…why not just put away the trees all decorated. Hmmmm…it was worth a try! So we bought some Press’n Seal and started wrapping.  Last year we wrapped 2 of our 6.5’trees as well as our slim tree and stored them. (Our slim tree fit perfectly in the guest room closet.) We just had to take the big tree apart as there was no way it would fit through any doorway. I couldn’t wait to get the trees out this year to see if it worked…and it did!!!  All the ornaments, ribbons, etc. were secure. What a time saver!!! I plugged the trees in, did a little fluffing and I was done! More time to stamp!!  When I told my friend Susan what I did she said the man who invented Seal & Wrap is married to a card maker. How cool is that?!! I wonder if he knows this new unintended use for his invention? Here’s some photos for you. 🙂

img_7011
Seal & Wrap and Store!
img_7017
On the move!  Sliding to it’s destination.
img_7022
Just unwrap and plug it in!
img_6996
The kitchen basket tree is always a favorite as each basket is filled with candy.

img_7002


The White House tree pictured below is my favorite (along with the family tree that has all the little homemade ornaments my kids made over the years).


I just love everything about this time of year…making homemade cards and gifts, decorating our home, listening to Christmas music, baking for my cookie exchange, enjoying the lights at night, getting together with family and friends, helping others, and (most important) remembering the reason for the season. I make it a goal every year to do what I can WITHOUT stressing out. You can’t do it all! No one can! Realizing this takes the pressure off! Work together and focus on what’s most important.

My Pre-K students really keep the spirit and meaning of Christmas alive! Every year they perform a play, The Christmas Story. It is just the sweetest thing you can imagine…4 year olds dressed up as Mary, Joseph, angels, shepherds, animals, and kings singing their little hearts out as they act out the story on stage for family and friends. Our class “adopts” a family in need and everyone donates money and food.  I love shopping for the family (and making a few crafty things of course)… it is such a great feeling to work together to help others. I love working with the next generation of card makers… I help my students make Christmas cards for residents in local nursing homes. Even 4 year olds can make a difference in this world!  Don’t underestimate this craft we do…a simple card can make a huge difference to someone this holiday season or anytime!

I hope today’s tips and ideas have inspired you or helped you in some way. What’s your favorite thing to do this time of year?  I would love to hear from you!

Have a wonderful day and enjoy this most wonderful time of the year!

Just Stampin’

Jeanie

Click on the picture below to shop my online store 24/7.  Check out the Year-End Closeouts!

year-end-close-outs-celebrate-the-new-year