Welcome to my weekend showcase! Today I am showcasing some cards I received from others over the last few weeks. My heart skips a beat when I get the mail and see a card addressed to me! I love “Happy Mail”!
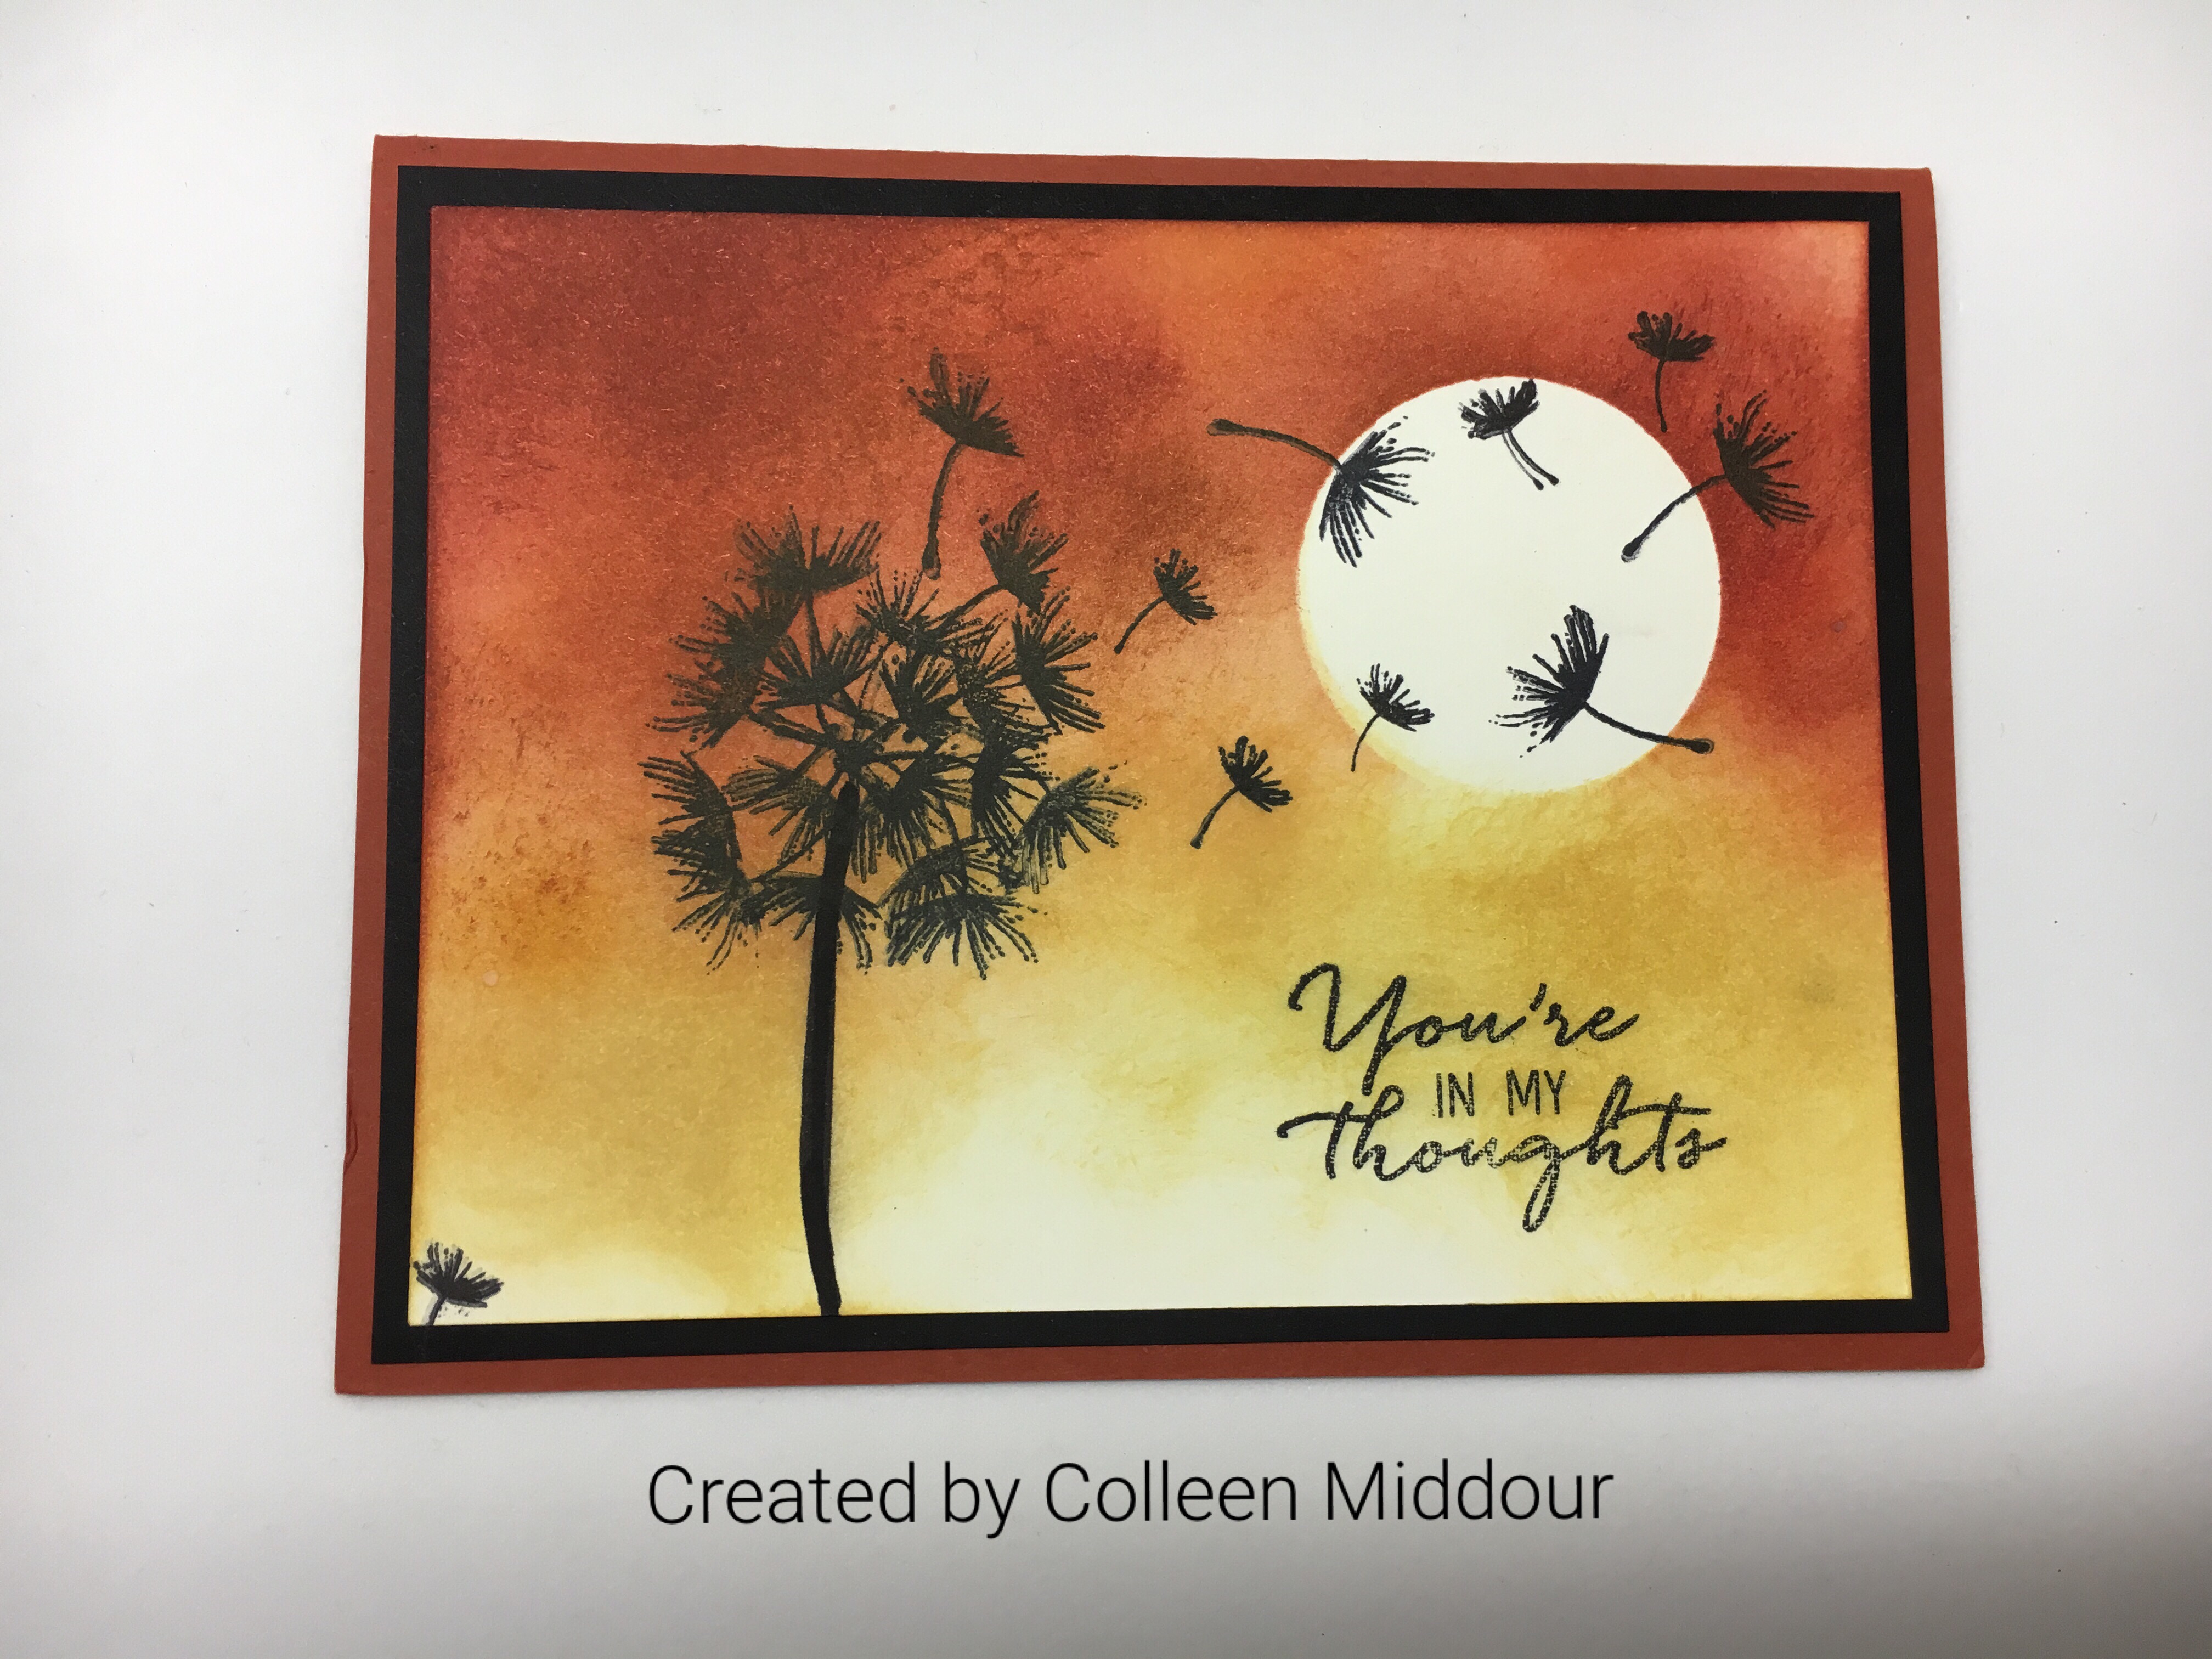
This card by Colleen is just stunning! I am going to have to have her show me how she did such beautiful blending with her sponging. After looking at this I need to practice more! She also used the masking technique. I like how the stamped images stand out against the background.
This sweet surprise was tucked inside Kathy’s card swap card with a little note thanking me for doing the card swap…so unexpected. (I really enjoyed doing the card swap and getting to showcase everyone’s amazing talent!) I love the custom envelope Kathy made and really like how she chose not to color everything which makes what she did color stand out!
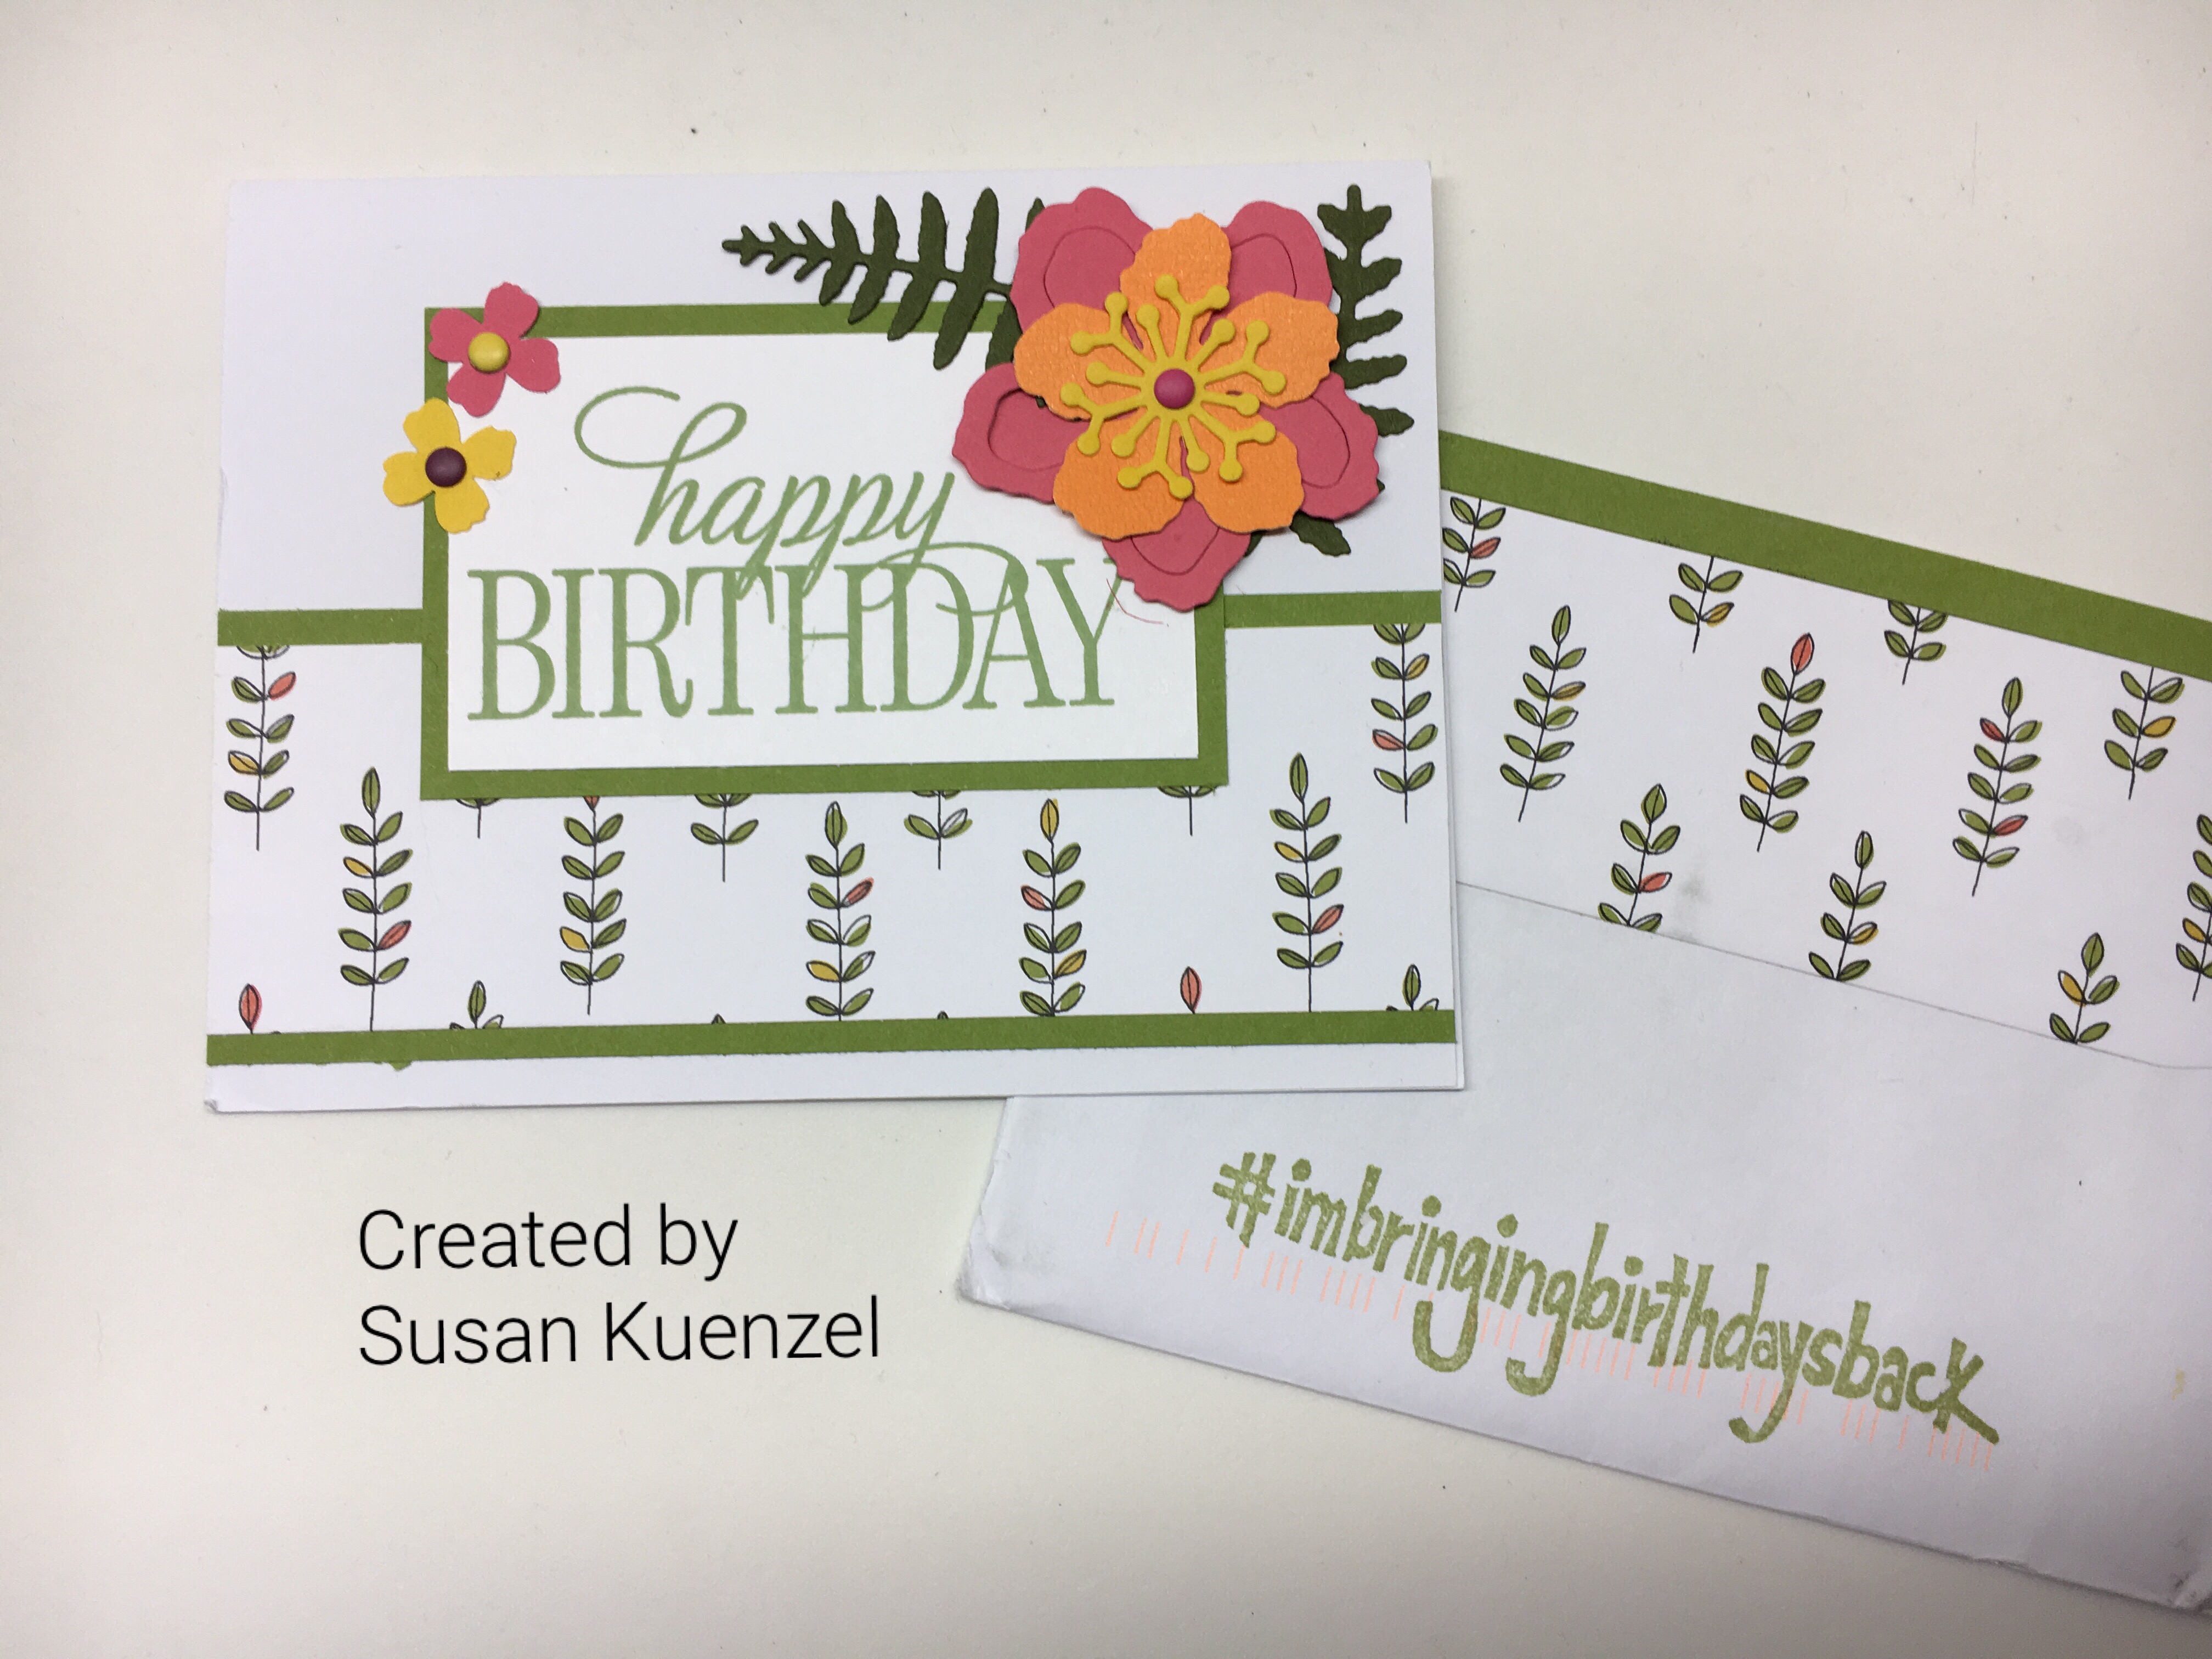
I have never met Susan but she follows my blog and when she read it was my birthday she sent me this beautiful card. I was so touched! Susan’s envelope caught my attention immediately! I love how she stamped the back of the envelope with this stamp. Did you know Stampin’ Up! sells this stamp? It is a single wood-mount stamp (item # 143573). It is not in the catalog but is available to purchase online. Join the movement to bring birthdays back—send handcrafted birthday cards to all your friends and family, and stamp the card and/or envelope with this trending hashtag to let them know they’re part of something cool! Click HERE to view and find out how the movement got started.
Anyone who purchases this stamp through my online store will receive a birthday card kit from me to get you started making and sending birthday cards. Birthdays are special! Wouldn’t you rather get/give a handmade birthday card in the mail vs. a post on social media?
Let’s share some happy mail stories! Leave me a comment about some happy mail you sent or received. I will pick a random winner to send some happy mail to!
Have a wonderful day!
Just Stampin’
Jeanie
All orders placed through my online store are eligible for my FREE monthly gifts. Please use the current host code below. Click HERE to shop.
Welcome to my alphabet series showcasing some of the new products in the 2017 Occasions and Sale-A-Bration catalogs. Today I am showcasing the Milestone Moments Stamp Set found on page 27 in the Occasions catalog. This year there are several milestone birthdays for some of my friends and family. I made this card for my “older” sister who is turning 60 soon.
I combined the wording from Memorable Moments with the Large Numbers Framelits. I like the way the banner “wraps” the numbers and stands out…just what I wanted. My sister and I celebrated many birthdays together growing up as our birthdays are just 2 days apart. We live over 400 miles apart now but still talk on the phone everyday…sometimes several times a day! 🙂 Here’s a photo of us as kids and my favorite photo of us on her wedding day.
This card was fun and easy to make! I chose this color combination because they’re her colors. I used Night of Navy cardstock for my card base. The Whisper White layer measures just 1/8″ smaller, 4 1/8 x 5 3/8. I embossed this layer with the Confetti Embossing Folder and sponged it with Night of Navy, Old Olive, and Daffodil Delight. I stamped the sentiment in Night of Navy ink and cut the banner and numbers out using the Large Numbers Framelits. I attached the banner with Stampin’ Dimensionals. I love the embossed and sponged envelope to match!
Stamp Sets: Milestone Moments, Letters for You (banner) Inks: Night of Navy, Old Olive, Daffodil Delight Papers: Night of Navy, Whisper White Tools & Accessories: Large Numbers Framelits, Confetti Embossing Folder, Sponge Daubers, Stampin’ Dimensionals
The Milestone Moments Stamp Set can be used for birthdays, anniversary, retirement, or new baby. I really like the different fonts!
Milestone Moments Photopolymer Stamp Set- #142954
Here’s a few more ideas using this stamp set.
I am determined this year to get my birthday cards sent out on time. I made a perpetual birthday calendar and am getting my birthday cards made and filed in my card tin. If you missed my post on how I made the perpetual calendar, you can click HERE. You can get the Card Tin for FREE with a $50 purchase during Sale-A-Bration! Shop my online store! Use the January hostess code EPGDT3KF when you check out and I will send you 2 birthday card kits to get your cards started.
Have a memorable day!
Just Stampin’
Jeanie
Click on the catalog to view.
Click on the image below to order your Paper Pumpkin prepaid subscription!
Welcome to my ABC’s of Stampin’ series. Today I am going to share with you 2 projects I made using vellum. Every time I work with vellum I wonder why I don’t use it more! My first project is a square card for you that shines bright. It would look lovely sitting on an end table or mantle. It is one of those projects for someone very special.
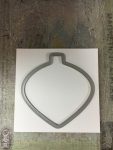
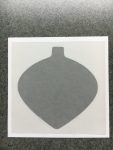
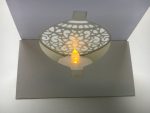
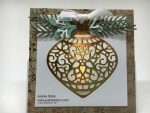
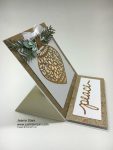
I used vellum behind the ornament to let the light shine through from the battery operated votive candle sitting in this easel card. The ornament is from the Delicate Ornament Thinlits Dies and cut out from Copper Foil. I have lots of photos and measurements to share with you today. I started with 4 1/4 x 8 1/2 thick whisper white cardstock. I scored it at 2 1/8 and 4 1/4. The copper foil Designer Series Paper is from Affectionately Yours and measures 4 1/8 x 4 1/8. I adhered the DSP to the bottom of the card base (below the score line) and cut out the ornament shape. Then I centered the ornament die on a piece of 3 1/2 x 3 1/2 thick whisper white and cut it out again.
img_4551
img_4552
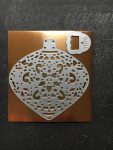
Next I adhered a piece of vellum behind the whisper white and adhered that to the DSP making sure to line up the openings. The vellum is sandwiched between the whisper white and the DSP. Then I cut out the detailed ornament from a piece of 3 1/2 x 3 1/2 copper foil using the Big Shot with the Precision Base Plate.
img_4553
img_4554
img_4548
I used the fine-tip glue pen to adhere the copper ornament on top of the vellum. The greenery is from the Pretty Pines Thinlits and cut from Always Artichoke, Mint Macaron, and Whisper White cardstock. I attached these to the ornament with glue dots. I added some pearls for berries. The easel card rests on a strip of DSP measuring 4 1/8 x 1 3/4. The sentiment from Christmas Greetings Thinlits was cut from copper foil and adhered to a piece of 3 1/2 x 1 1/4 whisper white using the fine-tip glue pen. The DSP panel was popped up with Foam Adhesive Strips to allow the card to rest against it when open. I added a white organza bow with a glue dot. Here’s some photos showing different views.
img_4562
img_4569
img_4567
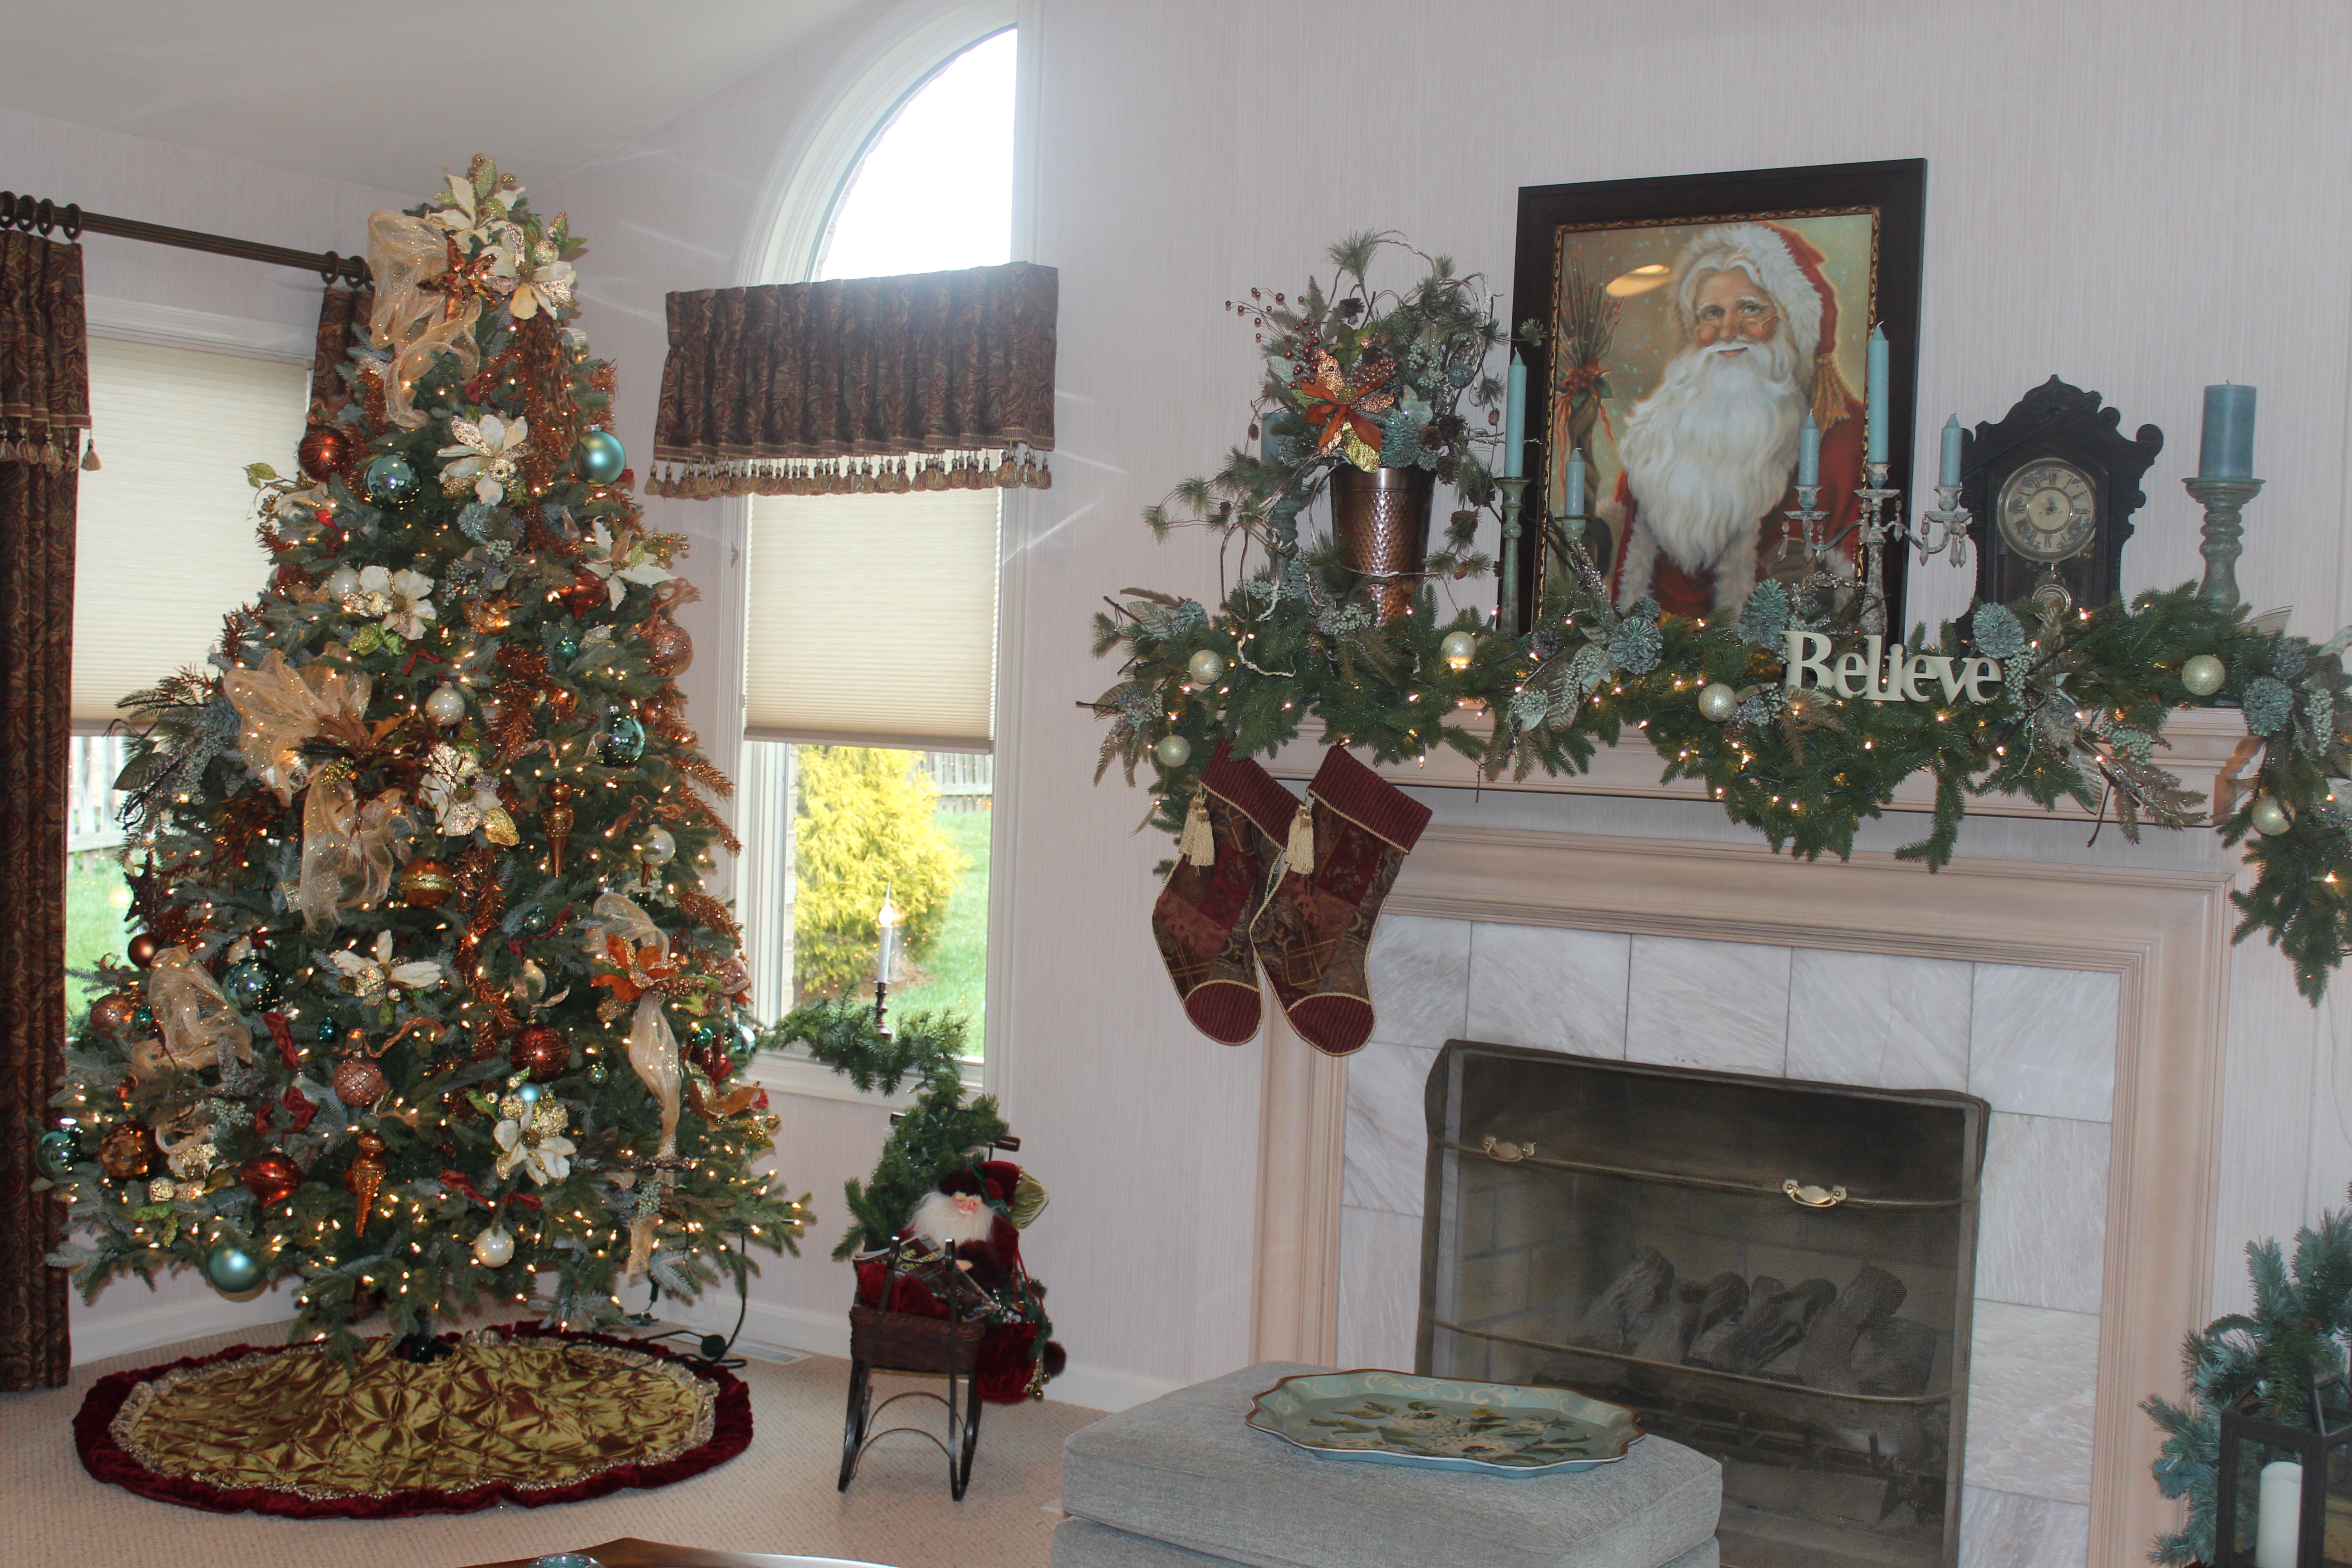
I was thrilled when Stampin’ Up! came out with the copper foil in the Holiday catalog. I like to decorate with copper accents and one of our Christmas trees has many copper ornaments. I absolutely LOVE the Christmas season and set up trees in nearly every room throughout our home. Here is a peek at my copper accent tree.
As much as I love the Christmas season I don’t start decorating the trees until after Thanksgiving. So let’s get to my card for Thanksgiving…
The ornament on the easel card used just a plain piece of vellum; however, there are many ways to color on vellum. You can use your ink and a brayer, color with markers (on the back on your stamped image), or sponge (also on the back) like I did on this card.
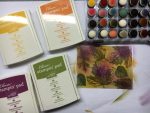
I love how this card turned out! I started with a piece of 5 1/4 x 4 piece of vellum. I stamped images from the Vintage Leaves stamp set using Memento Black ink. I sponged on the back with Rich Razzleberry, Crushed Curry, Pumpkin Pie, and Old Olive ink. I adhered it to the Very Vanilla card with a strip of Fast Fuse in the middle (hidden behind the sentiment and burlap ribbon). I also added a glue dot in each corner behind a leaf image. The sentiment from Paisleys & Posies is stamped on Very Vanilla with Back Memento ink and layered with a piece of Old Olive. I attached the burlap ribbon with glue dots (to hold the shape I wanted) and a strip of Tear and Tape. The sentiment is attached with Stampin’ Dimensionals.
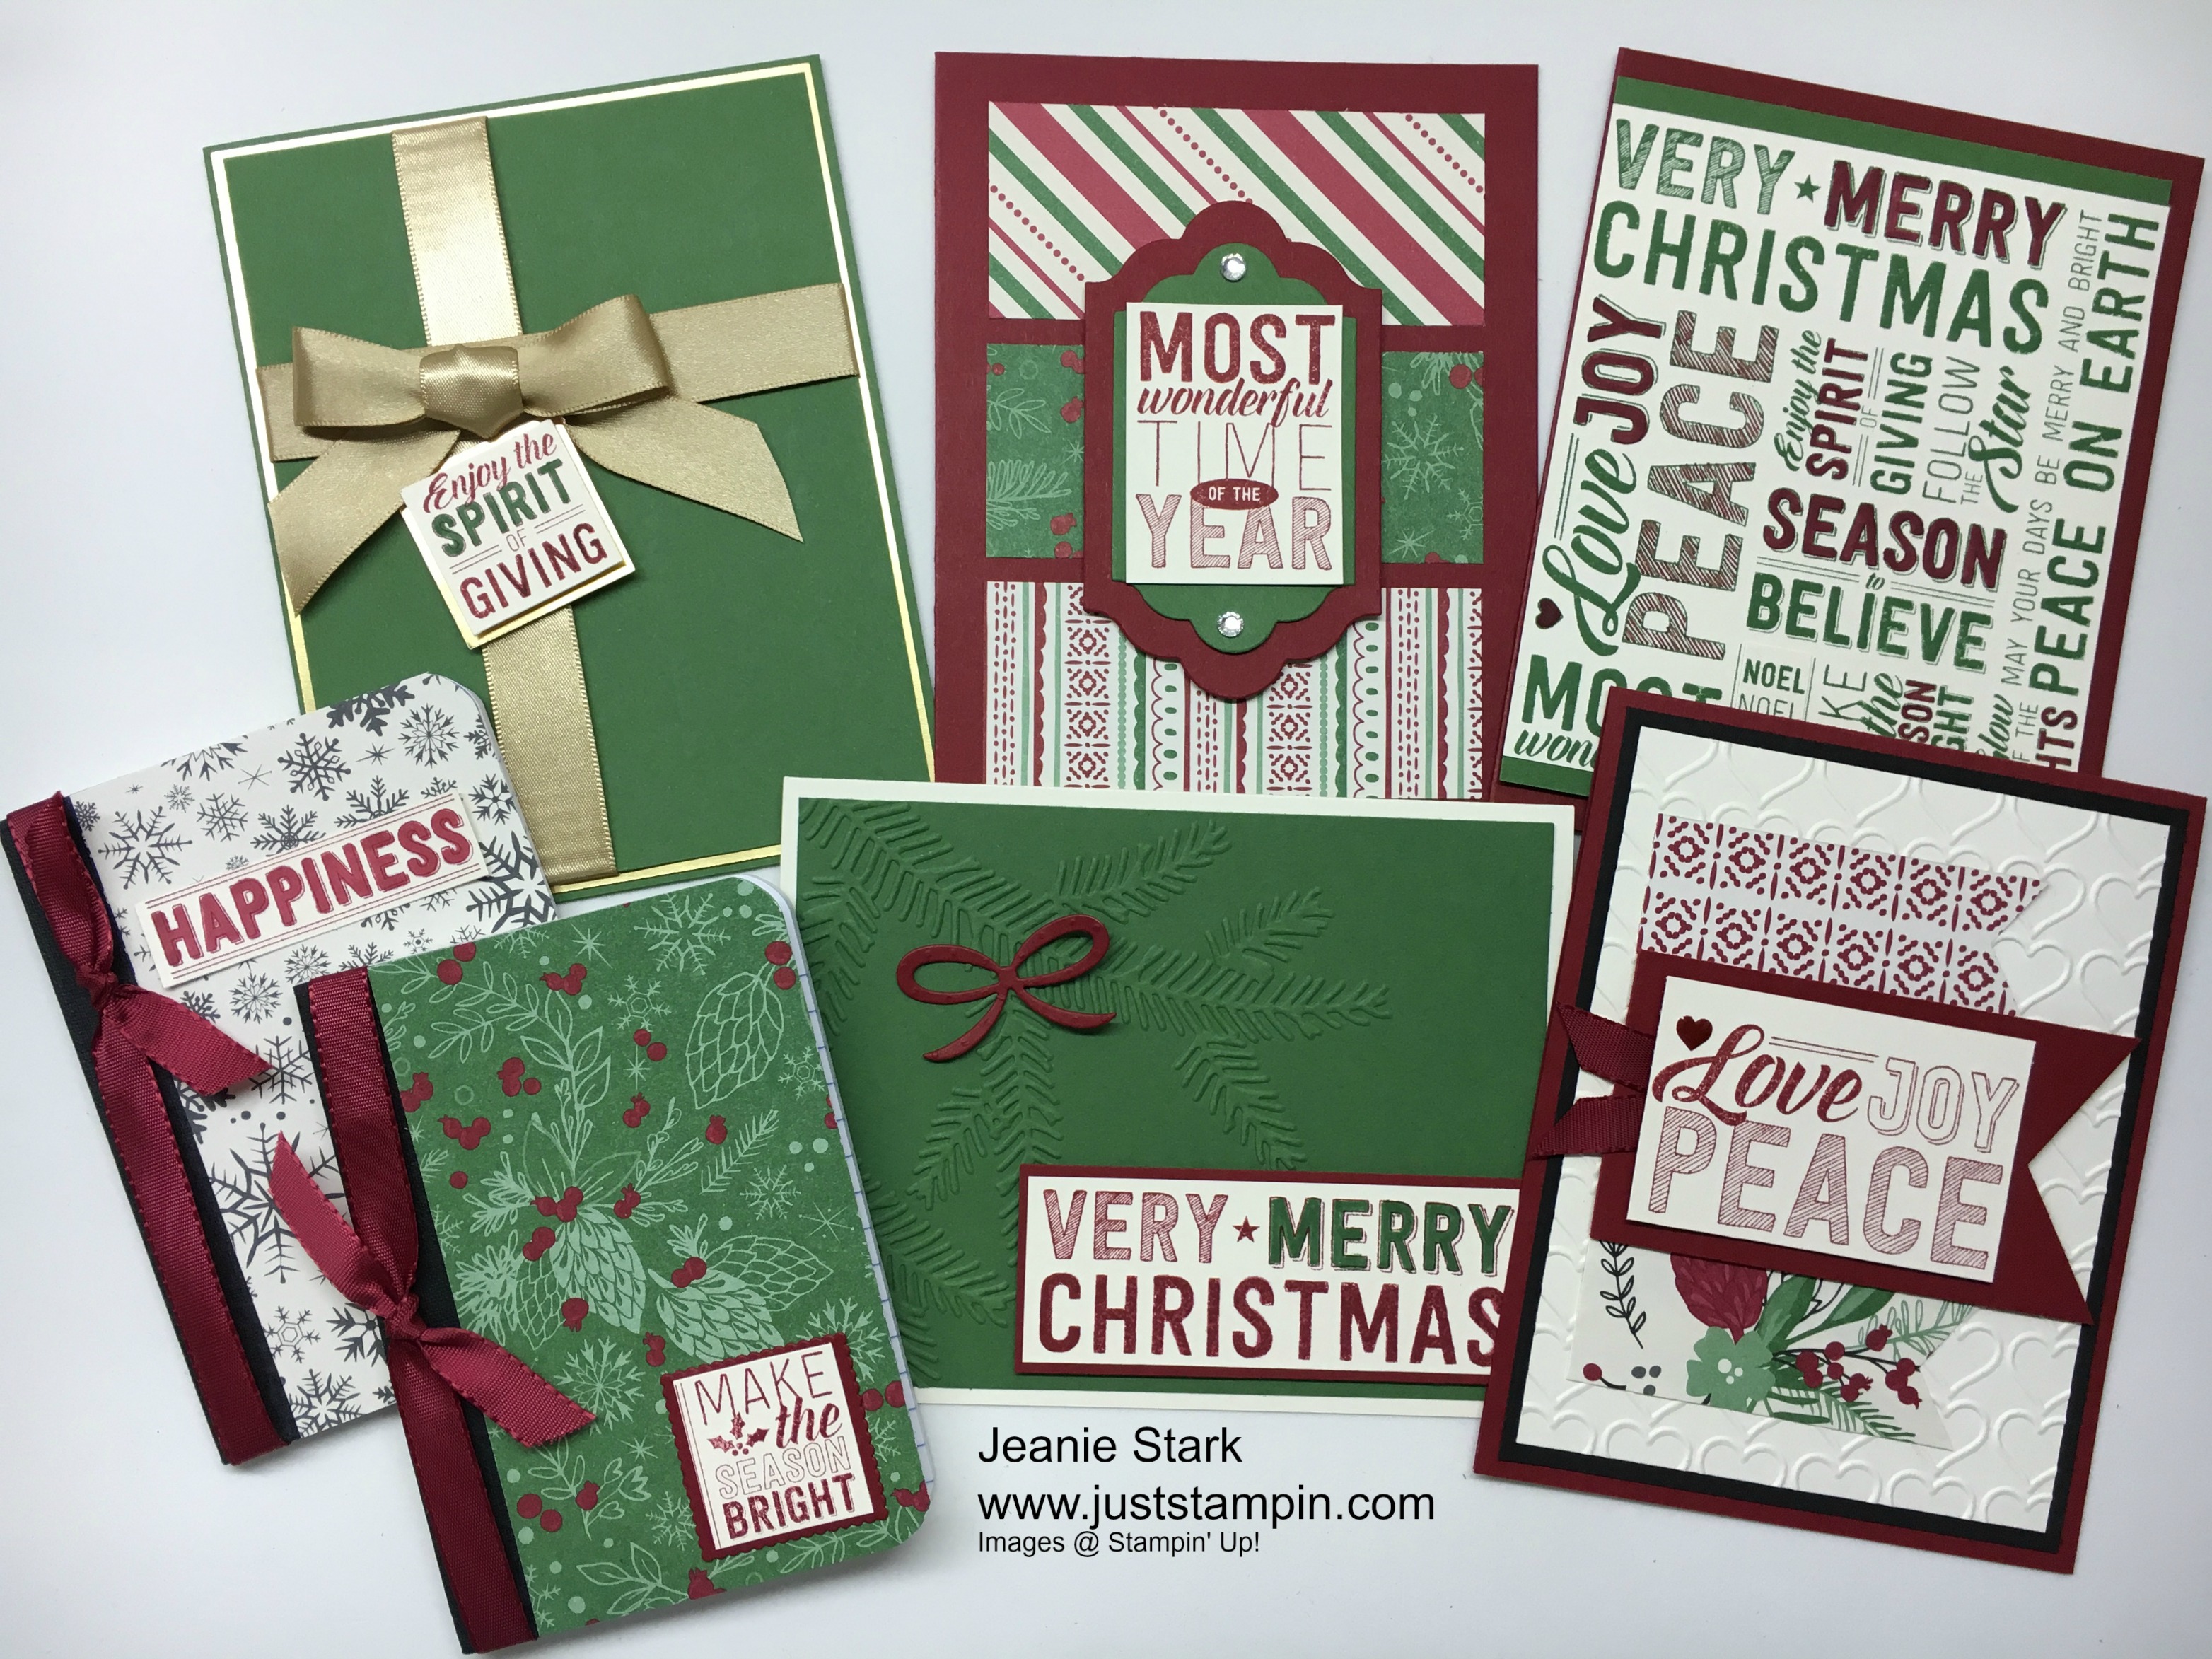
I am taking preorders for my Merry Medley kit from now through September 29th. The kit includes the Merry Medley stamp, Cherry Cobbler & Garden Green Stampin’ Write Markers, and all the supplies…card bases, envelopes, ribbon, cardstock, Designer Series Paper, die cuts, and embossed pieces (precut and ready to stamp and assemble) to make 5 cards and a 3D project (a mini notebook)! You can see the full post HERE.
Merry Medley Card Kit October 2016
The cost of the Merry Medley Stamp Kit is $40 (Merry Medley clear mount stamp and set of 2 Stampin’ Write Markers are included with the kit). Note: If you prefer the wood mount Merry Medley stamp the cost is $45. Email me (j.stark@myactv.net) by September 29th with “Merry Medley Kit” in the subject and I will send you a PayPal invoice. Be sure to include your shipping address!
Here’s my Back to School Special for today…With an online purchase of $25 or more I will send you a vellum card kit with a Stampin’ Sponge so you can give this technique a try. Be sure to enter the Hostess Code 7CNZAUYM when you check out. (I’ve included a visual below.) Click HERE to go to my online store.
I’m excited as I have some special visitors coming for lunch and perhaps a little stamping or apple picking. Such a variety of activities to choose from!