A Blessing Box

img_6827
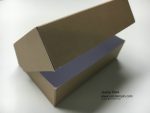
A Fold-over Box using the card base and contents from the October 2016 Paper Pumpkin kit

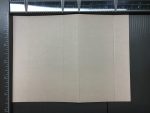
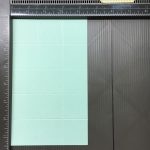
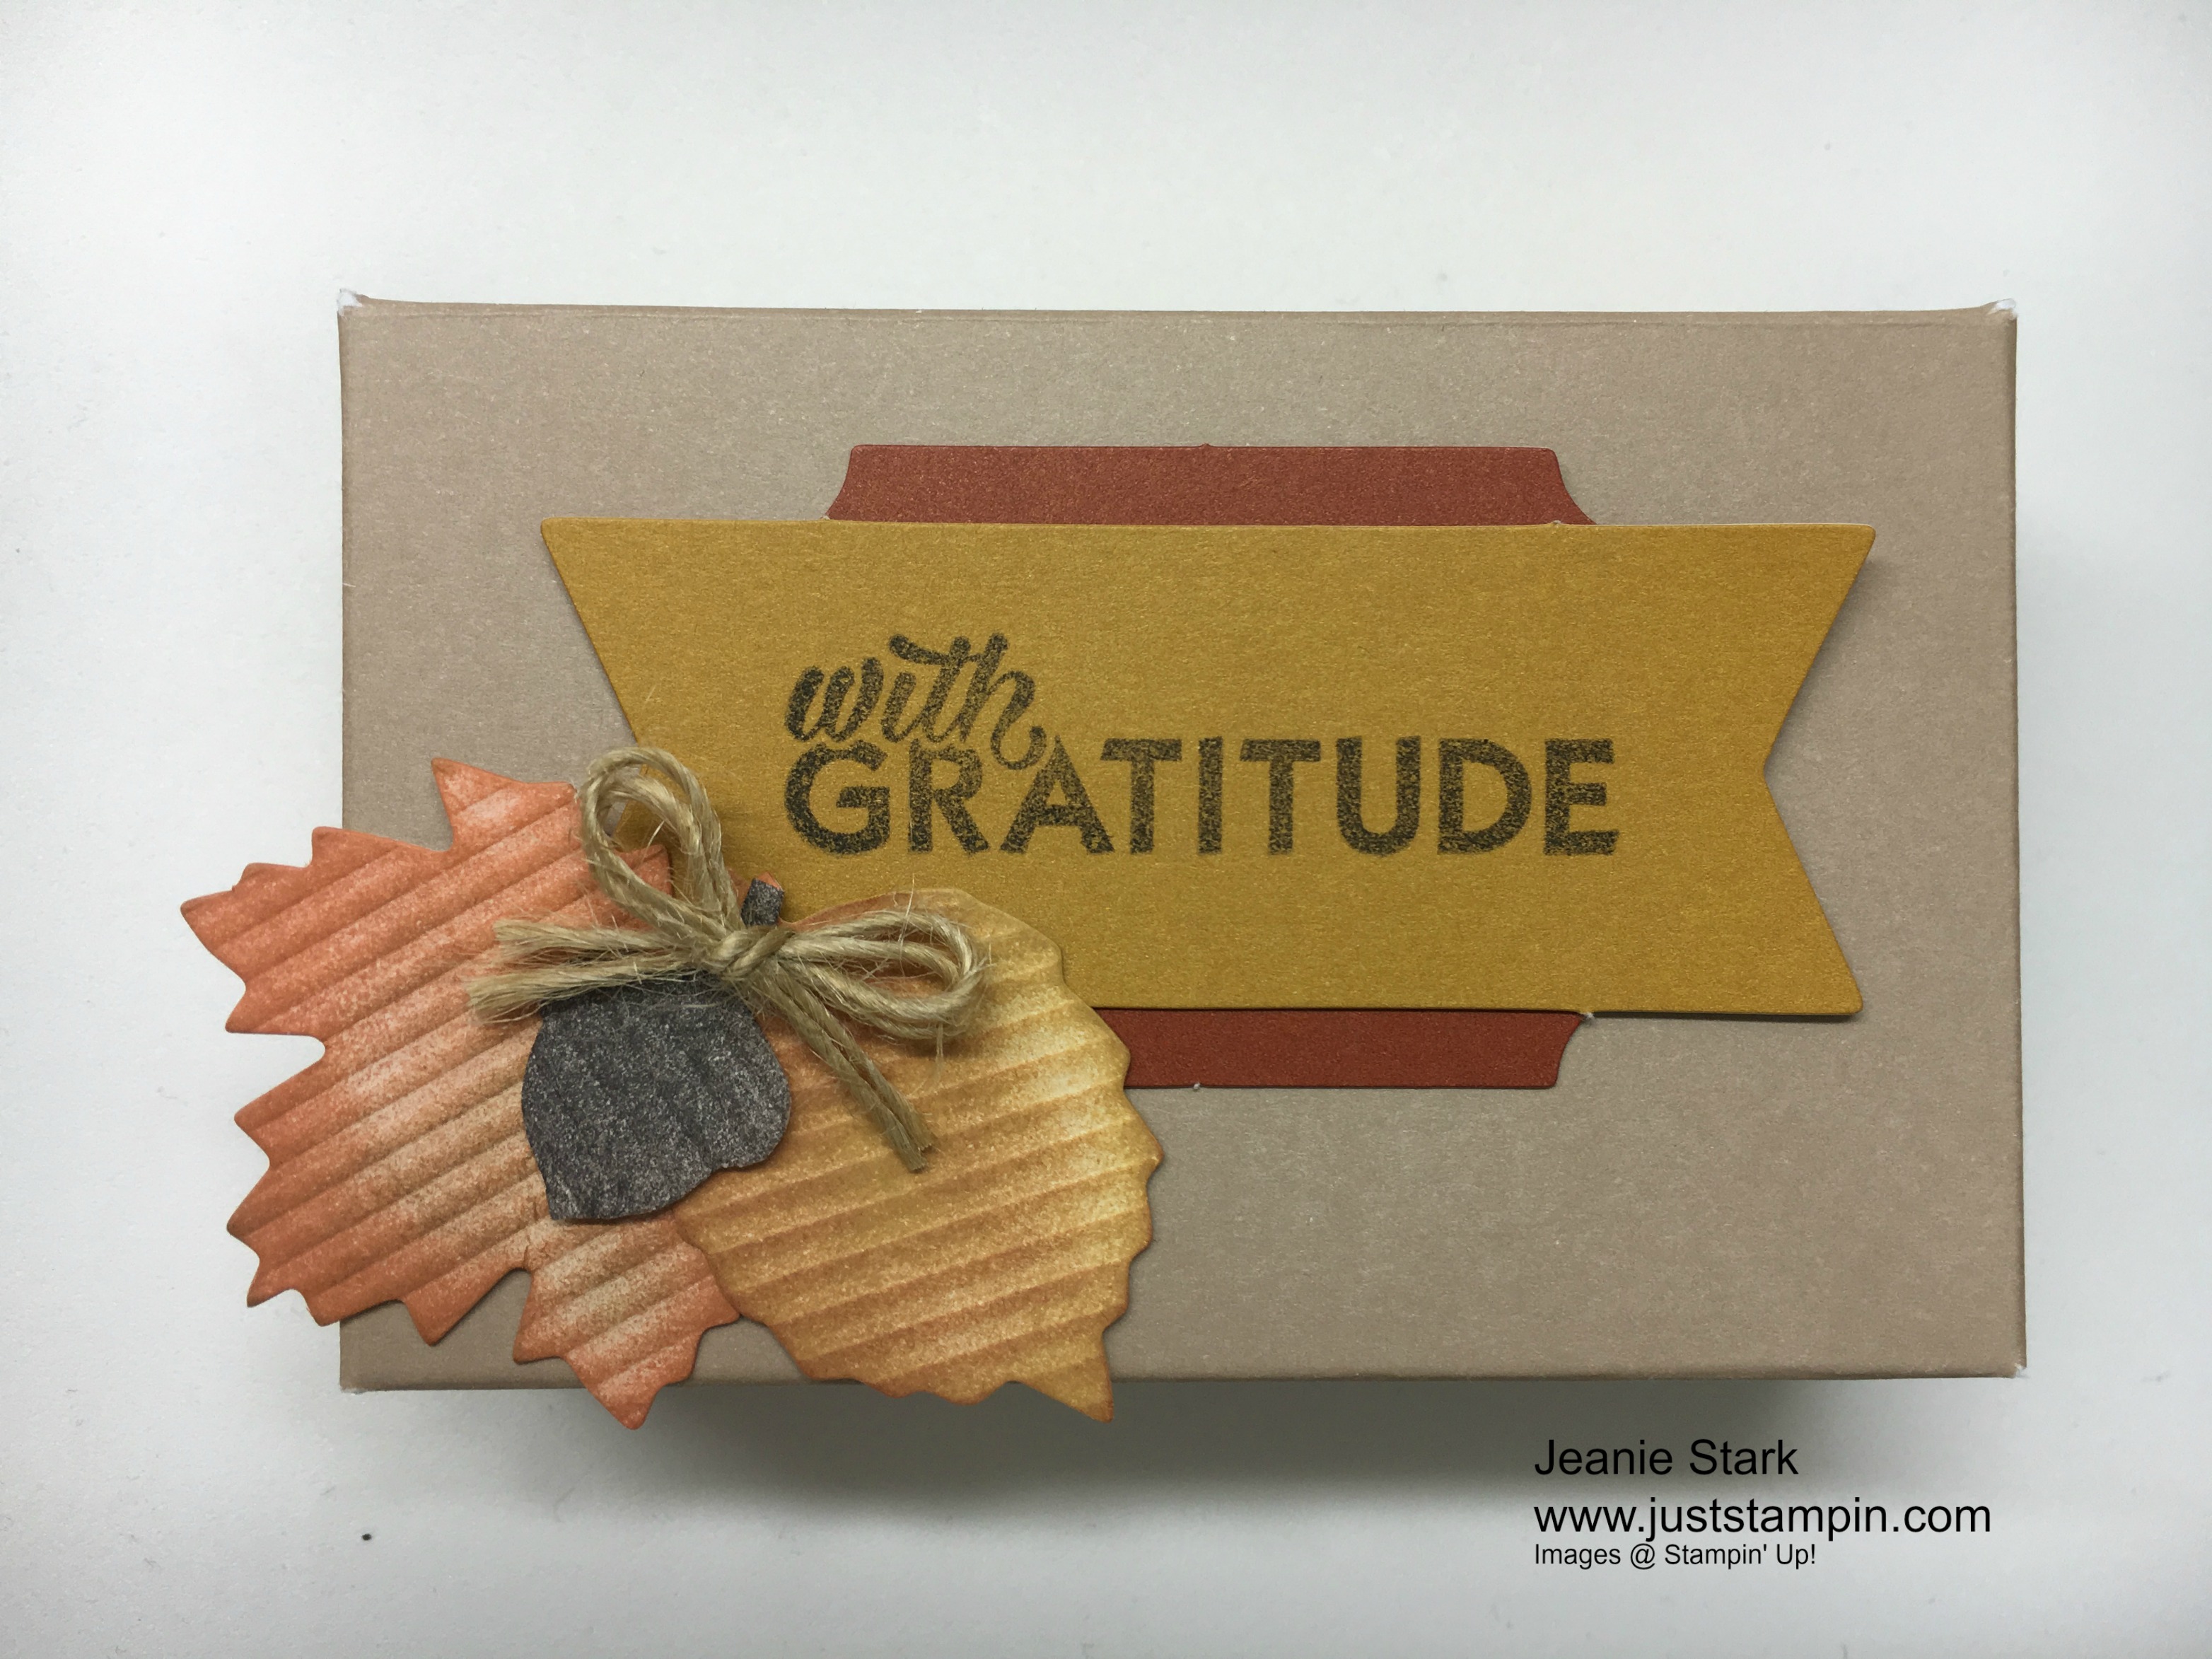
Yesterday I shared some of the alternative ideas my Paper Pumpkin Players made with the October 2016 Paper Pumpkin kit. I promised I would share with you today how to make the fold-over box using one of the cards in the kit.  I have made lots of these boxes in the past using a piece of 4 1/4 x 7 1/2 card stock.  I really like how the cards in the kit are colored on the outside and whisper white on the inside. The card in the kit comes prescored so first you need to cut 1 inch from the card base so it measures 4 1/4 x 7 1/2.  With the long side across the top (make sure the prescored line is at the 4 1/4″ mark), score at 1, 3 1/4, and 6 1/2.  (*If you were making this with a piece of card stock you would also need to score at 4 1/4. The card in the Paper Pumpkin kit is already scored at 4 1/4.)  Then with the short side across the top, score at 1 and 4 1/2.

Cut up to the scored lines along the long side using your paper snips. Notch each of the 6 tabs and add tear & tape (or other strong adhesive) on each of the notched pieces.

Adhere the notched to the rectangle pieces to form the box.
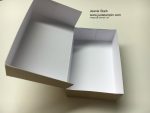
You can decorate your box top as desired and add a small gift (jewelry 🙂 ), candy, etc.

Every year I make a Blessing Mix for Thanksgiving and this box is the perfect size to use as table favors or gifts.  I typed the “recipe” and cut them apart. It fits nicely in the bottom of the box with the blessing mix on top.
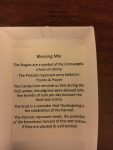
*Update:  Click below for a printable copy of the Blessing Mix.

blessing-mix-2010-1

Ingredients for Blessing Mix:

  • Pretzels
  • Bugles
  • Candy Corn
  • Peanuts
  • Orange slices (gummy kind)

I am thankful you stopped by today and I want to remind you that tomorrow starts the Stampin’ Up! Online Extravaganza!  This happens just once a year and is a great opportunity to shop & save!

online-extravaganzaClick on the link below to view and print the flyer.

online-extravagana-product-list-us

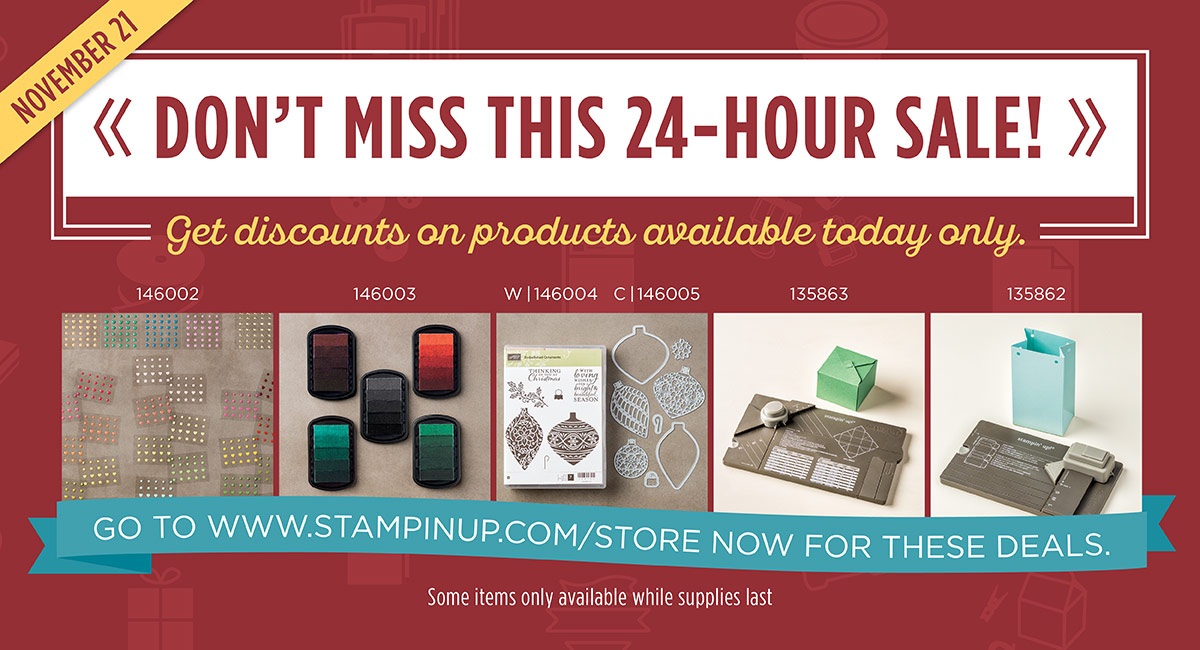
Tomorrow is a FLASH SALE with some select products on sale Monday only! Note that some items included in the extravaganza are while supplies last.  If there is something you have been wanting make sure you get it before it’s gone!
onlineex_flash-shareable_nov2116_na

I love the candy dots and this is a great chance to purchase them as a bundle and save!  The ombre ink pads are being offered as a special bundle Monday only as well!  I love the details in the Embellished Ornaments Stamp Set and coordinating Delicate Ornament Thinlits.  Check out these projects I have made with some of these products.  You can click on the image to see the original post with all the details.

img_4568
Delicate Ornament Thinlits
img_4367
Emerald Envy Ombre Stampin’ Pad

Hope you have a wonderful day!

Just Stampin’

Jeanie


X is for Box

Welcome to my ABC’s of Stampin’ series. You really didn’t think I was going to come up with something that starts with X did you?  When I teach the letter X to my Pre-K students we say “X as in Fox“.  I almost went with sharing the Foxy Friends Suite today but I love to make boxes.  As you know, I like to give little gifts to the hairdressers where I sell my cards to raise money for Breast Cancer Awareness. This is what I made for the ladies this month.

img_4661
Mini Box idea from Sam Donald of Pootles Papercraft

I got this idea from the eXtremely talented Sam Donald (Pootles.com).  Check out her YouTube video below to see how to make it.

Here’s a few photos and measurements for the mini box.  The cardstock measures 4 1/2 x 7 1/2.  Use your Simply Scored Scoring Tool and with the long side across the top score at 1 1/2, 3, 4 1/2, and 6 inches.  With the short side across the top score at 1 1/2 and 3.

See the diagram below (or refer to the video) to see where to cut and apply adhesive.  I used Tear & Tape adhesive.


The mini boxes are the perfect size for a Ferrero Rocher Chocolate.  Yum! I decorated the sides of my boxes with Blooms & Bliss Designer Series Paper.  Each square measures 1 1/4″. The flowers are punched from the Itty Bitty Accents (retired) and adhered with glue dots. You can easily substitute the smallest flower from the Blossom Bunch Punch or one of the many flower choices from thinlits dies.  I love the linen thread accent under the flower. I used a Rhinestone Basic Jewel in the center of each flower.

You can also make boxes using the Stampin’ up Gift Box Punch Board, the Curvy Keepsake Box Thinlits, or the Baker’s Box Thinlits Dies.  I already shared the Gift Box Punch Board with you (G is for Gift Giving) and the Curvy Keepsake Box (Curvy Keepsake Apples).  If you missed those posts you can see them HERE or HERE. You can check out how to use the Baker’s Box Thinlits Dies in this short video.

The Curvy Keepsake Box is so versatile and I have used it many times to put treats in for my students, hostesses, holiday table favors, gifts, etc.  Here is an exhibition of some cool projects you can make.

I received this adorable tiny treat box from Ramsey the other day when she came to visit.  I love the tag and how she layered the Fruit Stand Designer Series Paper with Real Red cardstock to make it pop!  She cut out the strawberry from the DSP and glued it on. How clever!  Thank you Ramsey! I love it and can’t wait to try the strawberry jam inside!

img_4642
Created by Ramsey Alexander

I have heard from so many of you about how much you like my ABC’s of Stampin’ series. Thank you so much for all your kind words, support, and encouragement!  We are almost done with this series and like you I am a little sad to see it end.  But don’t worry because  I have an eXciting new series coming up for the month of October!  Today I have 2 posts for you… X is also for EXTRA, EXTRA, Read All About It! Be sure to check your inbox for this eXciting news!

Speaking of eXciting news…Did you see the Merry Medley Stamp Kit I am offering?  Tomorrow is the last day to preorder your kit! Click HERE for all the details then email me ( j.stark@myactv.net ) to order your kit!

img_4537
Merry Medley Stamp Kit    October 2016

Here’s my Back to School Special for today…With an online purchase of $25 or more I will send you a kit to put together today’s box  I made for the hairdressers. And because this is the letter X…you will get an eXtra box kit for each additional $25 you spend!!! Be sure to enter the Hostess Code 7CNZAUYM when you check out. (I’ve included a visual below.) Click HERE to go to my online store. (Clothespins like I used with today’s box are on clearance as well as lots of gorgeous ribbons, stamp sets, etc.  Make sure you check out the Clearance Rack for eXtra savings!!!)

Have an eXtraordinary day!

Just Stampin’

Jeanie

Just a Note for Back to School

img_3841

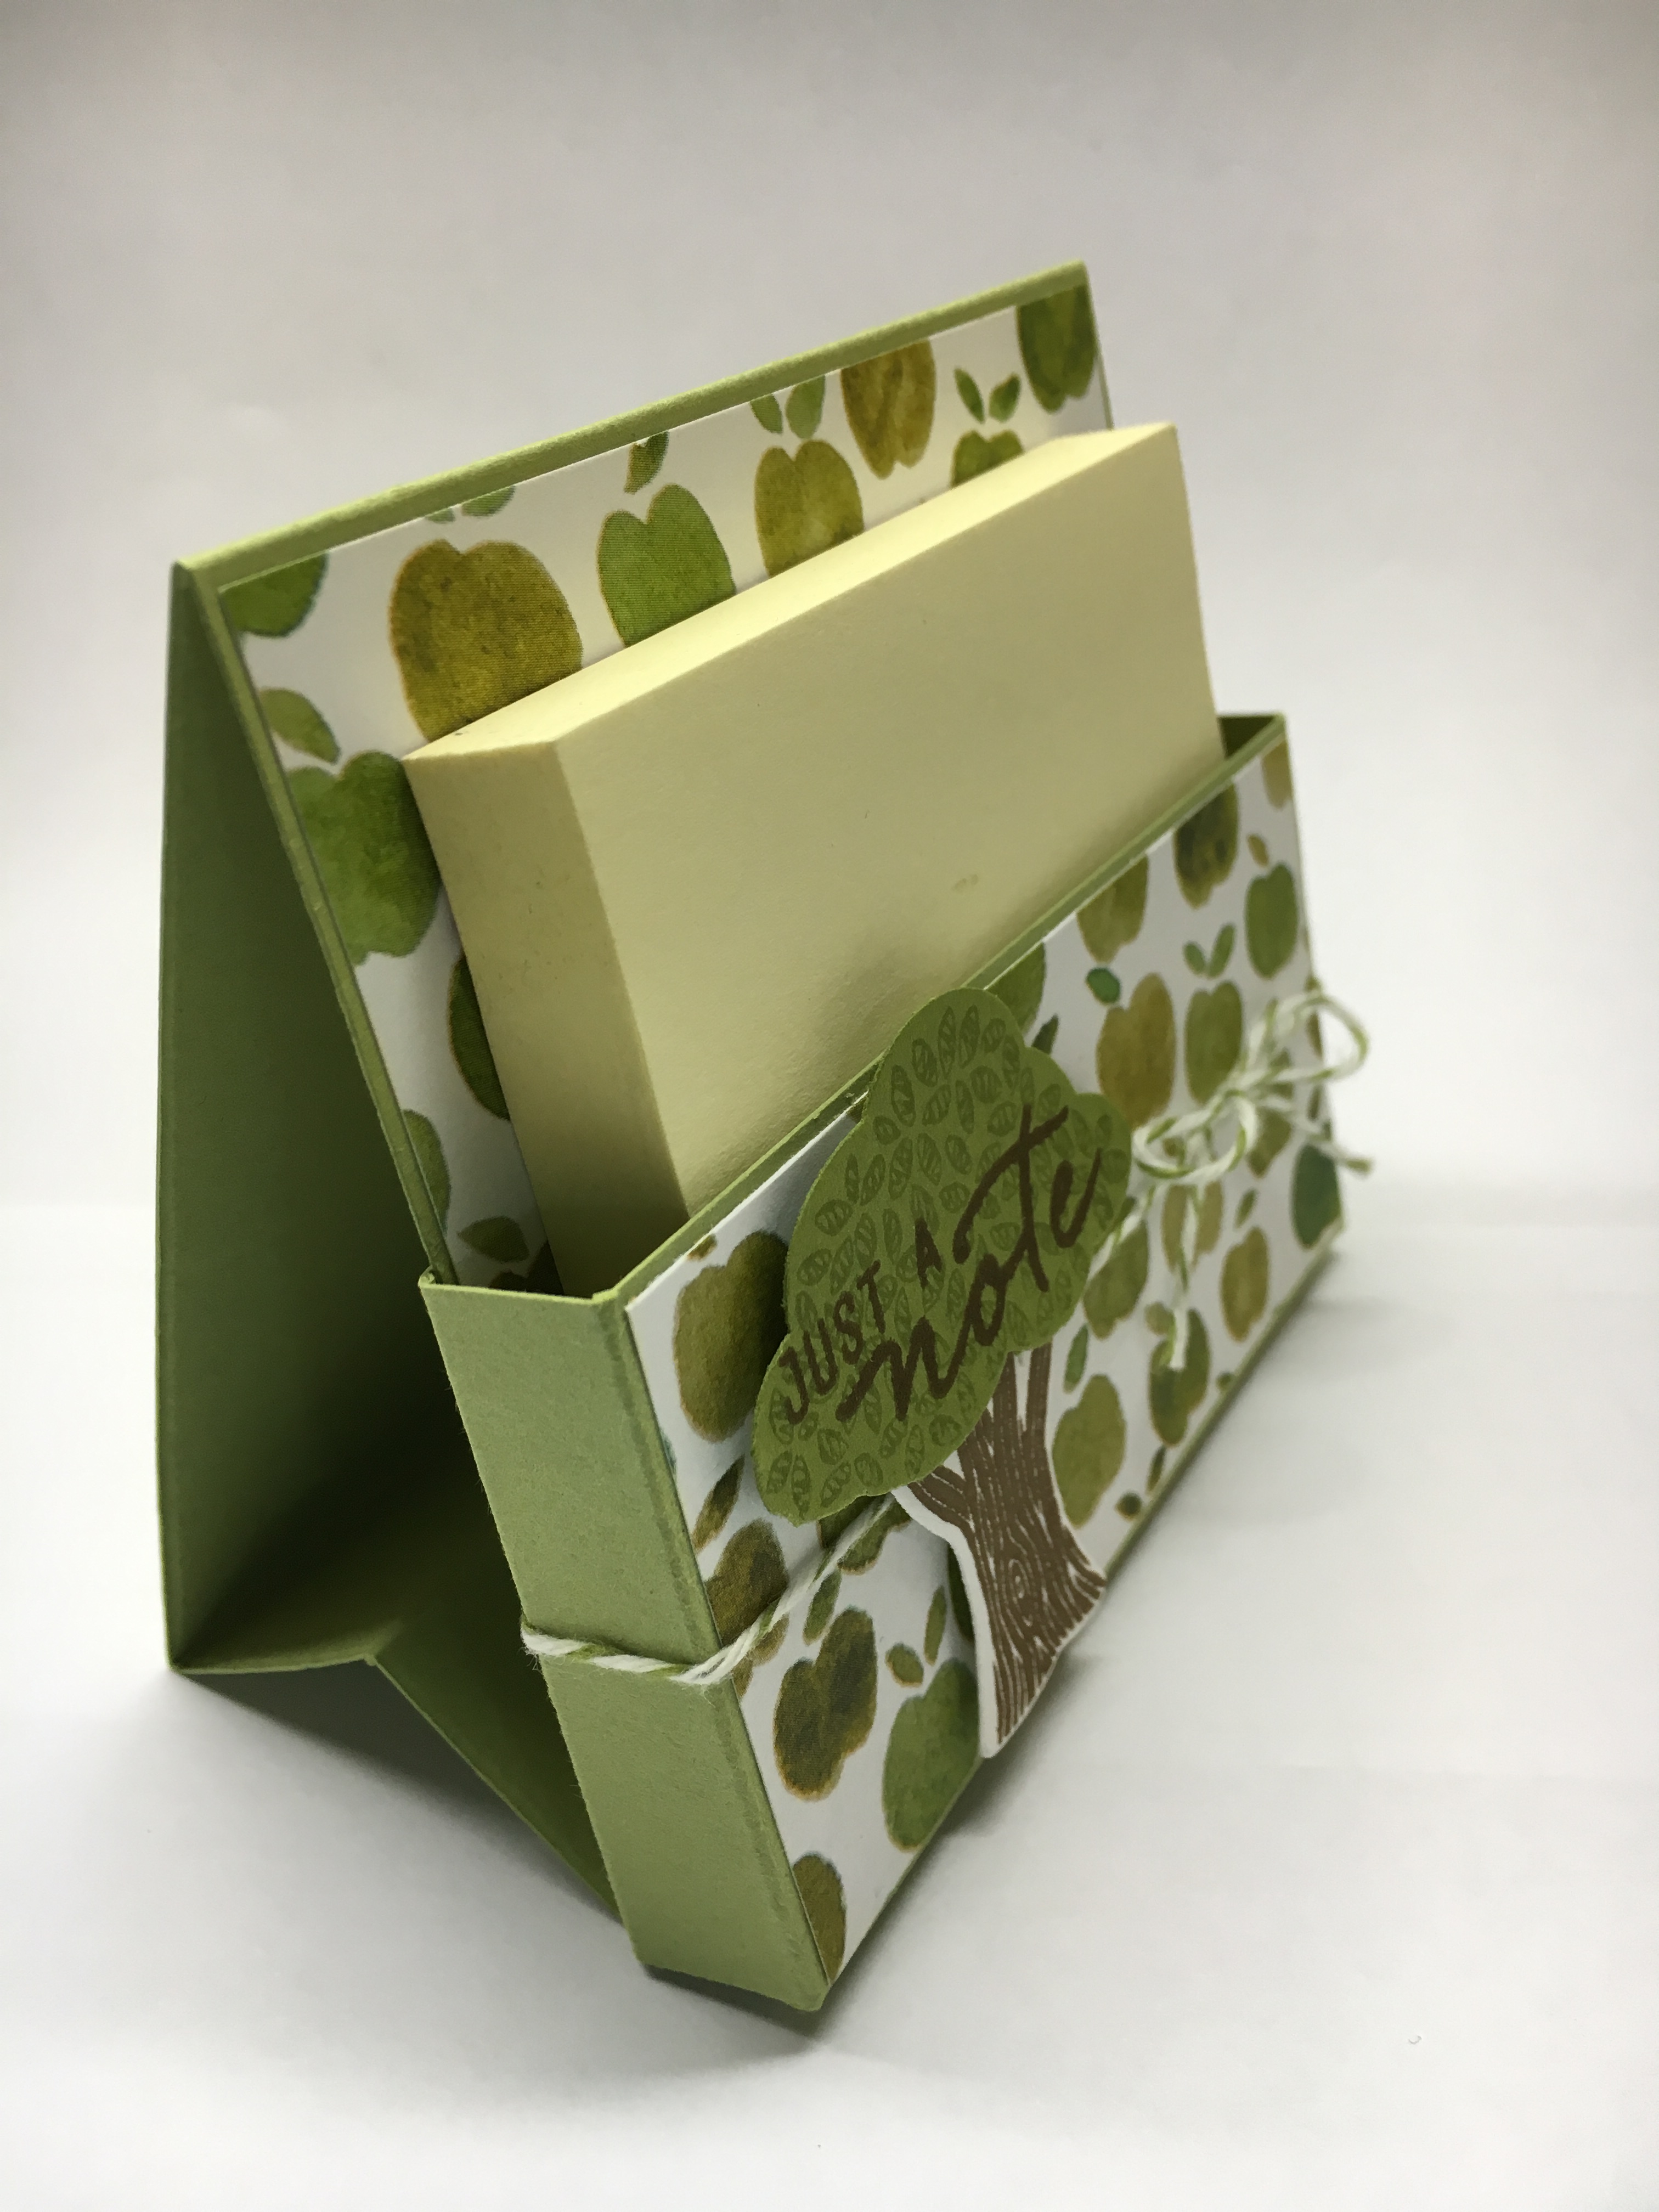
I seem to have apples and school stuff on my mind this week! Today’s post-it note holder would be a great gift to give with the card I made yesterday. The apple DSP was still sitting on my desk along with some post it notes. (I am such a list person and anytime I get a thought or idea I have to jot it down. Sometimes I need a list to remind me of the list!)   I decided to use the leftover paper and make this post it note holder.  I am going to keep this one for myself; however, now that I know how quick and easy it is to make, I think I’ll make some for the office staff at work. They always do so much for everyone else!  I bet you can think of someone who might like one too.  Or just make one for yourself.

I watched a rather looooooong video by Jan Brown from the UK.  She CASed (Copied And Shared) it from someone else. I decided to change it up as I did not need to put a pocket on the back to hold a business card or gift card for myself. I suppose if you want to make one for someone else and put a nice gift card in the back no one would complain. LOL  I did try to simplify the steps so you don’t have to watch the 45 minute You Tube video but, just in case you want to watch Jan’s video you can click HERE.

Here’s the details for mine. Start with a 5 3/4 x 12 piece of Pear Pizzazz cardstock.  With the short side across the top of the Simply Scored Scoring Tool, score at 1/2, 1, 4 3/4, 5 1/4.  With the long side at the top, score at 2, 2 1/2, 6, 9 1/2, 10 1/2, 11 1/2.

img_3819

Next you need to cut 1 inch off the long sides from the 2 1/2 inch score line. See the photo for where to cut and snip.

img_3825

Fold and crease on the score lines with a bone folder. See the photo for which way to fold along the score lines. The box section is in front and it looks like a tent from the side view.

img_3827

Attach DSP (3 5/8 x 1 7/8, 3 5/8 x 3 3/8) and then put Tear & Tape Adhesive as shown and adhere the holder together.

Wrap Old Olive Baker’s Twine around the holder and tie a bow.  To decorate,  I used the Sprinkles of Life stamp set to stamp the tree leaves in Pear Pizzazz on Old Olive cardstock. I stamped the sentiment from Watercolor Wishes with Soft Suede ink. The tree leaves get punched out with the Tree Builder Punch. Stamp the tree trunk from the Thoughtful Branches stamp set in soft suede ink and cut it out with the matching Thinlits Die.

img_3845

img_3840

Attach the tree to the front of the holder with Stampin’ Dimensionals. Add your Post-It Notes and that’s it! There’s room on the side of the holder to put a pen or pencil.  I’m going to put a small golf pencil in mine.

img_3844

img_3843

I really like the way the Sprinkles of Life and Thoughtful Branches Bundles go together. This would make a nice little gift set. You could put the “Just a note” sentiment on the cards too!   If you missed yesterday’s post how to make the card you can see it HERE.

Stamp Sets: Sprinkles of Life, Thoughtful Branches, Watercolor Wishes  Inks: Soft Suede, Pear Pizzazz  Papers: Whisper White, Pear Pizzazz, Old Olive, Fruit Stand Designer Series Paper  Tools & Accessories: Tree Builder Punch, Beautiful Branches Thinlits Dies, Old Olive Baker’s Twine, Stampin’ Dimensionals, Post-It Notes

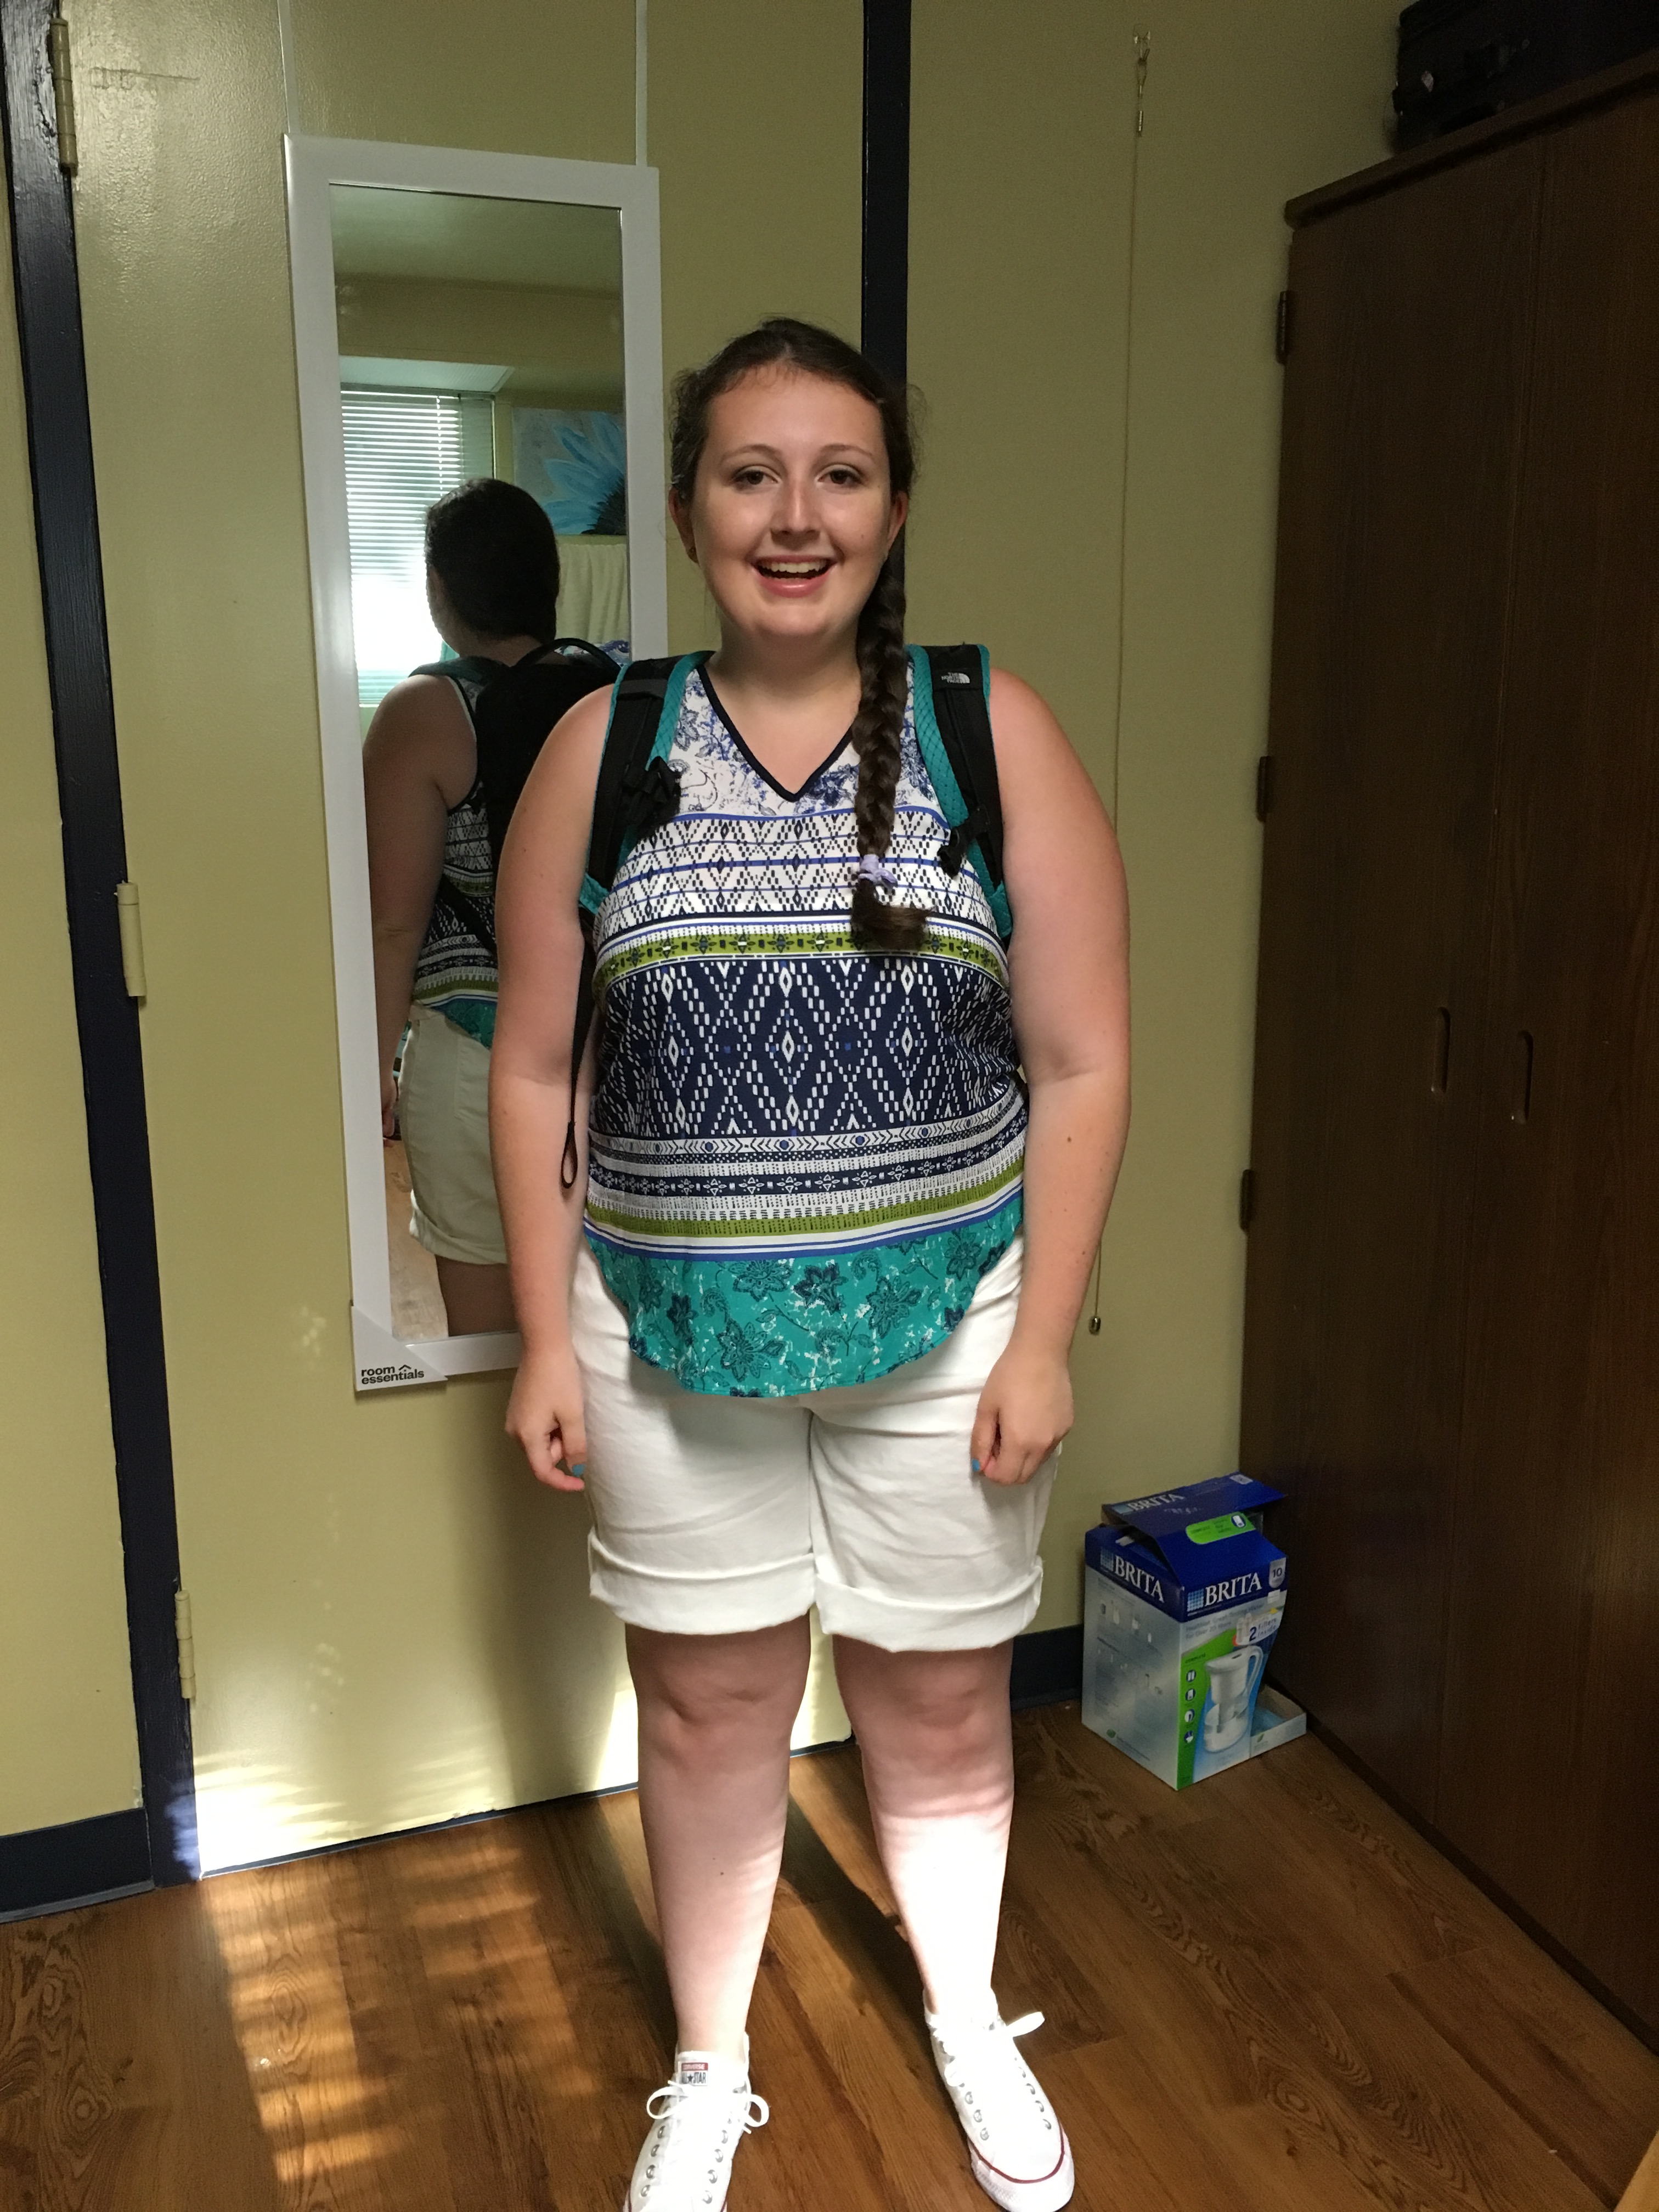
I remember taking my kids shopping for new backpacks and back to school supplies each year. Before they went to school I always took the traditional back to school photo on their first day. Now that my youngest is off at college, I didn’t think I’d have any first day photos this year. I was touched and surprised when my daughter texted me this photo on her first day of classes at college. So sweet and thoughtful of her to remember!

img_3611

They grow up so fast! Here are pictures of my son and daughter on their first day of kindergarten. Boy do I miss those days!

I hope you have a wonderful day!

Just Stampin’

Jeanie
tpolbpolymer