Gingerbread Christmas

Last week my friend Rachel and I took a road trip to Alexandria, Virginia to meet one of my favorite children’s book illustrator/author, Jan Brett.  Her detailed artwork is amazing!!!  I was thrilled to meet her and get an autographed copy of her newest book, Gingerbread Christmas!  I love books and reading as much as I love to stamp! I made these little treats for my students to go with this new Gingerbread story.

img_7250
Candy Cane Lane Designer Series Paper and Cookie Cutter Christmas Stamp and Punch

I started with a piece of 2 x 7 1/2″ DSP from Candy Cane Lane.  I punched one end using the Scalloped Tag Topper Punch.  I scored the other end at 2 and 2 1/4. I folded on the score lines and secured each end with a glue dot at the top.  I cut the gingerbread house out from another piece of DSP using my Paper Snips and glued it to the front.  I stamped the gingerbread man using early espresso ink and punched him out with the Cookie Cutter Builder Punch. The bow tie is stamped in real red ink.  I attached the bow tie and the gingerbread man with glue dots. I love the real red stitched ribbon and used that to thread through the top of the paper and around the candy cane. I used the Candy Cane Lane Baker’s Twine to tie a bow and keep it secure .  Jan Brett’s team was most generous and gave me extra buttons and booklets for each of my Pre-K students. They are going to love the story and their treats!

Rachel and I had a fun time (until we had to drive home 2 hours in FOG)!  Here’s some photos from our adventure.

img_7085
 Jan Brett Tour Bus in Alexandria, Virginia
img_7078
Author/Illustrator Jan Brett

Now I need your help! Jan Brett is giving away 10 books to the person who receives the most votes from Facebook voters.  Go to http://www.facebook.com/byjanbrett  and vote for my photo with the tour bus!  There’s only 1 week left in the contest and our school would love to win these books! Look for this silly photo of me.

img_7086
 Go to http://www.facebook.com/byjanbrett and vote to help me win the Grand Prize of a Jan Brett Library!

I love to give books as gifts and it is always fun to make something to go with it…a card or a treat (or both).  I have given Jan Brett’s book, The Mitten, to so many kids over the years and I would always include a pair of mittens. If you shop Kohl’s, they have a great program, Kohl’s Cares.  They sell great classic books with stuffed animal characters (for just $5 each) and 100% of the net profit from the sale support kid’s health and education initiatives in communities nationwide. Whenever a parent asks me what they can do to help their child in school, my first response is always READ!!!! It’s simple, rewarding, and so effective! (I’ll spare you all the research and experience which proves it!)

So, to sum up today’s post…buy a book, make a card or treat to go with it, read to a child, and vote for me on facebook!  LOL  (Oh, and feel free to shop my online store!)

Thanks for stopping by!  Have a great day!

Just Stampin’

Jeanie

year-end-closeouts-with-dates


P is for Punches (and Paper Pumpkin)

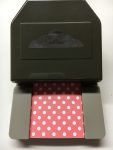
I love the Stampin’ Up! Punches! They make it so easy to add interesting layers to a project. I have plenty of photos and punched projects to share with you today as well as my Paper Pumpkin Preview, videos, and special offers. Let’s get started with a quick 2 minute video showcasing one of my favorite punches, the tag topper punch.

Oh My Gosh!!!  Did you just love the candle wrap she showed in the video?! What a clever gift presentation! Here are some projects I made with the tag topper punch.

img_4415

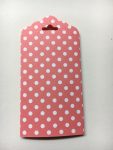
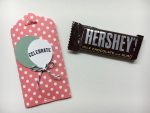
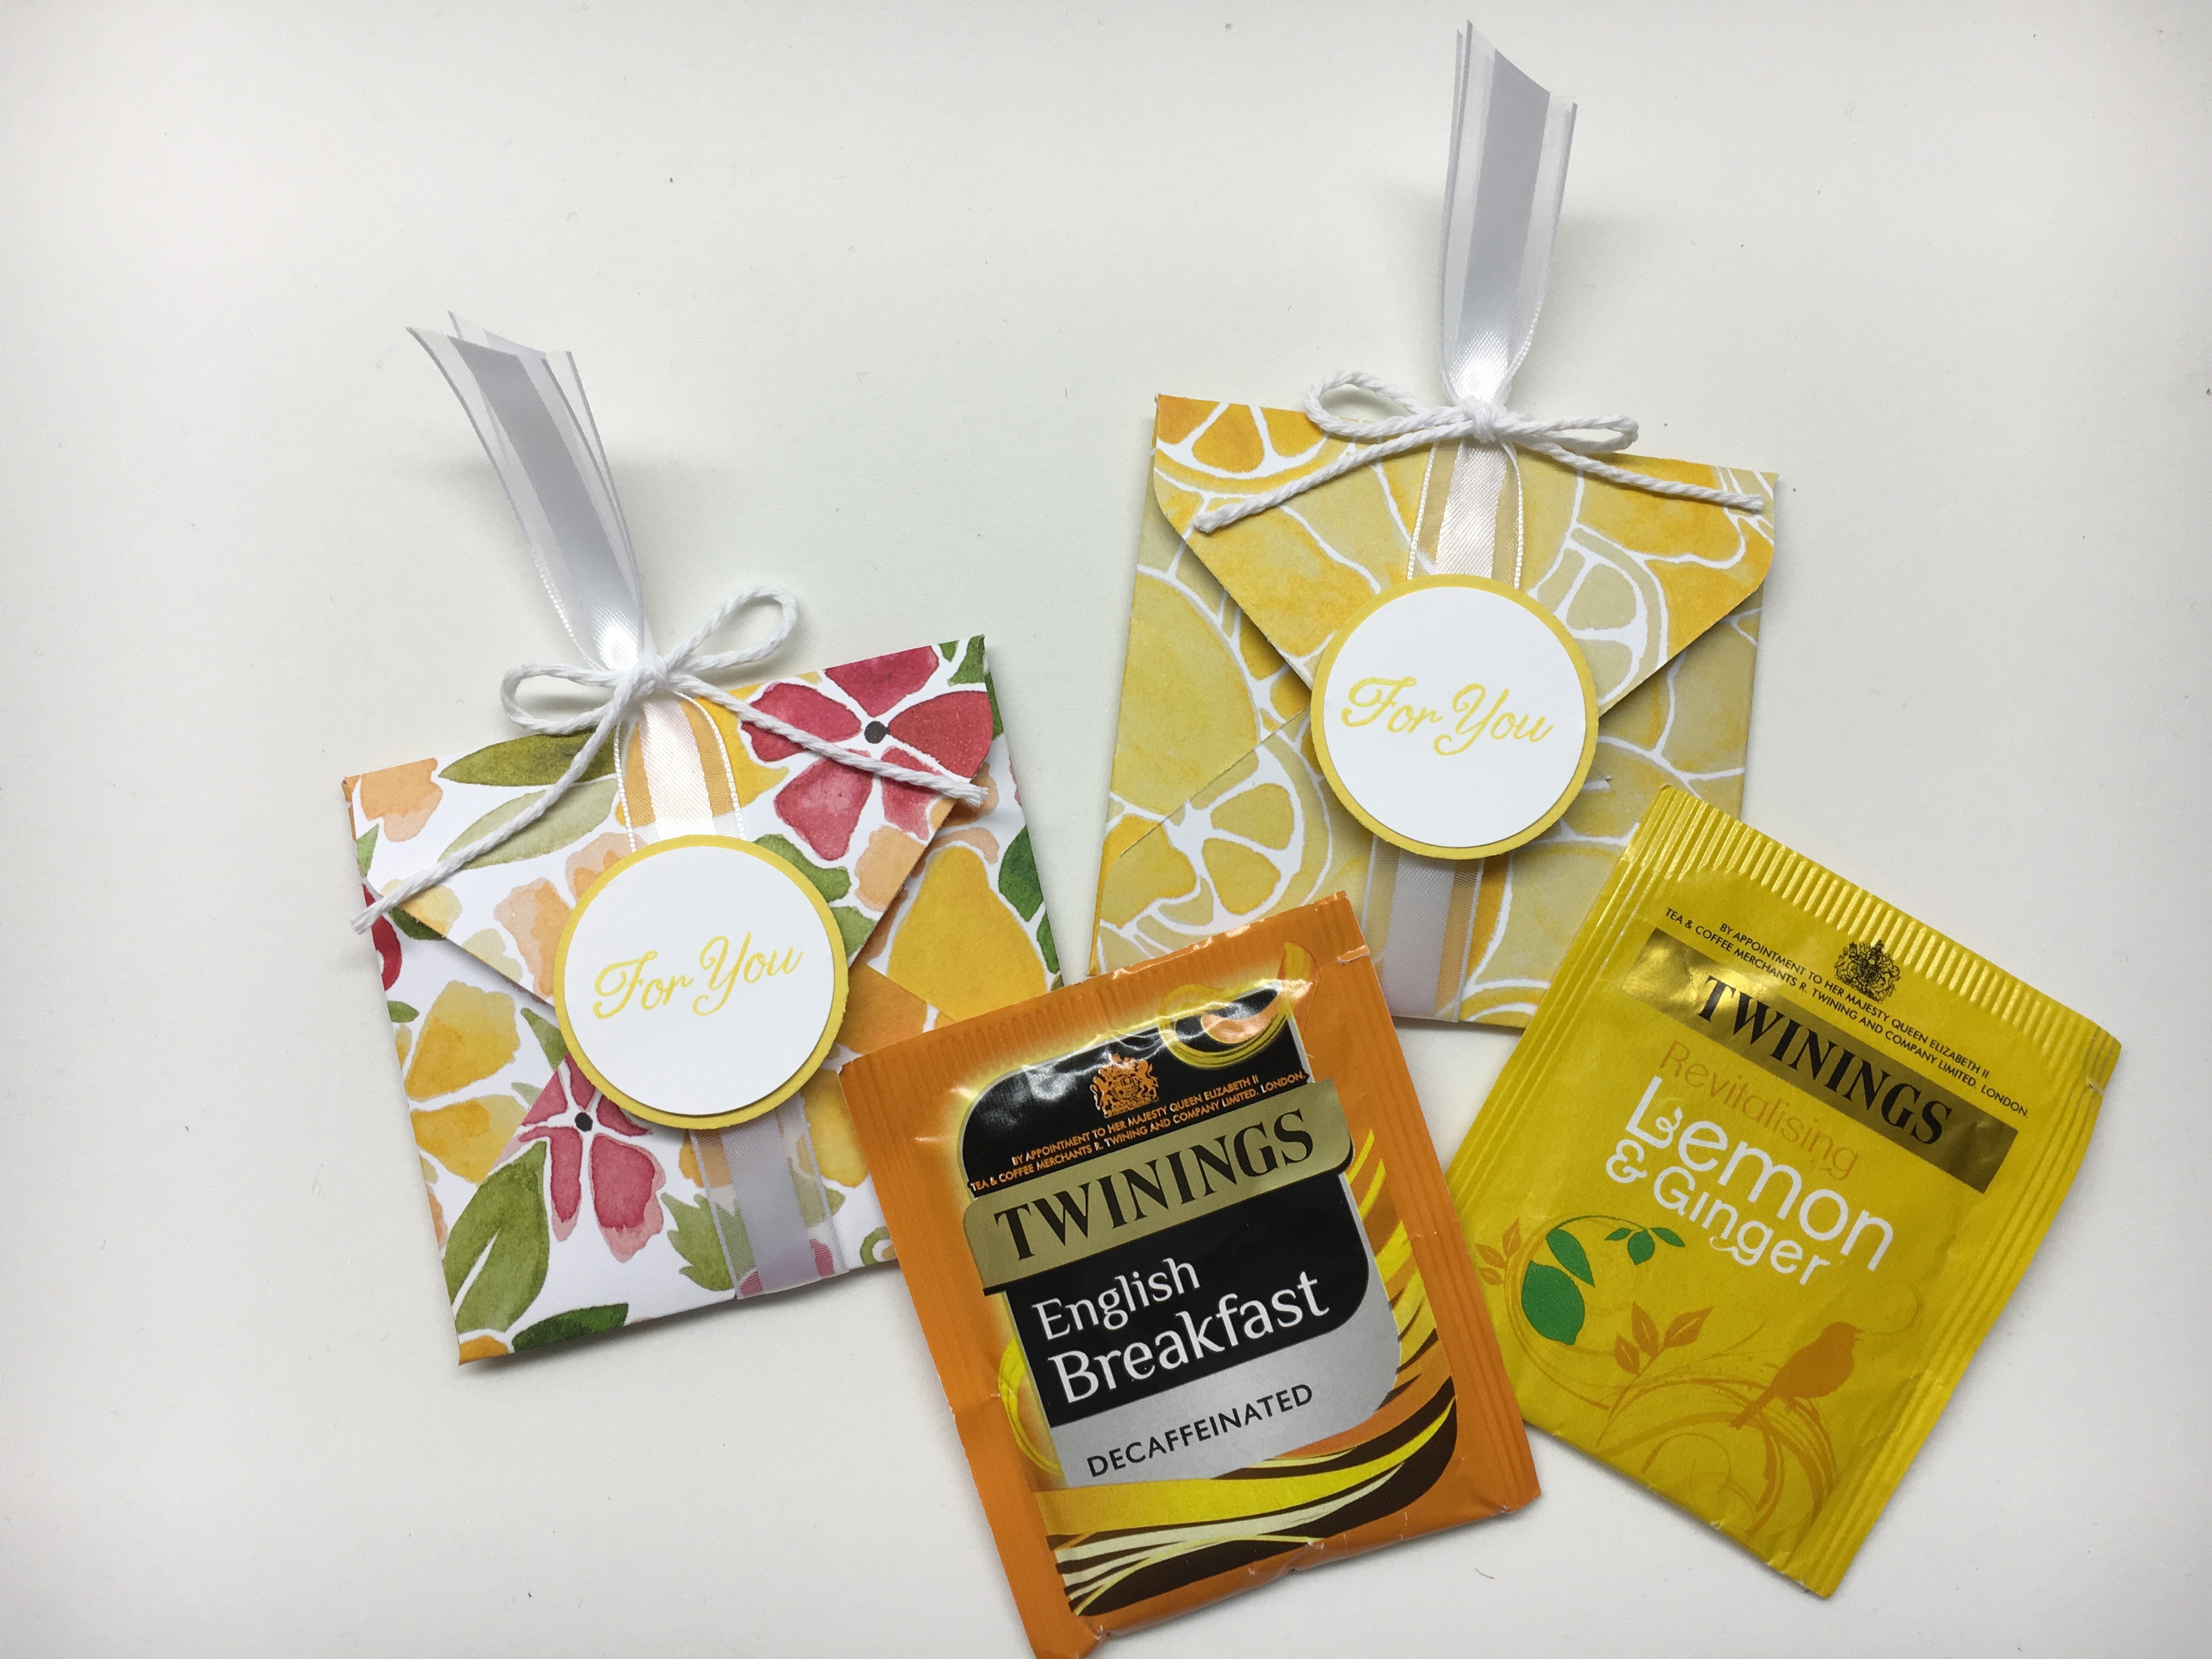
The tag topper punch can be used for cards, gift pouches, as well as tags and more. I love making gift sets that all go together.  The measurements for the gift pouch came from Hannah McCurley (StampinbyHannah).  Start with a piece of 4 x 4 1/2 Designer Series Paper and score on the long side @ 2″ and 4″.  Add tear & tape along the edge to adhere. Punch the top with the tag topper punch and staple the bottom closed. I decorated the front using the Balloon Bouquet Punch and stamped the sentiment from Thoughtful Banners. This is the perfect size treat holder for miniature candy bars.

I embossed the matching gift tag with the Confetti Embossing Folder and punched coordinating balloons.  The sentiment is punched out using the Duet Banner Punch. The Basic Black Bakers Twine is used on all 3 projects to “tie” it all together. 🙂


You can watch the short video below to see how I made this gift box topper using the Festive Flower Punch. The sentiment on the tag is punched with the Decorative Label Punch.

img_4211


Here’s a little trick I found on Pinterest for using the Elegant Butterfly and circle punches to make bats. So cool for Halloween projects!!

how-to-punch-bats-with-butterfly-punch

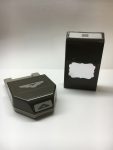
As you can see in the photo below I have Plenty of Punches! The Stampin’ Up! Punches can store flat or standing on edge. It’s best to use your whole hand when punching.  These punches work better if you set them flat on a table and then punch using direct downward pressure. Happy Punching!

Here are some past projects I’ve made using punches.

img_4155
Made using the Triple Banner Punch
img_3841
Made using the Tree Builder Punch
img_3188
Made using the Bow Builder Punch
img_4161
Made using Circle Punches (and Envelope Punch Board)

img_4257

Made using the Flower Medallion Punch

I hope you enjoyed these punched projects!  Perhaps you would like a sampling of perfectly punched pieces to play with for your craft projects?  Purchase $25 or more from my online shop and I will send you some perfectly punched pieces for your projects as my Back to School Special for today. Click HERE to see the variety of punches from Stampin’ Up! and to shop my online store. Also, be sure to check out the Clearance Rack for lots of retired punches on sale!!!

Have a Pleasant Picture Perfect Day!

Just Stampin’

Jeanie

P.S. Remember to use the Hostess Code 7CNZAUYM  when you check out. (I’ve included a visual below to show you where to enter the hostess code.)

P.P.S. Spoiler Alert!  My Paper Pumpkin for this month arrived yesterday (Perfect timing for the letter P).  If you would like to see a Preview of the kit scroll all the way down. I can’t wait to play!!!!

special-offers

Don’t forget about the Paper Pumpkin BOGO Sale Going On Now!

pp_bogo_demo-header

Right now first-time subscribers can buy their FIRST month and get their second month of Paper Pumpkin FREE!

  • Offer Dates: August 11–October 10, 2016
  •  Use promo code “BOGO” and you’ll pay the regular price of $19.95 and get your second month for FREE!  CLICK HERE then click JOIN in the top right corner

Fine Print:

  • If you subscribe with the promo code between now and September 10, you will pay full price for the September kit and get the October kit free. If you subscribe between September 11 and October 10, your first kit will be the October kit and you will get the November kit free.
  • IMPORTANT: Offer invalid if subscription is suspended or cancelled during the first two months. In other words, subscribers cannot cancel or suspend their subscription during their first two month.
  • After the first two months, the subscription will continue for $19.95 + tax per month (shipping included) unless cancelled or suspended.
  • This offer is open to first-time subscribers only.
  • Not valid on prepaid subscriptions.

Paper Pumpkin is perfect for a gift, a college student, a busy adult, children, retired or seniors, and those who love to build up their crafting supplies on a budget. With the BOGO Free offer you could buy one for yourself and one for a gift and get together with a friend or family member and have some fun crafting time each month.  Subscriptions can be suspended or canceled at any time without penalty. Come join the fun!

Paper Pumpkin Preview…Something Good To Eat Kit  September 2016