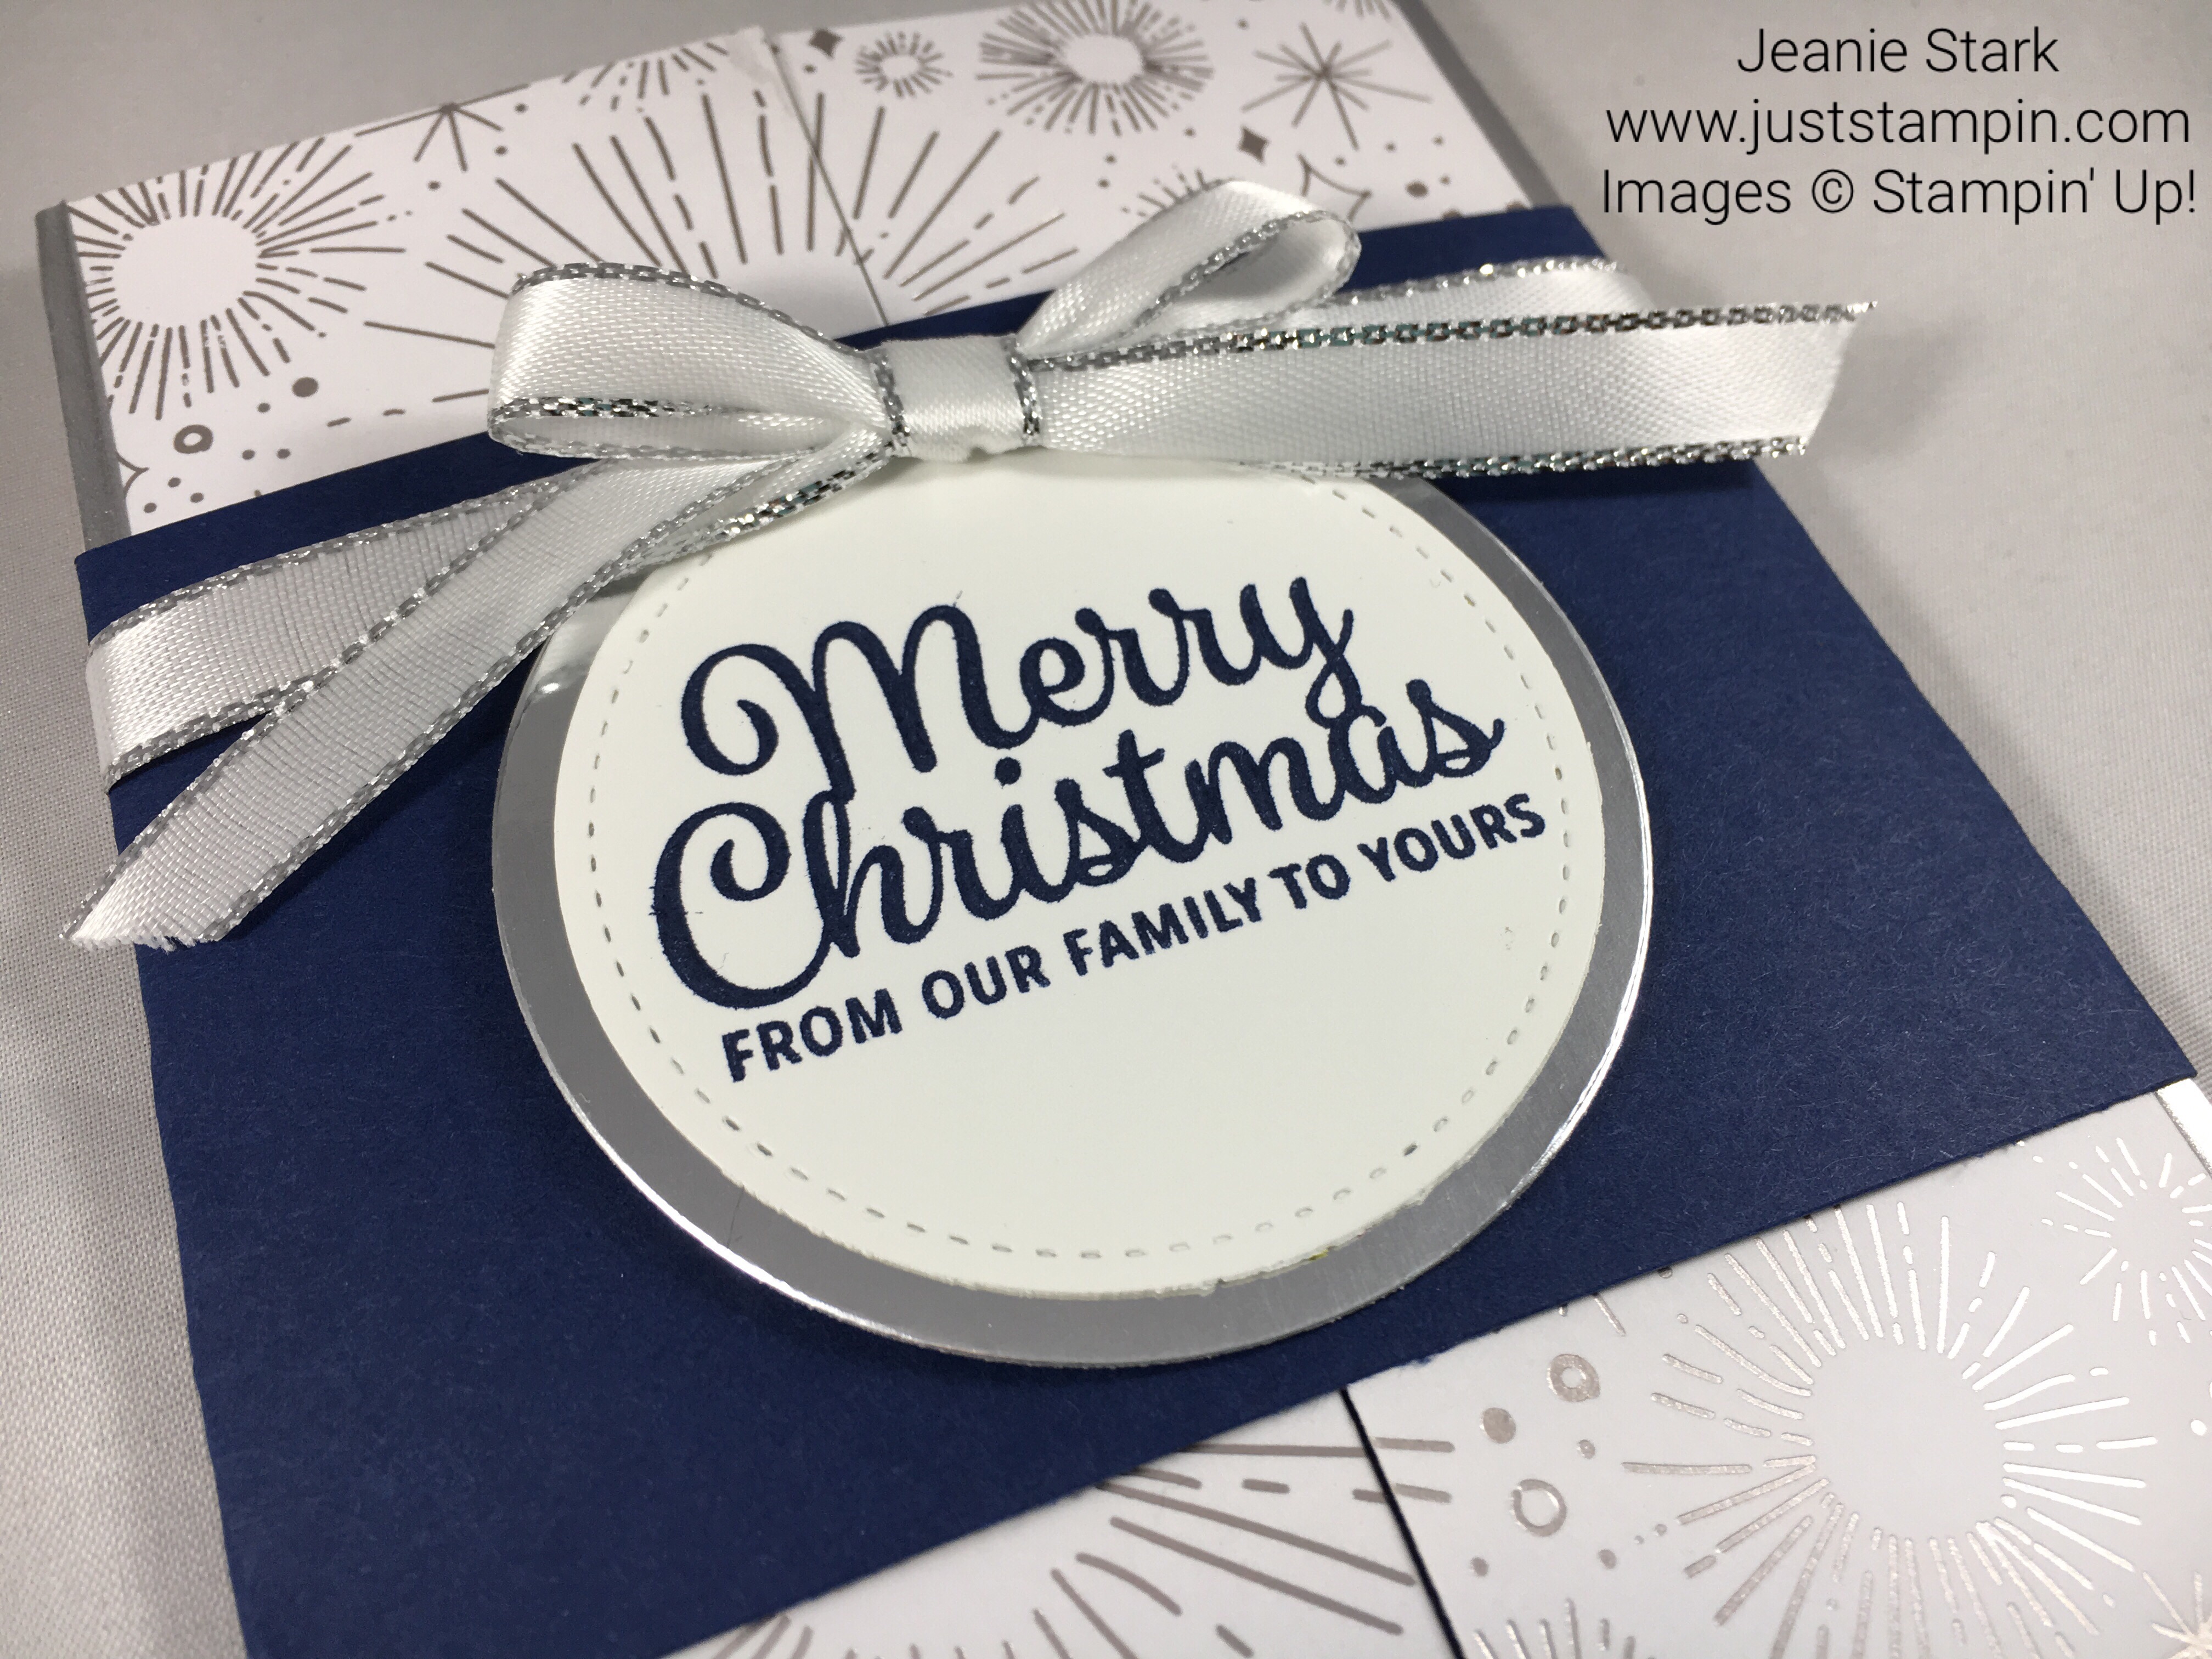
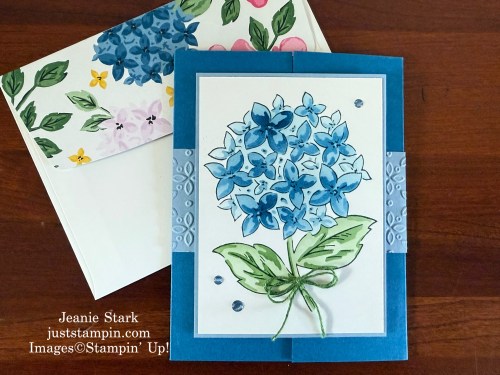
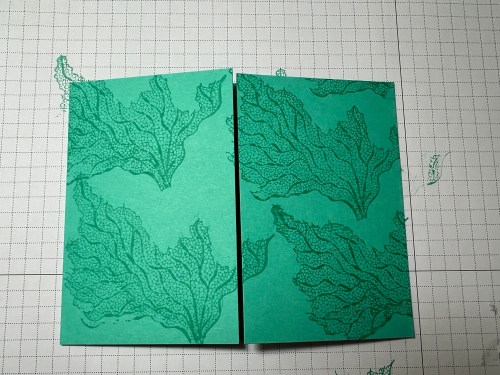
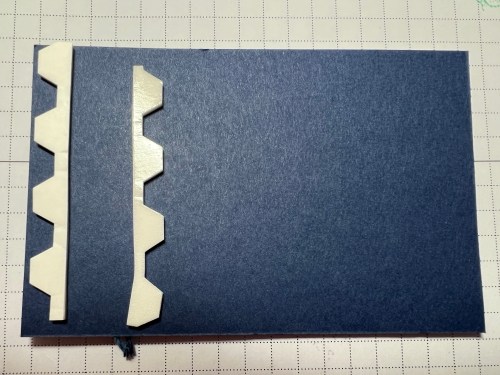
I love to make fun fold cards and the gate fold card is one of the easiest to create with just two score lines.

The inspiration for today’s card came from this week’s Tic Tac Toe Challenge board.

I chose to go across the top row: Stencil, Birthday, Die Cut.
I haven’t used my stencils in awhile and I’ve been wanting to create with this hydrangea. I could not believe how simple it was to color this gorgeous flower using the Thankful Garden Decorative Masks! These masks are meant to be layered, meaning you can build beautiful bouquets with lots of varying texture and detail. I used my blending brushes to add layers of color for a quick & easy WOW! The masks are available separately or included with the Thankful Garden Bundle (*Save 10% when you purchase the bundle!)
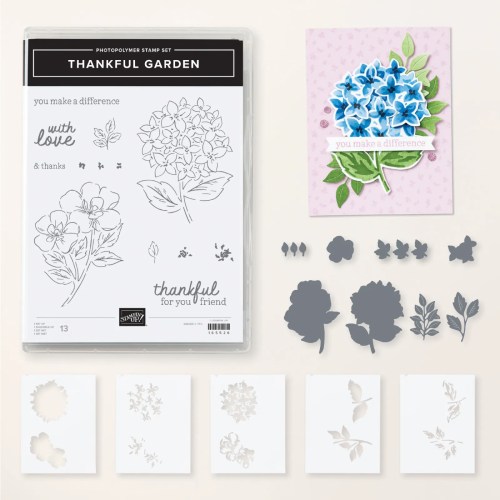
With the Thankful Garden Bundle, your paper crafts will always be in bloom! Die cut the large flower stamps to give your card a bright center piece or pair some greenery with smaller die cut flowers to create an eye-catching gift tag. Use the decorative masks to add texture paste for dimension or blend soft colors for extra depth. This bundle is perfect for expressing love and gratitude in a truly artistic way.
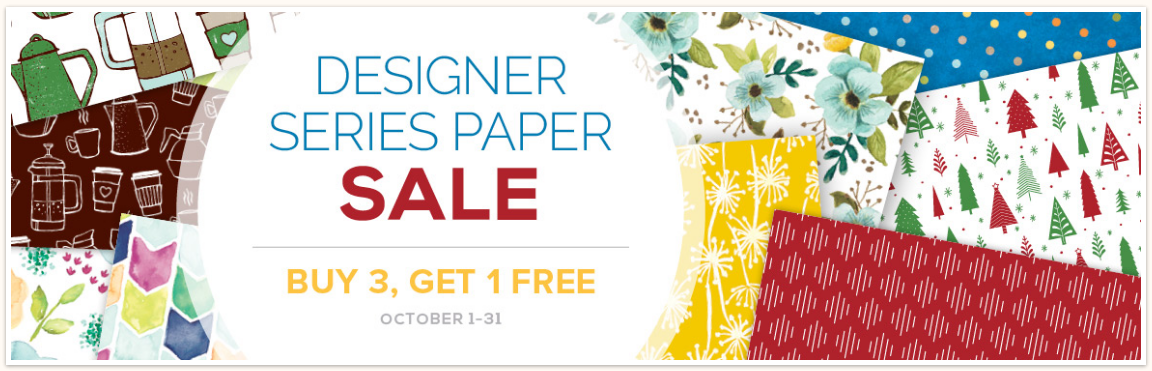
This bundle coordinates with one of my favorite designer series paper pack, Lovely Garden.

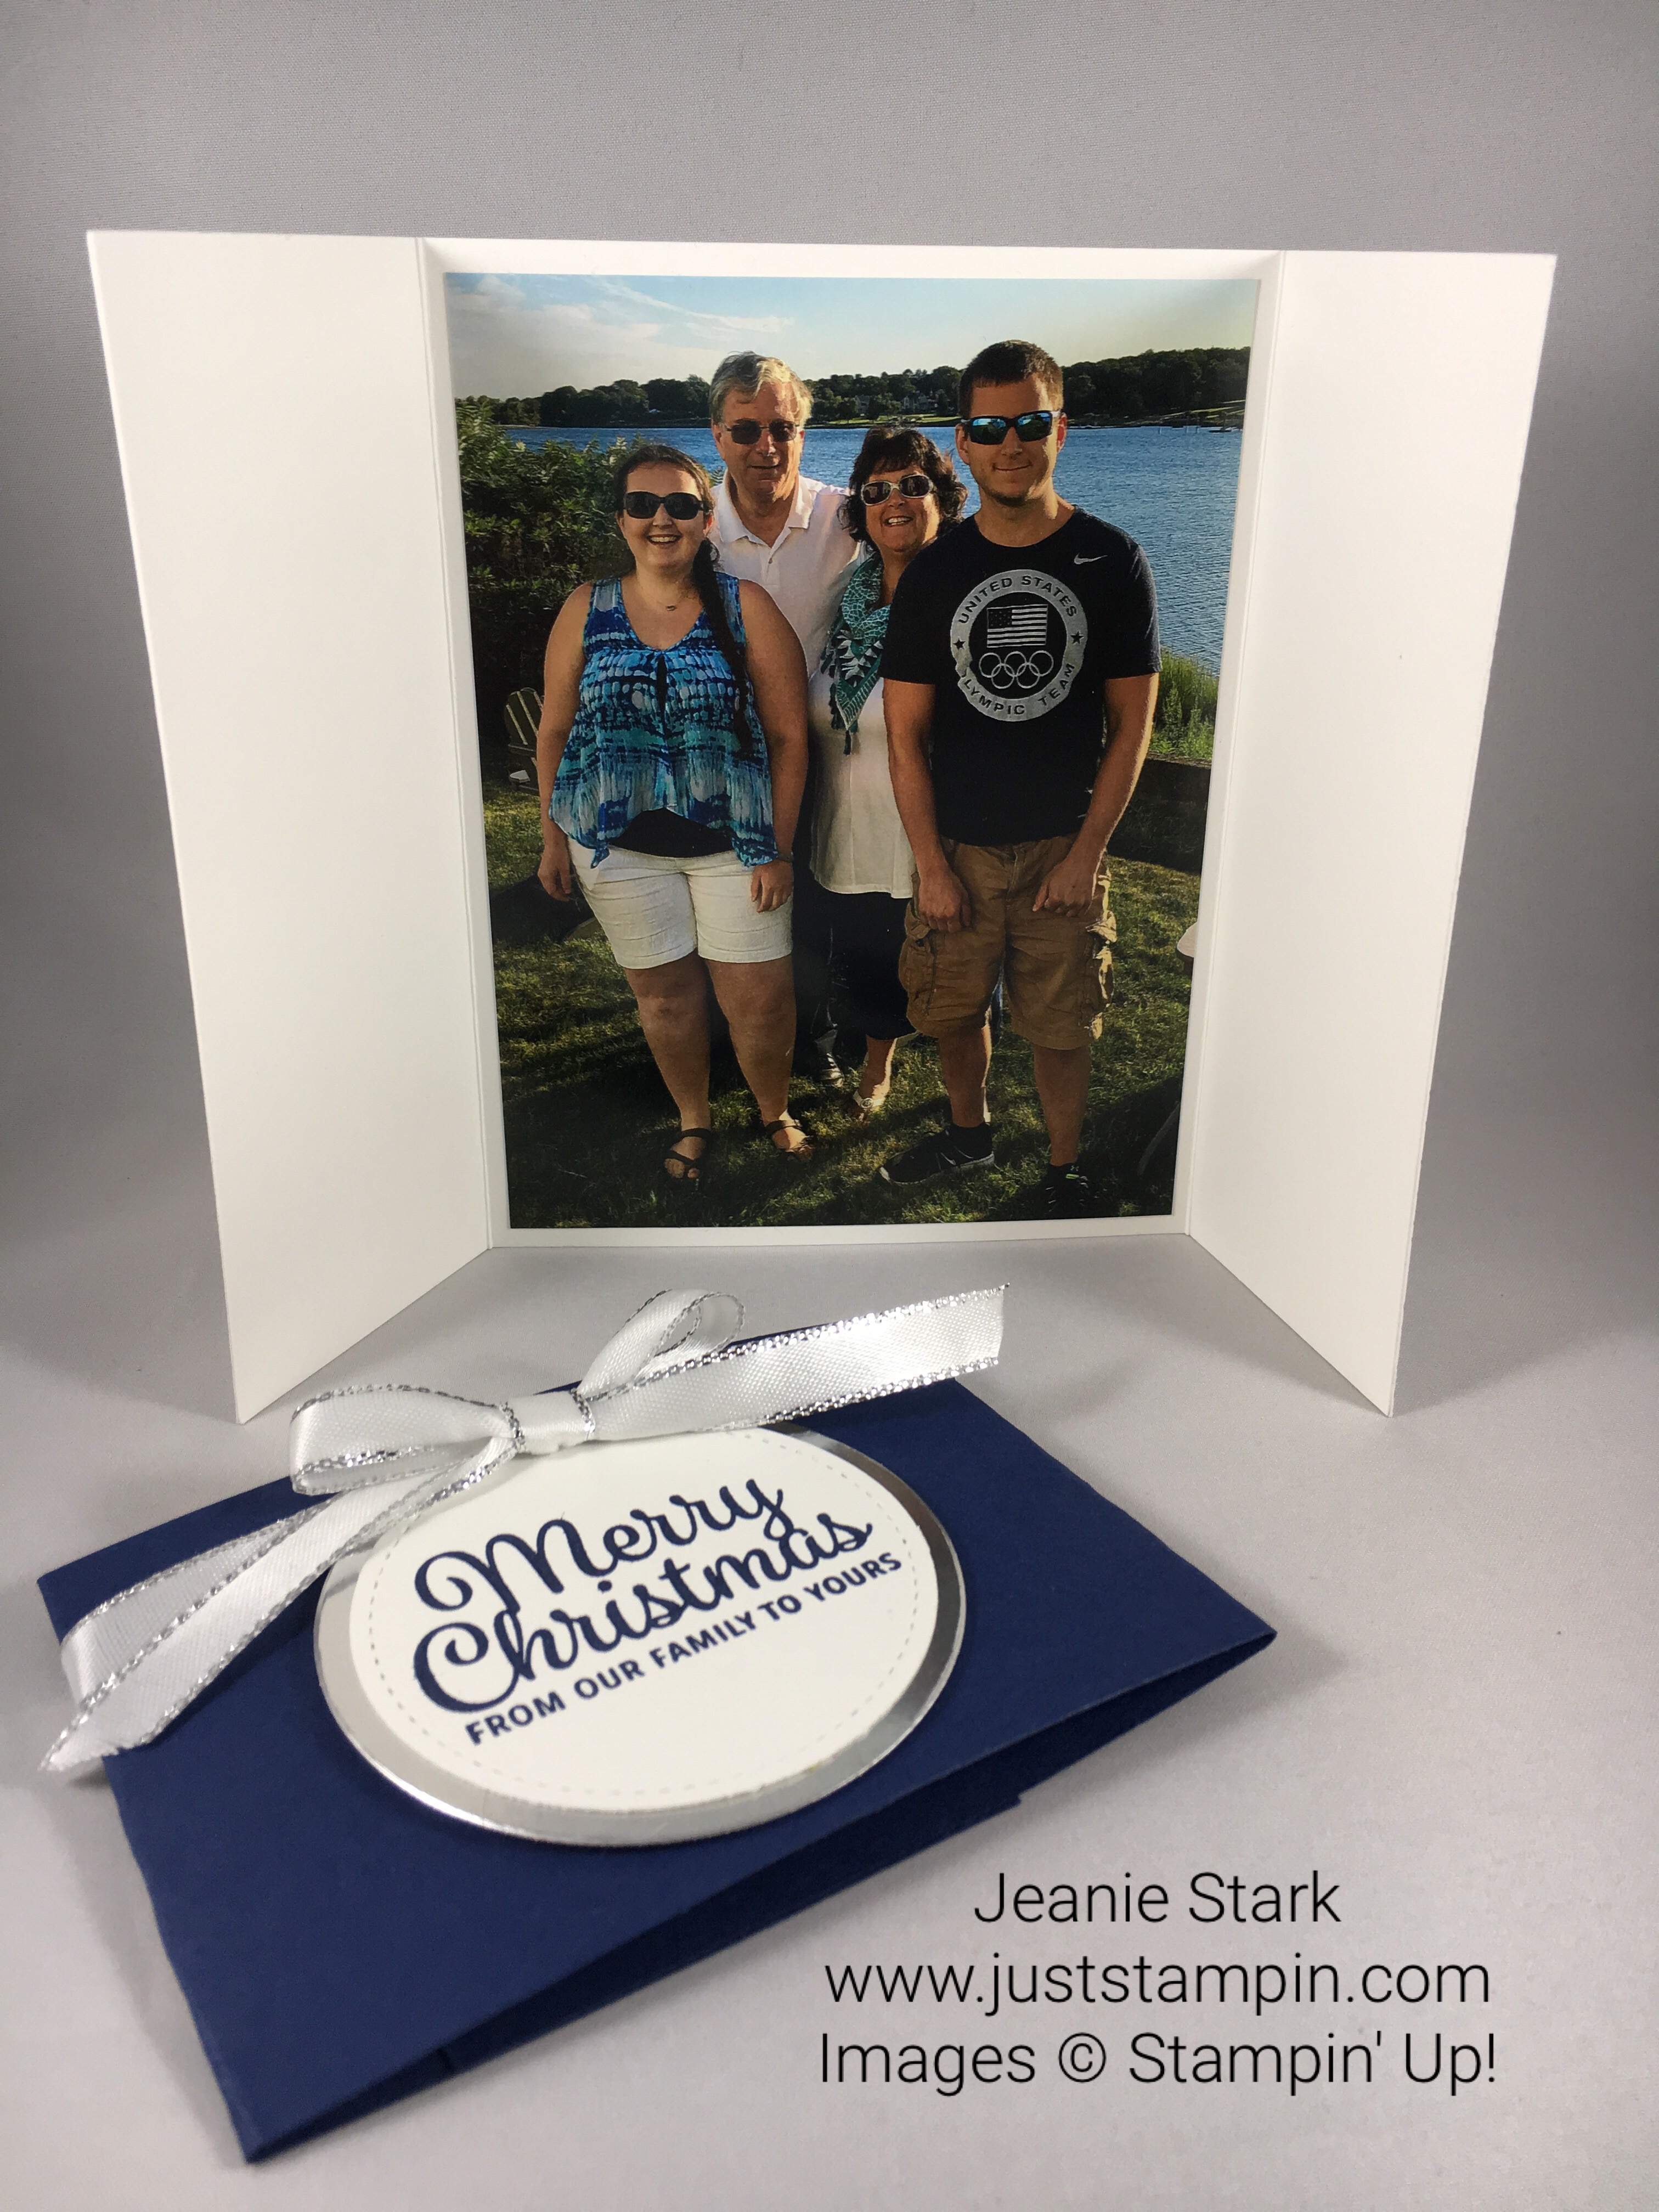
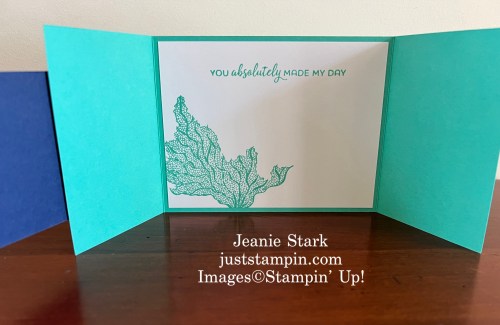
I had intended to use strips of DSP on the front of the card; however, I thought it distracted from the beautiful flower. I love how it turned out with the DSP and die cuts on the inside.

Here are the details to create today’s card:
Supplies:
Stamp Sets: Stampin’ Up! Thankful Garden Bundle, The Right Words
Ink: Stampin’ Up! Boho Blue, Blueberry Bushel, Garden GreenSoft Sea Foam, Momento Black
Paper: Blueberry Bushel, Boho Blue, Garden Green, & Basic White cardstock, Lovely Garden 12 x 12 Designer Series Paper
Tools & Accessories: Thankful Garden Decorative Masks & Dies, Blending Brushes, Textured Notes Dies, 2023-2025 In Color Flat Pearls, Eyelet 3D Embossing Folder, Garden Green Twine, Stampin’ Cut & Emboss Machine
Measurements:
Card base: 5 1/2 x 8 1/2 scored along the long side @ 2 1/8 from each end
Cardstock (Boho Blue): 2 @ 1 7/8 x 2 1/8 embossed, 3 3/8 x 4 5/8
White Cardstock: 4 1/4 x 4 1/2 to stamp hydrangea, 2 3/4 x 4 1/4 (inside)
Garden Green: scraps to die cut leaves
Designer Series Paper (Lovely Garden): 2 @ 2 x 5 3/8, 2 1/4 x 6 (envelope)
Directions:
- Fold and burnish card base folding the ends into the center.
- Adhere DSP strips on the inside along the ends.
- Die Cut 2 Garden Green leaves with Thankful Garden Die. Adhere on the inside of card in the center section in opposite corners.
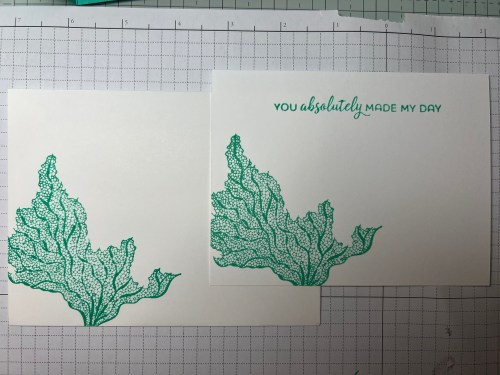
- Die cut white cardstock with Textured Notes Die. Stamp sentiment. Adhere inside card in the center.
- Adhere embossed layer to front of card across the middle.
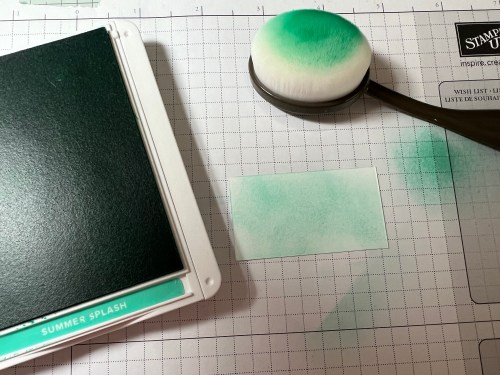
- Stamp hydrangea on basic white with Momento Black ink. Place on grid paper and use a sticky note to hold it in place.
- Using Mask #1, line up the mask with the hydrangea and adhere the piece to the grid paper with a sticky note. Take a blending brush and rub it in the Boho Blue ink pad. Rub the brush on the scrap paper (grid paper) first to blend the ink and then, using a circular motion, rub the brush in the mask opening. Use a very light hand so that you just have a light blue color all over the flower.
- Remove Mask #1 but keep the stamped flower adhered with the sticky note in the same spot.
- Line up Mask #2 so that the mask opening is lined up with the flower. Adhere with a sticky note. Add more Boho Blue ink to the Blending Brush. Using a circular motion, rub the ink in the opening of the mask using just a bit more pressure.
- Remove Mask #2. Line up mask #3 and adhere with a sticky note.
- Add Blueberry Bushel Ink to the blending brush this time. Use a circular motion as before and add the darker highlights. Remove mask when happy with the results.
- Line up Masks #4 and #5 to color the leaves using Soft Sea Foam then Garden Green.
- Adhere flower to Boho Blue layer. Adhere to cardbase with Stampin’ Dimensionals. *Only add dimensionals along the left side.
- Embellish with dots. Add a twine bow with a Mini Glue Dot.
- Adhere DSP to envelope flap and trim to fit.
You can view/shop the list of supplies I used to create this card below.
I hope you will head over to the Tic Tac Toe Challenge to see what the rest of the design team created. We would love to have you share your design with us HERE.
LAST CALL to reserve your product share!

Click HERE for Product Share details and a sneak peek at the new DSP
Did you order my Just Stampin’ Card Kit To Go for August?
Click HERE for all the details!
Have a great day! Thanks for stopping by!
Just Stampin’
Jeanie

My Just Stampin’ Rewards:
I appreciate each and every order! Here are the things you can expect when you place an online order with me:
- Shop and earn 10% back in Stampin’ Rewards on orders of $20 or more. Use them on your next order or save them up to 1 year for something special!
- All orders will receive a handmade thank you card from me.
(*You can choose to remove the sticky note inside and reuse the card.) - With a $50 order you will receive a PDF from my “Just Stampin’ Sketchbook” showcasing card designs that you can use with any stamp set. This is a great resource! (*You can collect new design tutorials each month!)
- With an order of $75 (or more) I will send you the PDF and thank you card as well as a card kit or Stampin’ Up Product of my choosing – this varies monthly.
Product List (Click on image to SHOP my online store.)
|
|
|
|
|
|
|
|
|
|
|
|
|
|
|
|
|
|
|
|
![Thankful Garden Bundle (English) [ 165534 ]](https://assets1.tamsnetwork.com/images/EC042017NF/165534s.jpg "Thankful Garden Bundle (English) [ 165534 ]")
![Thankful Garden Photopolymer Stamp Set (English) [ 165526 ]](https://assets1.tamsnetwork.com/images/EC042017NF/165526s.jpg "Thankful Garden Photopolymer Stamp Set (English) [ 165526 ]")
![Thankful Garden Dies [ 165533 ]](https://assets1.tamsnetwork.com/images/EC042017NF/165533s.jpg "Thankful Garden Dies [ 165533 ]")
![Thankful Garden Decorative Masks [ 165538 ]](https://assets1.tamsnetwork.com/images/EC042017NF/165538s.jpg "Thankful Garden Decorative Masks [ 165538 ]")
![The Right Words Cling Stamp Set (English) [ 165316 ]](https://assets1.tamsnetwork.com/images/EC042017NF/165316s.jpg "The Right Words Cling Stamp Set (English) [ 165316 ]")
![Textured Notes Dies [ 165555 ]](https://assets1.tamsnetwork.com/images/EC042017NF/165555s.jpg "Textured Notes Dies [ 165555 ]")
![Lovely Garden 12" X 12" (30.5 X 30.5 Cm) Designer Series Paper [ 165524 ]](https://assets1.tamsnetwork.com/images/EC042017NF/165524s.jpg "Lovely Garden 12\" X 12\" (30.5 X 30.5 Cm) Designer Series Paper [ 165524 ]")
![Blueberry Bushel 8-1/2" X 11" Cardstock [ 146968 ]](https://assets1.tamsnetwork.com/images/EC042017NF/146968s.jpg "Blueberry Bushel 8-1/2\" X 11\" Cardstock [ 146968 ]")
![Garden Green 8-1/2" X 11" Cardstock [ 102584 ]](https://assets1.tamsnetwork.com/images/EC042017NF/102584s.jpg "Garden Green 8-1/2\" X 11\" Cardstock [ 102584 ]")
![Basic White 8 1/2" X 11" Cardstock [ 166780 ]](https://assets1.tamsnetwork.com/images/EC042017NF/166780s.jpg "Basic White 8 1/2\" X 11\" Cardstock [ 166780 ]")
![Basic White Medium Envelopes [ 159236 ]](https://assets1.tamsnetwork.com/images/EC042017NF/159236s.jpg "Basic White Medium Envelopes [ 159236 ]")
![Blending Brushes [ 153611 ]](https://assets1.tamsnetwork.com/images/EC042017NF/153611s.jpg "Blending Brushes [ 153611 ]")
![Blueberry Bushel Classic Stampin' Pad [ 147138 ]](https://assets1.tamsnetwork.com/images/EC042017NF/147138s.jpg "Blueberry Bushel Classic Stampin' Pad [ 147138 ]")
![Garden Green Classic Stampin' Pad [ 147089 ]](https://assets1.tamsnetwork.com/images/EC042017NF/147089s.jpg "Garden Green Classic Stampin' Pad [ 147089 ]")
![Soft Sea Foam Classic Stampin' Pad [ 147102 ]](https://assets1.tamsnetwork.com/images/EC042017NF/147102s.jpg "Soft Sea Foam Classic Stampin' Pad [ 147102 ]")
![Eyelet 3D Embossing Folder [ 163414 ]](https://assets1.tamsnetwork.com/images/EC042017NF/163414s.jpg "Eyelet 3D Embossing Folder [ 163414 ]")
![Multipurpose Liquid Glue [ 110755 ]](https://assets1.tamsnetwork.com/images/EC042017NF/110755s.jpg "Multipurpose Liquid Glue [ 110755 ]")
![Stampin' Seal [ 152813 ]](https://assets1.tamsnetwork.com/images/EC042017NF/152813s.jpg "Stampin' Seal [ 152813 ]")
![Mini Glue Dots [ 103683 ]](https://assets1.tamsnetwork.com/images/EC042017NF/103683s.jpg "Mini Glue Dots [ 103683 ]")
![Paper Trimmer [ 152392 ]](https://assets1.tamsnetwork.com/images/EC042017NF/152392s.jpg "Paper Trimmer [ 152392 ]")
![Stampin' Cut & Emboss Machine [ 149653 ]](https://assets1.tamsnetwork.com/images/EC042017NF/149653s.jpg "Stampin' Cut & Emboss Machine [ 149653 ]")
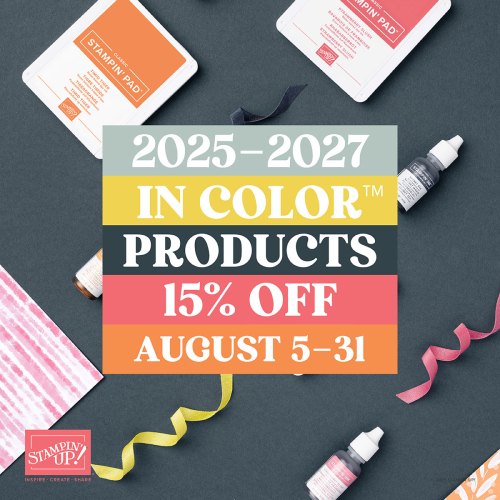
CLICK HERE to SHOP THE 2025-2027 IN COLOR SALE

CLICK HERE to SHOP LAST CHANCE PRODUCTS…*New items added
Click HERE TO SHOP KITS COLLECTION
CLICK HERE TO VIEW CURRENT ONLINE EXCLUSIVES
CLICK HERE TO SUBSCRIBE TO PAPER PUMPKIN
CLICK HERE FOR INFORMATION ABOUT JOINING STAMPIN’ UP!
CLICK HERE TO JOIN MY STAMPIN’ UP! Team
CLICK HERE TO VIEW MY TUTORIALS
CLICK HERE FOR THE LATEST STAMPIN’ UP! NEWS


")
")