Welcome to my series, The ABC’s with DSP! This month I am featuring projects showcasing Stampin’ Up! Designer Series Paper.

Today’s projects are just yummy with the Candy Cane Lane Designer Series Paper. I went a little crazy creating and made 4 projects to share with you today. Grab a cup of coffee and get comfortable as I have lots of photos to share with you.
When I first saw this paper in the Holiday Catalog I thought of my annual cookie exchange. I started hosting a cookie exchange and brunch about 15 years ago and look forward to this event every year. This paper would have been perfect for last years candy cane theme. Check out the cute lottery ticket favors at each place setting. I used 3 candy canes wrapped together to make a stand. These work great as place settings with the names of guests or on a buffet table to put the name of the dish.

Here’s a few photos from last year’s cookie exchange/brunch.


My daughter and her best friend made the cookies for me. 🙂 They made around 10 dozen pizzelles. (They look like pancakes in the photo below all stacked up on the breakfast bar. LOL) Just thinking about them is making me hungry! They were so good!! I decorated Stampin’ Up! boxes to put my cookies in. It’s all about the presentation (and getting together with friends)!


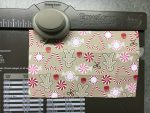
Well this little trip down Memory Lane made me want to bake some cookies. I decided to forgo the calories and make a cookie container using some Candy Cane Lane DSP. I made this using 1 sheet of 12 x 12 DSP.

This container was really easy to make. I was inspired by an article by Kristine at Down Home Inspiration. She needs a score board!!! She had to measure with a ruler and fold and if she only knew about Stampin’ Up!’s tools she would find this much quicker and easier to make. It took me no time at all. Simply score both sides at 4 and 8 inches. Then you do need to use a ruler and score (using your scoring tool) from the point at each corner to the intersection at the 4 inch score line.


You will fold on all the score lines then pinch the corner folds along the crease and bring them forward.


Next, punch a hole in each corner point and thread some ribbon through and tie a bow. I used a 1/4 inch hole punch and the Real Red 3/4″ Stitched Edge Ribbon from the Holiday Catalog (page 5). This could easily hold a dozen or more cookies or muffins, etc. What a great gift to give a new neighbor or friend or even a little get well package for someone!
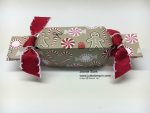
This next project uses the Envelope Punch Board. Today is the last day to get it on sale for $15 (reg. $20) The Envelope Punch Board comes with two built in punches and it’s own scoring tool, plus measurements for 66 different sized cards. Not only can you make envelopes and their liners with the board but a multitude of other things too. I have been using mine to make Christmas Crackers. These are a holiday tradition! I first learned how to make these from fellow demonstrator, Sharon Cline. Oh what fun!

You need a piece of 6 x 5 1/2 DSP to make the cracker box. Use the Simply Scored Scoring Tool to score the sides first. With the 6 inch side at the top score at 1 1/4 and 4 3/4. Rotate the paper so the 5 1/2 inch side is along the top of the Scoring Tool and score at 1 1/4, 2 1/2, 3 3/4, and 5 inches. Fold along the score lines.

Fold the 1/2″ strip along the 6″ inch side down and slide the paper into the Envelope Punch Board so the end of the paper is at the 1 1/4″ mark on the Punch Board and punch. You will be punching through a double thickness of paper. Flip the paper over and slide in again so you can punch at the 1 1/4″ mark on the other side. Fold the next crease line down and punch each side again at the 1 1/4″ mark. Flip and repeat until you’ve punched along all crease lines. Punch the final edge on each side at the 1 1/4″ mark. (You’ll only be punching through a single thickness this time.)


Add Tear & Tape Adhesive along the 1/2″ flap and tape the seam shut. Gently pinch the ends together, fill with candy or a small gift, and tie with a length of ribbon.

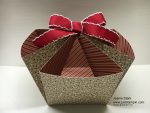
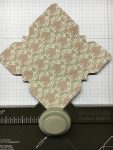
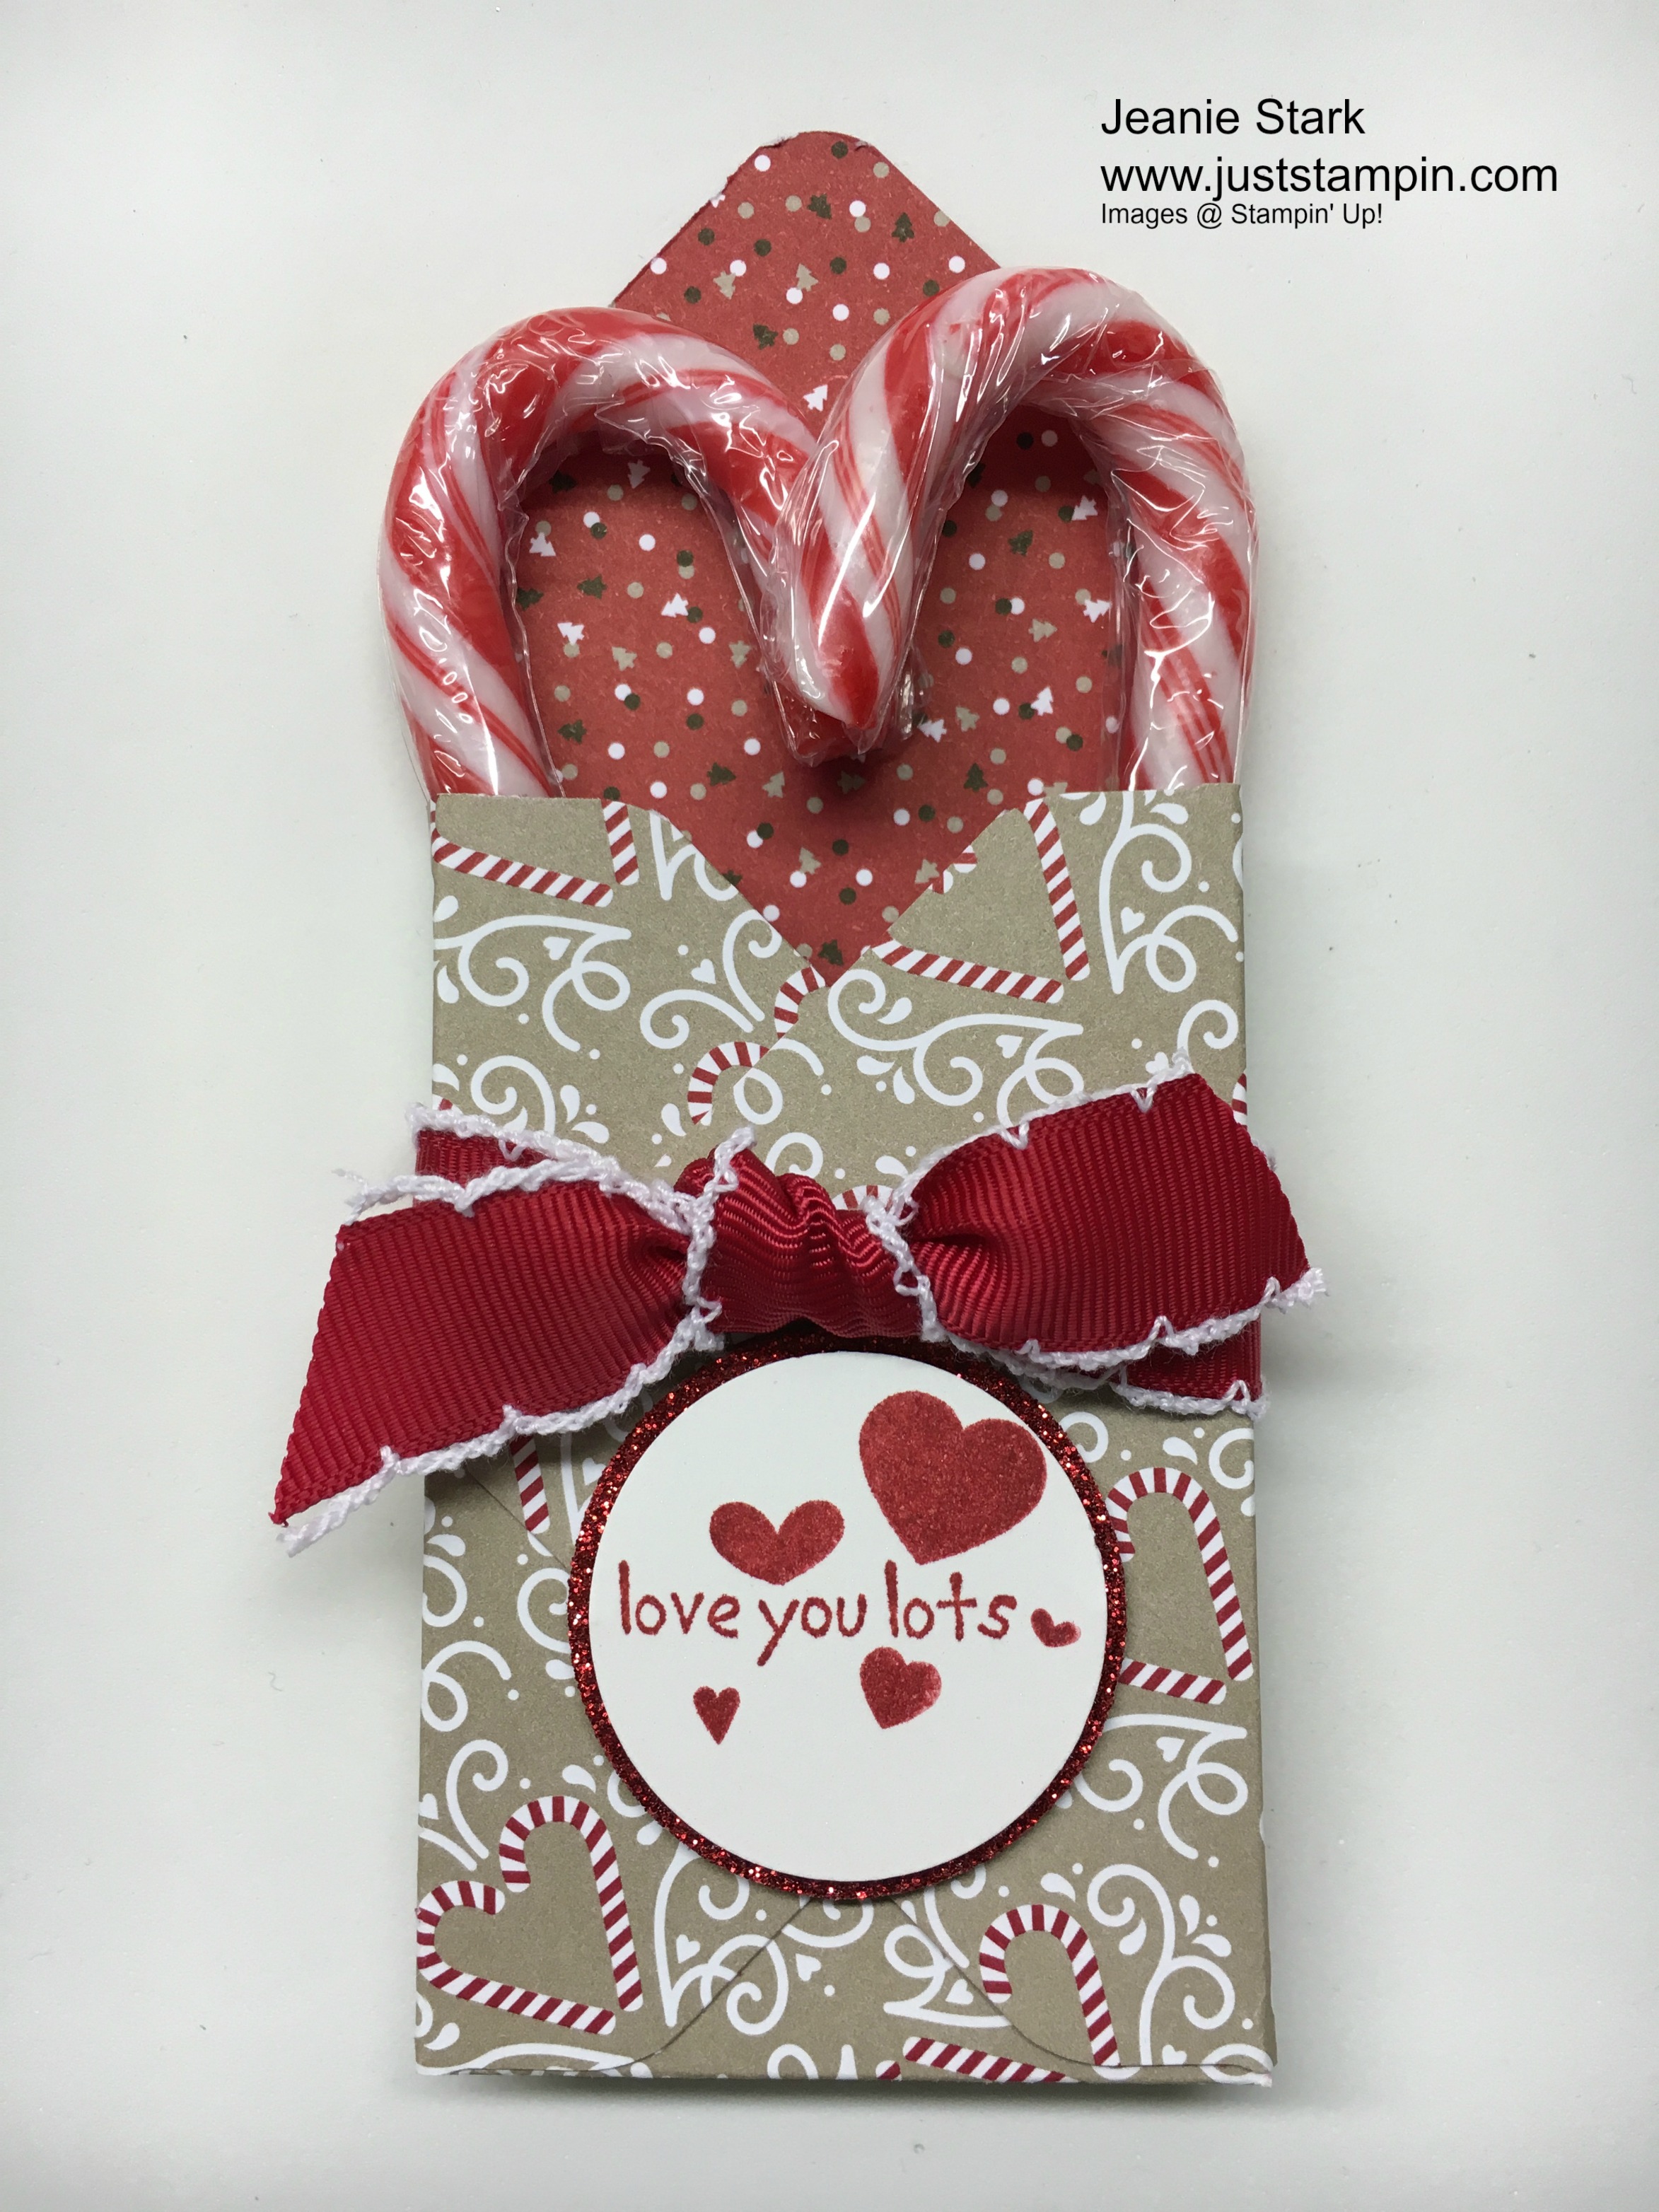
Here’a another project made using the Envelope Punch Board. (If you don’t have this handy tool you need to order it today and take advantage of the 25% off!) The measurements for this cute candy cane box came from the talented UK demonstrator, Sam Donald ( aka Pootles).

Start with a piece of 5 1/2 x 5 1/2 DSP. Line up at the 2 inch mark on the Envelope Punch Board and punch & score. Slide to the 2 5/8 inch mark and punch & score again. Rotate the paper, line up the score lines, and repeat for each side. On the last side only punch, don’t score. This will be the top of your holder. Round all corners using the corner rounder provided on the Punch Board. Fold all score lines and snip the little scored boxes along the edges (as shown in the photo below).


It takes just 3 glue dots to adhere this box together. Put one on the bottom point and bring the side in. Then put a glue dot on each side point and close.


I wrapped ribbon around my box and stamped the sentiment from Love You Lots (Exclusive Hostess Stamp Set) and then used the hearts from Perpetual Birthday Calendar to stamp around the sentiment. I punched this out with the 1 3/8 circle punch and layered it on a 1 1/2 circle punched from Red Glimmer Paper. I attached this with Stampin’ Dimensionals. I added two candy canes and arranged them to make a heart like the DSP.

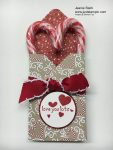
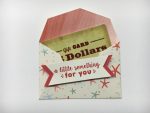
My last project was inspired by a pocket card from Linda Heller. I decided to make mine to send some cocoa.
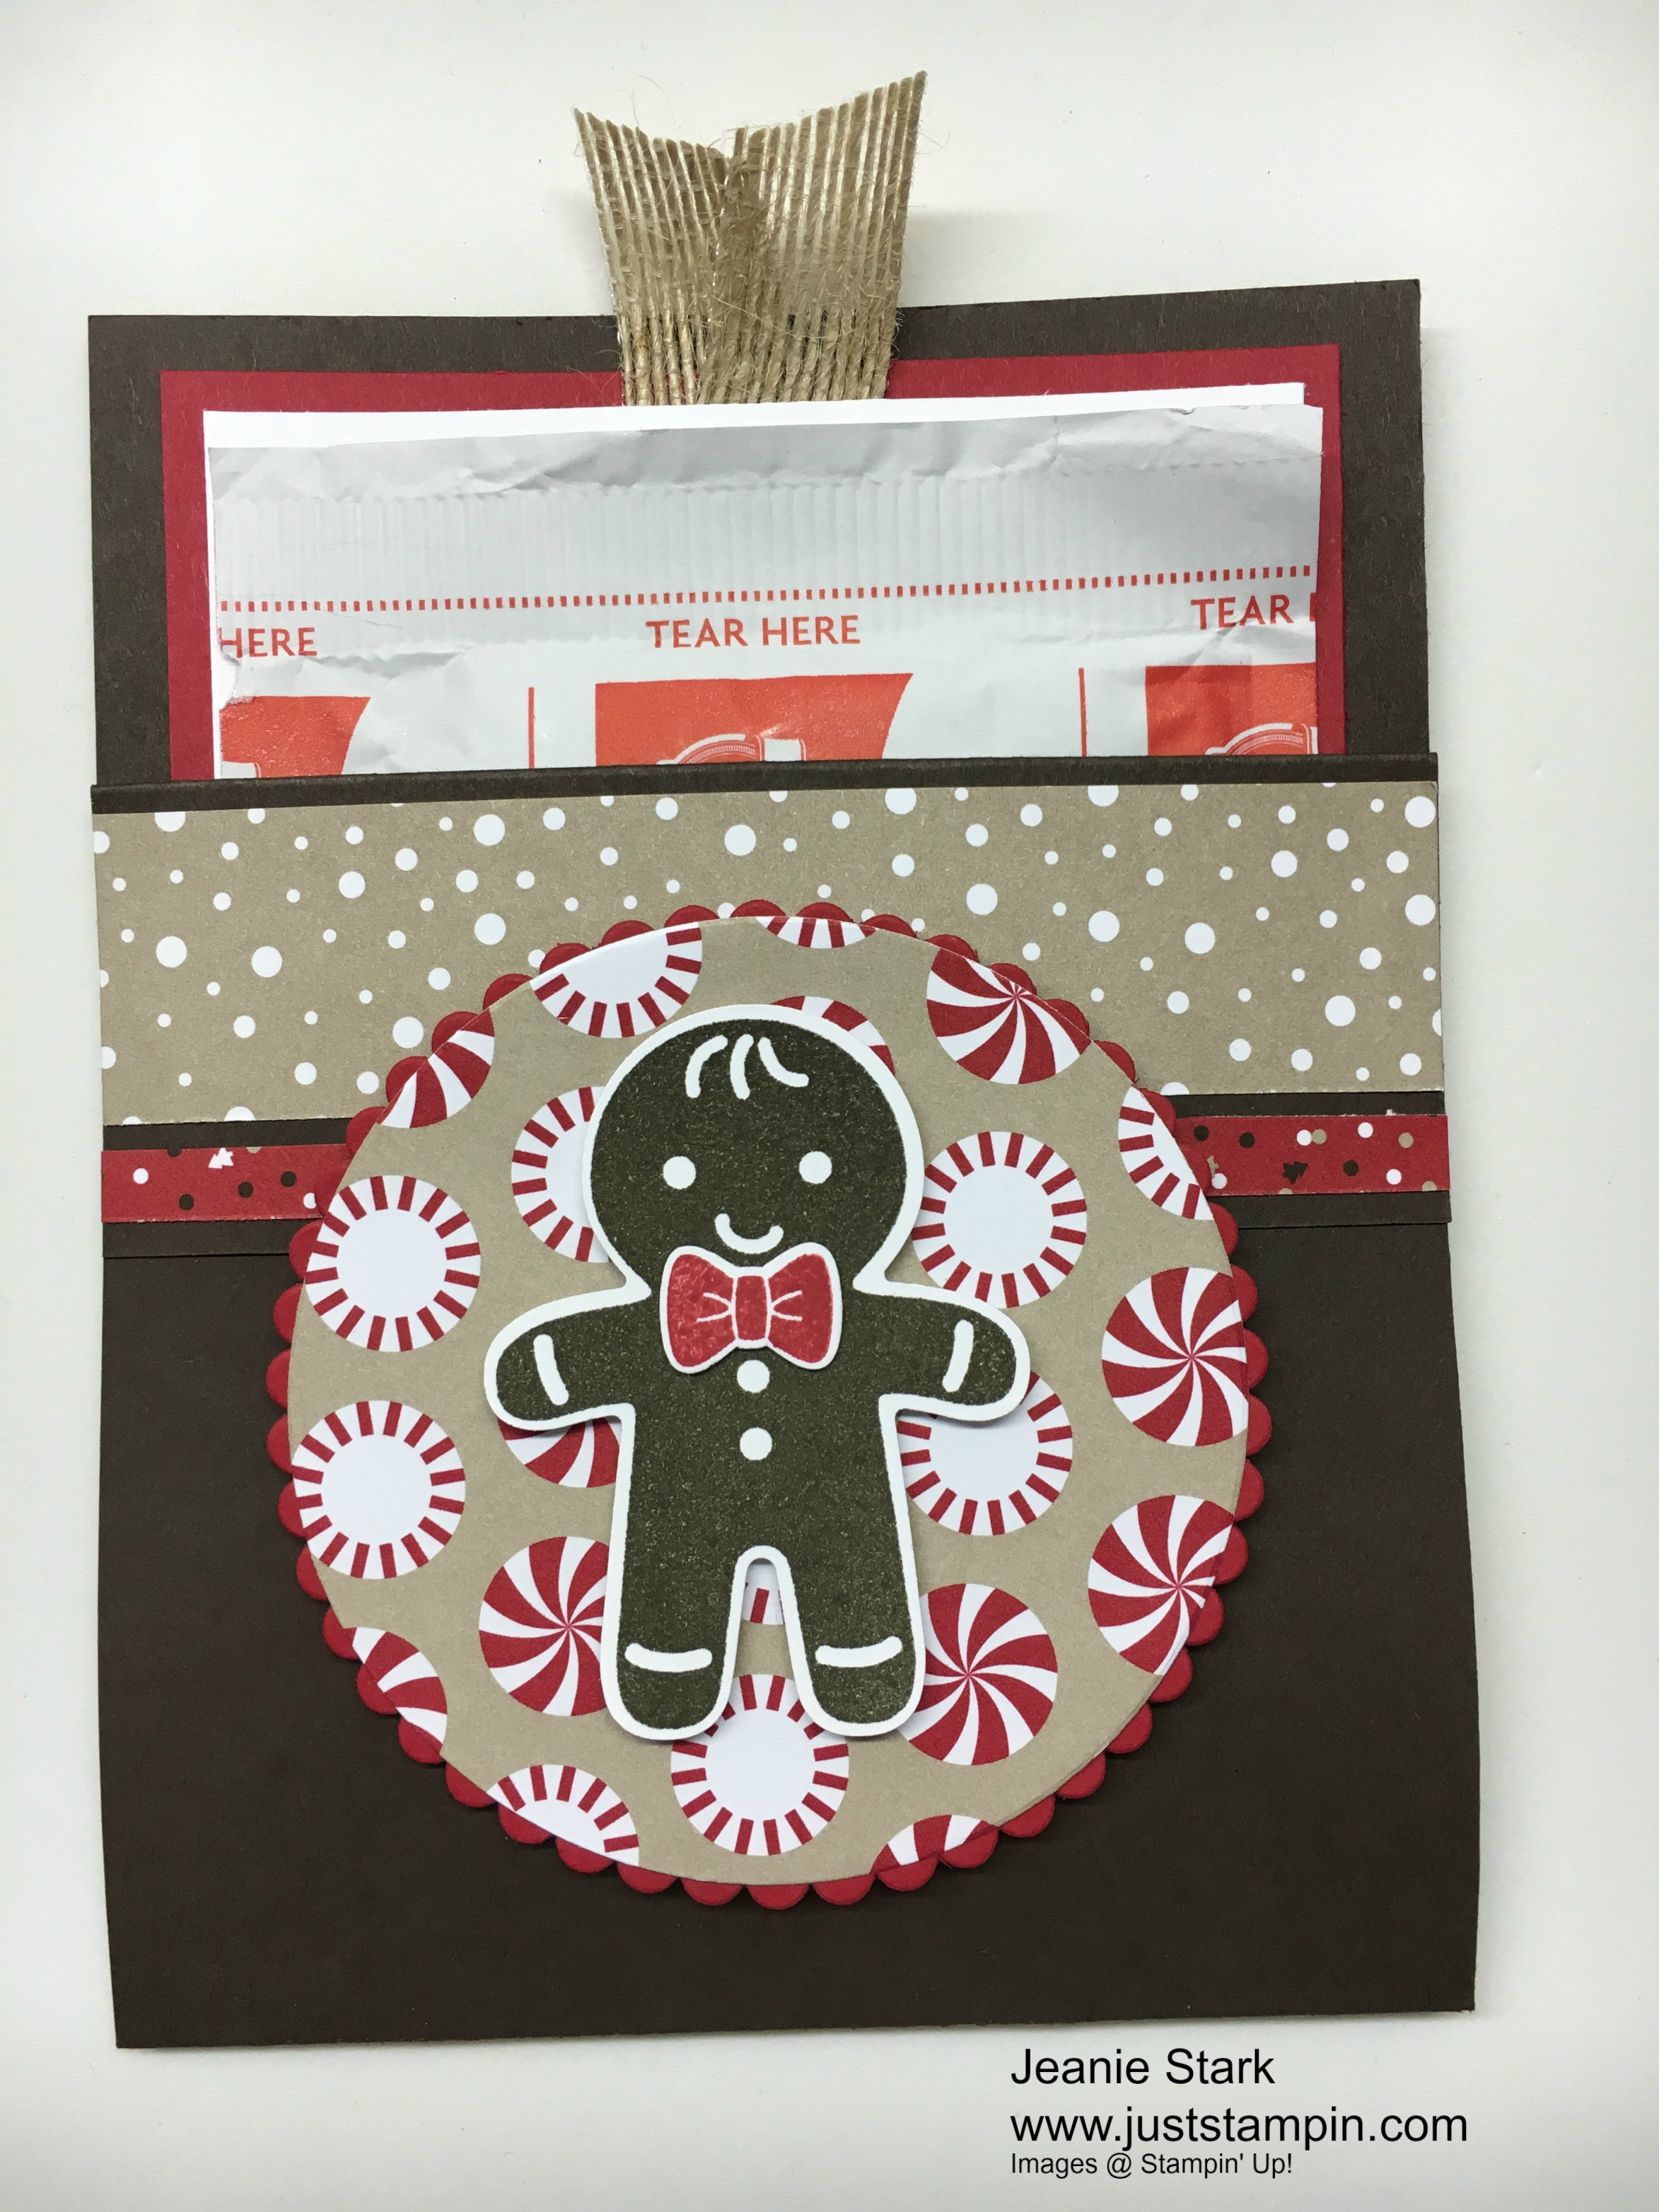
This is a quick card to make using punches and framelits. Score a piece of 4 1/4 x 11 Early Espresso cardstock at 1 1/2 and 5 1/2. This is a bottom fold card with a fold down front flap. I stapled the flap down to make the pocket. This gets hidden with the 1 x 4 1/4 piece of DSP that is adhered on top along with a 1/4 x 4 1/4 strip of coordinating DSP. I cut the circles from Candy Cane Lane DSP and Real Red cardstock and glued them together before adhering them to the card with Stampin’ Dimensionals. I stamped the adorable gingerbread man from Cookie Cutter Christmas in early espresso ink and punched him out with the matching Cookie Cutter Builder Punch. (You can purchase these together as a bundle and save 10%.) I attached him to the card with Dimensionals. The pull out card in Real Red measures 5 1/4 x 3 3/4. I stamped the sentiment from Watercolor Wings in Early Espresso on a piece of 5 x 3 1/2 Whisper White. I stapled a 3 inch piece of burlap ribbon between the layers and placed it in the pocket with some cocoa. It’s ready to send with a handwritten message. This would be a cute little gift to give with the candy cane box.


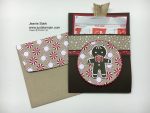
 Today’s projects were all about cookies, candy, and cocoa. And I made them all using the Candy Cane Lane Designer Series Paper. Here’s another look at each of the individual projects. Do you have a favorite?


I want to remind you that today, October 5th, is the LAST DAY to take advantage of Stampin’ Up!’s World Card Making Day Specials. Get up to 25% off these essential card making supplies. Don’t forget to place your order today!

This is a great deal on Fast Fuse Adhesive!! It is my adhesive of choice! I also love the In Colors. And the Designer Tin of Cards are gorgeous! You make 16 cards for just over $20. WOW! I posted a video previously showcasing the Tin of Cards. If you missed it, you can CLICK HERE.
Some of our wonderful designer series paper is also on sale (including Candy Cane Lane)!

Click HERE to shop my online store and take advantage of the Stampin’ Up! Designer Series Paper Sale Oct. 1-31. Please use the Hostess Code 7DB3CBKS when you check out. I’ve added a visual below to show where to enter the code. I always send a thank you gift each month when you order from me. I appreciate each and every order!
Thanks for stopping by! Have a wonderful day!
Just Stampin’
Jeanie