Welcome to my ABC’s of Stampin’ series. Today I have a Quick tip for you. Do you sometimes have trouble getting your clear mount stamps to stick to the acrylic block? I found that sometimes the label on my stamp would lose it’s “sticking power” over time. (I hate it when a stamp falls off the block!) I was in a quandary! I quit putting the labels on my stamps; however, I like having the labels on my stamps. So, here is a simple and quick fix using Multipurpose Liquid Glue (I love this stuff!!) Simply apply a thin layer of liquid glue to the top of the label. (I used the Broad Tip on the bottom of the glue to spread my thin layer.) Let it dry and it will leave a sticky layer that will stick to your acrylic block! Quick & Easy! No more stamps falling off the block!
img_4439
img_4437
img_4438
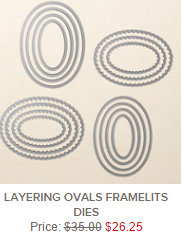
FYI…Today is the last day for the September Special Offers from Stampin’ Up! That means this is your LAST CHANCE to grab the Layering Ovals Framelits at 25% off. There should be no qualms about it…you’re going to want these!
img_4043
img_4044
I’ve had a few questions about how these are different from the older set of Oval dies from Stampin’ Up! Take a close look at the photo above and you’ll see – this set has scallop ovals in all sizes!!! The older set only had one large scallop oval and the rest were plain so your layering options were limited. There are a lot more sizes too..a quantity of 15 Dies!
This set of framelits is a game changer. It makes it so easy to make quick & fabulous cards! Here is a card I shared recently using the layering oval framelits. You can click on the card for all the details.
Here is my Back to School Special for today…Any purchase of $25 or more from my online store qualifies you to receive a card kit that is quick & easy to put together. It’s my thank you for shopping with me. Remember to enter the Hostess code 7CNZAUYM when you check out. Click HERE to shop my online store. Email me is you have any questions ( j.stark@myactv.net ).
I love the Stampin’ Up! Punches! They make it so easy to add interesting layers to a project. I have plenty of photos and punched projects to share with you today as well as my Paper Pumpkin Preview, videos, and special offers. Let’s get started with a quick 2 minute video showcasing one of my favorite punches, the tag topper punch.
Oh My Gosh!!! Did you just love the candle wrap she showed in the video?! What a clever gift presentation! Here are some projects I made with the tag topper punch.
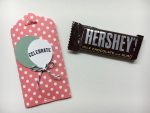
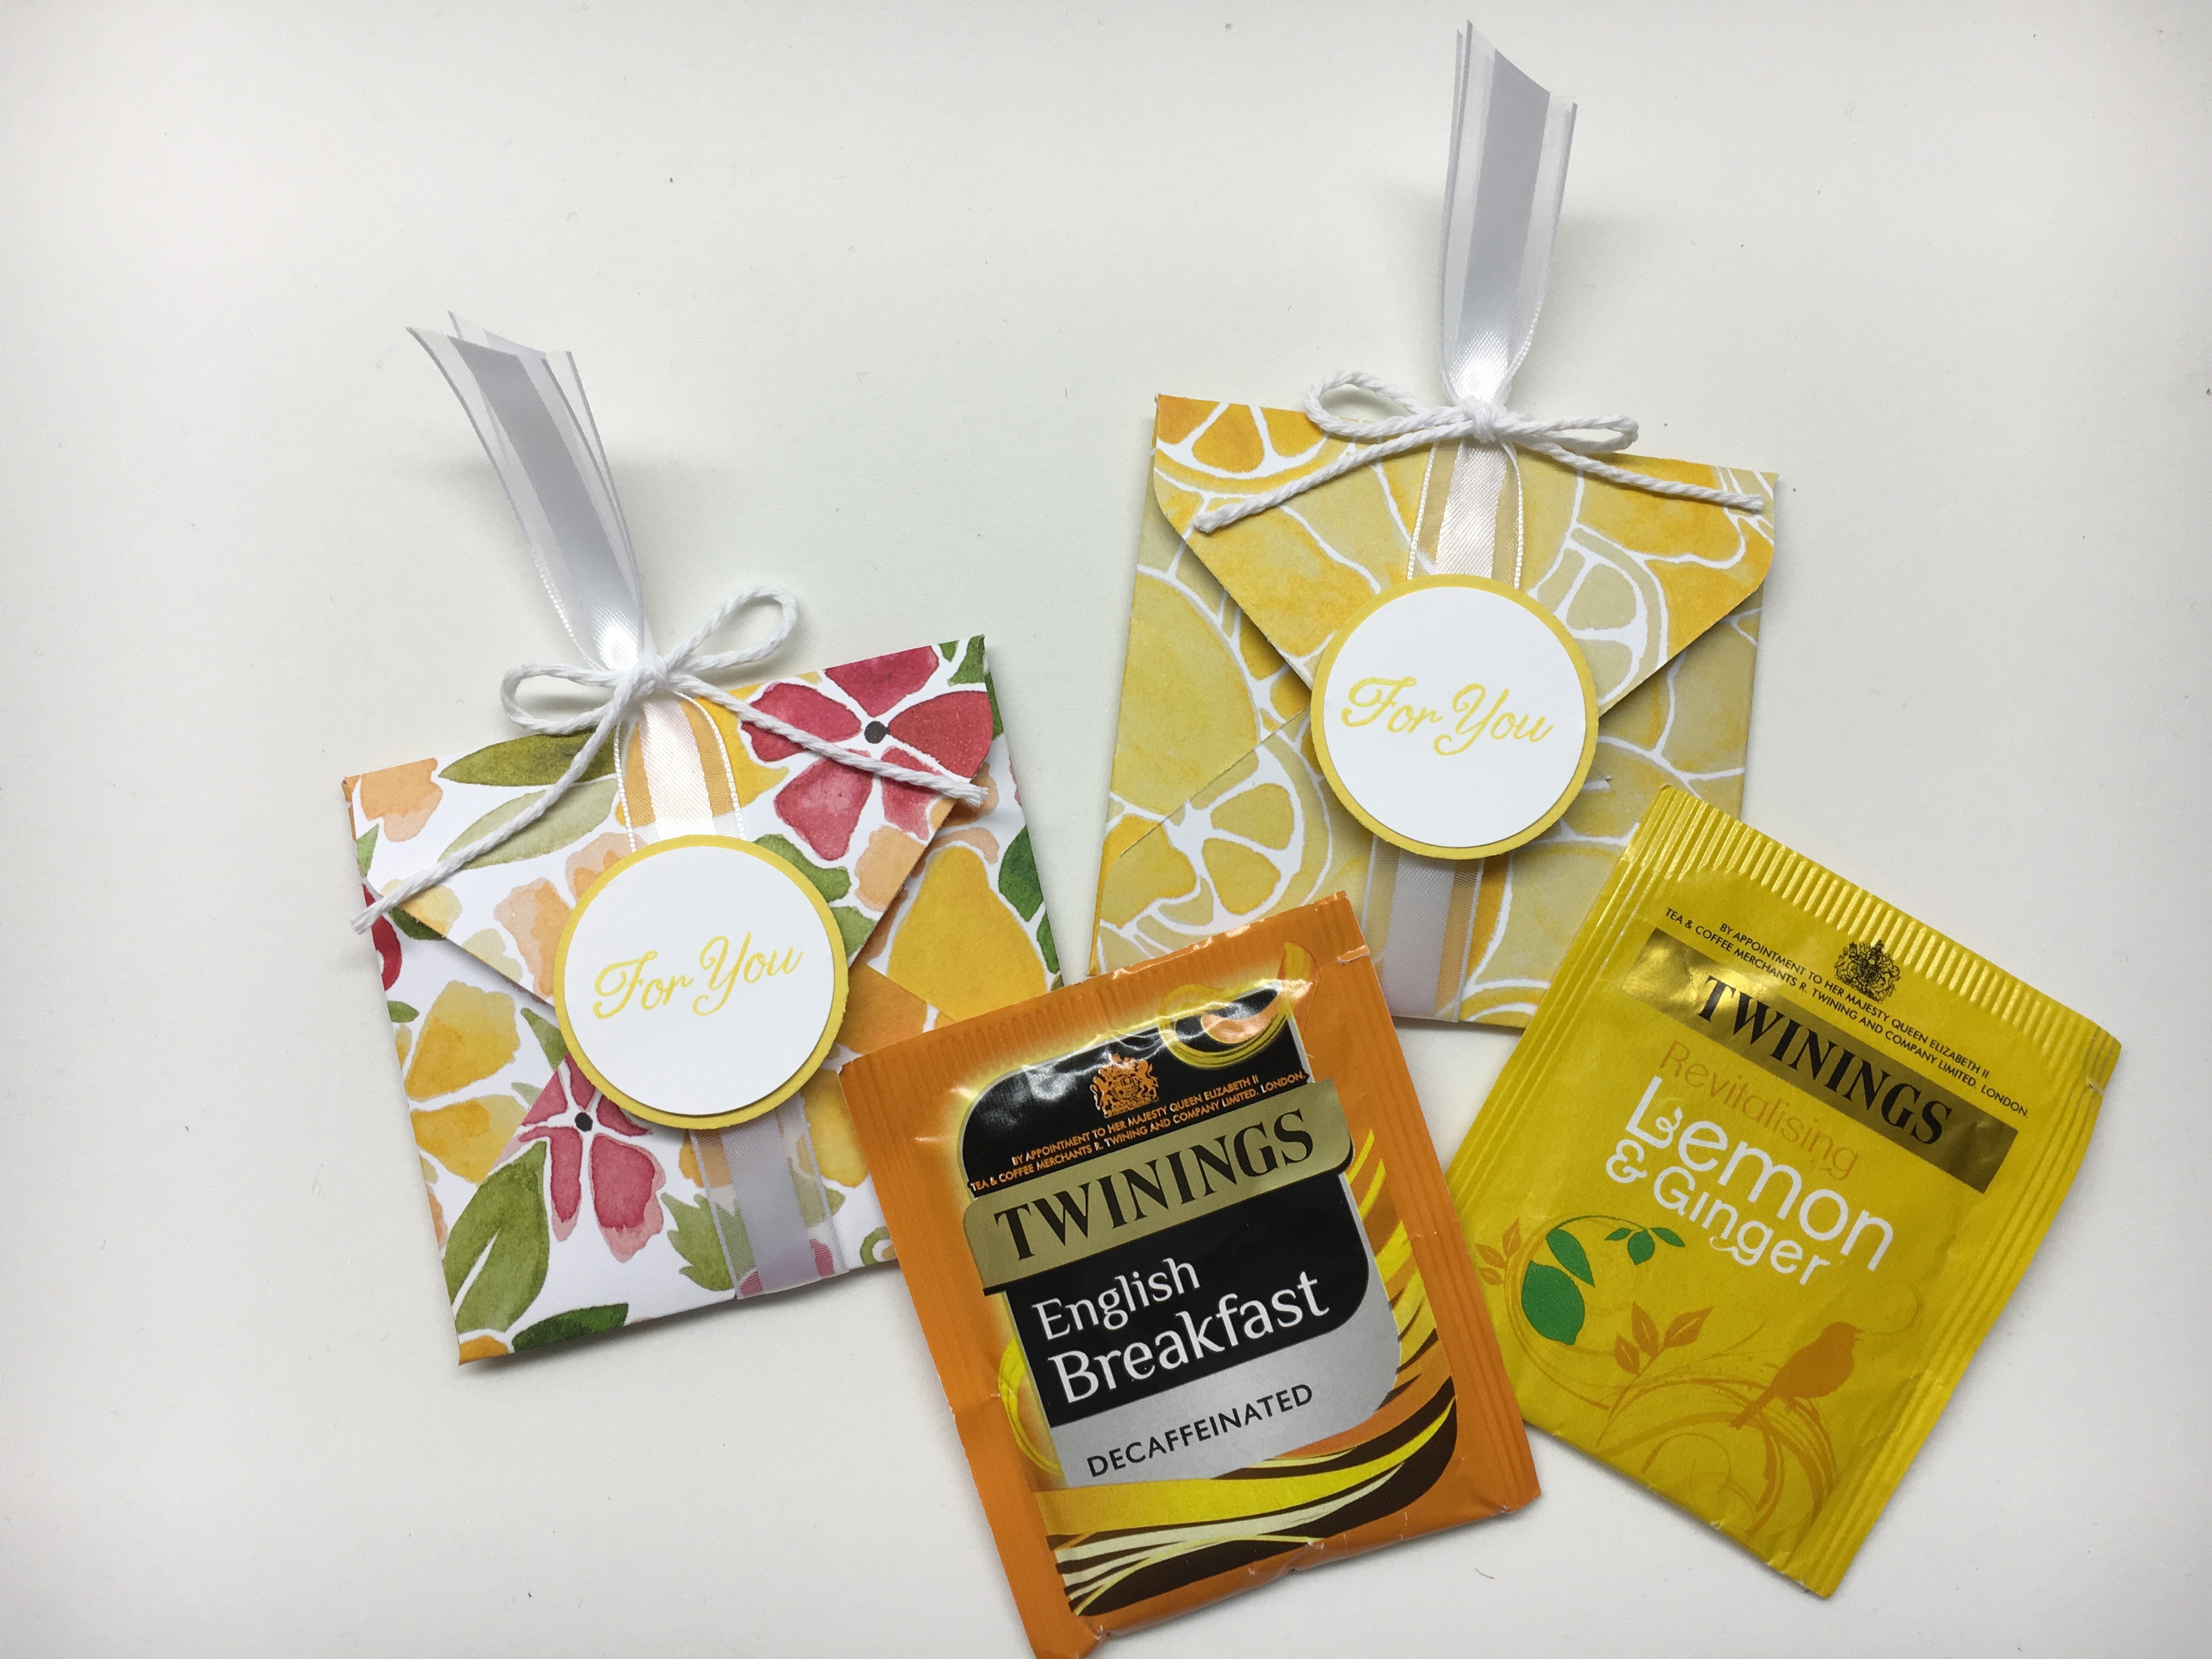
The tag topper punch can be used for cards, gift pouches, as well as tags and more. I love making gift sets that all go together. The measurements for the gift pouch came from Hannah McCurley (StampinbyHannah). Start with a piece of 4 x 4 1/2 Designer Series Paper and score on the long side @ 2″ and 4″. Add tear & tape along the edge to adhere. Punch the top with the tag topper punch and staple the bottom closed. I decorated the front using the Balloon Bouquet Punch and stamped the sentiment from Thoughtful Banners. This is the perfect size treat holder for miniature candy bars.
img_4401
img_4403
img_4404
img_4405
img_4406
img_4410
I embossed the matching gift tag with the Confetti Embossing Folder and punched coordinating balloons. The sentiment is punched out using the Duet Banner Punch. The Basic Black Bakers Twine is used on all 3 projects to “tie” it all together. 🙂
img_4409
img_4410
img_4411
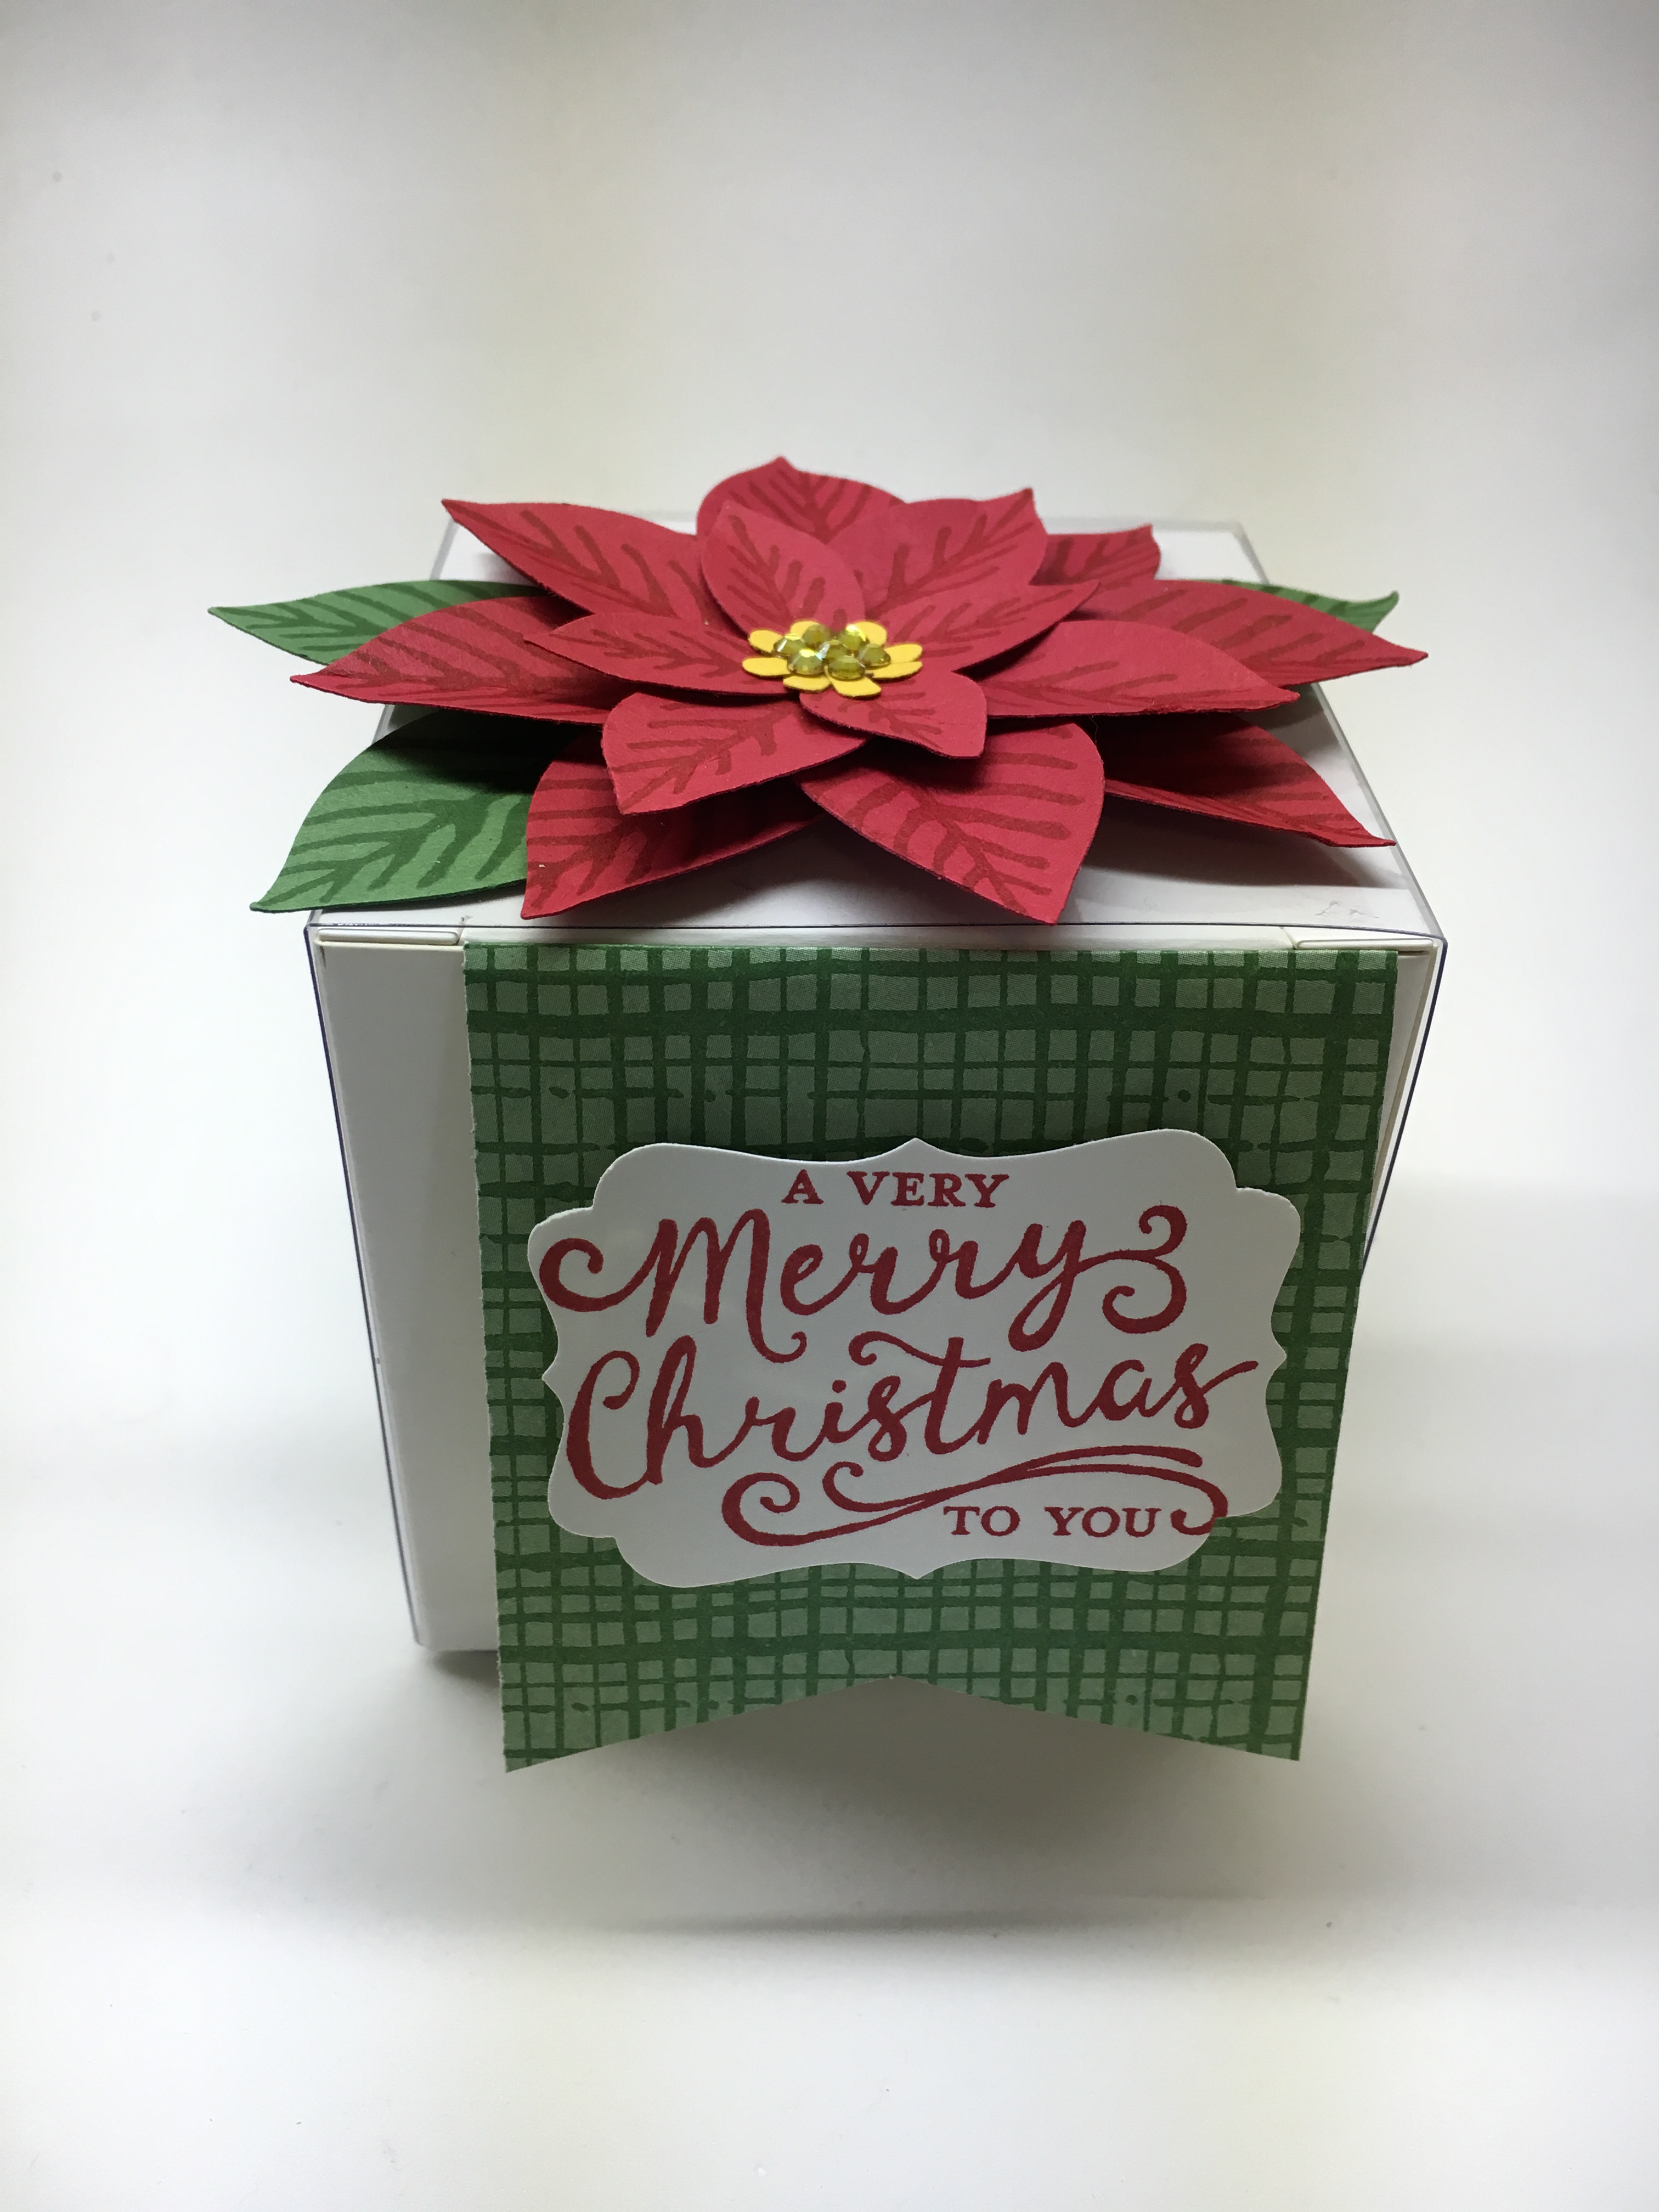
You can watch the short video below to see how I made this gift box topper using the Festive Flower Punch. The sentiment on the tag is punched with the Decorative Label Punch.
Here’s a little trick I found on Pinterest for using the Elegant Butterfly and circle punches to make bats. So cool for Halloween projects!!
As you can see in the photo below I have Plenty of Punches! The Stampin’ Up! Punches can store flat or standing on edge. It’s best to use your whole hand when punching. These punches work better if you set them flat on a table and then punch using direct downward pressure. Happy Punching!
img_4378
img_4379
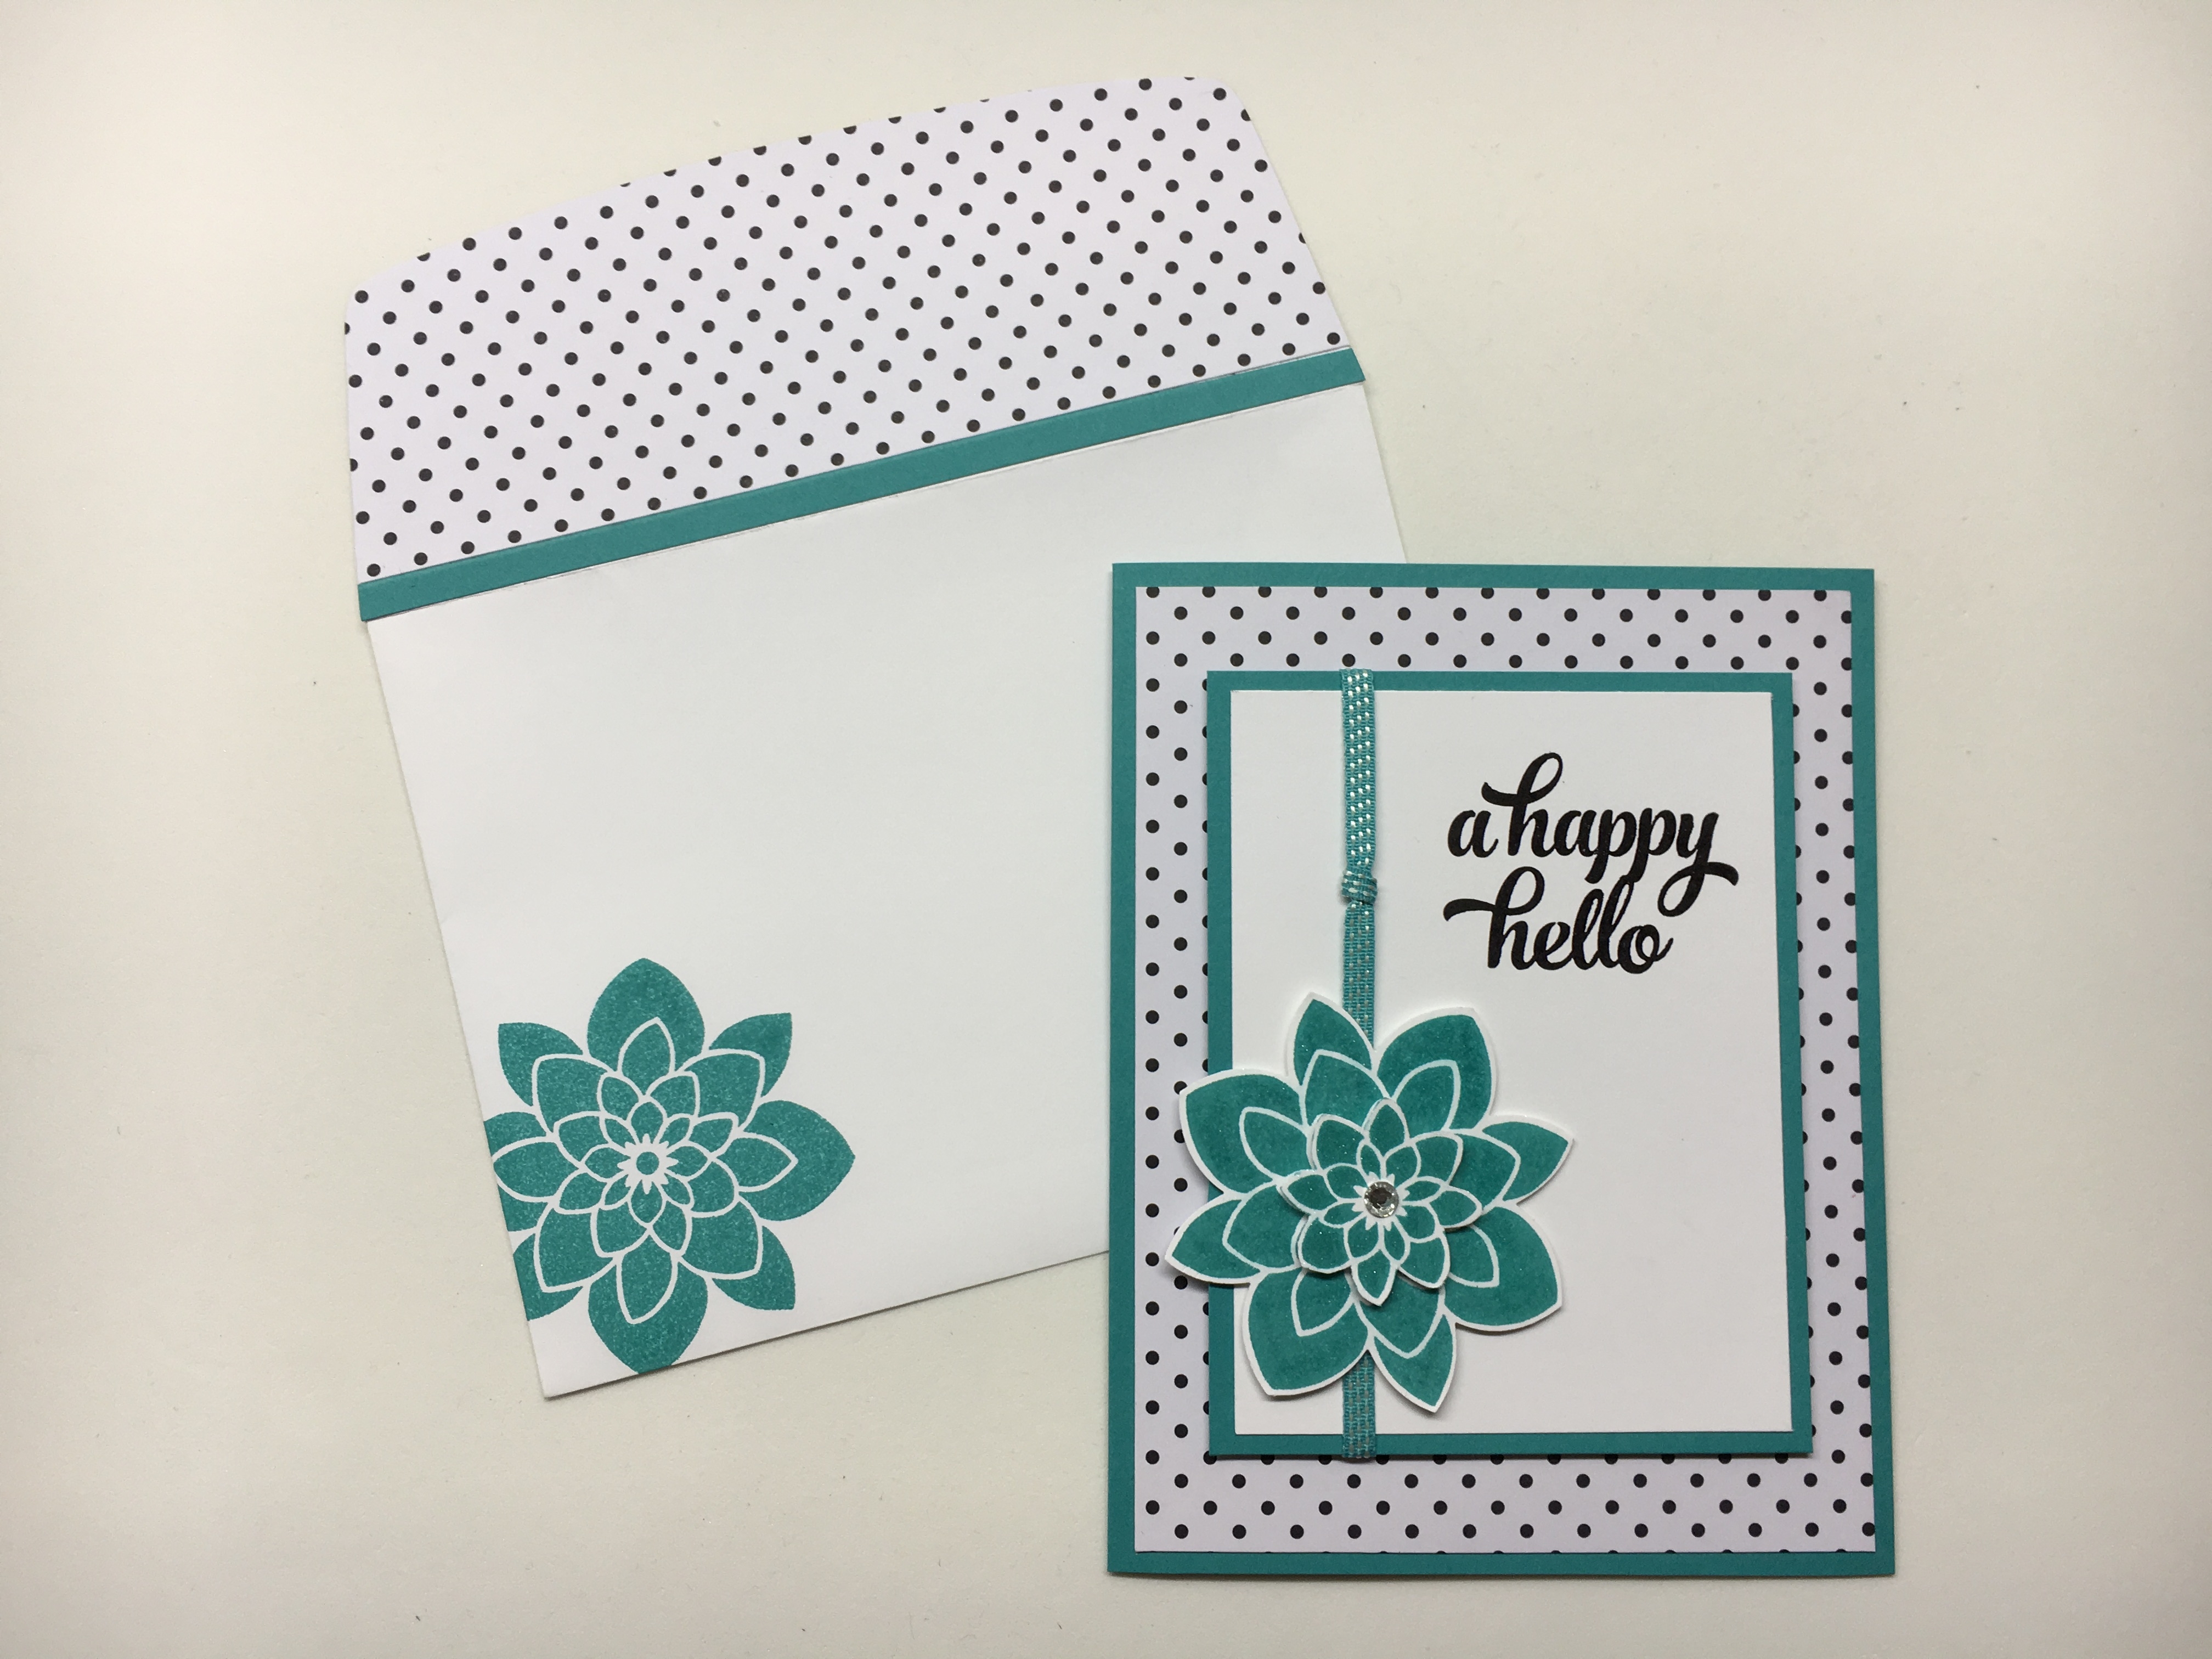
Here are some past projects I’ve made using punches.
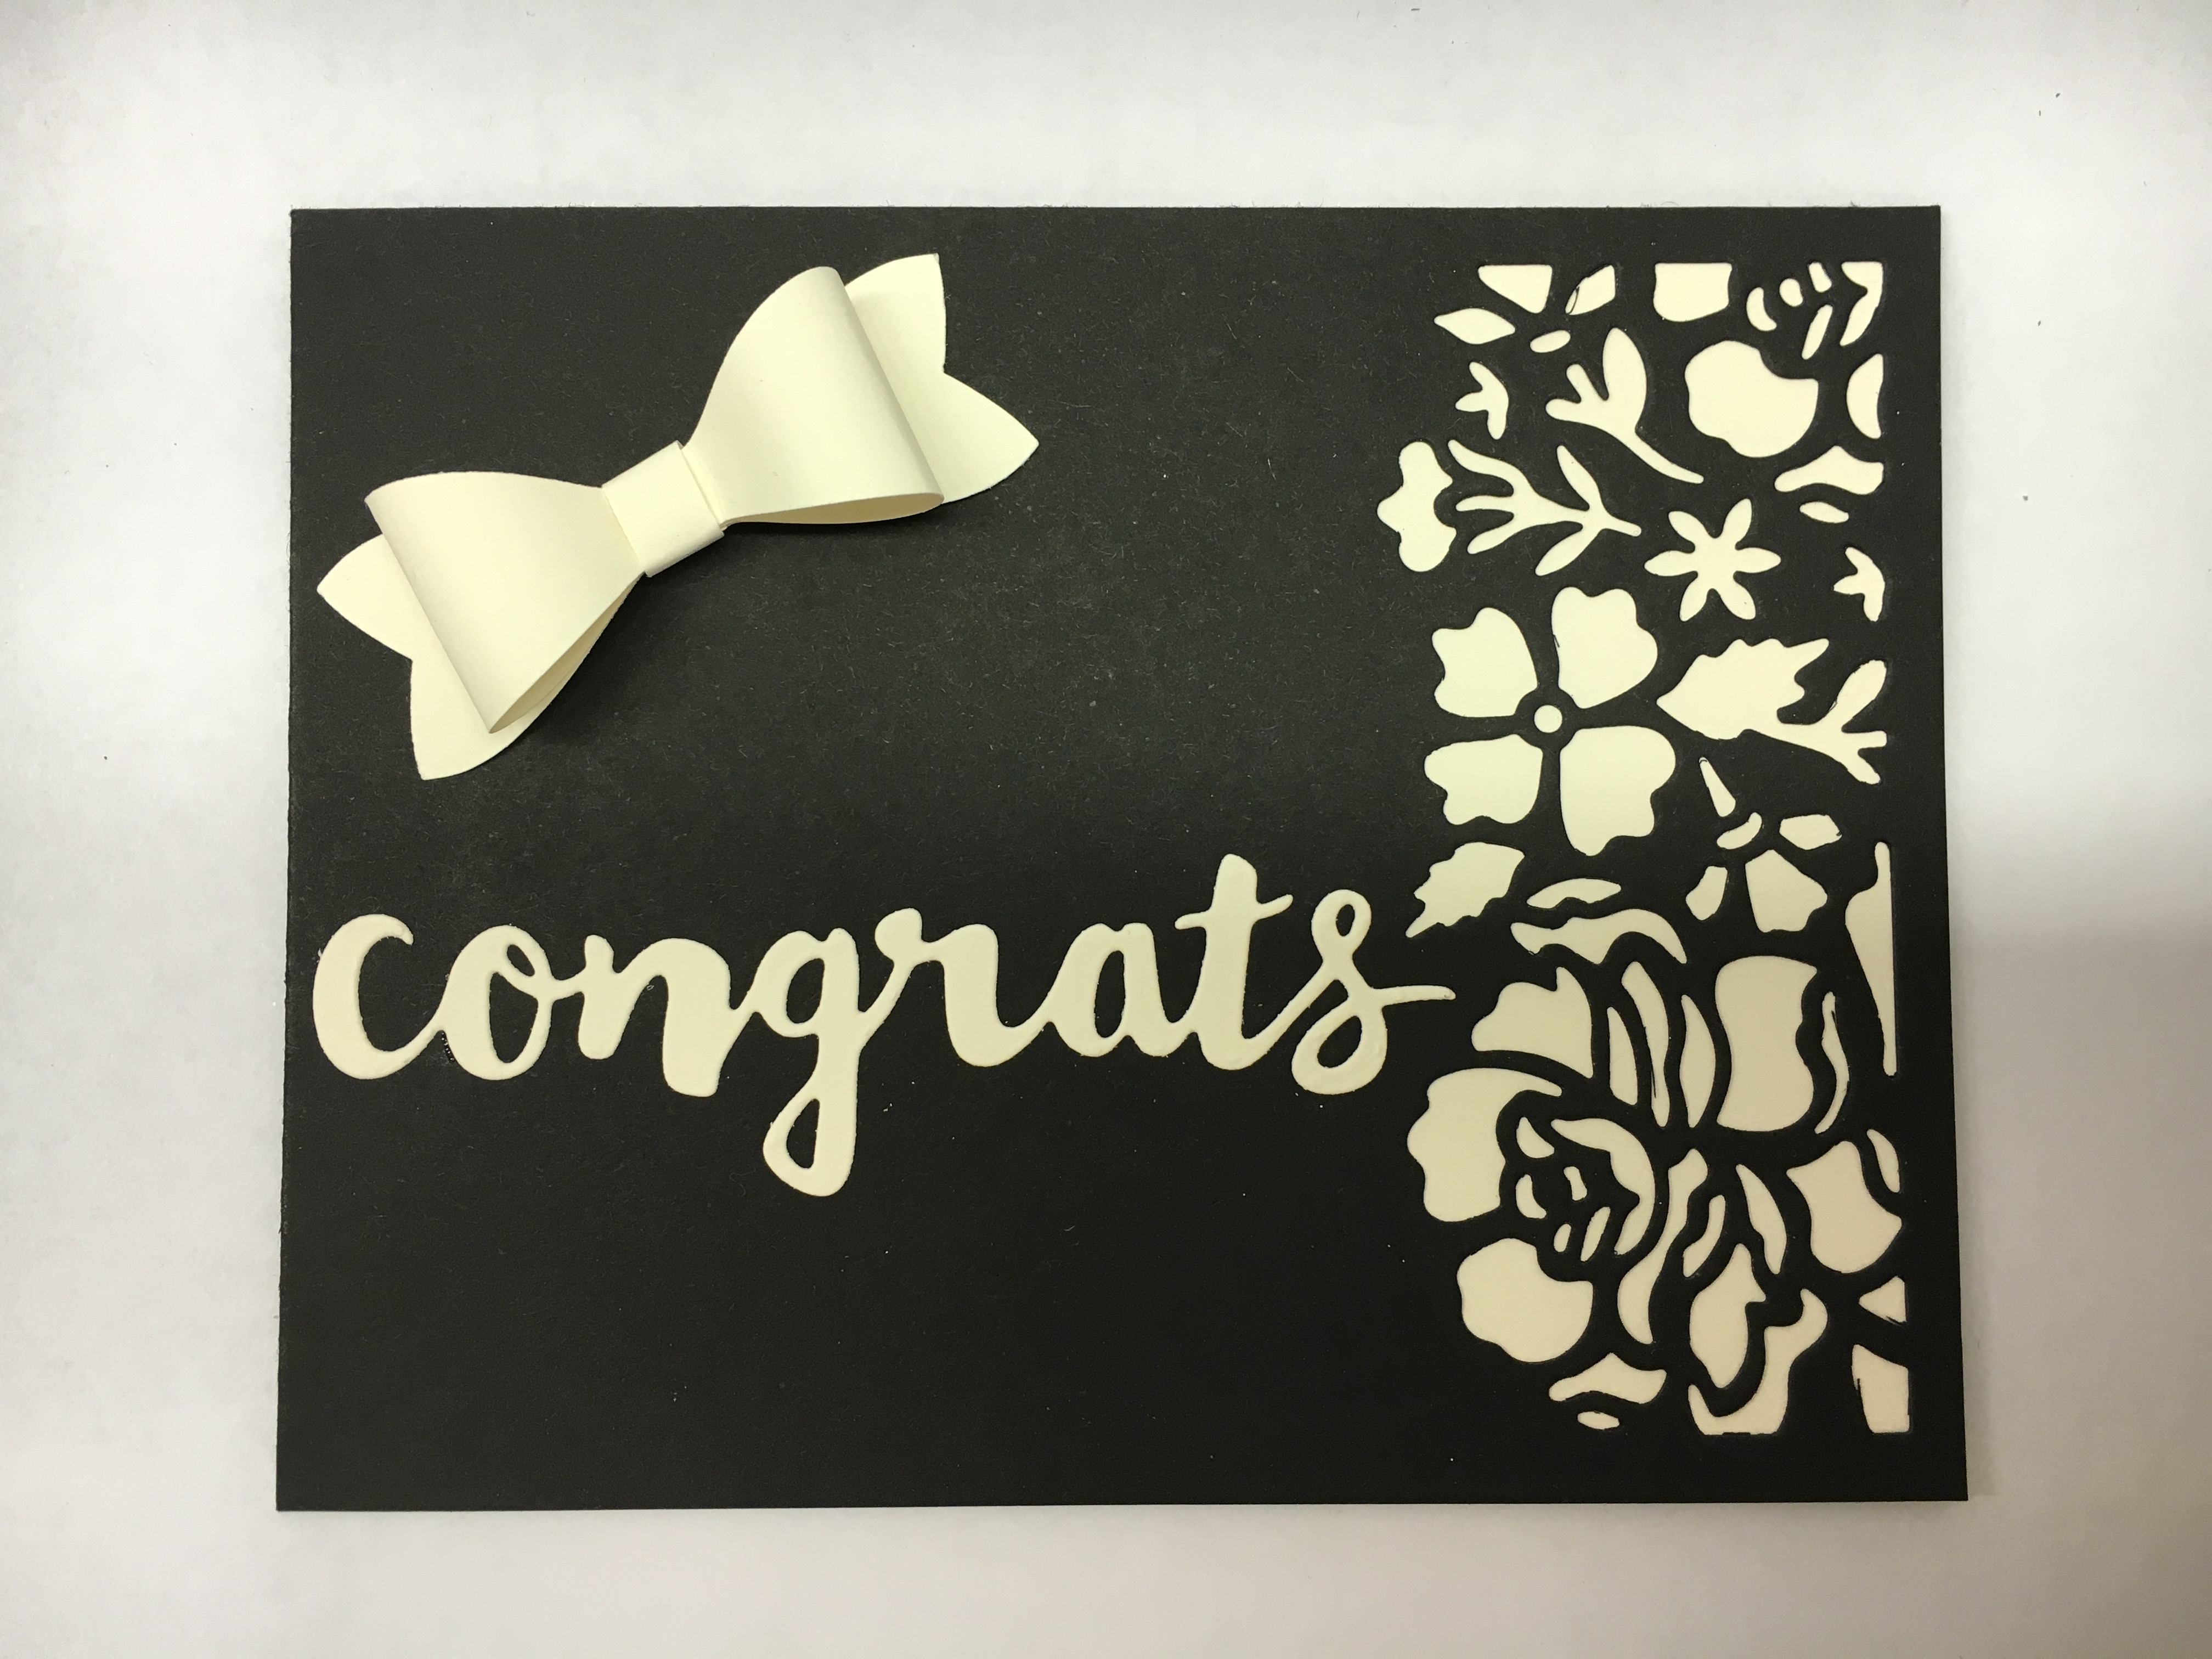
Made using the Triple Banner PunchMade using the Tree Builder PunchMade using the Bow Builder PunchMade using Circle Punches (and Envelope Punch Board)
Made using the Flower Medallion Punch
I hope you enjoyed these punched projects! Perhaps you would like a sampling of perfectly punched pieces to play with for your craft projects? Purchase $25 or more from my online shop and I will send you some perfectly punched pieces for your projects as my Back to School Special for today. Click HERE to see the variety of punches from Stampin’ Up! and to shop my online store. Also, be sure to check out the Clearance Rack for lots of retired punches on sale!!!
Have a Pleasant Picture Perfect Day!
Just Stampin’
Jeanie
P.S. Remember to use the Hostess Code 7CNZAUYM when you check out. (I’ve included a visual below to show you where to enter the hostess code.)
P.P.S. Spoiler Alert! My Paper Pumpkin for this month arrived yesterday (Perfect timing for the letter P). If you would like to see a Preview of the kit scroll all the way down. I can’t wait to play!!!!
Don’t forget about the Paper Pumpkin BOGO Sale Going On Now!
Right now first-time subscribers can buy their FIRST month and get their second month of Paper Pumpkin FREE!
Offer Dates: August 11–October 10, 2016
Use promo code “BOGO” and you’ll pay the regular price of $19.95 and get your second month for FREE! CLICK HERE then click JOIN in the top right corner
Fine Print:
If you subscribe with the promo code between now and September 10, you will pay full price for the September kit and get the October kit free. If you subscribe between September 11 and October 10, your first kit will be the October kit and you will get the November kit free.
IMPORTANT: Offer invalid if subscription is suspended or cancelled during the first two months. In other words, subscribers cannot cancel or suspend their subscription during their first two month.
After the first two months, the subscription will continue for $19.95 + tax per month (shipping included) unless cancelled or suspended.
This offer is open to first-time subscribers only.
Not valid on prepaid subscriptions.
Paper Pumpkin is perfect for a gift, a college student, a busy adult, children, retired or seniors, and those who love to build up their crafting supplies on a budget. With the BOGO Free offer you could buy one for yourself and one for a gift and get together with a friend or family member and have some fun crafting time each month. Subscriptions can be suspended or canceled at any time without penalty. Come join the fun!
Paper Pumpkin Preview…Something Good To Eat Kit September 2016
Welcome to my ABC’s of Stampin’ series. Today I am going to share something new from Stampin’ Up! this year…Ombre Stampin’ Pads. Stampin’ Up! introduced several Ombre stamp pads in the annual catalog (page 180) and 2 more in the new Holiday catalog (page 20 & 51). While these stamp pads are not made for re-inking, they do make a great card. Watch this short video from Stampin’ Up! to see how they work.
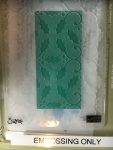
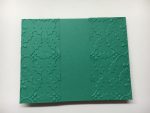
I had fun playing with the Ombre ink in shades of Emerald Envy to make this Christmas card. I ombre-inked up the gorgeous sentiment from the Time of Year hostess stamp set on whisper white cardstock. I cut out the banner using the Bunch of Banners Framelits. I layered the sentiment on mint macaron cardstock and adhered it to the embossed layer. I wanted my embossed layer to be vertical and symetrical ( I know I am probably the only one who would notice!) so I cut 2 strips of Emerald Envy cardstock (2 x 4 1/4) and ran them through the Big Shot using the Holly Embossing Folder. I attached these to the card base with Tombow Liquid Glue.
img_4363
img_4364
img_4361
img_4362
I attached the banner with Stampin’ Dimensionals and embossed another piece of Emerald Envy for the envelope flap. A few Pearl Basic Jewels finished it off. This card was simple, quick and easy with the help of the Ombre Stampin’ Pad. I wish I had ordered all the different colors!
Stamp set: Time of Year Ink: Emerald Envy Ombre Stampin’ Pad Papers: Whisper White, Emerald Envy, Mint Macaron Tools & Accessories: Holly Embossing Folder, Bunch of Banners Framelits, Pearl Basic Jewels, Stampin’ Dimensionals
Click HERE to see the Ombre Stampin’ Pads and to shop from my online store. Don’t forget to check out this week’s Special Offers. Remember the Oval Framelits are only on sale (25% off) through Wednesday. Oh what fun!!! With an online purchase of $25 or more I will send you my Back to School Special for today…a card kit featuring the oval framelits. Remember to use the Hostess Code 7CNZAUYM when you check out. (I’ve included a visual below to show you where to enter the hostess code.)