
Yesterday I shared a card I colored with ink and a blender pen. You can see that post HERE. I appreciate and read every comment and love getting tips and inspiration from you. I had a few questions about blender pens so I thought I would share a little information along with a storage tip and special refill “recipe”. Thank you Chris R. for the inspiration for this post.
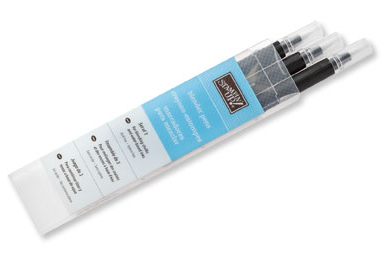
Blender Pens Item # 102845 $10
Blender pens combine the flexibility of watercolors with the convenience of markers. It’s easy to achieve a beautiful watercolor effect using blender pens with watercolor pencils, ink, or markers. The tip cleans off with just a stroke or two on scratch paper, so you don’t need a different pen for each color. Blender pens (and markers) should be stored in a horizontal position to allow the liquid to continually saturate both ends. These dual-tipped pens are filled with a specialized solution to blend ink easily. A card club member, Colleen, shared with me awhile back that you can refill the blender pens so I did a little research and found the “recipe”. It’s just 3 ingredients and I found all of them at CVS Pharmacy.
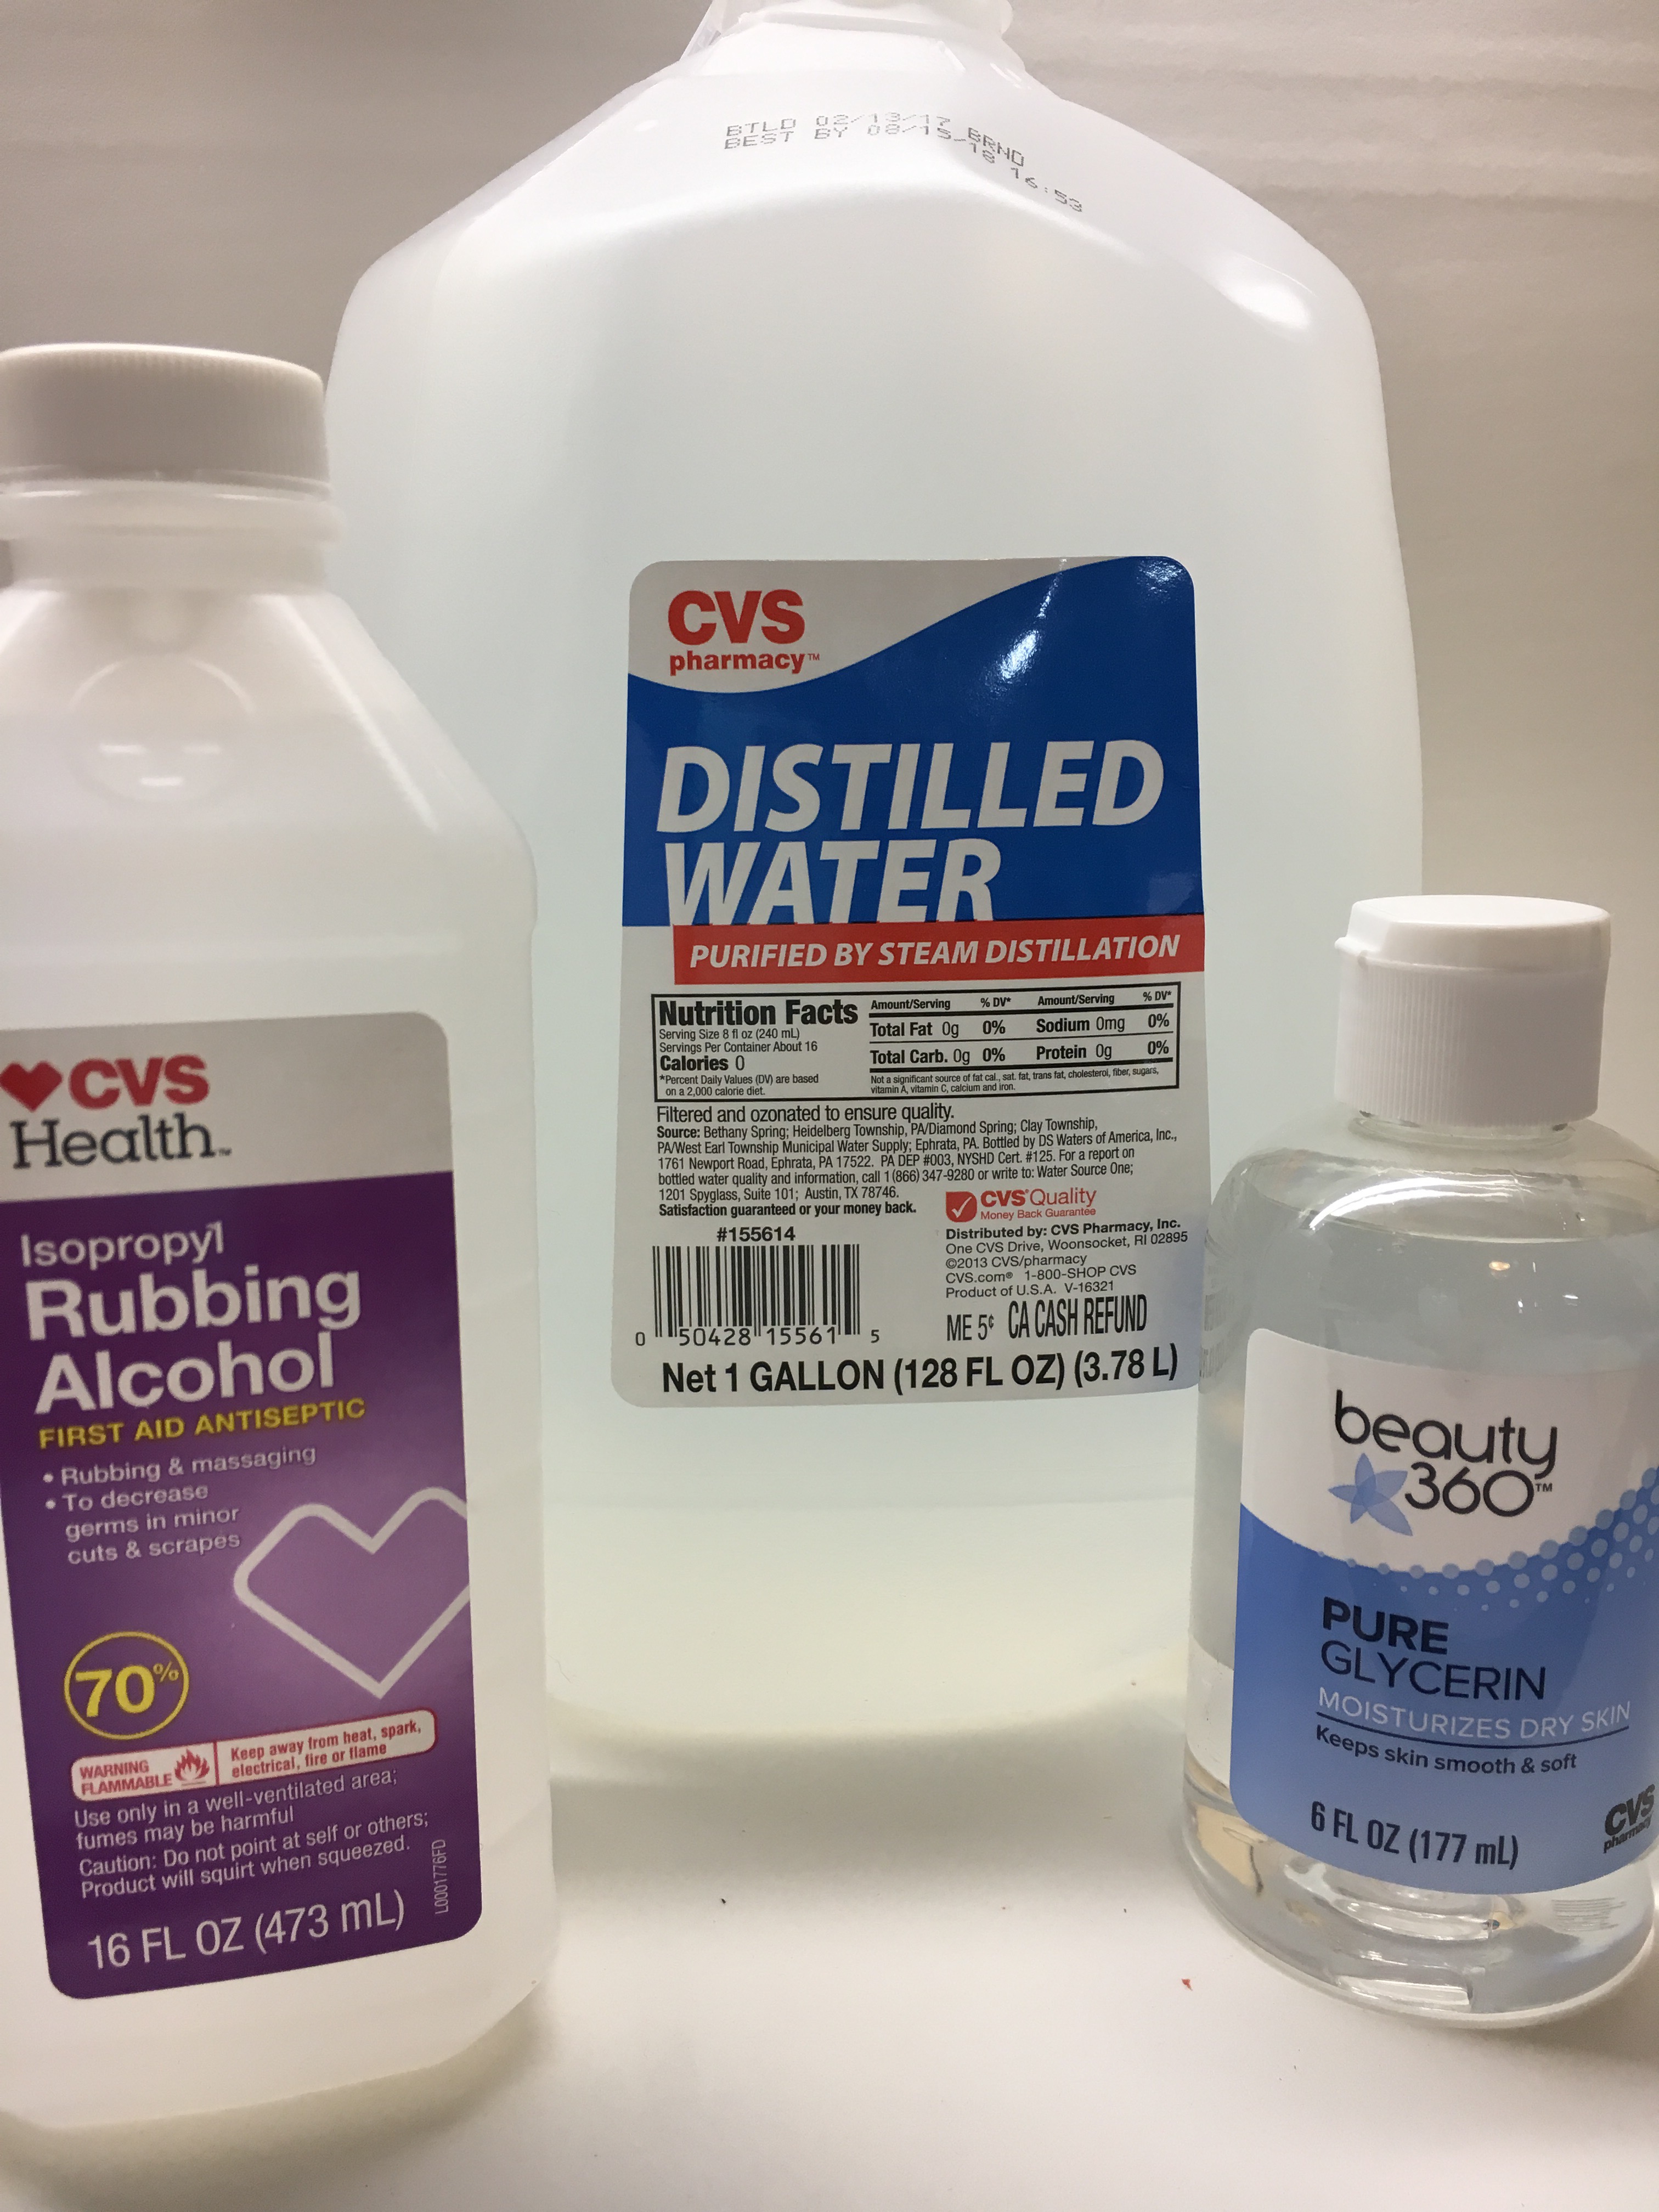
4 tsp. Distilled Water
2 tsp. Glycerin
¼ tsp. Rubbing Alcohol
*Note: You MUST use distilled water. Tap water has minerals, chlorine and other impurities in it. These will cause your pen to smell and/or get moldy.
Mix all ingredients together. Gently pull the tips out of the blender pen (both ends). You can easily pull the tips out with your fingers (or tweezers). Be careful not to ruin the tips. *Put the caps back on both ends of the marker so you don’t dry out the barrel inside. Soak the tips in the fluid for a few hours (or overnight if they are very dry). Gently push the tips back into the marker. I store my refill solution in a recycled embellishment case.


To watercolor you simply pick up ink from the lid of your ink pad and color the image. You can also color the image with watercolor pencils or markers then blend with the pen.

I decided to make my card today a little different than yesterday. I layered the image on Blushing Bride then adhered it to a Sahara Sand card base. I also added a bow using Very Vanilla Satin Ribbon from the Occasions Catalog (item # 142794).

I stamped and colored the front of my envelope this time instead of the flap.

Which one do you prefer?
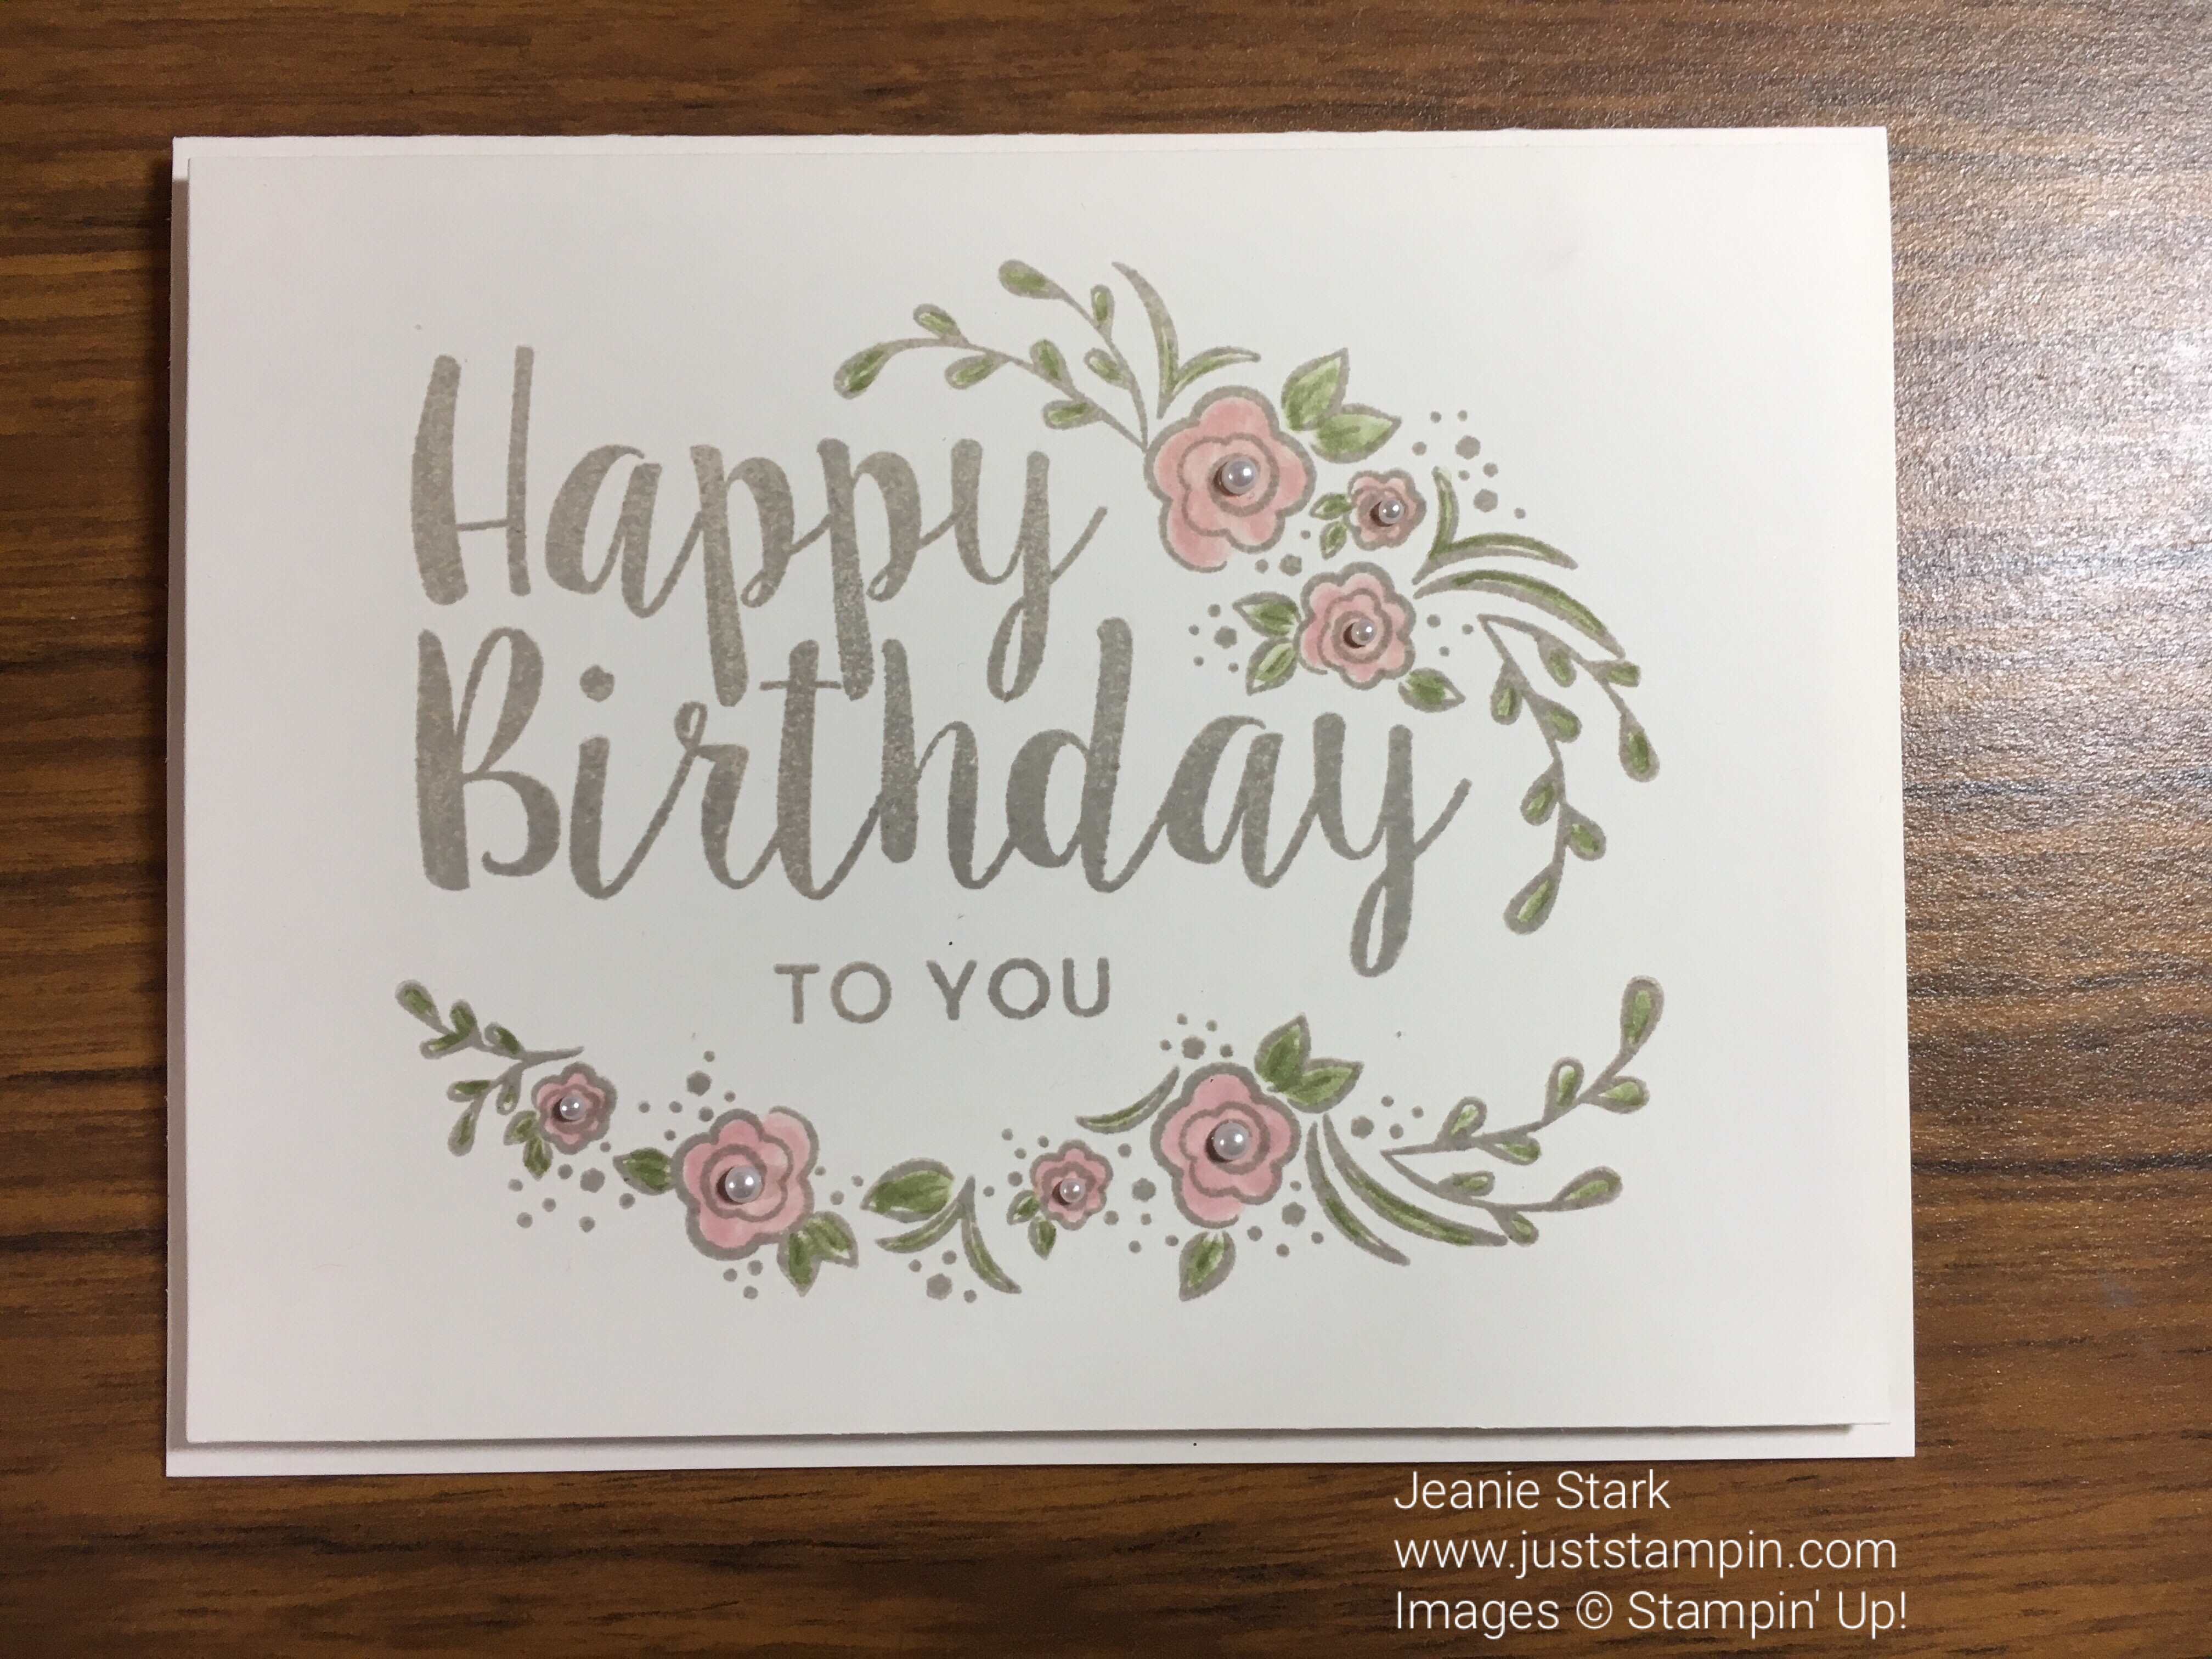

Stamp Set: Big on Birthdays Ink: Sahara Sand, Blushing Bride, Pear Pizzazz Papers: Very Vanilla, Sahara Sand, Blushing Bride Tools & Accessories: Blender Pen, Very Vanilla Satin Ribbon, Pearl Basic Jewels, Stampin’ Dimensionals
You can purchase any of these products in my online store. Click HERE to shop.
March Hostess Code: MDETS7YZ
Use the Hostess code when placing your online order to receive your monthly gift from me.
*Update on my “Just Stampin’ Card Kit and 3D Project Buffet” TO GO … I had not planned on surgery setting me back last month. I have been working diligently this week trying to finish getting the kits (that were earned or ordered in February) cut, photographed, and packaged. I plan to have the kits ready to be mailed out this weekend which is just a day or two later than originally planned. I think you will be very pleased! After I ship your kit, I will send you an email along with an attached document with the directions. Thanks so much for your order and your understanding!
Have a wonderful day!
Just Stampin’
Jeanie

March Hostess Code: MDETS7YZ
Stampin’ Up!’s Sale-A-Bration 2017 is going on now through March 31!!

Shop!
For every $50 you spend (before tax and shipping), you get a FREE Sale-A-Bration product. That means it’s the perfect time to purchase those products you’ve had your eye on while earning more products for free. As an added bonus, Stampin’ Up! added three new Sale-a-bration products on February 21!
VIEW: Sale-A-Bration – release 1
VIEW: Sale-A-Bration – release 2 (new)
Host!
You can earn Host Rewards with sales of $150. Place an order of $250 or greater or host a party with at least $250 in sales during Sale-A-Bration and you’ll earn $25 more in Stampin’ Rewards/Host Cash!! You can even apply your Stampin’ Rewards toward a Starter Kit and become a demonstrator yourself!
Join!
It’s the best time of year to join Stampin’ Up! During Sale-A-Bration, you can become a demonstrator for just $99 and choose TWO additional stamp sets for your Starter Kit—any stamp set, any price! (Excludes Sale-A-Bration sets and bundles.) Plus, the kit ships for free! Send me an email at j.stark@myactv.net if you have any questions or want to plan a time to chat. Click HERE and HERE for more information or click below to Join the Fun!
![]()

Great tips for the blender pen! I did not know to store them lying flat…I have been storing upright but will immediately change it. I just came home from knee replacement and looked at yesterday’s card…so elegant and soft….love it! Thanks Jeanie.
Oh Mary Ann…wishing you a speedy recovery with your knee replacement! It sounds painful! Here’s what I learned…take your meds…do not skip a dose when you start to feel better. I think I overdid it thinking I was fine and this week has been tough…pure exhaustion! Rest and get better quick!!!
Great information. Thank you
Thanks for the great ideas and the recipe for the blender pen “re-inker” solution. Love this card, too. The matting is a perfect elegant step-up.
Thank you Linda!
Well, who knew? We learn something new every day! I love both cards! Depends who it goes to!!
I did not know you could refill blender pens until card club. Colleen has been stamping for years and always shares great tips. 🙂
Thanks for the wonderful tip on refilling blender pins! Will pin the recipe so i won’t forget it when i need it! I am smitten with both of these cards–definitely giving this set another look –in spite of that hateful still pretty stamp. Thank you for the time and energy you put into your blog, for making the pictures of each step/part and sharing daily with us.
I am so with you about that “pretty” stamp!!! I can’t imagine who I would ever give that too! I do like all the other stamps in the set though and love the different fonts. Thanks so much for taking the time to leave a comment!
I love love love my Blender Pens ! I have a recipe stored somewhere ,but thank you for an update . I am glad you stress Distilled Water because some people do not realize that the drinking water be it faucet or bottled has minerals and such in it .
I like both cards and those posies just add more fun to the project
Thanx Jeanie for this recipe because I just got my new pens because I gave my others away to my daughters and a GD ! So I will just keep the fixins on hand for refueling !
Let`s all welcome Mary Ann`s NEW KNEE !!
New and improved! Thanks Sonny!
Bionic knees? I wish I had the Everyday Hero set as I would make you a card with Super Mom on the card as you could leap over tall buildings etc! So, while you are trying to get to sleep, just dream about how the card would look with both knees replaced as the bionic woman maybe herding some sheep over tall buildings?
Sonny, I am sure your daughters and GD appreciate your generosity! I find blender pens so easy to use. I’m not as fortunate with the aqua painter…sometimes I get too much water and I’m not happy with the results. I keep trying but usually just end up going with ink or pencils.
Chris, you crack me up…I am envisioning bionic knees leaping over tall buildings!!! Love the way you all are cheering on Mary Ann!!
💜💜💜
Thanks, Jeanie, for this recipe and tip to store the pens horizontally. I did not know that. I love both cards and how quick it is to get a pretty card out the door using this stamp set. Sending healing hugs to Mary Ann. Physical therapy won’t be easy, but you are a trouper and will be good as new before long. Have a good day everyone.
Thanks for the healing hugs HJ….PT….gotta do it…hard but so worth it😃
Hope you are feeling the love from everyone Mary Ann!
Thank you for this recipe, Jeanie! I just pinned both the recipe and your gorgeous card. This one is my favorite!
Thanks Michelle!
A BIG Tank you for the ‘Blender Pen’ revitalization tip! Will try it for sure! Thank you for sharing! How are you feeling? Lots better I hope!
Thanks Cheryl! I probably should have listened to everyone and given myself another week before going back to work…I have been exhausted this week but feeling better. My kids are the sweetest but 4 year olds don’t like change. I am very fortunate to have an aide. I’ve been on the receiving end of lots of hugs. One little one told me several times this week, “I like it when you’re here”. It’s worth a little exhaustion for that!!!
Thank you so much for your helpful tips and hints! I need them all.
I am glad I could pass on what I learned! I love the stamping community…everyone shares. 🙂 Thanks for taking the time to comment!
Thanks for the recipe for the blender pens!
Anytime, my friend! Love that we can reuse them rather than having to buy new!!!
Thanks for the solution to my problem with the blender pens. I will have to get the stuff and try it. Should I be using the distilled water in the aqua painters too? Since I love my layers, I think I would say today’s card is my favorite with the mats but the other is just as beautiful. Thanks Jeanie! Check for my comment on Susan’s blog about CASEing her card and using the sandpaper discs-it will make you smile. I also found a black one out under the tarp, now I am wondering if it is mold on there or actually black sandpaper? It would look great with the Urban District paper. Oh the texture!
Thank you for the idea to share this! I feel like the new kid on the block and often think everyone probably already knows that. I really appreciate everyone who takes the time to comment and ask questions. If I don’t know I will try to find the answer. I love to learn new things all the time!
I can’t wait to go read your sandpaper story!
Hi Jeanie, great post. Thanks for all the photos and great explanation/directions. I like the card with the bow.
🙂
Thanks Nancy! I love ribbon too and I am hoping the new catalog has more colors!!!
Thank you for the blender pen tips! I also did not know to leave them flat. Makes sense! And I am going to try to revive mine, they are very old. I love learning how to make things work better as well as doing different things with what I already have!
Noreen, I love learning new ways to use things too! And especially when it saves me $! Good for you for keeping your old ones! Thanks for taking the time to comment!
Just curious, did you also add the fluid to the barrel of the blender pen?
I was wondering the same thing. When I re-ink my pens (even though it says they aren’t refillable) I add it to the felt piece inside the barrel. Would this work for the blender pens as well? I have just been dropping a few drops of water in that when it needs refilled, I am going to go check them for mold now though. Also, what is the purpose/function of the glycerin, could you use it without that? Thanks for the recipe.