A Crafting Weekend

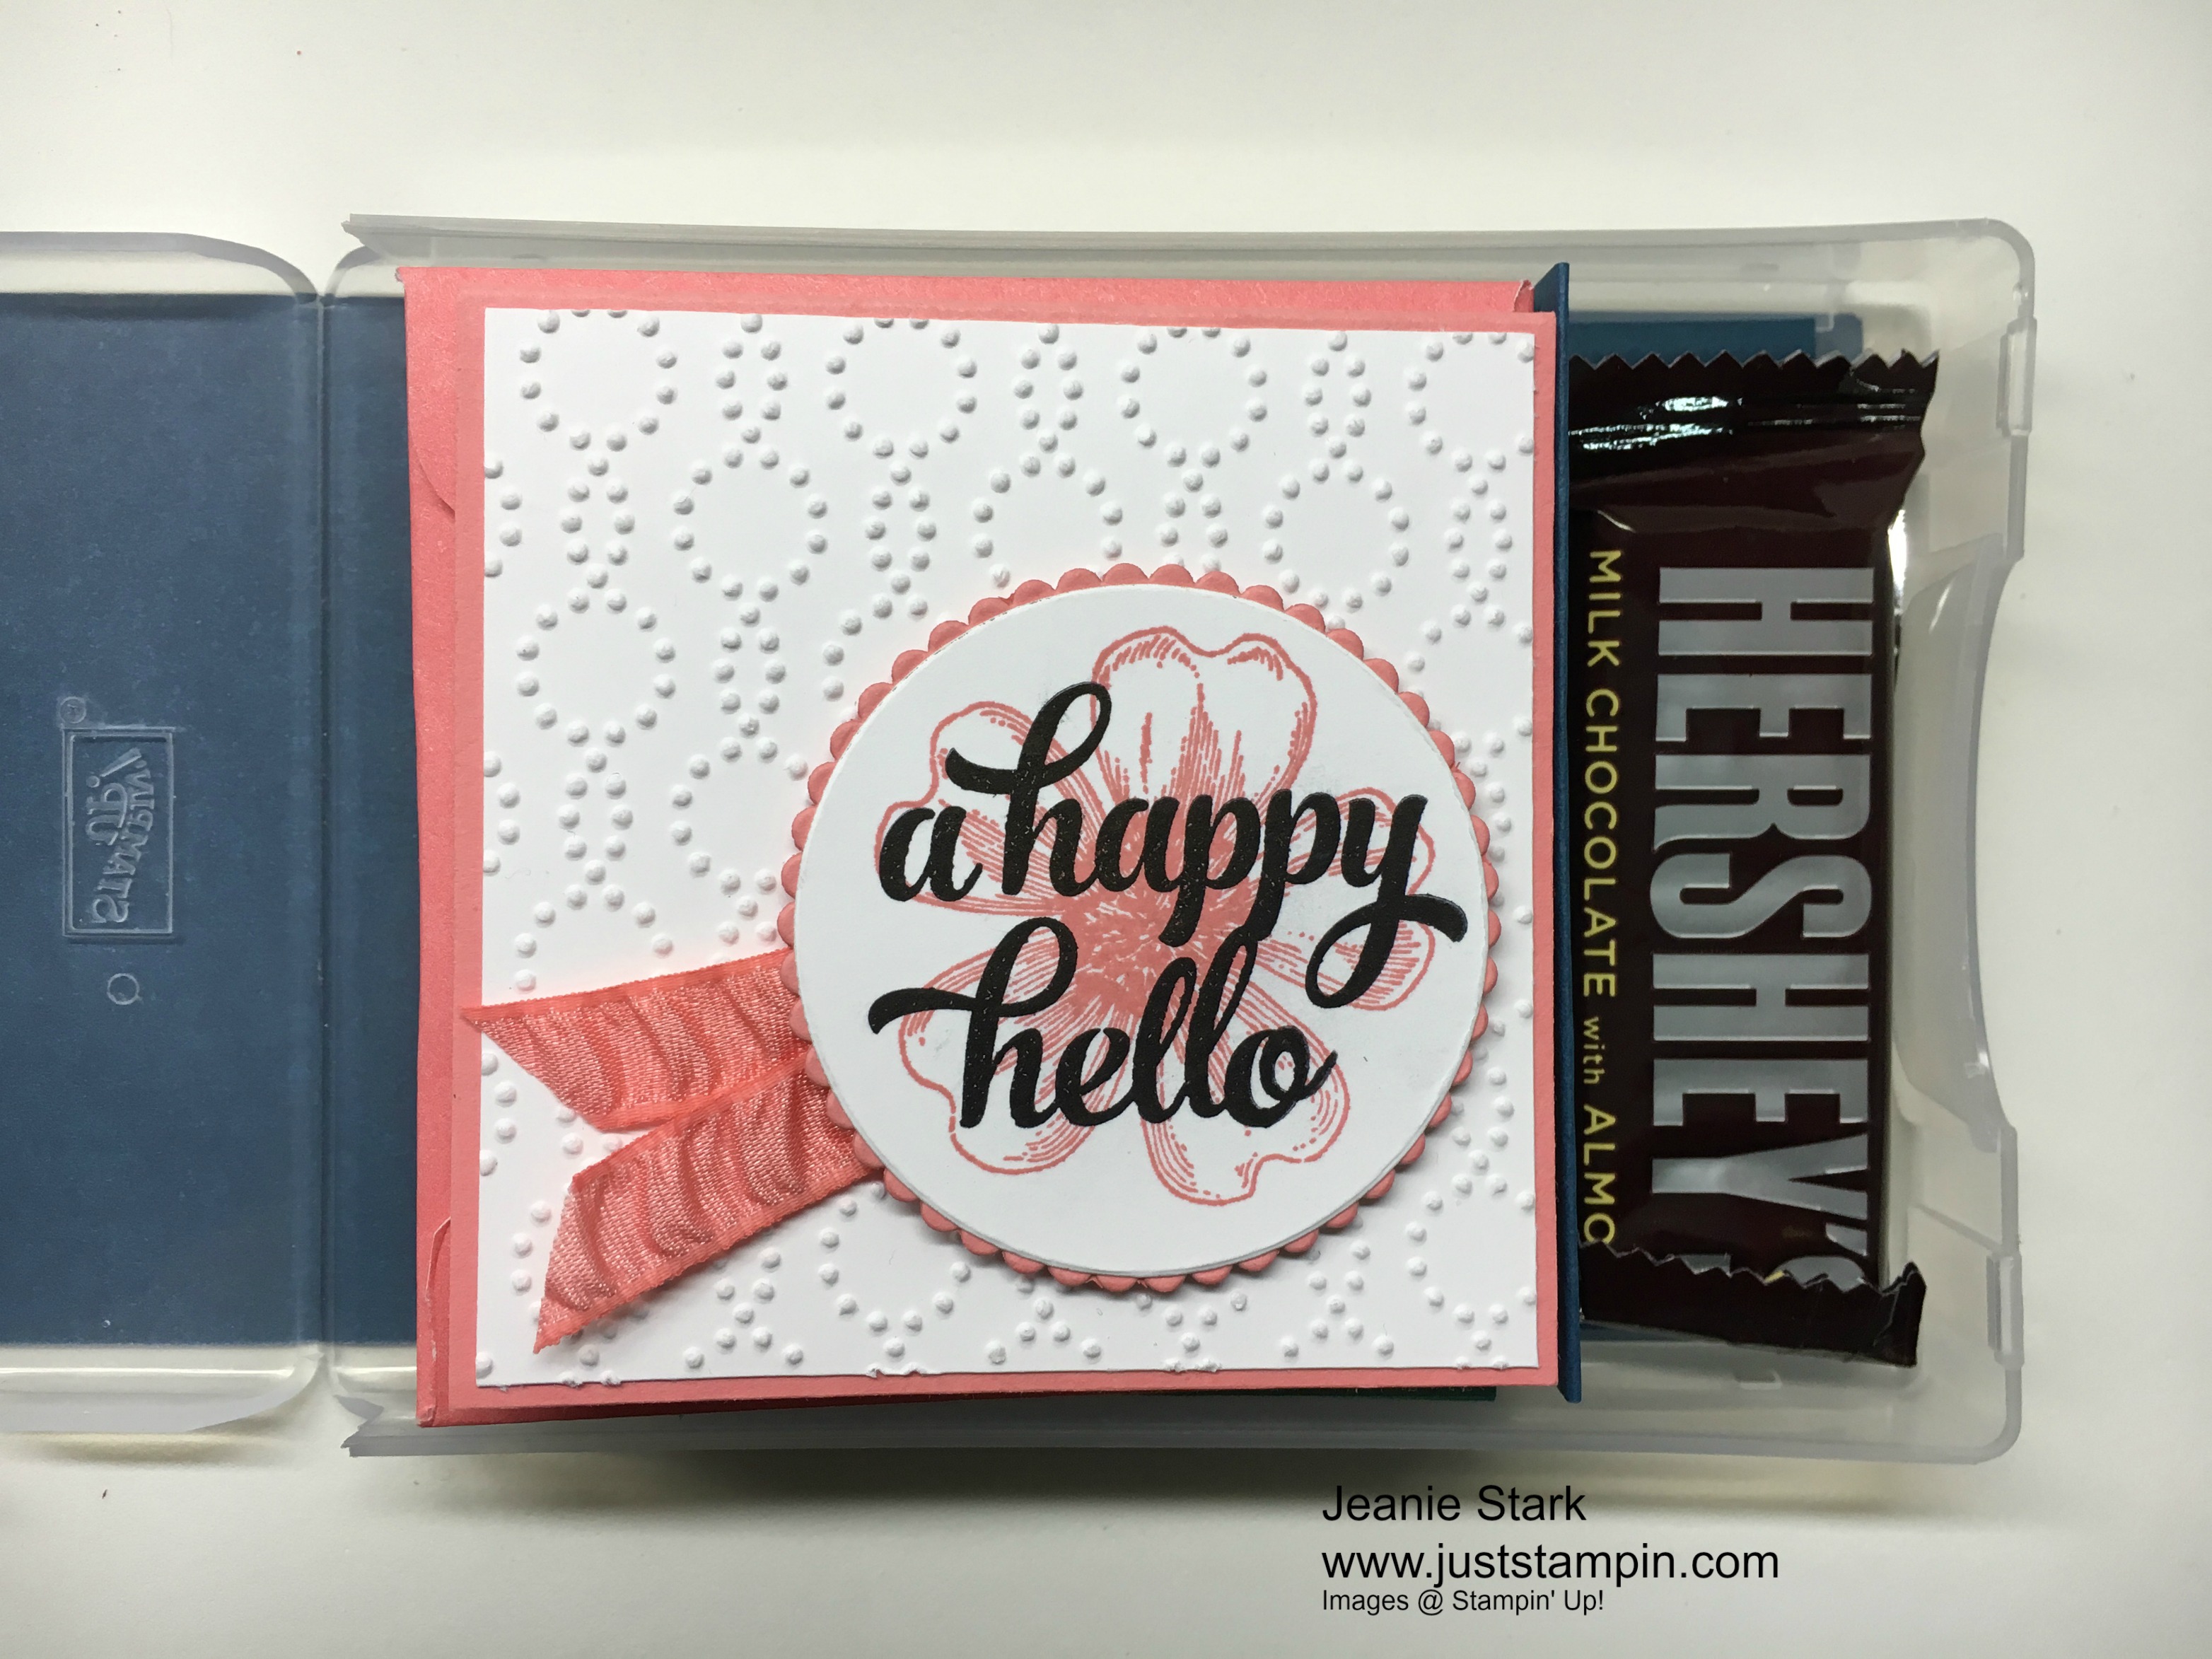
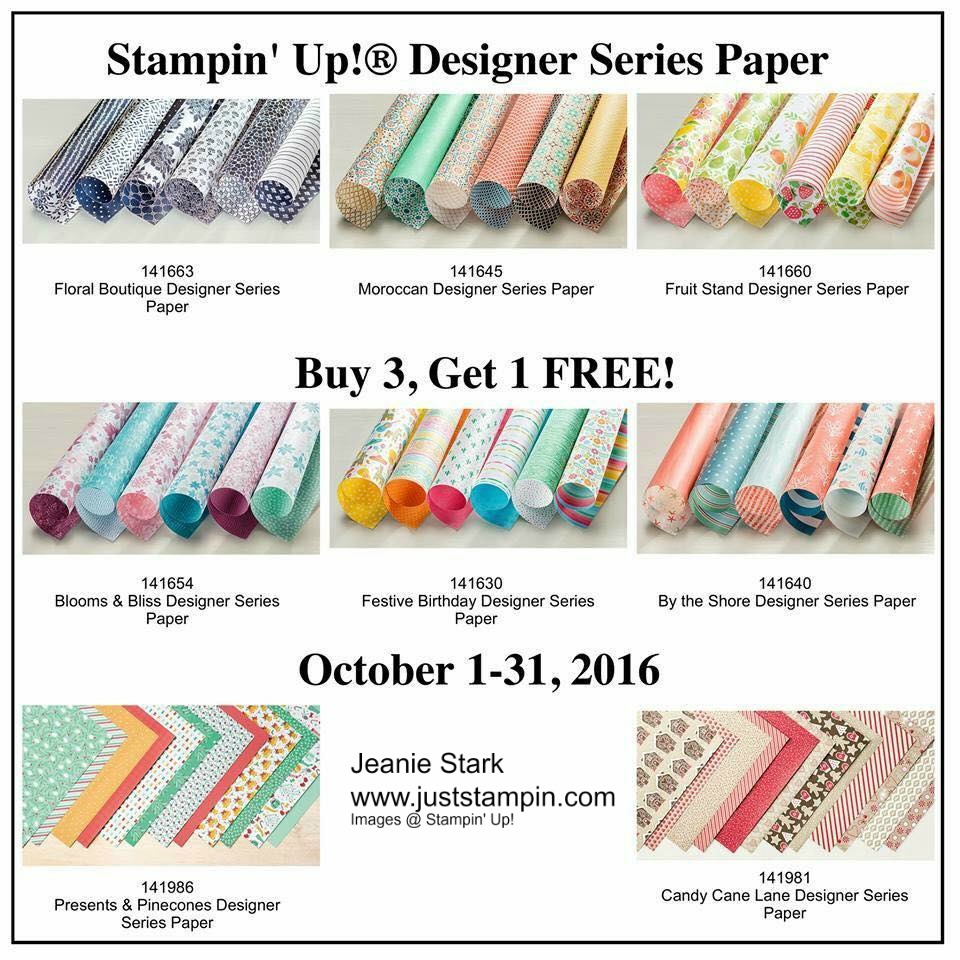
I had such a wonderful weekend! I was able to do 2 of my favorite things 2 days in a row…hang out with friends and craft.  I didn’t even have to cook! I went out to dinner on Saturday and my wonderful husband cooked dinner on Sunday while I was getting together with C3 (Creative Card Club).  Each month I meet with these talented ladies and we share ideas, techniques, and projects we’ve created and then we make each others projects.  I shared a variation of a card I posted previously with the triple bow.  I brought lots of ribbon so they could choose what they wanted to make a bow to match their card. We used 2 of the Sale-A-Bration items, Inside the Lines Designer Series Paper and the new Glimmer Paper, to make these cards. img_0261

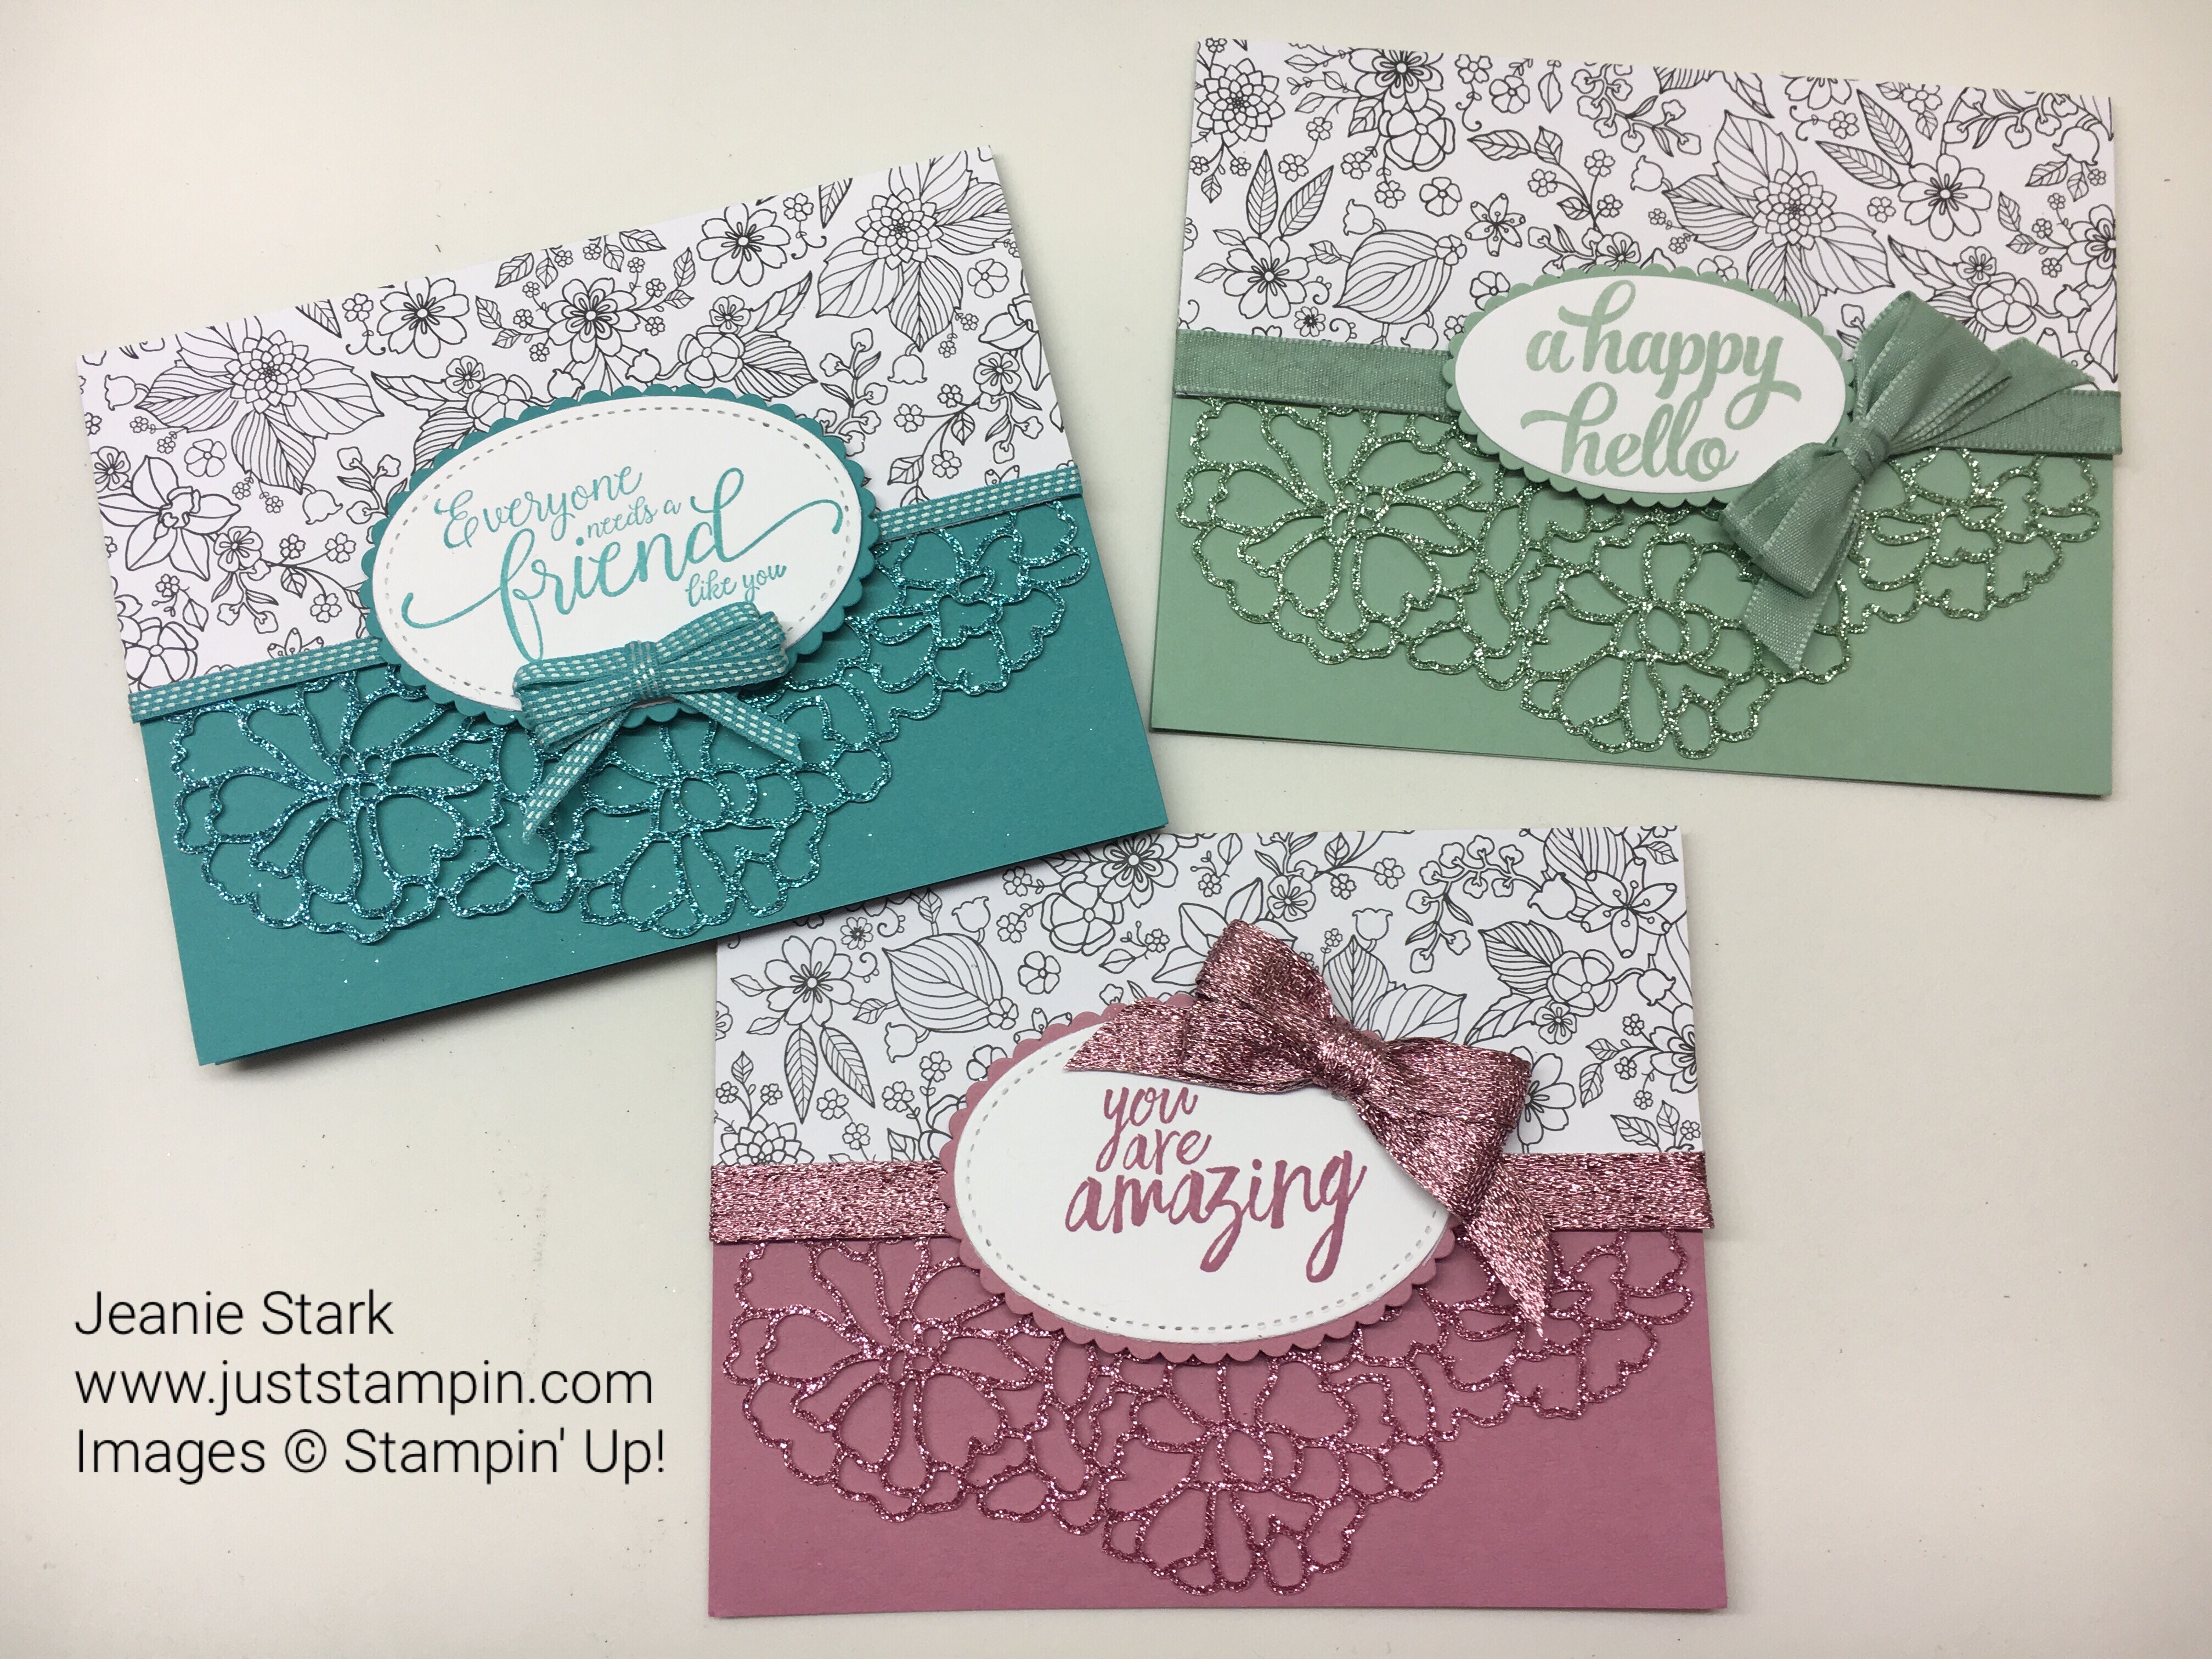
You can click HERE to see the original post with directions how to make the card and bow. This is one of those “formula” cards you could use again and again with different sentiments and colors.  I like black & white with a pop of color!  Here’s a photo of the ladies with their finished cards.

img_0234

I love how they used their leftover scraps of glimmer paper to add a strip to their envelope. Don’t these look so bright and springlike?

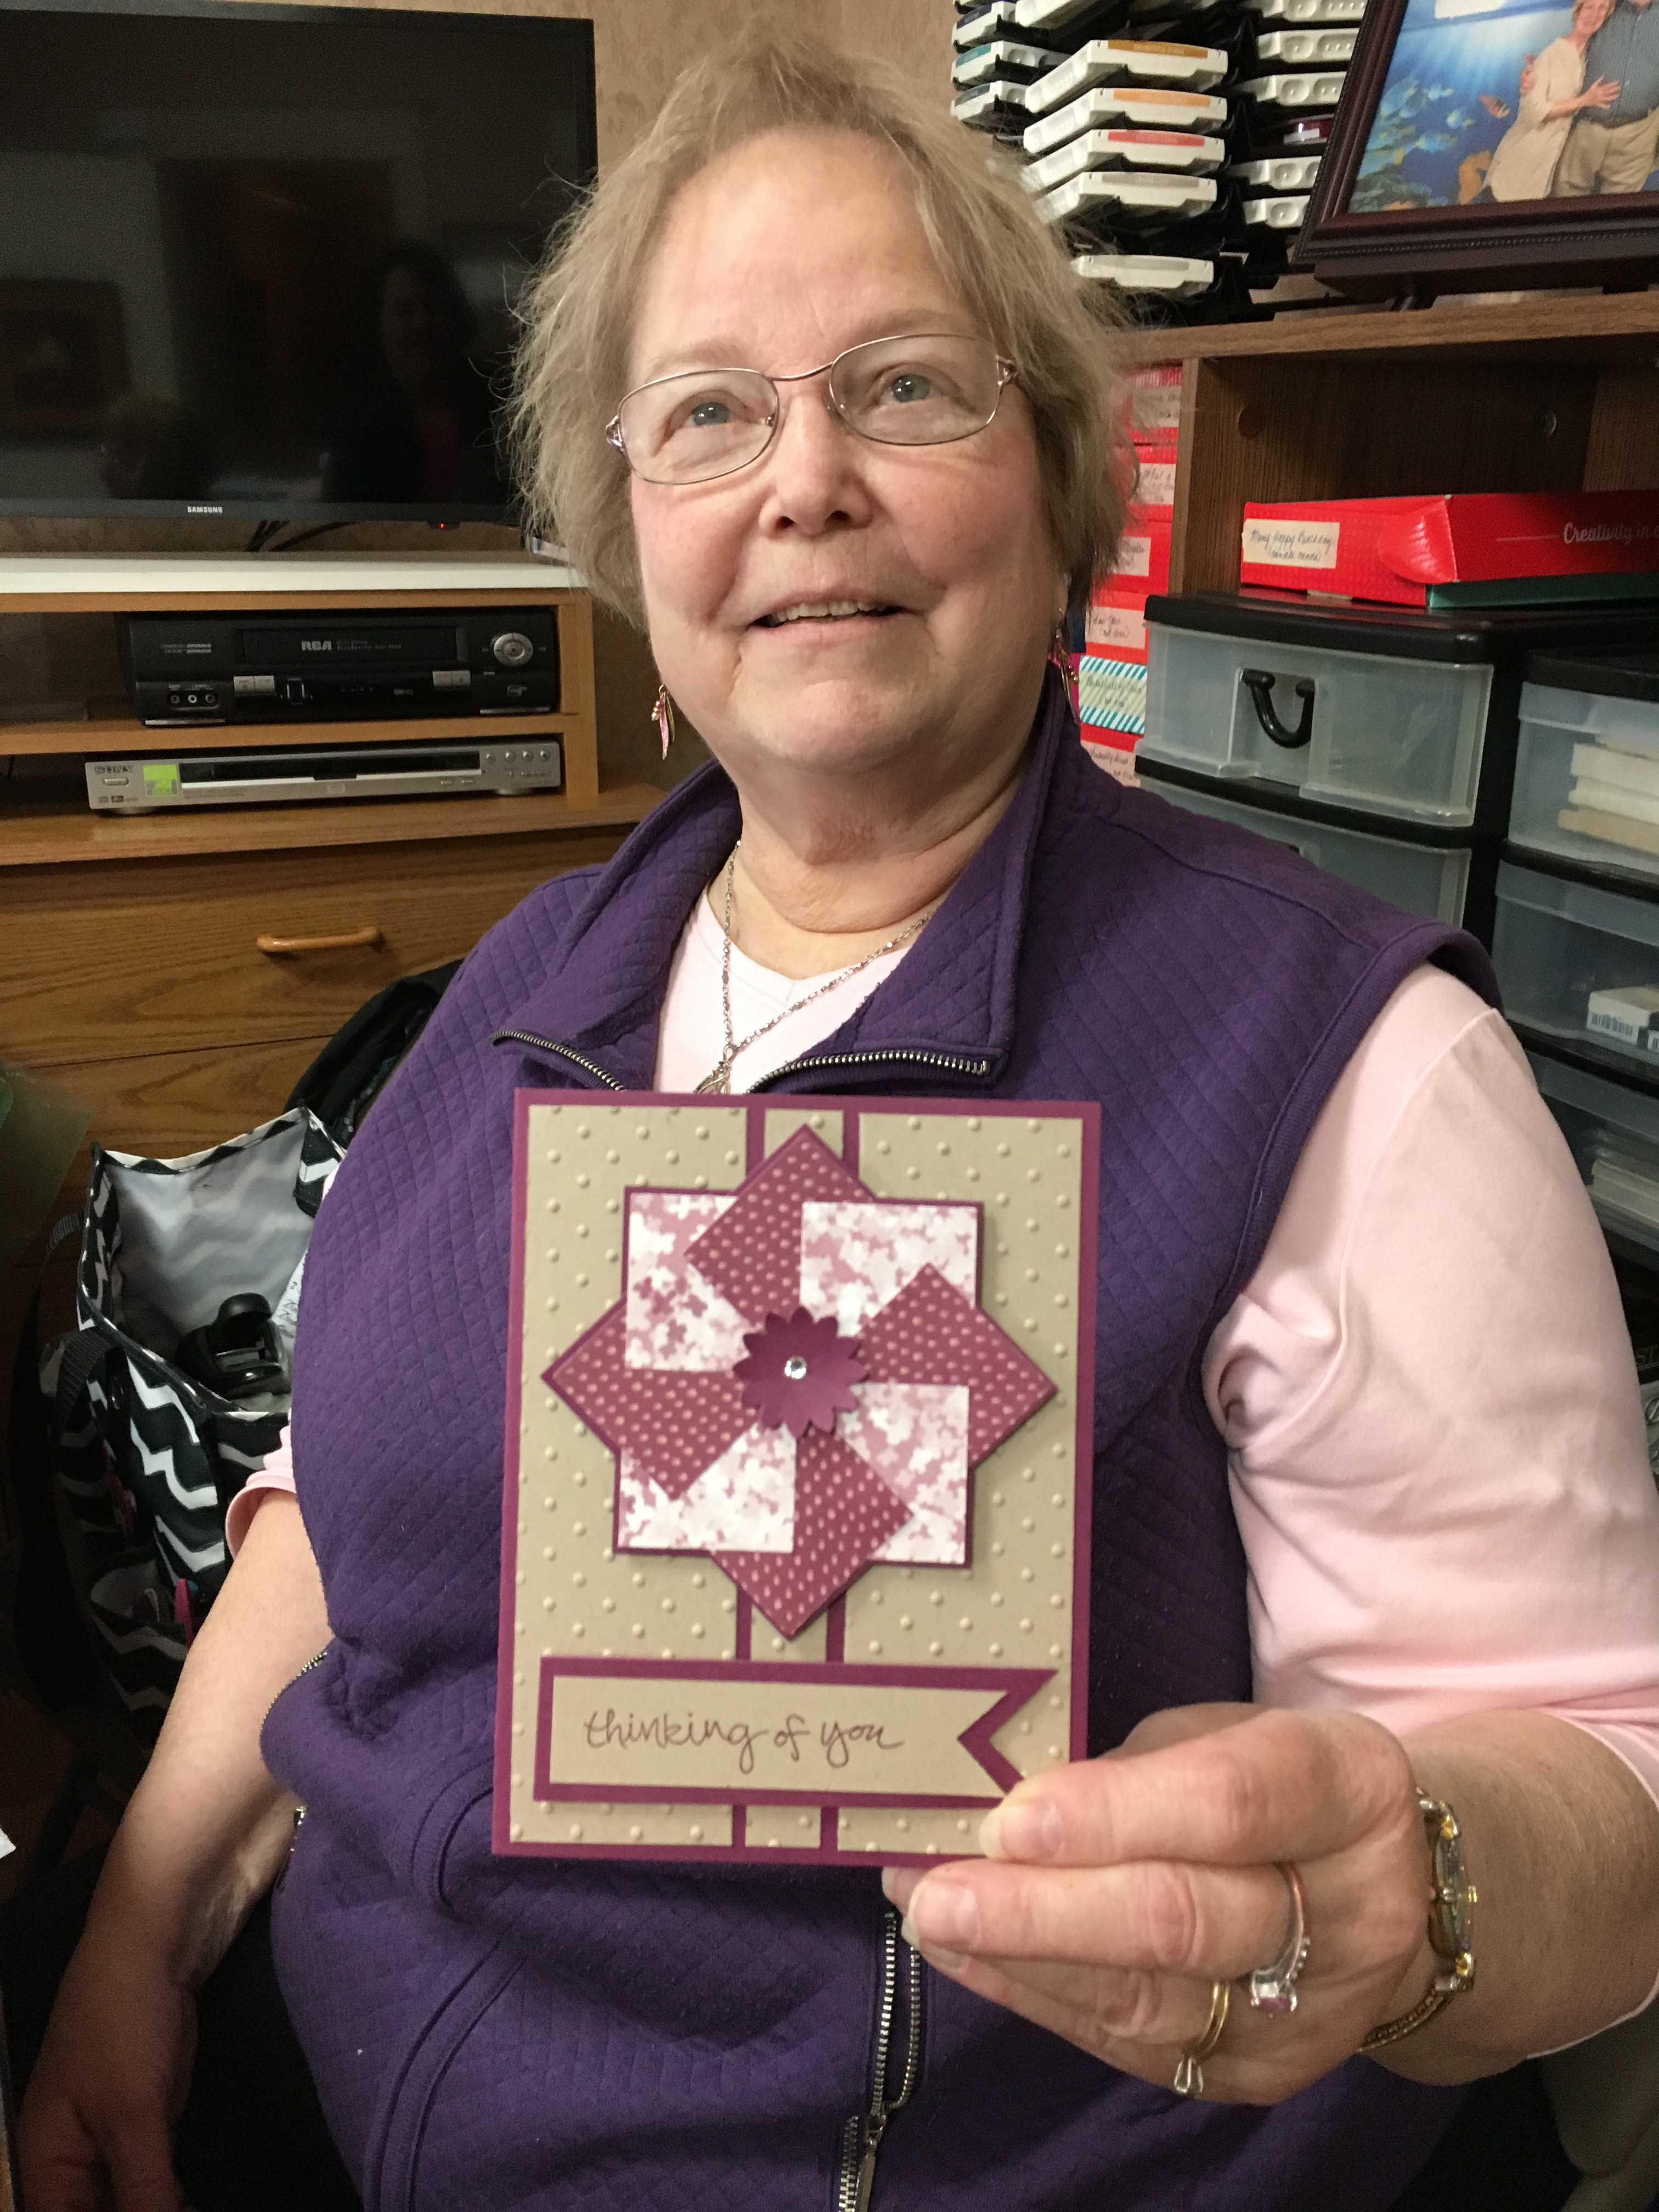
Colleen shared a card using a quilt design. Here’a a picture of her with her card.

img_0230

I wish I had taken another group picture of everyone’s cards as they all looked different because we used different designer series paper.  When you start with a neutral base you can do so many color combinations!

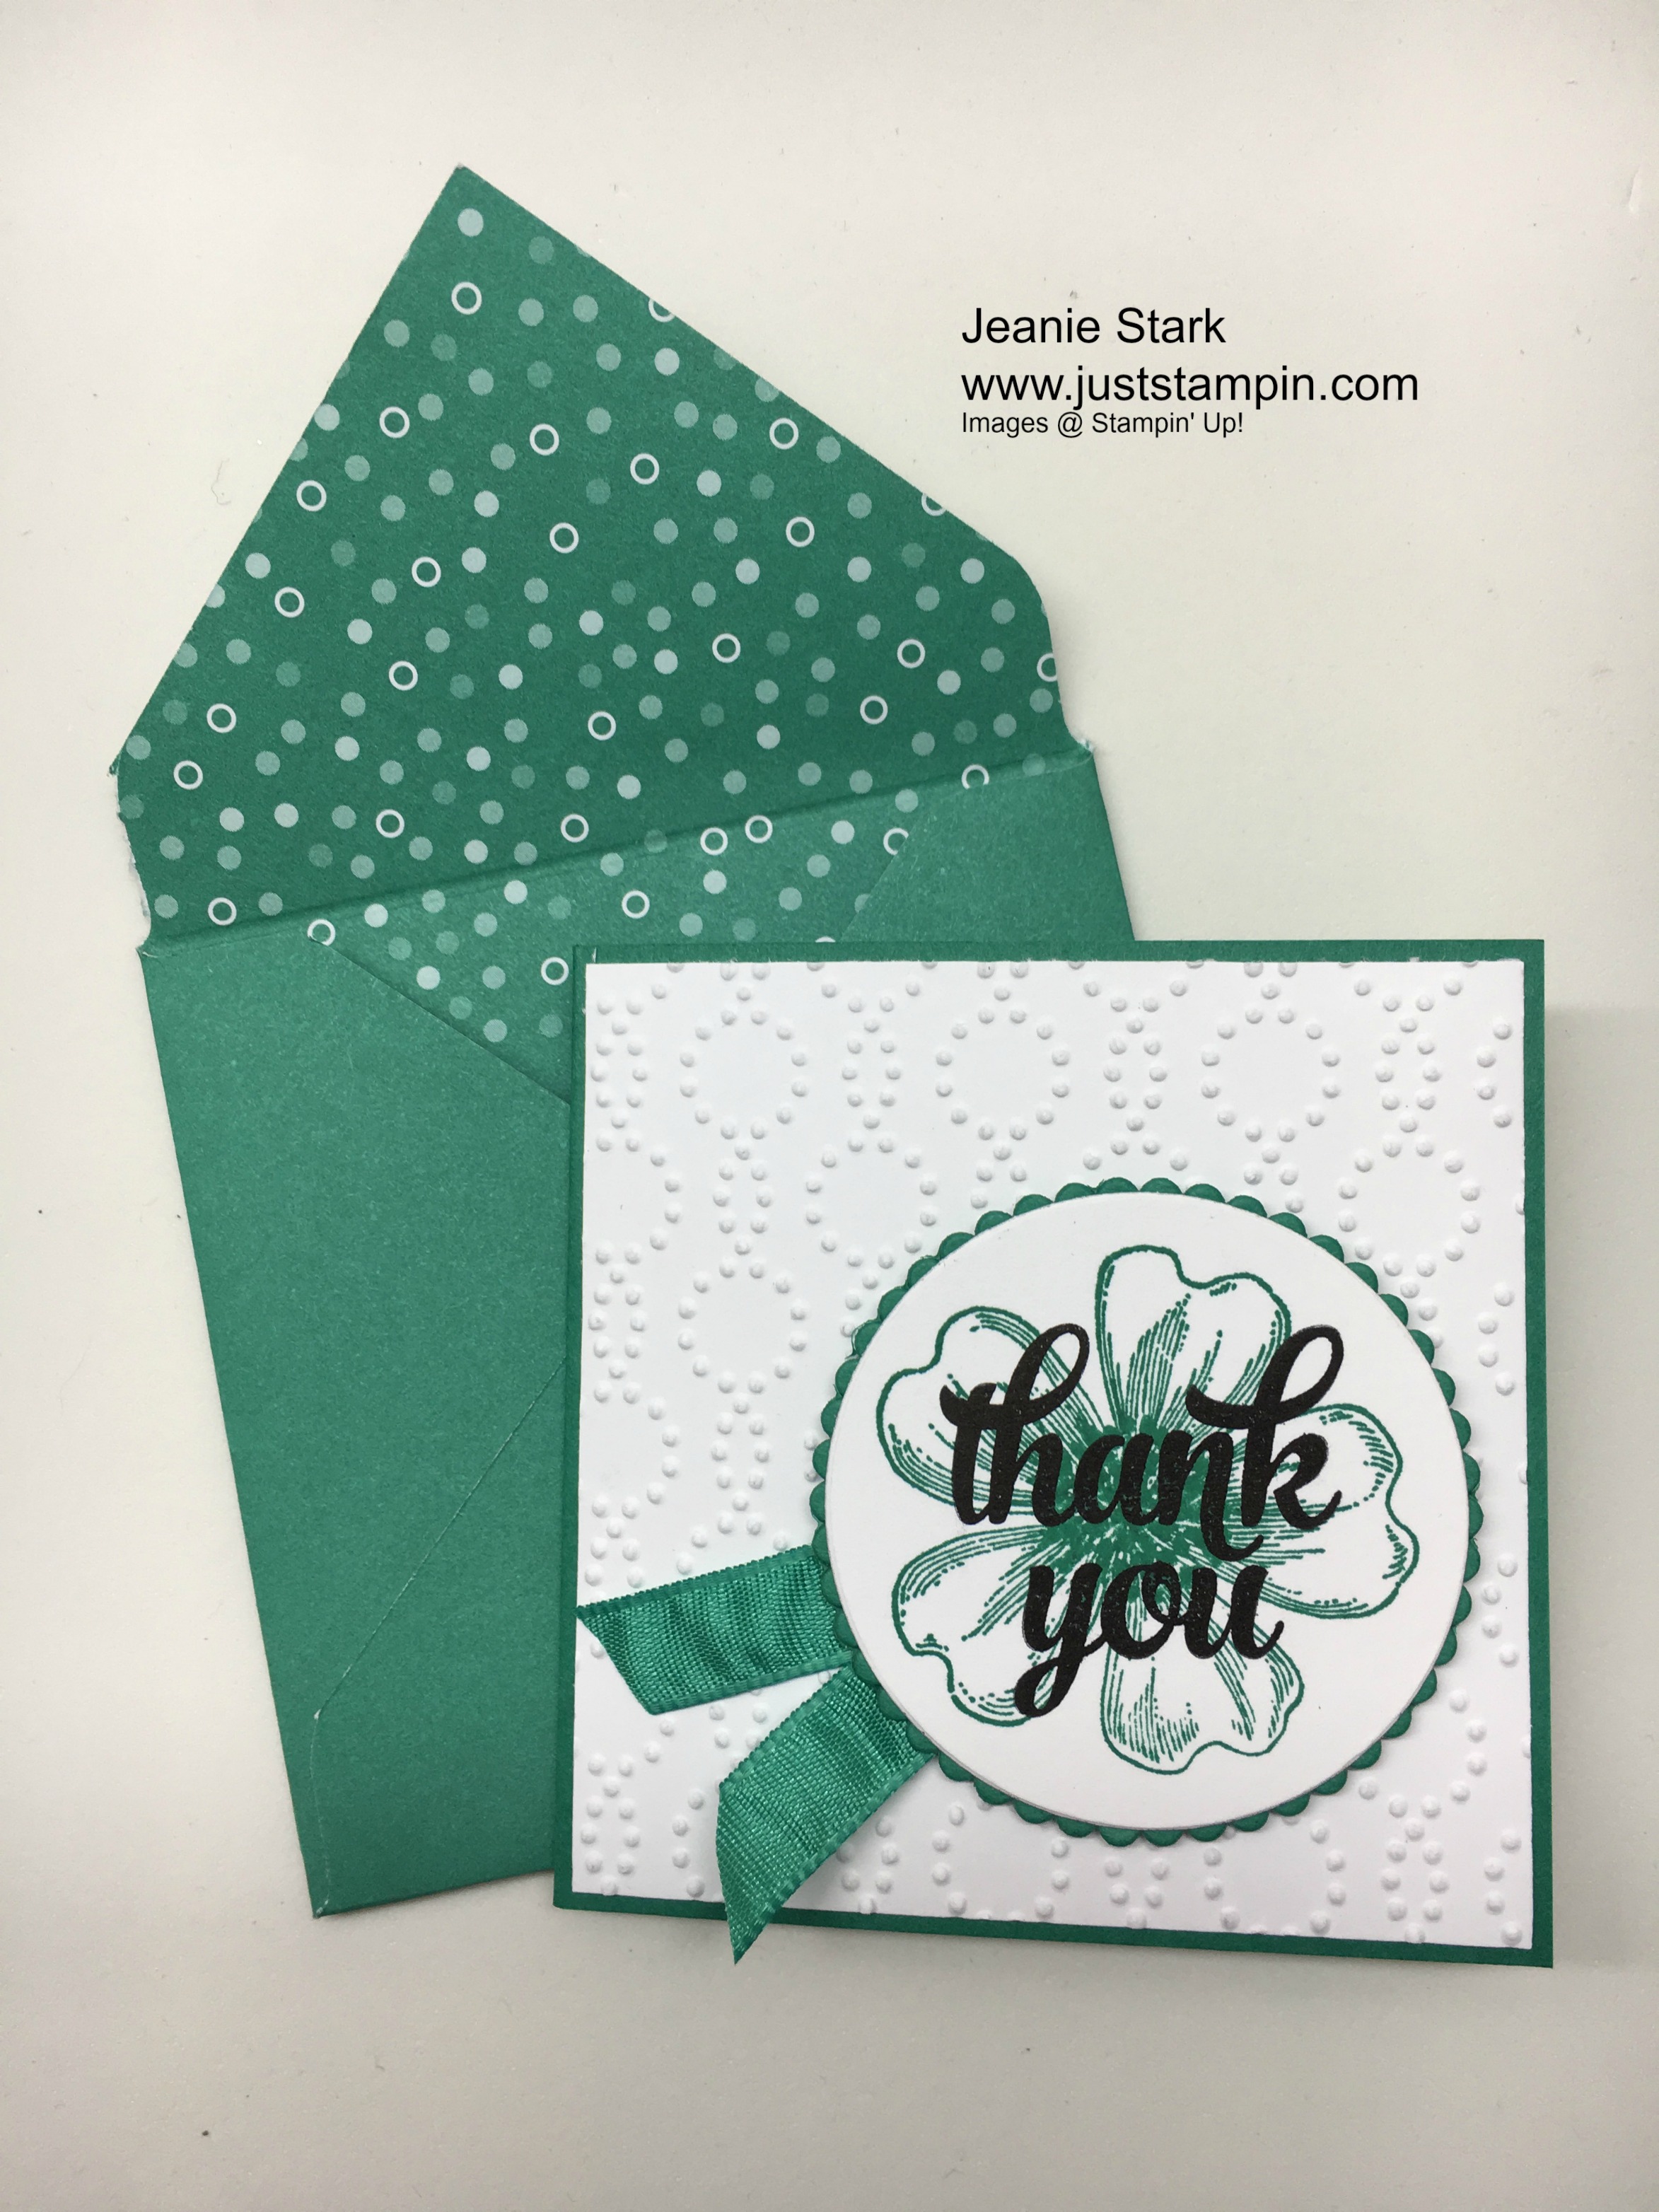
Marissa had us heat embossing and water coloring with blender pens, ink, colored pencils and aqua painters.  Here’s her card. Perfect for any occasion!

img_0236

I totally messed up as I don’t have a photo of Margie with her card! I’ll make sure to catch her next time!

Susan and I took a road trip on Saturday to beautiful Virginia!  We enjoyed some crafting and catching up with a fellow demonstrator, Sharon Cline, and learned to make a “bendy card”.  This 3D card is not a quick & easy style card to make.  I’m not sure if I’ll ever make another one but it was definitely a fun day!

You can visit my online store to order any of the supplies needed to create my project.  Click HERE to shop. Use the Hostess code when placing your online order to receive your monthly gift from me. This month I’m sending out my birthday favor bags with DSP, card kits, and more!

March Hostess Code:  KUSZJ7ZR 

Have a wonderful day!

Just Stampin’

Jeanie

SAB last call

img_8820

Shop!

For every $50 you spend (before tax and shipping), you get a FREE Sale-A-Bration product. That means it’s the perfect time to purchase those products you’ve had your eye on while earning more products for free.  As an added bonus, Stampin’ Up! added three new Sale-a-bration products on February 21! Click HERE to shop my online store.

VIEW: Sale-A-Bration  – release 1
VIEW: Sale-A-Bration – release 2 (new)

Host!

You can earn Host Rewards with sales of $150. Place an order of $250 or greater or host a party with at least $250 in sales during Sale-A-Bration and you’ll earn $25 more in Stampin’ Rewards/Host Cash!!  You can even apply your Stampin’ Rewards toward a Starter Kit and become a demonstrator yourself!

Join!

It’s the best time of year to join Stampin’ Up! During Sale-A-Bration, you can become a demonstrator for just $99 and choose TWO additional stamp sets for your Starter Kit—any stamp set, any price! (Excludes Sale-A-Bration sets and bundles.) Plus, the kit ships for free! Send me an email (j.stark@myactv.net) if you have any questions or want to plan a time to chat. Click HERE and HERE for more information. I hope you will Join the Fun!

I hope you had a wonderful weekend and have a great day ahead!

Just Stampin’


Yummy Fruit

I love fruit!  It’s right up there with my other favorites, ice cream and chocolate! I received this delicious Edible Arrangement from my coworkers.

img_9204

Here’s my quick & simple thank you note using the Fresh Fruit Designer Series Paper.

img_9671

I used a Whisper White Note Card…my favorite go to for thank you notes. The 1/2 doily was left on my desk from yesterday’s projects so I just adhered that on the left of the note card. The strawberry print DSP measures 2 1/4 x 5.  I cut a 1/4″ strip of Garden Green cardstock and adhered that next to my DSP. I stamped the sentiment from Tin of Cards Stamp Set using Real Red Ink.  I cut it out using the Stitched Shapes Framelits and adhered it to a Real Red scallop circle cut from the Layering Circles Framelits.  I “fussy cut” a strawberry from the DSP and attached it with a glue dot and popped up the sentiment layer with Stampin’ Dimensionals.  I found a bag with strawberry wrapped candy at CVS and put those in a bowl in the teachers lounge along with the card.

img_9672

Yesterday was my first day back to work.  It was great to see my sweet students. They had all kinds of news and stories they couldn’t wait to share. Their smiling faces is the best medicine!  I am thankful I only teach mornings…I came home and took a 3 hour nap! When my own kids were in school my motto was, “12-3 is All About Me!” I would try to get all my errands done before they got home from school and I turned in to “Taxi Mom”. Nowadays it feels like 12-3 is nap time for me! LOL

I really like how this note card turned out! You really get a lot of bang for your buck with the Stampin’ Up! Note Cards & Envelopes.  You get 20 cards and envelopes for $6.00. That’s just 30 cents each! Think of all the smiles you could make happen with a simple “just because” card.  I went out to dinner last night with some of my friends and we were discussing “Fat Tuesday” and Lent and tossing out ideas for what we could do during this time.  It just occurred to me that one of the things I can do is share more handmade kindness.  So, I am going to commit to send out 40 cards in 40 days. I think I will write my message on a sticky note and include an extra envelope so the recipient can choose to keep the card or “pay it forward” and send it to someone else. I can easily change out the sentiment on today’s card and even make the layered circles larger if needed.  This is one of those “formula” cards I will use again and again with other DSP.  Go give it a try!

You can order any of the supplies used on today’s card from my online store.  Click HERE to shop!

Have a wonderful day!

Just Stampin’

Jeanie

fruit-stand-dsp-photo

Fresh Fruit Designer Series Paper  Item # 141660  $11.00

Whisper White Note Cards & Envelopes  Item # 131527  $6.00


E is for Envelope DSP

Welcome to my ABC’s of DSP series! This month I am featuring projects showcasing Stampin’ Up! Designer Series Paper. Did you know Stampin’ Up! has Envelope paper? It is often overlooked in the catalog (page 176).  It is thin text-weight paper to use for making envelopes.  You get 20 sheets: 2 each of 2 double-sided designs in 5 colors. It comes in 12 x 12 sheets in the In Colors.  I enjoy making odd sized cards on occasion so this paper is great to make matching envelopes and you know how I love the In Colors! I used the 2016 – 2018 In Colors for today’s cards and project.

img_5201
3 x 3 In Color Gift Enclosure Cards

I love these 3 x 3 cards and they were quick & easy to make! (My kind of cards!!!)  I cut my cardstock 3 x 6 and scored it at 3.  I cut Whisper White at 2 7/8 x 2 7/8 and ran it through the Big Shot with the Elegant Dots Embossing folder before adhering it to my card. I like the way the dots on the embossing folder compliment the dotted envelope paper. I stamped the flower from the Flower Shop stamp set on Whisper White cardstock.  Then I stamped the sentiments from Tin of Cards Stamp Set on top using Basic Black ink.  I cut them out with the Layering Circles Framelits and glued them to a scalloped circle.  I cut a  4 inch piece of ribbon and attached it with glue dots. I popped the layered sentiment with Stampin’ Dimensionals.  The envelopes were easy to make using the Envelope Punch Board.  Check out this short video from Stampin’ Up! to see how simple it is to use!

I used the 2016-2018 In Color Envelope paper to make my custom sized envelopes.  I cut the paper at 5 1/4 x 5 1/4 and followed the directions on the punch board.  Here’s my finished cards and envelopes.

img_5209
Flirty Flamingo 3 x 3 card and matching envelope paper
img_5207
Peekaboo Peach 3 x 3 card and matching envelope
img_5206
Emerald Envy 3 x 3 card and matching envelope
img_5205
Sweet Sugarplum 3 x 3 card and matching envelope

After I finished these adorable cards I thought they would make a nice little gift.  So I pulled out a half size wood mount stamp case.  It’s the perfect size for these cards, envelopes, and some chocolate.  I only had 1 mini Hershey bar but you could easily add another in the box.

img_5211
Half Size wood- mount stamp case used as a card holder for 3 x 3 cards.

I made an insert for the case to keep the cards in place.  It measures 3 1/4 x 6.  I scored it at 3 1/2, 4 1/4, and 5.  Fold on the score lines and insert in the case.  I also cut a piece of Dapper Denim Envelope paper at 11 1/4 x 3 3/8 to slide into the sleeve on the cover.  I decorated the front to match the look of the cards.

img_5212
Half size wood-mount stamp case to hold 3 x 3 cards.

I hope you like today’s cards and project.  These stamp cases are wonderful storage containers for all kinds of things.  I use the half size to store my retired In Color ink refills.  It holds 5 refills and stands up on my shelf. You can purchase any of the items used to make today’s projects in my online shop.  You can click HERE to get started. Please use the Hostess Code 7DB3CBKS when you check out.  I’ve added a visual below to show where to enter the code. I always send a thank you gift each month when you order from me.  I appreciate each and every order!

Stampin’ Up! has a special offer for the month of October on select Designer Series Paper.

dsp-sale

img_4672

Thanks for stopping by! Have a wonderful day!

Just Stampin’

Jeanie