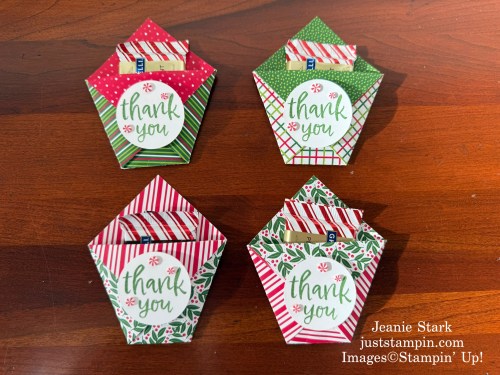
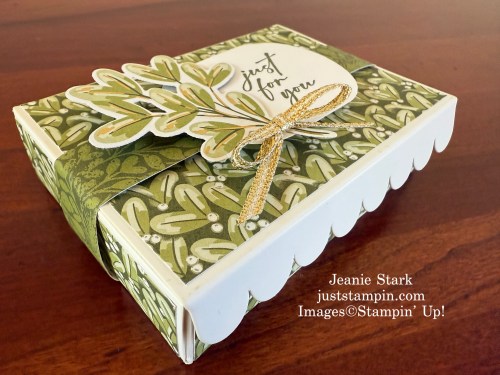
I love to make table favors for all the holidays as well as little thank you treats to give out throughout the year. Here’s what I created for our Christmas dinner table this year.
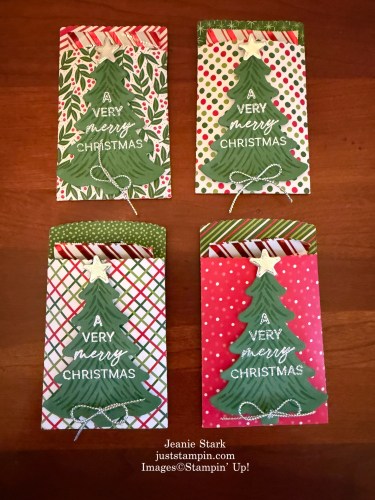
The Mini Pocket Envelope Dies, Decorative Trees Stamp Set, & Decorative Trees Dies used to create this project are Last Chance Products and AWSL!
The Mini Pocket Envelope Dies are on sale for $17.40 (Reg. $29.00).
This is a great set to make quick & easy holders for gift cards, treats, and more.
You get a variety of dies in this set!

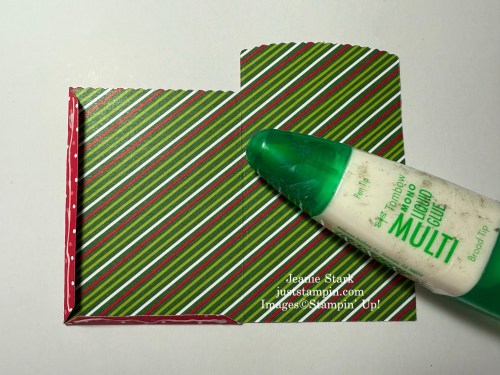
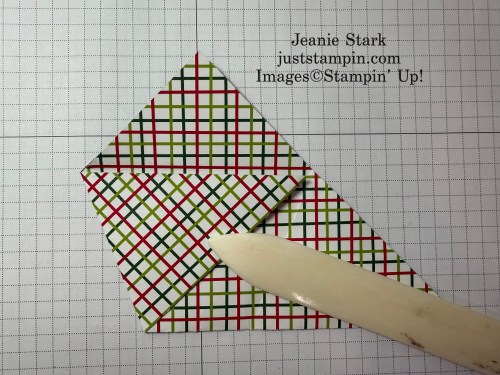
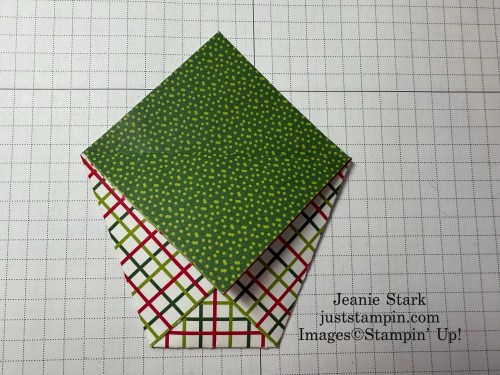
To create the holder, simply cut out the die and fold along the score lines. Add a dab of glue along the edges and fold to adhere.
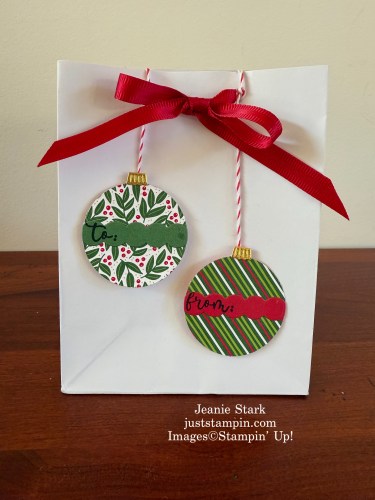
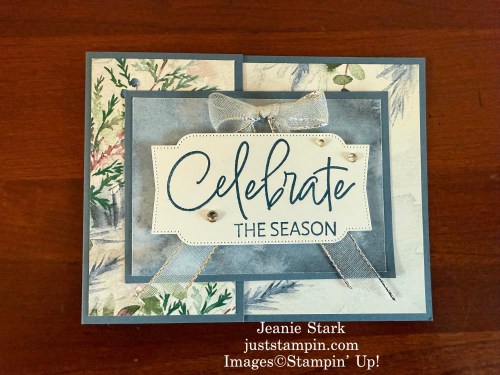
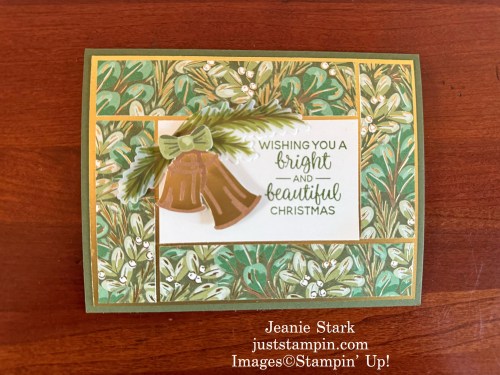
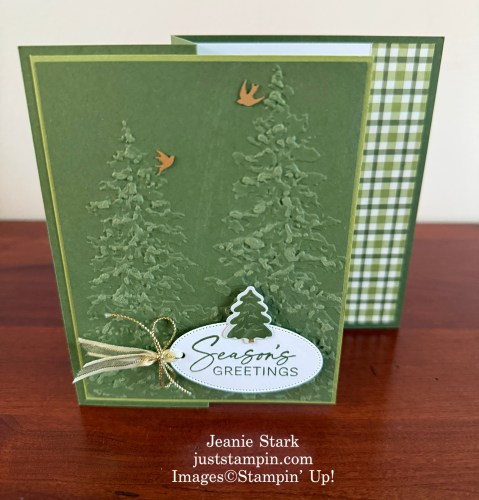
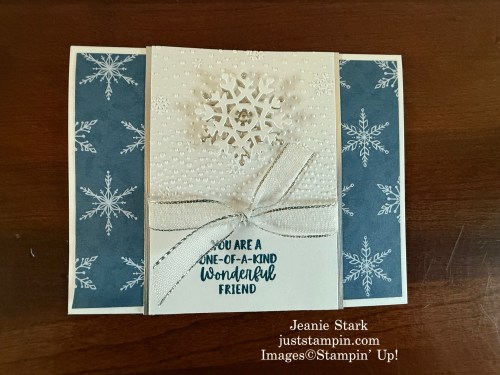
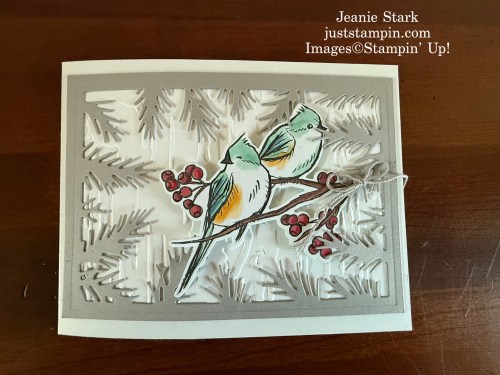
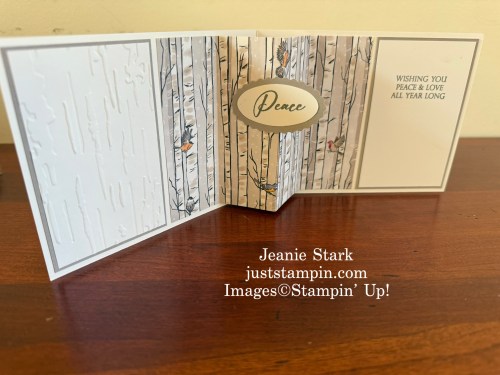
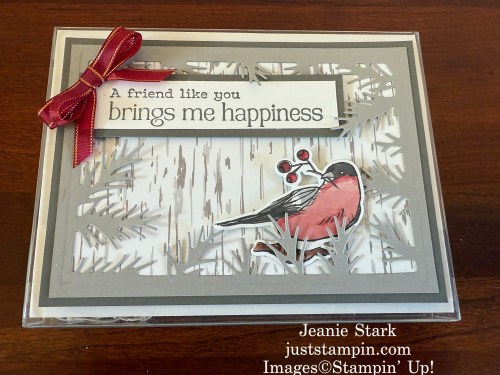
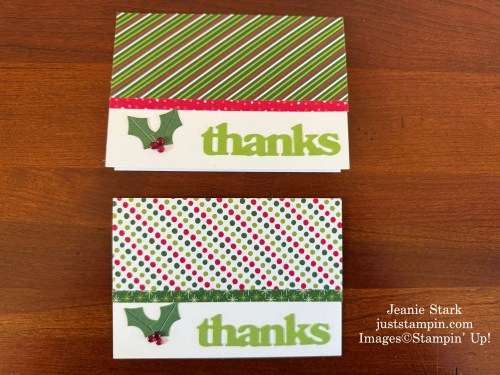
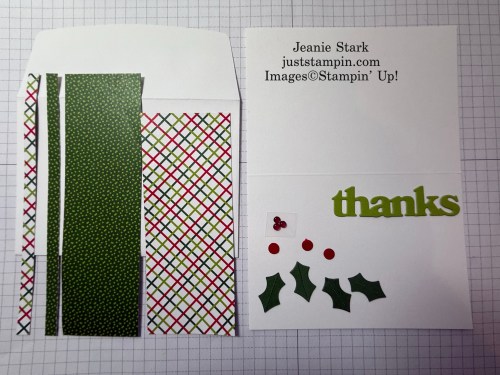
There are so many different ways to decorate these for small gifts year round, no matter the season or celebration! Here are two more ideas from the Stampin’ Up! Design Team showing the versatility of this set.

I hope you enjoyed today’s project. You can view the complete list of supplies I used below. *Last Chance Products are available while supplies last. Make sure to ask Santa to get you what you want! HO! HO! HO!
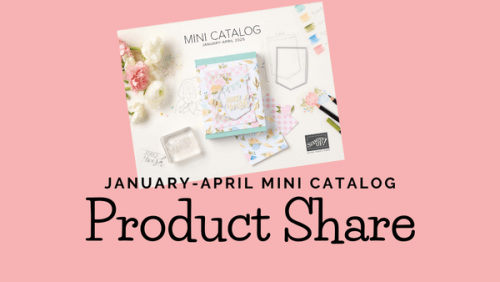
NEW PRODUCTS COMING IN JANUARY….I am offering product shares for the new Mini Catalog and Online Exclusives! Click HERE or on the image below for sneak peeks and all the details to reserve your product share NOW.
Merry Christmas Eve! Thanks for stopping by!
Just Stampin’
Jeanie
*If your order is under $150 please add the current host code to your order.
Host Code: YHMBWKAW
CLICK HERE TO SHOP or click on the product images below.
Here is your shopping list for today’s projects:
|
|
|
|
|
|
|
|
|
|
|
|
|
|
|
![Mini Pocket Envelope Dies [ 159167 ]](https://assets1.tamsnetwork.com/images/EC042017NF/159167s.jpg "Mini Pocket Envelope Dies [ 159167 ]")
![Decorative Trees Photopolymer Stamp Set (English) [ 164275 ]](https://assets1.tamsnetwork.com/images/EC042017NF/164275s.jpg "Decorative Trees Photopolymer Stamp Set (English) [ 164275 ]")
![Decorative Trees Dies [ 164084 ]](https://assets1.tamsnetwork.com/images/EC042017NF/164084s.jpg "Decorative Trees Dies [ 164084 ]")
![Take A Bow 6" X 6" (15.2 X 15.2 Cm) Designer Series Paper [ 164309 ]](https://assets1.tamsnetwork.com/images/EC042017NF/164309s.jpg "Take A Bow 6\" X 6\" (15.2 X 15.2 Cm) Designer Series Paper [ 164309 ]")
![Garden Green 8-1/2" X 11" Cardstock [ 102584 ]](https://assets1.tamsnetwork.com/images/EC042017NF/102584s.jpg "Garden Green 8-1/2\" X 11\" Cardstock [ 102584 ]")
![Brushed Silver And Gold Foil 12" X 12" (30.5 X 30.5 Cm) Specialty Paper [ 164861 ]](https://assets1.tamsnetwork.com/images/EC042017NF/164861s.jpg "Brushed Silver And Gold Foil 12\" X 12\" (30.5 X 30.5 Cm) Specialty Paper [ 164861 ]")
![Garden Green Classic Stampin' Pad [ 147089 ]](https://assets1.tamsnetwork.com/images/EC042017NF/147089s.jpg "Garden Green Classic Stampin' Pad [ 147089 ]")
![Versamark Pad [ 102283 ]](https://assets1.tamsnetwork.com/images/EC042017NF/102283s.jpg "Versamark Pad [ 102283 ]")
![Basics Wow! Embossing Powder [ 165679 ]](https://assets1.tamsnetwork.com/images/EC042017NF/165679s.jpg "Basics Wow! Embossing Powder [ 165679 ]")
![Gold & Silver 1/8" (3.2 Mm) Trim Combo Pack [ 161633 ]](https://assets1.tamsnetwork.com/images/EC042017NF/161633s.jpg "Gold & Silver 1/8\" (3.2 Mm) Trim Combo Pack [ 161633 ]")
![Multipurpose Liquid Glue [ 110755 ]](https://assets1.tamsnetwork.com/images/EC042017NF/110755s.jpg "Multipurpose Liquid Glue [ 110755 ]")
![Mini Glue Dots [ 103683 ]](https://assets1.tamsnetwork.com/images/EC042017NF/103683s.jpg "Mini Glue Dots [ 103683 ]")
![Stampin' Dimensionals [ 104430 ]](https://assets1.tamsnetwork.com/images/EC042017NF/104430s.jpg "Stampin' Dimensionals [ 104430 ]")
![Stampin' Cut & Emboss Machine [ 149653 ]](https://assets1.tamsnetwork.com/images/EC042017NF/149653s.jpg "Stampin' Cut & Emboss Machine [ 149653 ]")

Previously I posted some of my favorite Last Chance Products. If you missed that post, you can view it HERE.





![Basic White 8 1/2" X 11" Cardstock [ 159276 ]](https://assets1.tamsnetwork.com/images/EC042017NF/159276s.jpg "Basic White 8 1/2\" X 11\" Cardstock [ 159276 ]")
![1-3/4" (4.4 Cm) Circle Punch [ 119850 ]](https://assets1.tamsnetwork.com/images/EC042017NF/119850s.jpg "1-3/4\" (4.4 Cm) Circle Punch [ 119850 ]")
![Real Red & White Adhesive Backed Peppermints [ 164050 ]](https://assets1.tamsnetwork.com/images/EC042017NF/164050s.jpg "Real Red & White Adhesive Backed Peppermints [ 164050 ]")
![Basic White Note Cards & Envelopes [ 159232 ]](https://assets1.tamsnetwork.com/images/EC042017NF/159232s.jpg "Basic White Note Cards & Envelopes [ 159232 ]")
![Hang An Ornament Dies [ 164089 ]](https://assets1.tamsnetwork.com/images/EC042017NF/164089s.jpg "Hang An Ornament Dies [ 164089 ]")
![Thanks & Beyond Dies [ 164397 ]](https://assets1.tamsnetwork.com/images/EC042017NF/164397s.jpg "Thanks & Beyond Dies [ 164397 ]")
![Granny Apple Green 8-1/2" X 11" Cardstock [ 146990 ]](https://assets1.tamsnetwork.com/images/EC042017NF/146990s.jpg "Granny Apple Green 8-1/2\" X 11\" Cardstock [ 146990 ]")
![Cherry Cobbler & Pearl Adhesive Backed Berries [ 164119 ]](https://assets1.tamsnetwork.com/images/EC042017NF/164119s.jpg "Cherry Cobbler & Pearl Adhesive Backed Berries [ 164119 ]")
![Stampin' Seal [ 152813 ]](https://assets1.tamsnetwork.com/images/EC042017NF/152813s.jpg "Stampin' Seal [ 152813 ]")
![Paper Trimmer [ 152392 ]](https://assets1.tamsnetwork.com/images/EC042017NF/152392s.jpg "Paper Trimmer [ 152392 ]")
![Mini Stampin' Cut & Emboss Machine [ 150673 ]](https://assets1.tamsnetwork.com/images/EC042017NF/150673s.jpg "Mini Stampin' Cut & Emboss Machine [ 150673 ]")