I had a request to make a simple thinking of you card. Here is my card.
Thinking of you sentiment from Sheltering Tree Stamp set
I started with a piece of Sahara Sand for my card base. (This is my go to neutral.) I stamped the flowers and leaves from the Birthday Blossoms stamp set onto the card base using Memento Black ink. I stamped more leaves on Mint Macaron cardstock and the flower on a scrap of Whisper White. I punched the flower out with the Pansy Punch and fussy cut the leaves with my Paper Snips (Love these scissors!). I attached the leaves with glue dots and the flower is adhered with Stampin’ Dimensionals. I added a Rhinestone Basic Jewel in the center of the white flower and stamped my envelope to match. Quick & easy! I hope it meets the simple card request.
Simple Thinking of You card
Stamp sets: Birthday Blossoms, Sheltering Tree Ink: Memento Tuxedo Black Papers: Sahara Sand, Mint Macaron, Whisper White Tools & Accessories: Pansy Punch, Paper Snips, Glue Dots, Stampin’ Dimensionals, Rhinestone Basic Jewels
You could easily change the sentiment on this card for birthday, sympathy, thank you, just a note, etc. I love getting requests for cards. What would you like to see next?
Hope you have a wonderful day!
Just Stampin’
Jeanie
Give the gift you know they will love! Or tell your friends & family to contact me so You get the gift you want. 🙂 Gift Certificates available for any amount.
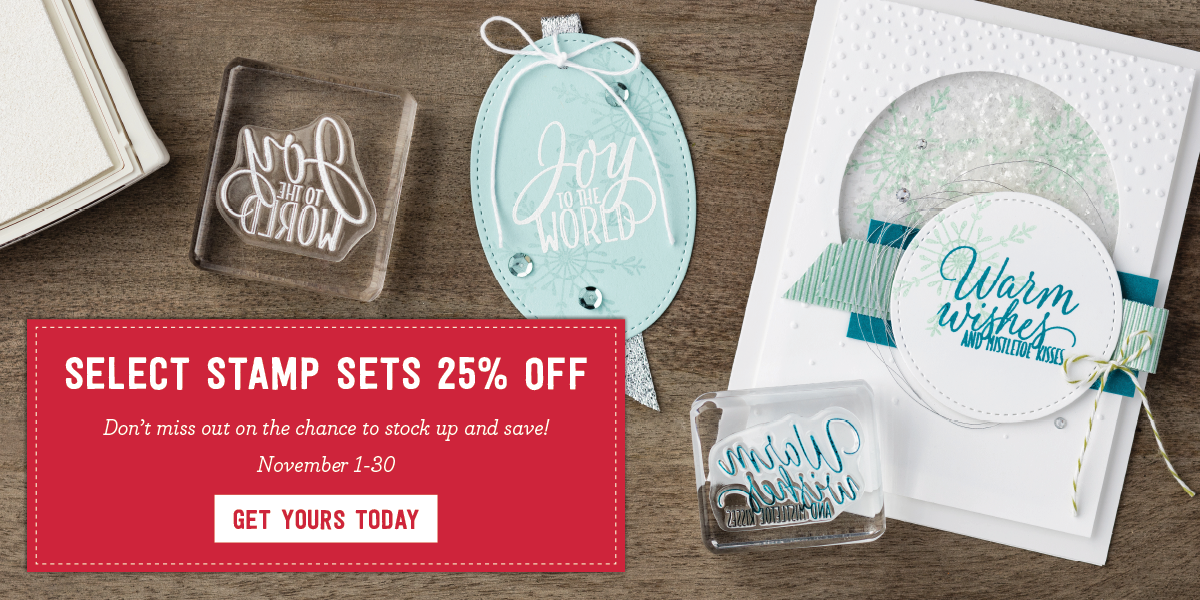
Time is running out to take advantage of this sale. Tomorrow is the last day to get Select Stamp Sets at 25% off. Click HERE to put these items in your shopping cart. Be sure to enter the Hostess code 7T2K9N39 when you check out.
Tonight is Girls Night Out to celebrate my friend Jamie’s birthday! WooHoo! November is just one big long birthday celebration ( 4 down, 3 to go)! Here is the card I made for Jamie!
Stampin’ Up! Birthday Blossoms stamp set
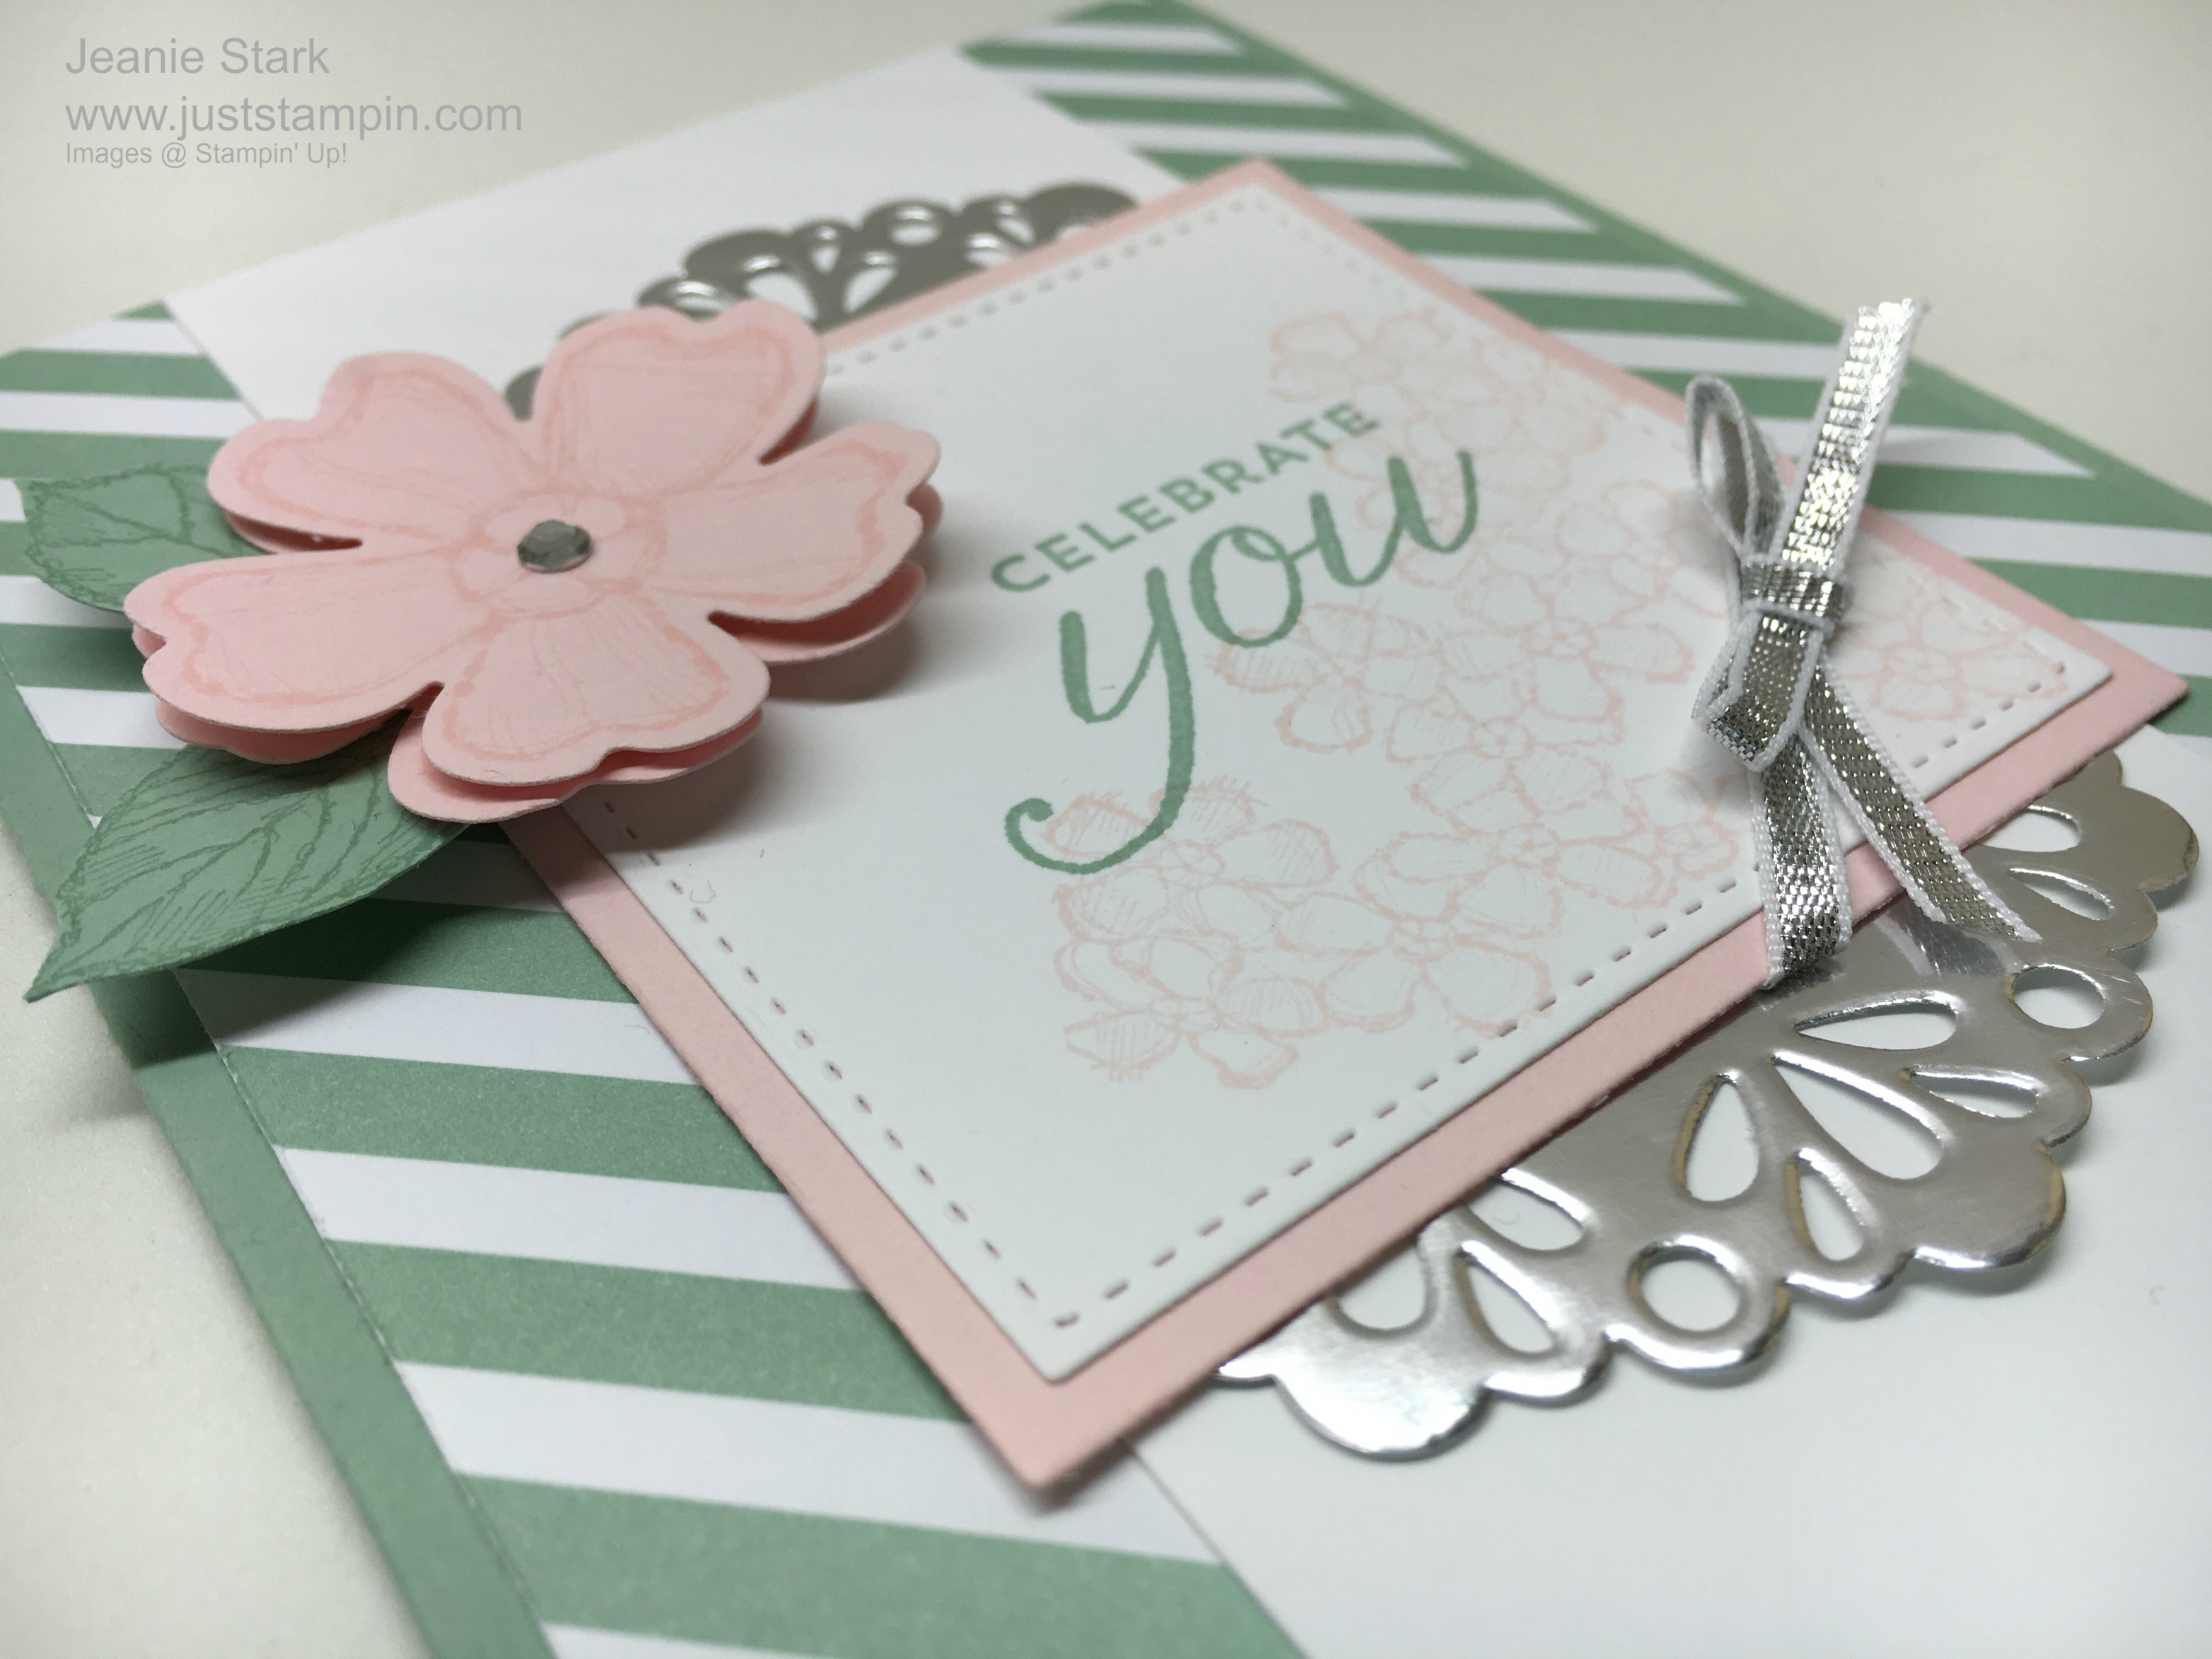
I received the new Stitched Shapes Framelits last week and couldn’t wait to play with them! I used the largest stitched square shape to highlight the sentiment box. I love how this looks and I really love how easy it is to achieve perfect stitched detail!
Stampin’ Up! Stitched Shapes Framelits and Layering Squares Framelits
My card base is Mint Macaron with a 4 x 5 1/2″ layer of DSP from the 2015 – 2017 In Color Designer Series Paper Pack I added a 2 1/2 x 5 1/2″ strip of Whisper White in the center. I used the Big Shot to cut out the stitched square framelit and then stamped the flowers in Pink Pirouette and the leaves and sentiment in Mint Macaron. I like the tone on tone on the pansy and leaves. I used the Pansy Punch to punch out the flower and fussy cut the leaves with my paper snips. I layered the flowers on top of each other with a Stampin’ Dimensional and added the leaves behind with a glue dot. The silver ribbon in the corner adds some texture. I cut a metallic foil doily in half and adhered each piece behind the layered squares. I like that it’s a simple card with a little sparkle. I stamped the envelope and the inside of the card to match using the Birthday Blossoms stamp set.
Stampin’ Up! Stitiched Shapes Framelits and Birthday Blossoms stamp set
Stamp set: Birthday Blossoms Inks: Mint Macaron, Pink Pirouette Papers: Mint Macaron, Pink Pirouette, Whisper White, 2015-2017 In Color Designer Series Paper Pack Tools & Accessories: Stitched Shapes Framelits, Layering Squares Framelits, Pansy Punch, Metallic Foil Doilies, Silver Ribbon, Rhinestone Basic Jewels
The New Stitched Shapes Framelits were released early (ahead of the annual catalog). They are only available the month of November for ordering…after that you will have to wait until the scheduled release date in June. Trust me, you don’t want to wait! If you missed my previous post with this product video you can watch it by clicking below and see all 12 stitched dies as well as some cool ideas!
Buy yourself an early Christmas gift or give your loved ones a not so subtle hint. I would be happy to help in the hint department…just email me your wish list (j.stark@myactv.net) along with contact information. I love being Santa’s Helper (and I gift wrap too)!
Welcome to the ABC’s with DSP! This month I am featuring projects showcasing Stampin’ Up! Designer Series Paper. Today I am using the Festive Birthday Designer Series Paper to make 5 cards and envelopes from just one sheet of 12 x 12 DSP.
One Sheet Wonder using Festive Birthday Designer Series Paper
I love working with one sheet of 12 x 12 paper and seeing what I can make. I wanted some quick cards so I cut my 12 x 12 sheet of Designer Series Paper into 6 4×6 inch pieces. The Festive Birthday DSP coordinates with Emerald Envy, Crushed Curry, Melon Mambo, Pumpkin Pie, Tempting Turquoise, and Whisper White cardstock so I pulled out a sheet of each to play with. Here’s how I put the cards together.
Festive Birthday Thank You card
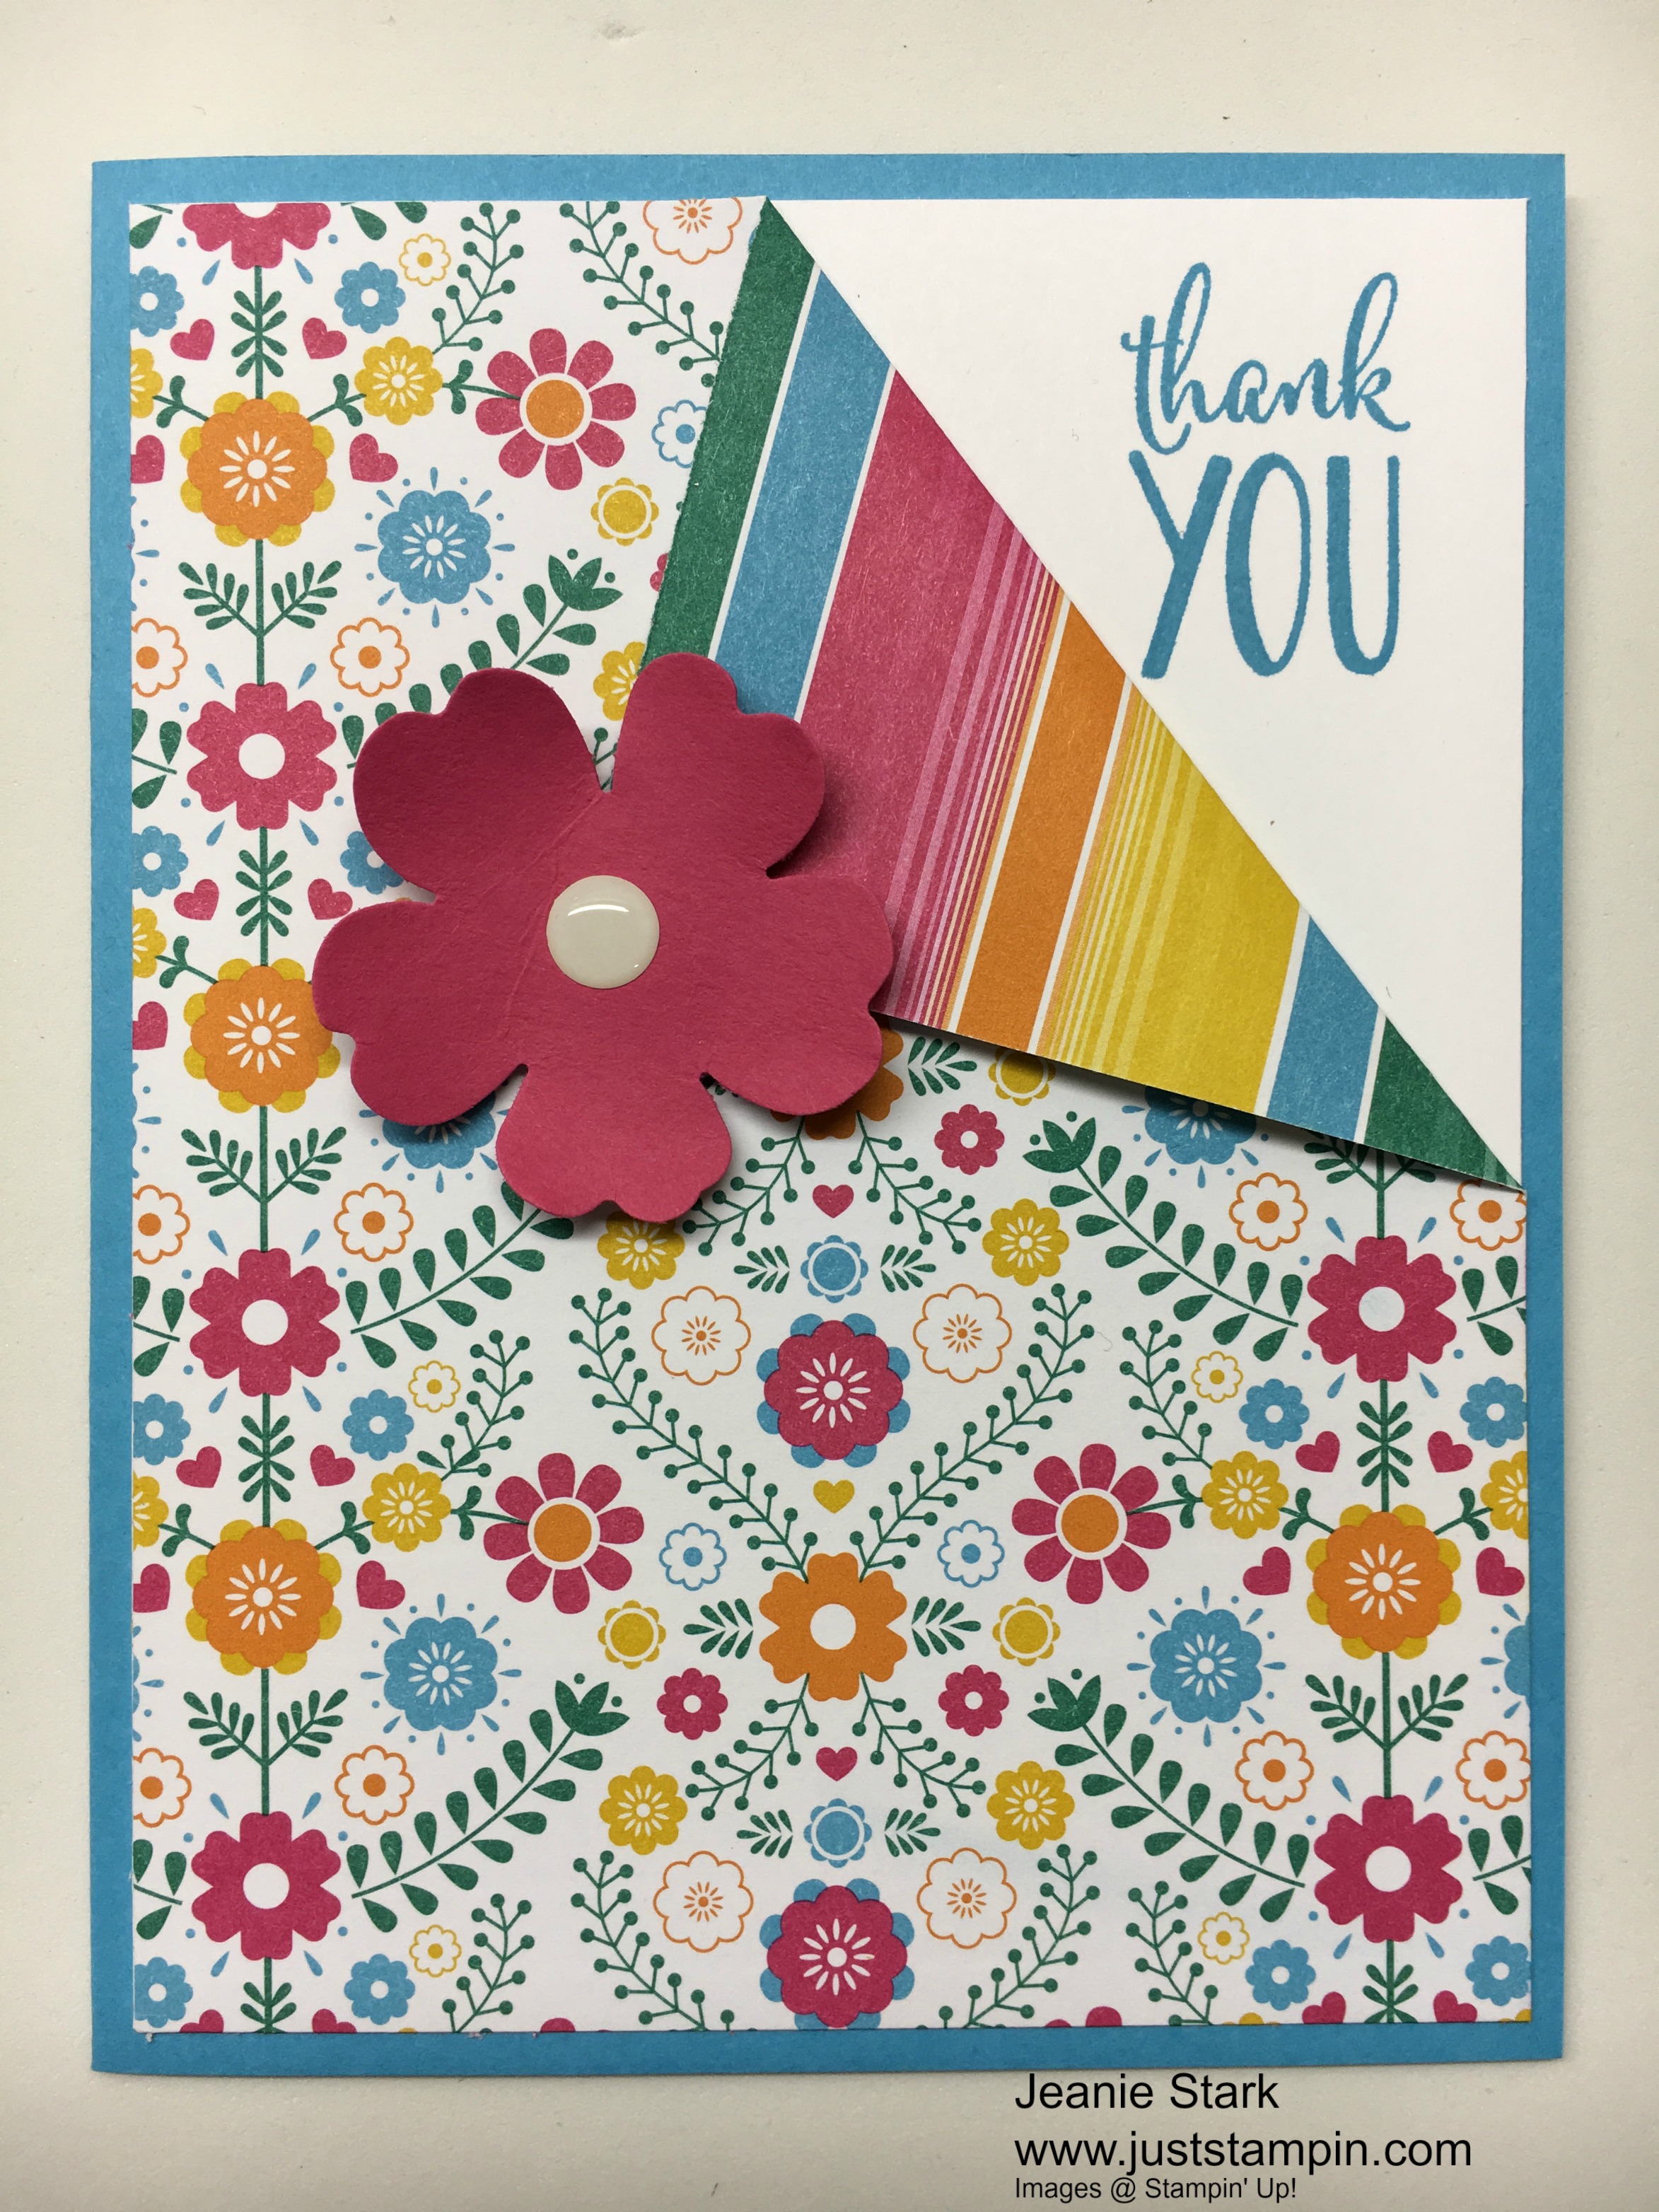
I trimmed a piece of precut 4 x 6 DSP to 4 x 5 1/4 and then just folded down one corner and adhered it to a piece of 4 x 5 1/4 Whisper White. I stamped the sentiment from the Happy Happenings Stamp Set in Tempting Turquoise ink to match my card base. I punched the flower from a scrap piece of melon mambo using the pansy punch. I added a white perfect accent to the center and adhered it to my card with a Stampin’ Dimensional. I used the 3/4 x 4 inch leftover piece of DSP inside the card. (I just adhered it to the bottom of a piece of Whisper White measuring 4 x 5 1/4. I forgot to take a photo. Sorry!)
I cut 2 pieces of 4 x 6 DSP in half to make 4 2×6 pieces to decorate the envelopes. I cut a 1/4 inch strip from each color of cardstock used for the card bases to put on the envelopes with the DSP.
Festive Birthday Designer Series Paper Thank you card and matching envelope
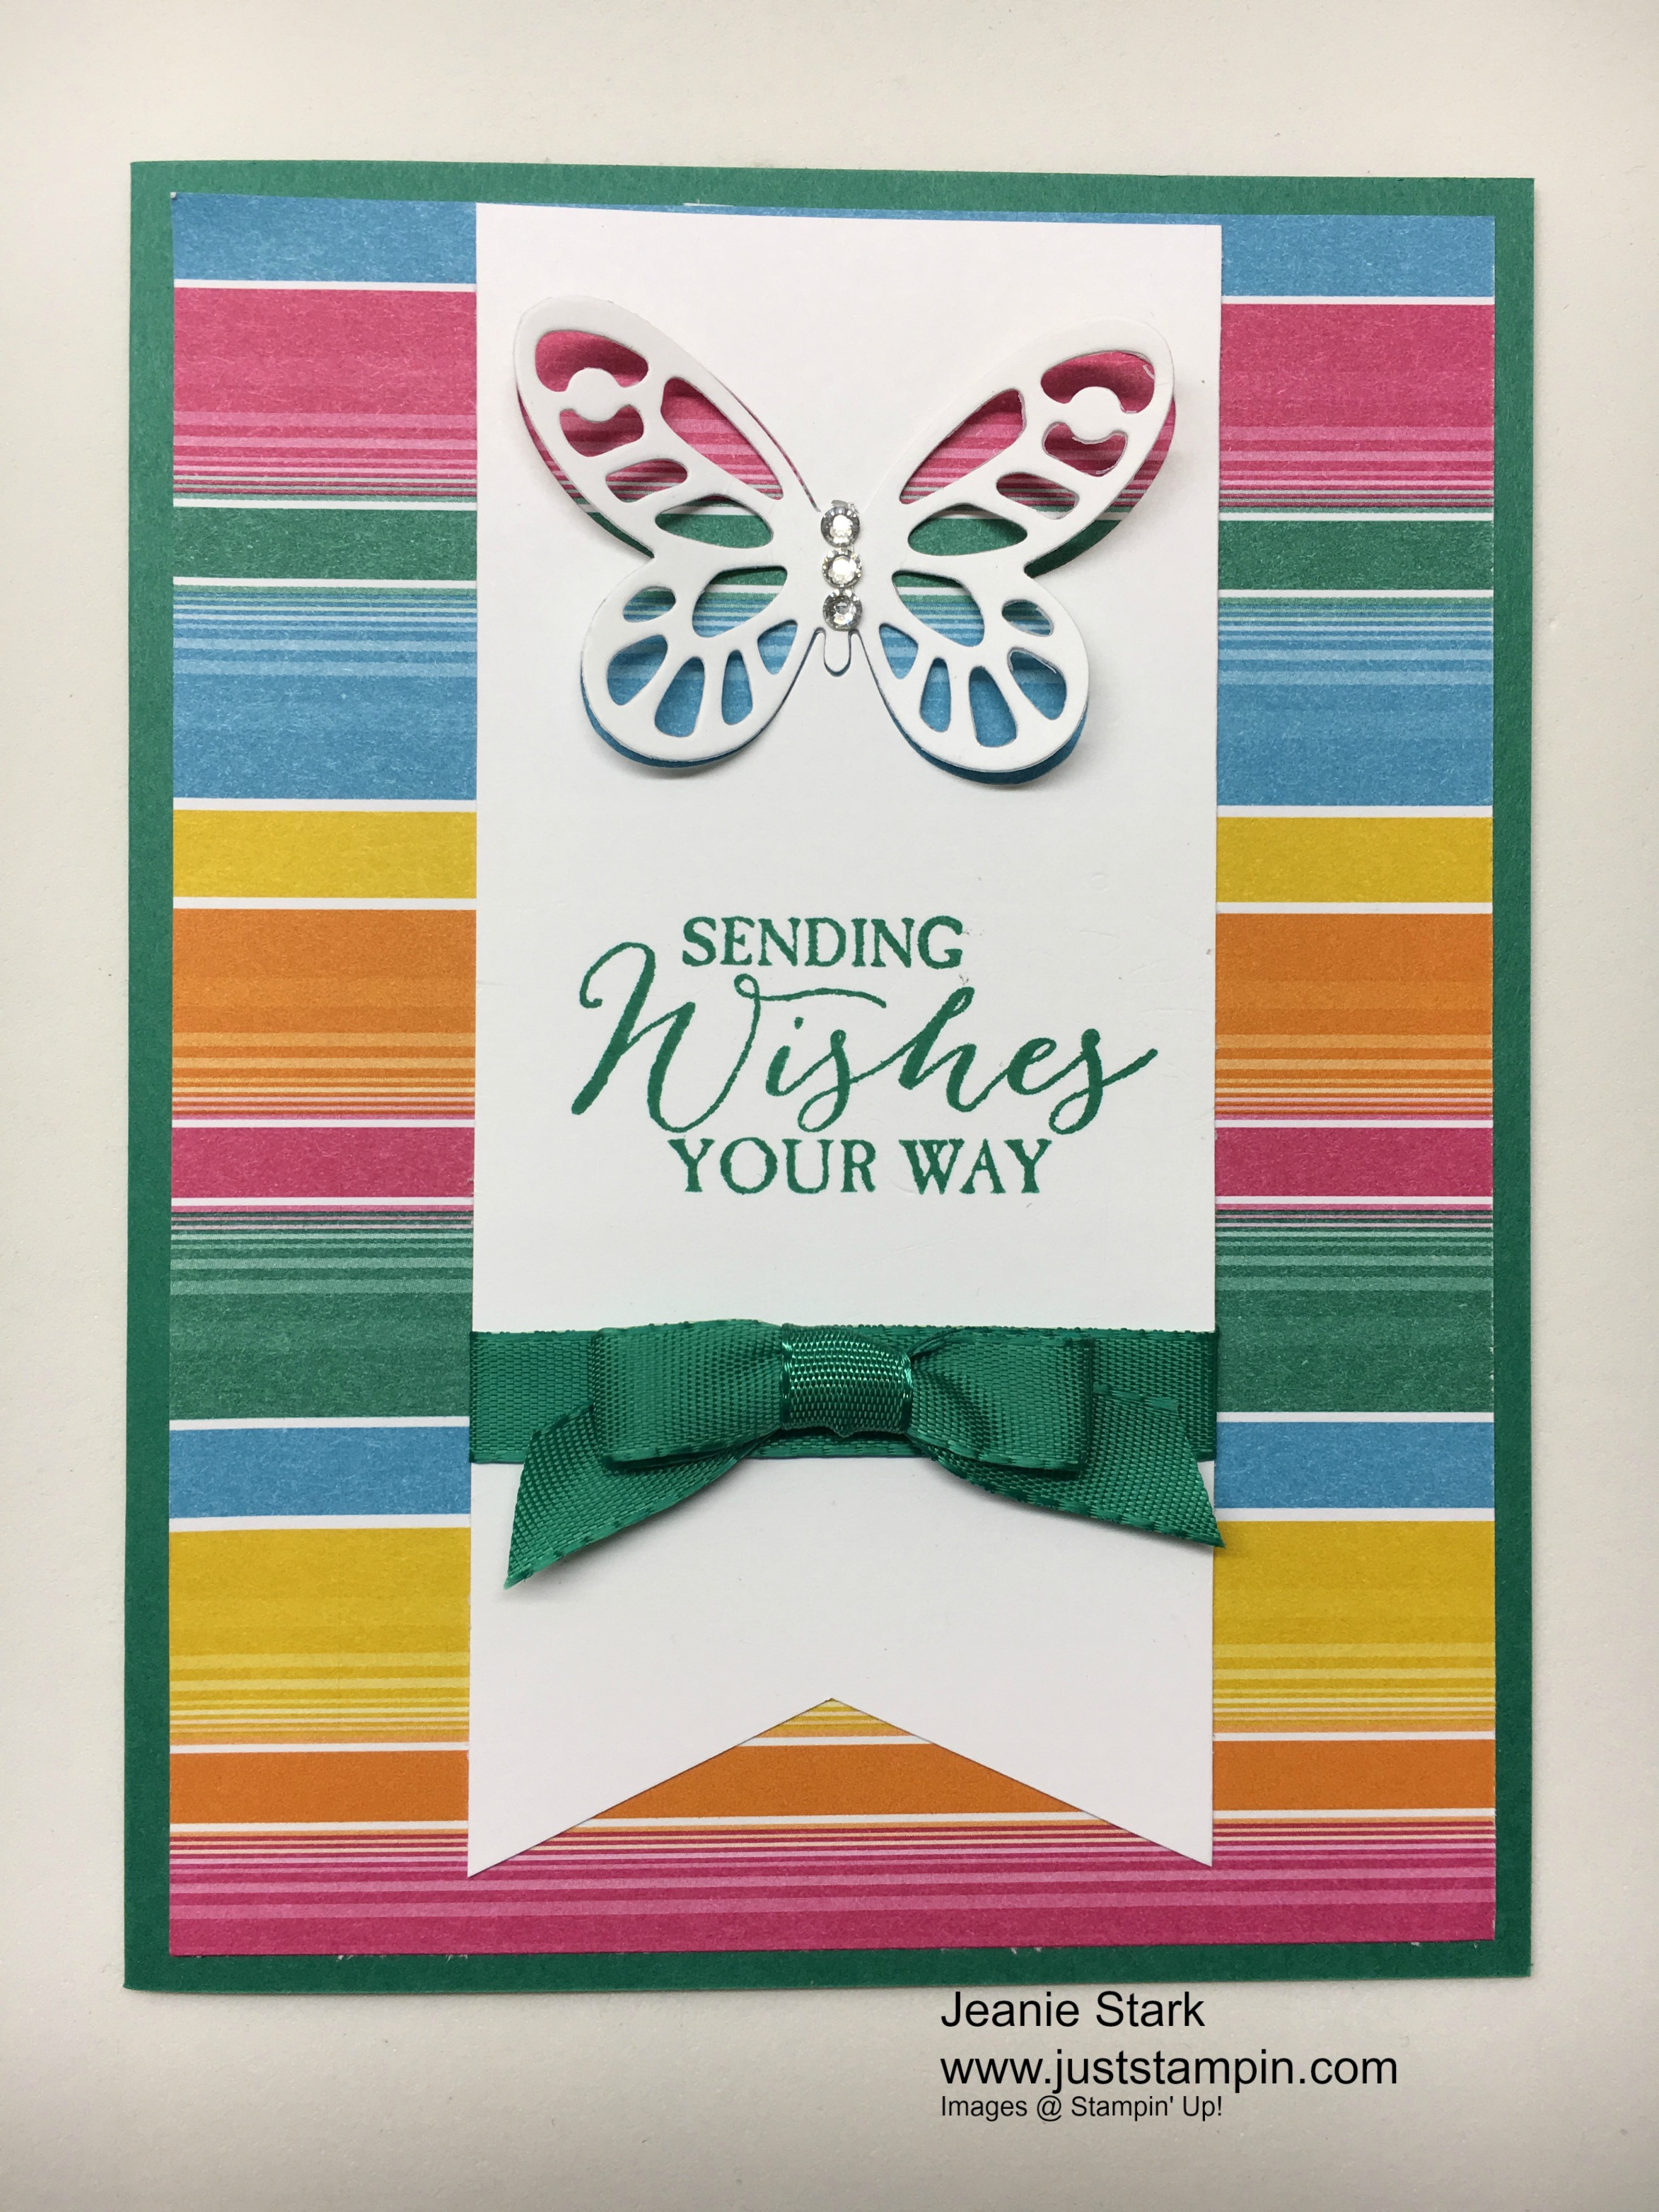
My next card also uses a piece 4 x 6 DSP trimmed to 4 x 5 1/4. (This time I saved the 3/4 x 4 inch piece for another card.) I love the way the Stampin’ Up! DSP is double sided. Here I used the Bold Butterfly Framelits to cut my butterfly from a piece of 2 1/4 x 5 Whisper White cardstock. I stamped the sentiment from Butterfly Basics in Emerald Envy, cut the banner, and attached some Emerald Envy ribbon and a bow. I used a glue dot to adhere the butterfly and added some Rhinestone Basic Jewels.
The first 2 cards and envelopes used 3 pieces of the 4 x 6 DSP. For my next 2 cards I will use 2 more pieces. I cut one piece of 4 x 6 DSP in half to make 2 3×4 inch pieces. (The other 4 x 6 piece is used for the envelopes.)
Festive Birthday Designer Series Paper One Sheet Wonder
I adhered the 3 x 4 piece on to a Crushed Curry card base. I stamped the sentiment from Watercolor Words on Whisper White cardstock with Crushed Curry ink. I used the Layering Circles Framelits to cut the sentiment and a scalloped circle from Emerald Envy cardstock. I added a piece of the Emerald Envy ribbon with a glue dot and attached the sentiment layer with Stampin’ Dimensionals. The Rhinestone Basic Jewels finished off this quick & simple card.
Festive Birthday Designer Series Paper One Sheet Wonder card and matching envelope
My next card uses the 3/4 x 4 ” piece of DSP leftover from trimming the striped paper on the banner card. (It could be used on the inside of a card or layered on the front like I did here.)
Festive Birthday Designer Series Paper with Watercolor Words Stamp Set
I adhered the DSP to a piece of 4 x 5 1/4 Whisper White cardstock. I stamped the sentiment from Watercolor Words using Melon Mambo ink. I wrapped some Melon Mambo thick Baker’s Twine and tied a bow before adhering it all to the card base using Fast Fuse.
Festive Birthday and Watercolor Words
I cut my last piece of 4 x 6 DSP in half to make the card below. I attached the DSP to a Pumpkin Pie card base. This card could easily be vertical or horizontal. This is one of those layouts I use again and again. It seems to look different every time just by changing the DSP and matching cardstock, ribbon, cut out shape, and/or orientation.
Festive Birthday Designer Series Paper One Sheet Wonder
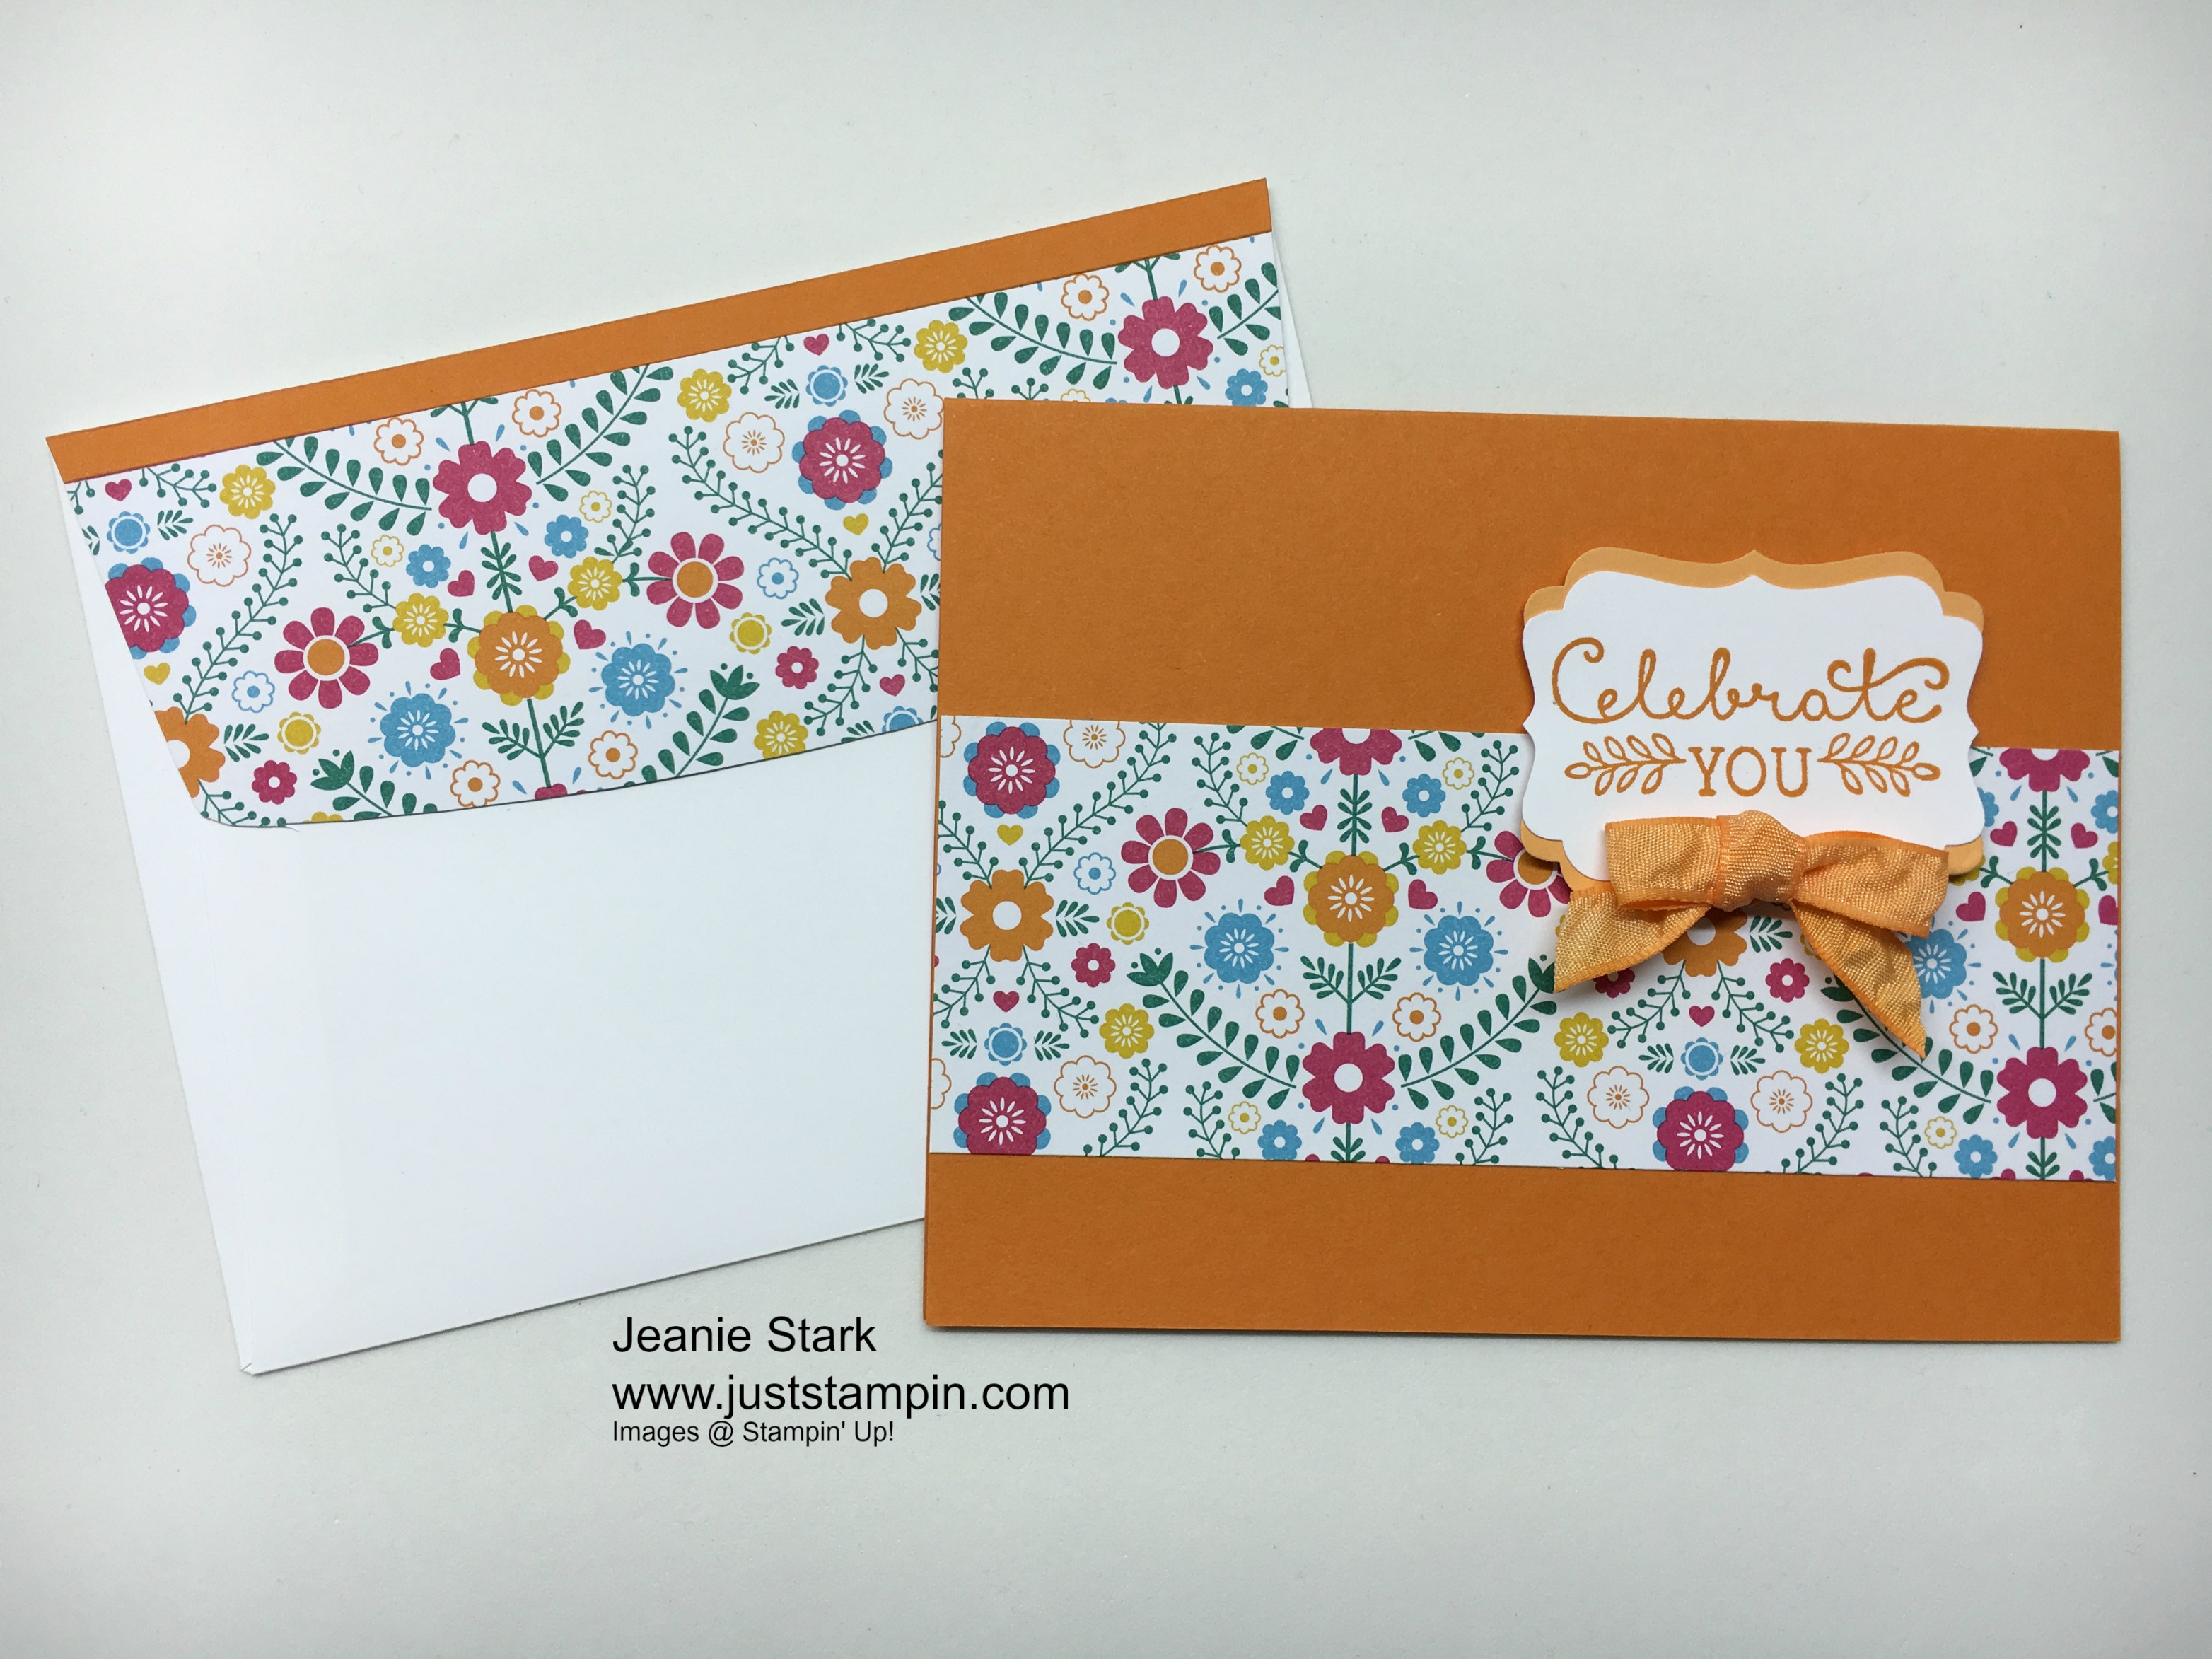
I stamped the sentiment from Suite Sayings using Pumpkin Pie ink. I punched it out with the Decorative Label Punch and also punched one out from a scrap of Peekaboo Peach to layer the sentiment. I attached the sentiment with Stampin’ Dimensionals and added a Peekaboo Peach bow using a glue dot.
Festive Birthday Designer Series Paper and Suite Sayings Stamp Set
How cool is it that you can make 5 quick cards using just 1 piece of 12 x 12 DSP?! When you add the different sentiments and embellishments no one would ever know it was just a 4 x 6 piece of paper that started it all! They all look different. Do you have a favorite?
Festive Birthday Designer Series Paper One Sheet Wonder set of cards
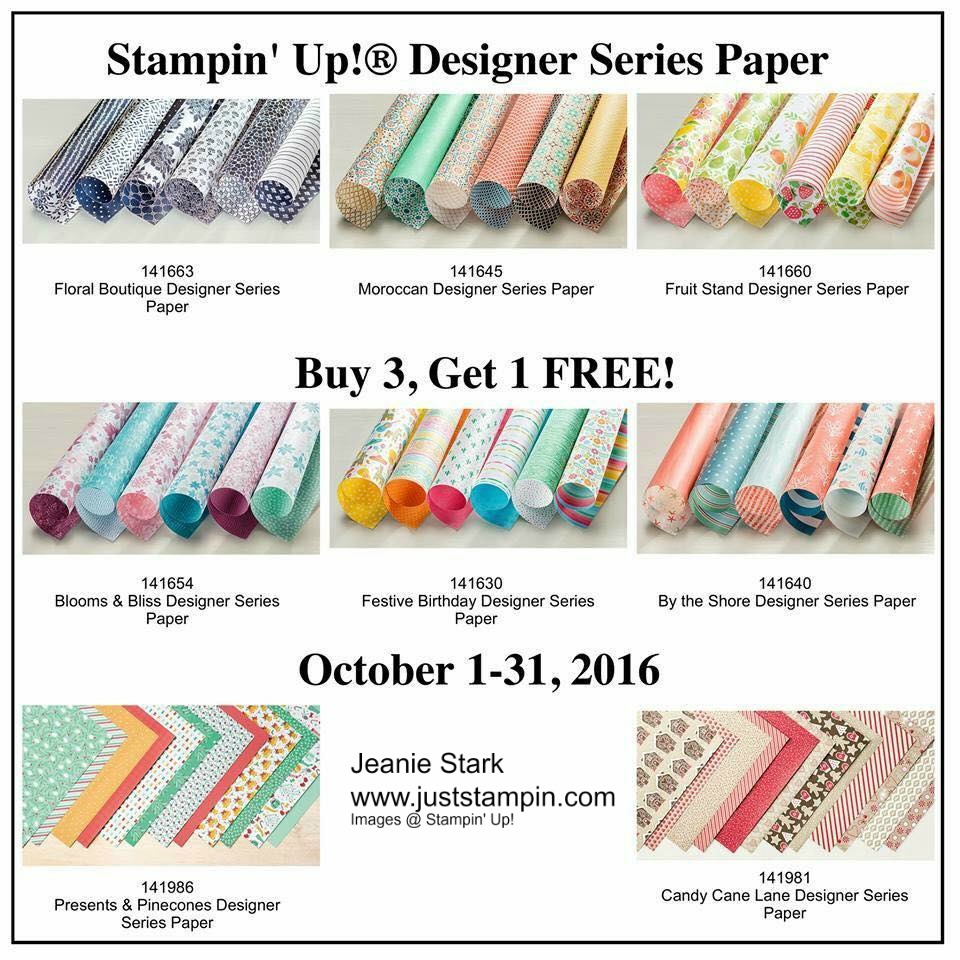
Click HERE to shop my online store and take advantage of the Stampin’ Up! Designer Series Paper Sale. Buy 3, Get 1 FREE Oct. 1-31. Please use the Hostess Code 7DB3CBKS when you check out. I’ve added a visual below to show where to enter the code. I always send a thank you gift each month when you order from me. I appreciate each and every order!