Q is for Quarter Fold

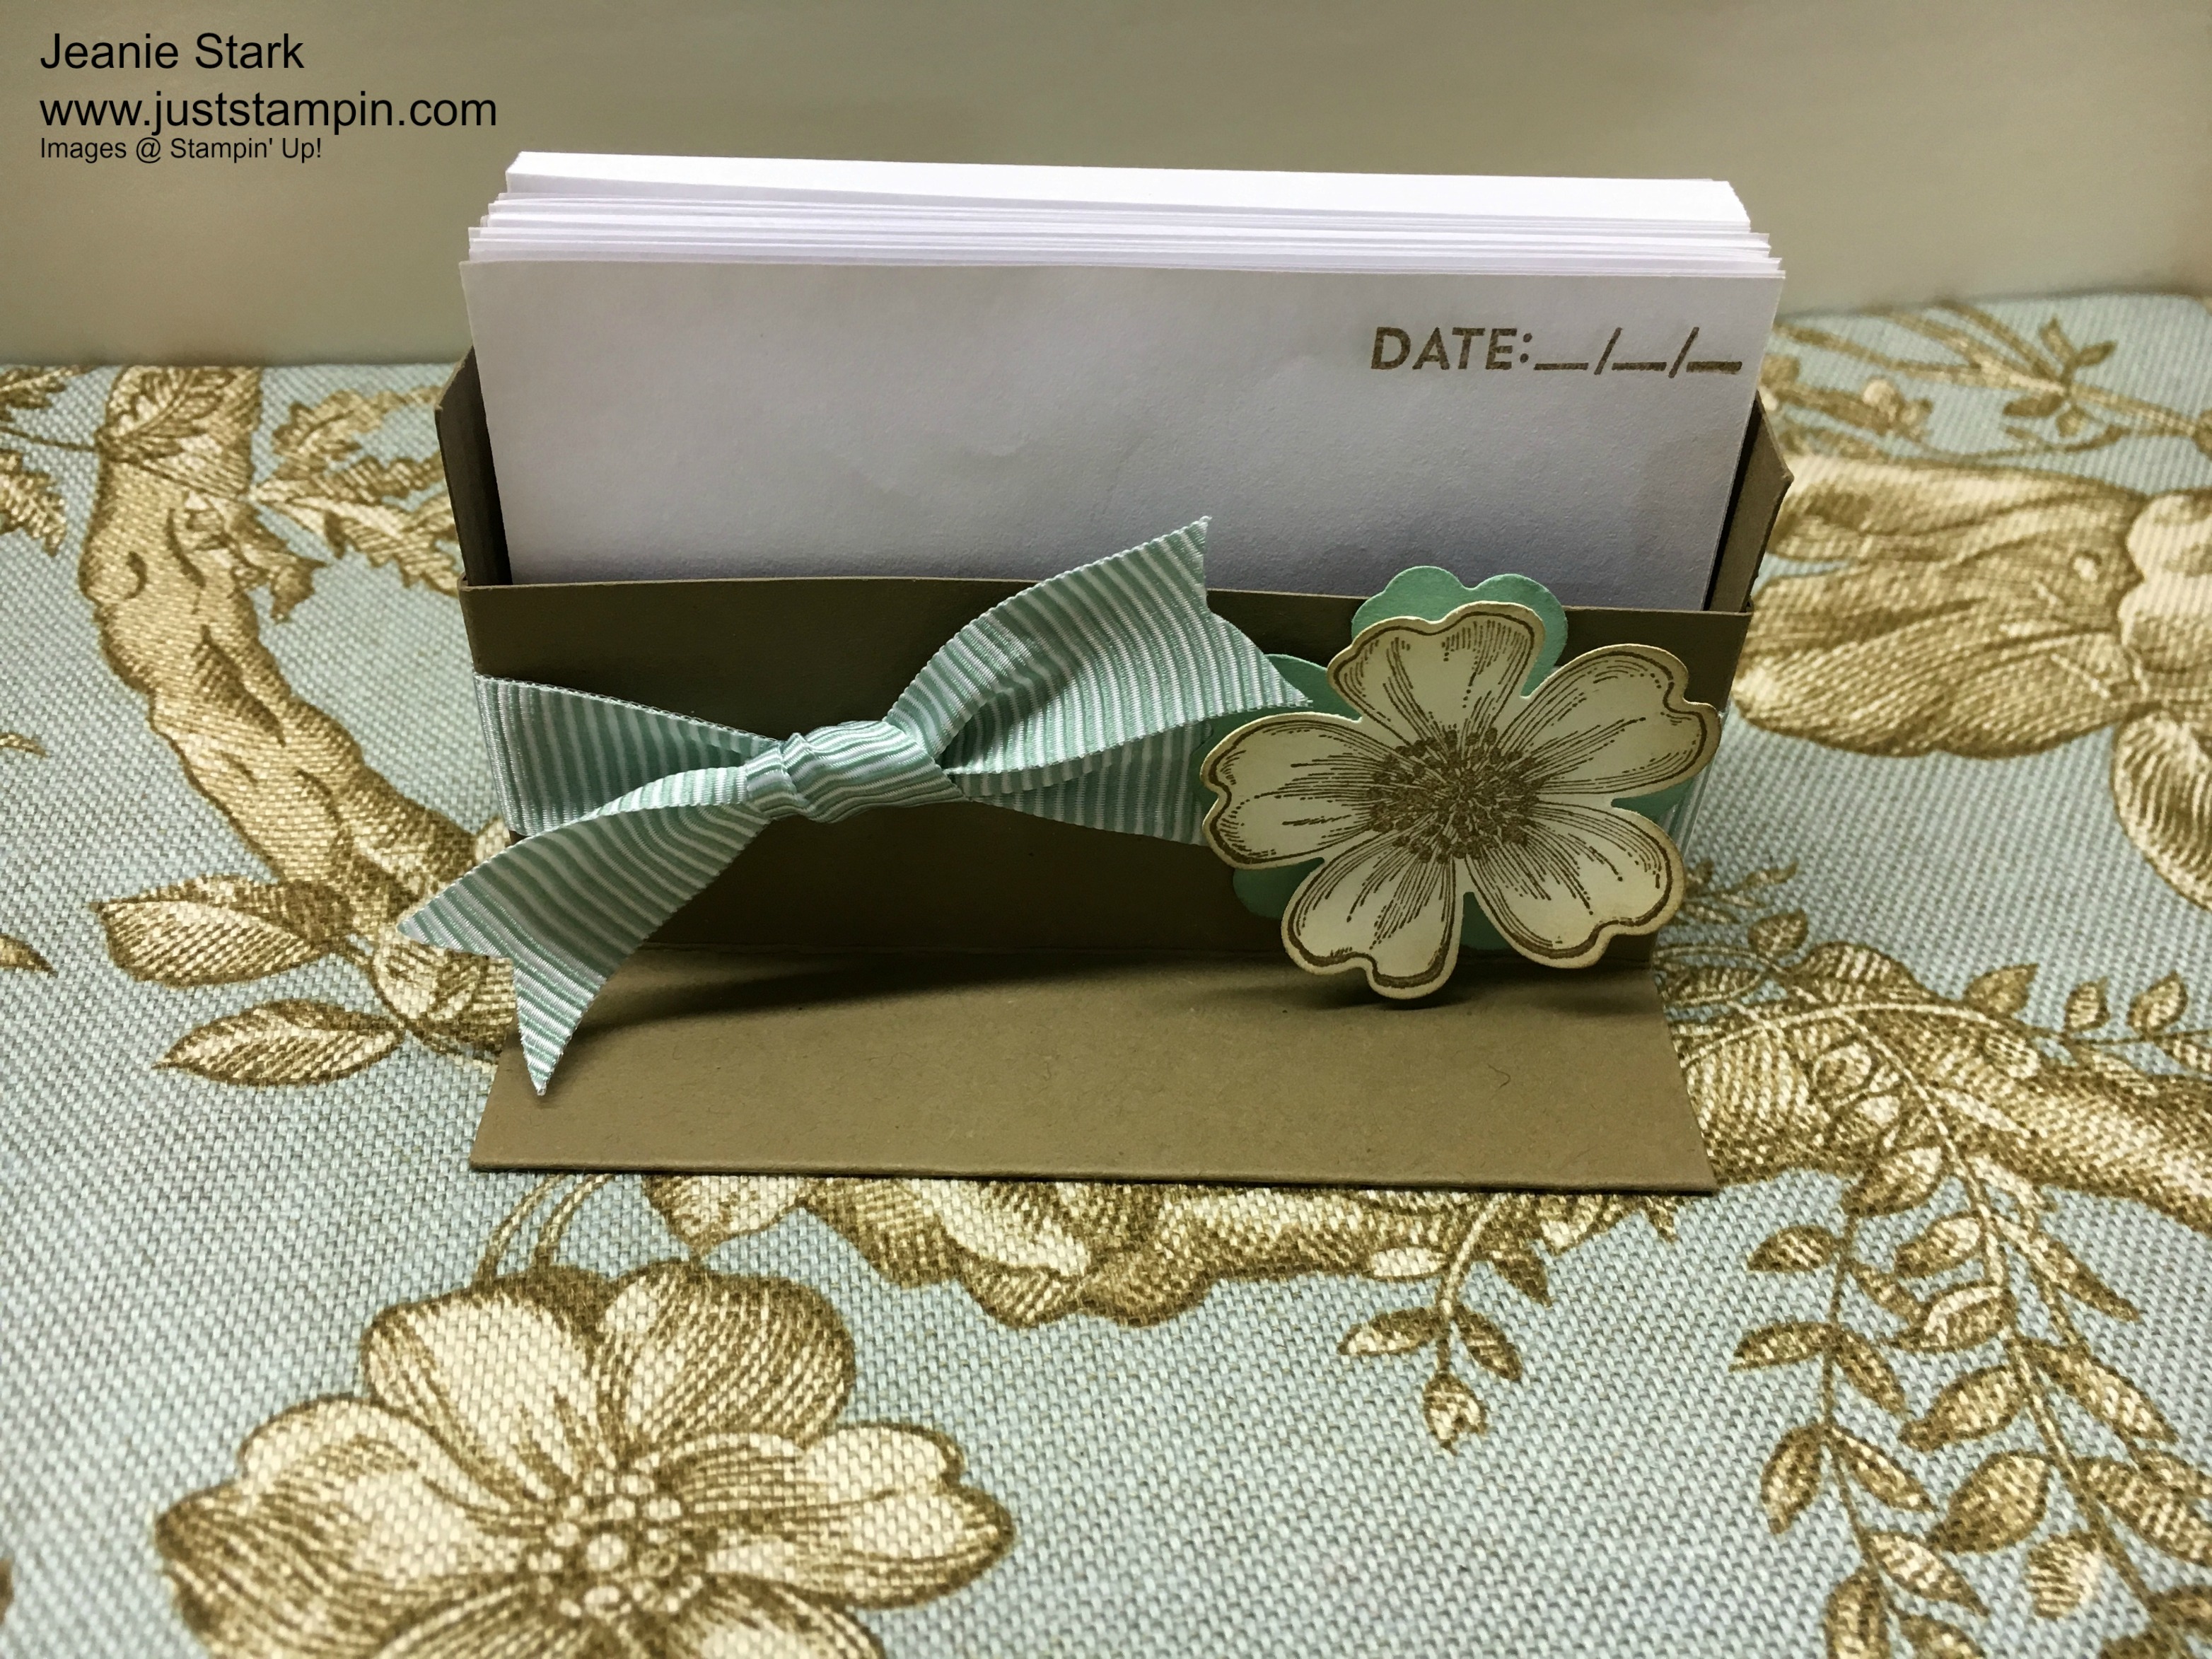
Welcome to my ABC’s with Fun Folds series. Today’s fun fold card is quite different, a Quarter Fold. It’s quick & easy to make and you fold it like you would a packing box.

Stampin Up Fun Fold card using Festive Birthday Designer Series Paper and Designer Tin of Cards Stamp Set.. For more fun fold cards, directions, and supplies visit www.juststampin.com

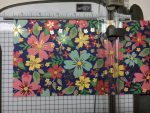
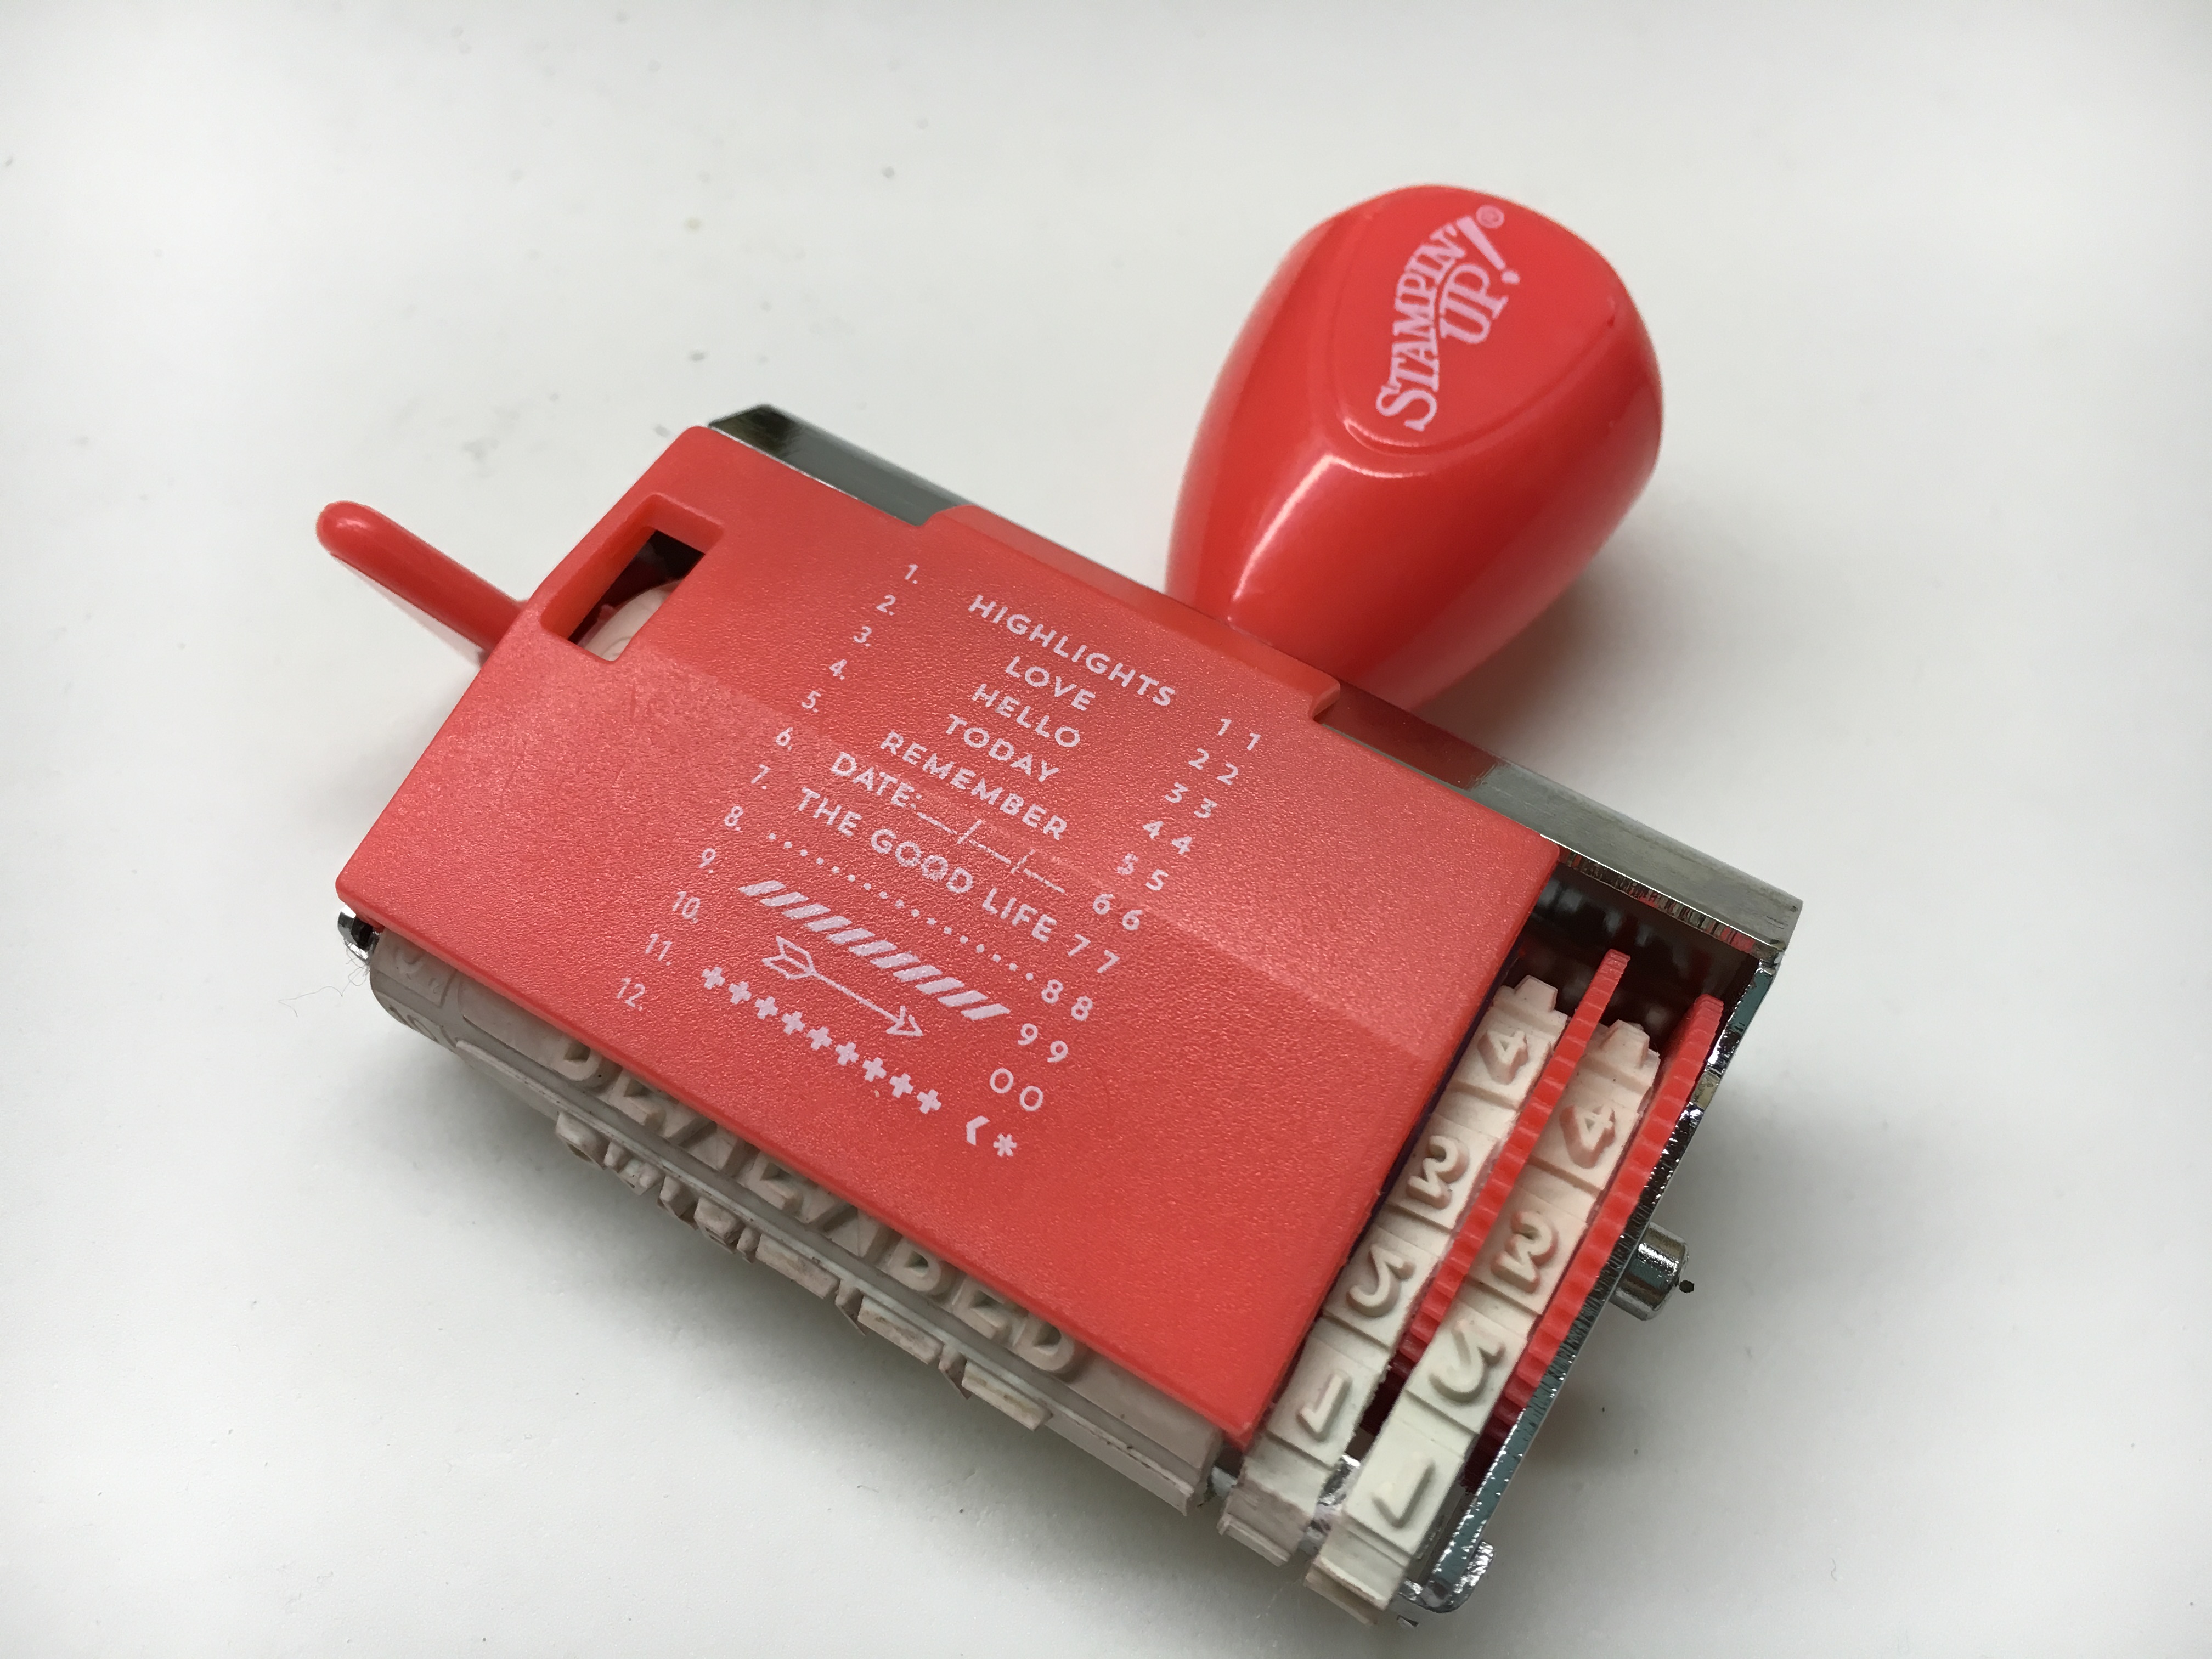
This card showcases the Festive Birthday Designer Series Paper.  Today is your last chance to get this paper before it retires. The bright fun colors of this card just scream birthday to me. I used the Designer Tin of Cards Stamp Set (also retiring) to stamp my sentiment. This has been one of my favorite stamp sets.  It has cool fonts and lots of sentiments for tons of versatility!

To make this fun quarter fold card you need to start with 2 pieces of cardstock (4 1/4 x 11, 5 1/2 x 8 1/2). Trim a sliver (1/16″) off the long end of each piece so the widths are actually 4 3/16 x 11 and 5 7/16 x 8 1/2.  This will allow the cards to fit together and close easier. Score the 4 1/4 x 11 cardstock at 2 3/4 from each end.  Score the 5 1/2 x 8 1/2 cardstock at 2 1/8 from each end. Use Multipurpose Liquid Glue to adhere the two pieces of cardstock together, lining up the edges with the score lines. (It doesn’t matter which one in inside.)

Fold on each of the score lines and crease using a bone folder. Decorate with DSP or cardstock measuring 2 x 2 5/8.

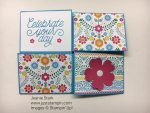
I used the pansy punch to cut a flower from melon mambo cardstock.  I added a White Perfect Accent in the middle and attached it with glue dots.

Cut a 4 x 5 1/4 piece of Whisper White cardstock for the inside.  I used the Stylized Birthday stamp and Tempting Turquoise ink. The little flowers are from the Designer Tin of Tags Stamp set that I used on the front of the card.

Stampin Up Fun Fold card using Festive Birthday Designer Series Paper and Designer Tin of Cards Stamp Set.. For more fun fold cards, directions, and supplies visit www.juststampin.com

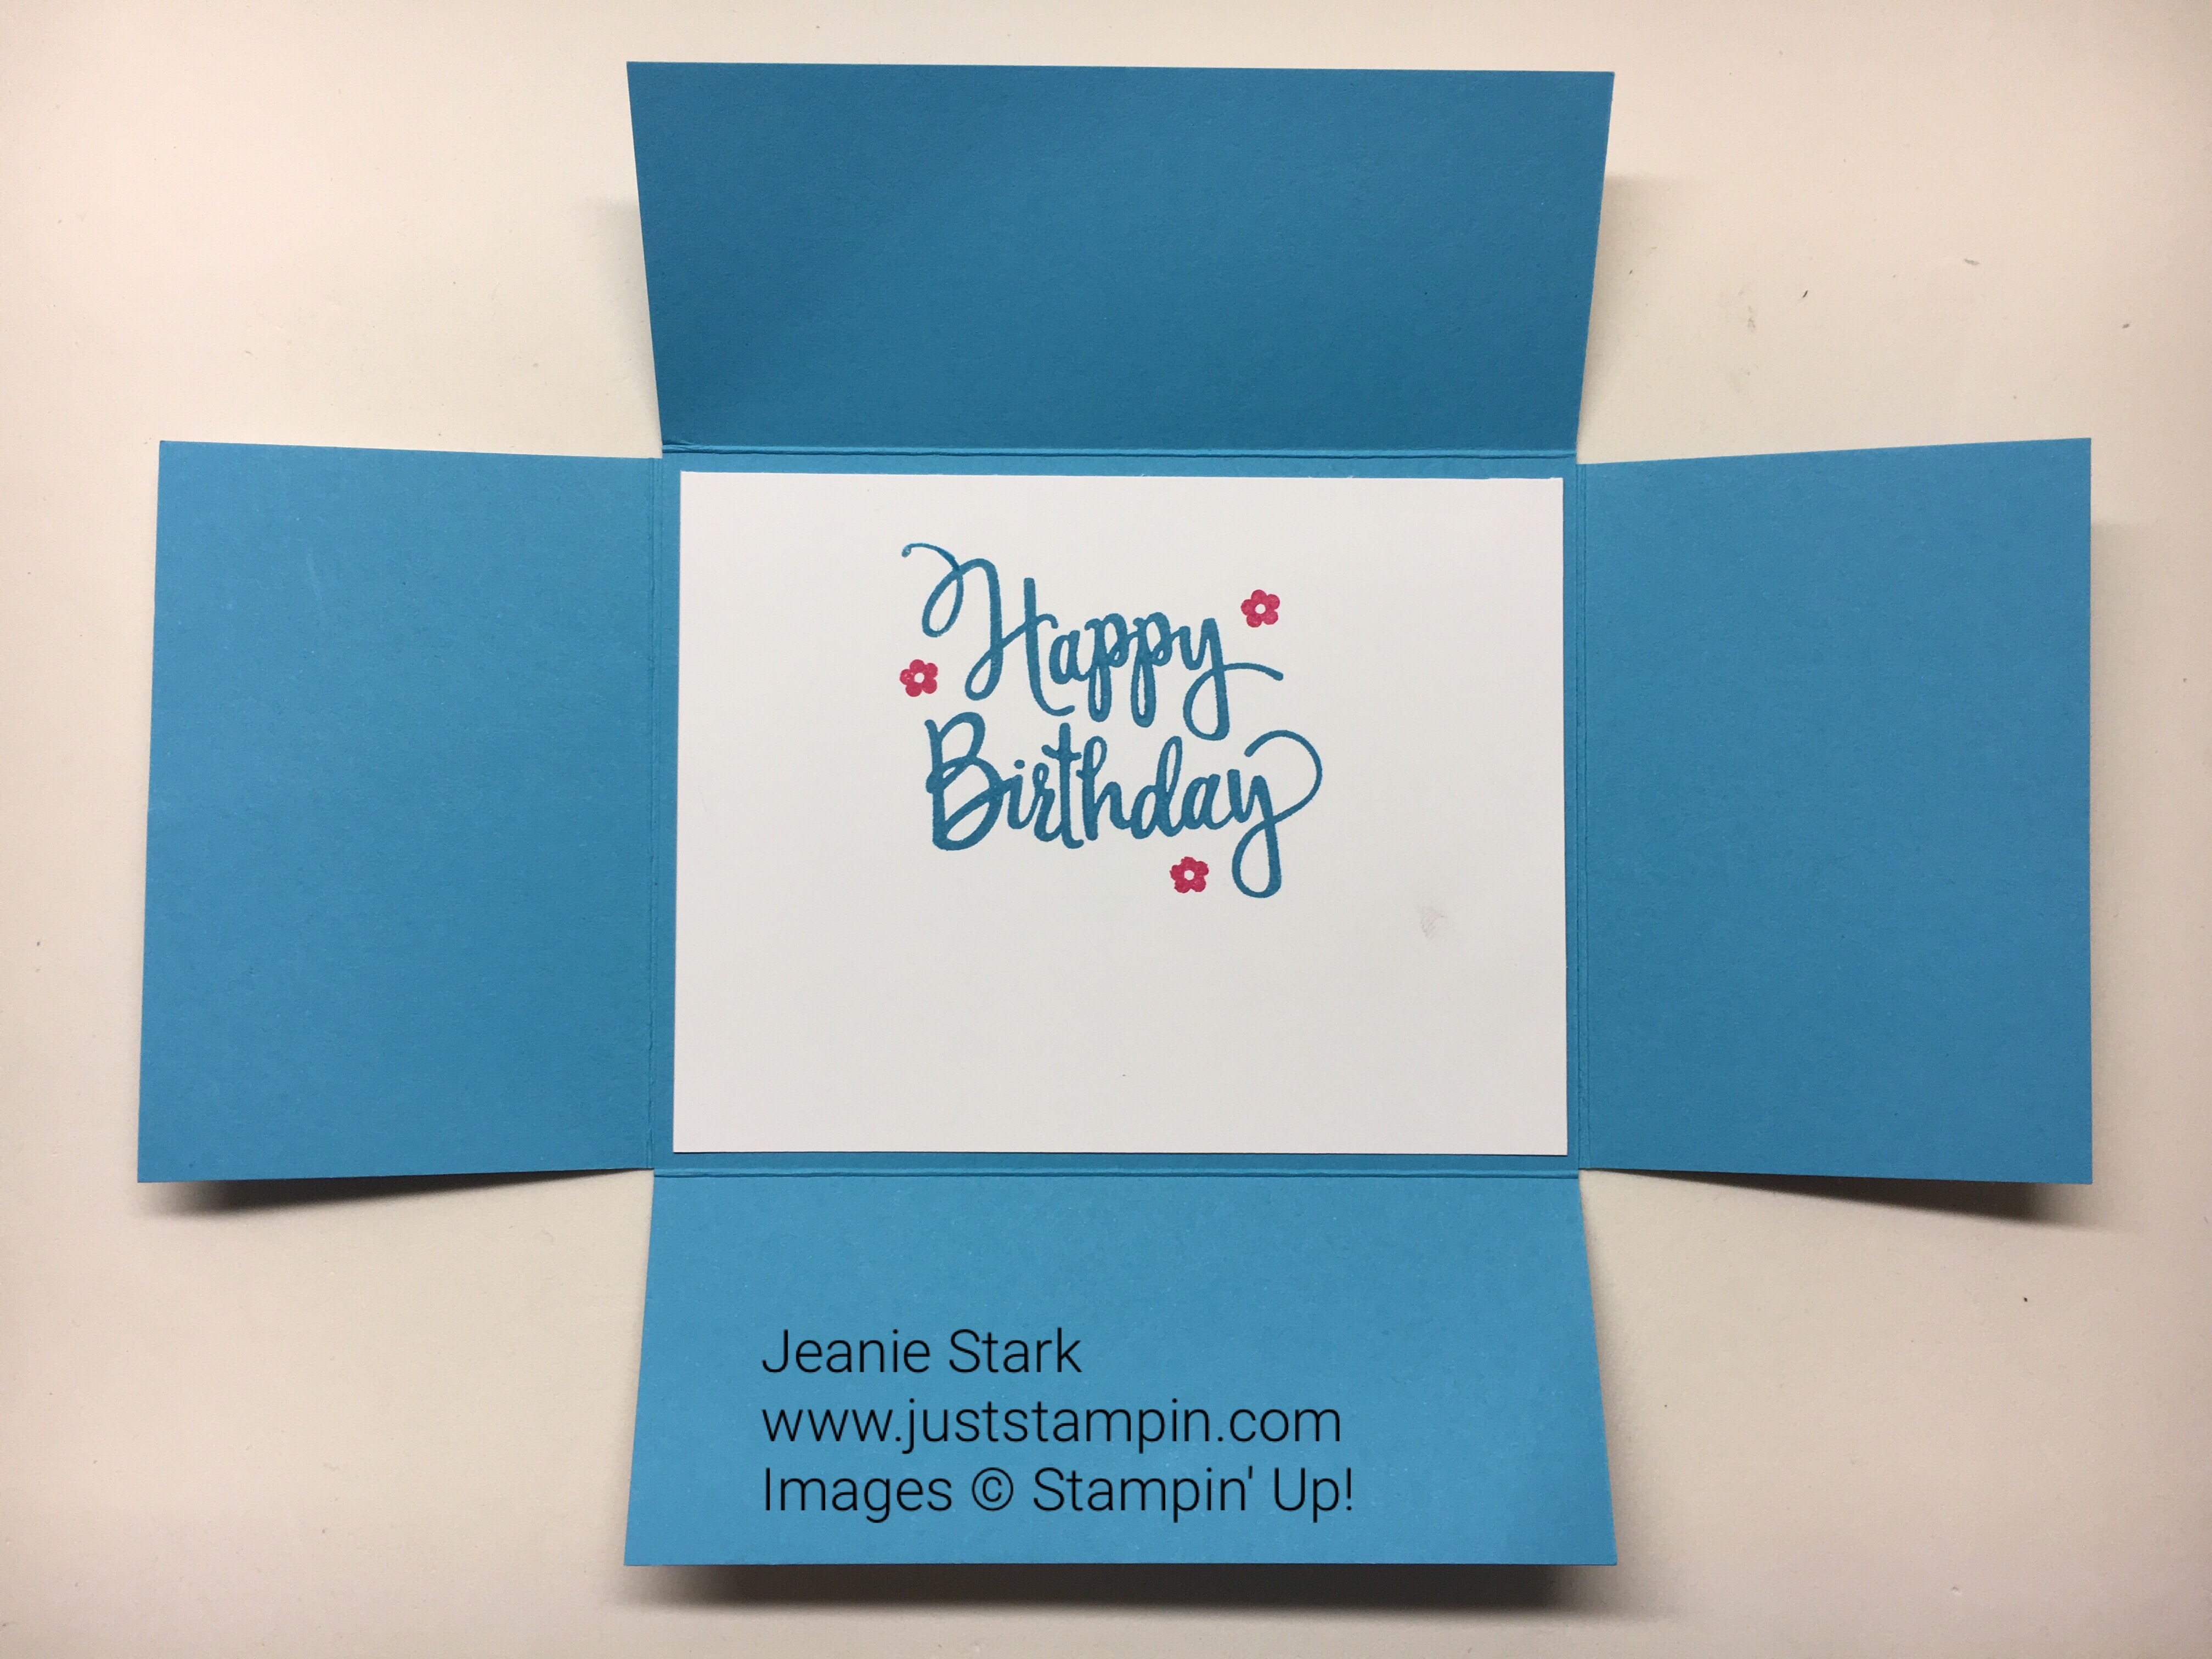
Fold the card as you would close a packing box. Fold in the left side, fold up the bottom, fold in the right side, then tuck the left corner of the top flap underneath the left side panel.

This card would be great to hold confetti or a monetary gift. (No worries of it slipping out!) The card fits in a standard envelope.

Stampin Up Fun Fold card using Festive Birthday Designer Series Paper and Designer Tin of Cards Stamp Set.. For more fun fold cards, directions, and supplies visit www.juststampin.com

Stamp Sets: Designer Tin of Cards (retiring), Stylized Birthday Ink: Tempting Turquoise, Melon Mambo Papers: Tempting Turquoise, Whisper White, Festive Birthday DSP (retiring) Accessories: Pansy Punch, White Perfect Accents

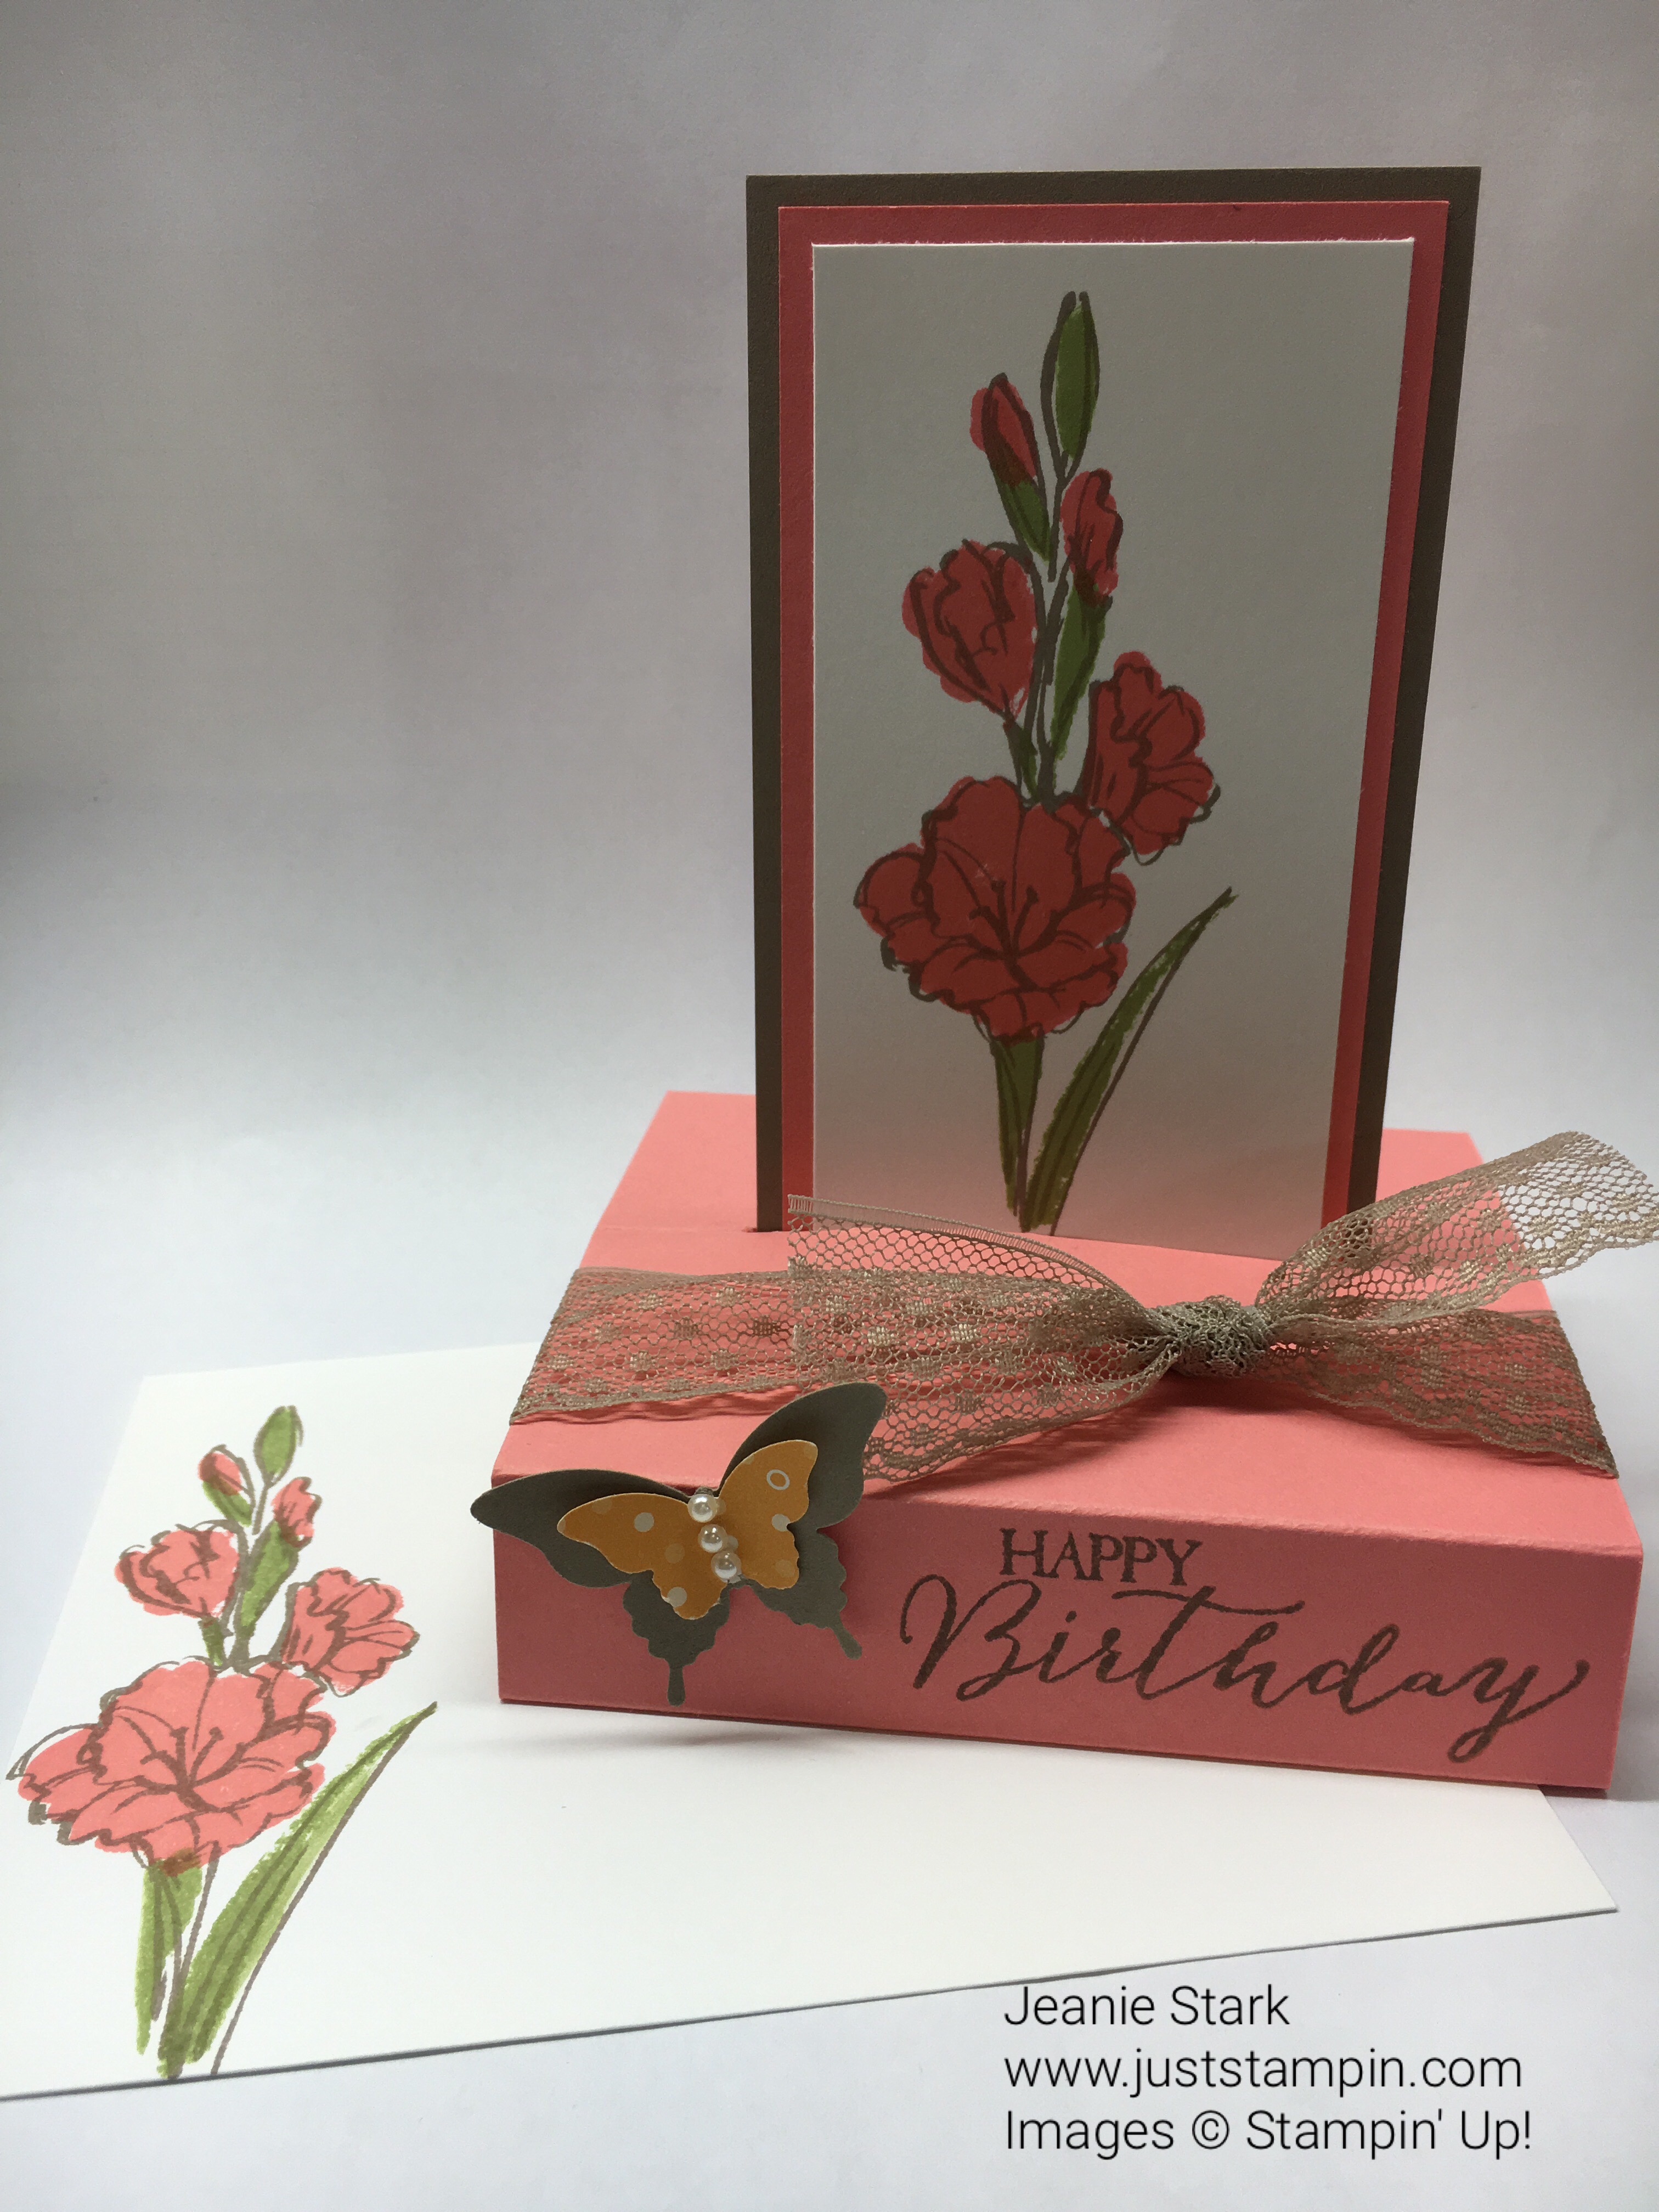
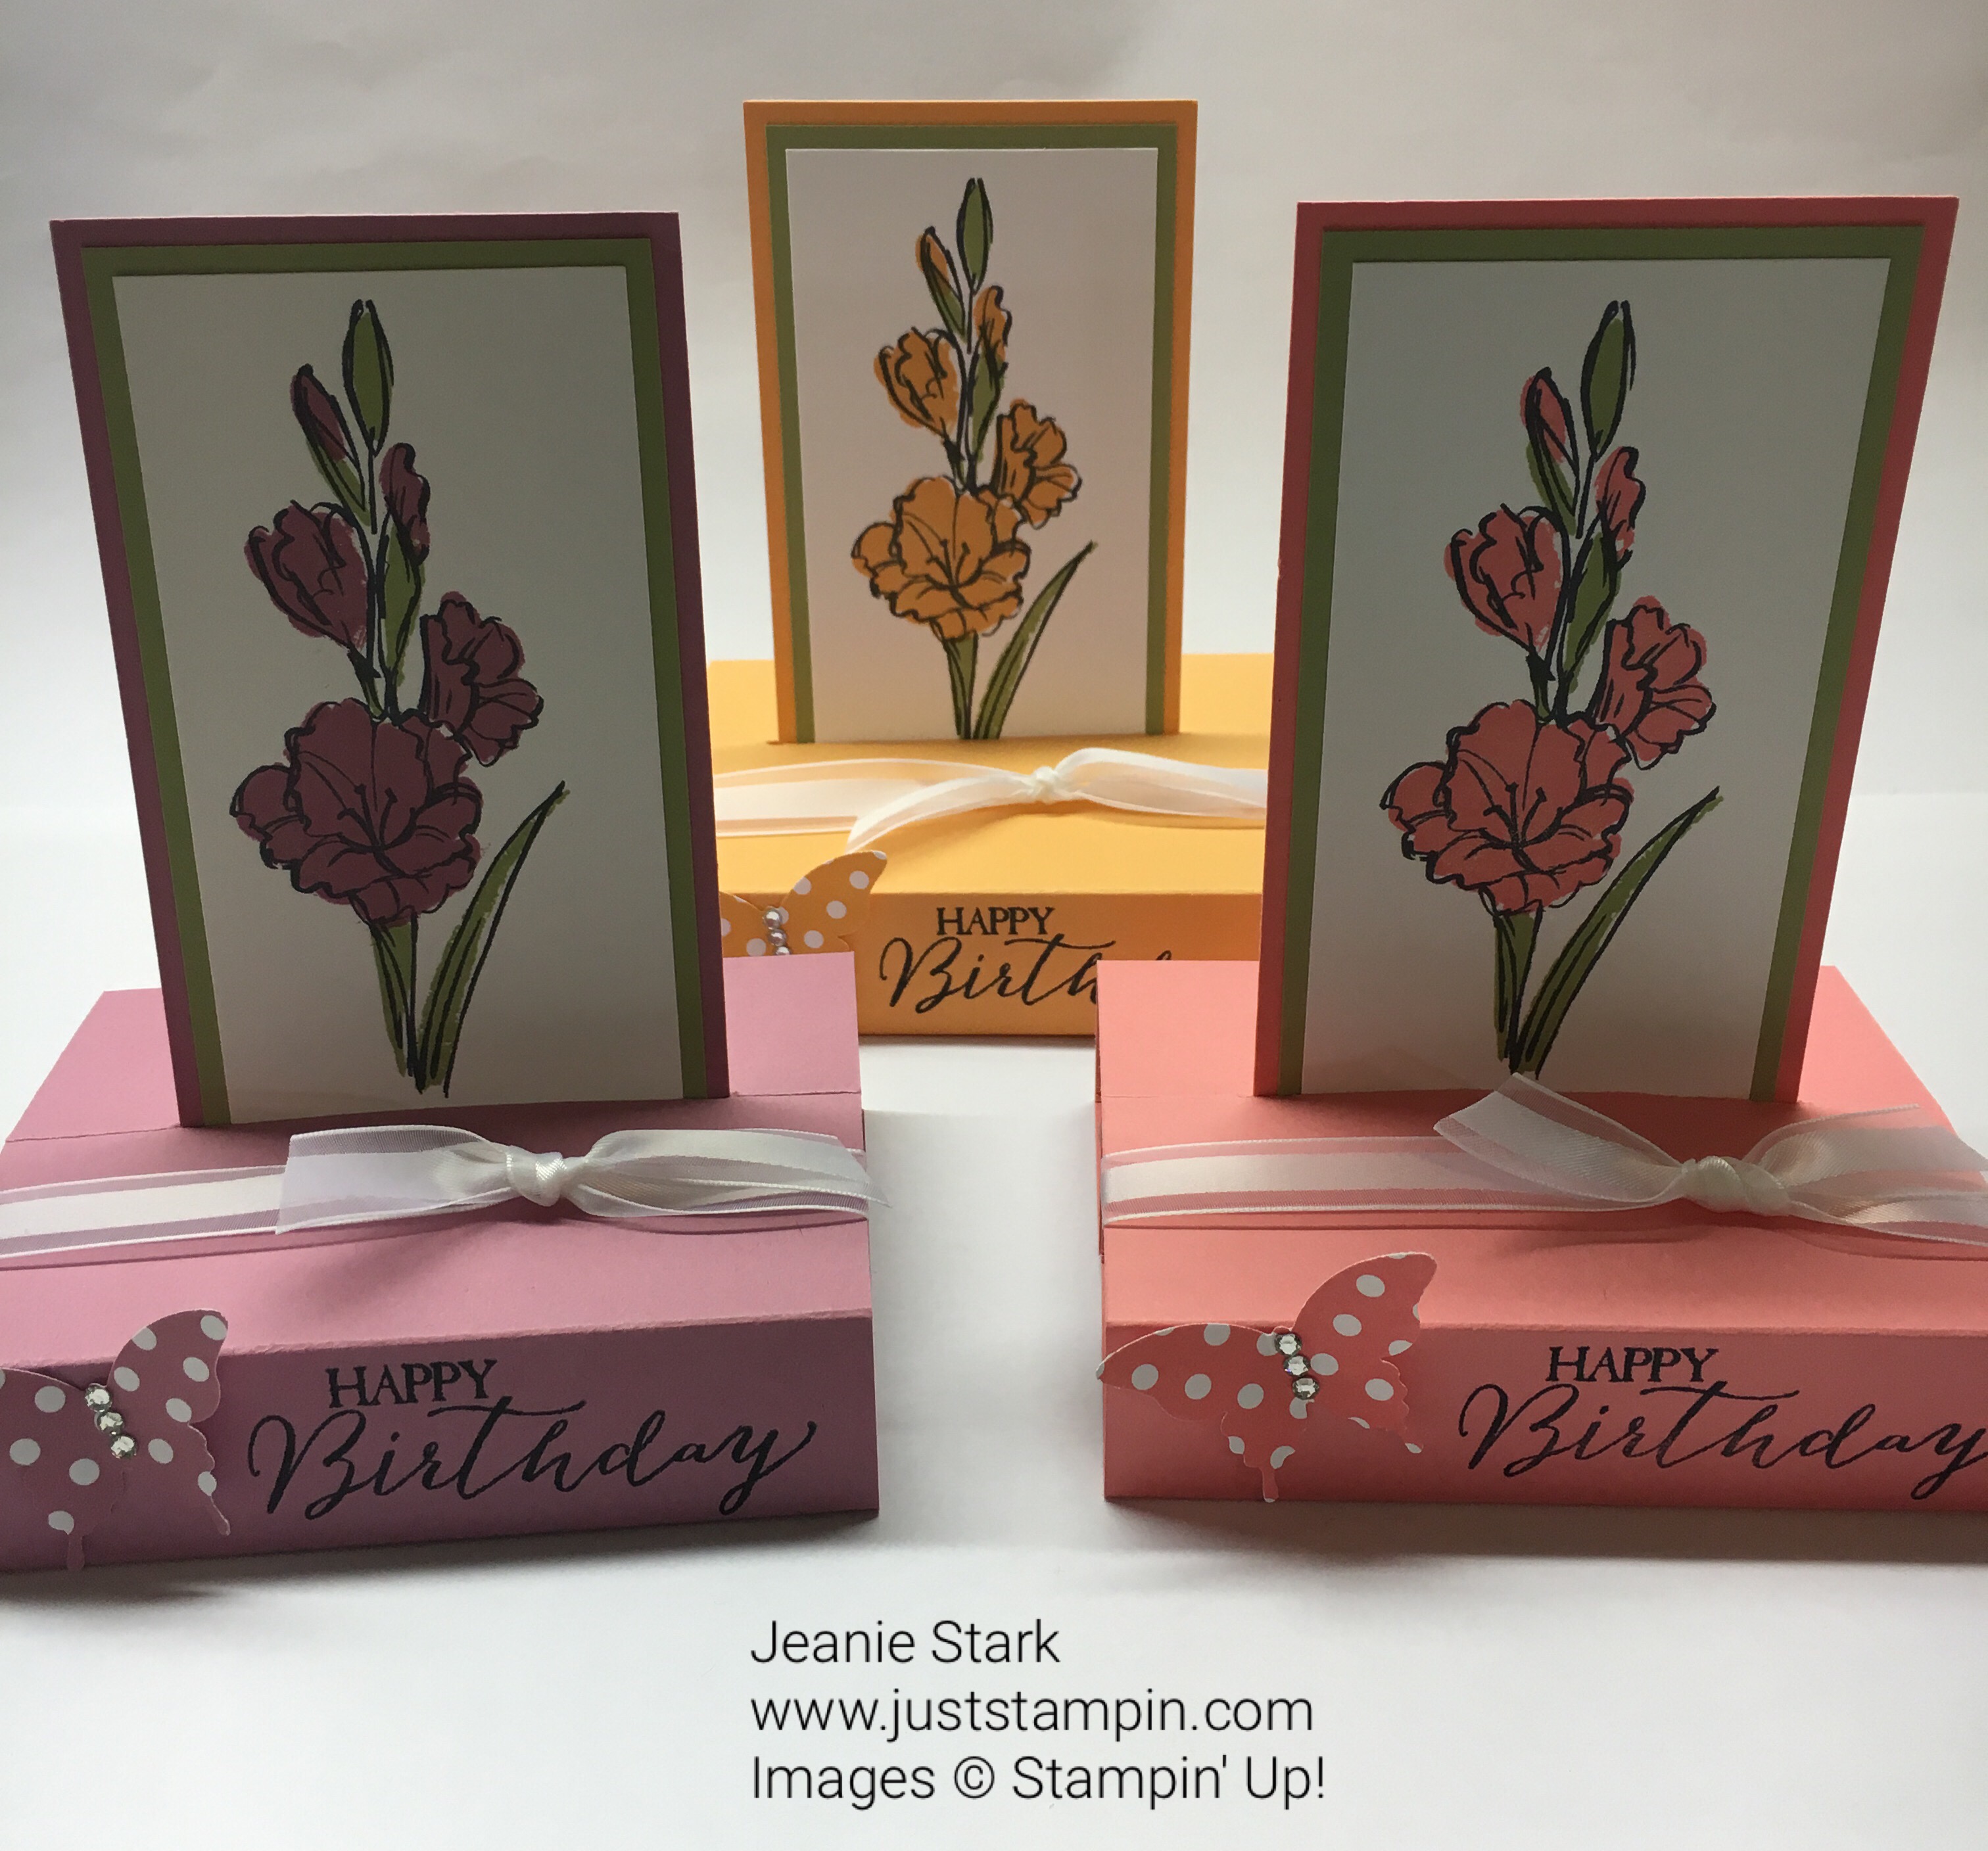
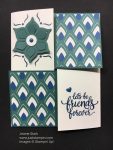
Here’s another version I made using the Eastern Palace Suite. These cards are so fun and easy to do.  You can make these cards vertical or horizontal.

Stampin Up Quarter Fun Fold made with Eastern Palace Suite. For more fun fold ideas, directions, and supplies, visit www.juststampin.com

For this card I used the gorgeous Eastern Palace Specialty Designer Series Paper with the Eastern Beauty Stamp Set and matching dies. These dies are the most versatile set I have ever seen! I stayed with clean and simple on this card.  You can click HERE to see more ideas using the Eastern Palace Suite and read more about the bundle offers.  Today is the last day to take advantage of the special Eastern Palace Suite Bundles!!!

Stampin Up Quarter Fun Fold made with Eastern Palace Suite. For more fun fold ideas, directions, and supplies, visit www.juststampin.com


Stamp Set: Eastern Beauty  Ink: Dapper Denim  Papers: Tranquil Tide, Very Vanilla, Eastern Palace Specialty Designer Series Paper  Tools & Accessories: Eastern Medallion Thinlits, 3/4″ Circle Punch, In Color Enamel Shapes (retiring)

You can make these fun fold cards vertical or horizontal. Do you have a favorite?

If you would like to purchase any of the materials I used on my cards today, please Click HERE to visit my online store.

Have a Quintessential Day!

Just Stampin’

Jeanie

*All orders placed through my online store are eligible for my FREE monthly gifts (card kits and more!).  Click HERE to shop. Please use the current host code below.

 Current Host Code: MPP2NJHT 


LAST CHANCE to get the Eastern Palace Bundle! Great Savings and FREE Gifts!!!

Eastern Palace Suite advertise2

Eastern Palace preorder

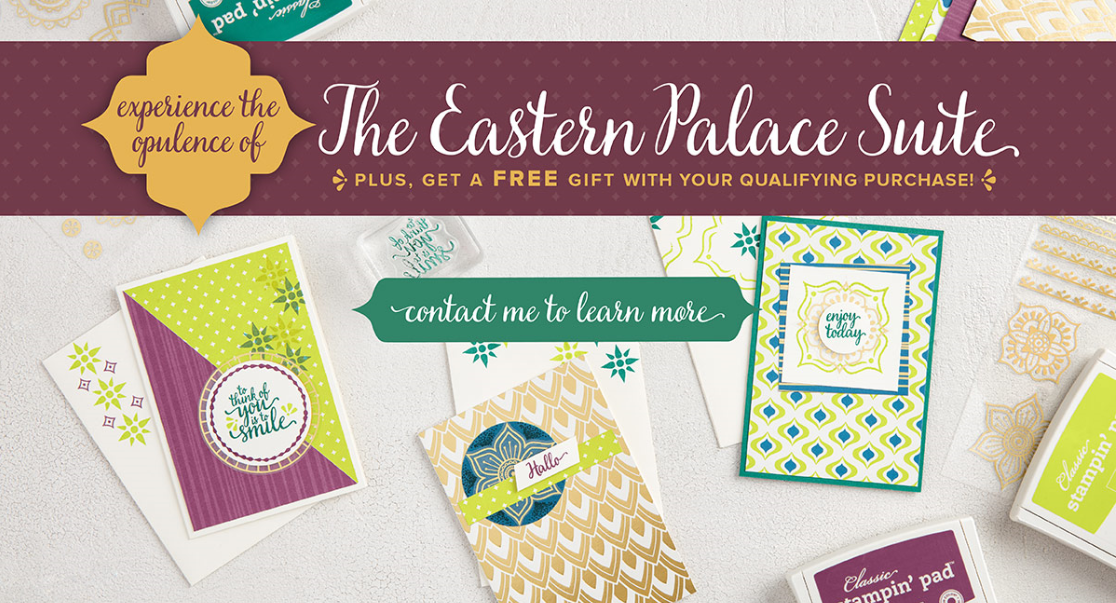
Click HERE to view and print the flyer.

  • The starter bundle (147196, $60.50) includes FREE Very Vanilla Note Cards & Envelopes
  • The premier bundle (147207, $103.50) includes FREE Very Vanilla Medium Envelopes & NEW Very Vanilla Thick Cardstock (8.5 x 11).
  • BOTH bundles include THREE of the NEW 2017-2019 In Color Ink Pads: Fresh Fig, Tranquil Tide and Lemon Lime Twist.

Eastern Palace bundle

Eastern Beauty Stamp set

Click below to view a short video showcasing the products in the Eastern Palace Suite.

https://videopress.com/embed/FrAE2LH9?hd=0&autoPlay=0&permalink=0&loop=0

setting sun for retirement

Click on the image above for your LAST CHANCE to get these retiring items!

P is for Pop Up Fun Fold

Welcome to my ABC’s with Fun Folds series. Today’s card is one I have made several times.  I love this Pop-Up fun fold!

Pop Up Fun Fold Card. For directions and supplies visit www.juststampin.com

I used the Affectionately Your Specialty Designer Series Paper for my card base.  This piece is a thick cardstock with copper embossing.  Oh how I love it! It is retiring tomorrow so if I were you I would stock up now…it’s even on sale!!! Click HERE to add this to your shopping cart.

To make the pop up card you need a piece of cardstock measuring 4 1/4 x 11. Score at 1, 2 3/4, 3 3/4, 5 1/2, 7 1/4, 8 1/4, 10. Line it up in the personal trimmer in the center (at the 5 1/2 inch score line) and trim from 3/4 inches – 3 1/2 inches. The arrow on the cutting blade makes  it easy to see where to cut.

Next, fold the cardstock along the center cut line and trim the opening with paper snips for a clean cut along the score line.  Then fold along all score lines. Apply Tear & Tape Adhesive along the top and bottom of the card base.

img_2766

I heat embossed the sentiment from Big on Birthdays on a piece of 2 1/2 x 5 1/4 Night of Navy cardstock using Copper Embossing Powder. I layered the sentiment on Flirty Flamingo cardstock that’s just 1/4″ larger (2 3/4 x 5 1/2). Notice how I stamped higher on the cardstock to make sure it would show when the card is sitting in the base.  I used the Star Blast Edgelits Dies (also retiring) to cut the design from Copper Foil.  I adhered it with the Fine-Tip Glue Pen.

img_2767

The card slides up and down through the slot.  It’s so cool how it folds flat for mailing and is free standing once it is opened.  I wrapped some of the new Copper Trim around the card and tied a bow. I punched the flower from Flirty Flamingo cardstock using the Pansy Punch and stamped the center with VersaMark using the Love & Affection Stamp Set and heat embossed it before adhering it to the card front. I adhered a piece of 2 1.4 x 6″ piece of DSP to the envelope and trimmed the excess.

Here are some other Pop-Up cards I made previously using the Gift of Love Stamp Set (retiring May 31). You can click on the image to see the original post with lots photos.

Pop Up Fun Fold Card. For directions and supplies visit www.juststampin.com

Pop Up Fun Fold Card. For directions and supplies visit www.juststampin.com

Pop Up Fun Fold Card. For directions and supplies visit www.juststampin.com

I love this infinity shot of some of the ones I made for a card swap.

If you would like to purchase any of the materials I used on my card today, please Click HERE to visit my online store.

Hope you get some time to play today!

Just Stampin’

Jeanie

*All orders placed through my online store are eligible for my FREE monthly gifts (card kits and more!).  Click HERE to shop. Please use the current host code below.

 Current Host Code: MPP2NJHT 

setting sun for retirement

Click on the image above to see the retiring items while supplies last! Tomorrow is the LAST DAY to shop retiring items!!!

Happy New Year!

img_7991
Start a new family tradition!

A friend of mine posted this idea on Facebook and I knew this was something I could do and enjoy with my family. It’s quick & easy!  I decided to spruce up my jar to make it part of my decor so I could set it out and be reminded to do it throughout the year.

IMG_8284

I had a Longaberger mason jar in my pantry and decided to use that.  I love and use Longaberger baskets throughout my home and craft space to keep things organized. My husband buys the tree trimming basket for me every year and I put those on a tree in our kitchen for the holidays. You can see in the photos that I chose the colors for my jar and paper holder to match the table runner and curtains in my kitchen.

IMG_8270

img_8271
My Longaberger basket tree.  I fill the baskets with candy for the holidays.

I made a belly band for the mason jar using a 2 inch strip of soft suede cardstock. I used the Scalloped Tag Topper to punch each end and threaded mint macaron mini striped ribbon through the ends and tied a bow. I heat embossed the sentiment from Paisleys and Posies with clear embossing powder.  To emboss any color all you have to do is ink your stamp in VersaMark first, then ink it in whatever color you want and stamp it on your cardstock. Add clear embossing powder and heat it.  I used mint macaron ink for the sentiment.  I used the Layering Circles Framelits to cut a piece of Mint Macaron cardstock for the lid.  I stamped the flower from Flower Shop Stamp Set with soft suede ink and punched it out with the pansy punch.  I also punched a mint macaron flower and attached both to the top of my jar with Stampin’ Dimensionals.  I can’t wait to start adding wonderful memories to the jar!

IMG_8273

I found a pad of paper in my desk drawer that was the perfect size to fit in a business card holder.  You can click HERE for directions how to make the business card holder.  You can easily cut copy paper to size (2 x 3 1/2) to fit in the holder or just use any little paper pack.

IMG_8281

I used soft suede cardstock and ink for my paper holder along with the same mint macaron ribbon I used on my jar.  I love how the flower from Flower Shop Stamp Set matches the flower in my material.  I punched the flower out with the pansy punch and attached it with a dimensional.  I used the date stamp on the rotary punch from the December Paper Pumpkin kit to stamp my paper.

img_8265
Rotary stamp from the December 2016 Paper Pumpkin kit

I am going to send my daughter back to college with some of these papers in a stamped envelope for her to write on and then send home when she has them completed.  I am hoping I can get my son and husband to add their good blessings to the jar too! What fun this will be to share a year from now.

IMG_8284

Stamps Sets: Flower Shop, Paisleys & Posies, December 2016 Paper Pumpkin Rotary Stamp  Inks: Mint Macaron, Soft Suede, VersaMark  Papers: Soft Suede, Mint Macaron, Very Vanilla  Tools & Accessories: Pansy Punch, Scalloped Tag Topper Punch, Layering Circles Framelits, Mint Macaron Mini Striped Ribbon, Clear Embossing Powder, Heat Tool, Simply Scored Scoring Tool, Stampin’ Dimensionals

I am not one to make new year resolutions.  Mainly because I never seem to be able to keep them. This is something I know I can do and I love that it is a wonderful way to reflect upon and remember the many blessings. I hope this has inspired you to use what colors you have to create one for yourself or as a gift. If you would like to purchase any of the products I used you can Click HERE to shop my online store.

Last night we rang in the new year doing something we’d never done before. We usually travel over the holidays and visit family in Massachusetts.  This year our plans changed and we stayed home. We decided to check out the local celebration that has become a New Year’s Eve tradition in our small town. New York City may have the ball dropping at midnight but, here in Hagerstown, Maryland we have a Donut Drop.  A local family owned business, Krumpe’s, makes the most delicious donuts and they gave away 6,000 free donuts last night to everyone who assembled downtown to watch the annual Donut Drop countdown. I am all about trying new things and we had a fun time with my daughter and her friend.

Thanks for stopping by!  I wish you and your family a happy, healthy New Year filled with many blessings!

Just Stampin’

Jeanie