R is for Rocker Fun Fold

Welcome to my ABC’s with Fun Folds series. I am over the top in love with today’s fun fold cards…they Rock!

Stampin Up Rocker cards. For directions and supplies visit www.juststampin.com

I didn’t know what I was going to make for a fun fold for R and then Chris R. suggested a rocker fold. Well Chris R., YOU ROCK!  This fold is definitely FUN!!!!! I can’t stop playing with it and watching it rock.  I made a video for you…don’t blink or you’ll miss it! LOL

How sweet is this?! I needed a baby card and the Moon Baby Stamp Set was a perfect choice for this type of fold.  I started with a piece of 5 1/2 x 8 1/2 Soft Sky cardstock scored at 4 1/4.  I used an old scrapbooking circle cutter to cut the base but you could use a bowl and trace a half circle on the fold.

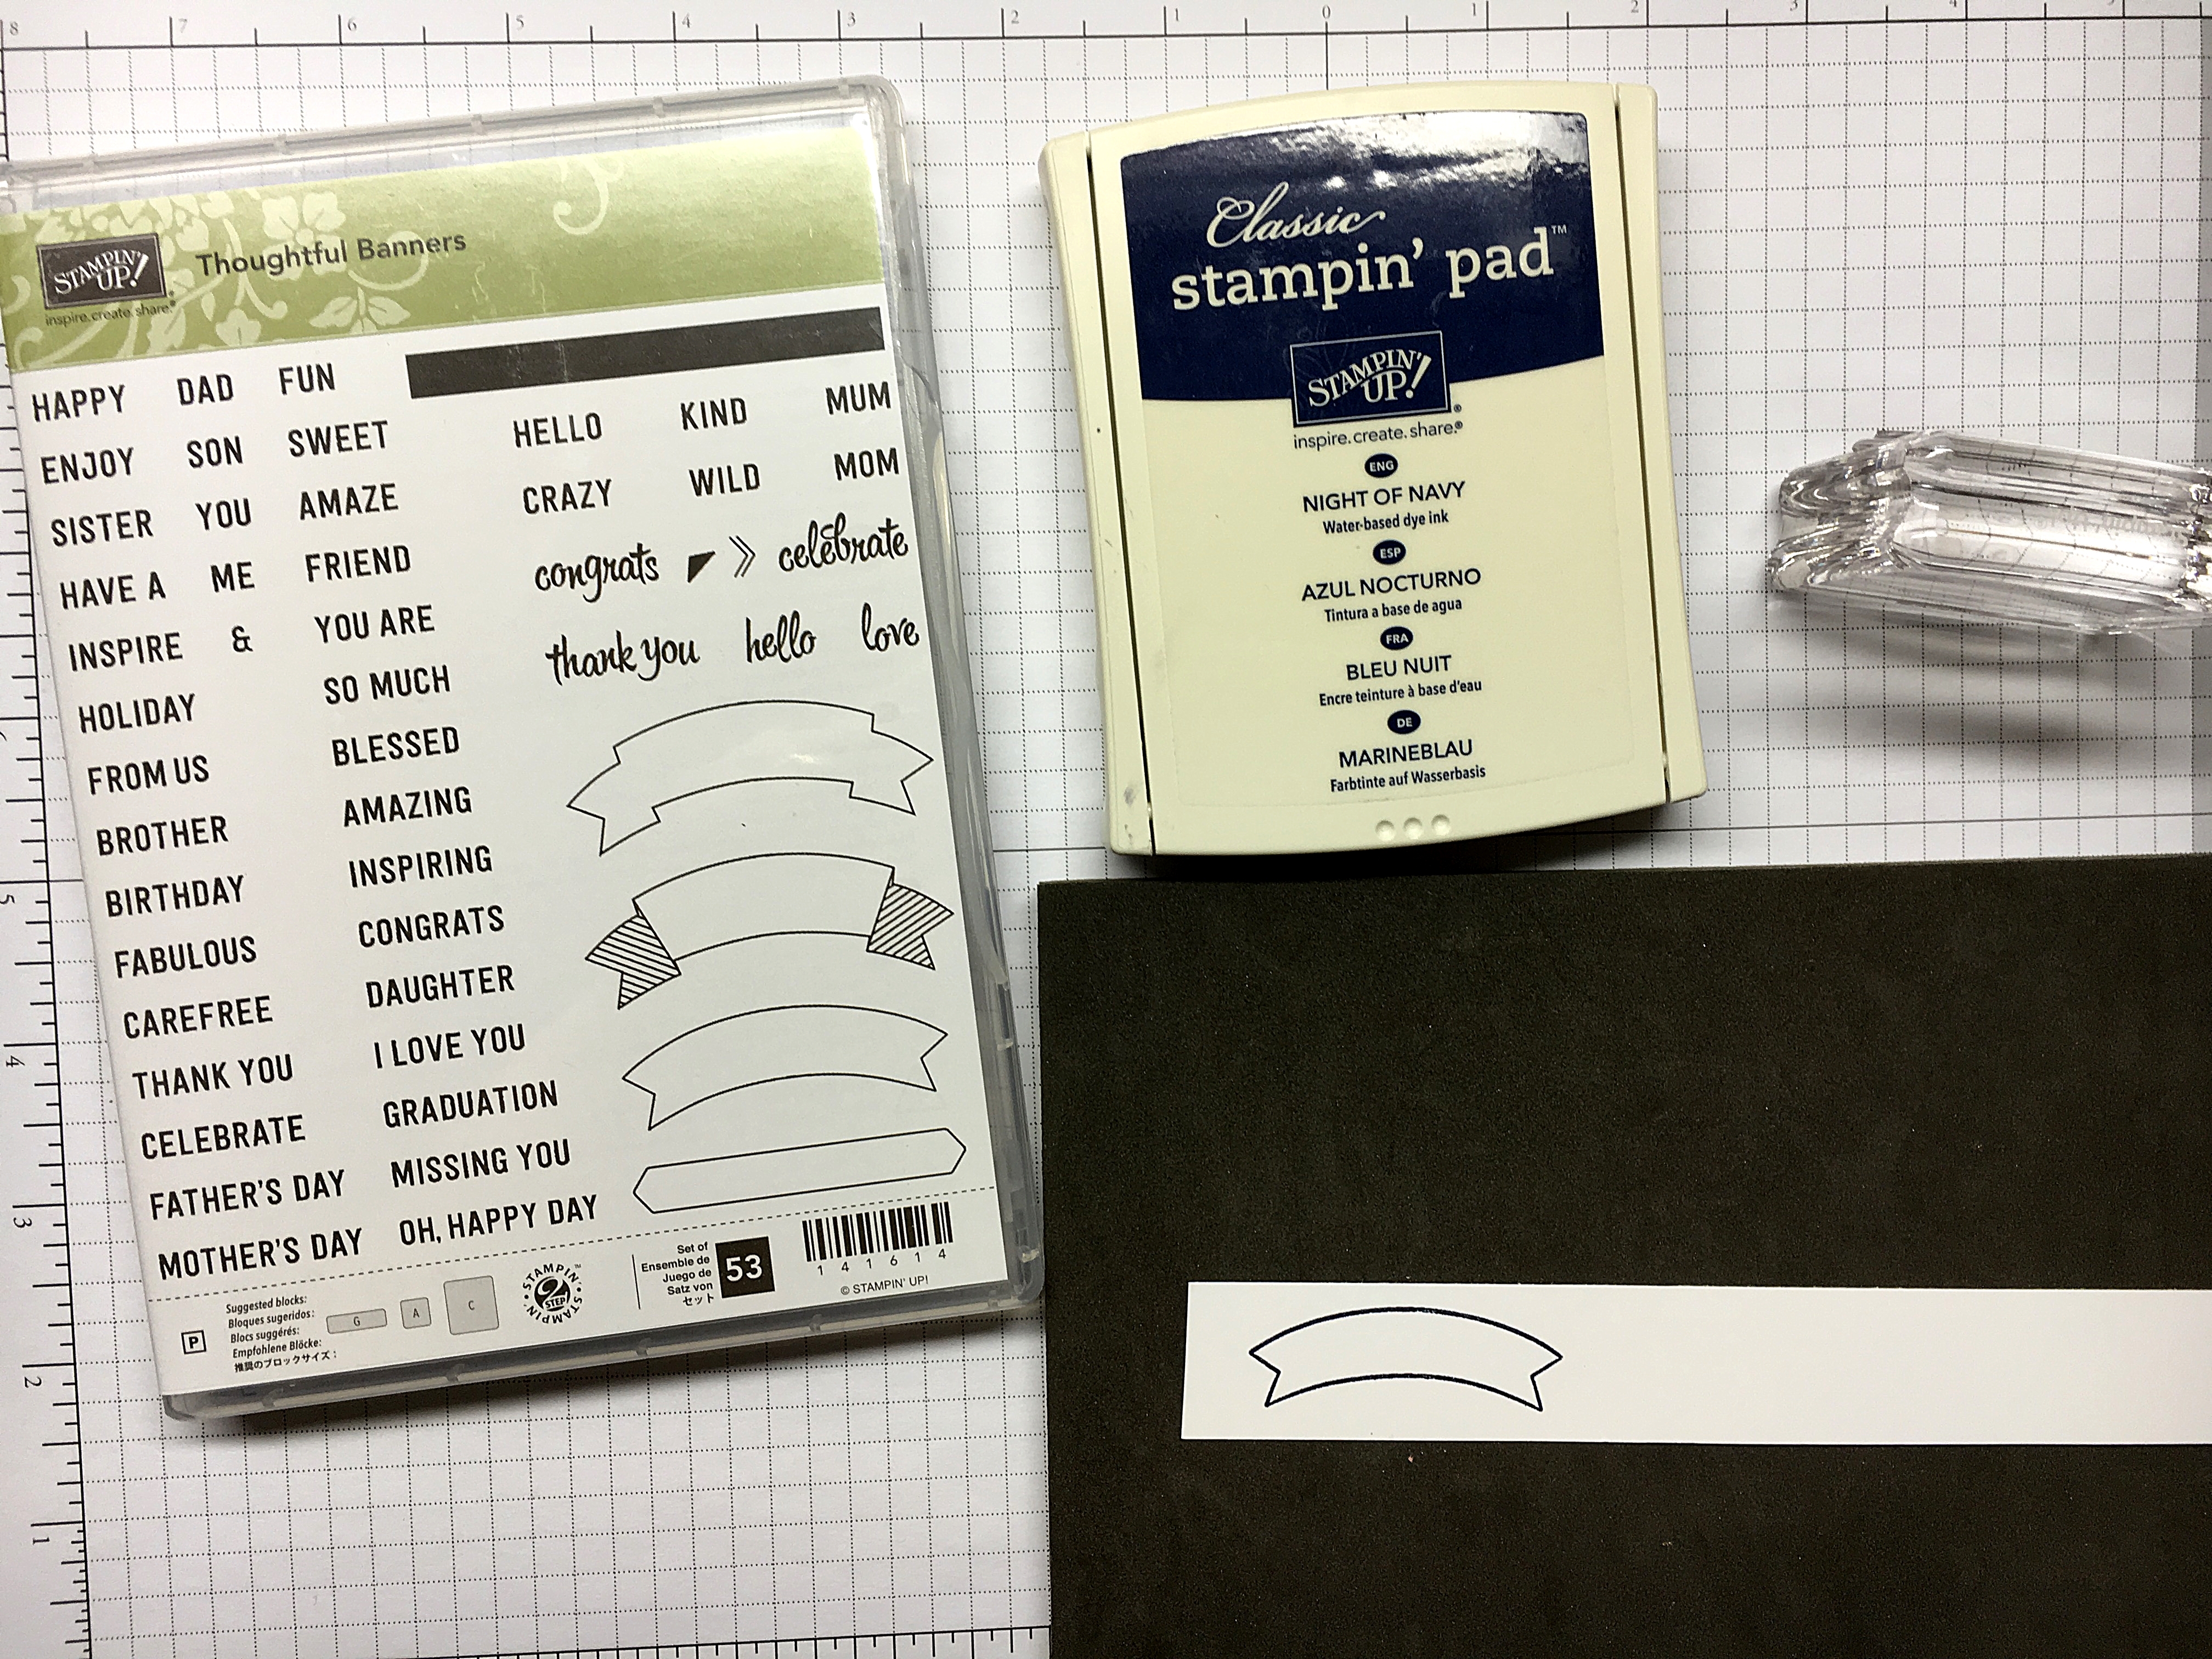
I embossed the front using the Lucky Stars Embossing Folder. I stamped the image on Shimmery White cardstock and used the Aqua Painter to watercolor. I used the Layering Circles Framelits to cut the circle. I’ve shared before how much I love and use the Grid Paper. You can see in the photo below I used the grid paper to line up my card and make sure the circle didn’t go above 4 1/4″ so it would fit in a standard envelope.

img_2895

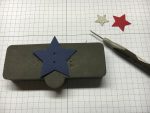
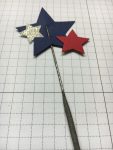
I added some clouds cut from Dazzling Diamonds Glimmer Paper using the Up & Away Thinlits Dies. Then I fussy cut a dazzling star and attached it with a glue dot.

Stampin Up Moon Baby Rocker card. For directions and Stampin Up supplies visit www.juststampin.com

Stampin Up Moon Baby Rocker card. For directions and Stampin Up supplies visit www.juststampin.com

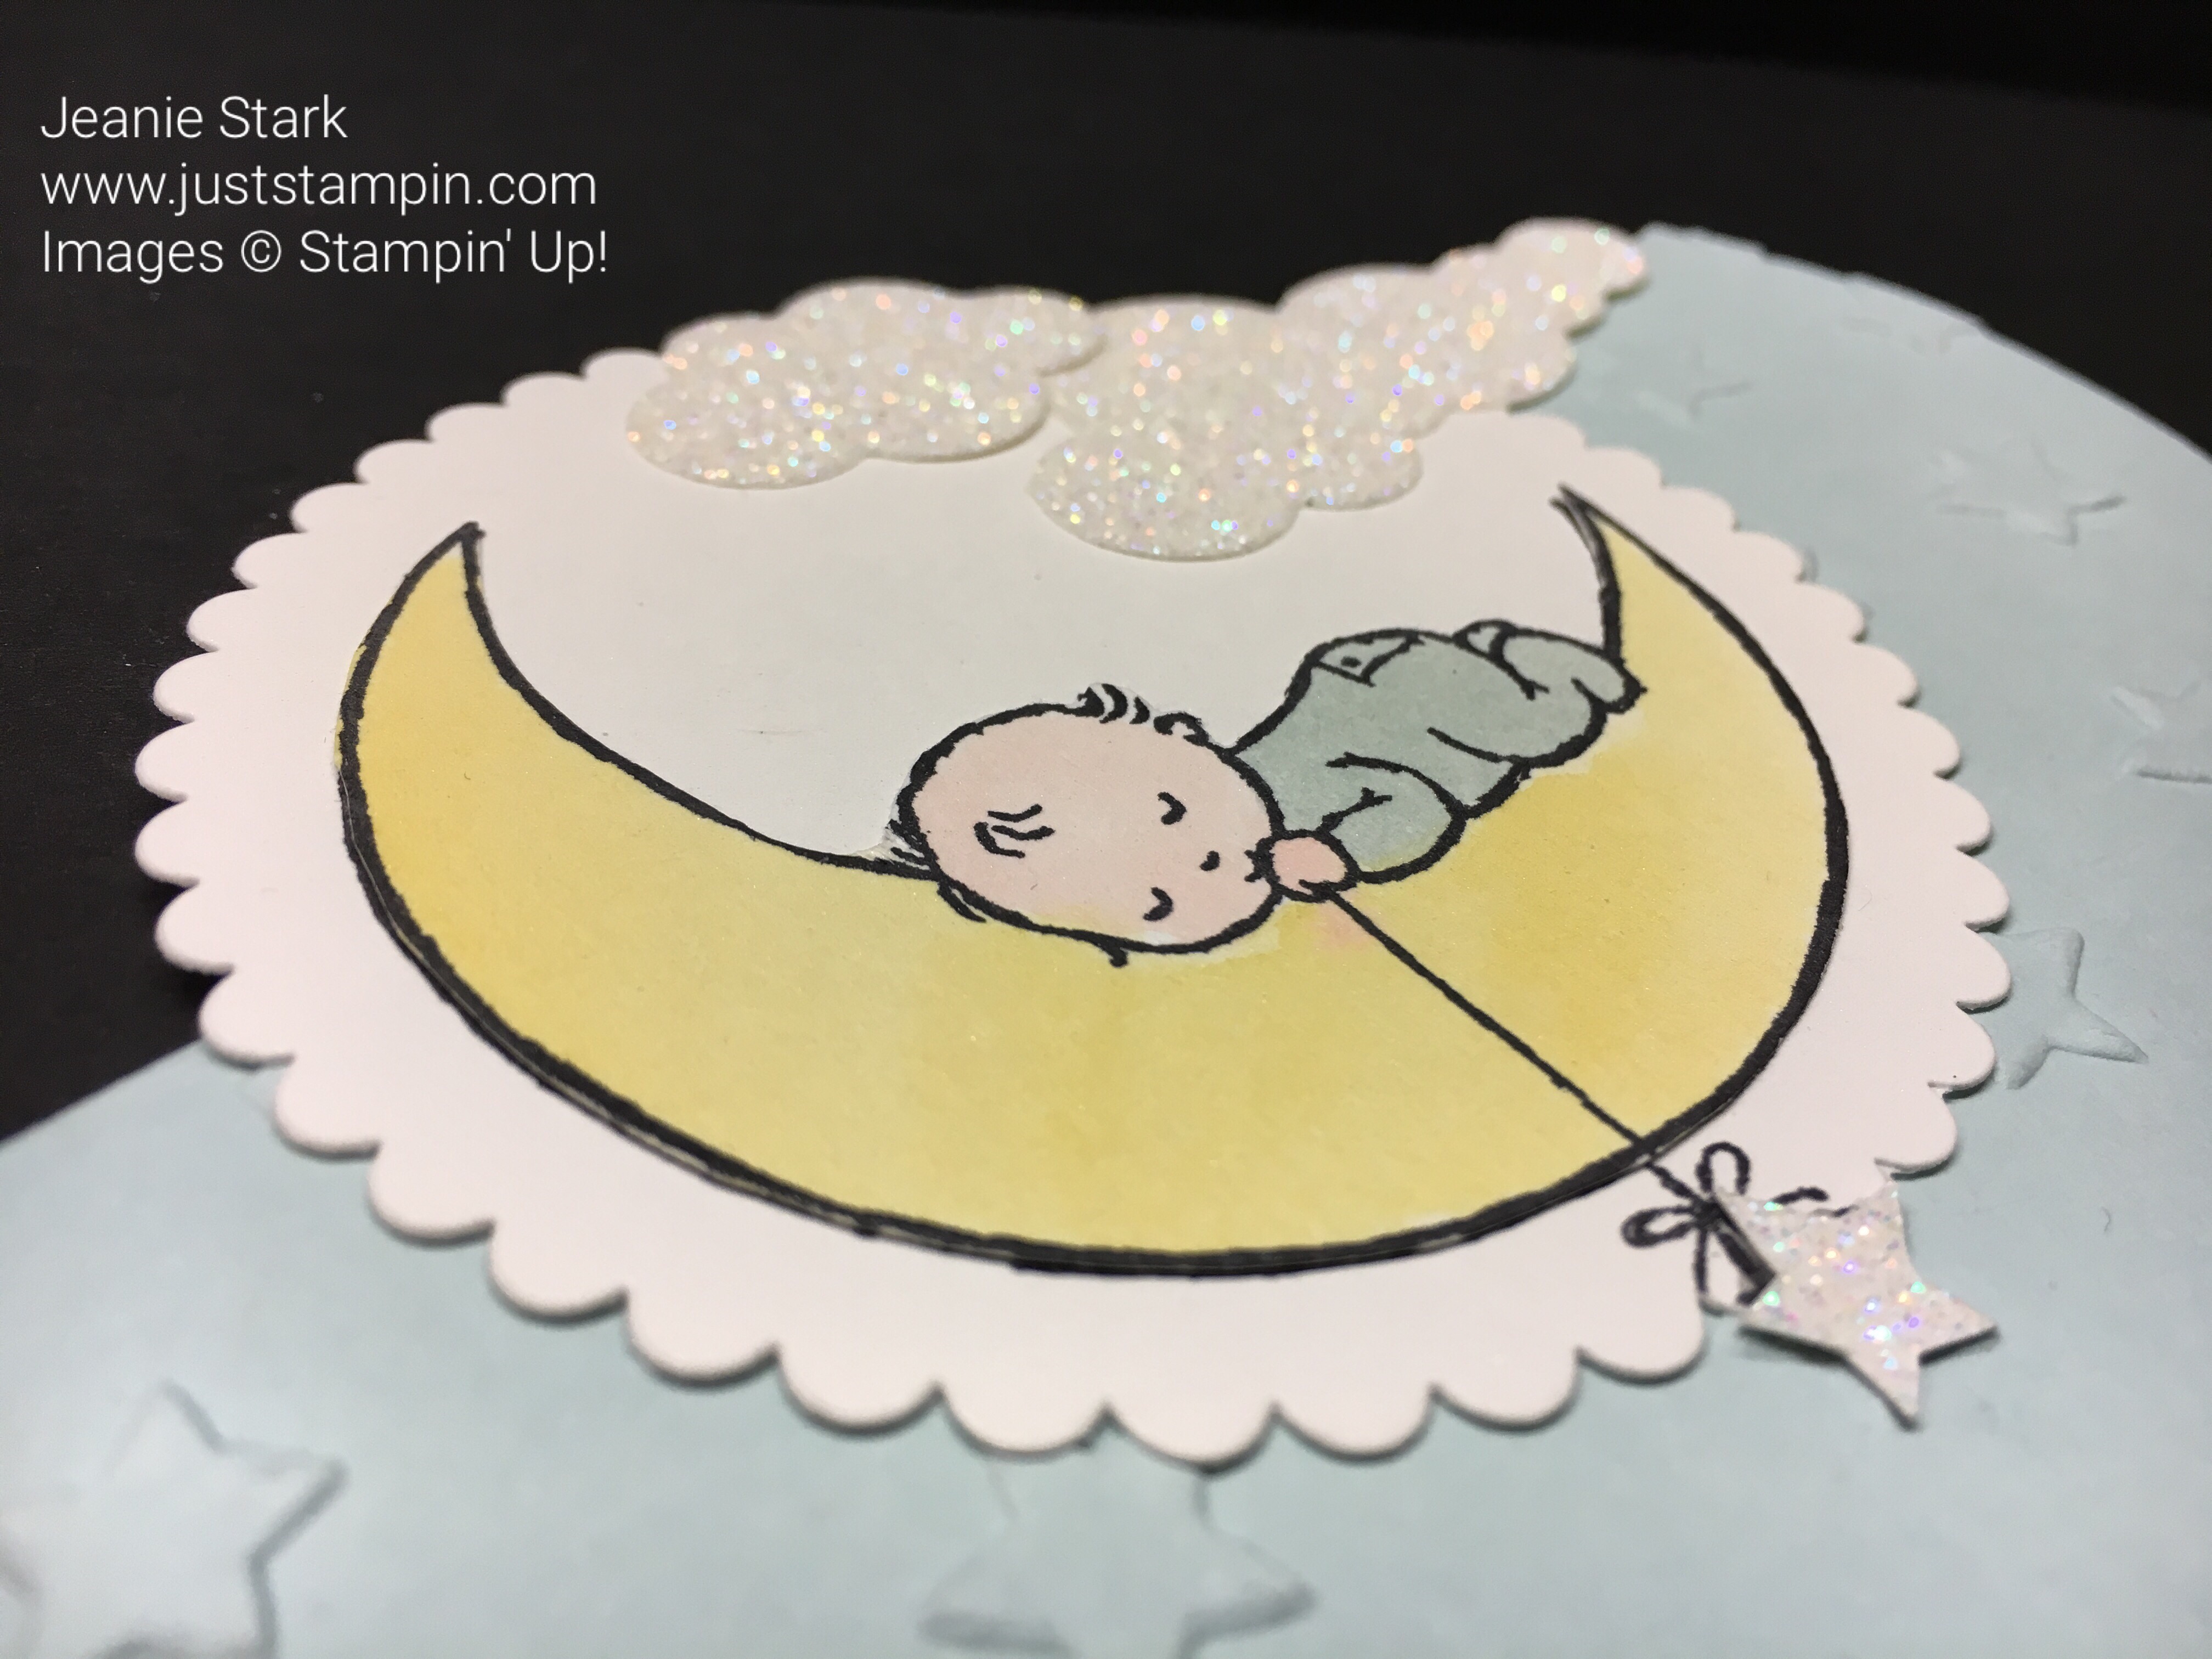
I embossed the envelope to match and this sweet card was complete.

Stampin Up Moon Baby Rocker card. For directions and Stampin Up supplies visit www.juststampin.com

Stamp Set: Moon Baby  Ink: So Saffron, Blushing Bride, Soft Sky  Papers: Soft Sky, Shimmery White, Dazzling Diamonds Tools & Accessories: Layering Circles Framelits, Up & Away Thinlits Dies, Aqua Painter, Lucky Stars Embossing Folder

I couldn’t stop after just one of these fun folds.  My second card is a note card and will fit in the basic note card envelope. I was considering making a sailboat for my next card but we had the most delicious watermelon today so I decided to go with this card instead.

Stampin Up Watermelon Rocker card with Love You Lots and Eastern Beauty stamp sets. For directions and Stampin Up supplies visit www.juststampin.com

Stamp Set: Love You Lots (retired), Eastern Beauty  Ink: Basic Black, Watermelon Wonder Papers: Garden Green, Watermelon Wonder, Basic Black, Shimmery White Tools & Accessories: Layering Circles Framelits, Blossom Builder Punch, Blender Pen

I hope you have a Relaxing day!

Just Stampin’

Jeanie

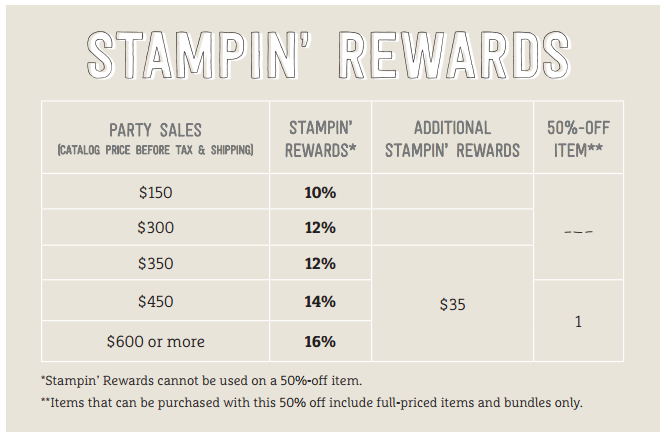
*All orders placed through my online store are eligible for my FREE monthly gifts (card kits and more!).  Earn Free ribbon in June. Click HERE to shop. Please use the current host code below.

 Current Host Code: MUYR2WNT

Watch these Stampin’ Up! videos with tips and techniques on new products.

2018 Annual Catalog YouTube Video playlist

Click on the image below to view the catalog.

catalog2017


Host June 1-30

Host rewards 2

Celebrate!

Stampin Up candy treat holder. Quick & Simple treat holder made with Envelope Punch Board. For directions and more visit juststampin.com

Happy Fourth of July!  Welcome to my blog! Today I’m sharing my very first post, a party favor treat holder I made. It is quick and easy to make using the envelope punch board.

Start with a 4 x 4 piece of whisper white card stock.  Punch and score at 1 3/4″ and then follow directions on the envelope punch board to punch and score each side.

Next run it through the Big Shot using the Lucky Stars embossing folder.

Then fold on the score lines and attach with glue dots. I filled each with 2 mini KitKats I found at Target.  These are simply adorable and patriotic wrapped in stars and stripes. (They’re yummy too!)

IMG_1058


Now the fun part….time to decorate!  I punched and cut different size stars using the star punch and various framelits (Stars, Wish Big, Mini Treat Bag).  Use whatever stars you have.  I used the paper piercing tool to punch two tiny holes to insert a sparkler (found at your local Walmart or in my case, under the seat of my car. It’s amazing what I can find there).

I added the sparklers to the treat holder and wrapped the holder with organza ribbon.  Tomorrow I will share with you my Tuesday Tip on how to make this ribbon in any color.

I stamped the banner and sentiment in Night of Navy ink on whisper white card stock using the Thoughtful Banners stamp set.  I punched it out using the Duet Banner Punch.  I also punched a banner with the dazzling diamonds glimmer paper and attached it offset with glue dots. Then  I added two of the metallic star enamel shapes on either side and attached to the treat holder with stampin dimensionals.

IMG_1051

Oops!  I forgot to photograph how you can bend the photopolymer stamps to fit in the banner.  (I am new at this!!!) Look at all the choices this stamp set offers.  It was first on my wish list because of all the possibilities. (And the fact that it had a matching punch available as a bundle which makes creating so much easier and you save 10%).  I used the celebrate stamp for this project.

That’s it!  I hope you enjoy this project and have a wonderful day celebrating with family and friends.  Our party is going to have to move inside due to rain.

Stampin Up candy treat holder. Quick & Simple treat holder made with Envelope Punch Board. For directions and more visit juststampin.com

Please subscribe to my blog to be notified when I post new projects. If you would like to purchase any of the products I used just click the shop button at the top.

Stamp sets: Thoughtful Banners  Inks: Night of Navy, Real Red  Papers: Night of Navy, Real Red, Whisper White, Dazzling Diamonds Glimmer   Tools and Accessories: Envelope Punch Board, Big Shot, Lucky Stars Embossing Folder, Duet Banner Punch, Star Punch, Stars Framelits, Organza Ribbon, Metallic Enamel Shapes, Sponge Dauber, Paper Piercing Tool, Glue Dots, Stampin Dimensionals

Just Stampin’

Jeanie