Welcome to the Pals Blog Hop for May 2017. We are thankful you stopped by to take a look at our 2017 Blog Hop monthly themes. This month we are featuring projects that are “stepped up” by using textures or fun techniques. We hope to provide you with lots of ideas and that you enjoy our creations.
You may just be starting the Blog Hop or may have come from the previous link from the Line-up on the Pals Blog Hop listing shown below. The full lineup will help you move along from blog to blog so you may see all the projects.
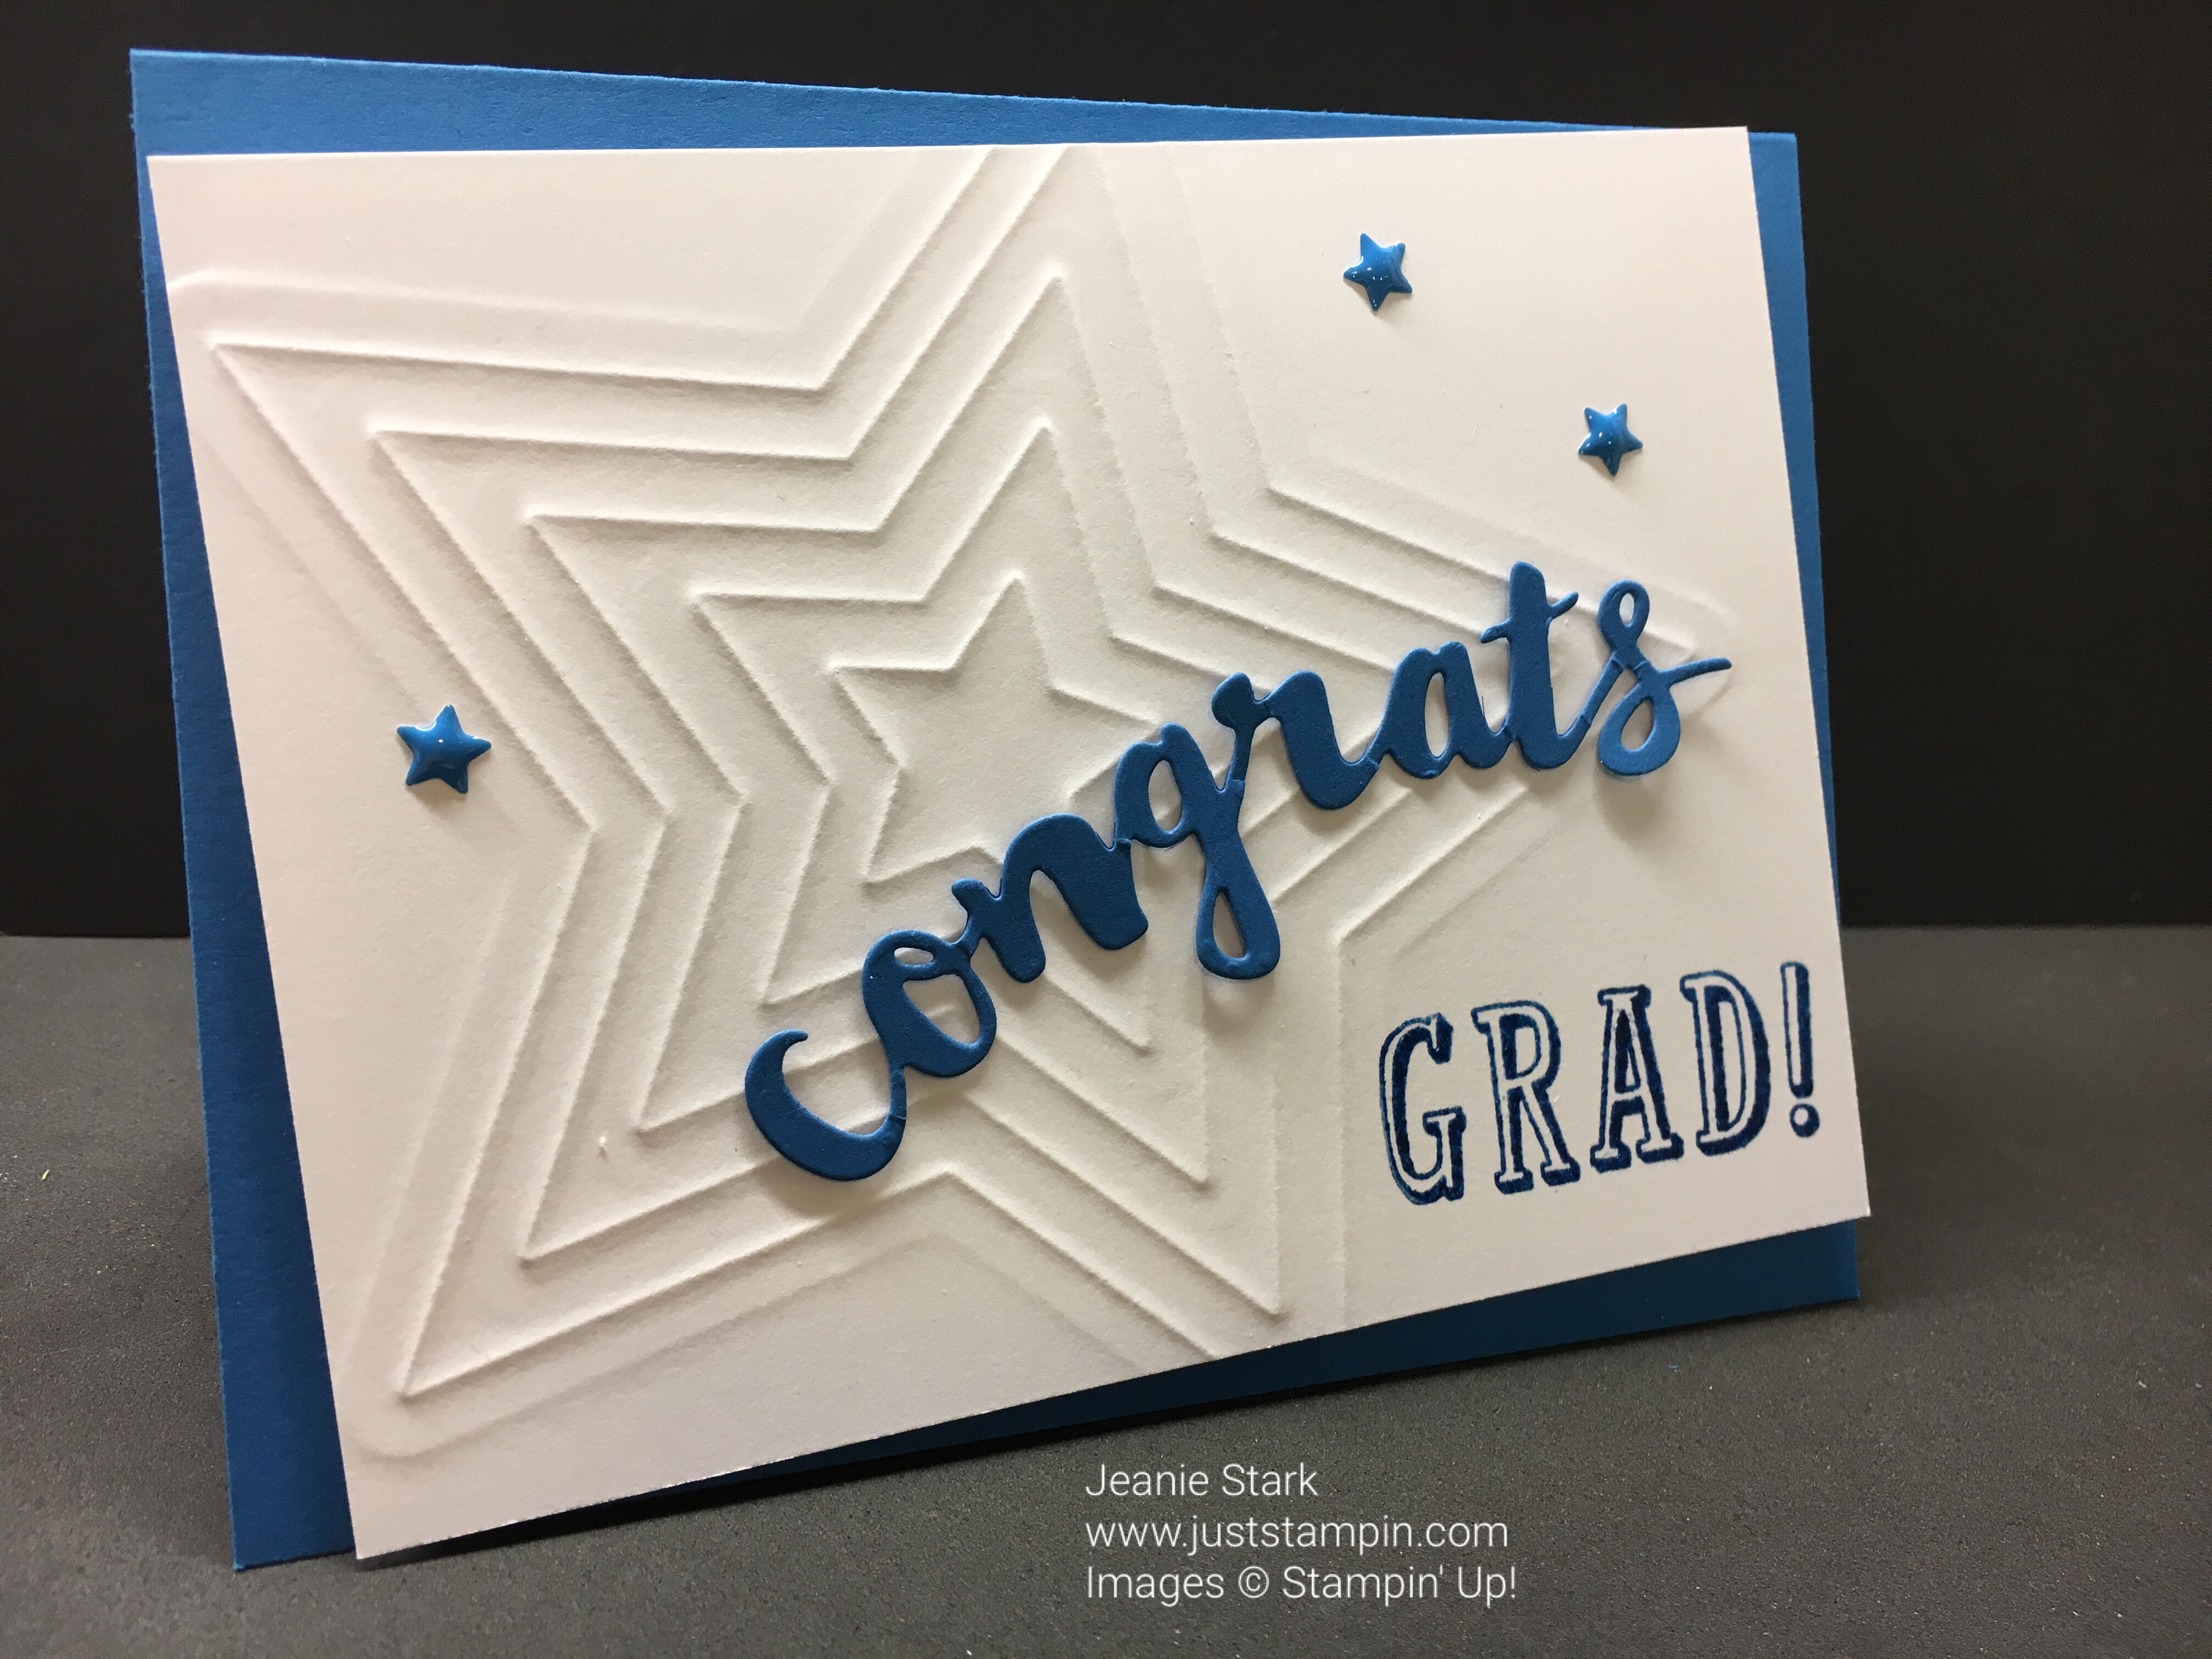
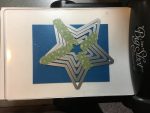
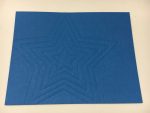
It’s no secret that I love to emboss! Embossing is a quick and easy way to add texture. Did you know you can use your dies to emboss? This is a great way to stretch your supplies and use dies you already have. I used the Star Framelits to do the Embossed Impressions Technique on my cards today.
Just like embossing folders you can highlight either side to get two different looks.

To make the embossed impression, you use the Big Shot like you would use any Embossing Folder. Make a “sandwich” with the cutting plate, add an embossing mat (I used 2 pieces of craft foam), then cardstock, dies (taped together) with cutting side down, and cutting plate on top.

I love this technique as it makes a big impression on a background. I die cut the congrats from the Sunshine Wishes Thinlits and adhered it with Glue Dots. The sentiment I used is from B.Y.O.P. This stamp set is on the retiring list and is a MUST HAVE! It is so versatile and has great sentiments for giving money or gift cards for birthdays, thank you, wedding, baby, and/or graduation.

I masked and heat embossed the sentiment. I used white embossing powder on the Pacific Point cardstock and clear embossing powder on white cardstock. You can heat emboss any color sentiment using the Clear Embossing Powder. Simply ink your stamp in VersaMark first, then in the ink color of your choice before stamping it on your cardstock. (I only wanted part of the sentiment on my stamp so I “masked” what I didn’t want by covering it with tape so the ink would not transfer to my paper.) Sprinkle with Clear Embossing Powder, remove the excess, then watch the magic happen as you use the Heat Tool.


I cut a piece of craft foam 3 3/4 x 5 and adhered that behind my embossed layer to pop it up. Which look do you like best?


Stamp Set: B.Y.O.P. (retiring) Ink: VersaMark, Pacific Point Papers: Thick Whisper White, Pacific Point Tools & Accessories: Big Shot, Layering Stars Framelits, Sunshine Wishes Thinlits, Clear Embossing Powder, White Embossing Powder, Heat Tool, Enamel Shapes, Craft Foam (non Stampin’ Up!)
This technique works with single dies, greetings, or layering shapes. Jennifer McGuire has several you tube videos using this technique. Give it a try and stretch your supplies!
Thanks for visiting. To continue with the hop, please refer to the Blog Hop Line-up below. We hope to see you on next month’s Pals Blog Hop!
Have a wonderful day!
Just Stampin’
Jeanie
Blog Hop Line-up:
- Mary Fish at Stampin’ Pretty
- Beth McCullough at Stamping Mom
- Karen Gooch at Inker’s Workshop
- Nicole Watt at Pixel Maven’s Retreat
- Julie DiMatteo at The Paper Pixie
- Lynn Tague at Beyond Beaches & Blessings
- Pamela Sadler at Stampin Pink Rose
- Peggy Noe at Prettypapercards
- Susan Itell at Simple Stampin
- Jeanie Stark at Just Stampin’
- Stesha Bloodhart at Stampin’ Hoot!
- Debbie Mageed at Secret Stamper
- Jackie Beers at Blue Line Stamping
- Karen Hallam at Karen’s Stampin’ Habit!
- Becky Retzer at Just in Thyme
- Patti MacLeith at Papercrafts by Patti
- Karen Zaring Browning at Stamp With Me KZB
- Jennifer Michalski at Stamping Serenity
- Wendy Klein at Doggone Delightful Stampin’
- Lisa Pretto at InkBig Academy Stamps
- Rae Harper-Burnet at Wild West Paper Arts
- Angela Curry at Kindred Stampers
- Shawn de Oliveira at ShawnStamps.com
Click HERE to shop.
Current Host Code: K64KSNRE