X is for BoX in a Card

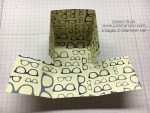
Welcome to my ABC “Sale-A-Bration” Series! This series showcases products from the 2018 Occasions catalog and Sale-A-Bration brochures. I have been wanting to make today’s fun card for awhile now.  My son’s birthday is next month and we will be celebrating a little early when we get together for Easter next weekend.  My husband and I like to give our children “an experience” for their birthday and this year I have a fun event planned, something I know he has not done before.  This boX in a card is perfect to put a clue to his gift.

Stampin Up Happy Birthday Thinlits and True Gentleman masculine birthday card and gift box idea - Jeanie Stark StampinUp

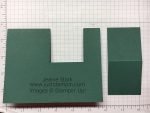
I used the True Gentleman Designer Series Paper for his card and box.  I absolutely love the plaid and love that the whole paper pack has a masculine feel! This fun card is really much easier to create than it looks. The card base is a standard 5 1/2 x 8 1/2 scored at 4 1/4.  Next, you need to cut out the section for the box to sit.  Keep your card folded and with the fold at the top, line up the card with the right side at 1 inch and cut from the top down to 2 inches.  Then move the card so it is lined up at the 2 1/2 inch mark on the left side and cut from the top down to the 2 inch point.

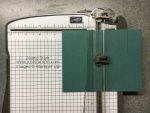
Turn your card to the side and cut between the lines to remove the 2 inch square (which is actually 2 x 4 when you open it).

To make the box you need a 3 x 3 piece of coordinating cardstock and a 6 x 6 piece of DSP.  Score the DSP at 2 inches on all 4 sides.  Trim in on the score lines on two opposite sides.  Apply glue in the 4 corners,  bring the middle flaps up, the back flaps forward, and the front flaps go back last.  This way you have smooth corners on the front of your box.

Stampin Up True Gentleman Designer Series Paper to make gift box

To make the lid, score just under 1/2 inch on all 4 sides. Trim in on score lines on two opposite ends, notch the corners, and fold on the score lines.  Apply glue to the four corners and adhere to form the lid.

I added a 1 3/4 x 5 1/2 strip of coordinating DSP to a layer of Gold Foil and adhered it to the front of my card.  I cut the Happy Birthday Thinlits in Very Vanilla cardstock and did a little “surgery”‘ with my paper snips to separate the words before adhering to the card.

I added some Gold Natural Trim to the box before placing it in the card.  I just love how the box sits in the card!

Stampin Up Happy Birthday Thinlits and True Gentleman masculine birthday card and gift box idea - Jeanie Stark StampinUp

This would be a great way to gift cash for someone or put a small (light) gift or candy inside.  I printed out the reservation for our adventure.  He is going to be so surprised as he is planning to take me out for dinner for my birthday and I am going to give this to him after dinner.  Everyone else is planning to meet at the event and surprise him.  He does not read my blog so as long as his cousins don’t slip and tell I should be able to pull this adventure off!

Stampin Up Happy Birthday Thinlits and True Gentleman masculine birthday card and gift box idea - Jeanie Stark StampinUp

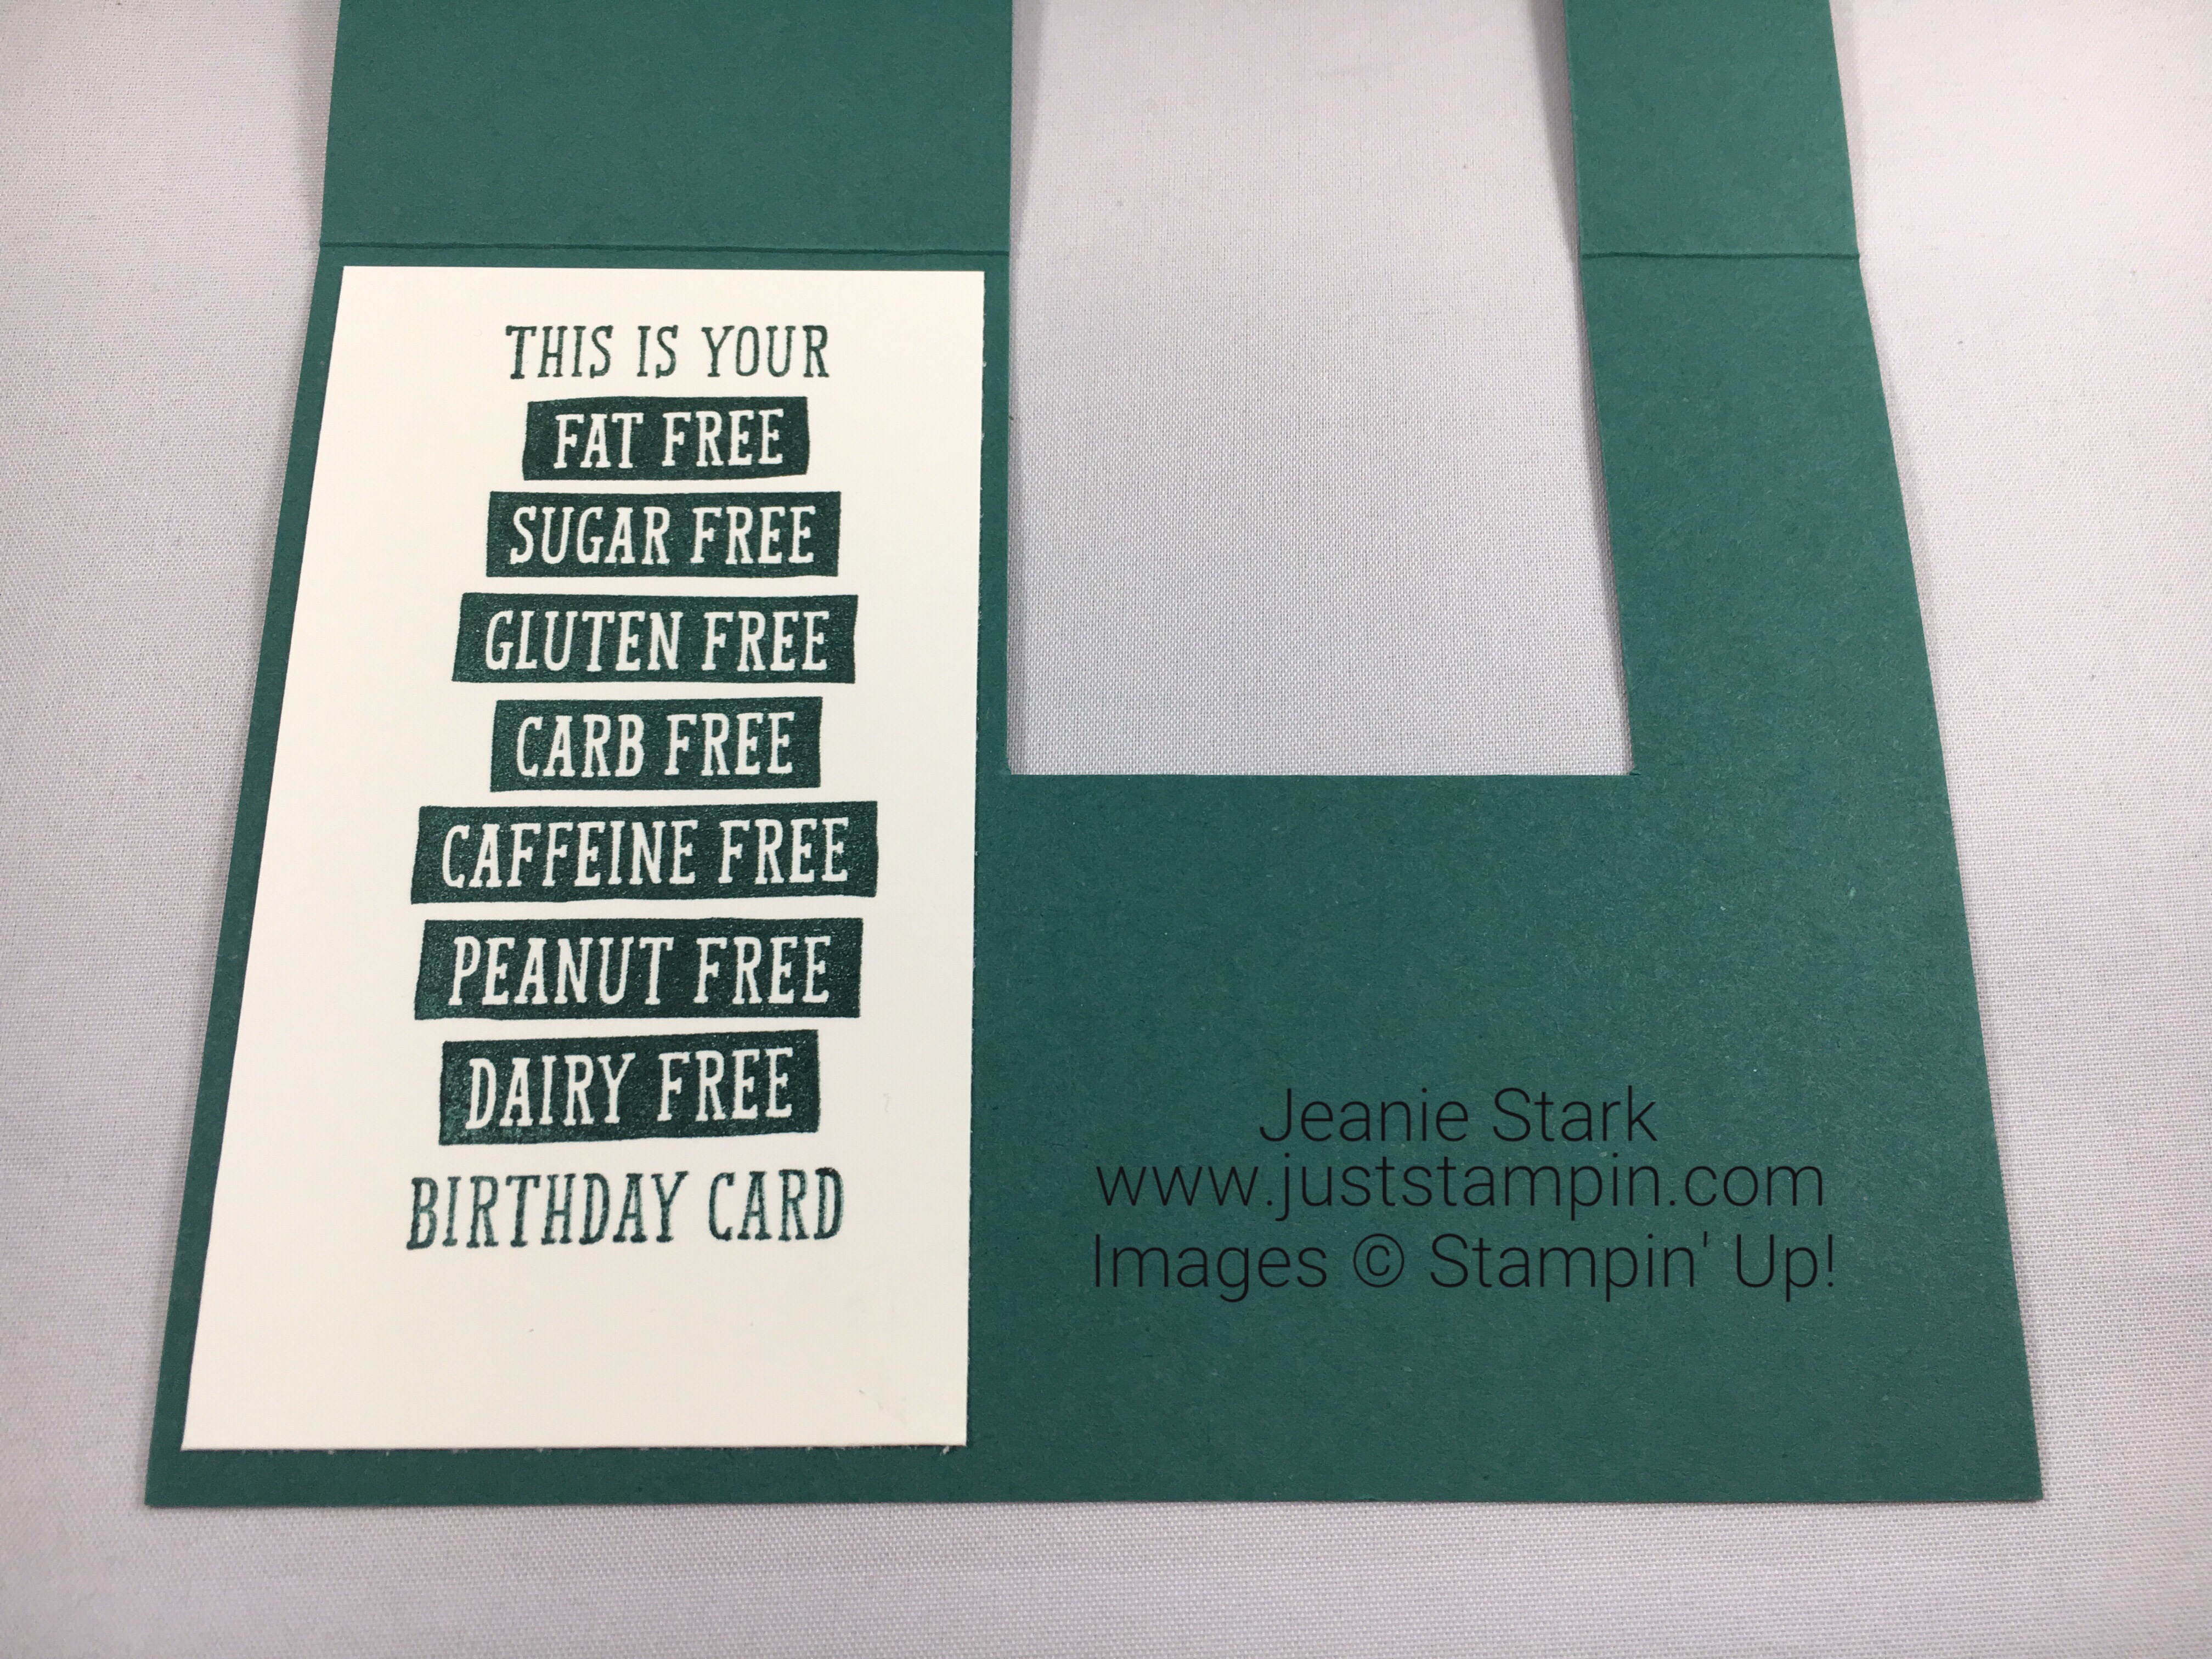
The sentiment I used on the inside is from Birthday Wit Stamp Set.  I had to use this one for my son! Several years ago he came home and I was wrapping a gift for my husband for Valentine’s Day.  My son wanted to know what it was and I told him a paper shredder.  His comment was , “Oh boy, nothing says I Love You like a paper shredder!”  (Just to let you know, my husband loved his paper shredder and actually wore it out from using it all the time!  He even went out it replaced it the same day it broke!  I’d say he loves it!!)

Stampin Up Happy Birthday Thinlits and True Gentleman masculine birthday card and gift box idea - Jeanie Stark StampinUp

The sentiment is stamped on a 2 x 5 1/4 piece of Very Vanilla.  You could just as easily stamp a vertical stamp.

Stampin Up Happy Birthday Thinlits and True Gentleman masculine birthday card and gift box idea - Jeanie Stark StampinUp

Did you notice any changes here?  I started out thinking I was going to use Tranquil Tide for my son’s card then decided I liked Night of Navy better with the DSP I chose.  Now I have my next card almost done!

Hope you have an eXcellent day!

Just Stampin’

Jeanie

You can purchase the products used to make today’s card from my online store. Click HERE to shop or click on the images below.

Host Code Exclusive!  Earn Free gifts from me (card kits and more) with your order. Simply enter the host code at checkout. *If your order is $150 or more, do not use this code as You become the hostess and get the Rewards!

Host Code: YHMWDU23 

Product List

Big Shot

$110.00

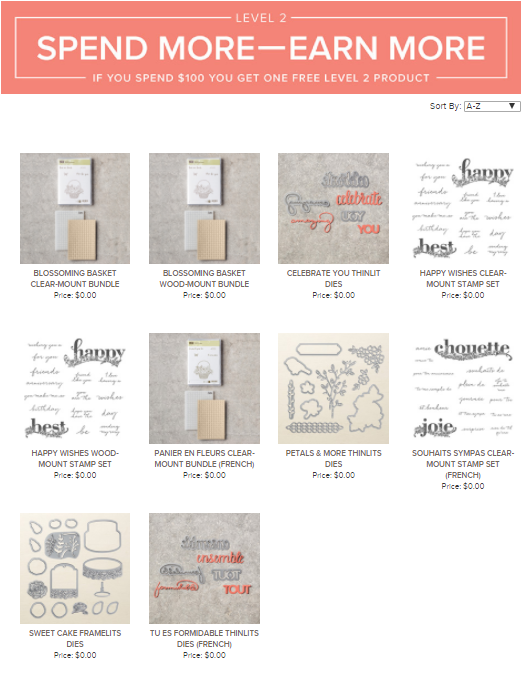
ONLY 5 DAYS LEFT to take advantage of SALE-A-BRATION!

Here’s a look at all the different items you can get for FREE with your order. SAB ShopSAB Shop 2SAB Shop Level 2

Stampin’ Up! Statement of the Heart: 
“To love what we do and share what we love, as we help others enjoy creativity and worthwhile accomplishments…in this we make a difference.”

D is for Deck the Halls!

Welcome to my ABC Holiday Series! I LOVE to decorate for the holidays! I will admit I do go a bit overboard (decorating 5 – 7 trees)! Our home becomes a forest… each tree is full of special memories! I think the “Deck the Halls” sentiment from the Carols of Christmas stamp set is the perfect box top for gifting a special ornament.

Stampin Up Carols of Christmas and Foil Frenzy gift box idea - Jeanie Stark StampinUp

I made this box for my sister. She lives on the water and has a nautical Christmas tree. I found this beautiful ornament for her when I was at the beach. It is the perfect colors for her décor and has special meaning because I always serve crabs when she comes to visit. (Maryland has the best crabs!)

img_7974

My box measures 3 x 3 x 2.  I started with a 8 x 8 piece of Soft Sky Foil Frenzy Specialty Designer Series Paper. I used the Envelope Punch Board to make my box.  I punched and scored at 2 1/2 and 5 3/8. Sam Donald (Pootles.com) shared a nifty trick for when your paper is larger than your punch board. The first punch and score is no problem at 2 1/2 however, the punch board only measures to 5″. To measure past the length of the punch board, simply line your punch board up on the grid paper at the 5 inch mark and move your paper over 3/8″ and punch and score.  I have some photos to show you how I did it. (I took the photos after I already scored it all but you can see how I lined it up using the grid paper.)

Next, round all the corners using the corner rounder on the punch board, fold along the score lines, and cut 2 sides (opposite each other) up to the first score line. Apply adhesive on the flaps as shown. I used Tear & Tape so you could see it in the photo but Fast Fuse works great for this and right now there is a special if you purchase Fast Fuse, you get 2 refills FREE! It’s my adhesive of choice for most projects.

I made a belly band to keep the box closed.  I cut a 3/4 x 11 strip of Soft Sky and wrapped it around the box (creasing it as I went) and secured it with Fast Fuse on the top. I adhered a strip of 3/8″ Soft Sky Classic Weave Ribbon on top with Tear & Tape. I added another strip of Tear & Tape on top of the ribbon and adhered a 2 7/8 square of Soft Sky Cardstock to the belly band.  Next I stamped the sentiment in VersaMark then Soft Sky ink and heat embossed it with Clear Embossing Powder for a tone on tone look. I adhered the stamped 2 3/4 square on top with Stampin’ Dimensionals and added a matching ribbon bow. The belly band slides off to open the gift.

Stampin Up Carols of Christmas and Foil Frenzy Envelope Punch Board Gift Box idea - Jeanie Stark StampinUp

I like to give ornaments as gifts. I give my children an ornament every year.  I wrap the ornament and that is the first gift they get to open each year when we decorate the tree.  I always try to find one that has some meaning to go with their interests at the time or places we traveled together.  When my son moved out I gave him a box with all his ornaments from over the years… trains, dinosaurs, sharks, Star Wars, Harry Potter, and all kinds of sports ornaments…so him! He can decorate his Christmas tree and be reminded of his childhood.

Here’s a couple of photos of my daughter decorating the tree for the first time.  She had just turned 2 and it was so funny how she put all the ornaments on the same branch.

I hope you are enjoying this Holiday alphabet series as much as I am! I love getting a head start on cards, gifts, favors, packaging and more!

You can purchase any of the Stampin’ Up! products used to make today’s project from my online store. Click HERE to shop or click on the images below to order. *The Carols of Christmas Stamp Set is offered as a bundle and I recommend purchasing it as a bundle to save 10%! I didn’t use the dies today (they are awesome by the way) but I will be sharing ideas using them later! Check out this video to see how cool and versatile this set can be!

Have a wonderful day!

Just Stampin’

Jeanie

To get a FREE thank you gift from me, simply enter the host code below at checkout. *If you have an order over $150, DON’T USE THE HOST CODE, but get your Stampin’ Rewards AND the free thank you gifts from me!

Click HERE to Shop.

Current Host Code:  BHYQXWS2

*OCTOBER ONLINE ORDER SPECIAL…I am giving away the Merry Patterns Stamp Set for FREE to 1 lucky winner in October!  Anyone who places an online order using the host code will be entered in a drawing to win this stamp set. The winner will be announced November 1st after all October orders are complete!

Merry Patterns stamp set

Product List

img_7874

Say hello to a new world of colorful creativity! One of the perks of being a Stampin’ Up! Demonstrator is getting sneak peeks at new products and being able to order early. Demonstrators (and anyone who signs up between October 1st – 15th) can purchase the new Stampin’ Blends before the are released (sometime before the end of the year). You could get the Stampin’ Blends Marker Collection (all 26 colors plus the color lifter)  with “no strings attached” as part of your $99 starter kit.  I welcome hobby demonstrators! Click HERE for more information and to join my team! Questions? Email me and we can arrange a time to chat!

WCMD banner

Less than 1 week left to take advantage of these savings!!!!

World Card Making Day is October 7th. In celebration of this day, Stampin’ Up is offering 15% off select card making essentials, plus a deal on Fast Fuse Adhesive (BUY FAST FUSE ADHESIVE AND GET TWO REFILLS FOR FREE) October 1–10! Don’t miss out on this chance to stock up on card making staples to keep celebrating all year long. Click Here for the WCMD flyer.

DSP banner

During the entire month of October, select packs of Designer Paper will be part of a Buy 3, Get 1 Free special! Click HERE for the DSP sale flyer.

Paper Pumpkin season of style

Click on the image above to find out about the upcoming October and November Paper Pumpkin coordinating kits and how you can earn $5 off your next online order!