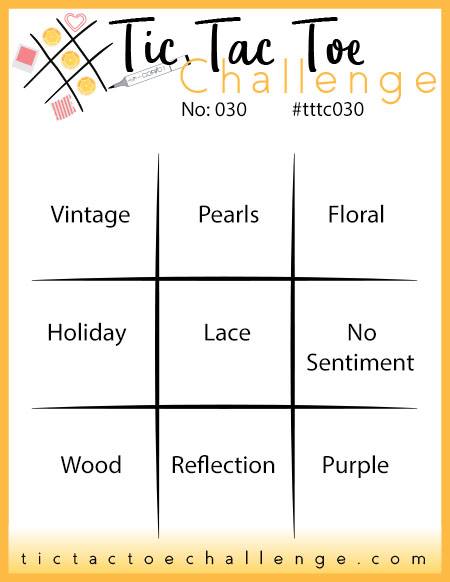
It’s time for another Tic Tac Toe Challenge! How would YOU like to be a guest designer? Simply play along and each week someone will be chosen to be a future guest designer. Here’s this week’s challenge board…
The “No Sentiment” box popped out at me. I rarely make a card without a sentiment on the front so I thought I would challenge myself to use that element this week. I created a gift set of 3 x 3 cards.
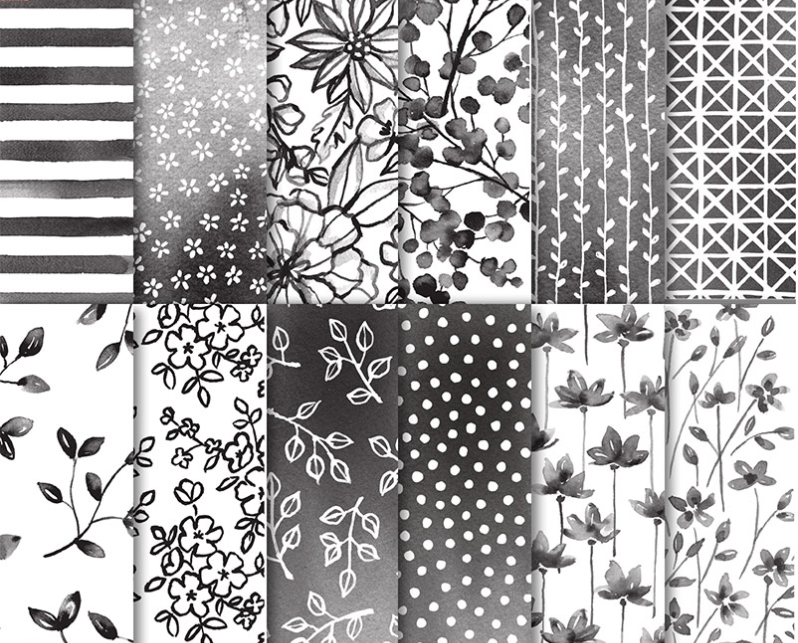
I love to color (which may be one reason why I teach Pre K)! I have shared many different coloring techniques on my blog (using aqua painters, blender pens, sponge daubers, etc.) For this project I used my Stampin’ Blends and the Petal Passion Designer Series Paper.
The black and white designs are great on their own but I really like how you can customize the designs. The flowers are so vibrant using the Stampin’ Blends and trust me, it is so easy to do…the markers do the work for you!
Check out these videos from Stampin Up to learn more!
Click HERE to view the Stampin’ Blends brochure to see all the colors available as well as the Color Me Happy Kit and Stamp Set. Here’s a close up of each of the cards I colored.
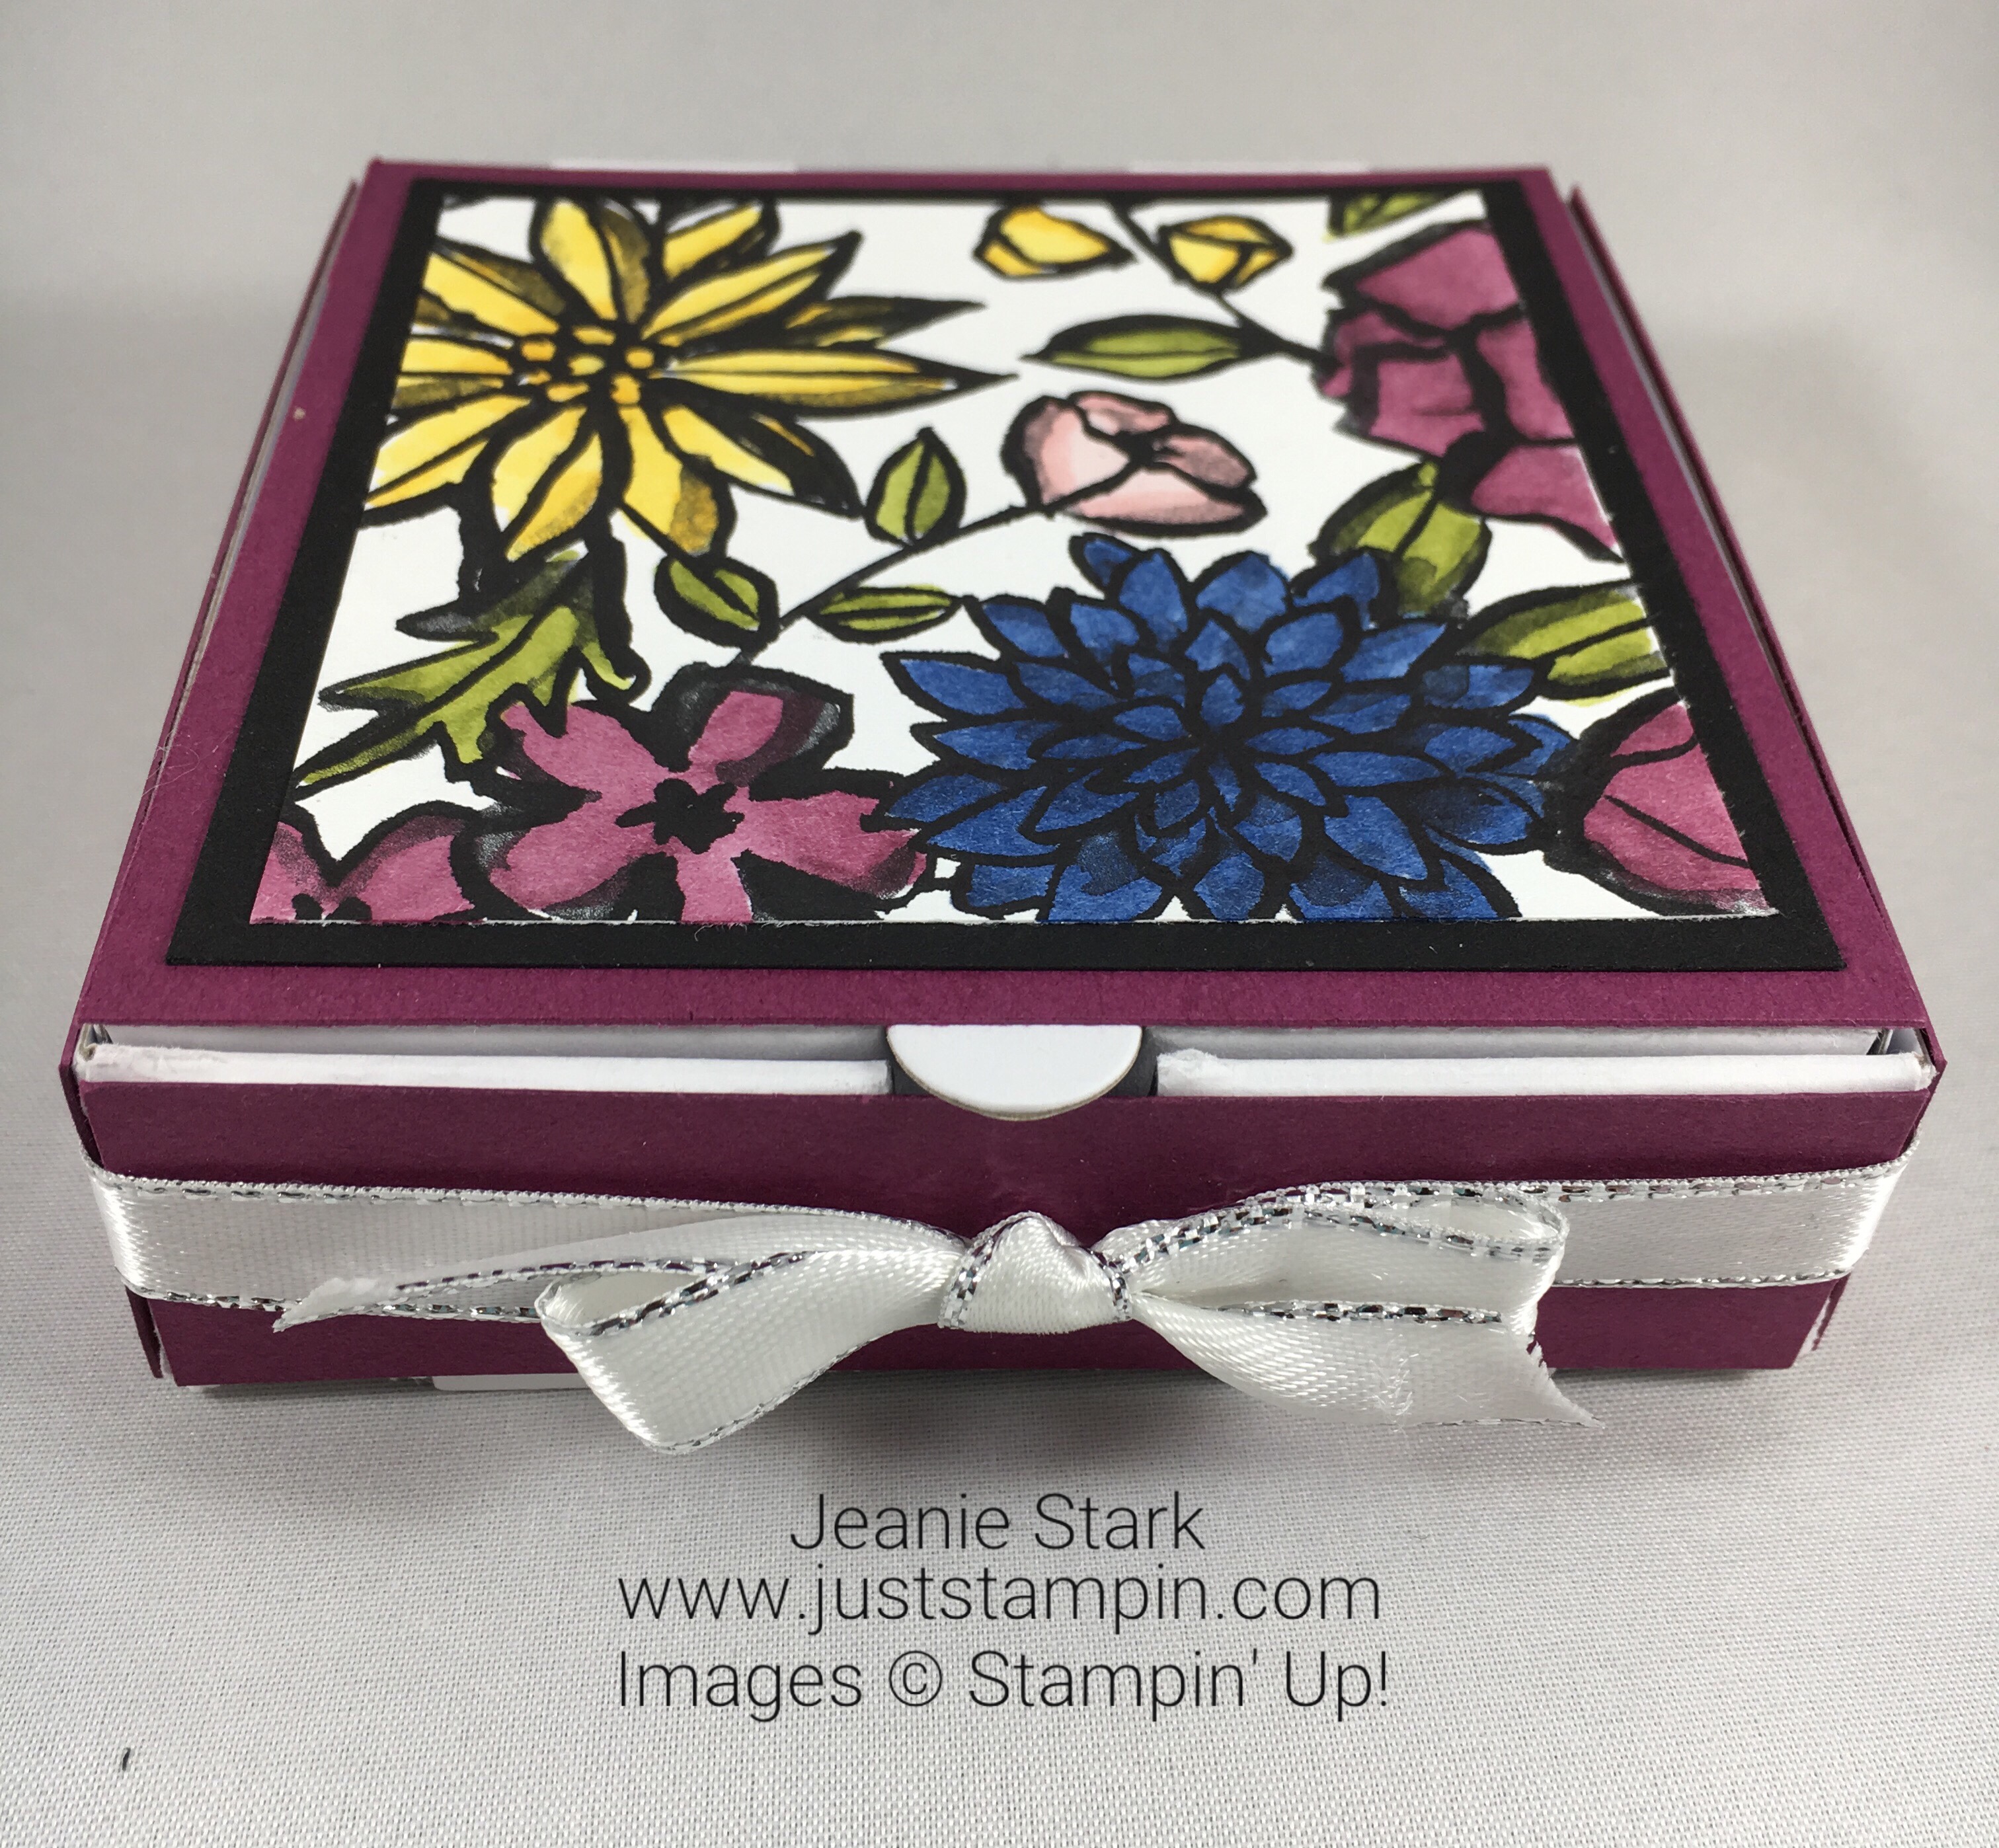
I am thrilled the pizza boxes from the Holiday Catalog made it on Carryover List. They are perfect for 3 x 3 cards and envelopes or food items.
The DSP is 3 x 3 layered on a 3 1/4 Black square. I covered the top of the box with a 3 1/2 square of Rich Razzleberry and covered the sides with 1 x 3 1/2 strips in the same color. I added the gorgeous Whisper White Metallic Edge Ribbon as the finishing touch! You could easily give the set of cards in black & white and let the recipient color them or enjoy some “coloring therapy” and give the set complete as I have done. Either way I think it makes a nice little gift. I love having note cards on hand for any occasion and these fit the bill. Stamp a sentiment inside or write a personalized note.
Here’s a tip for when you color with the Stampin’ Blends…put a piece of scrap paper under the image you are coloring becasue the color will bleed through. You will want to adhere your colored piece to another layer. I cut my DSP in to 3 x 3 sqaures for this project. I colored then adhered them on to 3 x 6 Thick Whisper White Cardstock (scored at 3″). I hope this project inspires you to find time to create some handmade kindness!
You can purchase any of the products used to make today’s project from my online store or click on the images below for more information. I invested in all the Stampin’ Blends and realize that can be a bit pricey starting out; however, I suggest you break it up over the next 3 months during Sale-A-Bration (Jan. 3 – Mar. 31) and earn a FREE item each time (with a qualifying purchase)!
Come play along with this week’s Tic Tac Toe Challenge. Click HERE to see what the other design team members created!
Have a great day!
Just Stampin’
Jeanie
To get a FREE thank you gift from me, simply enter the host code below at checkout. *If you have an order over $150, DON’T USE THE HOST CODE, but get your Stampin’ Rewards AND the free thank you gifts from me! Click HERE to shop. Earn a FREE calendar kit from me with your qualifying order.
Today is the day teachers go back to school. It’s going to be a long day!!! I am not a coffee drinker; however, many of my coworkers are, including my assistant. I made this little welcome back gift for her.
I know she will get a kick out of this coffee cup sticky notepad. We have lists for everything (and then we lose the lists)! I found the sticky notepad at Walmart. The idea came from fellow demonstrator, Dawn Olchefske (DOstamping with Dawn).
The “coffee rings” print from the Coffee Break Designer Series Paper was the perfect choice to decorate my little gift. (If you saw the paper “coaster” my assistant uses for her coffee cup you would agree! LOL) Here’s a look at the other patterns.
Coffee Break Designer Series Paper Item#144155
I used Dawn’s measurements to cut the DSP then changed it up a bit to decorate mine. Cut a 3/4″ x 8″ strip of wood grain pattern DSP and adhere it to the center of 2″ x 8″ piece of “coffee rings” DSP. Wrap the DSP around the coffee cup sticky notepad and adhere together in the back. Next, I wrapped my ribbon around and tie a bow. The sentiment from Watercolor Wings is stamped in Early Espresso ink and cut out with a banner framelit. I used some Linen Thread to tie it to the ribbon. Quick & easy gift!
I cut a 7/8″ x 3 1/2″ piece of the coffee bean print DSP to line the R.S.V.P. pen These pens are easy to take apart. Just roll the DSP around the pen barrel and insert inside. Love how it makes a matching gift set!
If you didn’t want to give a pen you could always add a treat instead. I made another one and this time I added some coffee bean candy. I was so excited to see the treat tubes in the Holiday catalog (on page 53)! These were in a former Paper Pumpkin kit and were a huge hit!!! I bought several refill kits and filled them with all kinds of goodies for Halloween, birthdays, Christmas, etc. I can’t wait to start decorating and filling them again!
Which one do you prefer…matching pen or treat tube?
Check out this video to see more ideas using products in the Coffee Break Suite.
You can save 10% by purchasing the Coffee Cafe Stamp Set and Coffee Cups Framelits Dies in a bundle. It’s a great set to make cards and gifts for the coffee drinkers in your life.
Here are some more ideas created by the Stampin’ Up! Design Team to inspire you.
There’s also a new stamp set in the holiday catalog, Merry Cafe, that coordinates with the Coffee Cup Framelits! It will be available to order on Friday and it has some cool sentiments for fall and holidays!
You can purchase the products from the Coffee Break Suite in my online store now. Click HERE to shop.
Be sure to check out my NEW Designer Series Paper Share!Get it your way…6×6, 6×12, or 12×12. Get it all and save by sharing! Click HERE for details!
Did you go on my Scavenger Hunt yet? Don’t forget to email me your responses for a chance to win some goodies from the new Holiday catalog! Click HERE for more information!
Have a wonderful day!
Just Stampin’
Jeanie
*Reminder: Bonus Days coupons expire on Thursday, August 31st! Make sure to redeem the coupons you earned in July! (See more information below.) Email me if you have any questions!
To get a FREE thank you gift from me, simply enter the host code below at checkout. *If you have an order over $150, DON’T USE THE HOST CODE, but get your Stampin’ Rewards AND the free thank you gifts from me! Click HERE to shop.
Current Host Code: XYZT6UU3
The Clearance Rack has been updated with lots of products at great prices! Click on the image above to see what’s available.
Click on the image above for more information.
The Carols of Christmas Bundle is now available! Click on the photo above to see the available items in my online store. Click HERE to see a video and more ideas using this versatile bundle.
There is no limit on the number of coupons you can use on an order during redemption.
Bonus Days coupon codes can be redeemed for any product, excluding Starter Kits. Prepaid Paper Pumpkin subscriptions can be discounted with Bonus Days coupons.
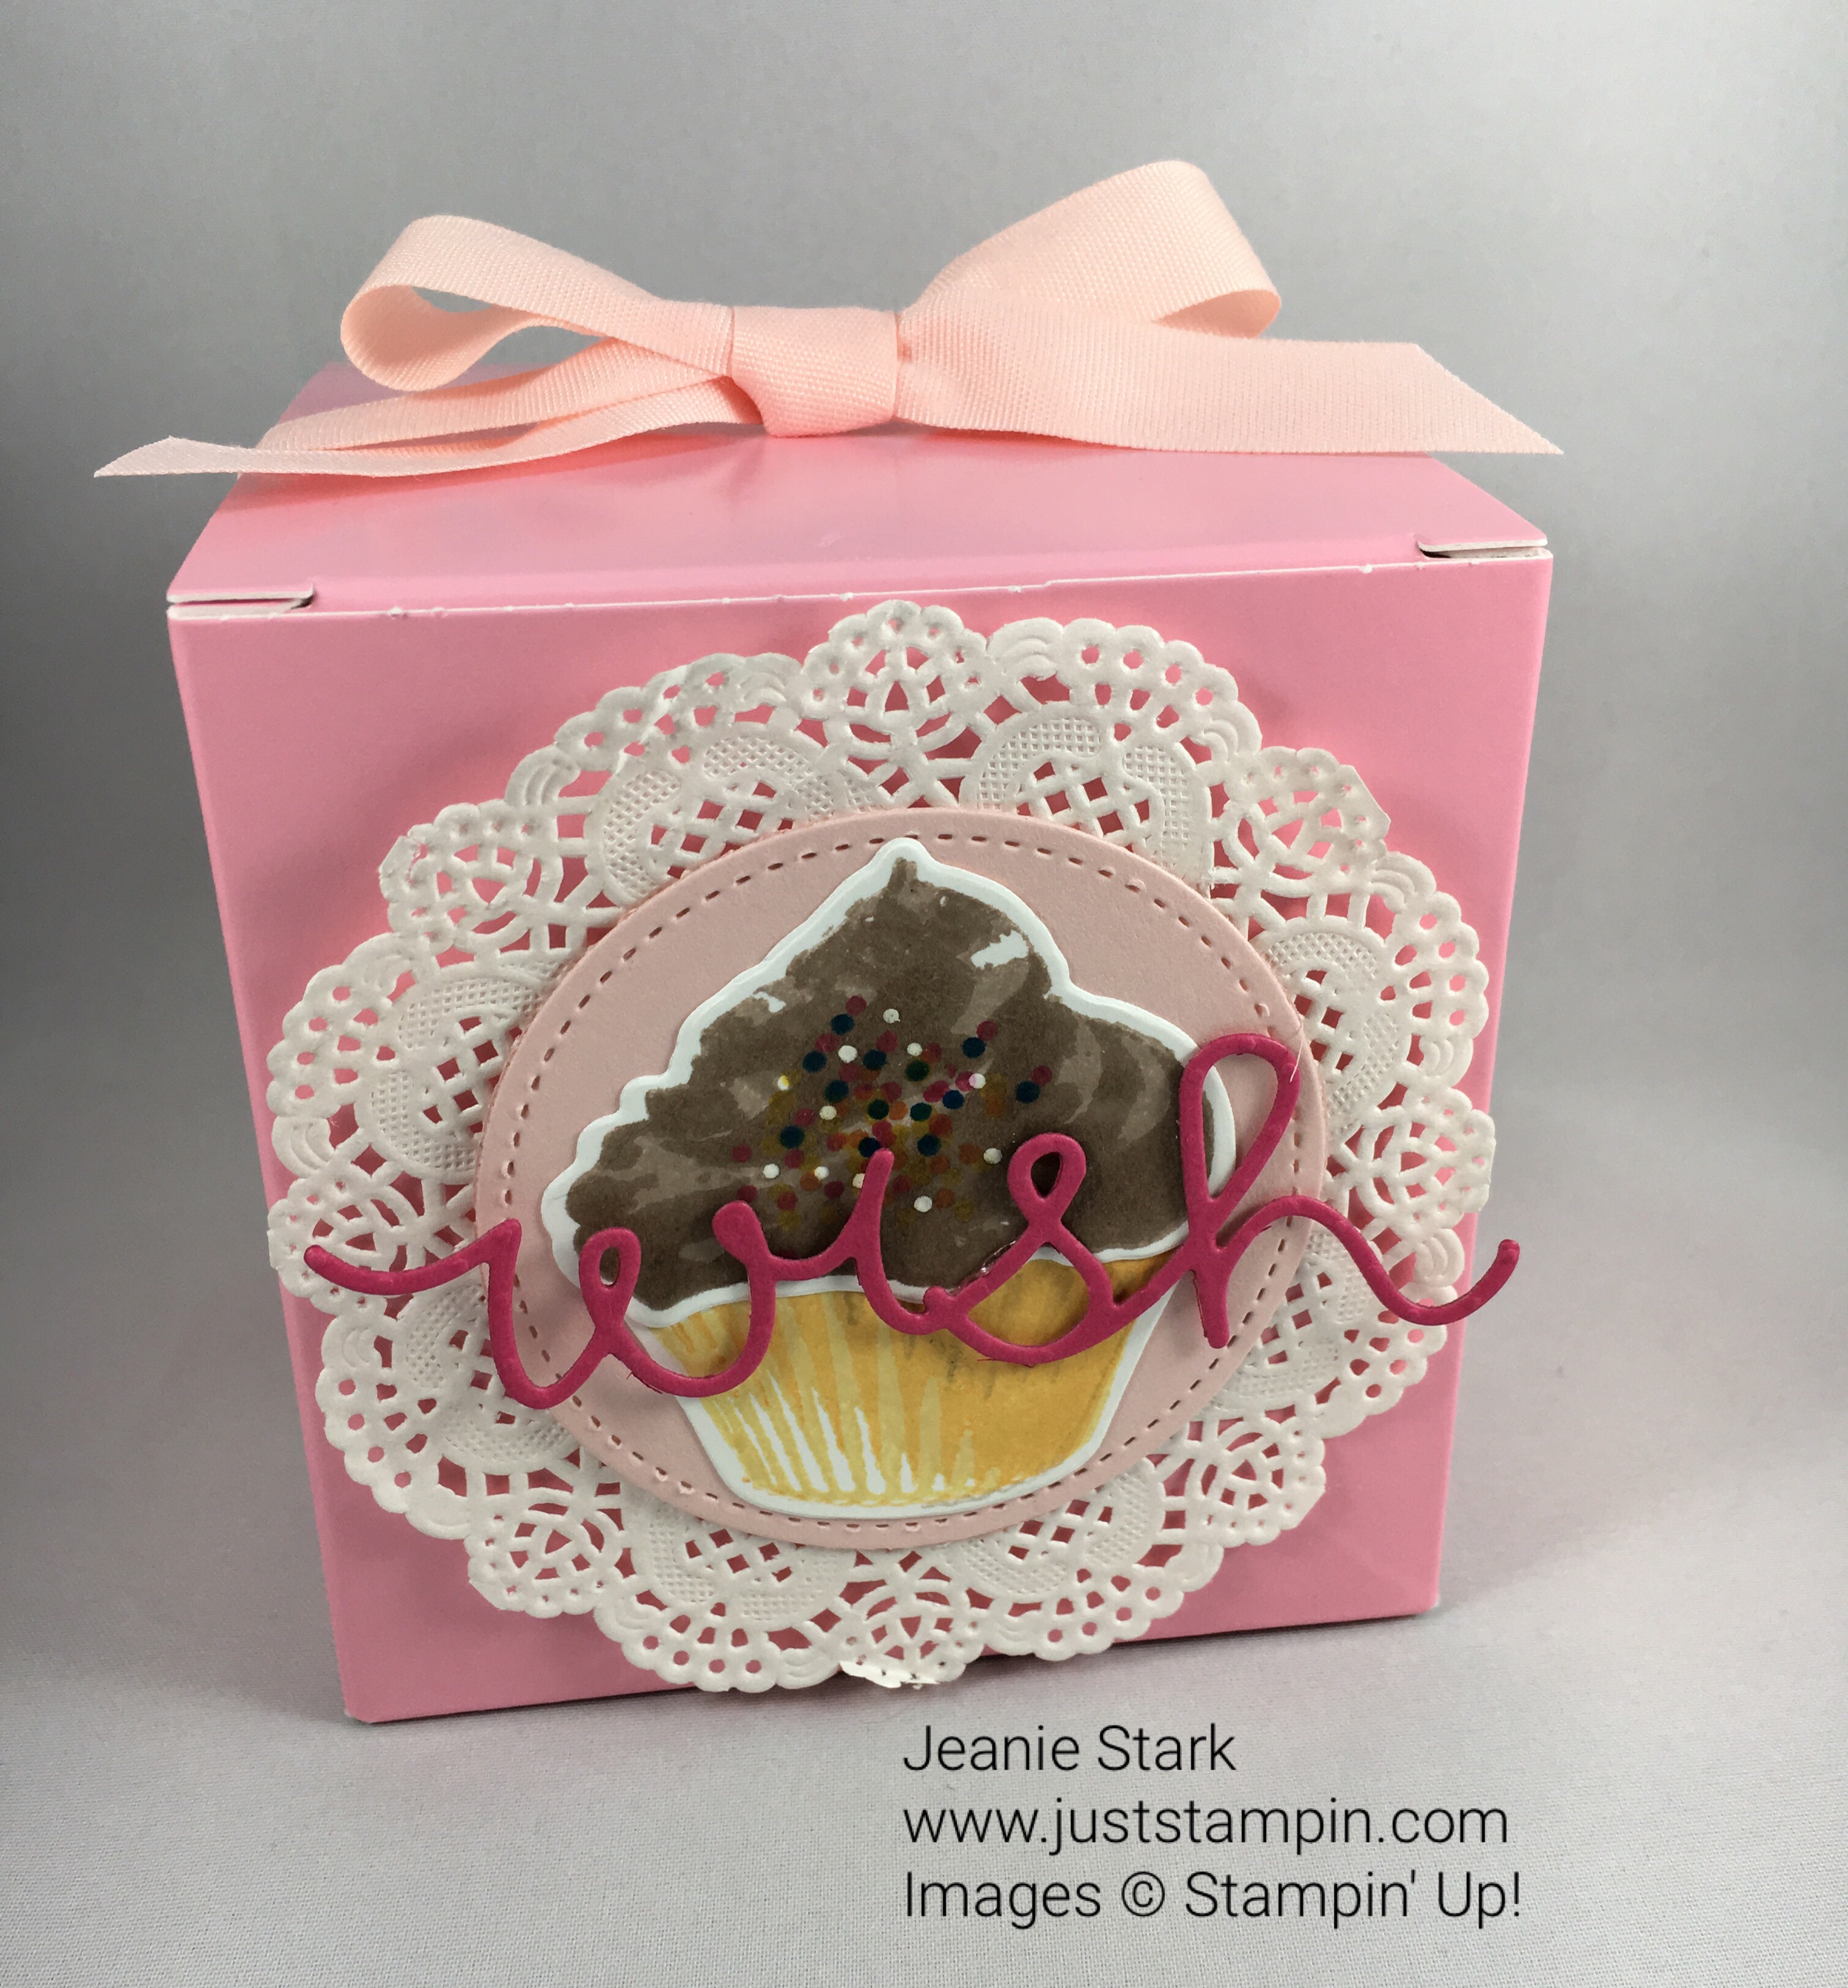
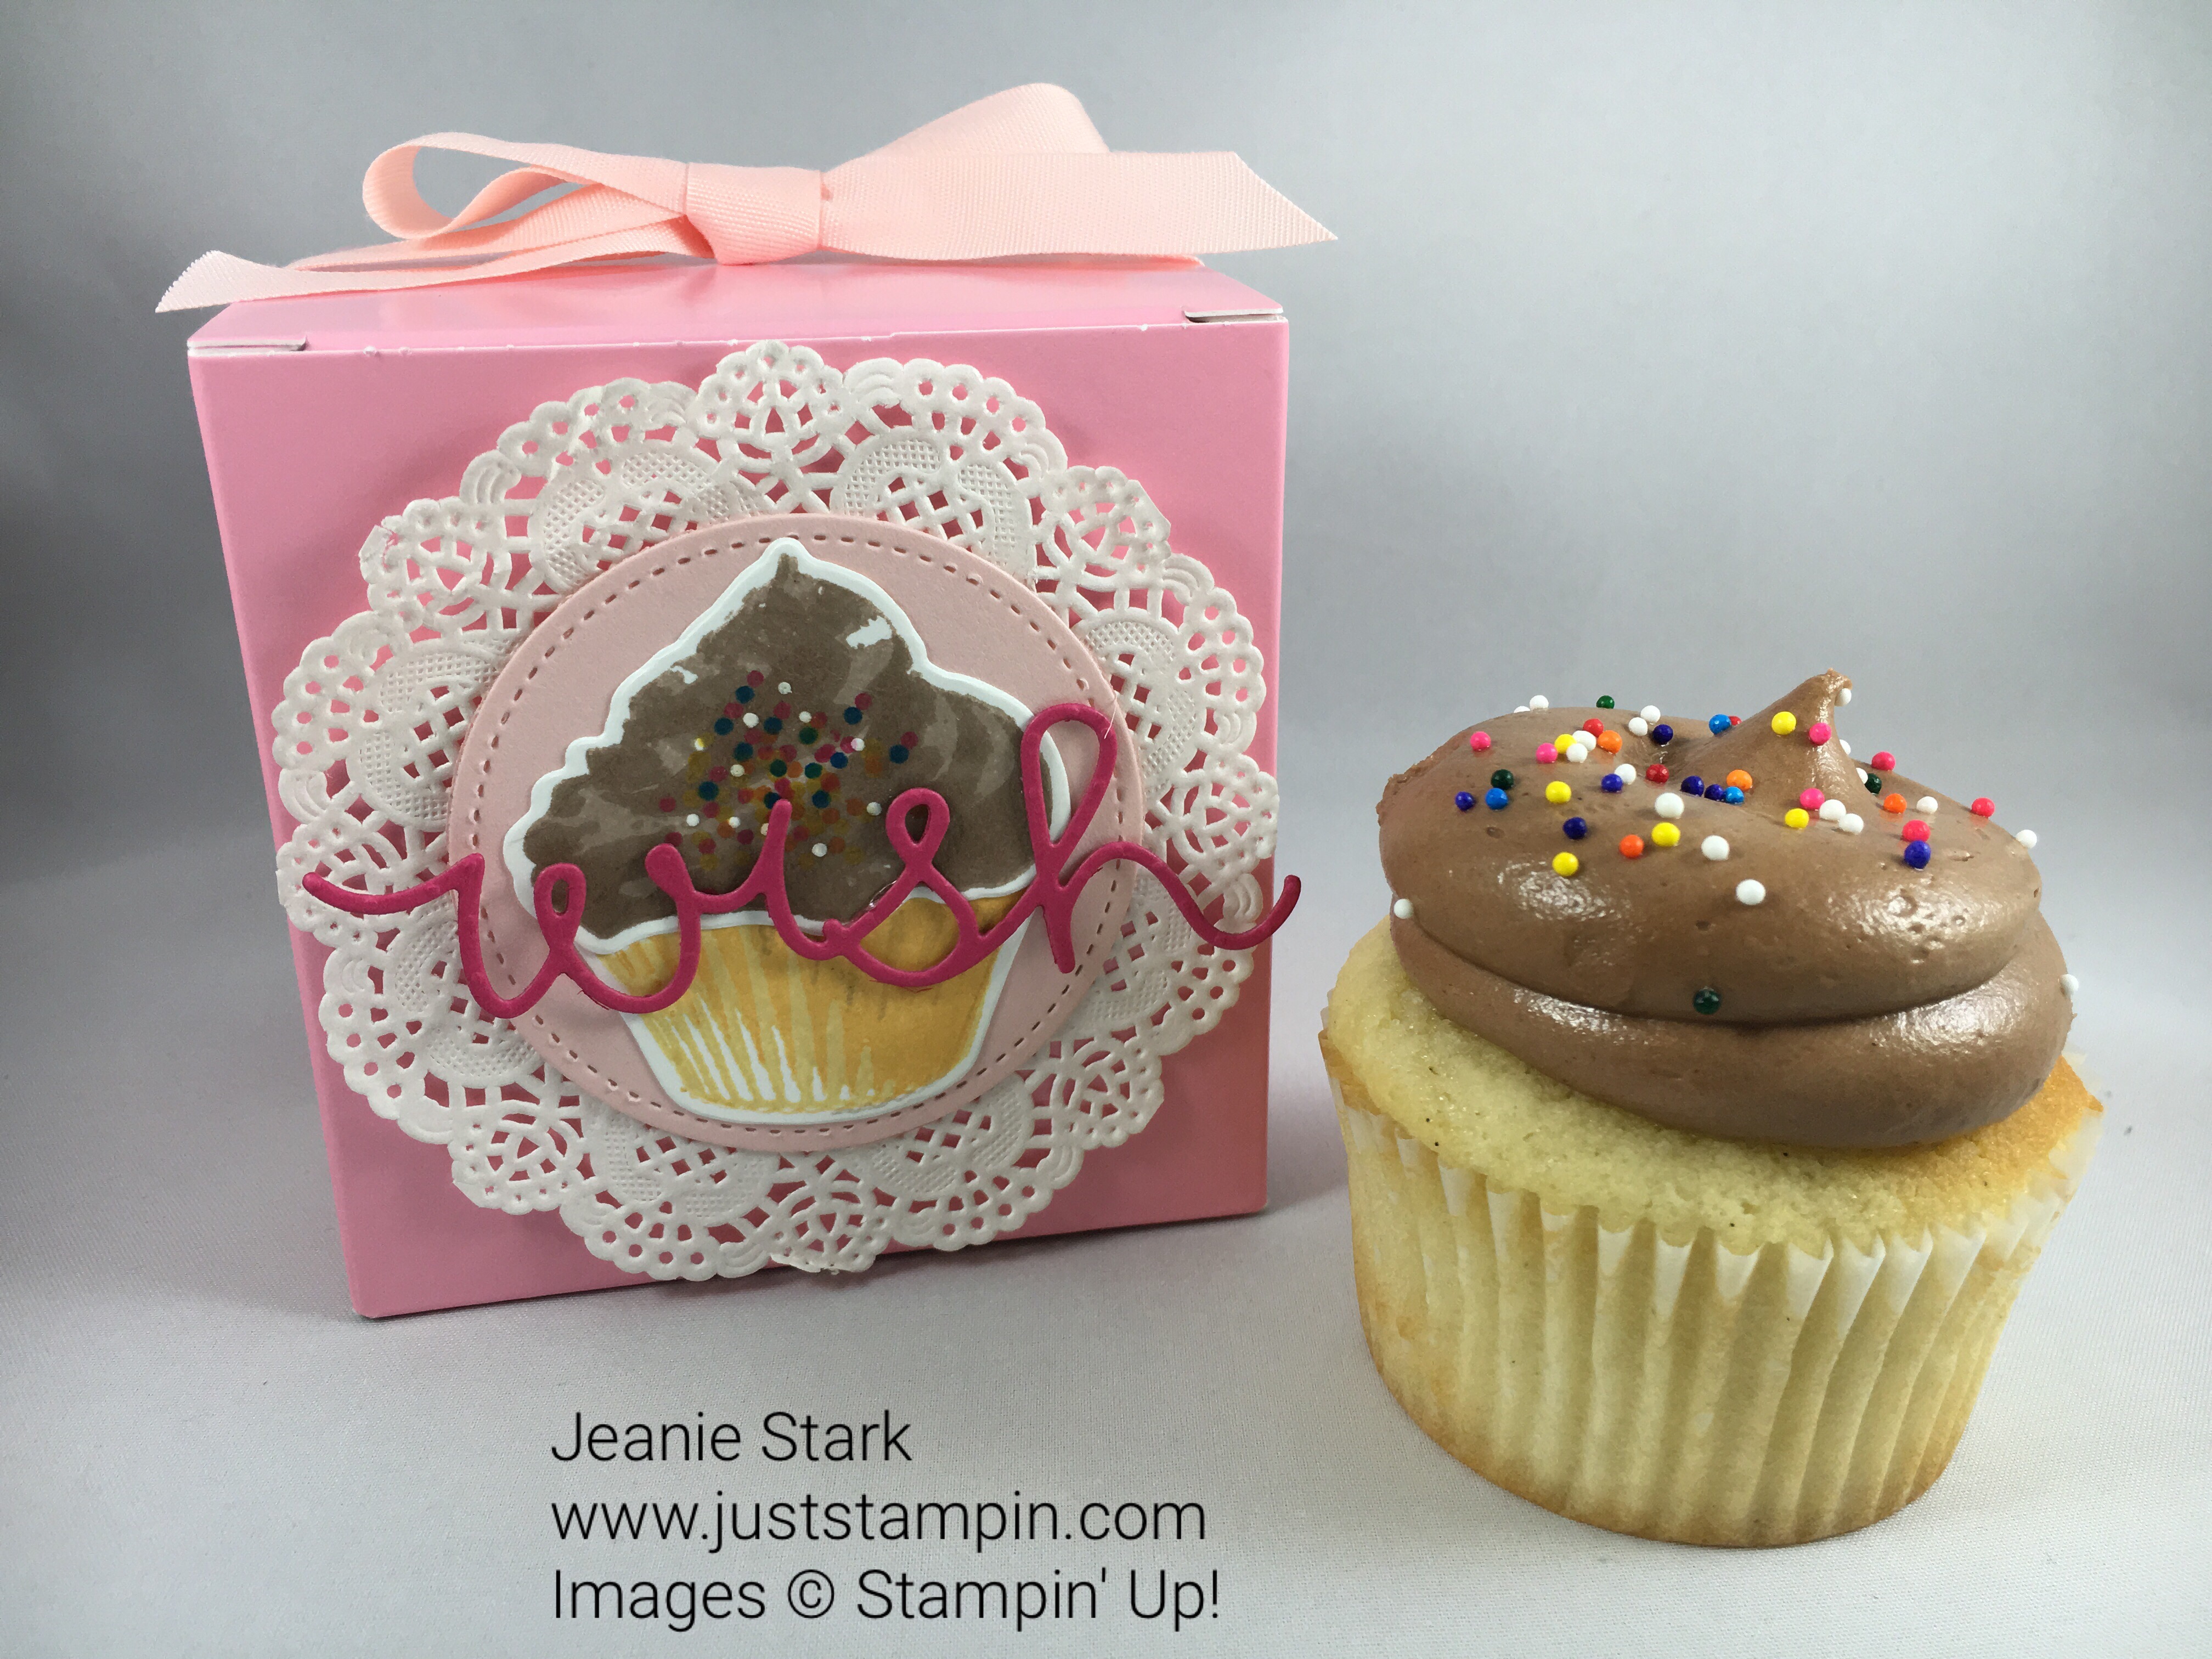
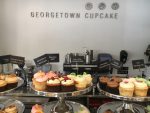
Yesterday was Rachel’s birthday and I went to Georgetown Cupcake. They make the BEST cupcakes I have ever tasted! So many choices, it’s hard to pick just one! My husband, daughter, and I each got a different one and shared. YUM! I also brought one home for Rachel. I love the adorable pink box they package them in but I still had to add a sweet little touch.
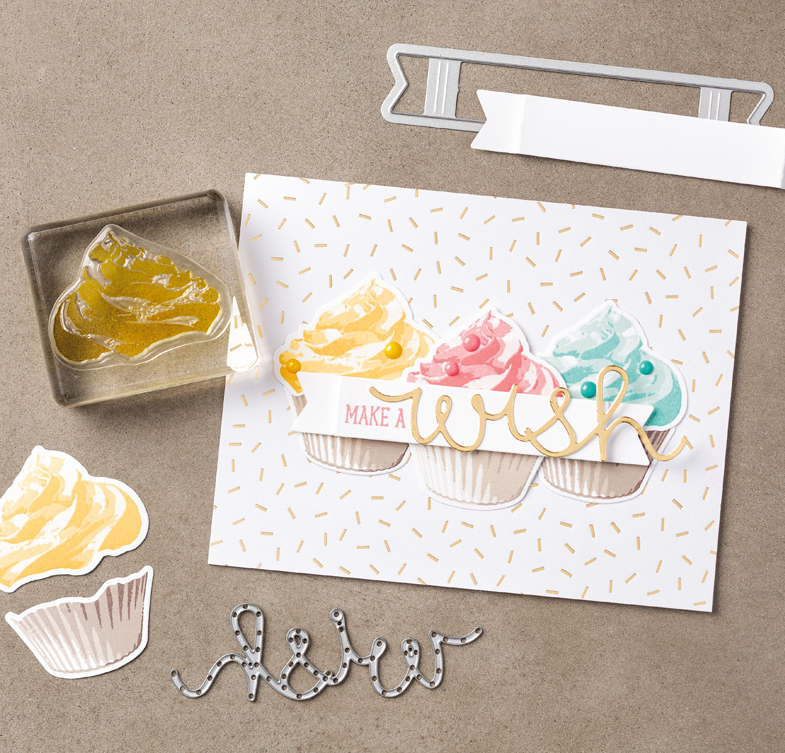
I used the Sweet Cupcake Stamp Set and coordinating Cupcake Cutouts Framelits to decorate the box.
This is a Two-Step Stampin’ set. Combine individual stamps to build the final image you want in the colors you want. You can see in the photo of the stamp set that there are 3 layers to the top and bottom…that’s what gives it such a realistic look. The photopolymer stamps make it easy to build each layer. I used Crumb Cake Ink for the frosting even though it looks twp tone. For the bottom I used 3 different inks: So Saffron, Peekaboo Peach, and Sahara Sand. (*I experimented with different colors before I decided on these.) I love how it makes it look just like the cupcake…sprinkles and all!
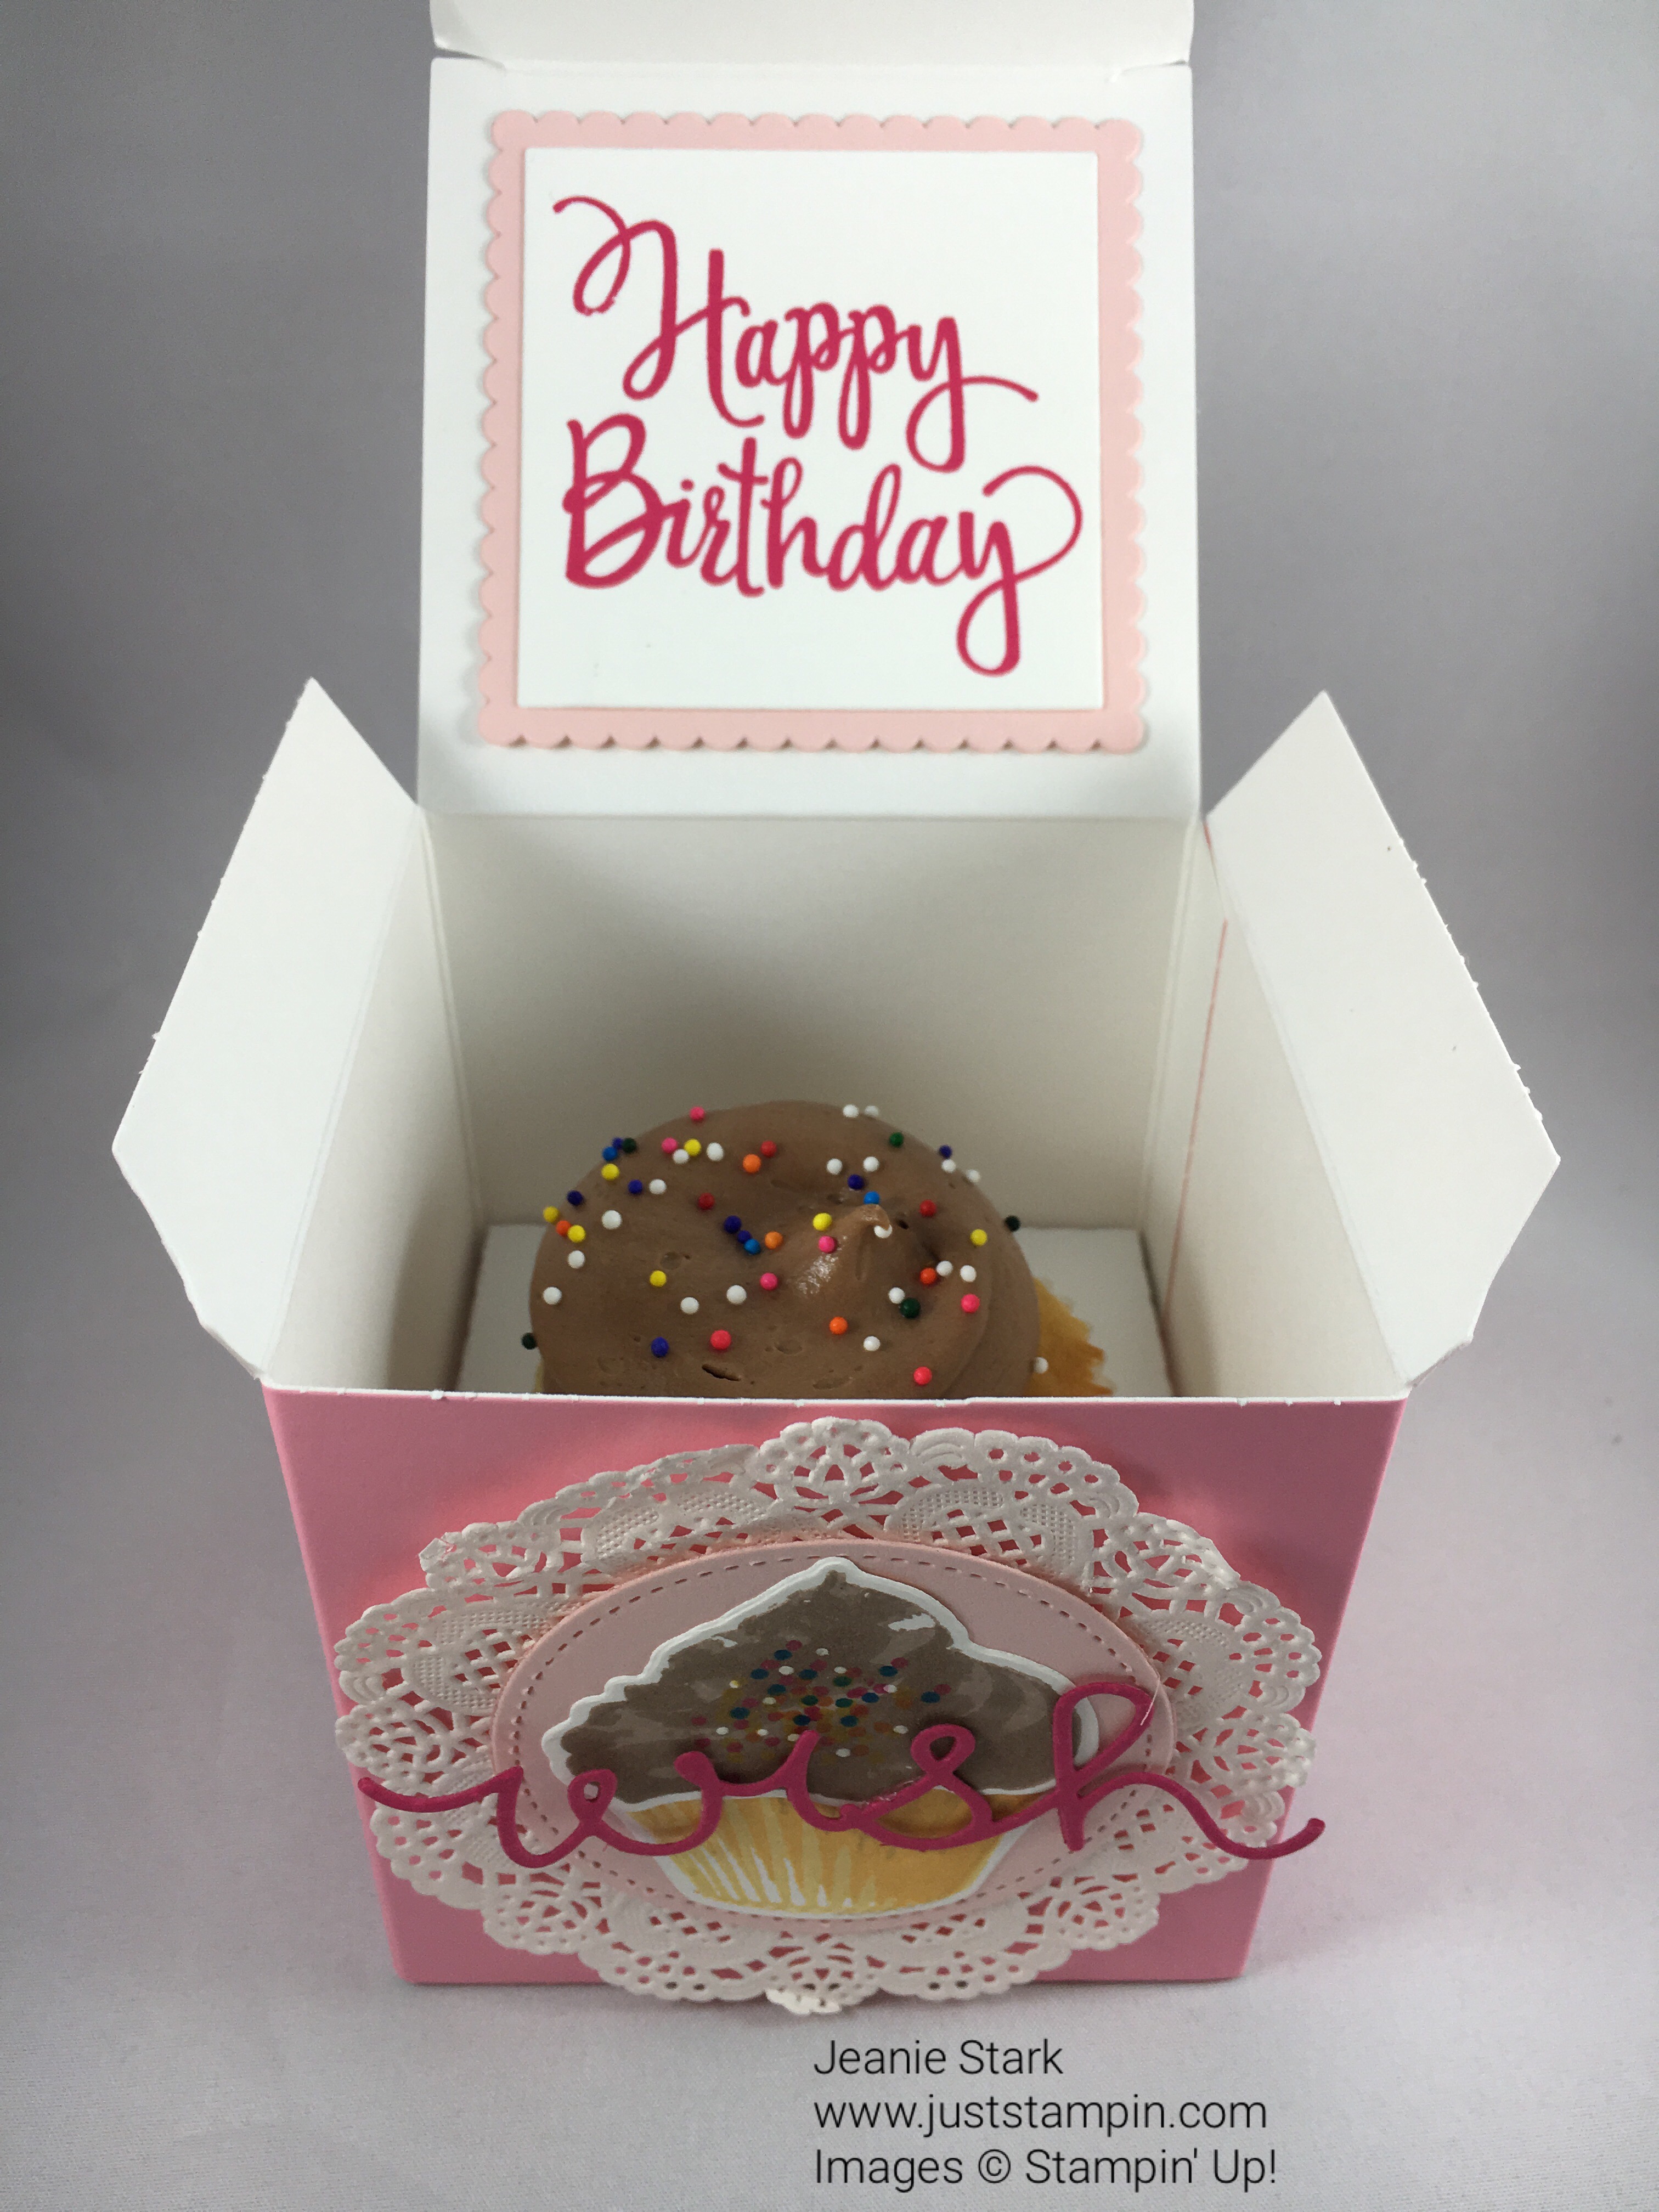
The coordinating Cupcake Cutouts Framelits Dies makes it easy to cut the pieces out. I love the word dies included in this set! I layered everything on the box starting with the Delicate White Doily. I used the Stitched Shapes Framelits to cut the Powder Pink circle. I adhered it all together with liquid glue then wrapped it up with 1/2″ Finely Woven Powder Pink Ribbon. On the inside I used the Stylized Birthday Stamp Set to stamp Happy Birthday in melon mambo ink. I layered the greeting on a powder pink square I cut using the Layering Squares Framelits.
I know Rachel will enjoy this sweet treat as much as I did. It was worth waiting in the long line. Here’s a few photos from our sweet adventure. (My daughter and I are at the very end of this line!)
Here’s more ideas using the Sweet Cupcake Stamp Set and coordinating Cupcake Cutouts Framelits Dies.
Click HERE to purchase these products in my online store.
Have a wonderful day!
Just Stampin’
Jeanie
To get a FREE thank you gift from me, simply enter the host code below at checkout. *If you have an order over $150, DON’T USE THE HOST CODE, but get your Stampin’ Rewards AND the free thank you gifts from me!
Current Host Code: XYZT6UU3
Click on the image above for more information.
The Carols of Christmas Bundle is now available! Click on the photo above to see the available items in my online store. Click HERE to see a video and more ideas using this versatile bundle.
There is no limit on the number of coupons you can use on an order during redemption.
Bonus Days coupon codes can be redeemed for any product, excluding Starter Kits. Prepaid Paper Pumpkin subscriptions can be discounted with Bonus Days coupons.


 Envelopes")