
Welcome to my ABC Color Series! Stampin’ Up! offers so many great color choices! I love to combine different colors and patterns and hope to inspire you with some fun color combinations throughout this series. Today’s cards feature Wild Wheat. Wild Wheat is one of the 2023-2025 In Colors.
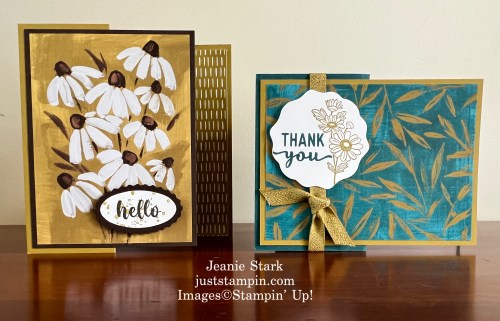
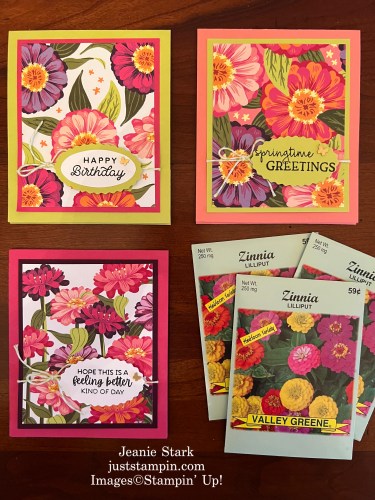
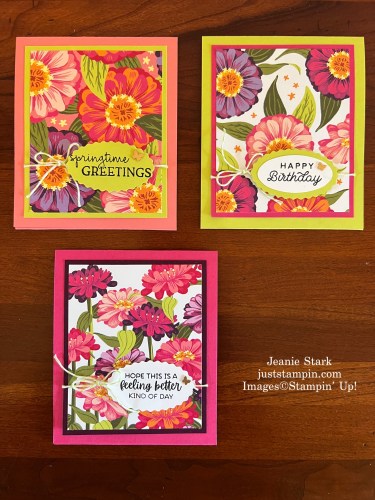
These cards showcase two different color combos.

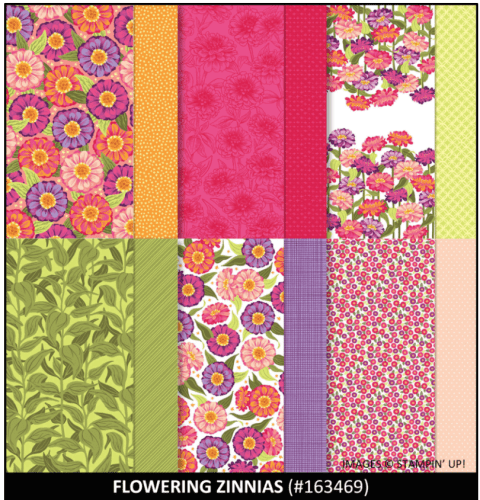
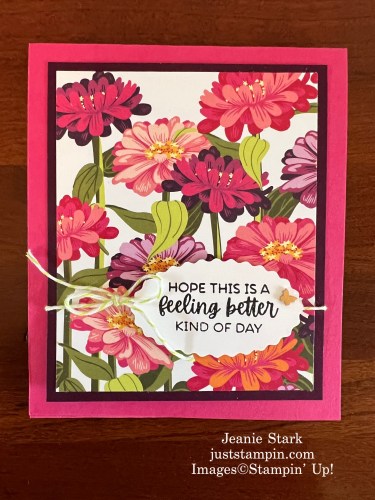
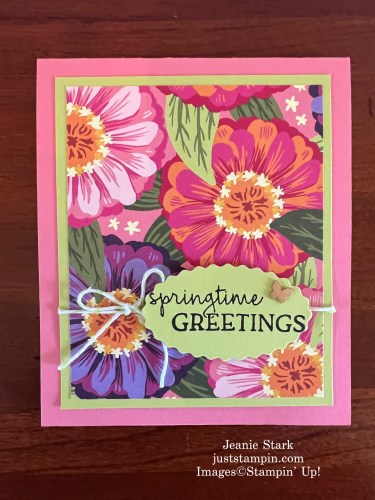
These cards were quick & easy using the Fresh As A Daisy Designer Series Paper. *This DSP is retiring and available while supplies last.

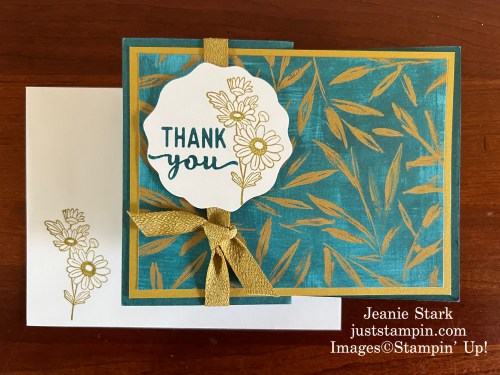
I love fun fold cards and both of these cards are simple Z fold cards. One is a portrait style (vertical) card and the other is a landscape (horizontal) card.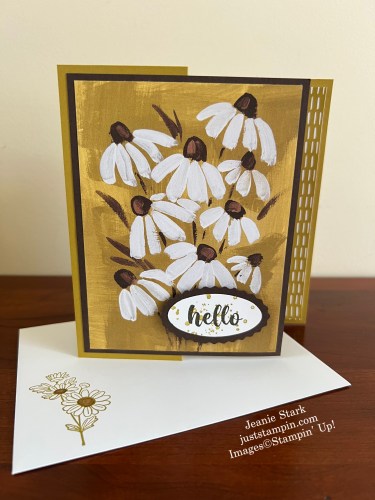

Here are the details:
Measurements
- Landscape Card Base (Pretty Peacock): 4 1/4 x 11 scored 2 3/4 & 5 1/2
- Portrait Card Base (Wild Wheat): 8 1/2 x 5 1/2 scored at 2 1/8 & 4 1/4
- Cardstock Layer: (Wild Wheat/Early Espresso): 4 x 5 1/4
- DSP (Fresh As A Daisy): 3 3/4 x 5, 1 x 5 1/4 *optional for inside
- Basic White: 4 x 5 1/4 (inside), ~ 2 1/2 x 2 1/2 to stamp & punch with Decorative Circle Punch
Directions
- Fold and burnish the card base. Fold card in 1/2 then fold back card front along score line.
- Adhere DSP to cardstock layer. Adhere to front of card just on piece that is folded back.
- Wrap ribbon around front of card and tie a simple knot.
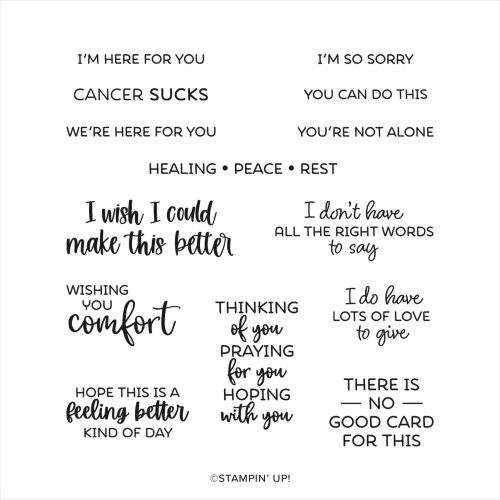
- Stamp sentiment/image and punch with Decorative Circle Punch. Adhere to card with Stampin’ Dimensionals.
- Adhere white layer inside. Optional: Add a strip of DSP to the left side. Stamp sentiment or add handwritten message.
- Stamp front of envelope to coordinate.
I love punches for quick & easy crafting! I am shocked at all the punches that are retiring! The Decorative Circle Punch and Double Oval Punch are available while supplies last. Many products have already sold out! Make sure you have what you want from the 2023-2024 Annual Catalog and January-April Mini Catalog. You can click on the links below to see the retiring lists.
Which color do you like best with wild wheat? I’d love to hear from you. Leave a comment below.
Have a wonderful day! Thanks for stopping by!
Just Stampin’
Jeanie
Host Code: EZDVBQDH
* If your order is under $150 be sure to add the host code to your order to receive a thank you gift from me. If your order is $150 or more, don’t use the host code. You will earn Stampin’ Rewards to spend as well as my thank you gift. All orders receive a handmade card in the mail.
Product List (Click on image to view/shop my online store.)
|
|
|
|
|
|
|
|
|
|
|
|
|
|
|
|
|
|
|
|
|
|
|
|
")
")
")
")
")
")


 Designer Series Paper")


 Textured Ribbon")


Click HERE to view the 2023-2024 Annual Catalog Last Chance Products
Click HERE to view the Jan.-April 2024 Mini Catalog Last Chance Products
Sale starts April 9th. Some products will be discounted.
2023-2024 Annual AND 2024 Spring Mini Catalog Last Chance Products_Discounts Only (1)
CLICK HERE TO SHOP CLEARANCE
CLICK HERE TO SUBSCRIBE TO PAPER PUMPKIN
CLICK HERE FOR INFORMATION ABOUT JOINING STAMPIN’ UP!
CLICK HERE TO JOIN MY STAMPIN’ UP! Team


")
")
")
")
 Designer Series Paper")


")
 Designer Series Paper")


