Pals Blog Hop

Welcome to the August 2017 Pals Blog Hop. Thank you so much for joining us today. This month we’re going to “Cut It Out”. Participants will feature projects with “cuts” from punches, dies, Framelits, Edgelits, or Thinlits.

Whether you’re just starting the hop, or have come from a previous Pal’s blog, you’ll find the line-up toward the end of my post to help you move along.

Quick & Easy Daisy Tote Bag made with a Clear Acetate Card Box, Designer Series Paper, Ribbon, and Stampin Up Daisy Punch. For directions, supplies, and more visit www.juststampin.com

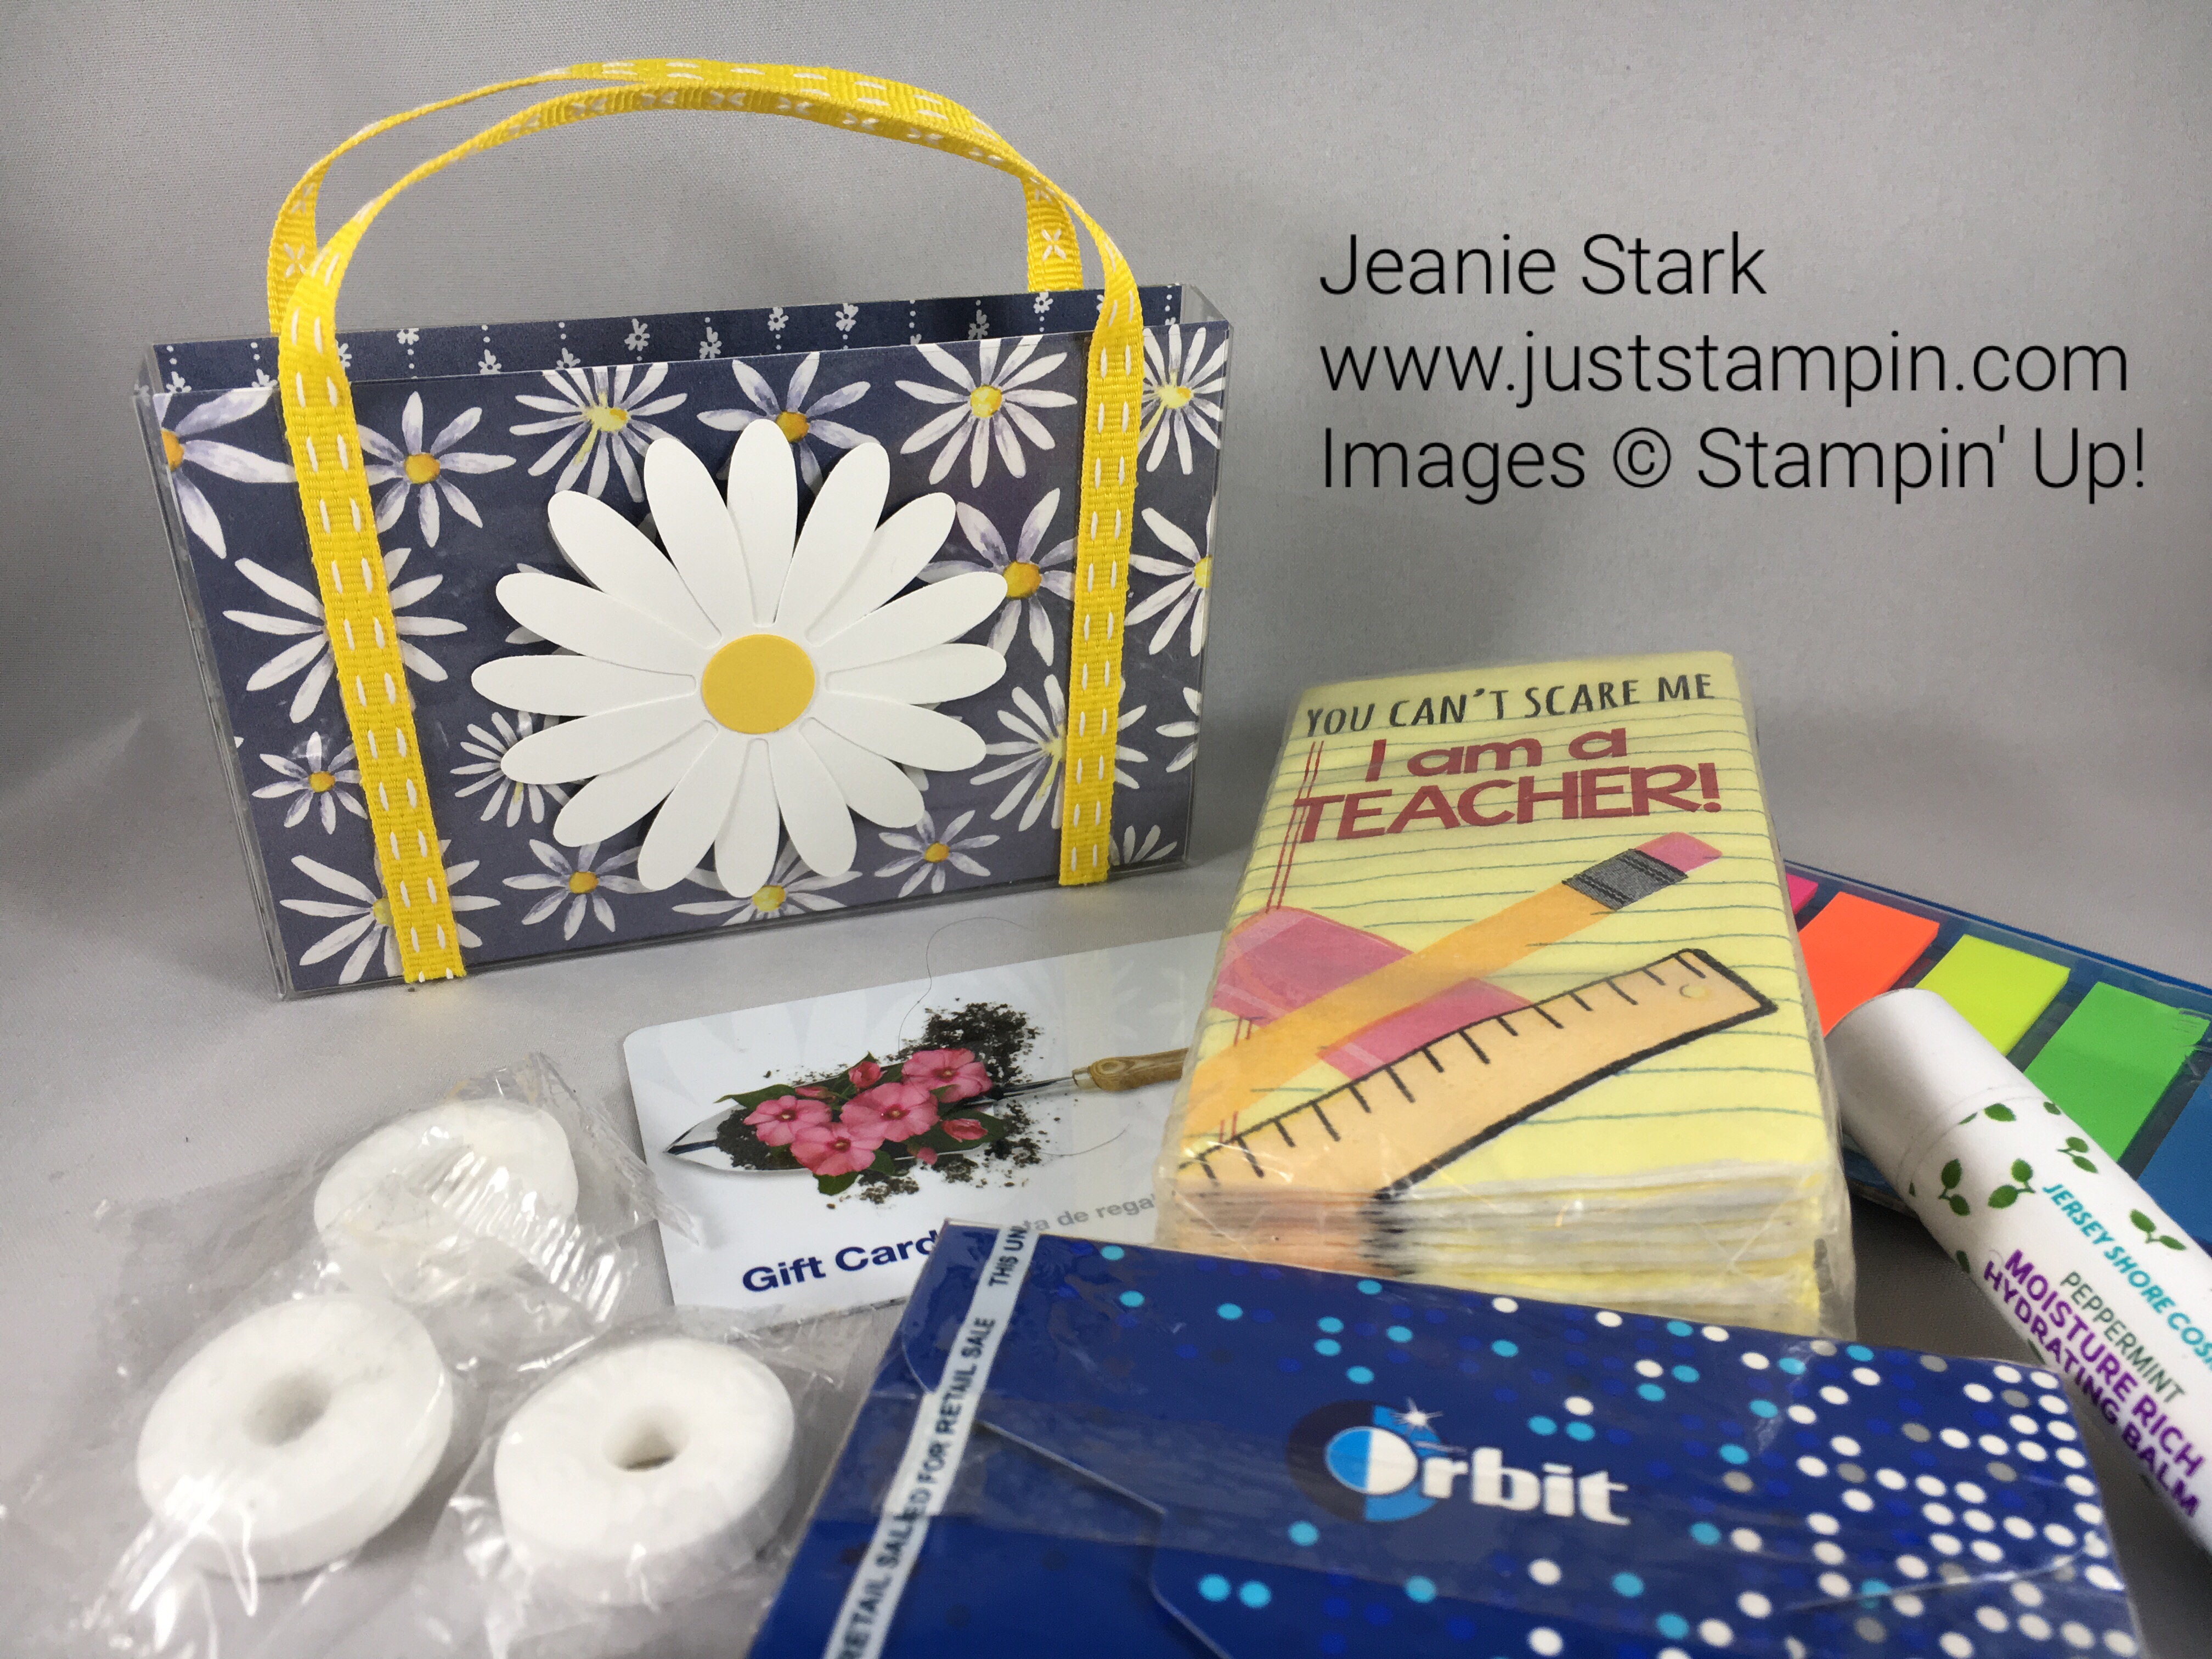
It takes just a few simple cuts and to make these adorable tote bags!

Quick & Easy Daisy Tote Bag made with a Clear Acetate Card Box, Designer Series Paper, Ribbon, and Stampin Up Daisy Punch. For directions, supplies, and more visit www.juststampin.com

I love punches and the Daisy Punch is one of my favorites! Punches make it quick & easy to create and this project is all about quick & easy! I am a teacher so August means getting ready for back to school.  These adorable totes would make great little gifts for teachers or students.  (They would also make great favors for a bachelorette party or wedding shower!)

I started with a new product that will be available in the holiday catalog (Sept. 1), Acetate Card Boxes.  You get a set of 10 for $6.50.

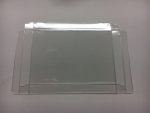
These boxes are great for holding a set of cards to give as a gift. This month’s blog hop is all about “cuts” so I decided to think outside the “box”. I cut the box in half (at 2 7/8″) to make these totes. Each card box will make 2 totes which makes this project not only quick & easy but inexpensive too! Just fold and close each end and you are ready to decorate. *I put a glue dot on each flap to help keep it closed so it would stand up easily.

The Designer Series Paper insert measures 4 3/8 x 6 1/4.  Score at 2 7/8 from each end. Fold and slide inside the clear box.  Cut 2 10″ pieces of ribbon for the handles.  Adhere to the tote with Tear & Tape.  *I adhered the Tear & Tape directly to the box on each end then removed the backing to attach the ribbon. (Repeat on the back side.)

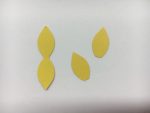
I used the Daisy Punch to punch 2 daisies from Whisper White cardstock and adhered one on top of the other.  I cut a circle from Daffodil Delight using the 1/2″ Circle Punch. I attached this to the front of the tote using a Stampin’ Dimensional. That’s all there is to it. I told you it was quick & easy! There are so many gift possibilities for these totes! You can fill them with a gift card, tissues, lipstick, gum, candy, sticky notes, etc.

Quick & Easy Daisy Tote Bag made with a Clear Acetate Card Box, Designer Series Paper, Ribbon, and Stampin Up Daisy Punch. For directions, supplies, and more visit www.juststampin.com

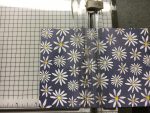
Here’s the view from above with some of the different items tucked inside.

Changing the DSP, ribbon, etc. can give it a totally different look.

Quick & Easy Tote Bag made with a Clear Acetate Card Box, Designer Series Paper, Ribbon, and Stampin Up Bow Buider Punch. For directions, supplies, and more visit www.juststampin.com

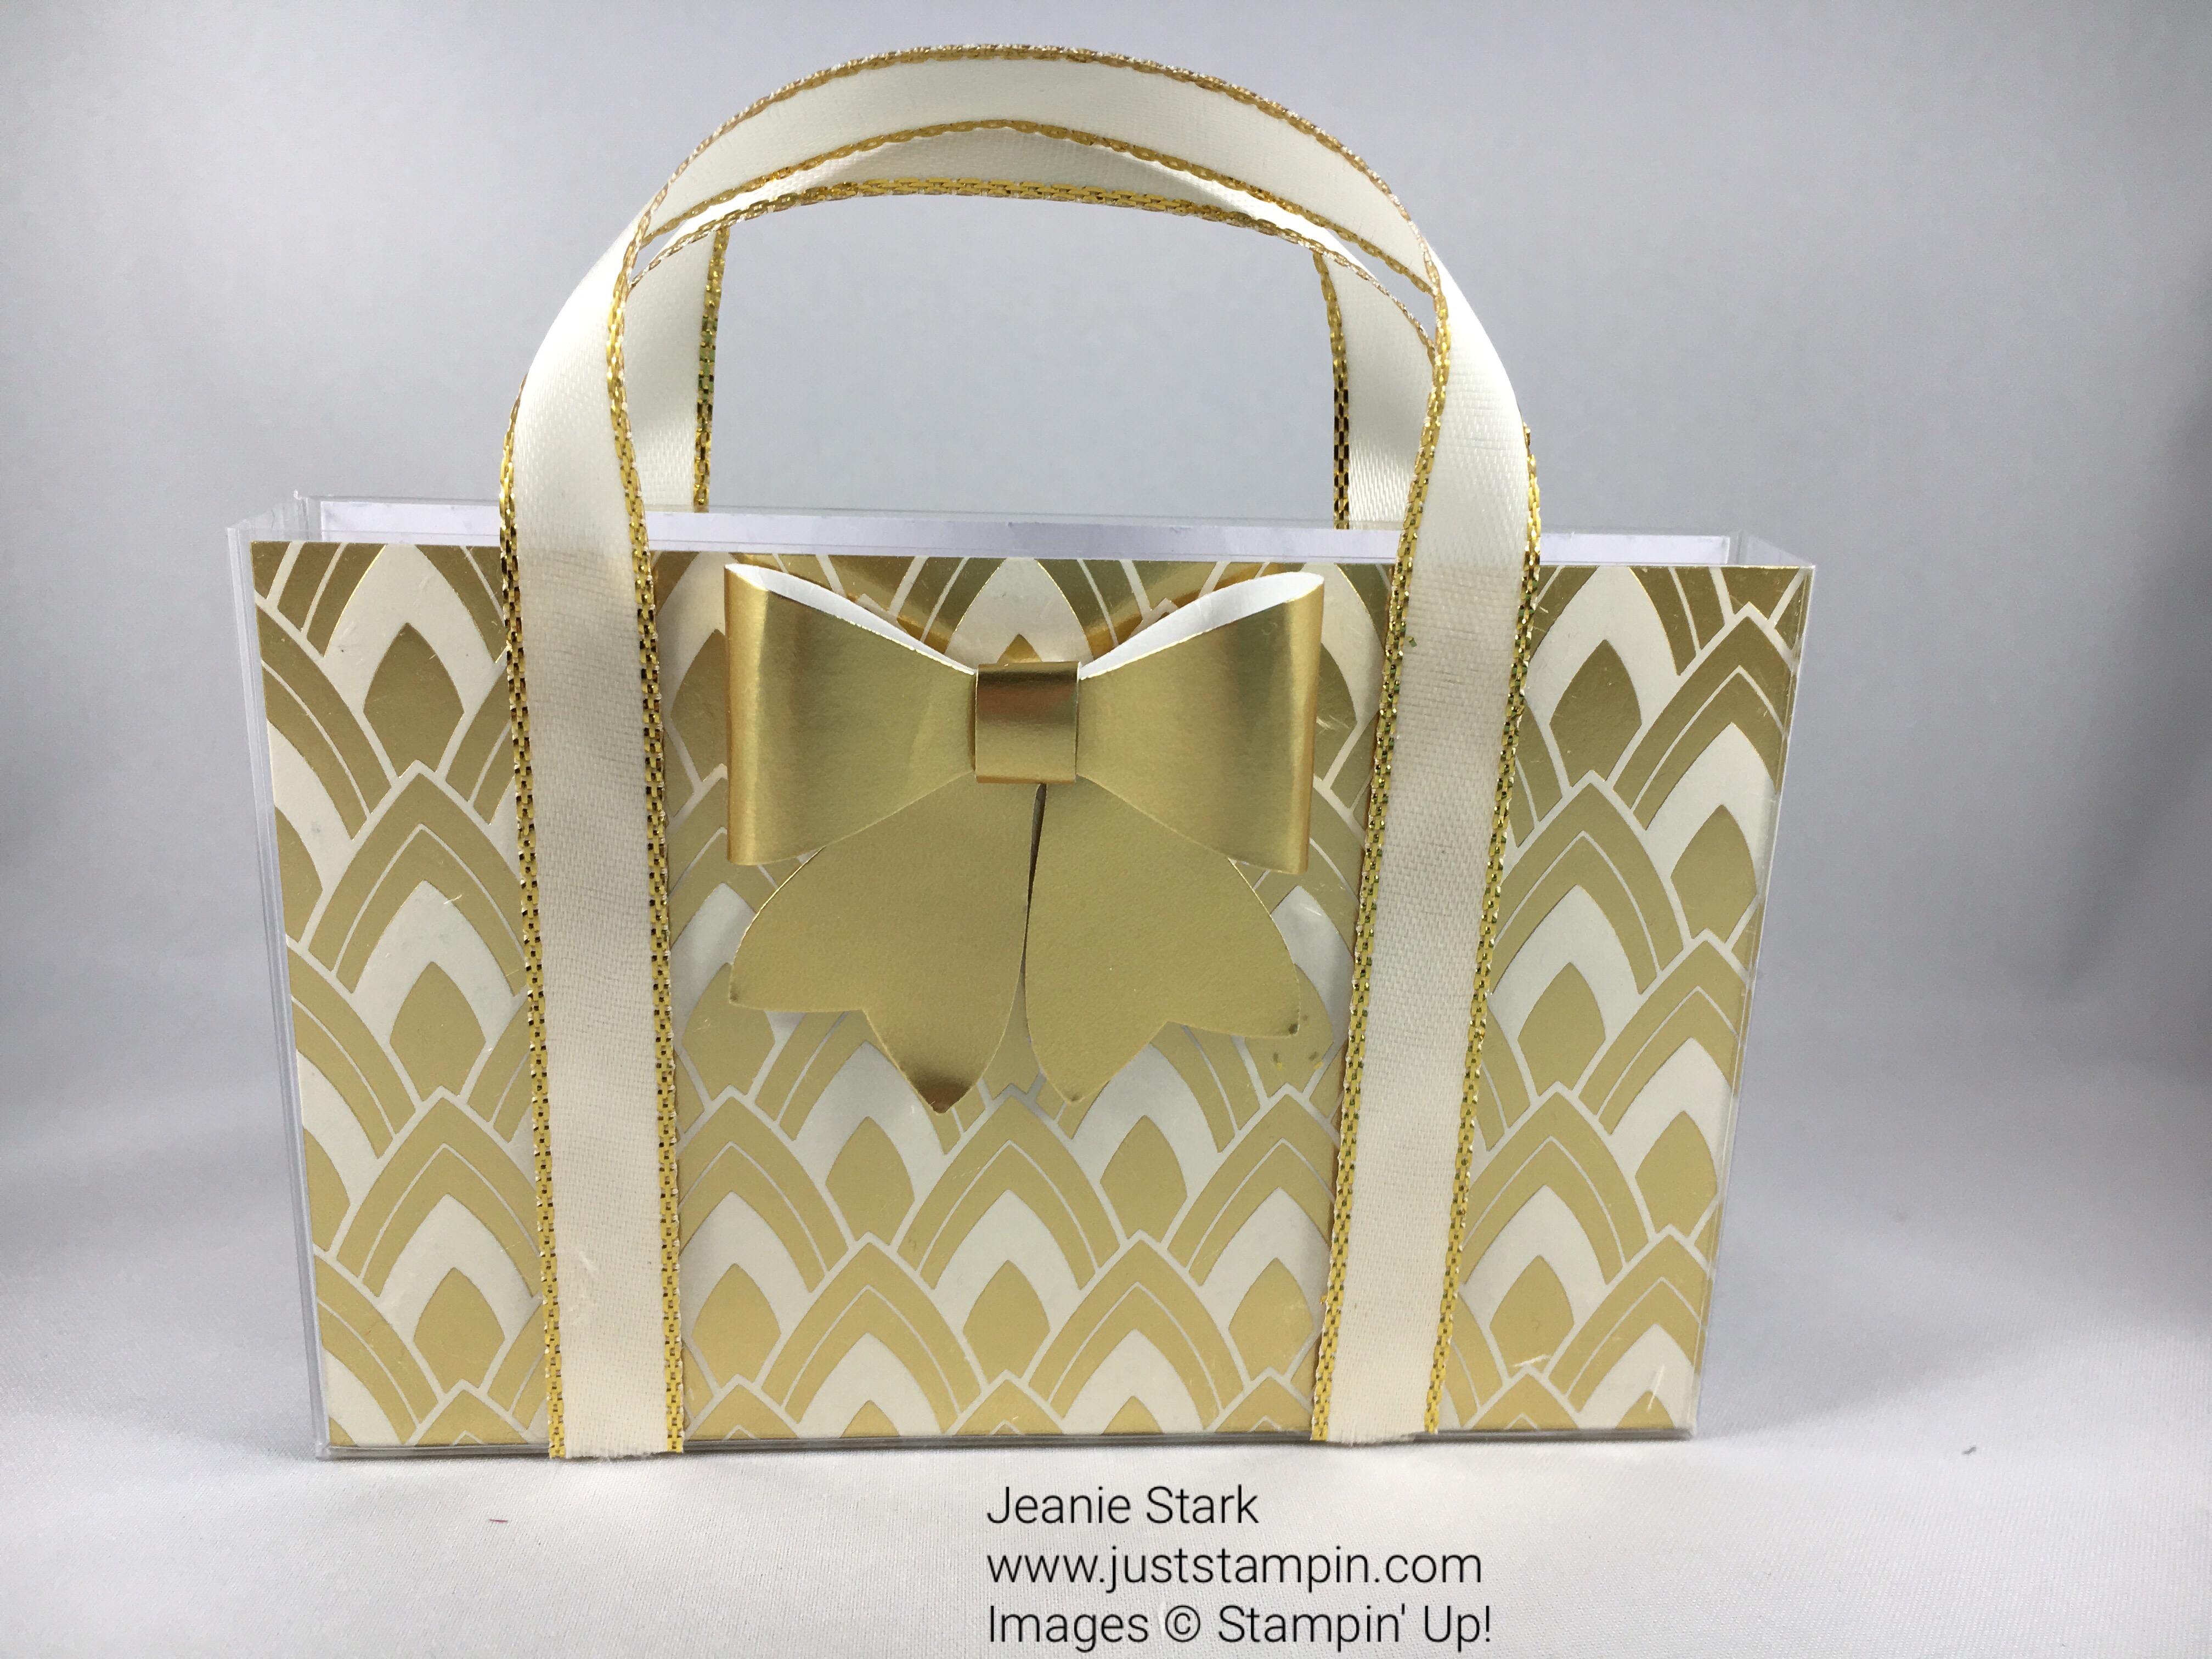
For this tote bag I used the Eastern Palace Specialty Designer Series Paper, Metallic Edge Ribbon, and the Bow Builder Punch. Wouldn’t this be a beautiful favor for a wedding shower?!

Quick & Easy Monogrammed Tote Bag made with an altered Acetate Card Box, Designer Series Paper, Ribbon, and Stampin Up Large Letters Framelits. For directions, supplies, and more visit www.juststampin.com

I love monogrammed bags, etc.  The Large Letters Framelits are perfect for personalizing this gift bag! I also added a Mini Tassle embellishment. I love how Stampin’ Up! color coordinates everything! The In Color Ribbon selection matches the Fresh Florals Designer Series Paper.

Stampin’ Up! has so many patterned papers, punches, dies, and ribbons to choose from! The Wood Textures DSP would make a great brief case for a masculine look. The Just Add Color Specialty Designer Series Paper would be great for a child…put a box of crayons inside and let them color their own. (Little snack bags would be fun to put inside too!) I am making a bunch of these to give as gifts and some I will sell at my Holiday Open House. Do you have a favorite?

Quick & Easy Tote Bags made with a Clear Acetate Card Box, Designer Series Paper, Ribbon, and Stampin Up Dies and Punches. For directions, supplies, and more visit www.juststampin.com

Designer Series Papers: Fresh Florals, Delightful Daisy, Eastern Palace  Ribbons: 1/2″ Fresh Fig Finely Woven Ribbon, 1/4″ Daffodil Delight Double-Stitched Ribbon, 3/8″ Gold Metallic Edge Ribbon  Tools & Accessories: Acetate Card Boxes (avail. Sept. 1), Daisy Punch, Bow Builder Punch, Large Letters Framelits, Mini Tassels, Glue Dots, Tear & Tape

You can purchase any of the Stampin’ Up! products used to make today’s project from my online store. Click HERE to shop.

Please take a minute to mark your calendar for our next hop on September 13, 2017. Now hop along using the Blog Hop Line-up below. Thank you so much for hopping with the Stampin’ Pretty Pals today. Don’t forget to leave us a comment. We’d love to hear what you have to say about our creative “Cuts”.

Have a wonderful day!

Just Stampin’

Jeanie

Blog Hop Line-up:  

  1. Amy Hoptay at Craft Carnivore
  2. Becky Retzer at Just In Thyme Crafts
  3. Beth McCullough at Stamping Mom
  4. Corinne Blake at The Creative Compendium
  5. Jackie Beers at Blue Line Stamping
  6. Jeanie Stark at Just Stampin’
  7. Jennifer Michalski at Stamping Serenity
  8. Jennifer Spiller at Westside Paper Creations
  9. Julie DiMatteo at The Paper Pixie
  10. Karen Gooch at Inker’s Workshop
  11. Lisa Ann Bernard at Queen B Creations
  12. Maggie Mata at Maggie Made Cards
  13. Mary Fish at Stampin’ Pretty
  14. Mary Hanson at Up North Stampin’
  15. Nancy Gleason at My Stampin Space
  16. Pamela Sadler at Stampin Pink Rose
  17. Patti MacLeith at Papercrafts by Patti
  18. Peggy Noe at Pretty Paper Cards
  19. Rae Harper-Burnet at Wild West Paper Arts.com
  20. Rosanne Mulhern at Heartfelt Stamping
  21. Stesha Bloodhart at Stampin’ Hoot!
  22. Su Mohr at Aromas and Art
  23. Susan Itell at Simple Stampin’
  24. Tricia Chuba at ButterDish Designs

To get a FREE thank you gift from me, simply enter the host code at checkout when shopping from my online store.

Please use the current host code below.

Current Host Code: XYZT6UU3

Carols of Christmas

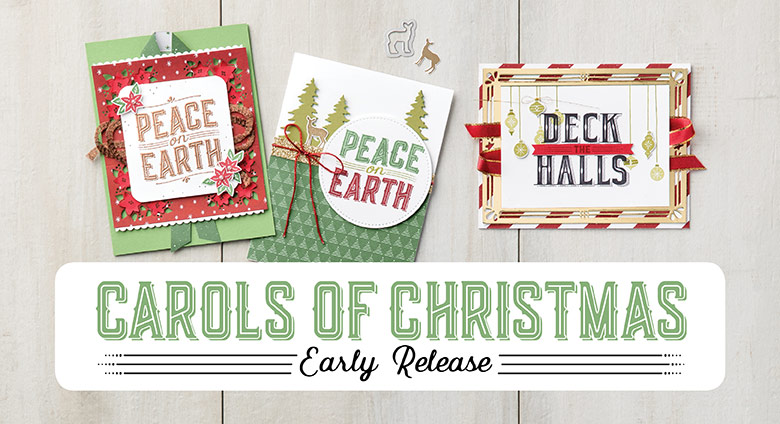
The Carols of Christmas Bundle is now available!  Click on the photo above to see the available items in my online store.


Redeem Your Stampin' Up! Bonus Days Coupon Codes #dostamping

How to Redeem Your Bonus Days Coupon Codes?

  • If you’re redeeming your coupon codes with an online order, see these instructions
  • There is no limit on the number of coupons you can use on an order during redemption.
  • Bonus Days coupon codes can be redeemed for any product, excluding Starter Kits. Prepaid Paper Pumpkin subscriptions can be discounted with Bonus Days coupons.
  • Coupon codes expire August 31st.


Say I Do! with the Shoe

A coworker asked me to make a wedding card for a friend who was getting married this weekend.  I always like to make my cards coordinate with the theme/colors of the wedding.  When I asked her the colors she sent me a text of the bride’s shoe.  I fell in love with the shoes which inspired me to create today’s card.  Here’s the shoe.

img_0223

Here’s my card.

Stampin Up Detailed Floral Thinlits Wedding Card idea - Jeanie Stark StampinUp

Basic Black and Very Vanilla are classic and timeless! My card base is 4 1/4 x 11 Very Vanilla scored at 5 1/2.  I cut a piece of 4 1/4 x 5 1/2 basic black using the Detailed Floral Thinlits and the Precision Base Plate.  It’s quick and easy to get all the little pieces out with the die brush.  Here’s a short video showing how to cut the Detailed Floral Thinlits.


I attached my detailed floral piece to the card base using Fast Fuse adhesive along the wide strip across the top.  You can add Glue Dots to adhere the detailed floral piece if you want but I like to leave it free flowing.  I stamped the sentiment from Falling for You using basic black ink. I love the font and sentiments in this stamp set!

Falling for You stamp set

I couldn’t resist making a bow (to match the shoe) using the Bow Builder Punch. Watch this short video to see how easy it is to make a bow using this punch and Glue Dots.


My matching envelope was made using a piece of 2 1/4 x 6  basic black and cutting it out with the smaller die from the Detailed Floral Thinlits.  I adhered it to the envelope flap using Tear & Tape along the edges of my envelope then cutting away the excess paper.

Stampin Up Detailed Floral Thinlits Fancy Envelope Wedding Card idea - Jeanie Stark StampinUp

You could make this card and envelope in any color for any occasion! It is quick & easy! If you don’t have the Bow Builder Punch you can add a ribbon bow. Stamp a sentiment and you are good to go!

Stampin Up Detailed Floral Thinlits Wedding Card idea - Jeanie Stark StampinUp

Stamp Set: Falling for You (143109)  Ink: Basic Black  Papers: Basic Black, Very Vanilla  Tools & Accessories: Detailed Floral Thinlits (141482), Precision Base Plate (139684), Die Brush (140603), Bow Builder Punch (137414), Tear & Tape, Fast Fuse Adhesive, Glue Dots

Click HERE and HERE to see other projects I created using this die.

You can visit my online store to order any of the supplies needed to create today’s project.  Click HERE to shop. Use the Hostess code when placing your online order to receive your monthly gift from me. This month I’m sending out my birthday favor bags with DSP, card kits, and more!

March Hostess Code:  MDETS7YZ 

Have a wonderful day!

Just Stampin’

Jeanie

SAB last call

img_8820

Shop!

For every $50 you spend (before tax and shipping), you get a FREE Sale-A-Bration product. That means it’s the perfect time to purchase those products you’ve had your eye on while earning more products for free.  As an added bonus, Stampin’ Up! added three new Sale-a-bration products on February 21! Click HERE to shop my online store.

VIEW: Sale-A-Bration  – release 1
VIEW: Sale-A-Bration – release 2 (new)

Host!

You can earn Host Rewards with sales of $150. Place an order of $250 or greater or host a party with at least $250 in sales during Sale-A-Bration and you’ll earn $25 more in Stampin’ Rewards/Host Cash!!  You can even apply your Stampin’ Rewards toward a Starter Kit and become a demonstrator yourself!

Join!

It’s the best time of year to join Stampin’ Up! During Sale-A-Bration, you can become a demonstrator for just $99 and choose TWO additional stamp sets for your Starter Kit—any stamp set, any price! (Excludes Sale-A-Bration sets and bundles.) Plus, the kit ships for free! Send me an email (j.stark@myactv.net) if you have any questions or want to plan a time to chat. Click HERE and HERE for more information. I hope you will Join the Fun!

W is for Washi Tape

Welcome to my ABC’s of Stampin’ series.  Today we’re going to have some fun with Washi Tape. There are so many different ways you can use washi tape.  I will cover just a few different ideas today. Yesterday I posted this light up card made with vellum and a battery operated votive candle.  You can see that post here. I covered the candle for the card in matching washi tape from the Affectionately Yours Designer Washi Tape. It has copper in it just like the Designer Series Paper I used.

If you follow my blog, you know how I like everything to match. I think it makes a nice presentation especially when giving as a gift.  Here is a matching gift tag and birthday card made with the Floral Boutique Designer Washi Tape.  There are so many possiblities!  I even made 2 different gift tags to choose from. The sentiment is from Birthday Banners and the banner on the tag is cut from the Bunch of Banners Framelits Dies.

Stampin Up birthday card and tag idea using washi tape - Jeanie Stark StampinUp

I love this washi tape card.  I CASed the card design from Pinterest (PiasCreativeWorld.blogspot.com) and made it in the classic navy and white.  I use a cutting mat with grids to help keep the washi tape straight when sticking it on the cardstock.  It is easy to lift off and just fold the ends back for a nice clean edge.

Stampin Up Bow Builder Punch Birthday card idea using washi tape - Jeanie Stark StampinUp

The washi tape makes quick and easy birthday candles.  I used the Festive Flower Builder Punch to make the flames and the Bow Builder Punch to make the bow.

You can also make quick & easy tags with dies.  Here I placed washi tape from Candy Cane Lane Designer Washi Tape on to my cardstock then cut it out with an ornament from the Delicate Ornament Thinlits. I added some Candy Cane Lane Baker’s Twine and it’s ready for you to write on the back or just stamp to: and from: using the Candy Cane Christmas Stamp Set.

This next project is a great one to do with kids to make thank you notes for Christmas.  I used the Warmth & Cheer Designer Washi Tape for this project.  The sentiment is from the Thankful Thoughts stamp set. You can even use washi tape on the envelopes!

img_4622

This next card was sent to me from my upline, Susan Itell.  She used Pop of Pink Designer Washi Tape on this card.

img_4613

As you can see there are lots of ways to use washi tape and lots of choices too!  Click Here to see all the different Designer Washi Tape. I store my washi tape in a clear container intended for eye glasses that I purchased from Amazon.  I like that I can see exactly what I have so I’ll remember to use it.

img_4620

Sometimes I cut my envelopes down if I make a square card.  Washi tape works great to seal the sides. Here’s a card I shared previously where I showed how I did that.  You can click on the photo to see the post with all the details.

img_4614

Yesterday I shared that I was having visitors for lunch and some stamping fun. Here’s a picture of me with Ramsey and Susan…The Three Stampateers!  LOL

img_4607
The “Three Stampateers”

Here’s my Back to School Special for today…With the purchase of $25 or more from my online store I will send you a roll of washi tape so you can have some fun and start creating. Be sure to enter the Hostess Code 7CNZAUYM when you check out. (I’ve included a visual below.)

Have a Wonderful day!

Just Stampin’

Jeanie