
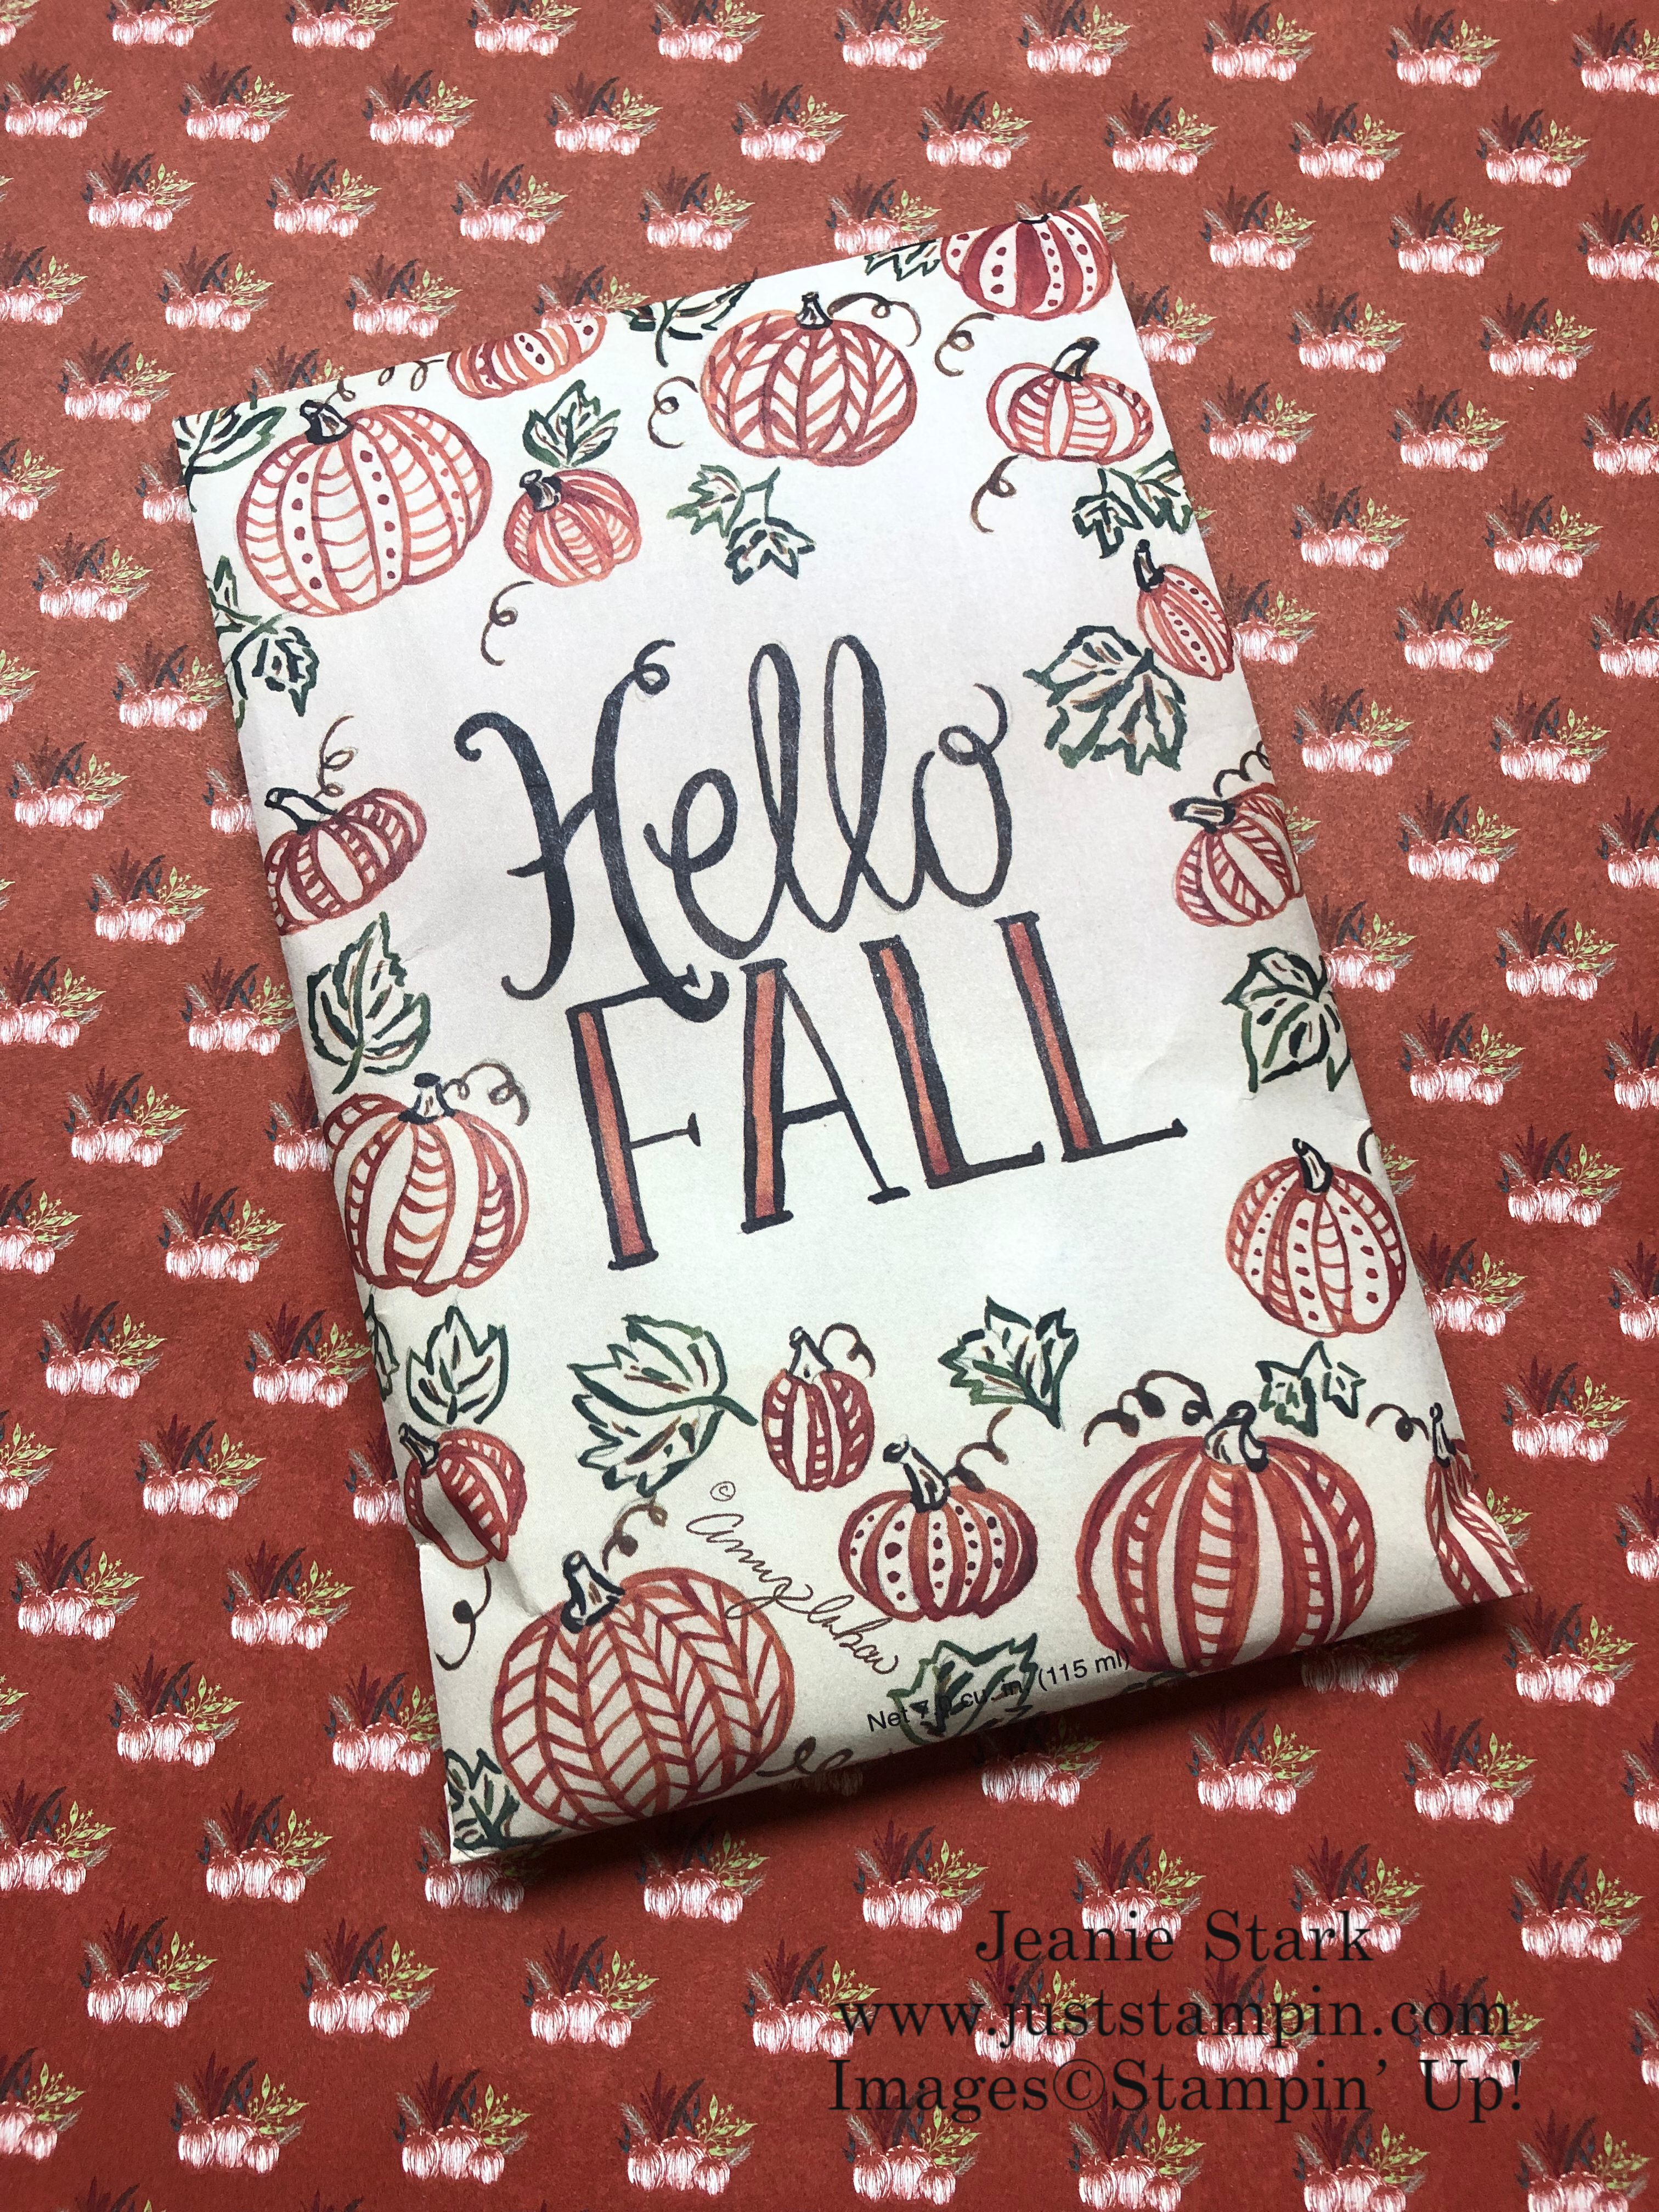
Welcome to my ABC Holiday 2019 Series! Throughout this series I will be sharing all kinds of cards, gifts, and ideas to help make your holidays as easy as ABC! Today I’m showcasing the Mini Curvy Keepsake Box. I loved it’s Mama (Curvy Keepsakes Die) from several years ago and just about anything mama could do, so can this little cutie! Here’s a look at the first project I made.

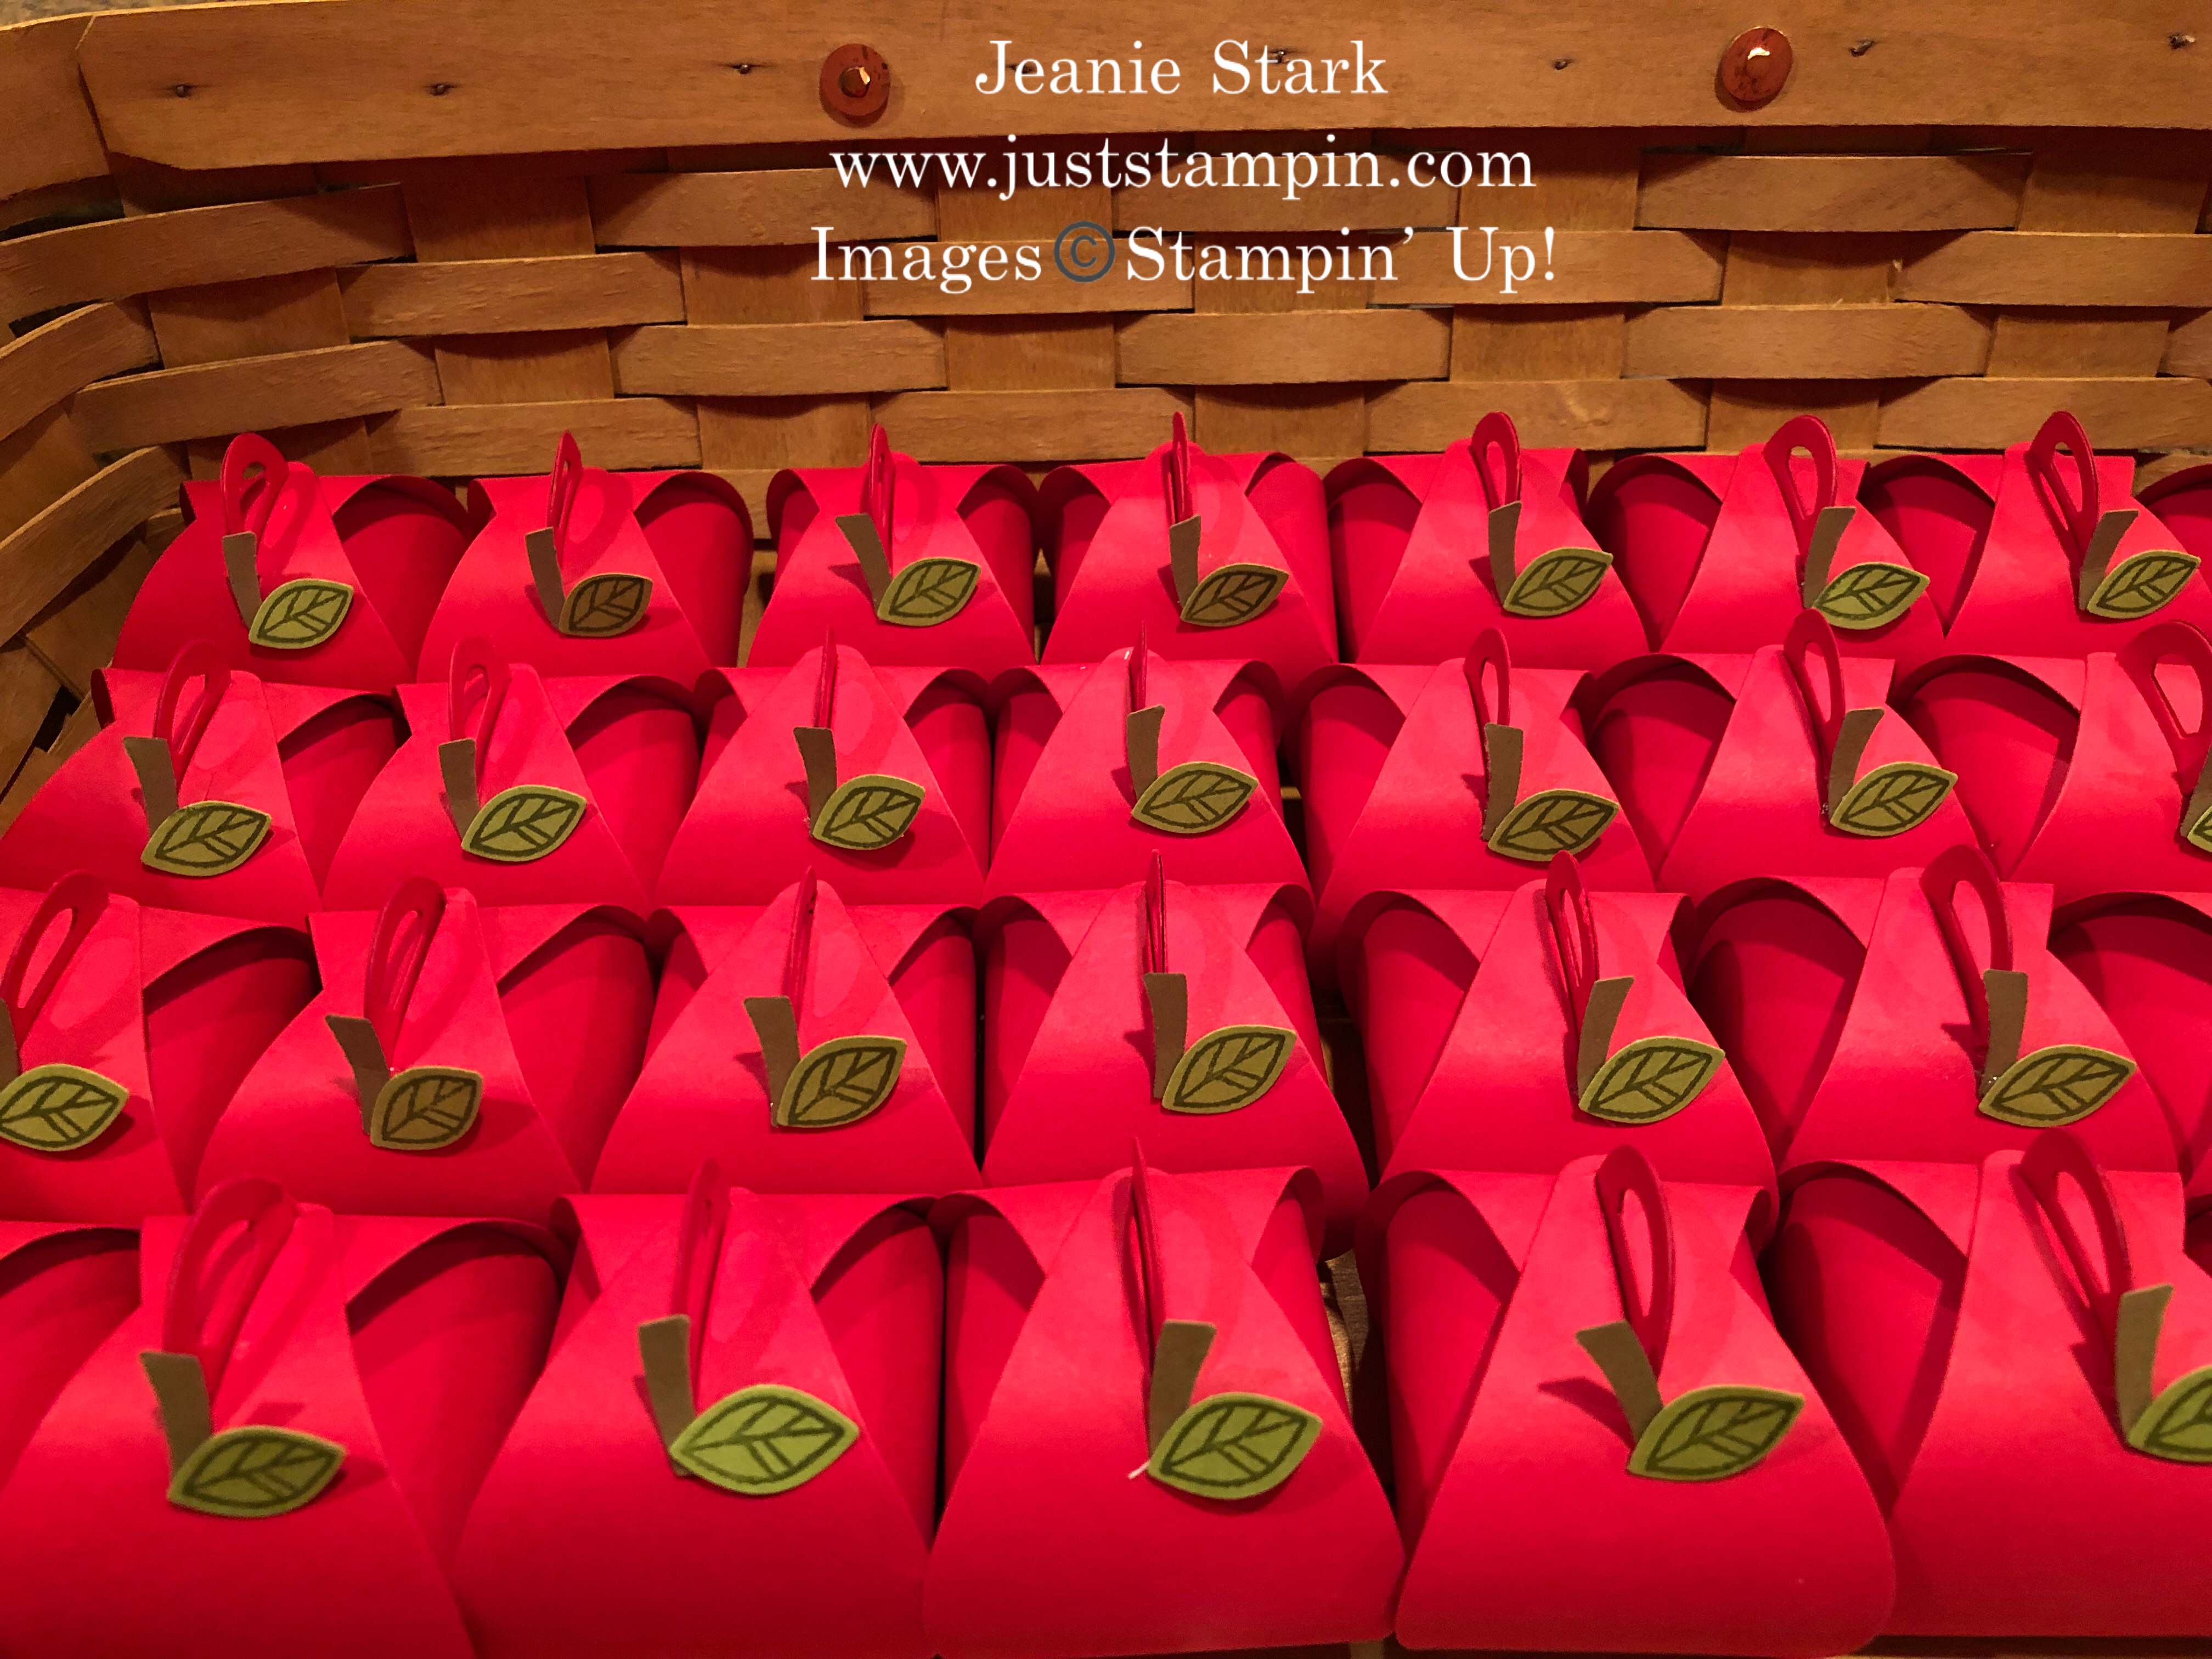
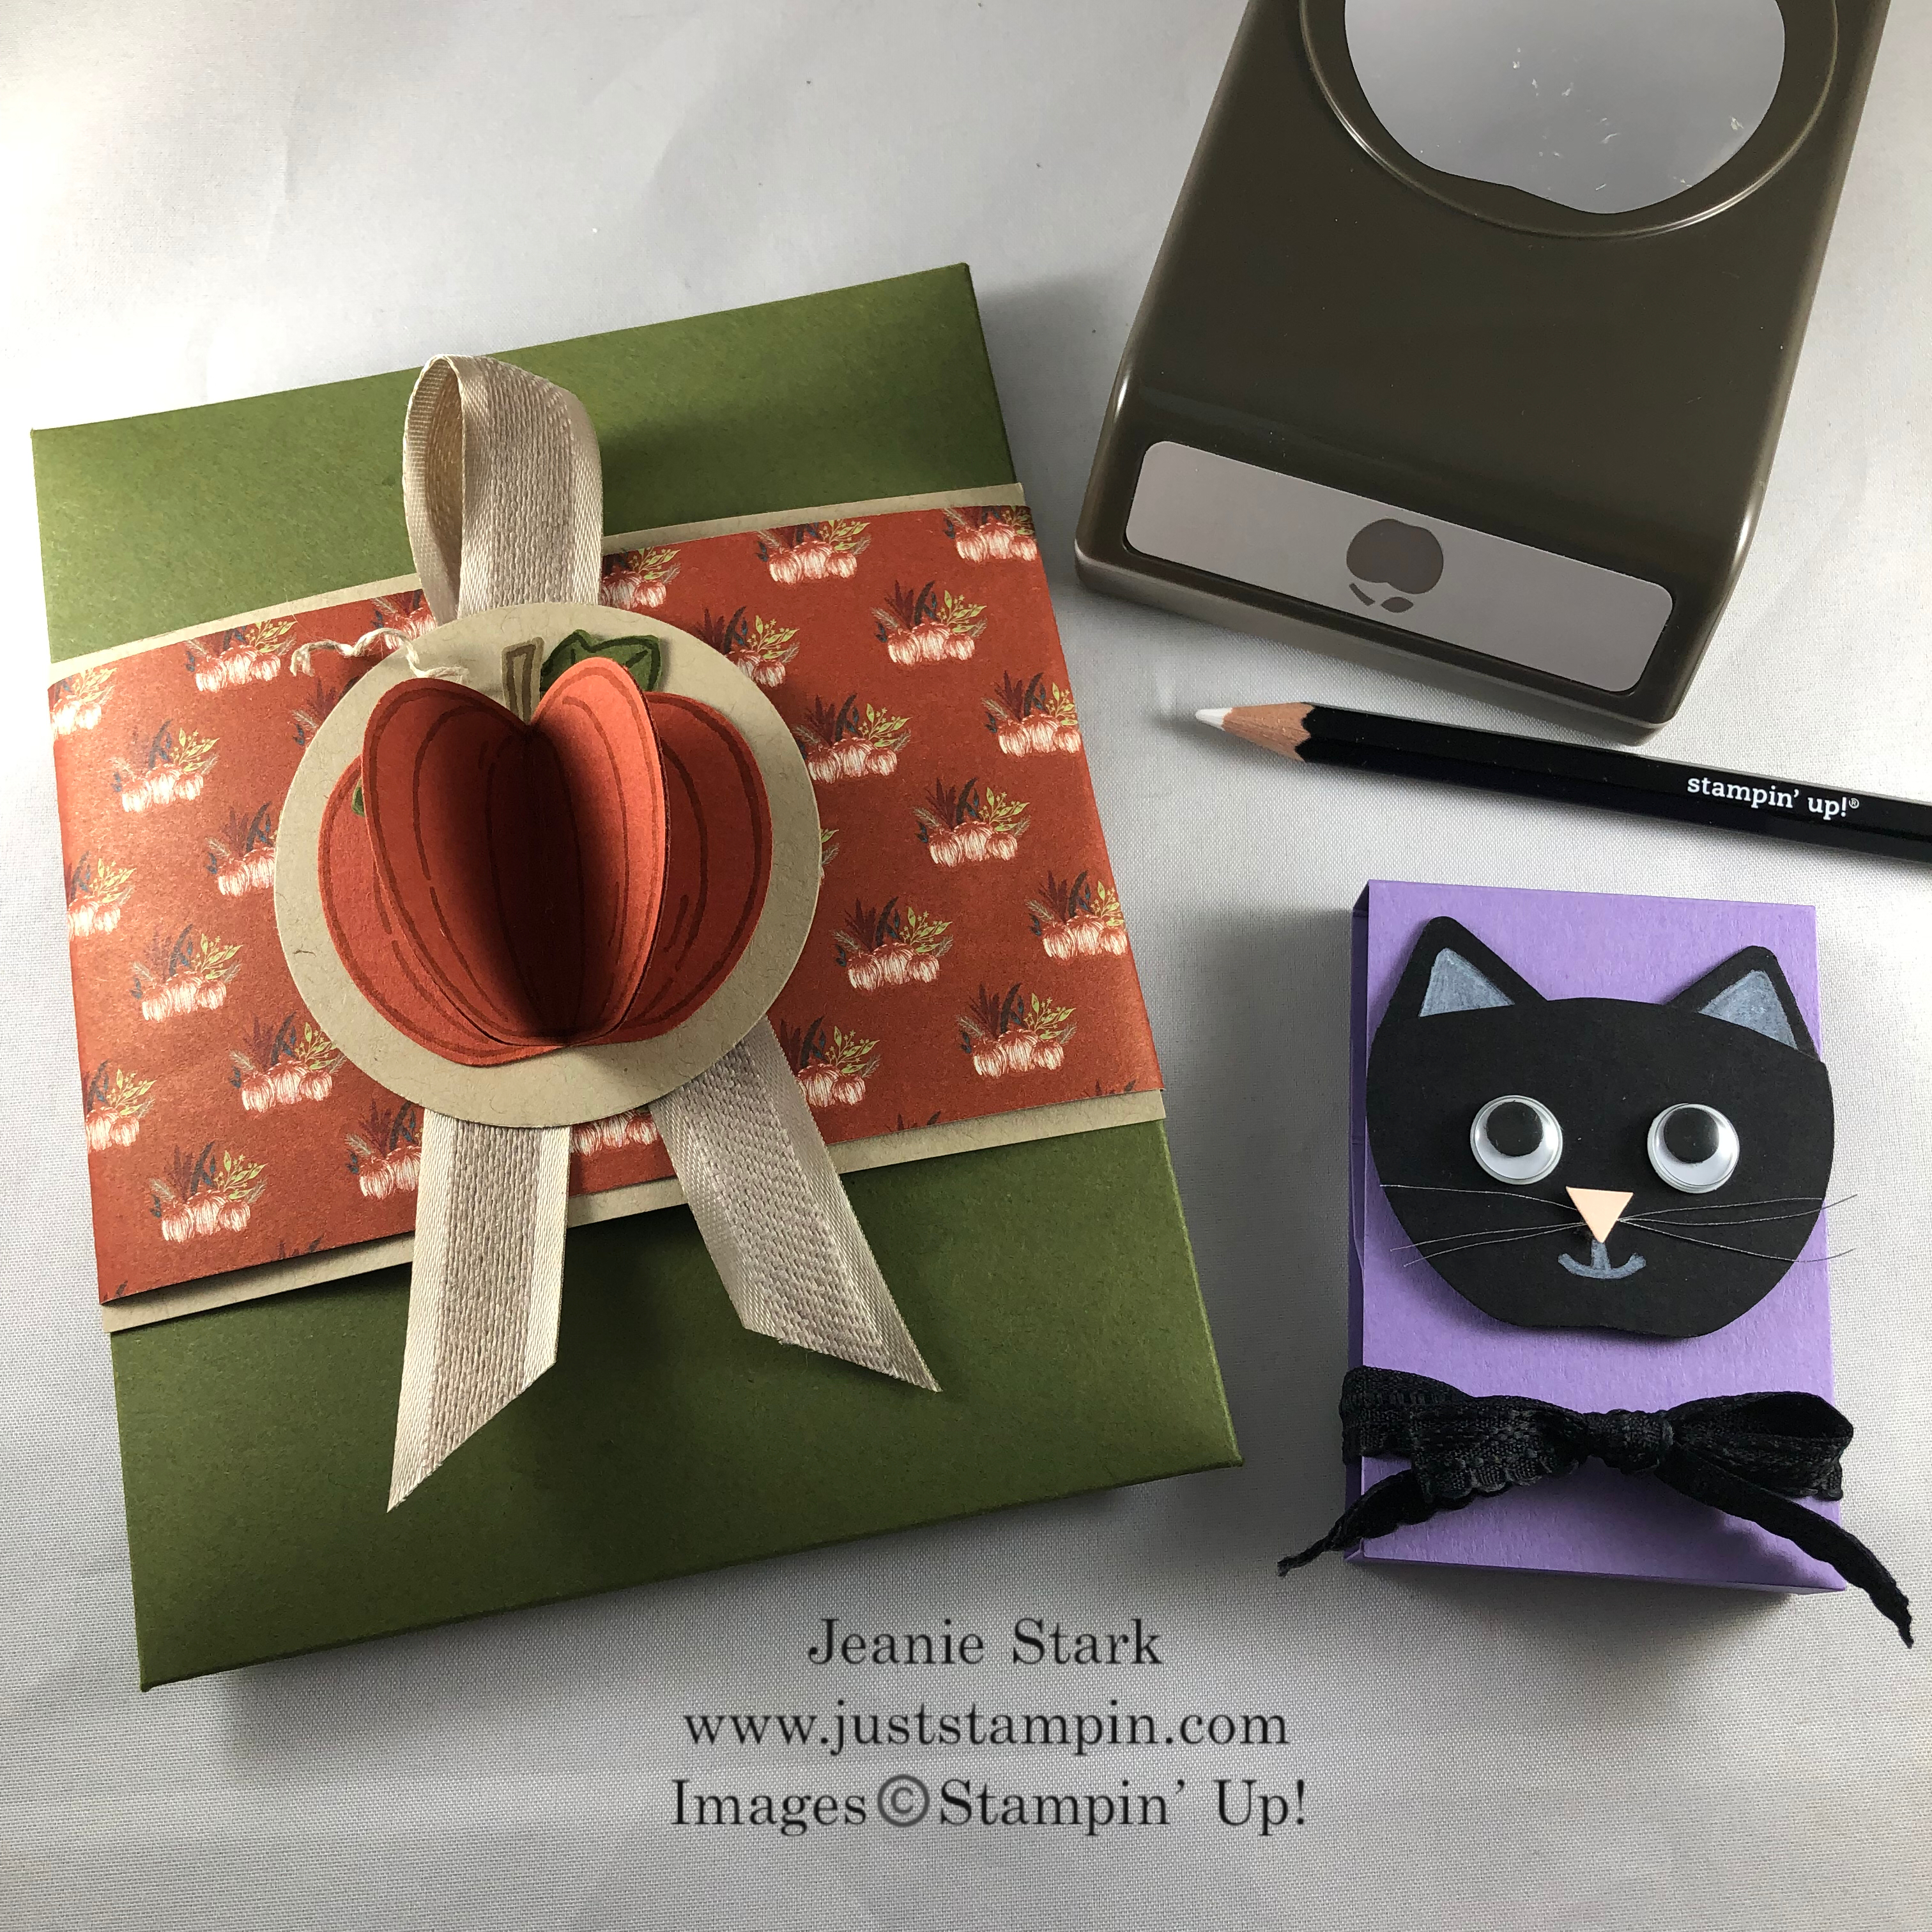
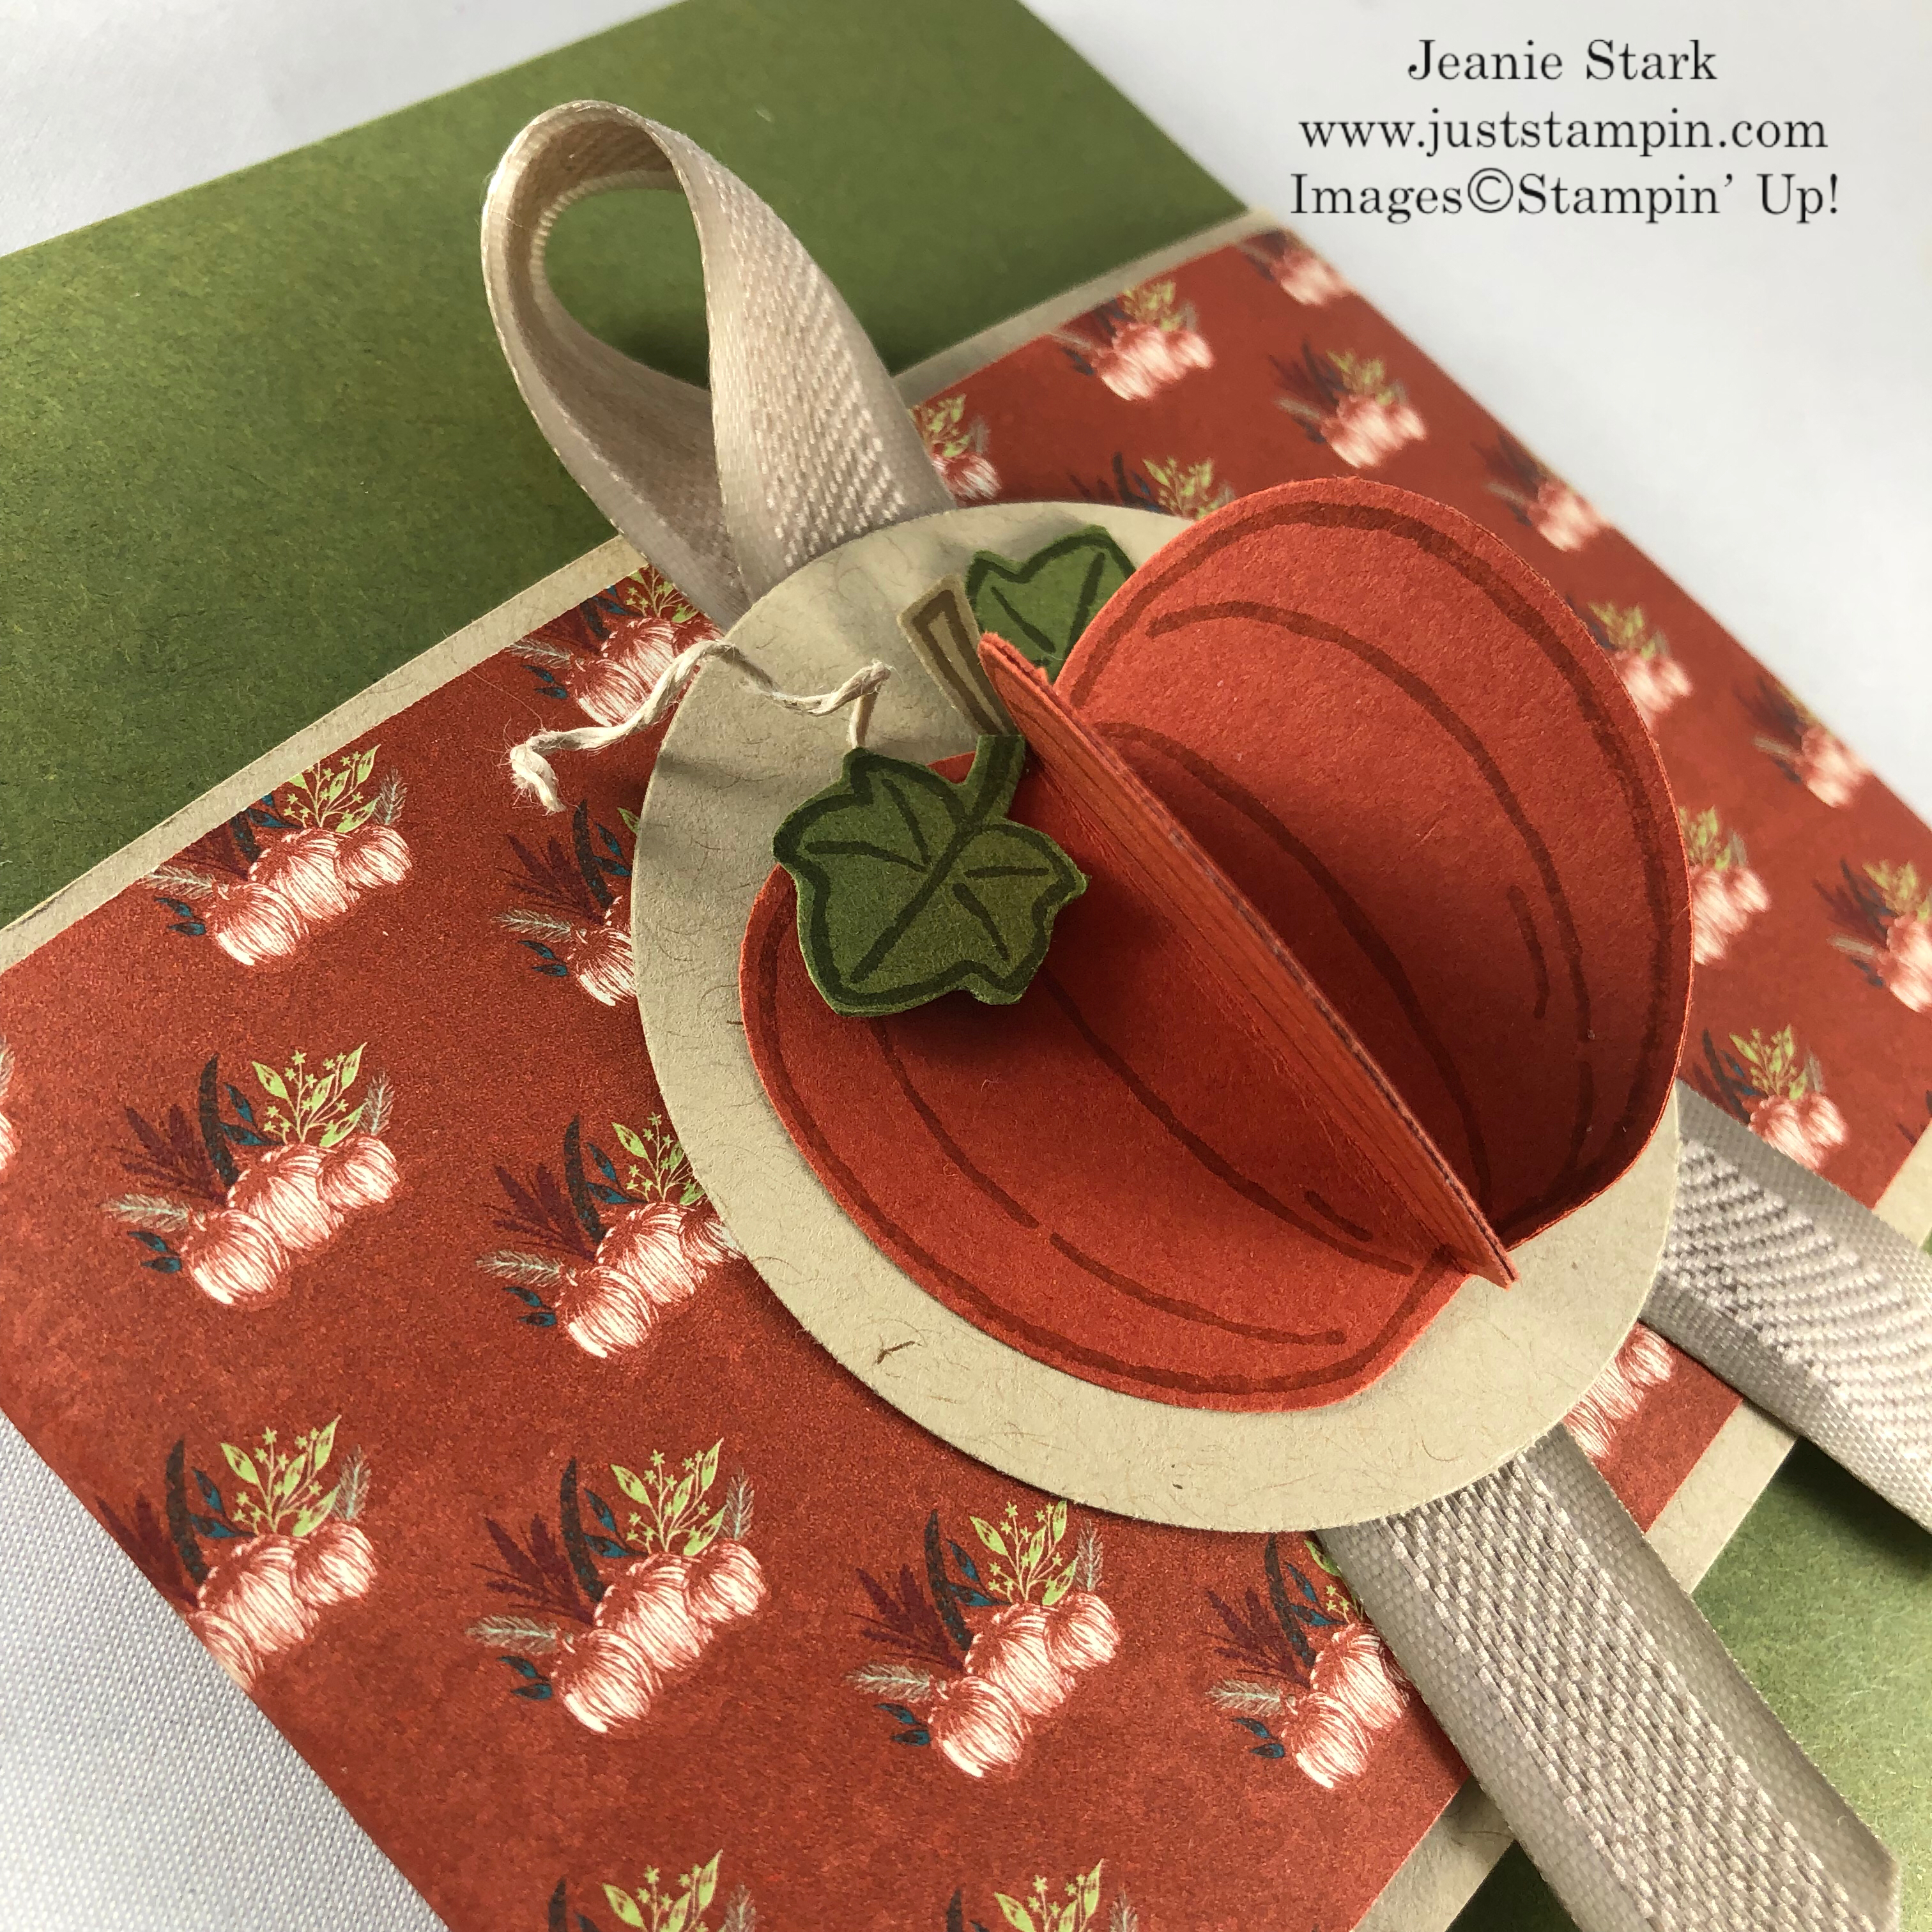
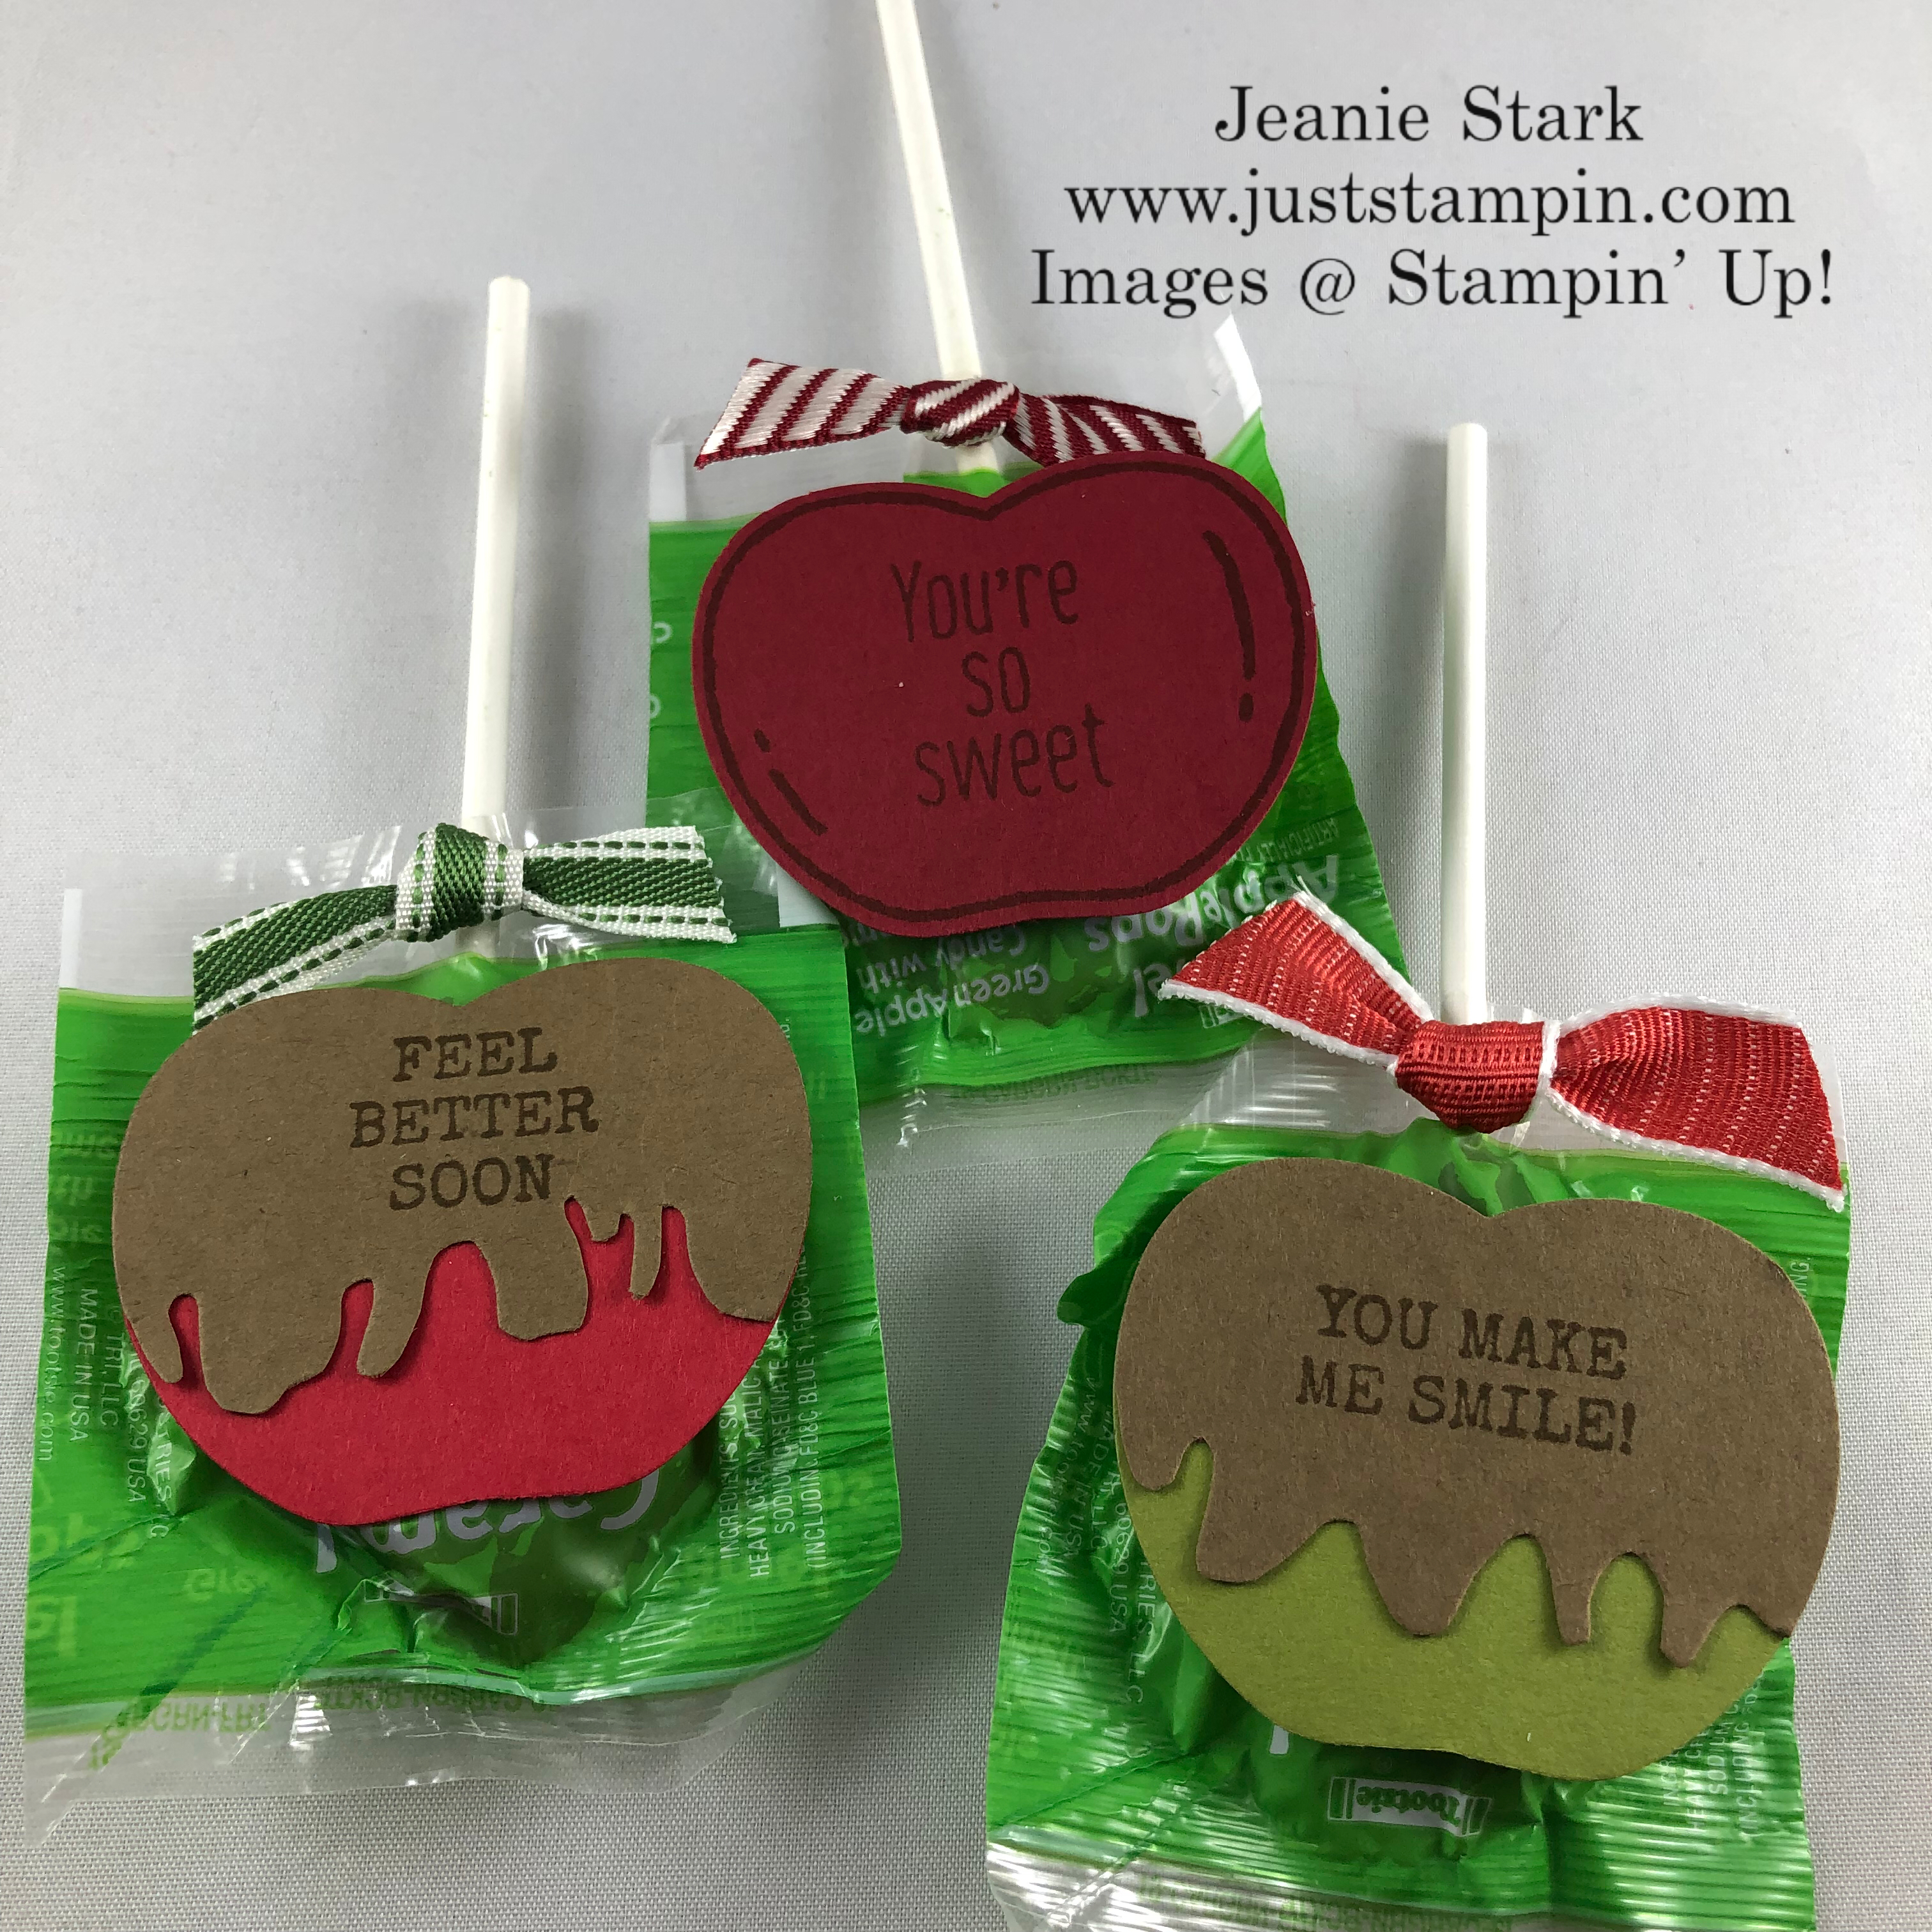
I made over 50 of these apples…for the teachers for back to school, the hairdressers at the shop where I sell my cards, friends, etc. They are so quick & easy to make! You had to cut two for the old “Mama” die and then you had to glue and assemble but this little one doesn’t require any adhesive at all and you can get two of these boxes per sheet of paper. I filled the apples with 5 caramels each which still makes a nice little treat to give. There are so many other things you can fill them with too! Here’s some others I made for Fall/Thanksgiving.
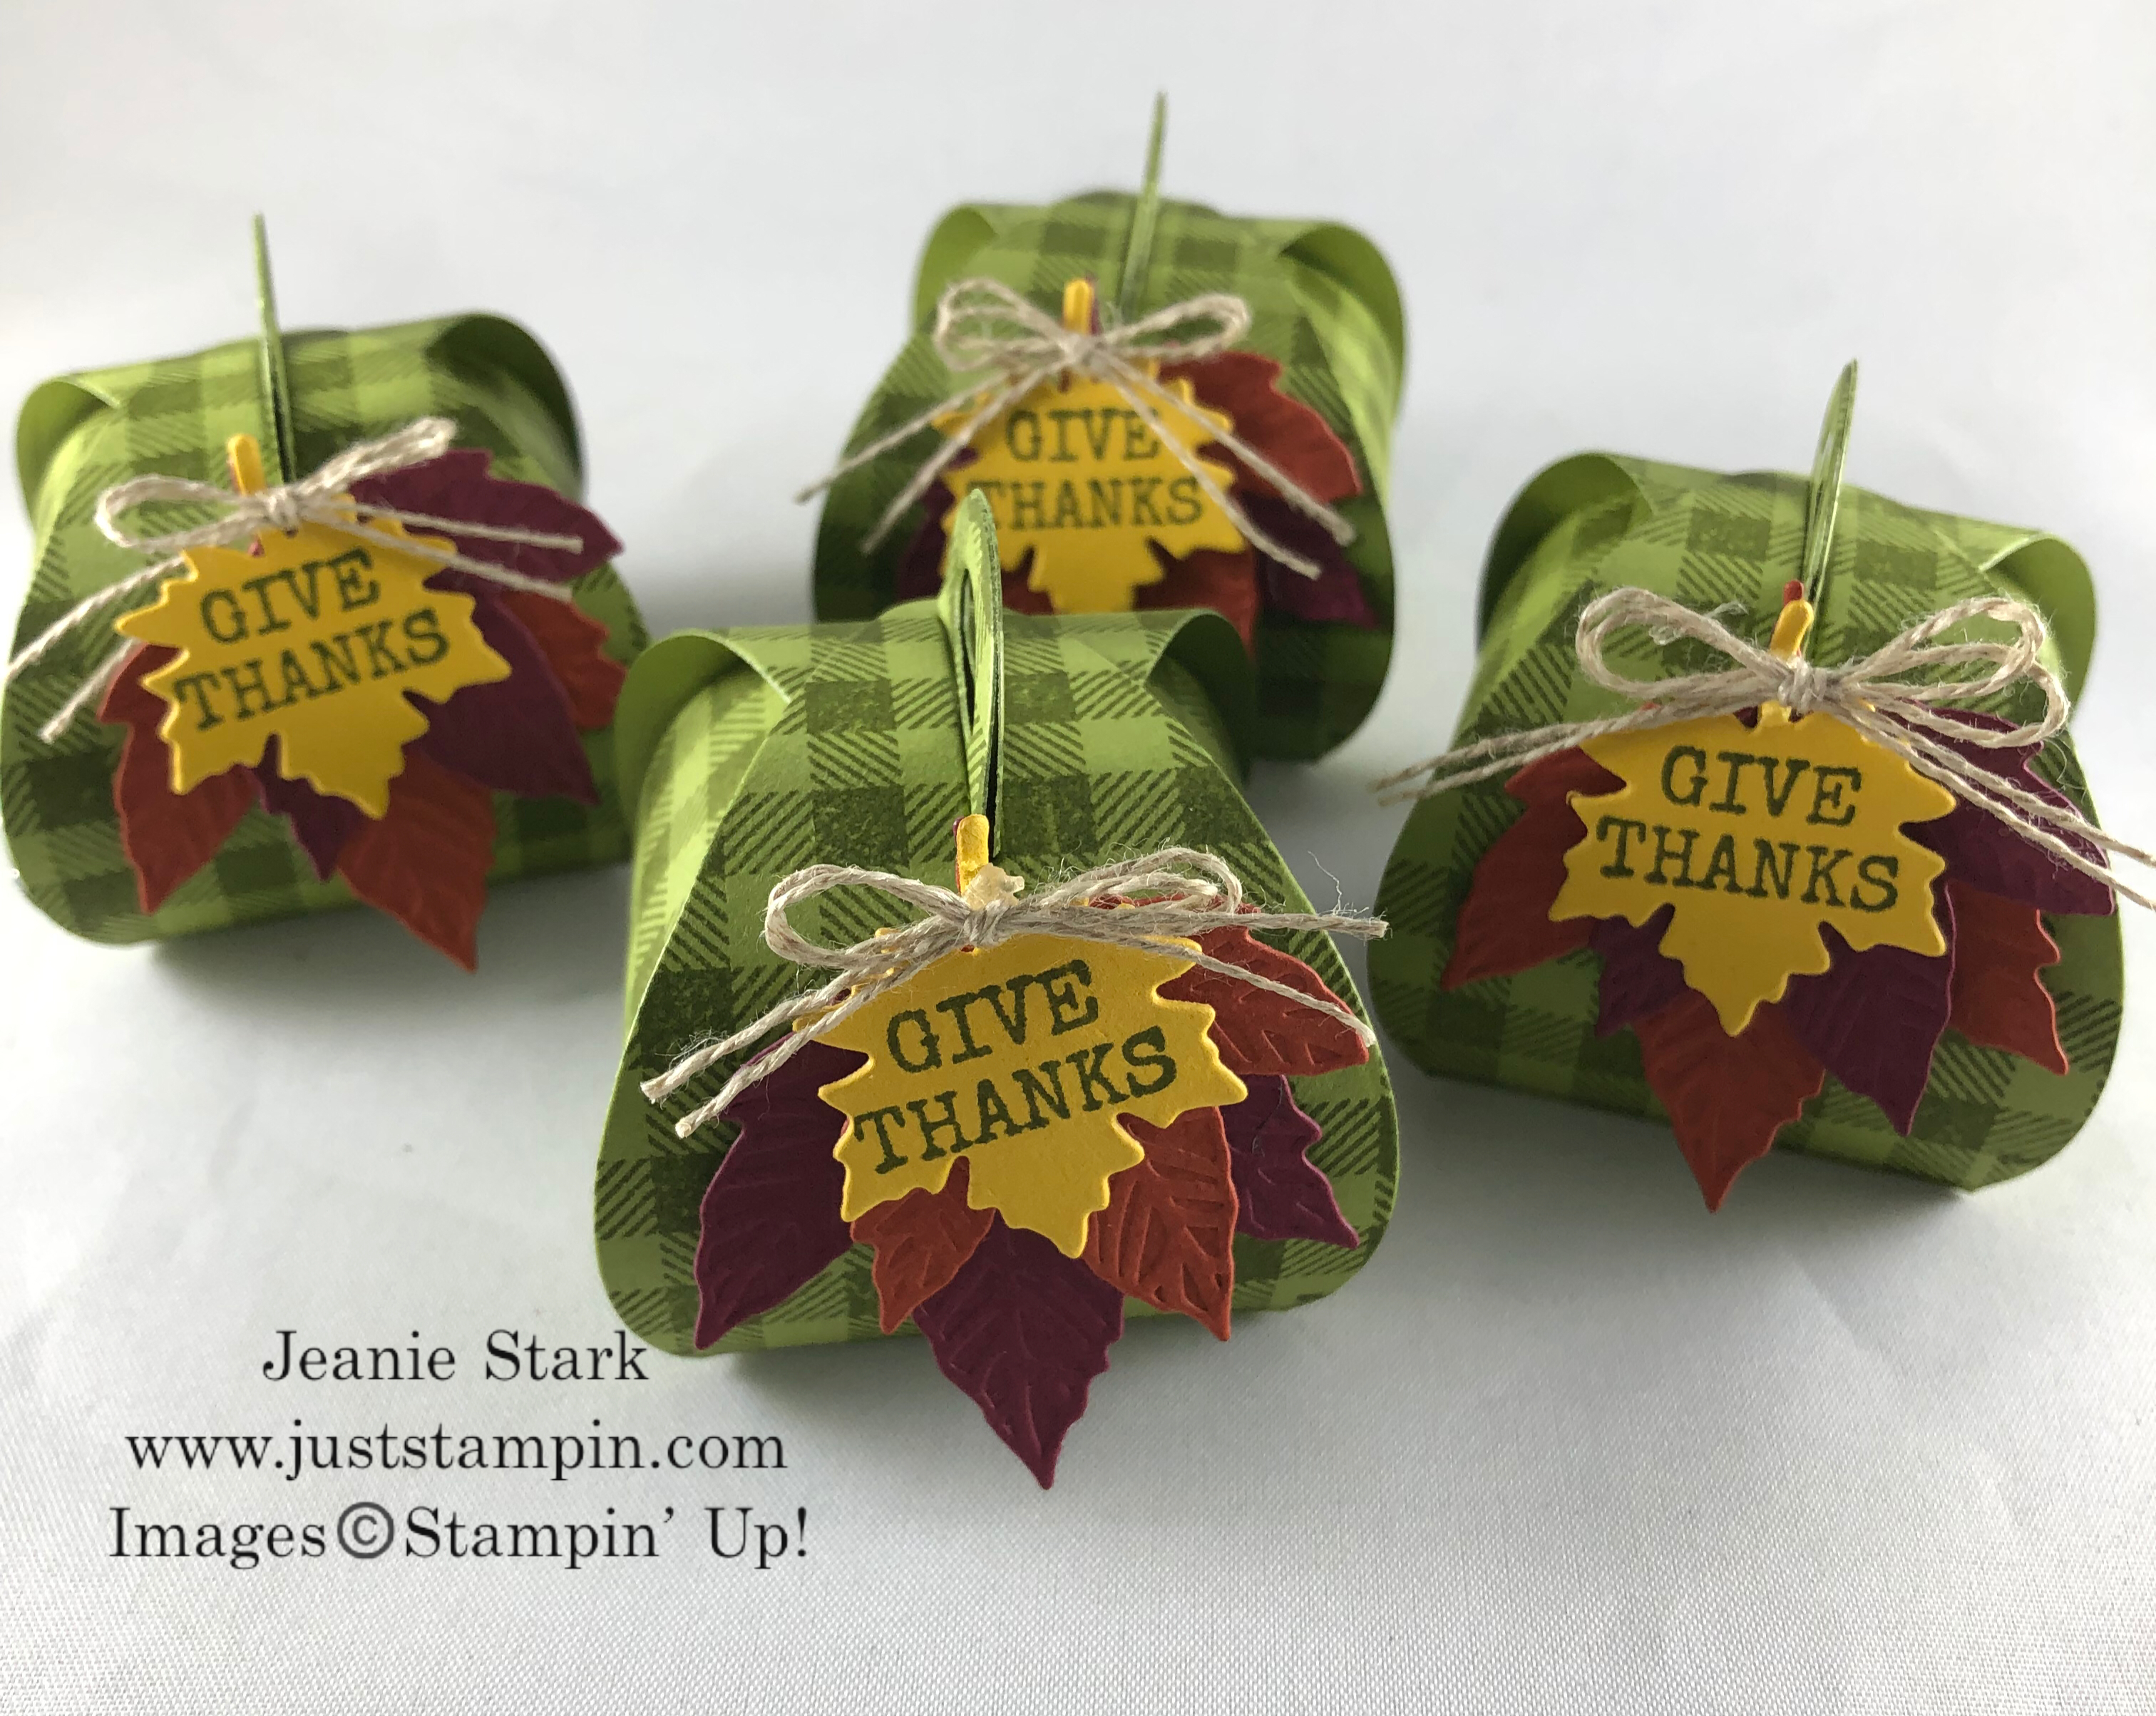
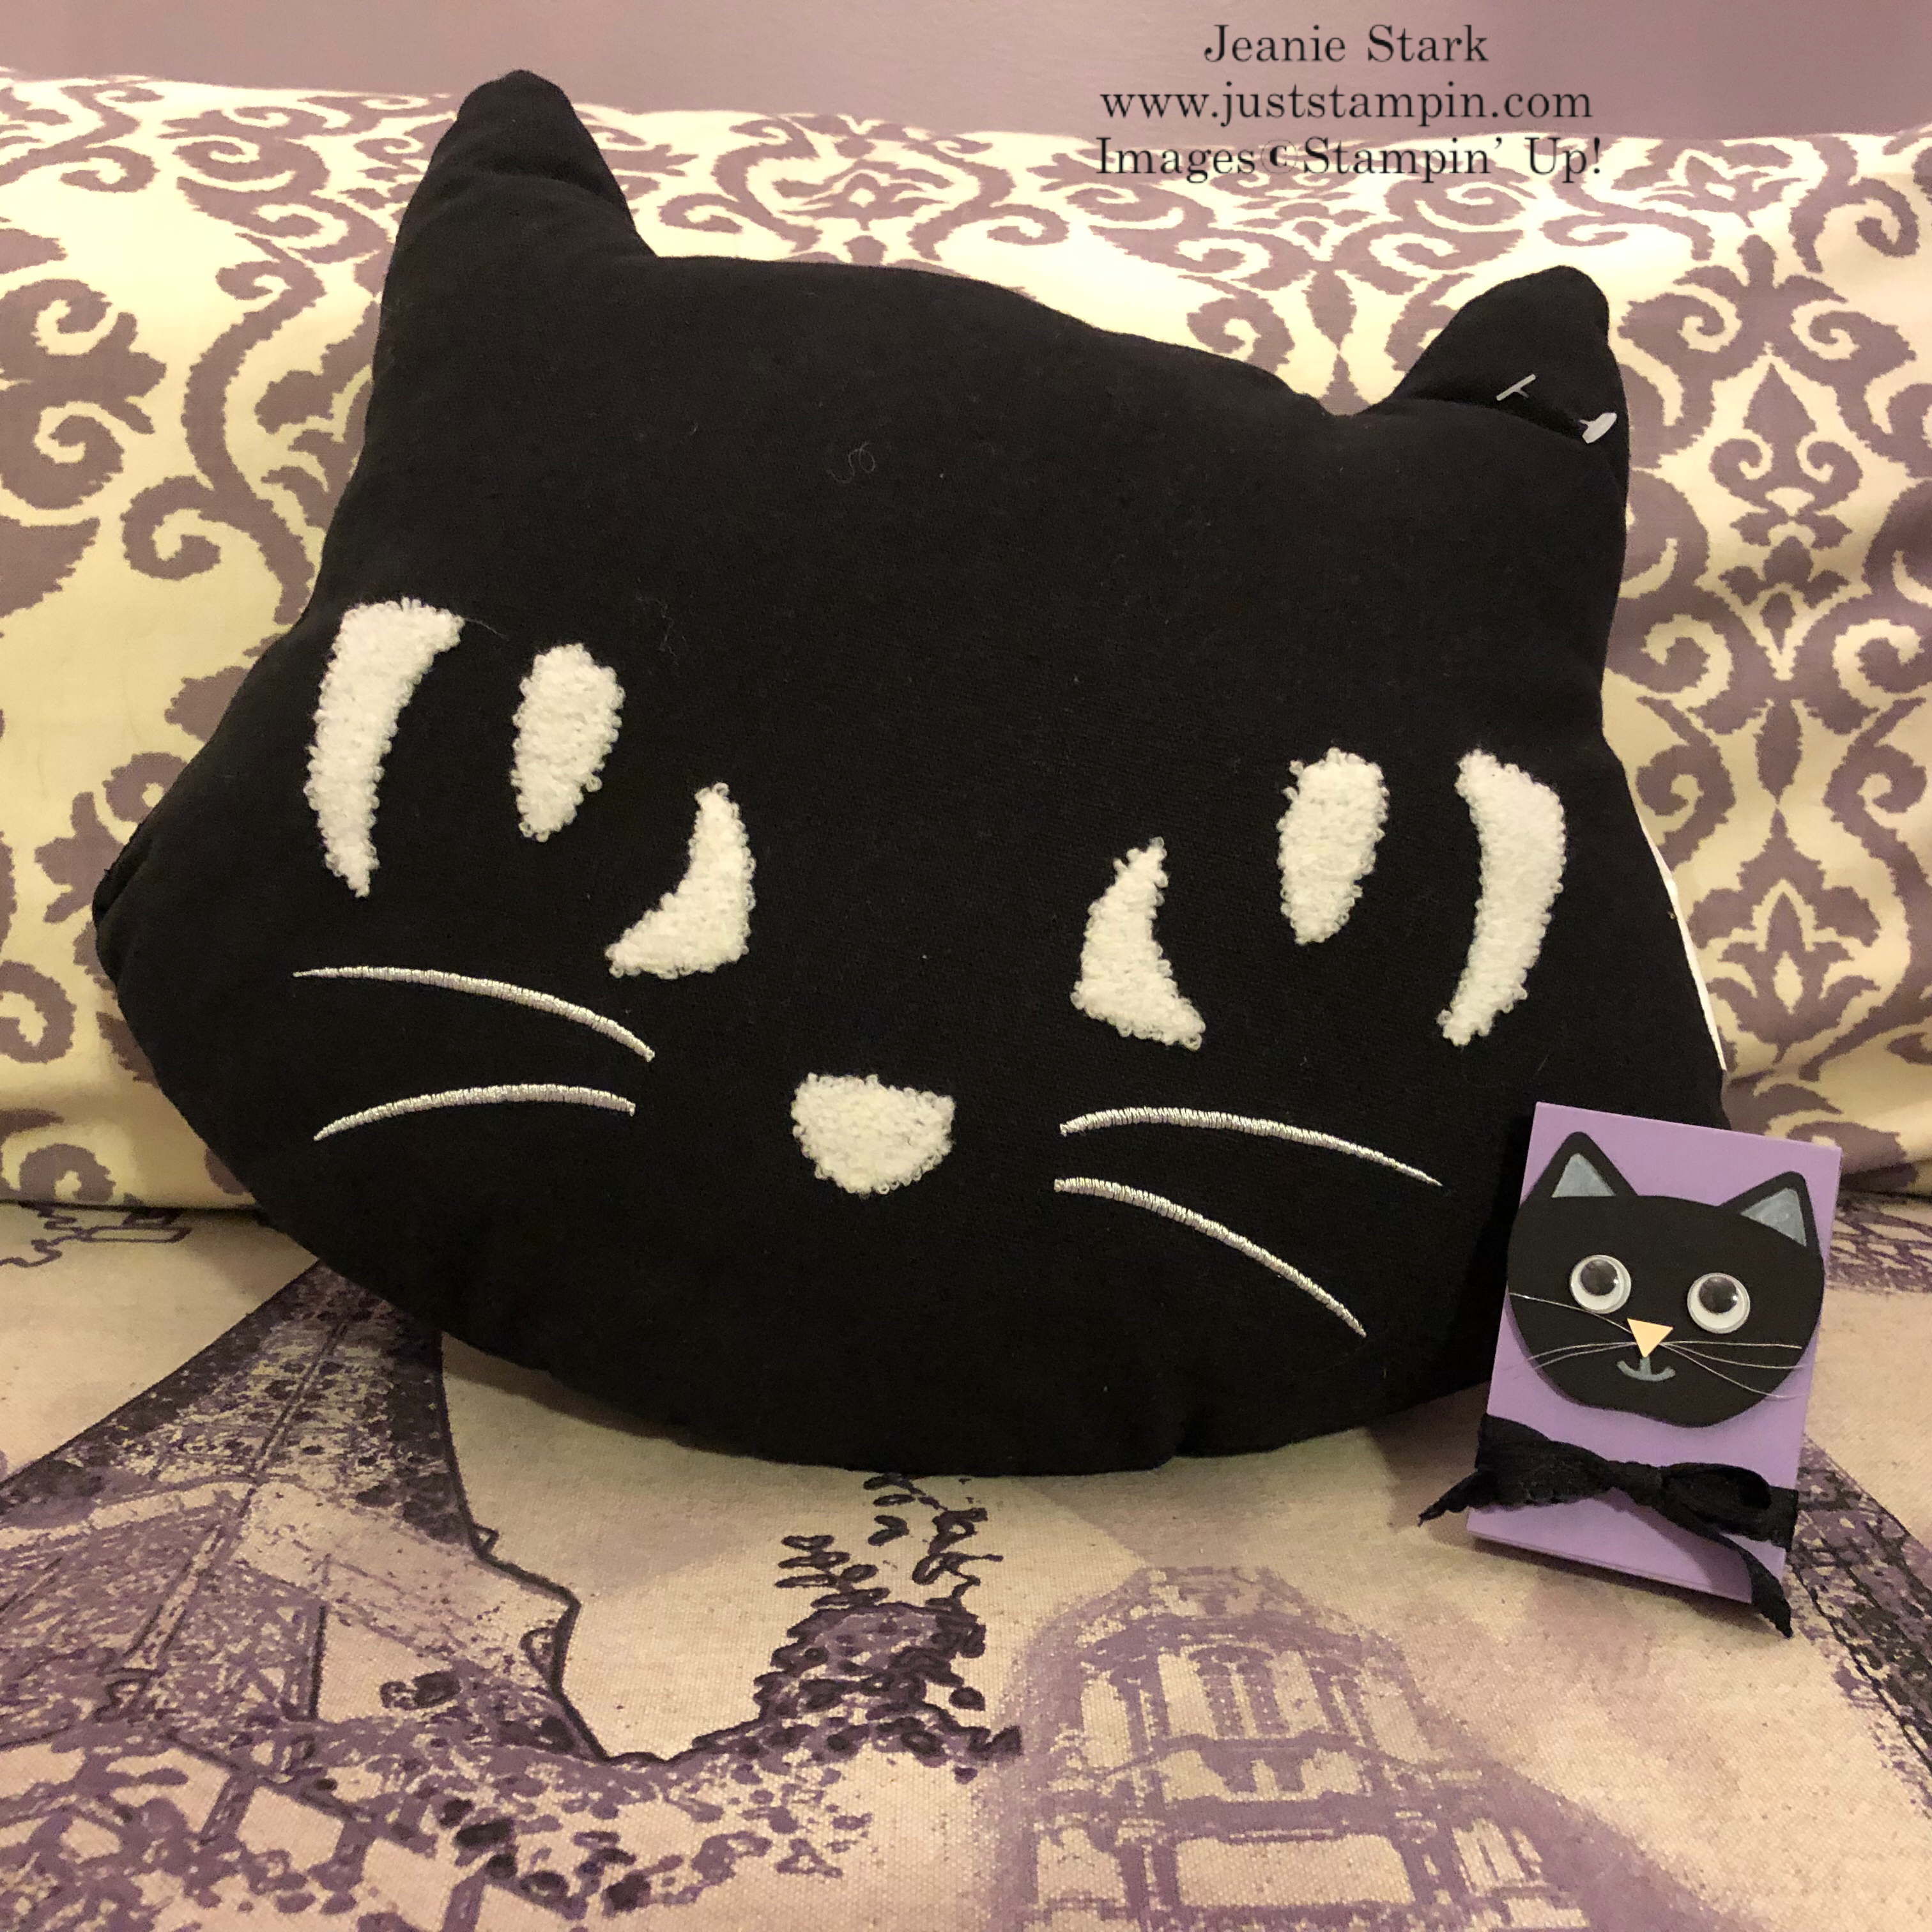
I used the Tiny Keepsakes Stamp Set to make the checked pattern on my boxes. You can purchase the Tiny Keepsakes Stamp Set and the Mini Curvy Keepsakes Box Dies as a bundle and SAVE 10%. I debated getting the bundle and thought I would just buy the dies but I am so glad I went ahead and purchased the bundle! The Tiny Keepsakes Stamp Set has two miniature background stamps with adorable greetings. You can make your cards and projects so creative making your own “Designer Series Paper” using the checked or stripes! Take a look at all you get with the Tiny Keepsakes Bundle.

Here’s a quick video to see how easy it is to put this treat holder together!
I like to use my bone folder to curl each side of the paper before I put it together. It gives it a more rounded look.


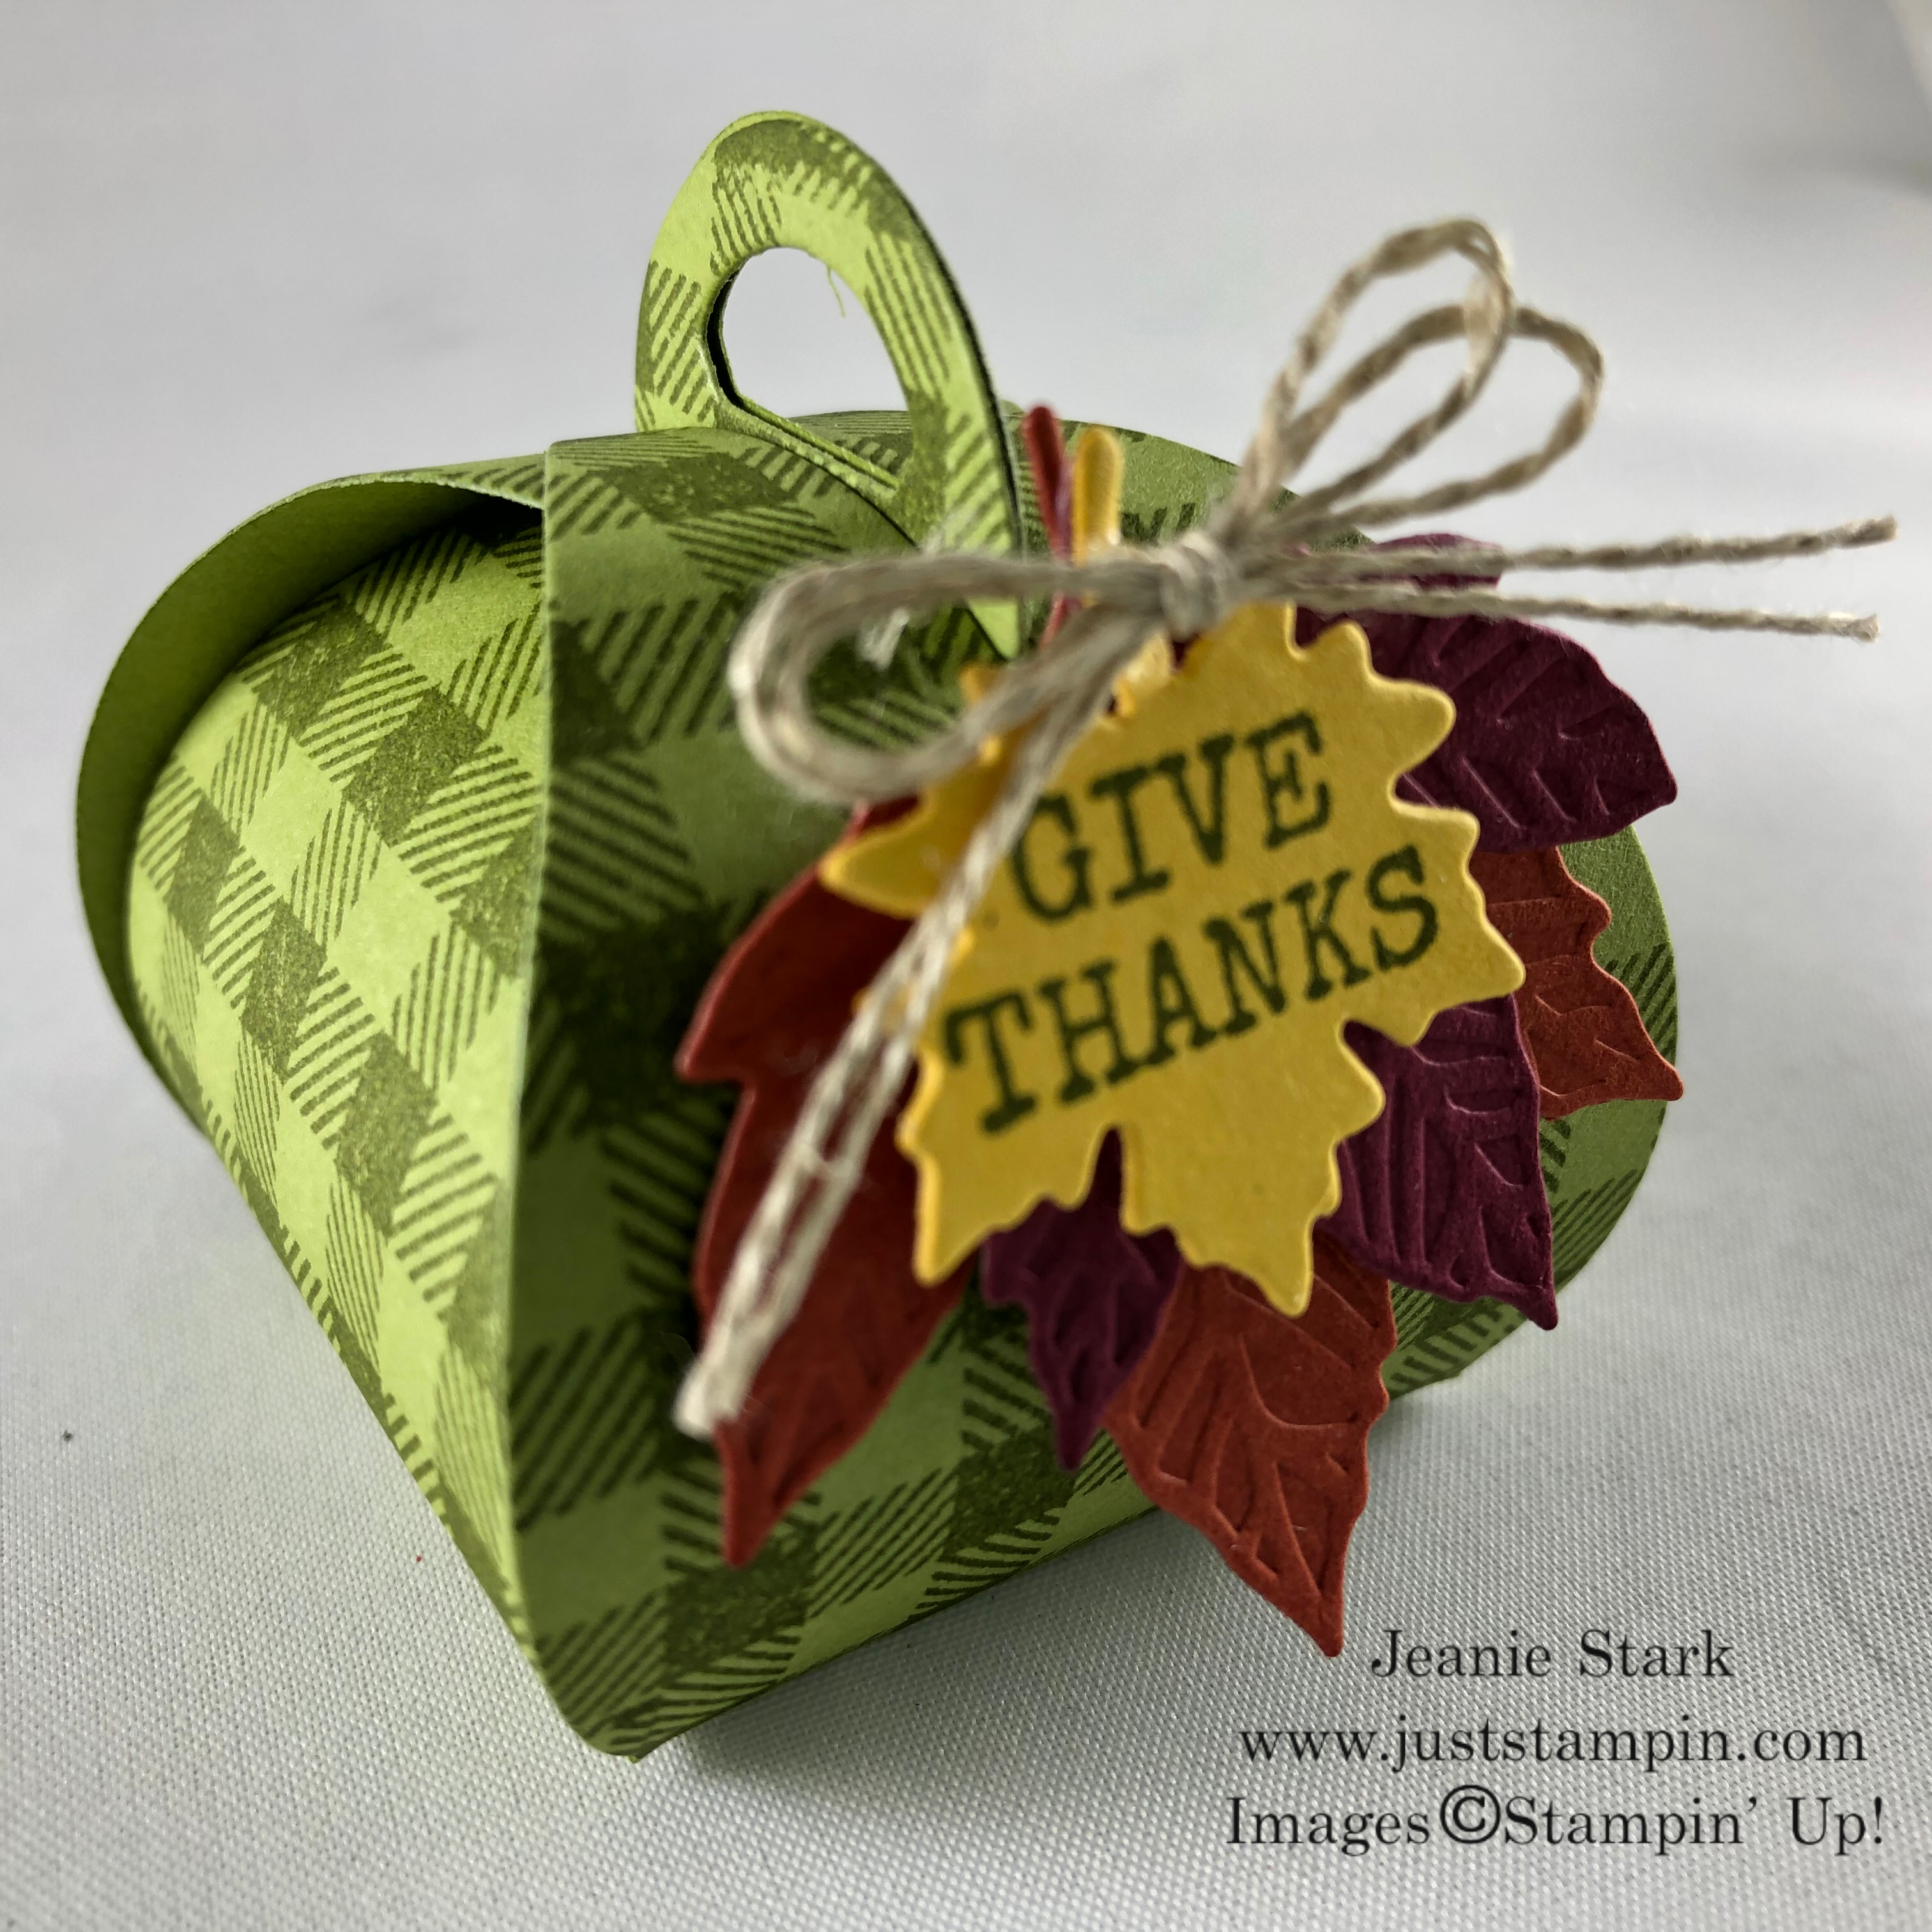
I filled these with M&M’s and a special little note. For years I’ve mixed up my special “Blessings Mix” and always had that in whatever table favors I made that year. This year, I’m changing it up and going with some M&M’s and a Thanksgiving Gratitude Game to get some fun family conversation going (I hope).

Click to print your own Thanksgiving Gratitude Game.
You can click HERE or HERE for more Thanksgiving favor ideas.
On a personal note…I am one happy mama today as my daughter flew in late last night and is home for a few days. We are planning to hit the craft shows this weekend, perhaps take a hike to the waterfalls, and enjoy the gorgeous Fall weather. And, since she can’t come home for Thanksgiving this year, we are planning to celebrate the holiday this weekend with a big turkey and all the trimmings. I grew up in Massachusetts and went on many field trips to Plymouth Plantation. We were told the first Thanksgiving was actually celebrated in October. It was good ole President George Washington who decided to proclaim a national Thanksgiving holiday in November. For me, any day I have my kids home is a day of Thanksgiving!!!!
Have a wonderful weekend!
Just Stampin’
Jeanie
*Host Code Exclusive! All orders placed through my online store are eligible for my FREE monthly gifts (Exclusive tutorials, card kits and more!). Please use the current host code below. *If your order is $150 or more, do not use this code as You become the hostess and get the Rewards! Don’t forget to check out the Clearance Rack and SAVE! Click HERE to shop.
October Host Code: FG7M24JM
FREE Tutorials…This month I am offering 3 Exclusive PDF card tutorials using the All Around Wreath Dies and coordinating stamp sets. You can get these tutorials FREE with a purchase of $40 or more from my online store. (These ideas will not be shared on my blog.) In addition, you will receive a handmade thank you card from me along with a card kit for any order each month! I love to make and send cards and I appreciate your support!
Did you miss out on the Exclusive monthly tutorials in September featuring the Gather Together Bundle? Order the bundle from my online store and I’ll send you the tutorials for FREE!
Click on the bundle to order!
|
|

Product List for Mini Curvy Keepsakes Box Projects (Click on any image to shop my online store.)
|
|
|
|
|
|
|
|
|
|
|
|
|
||
|
|
|
")
")


")
")


What’s better than creating a handmade card? Sending it of course! That’s why Stampin’ Up! is excited to announce the first annual World Card Sending Week from Sunday, October 6 to Saturday, October 12. We’re setting a goal to send 50,000 cards that week! I would love your help in reaching our goal. I hope you will find some time to create this week. Then keep track of how many cards you send from Oct. 6 – 12. On October 12th I will ask that you to leave a comment on my blog with how many cards you sent. Let’s work together and send smiles across the world!


 Designer Series Paper")

 Braided Linen Trim")

