
Stampin’ Up! has announced 11 colors that are leaving the color line to make room for some returning favorites as well as a few new colors coming in May! We will be saying goodbye to….


If any of these colors are your favorite – I suggest that you order FAST as all retiring items are only available while supplies last. Order ink pads, ink refills, markers, cardstock, designer paper, ribbon and embellishments in these colors!
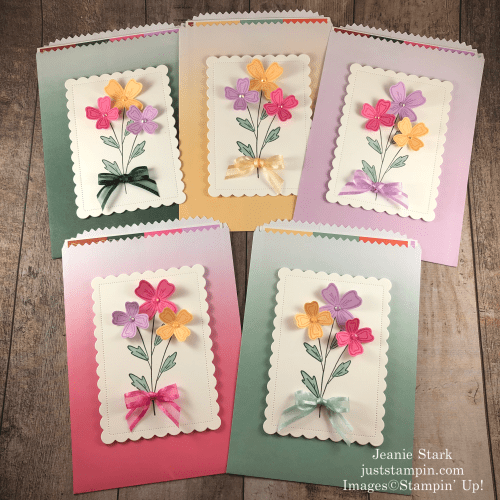
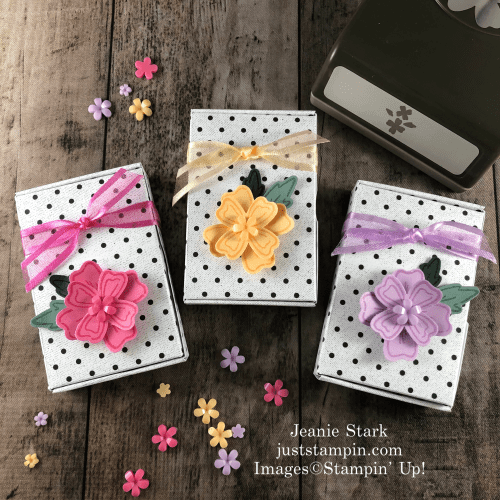
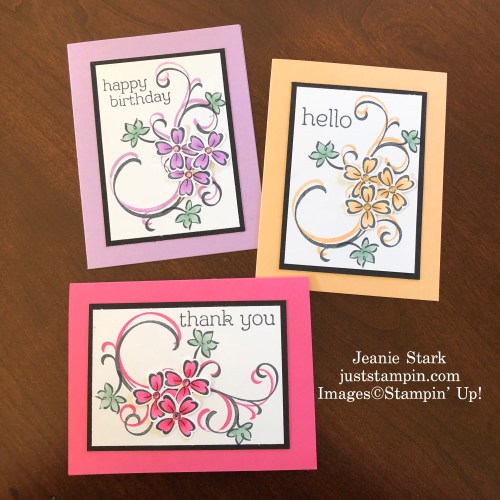
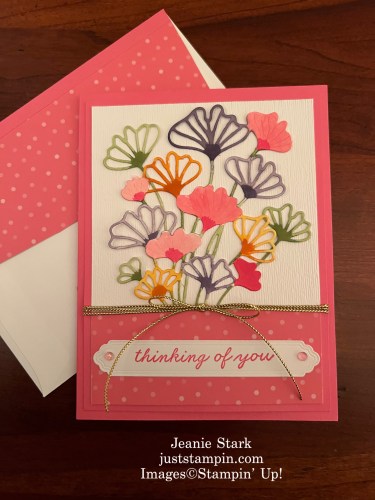
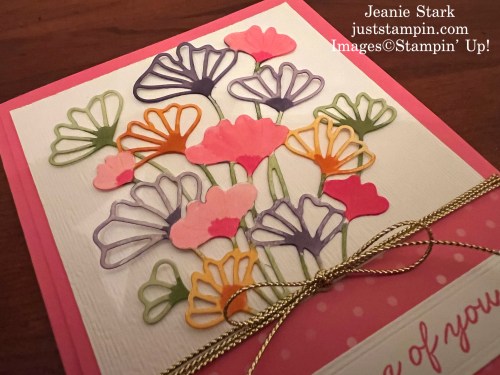
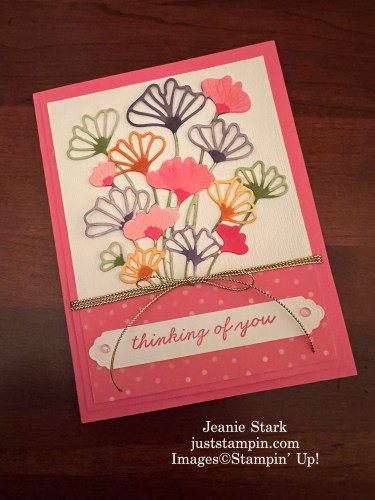
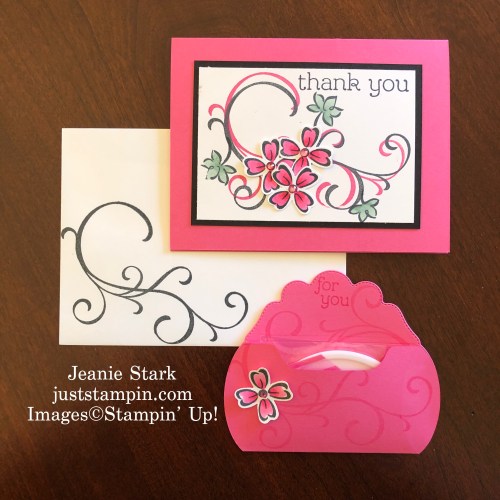
Also remember that the 2021-2023 In Colors Evening Evergreen, Soft Succulent, Polished Pink, and Pale Papaya are retiring (Fresh Freesia will be staying as part of the regular color line!!). Here’s a parade of projects with the 2021-2023 In Colors.
*Click on the image to view the original post with all the details.
*The Flowers of Friendship Stamp Set and the Flowers & Leaves Punch will be retiring as well.


*The pretty pillow box die will be retiring also. 🙁

Click below for printable PDF’s of all products retiring from the January-April Mini and 2022-23 Annual Catologs. Some retiring products will be discounted starting April 4th; however, In Colors products, cardstock, and ink refills tend to sell our fast and may not be available.
CLICK HERE for Retiring Products from Spring Mini Catalog
CLICK HERE for Retiring Products from Annual Catalog
BACK IN STOCK!!!
These popular products are back in stock
Happy Mail is on it’s way! Birthday Swap cards and March Fun Fold Card Kits were mailed out today! If you ordered the March Fun Fold Card Kit I will be emailing the tutorials later this week! Swap cards will be posted next week once everyone receives their cards. Please plan to leave a comment when I post the swap cards and let the creator know you got their card (and LOVE it of course!).
Have a great rest of your day!
Just Stampin’
Jeanie
Click HERE to Shop 24/7
Current Host Code: BQC9CMAR
Just Stampin’ Rewards
I appreciate each and every order! Here are the things you can expect when you place an online order with me in March:
- Handmade thank you card in the mail with any order.
- 10 FREE Tutorials (in honor of my 10th anniversary as a Stampin’ Up! Demonstrator) featuring the Irresistible Blooms Bundle when you purchase the bundle from me in March. You’ll have 10 project ideas to start creating right away! You will also receive a card kit to create one of the cards featured in the tutorial.*Remember to add the current host code when you check out. Current Host Code: BQC9CMAR
*Click on the image below to purchase. - Mystery Box– This is a gift from me to you when you place a $100 order with me (before tax and shipping) using the host code. Mystery boxes are filled with retired Stampin’ Up! products like stamps, dies, paper, punches, accessories, and more. You’ll also receive a handmade party favor (in honor of my birthday this month).I am de-stashing my craft area and this is a way to celebrate and share my retired products with you!
")


")
")


 Designer Series Paper")


")


