Q is for Quilted DSP

Welcome to the ABC’s with DSP!  This month I am featuring projects showcasing Stampin’ Up! Designer Series Paper. Today I am using two different Designer Series Paper packs and making some quilt cards.

Stampin Up Birthday Blooms and Floral Phrases Quilt card ideas - Jeanie Stark StampinUp

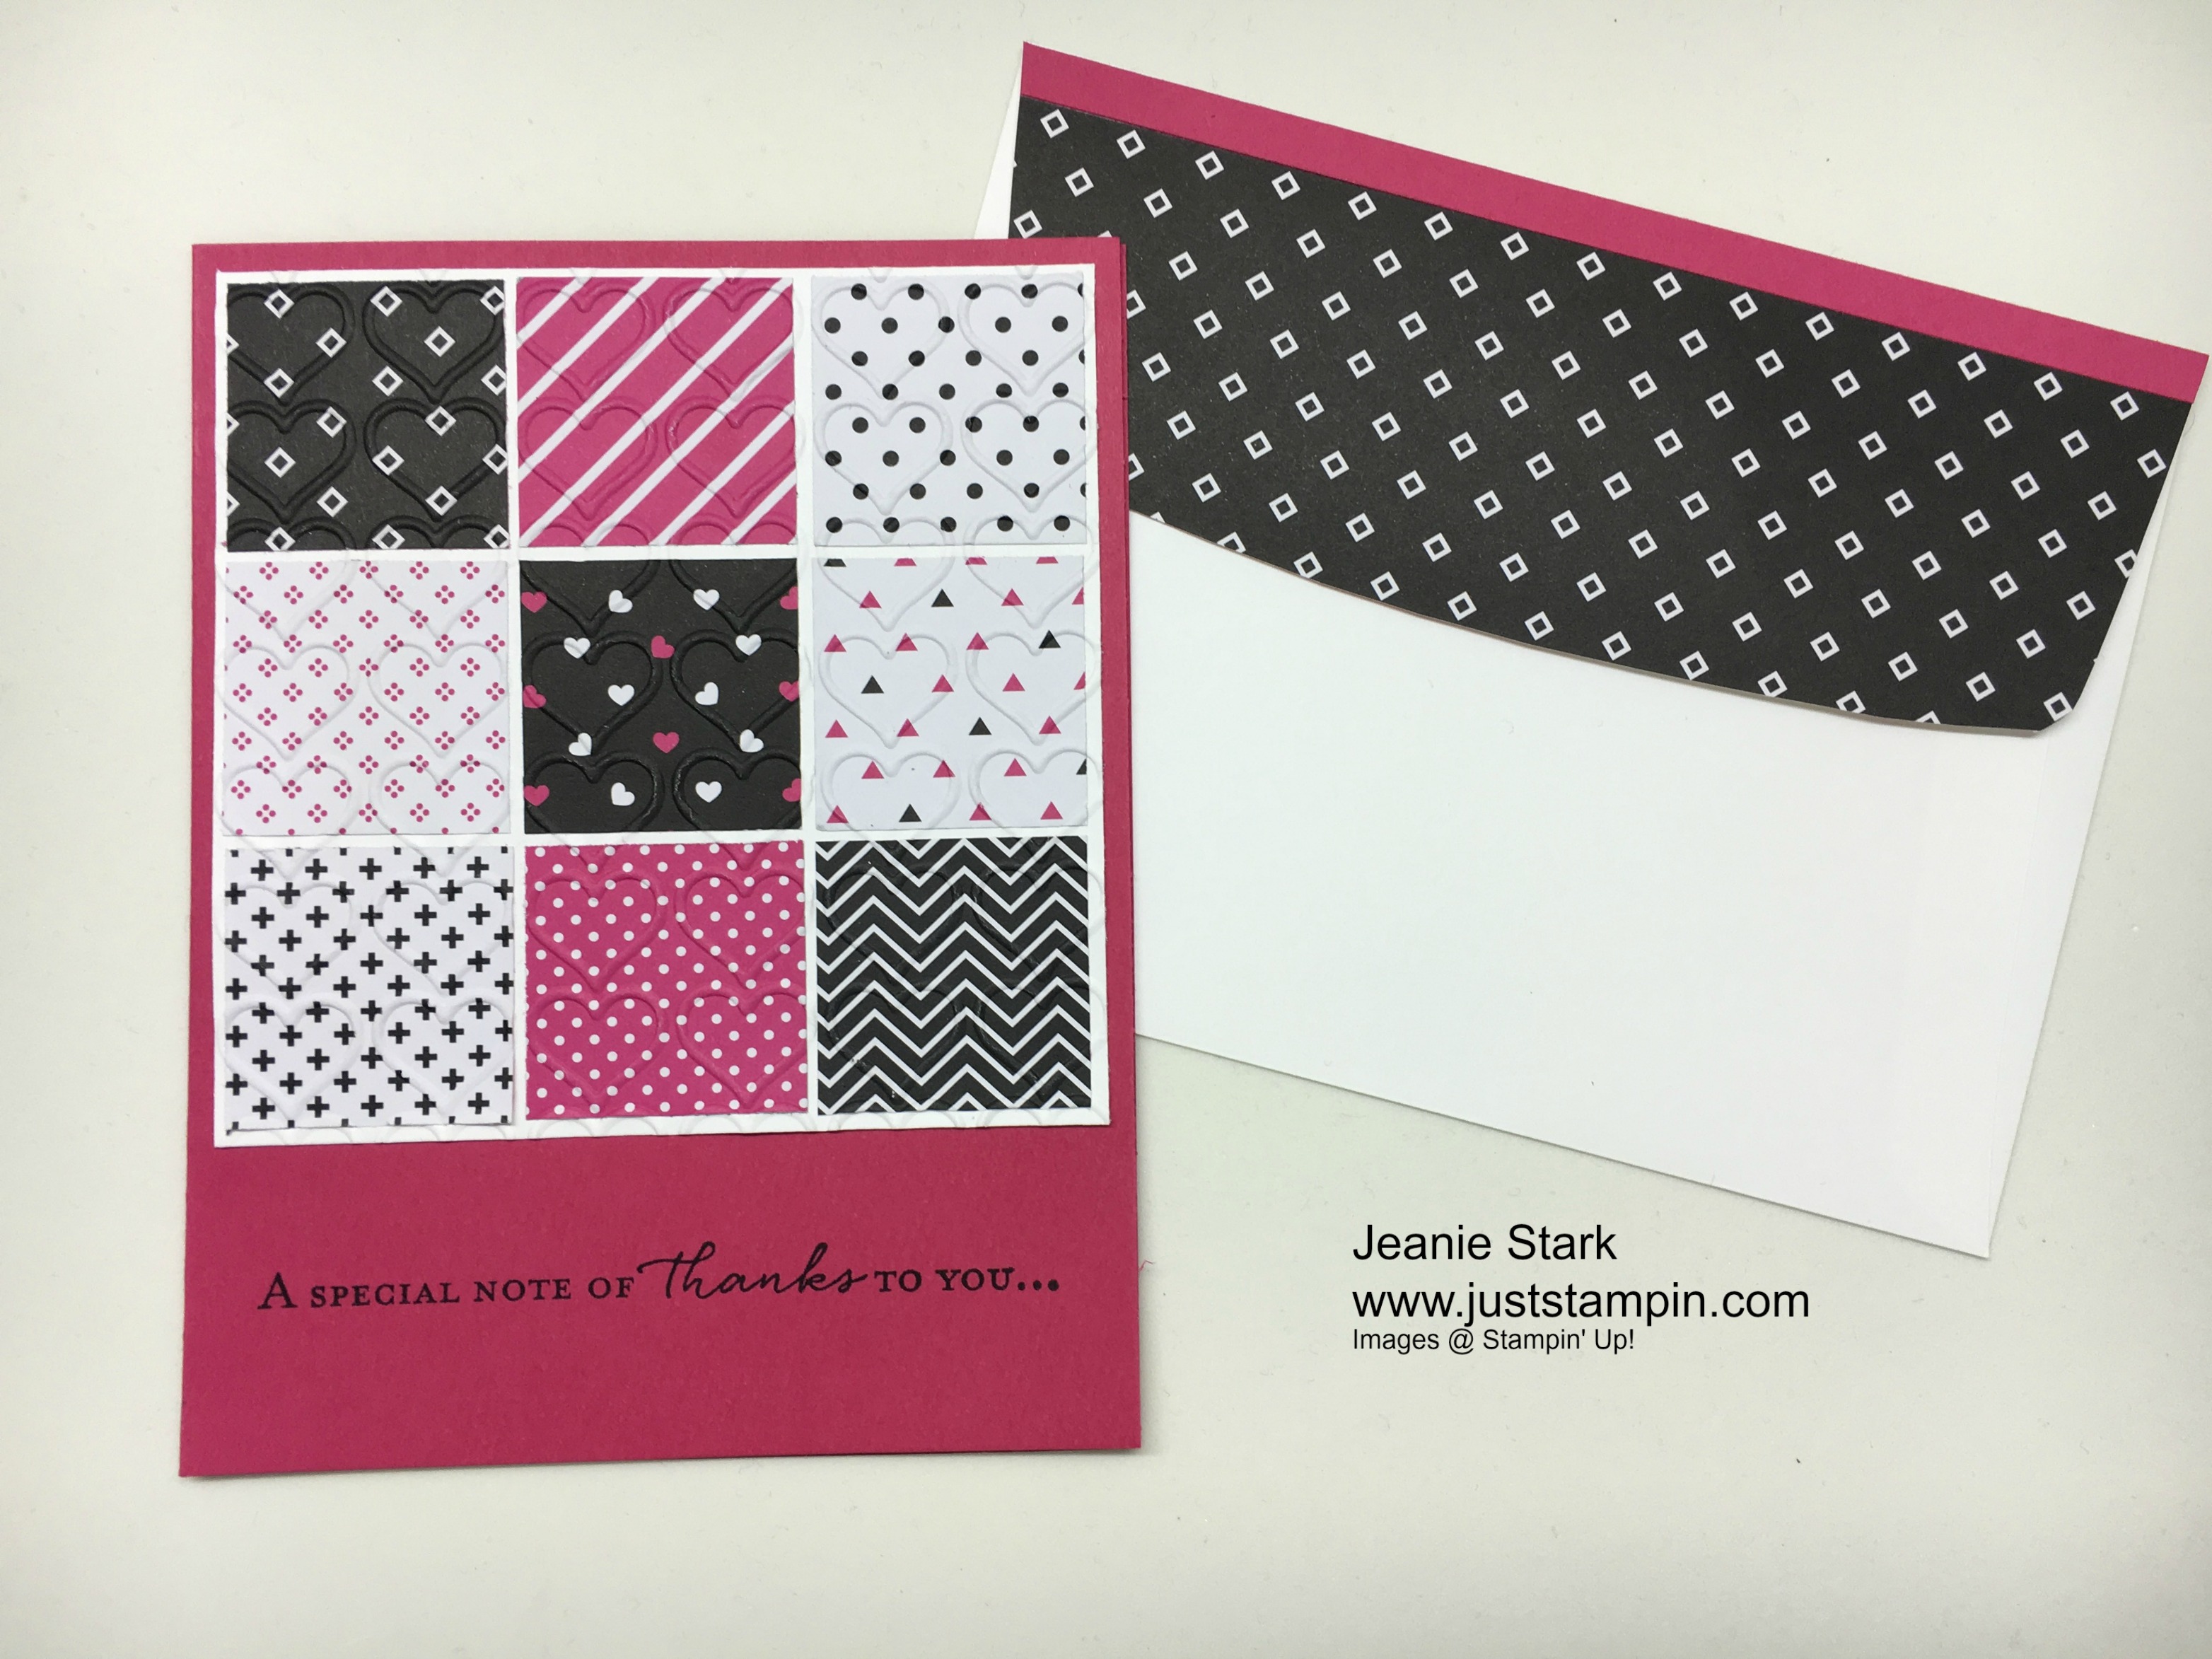
I had so much fun making these cards and I really want to make more. (I’m thinking gift ideas…a set of quilted cards for a friend who loves to sew or quilt.) These are pretty easy to make.  The thank you note is made with 1 1/4″ squares from the Pop of Pink Specialty Designer Series Paper.  I used liquid glue to adhere these to a 4″ square of whisper white.  (The liquid glue gives me a little wiggle room to move it around just right.) After I glued the 9 designs I embossed it with the Happy Heart embossing folder to give it a “quilted” look.  The sentiment is from the Floral Phrases stamp set and stamped in Basic Black ink on Melon Mambo cardstock.
Stampin Up Floral Phrases Quilt card idea - Jeanie Stark StampinU

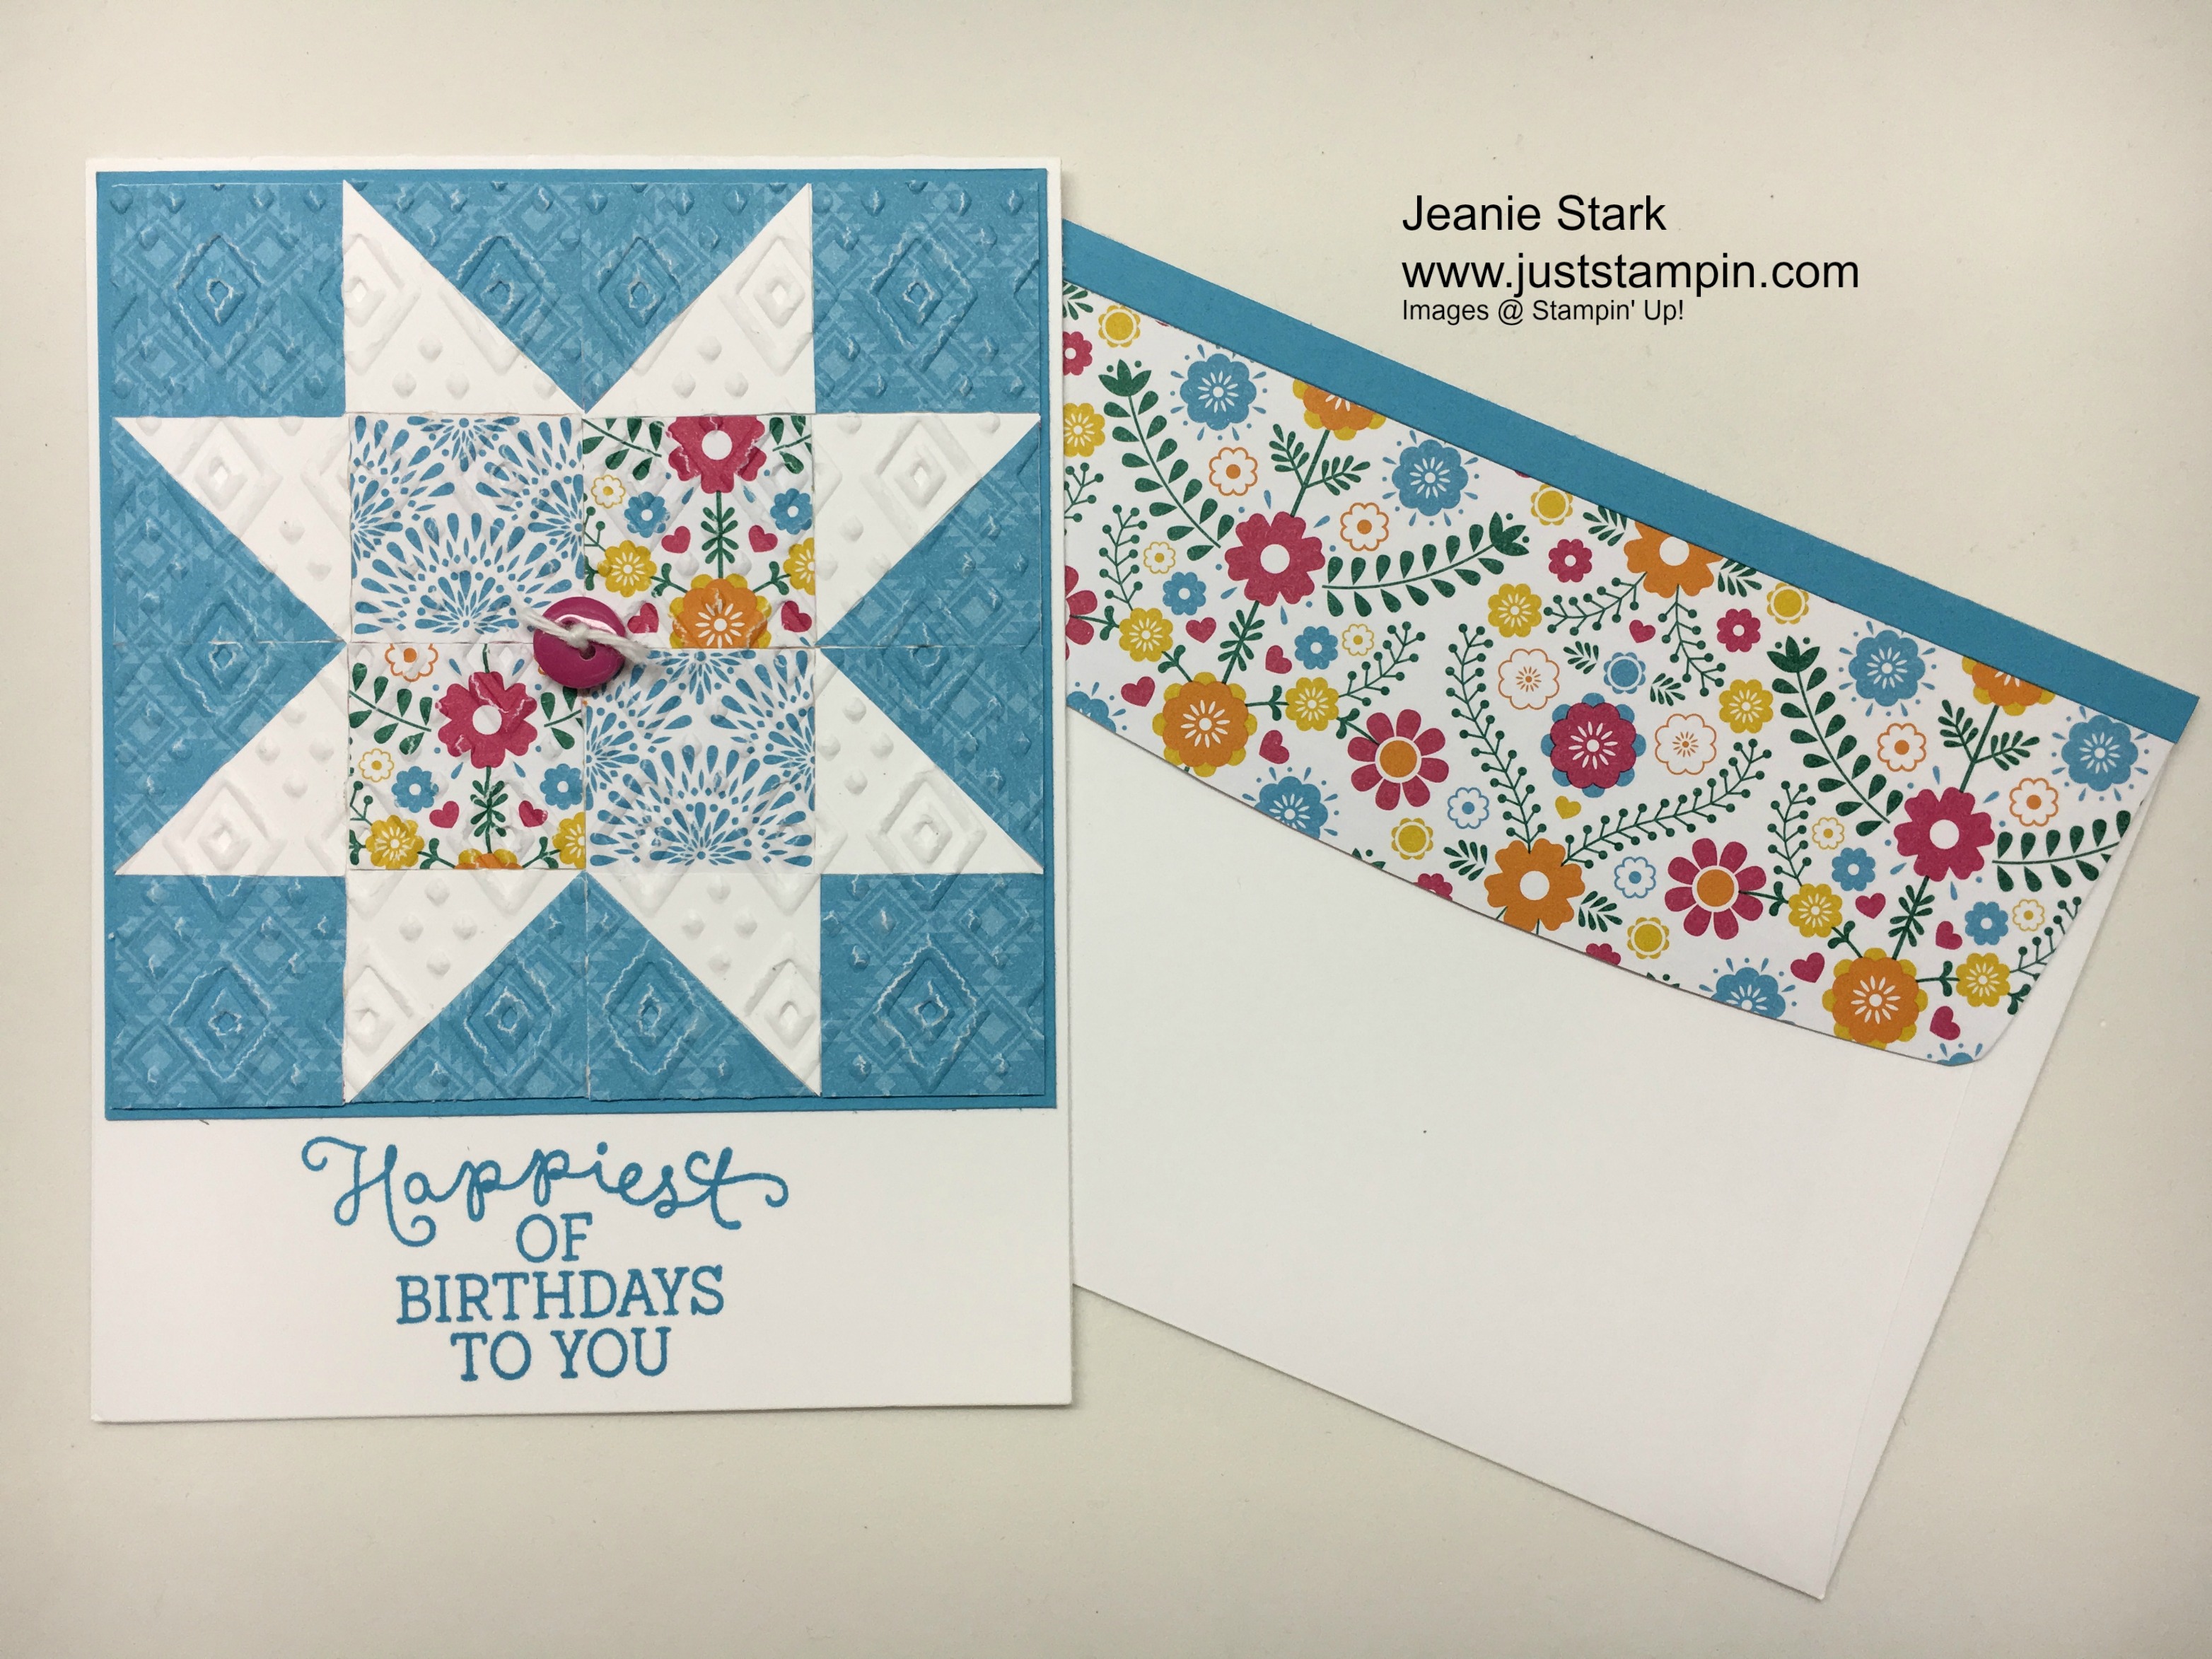
The birthday card uses the Festive Birthday Designer Series Paper. (This paper is included in the Stampin’ Up! Special through October 31st.)  I cut the DSP and Whisper White cardstock into 1″ strips for this card. You could also use the Layering Squares Framelits or the 1′ square punch (on sale on clearance while supplies last). You need 4 white squares, 2 each of 2 different patterned paper, and 8 solid or coordinating DSP.  I cut the white squares and 4 of the blue squares in half on the diagonal.  I glued these to a 4″ square of whisper white cardstock. The turquoise tone on tone DSP has a diamond design so I used the Boho Chic embossing folder on this card.  I rummaged through my button collection and found one in melon mambo. I tied white bakers twine on the button and attached it to my card with a glue dot.

Stampin Up Birthday Blooms Quilt card idea - Jeanie Stark StampinU

The sentiment is from Birthday Blooms and stamped on Whisper White cardstock with Tempting Turquoise ink.
 

Stampin Up Birthday Blooms Quilt card idea - Jeanie Stark StampinU

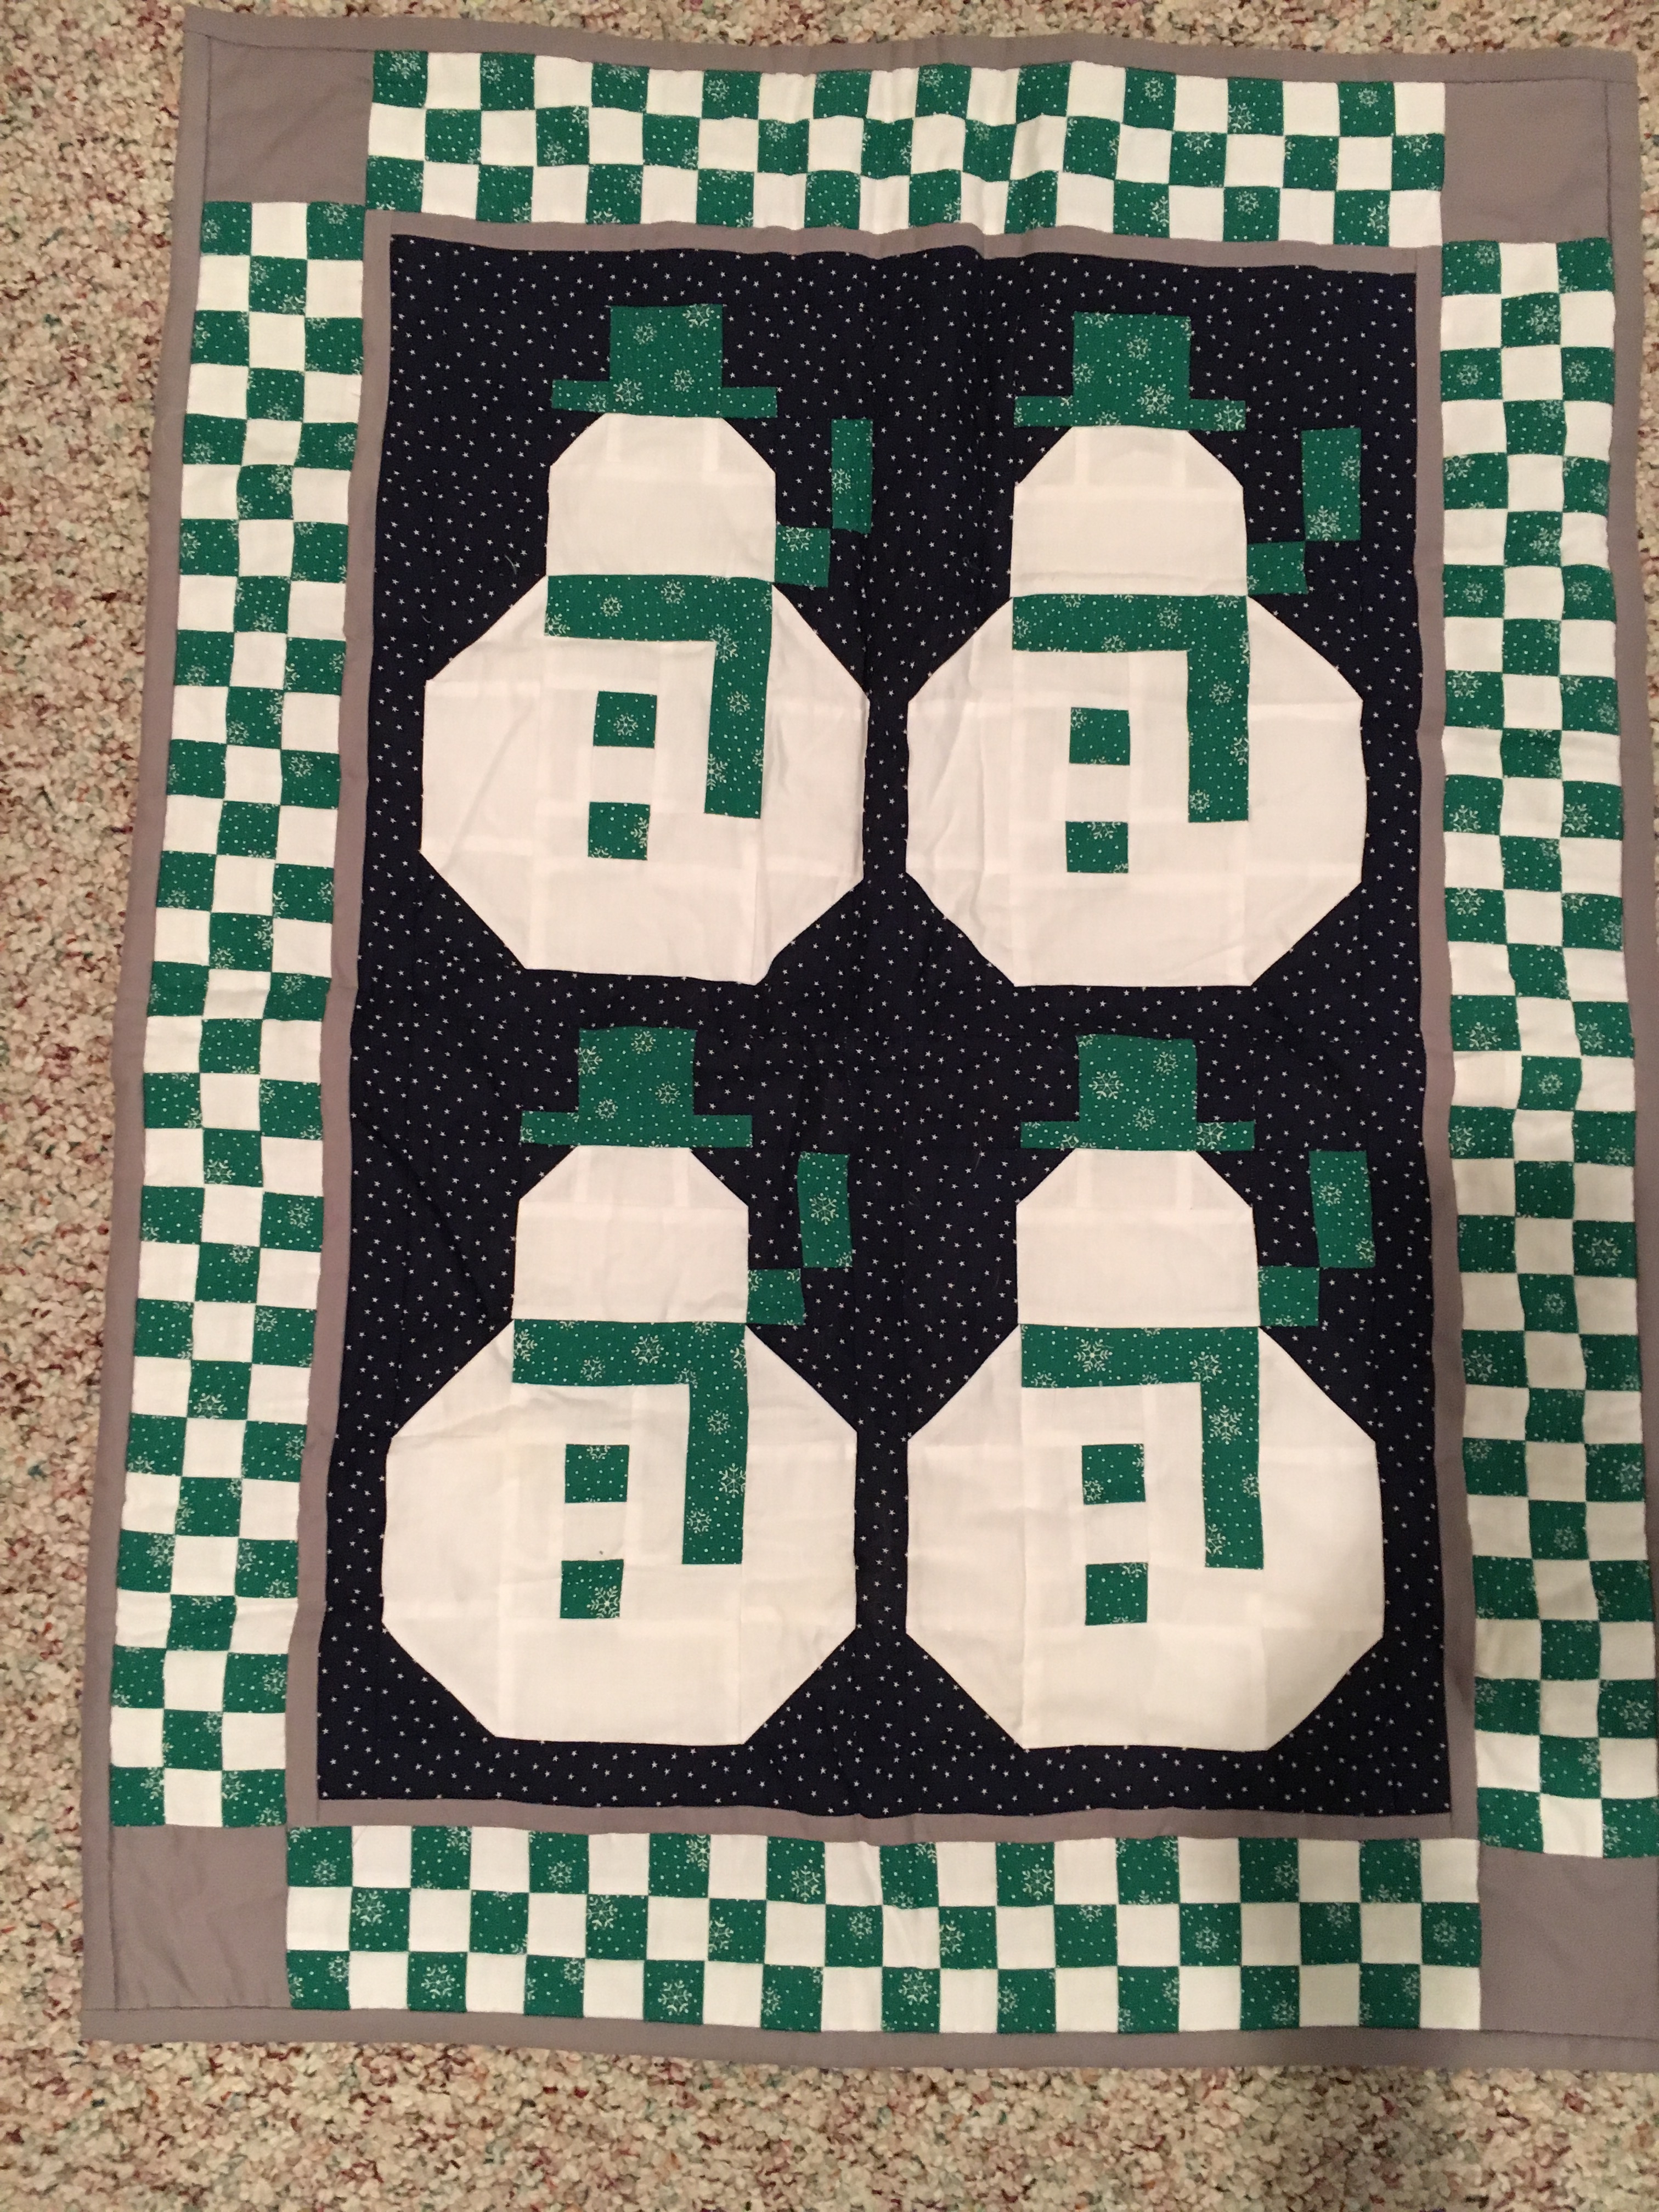
My friend Paula introduced me to quilting (and cross stitching) many years ago. She makes absolutely gorgeous quilts (and sweaters, and needlepoint, and  many other crafty things. She is multi talented!) Here’s a quilt wall hanging she made me many years ago that I always look forward to hanging up every year.
img_5582

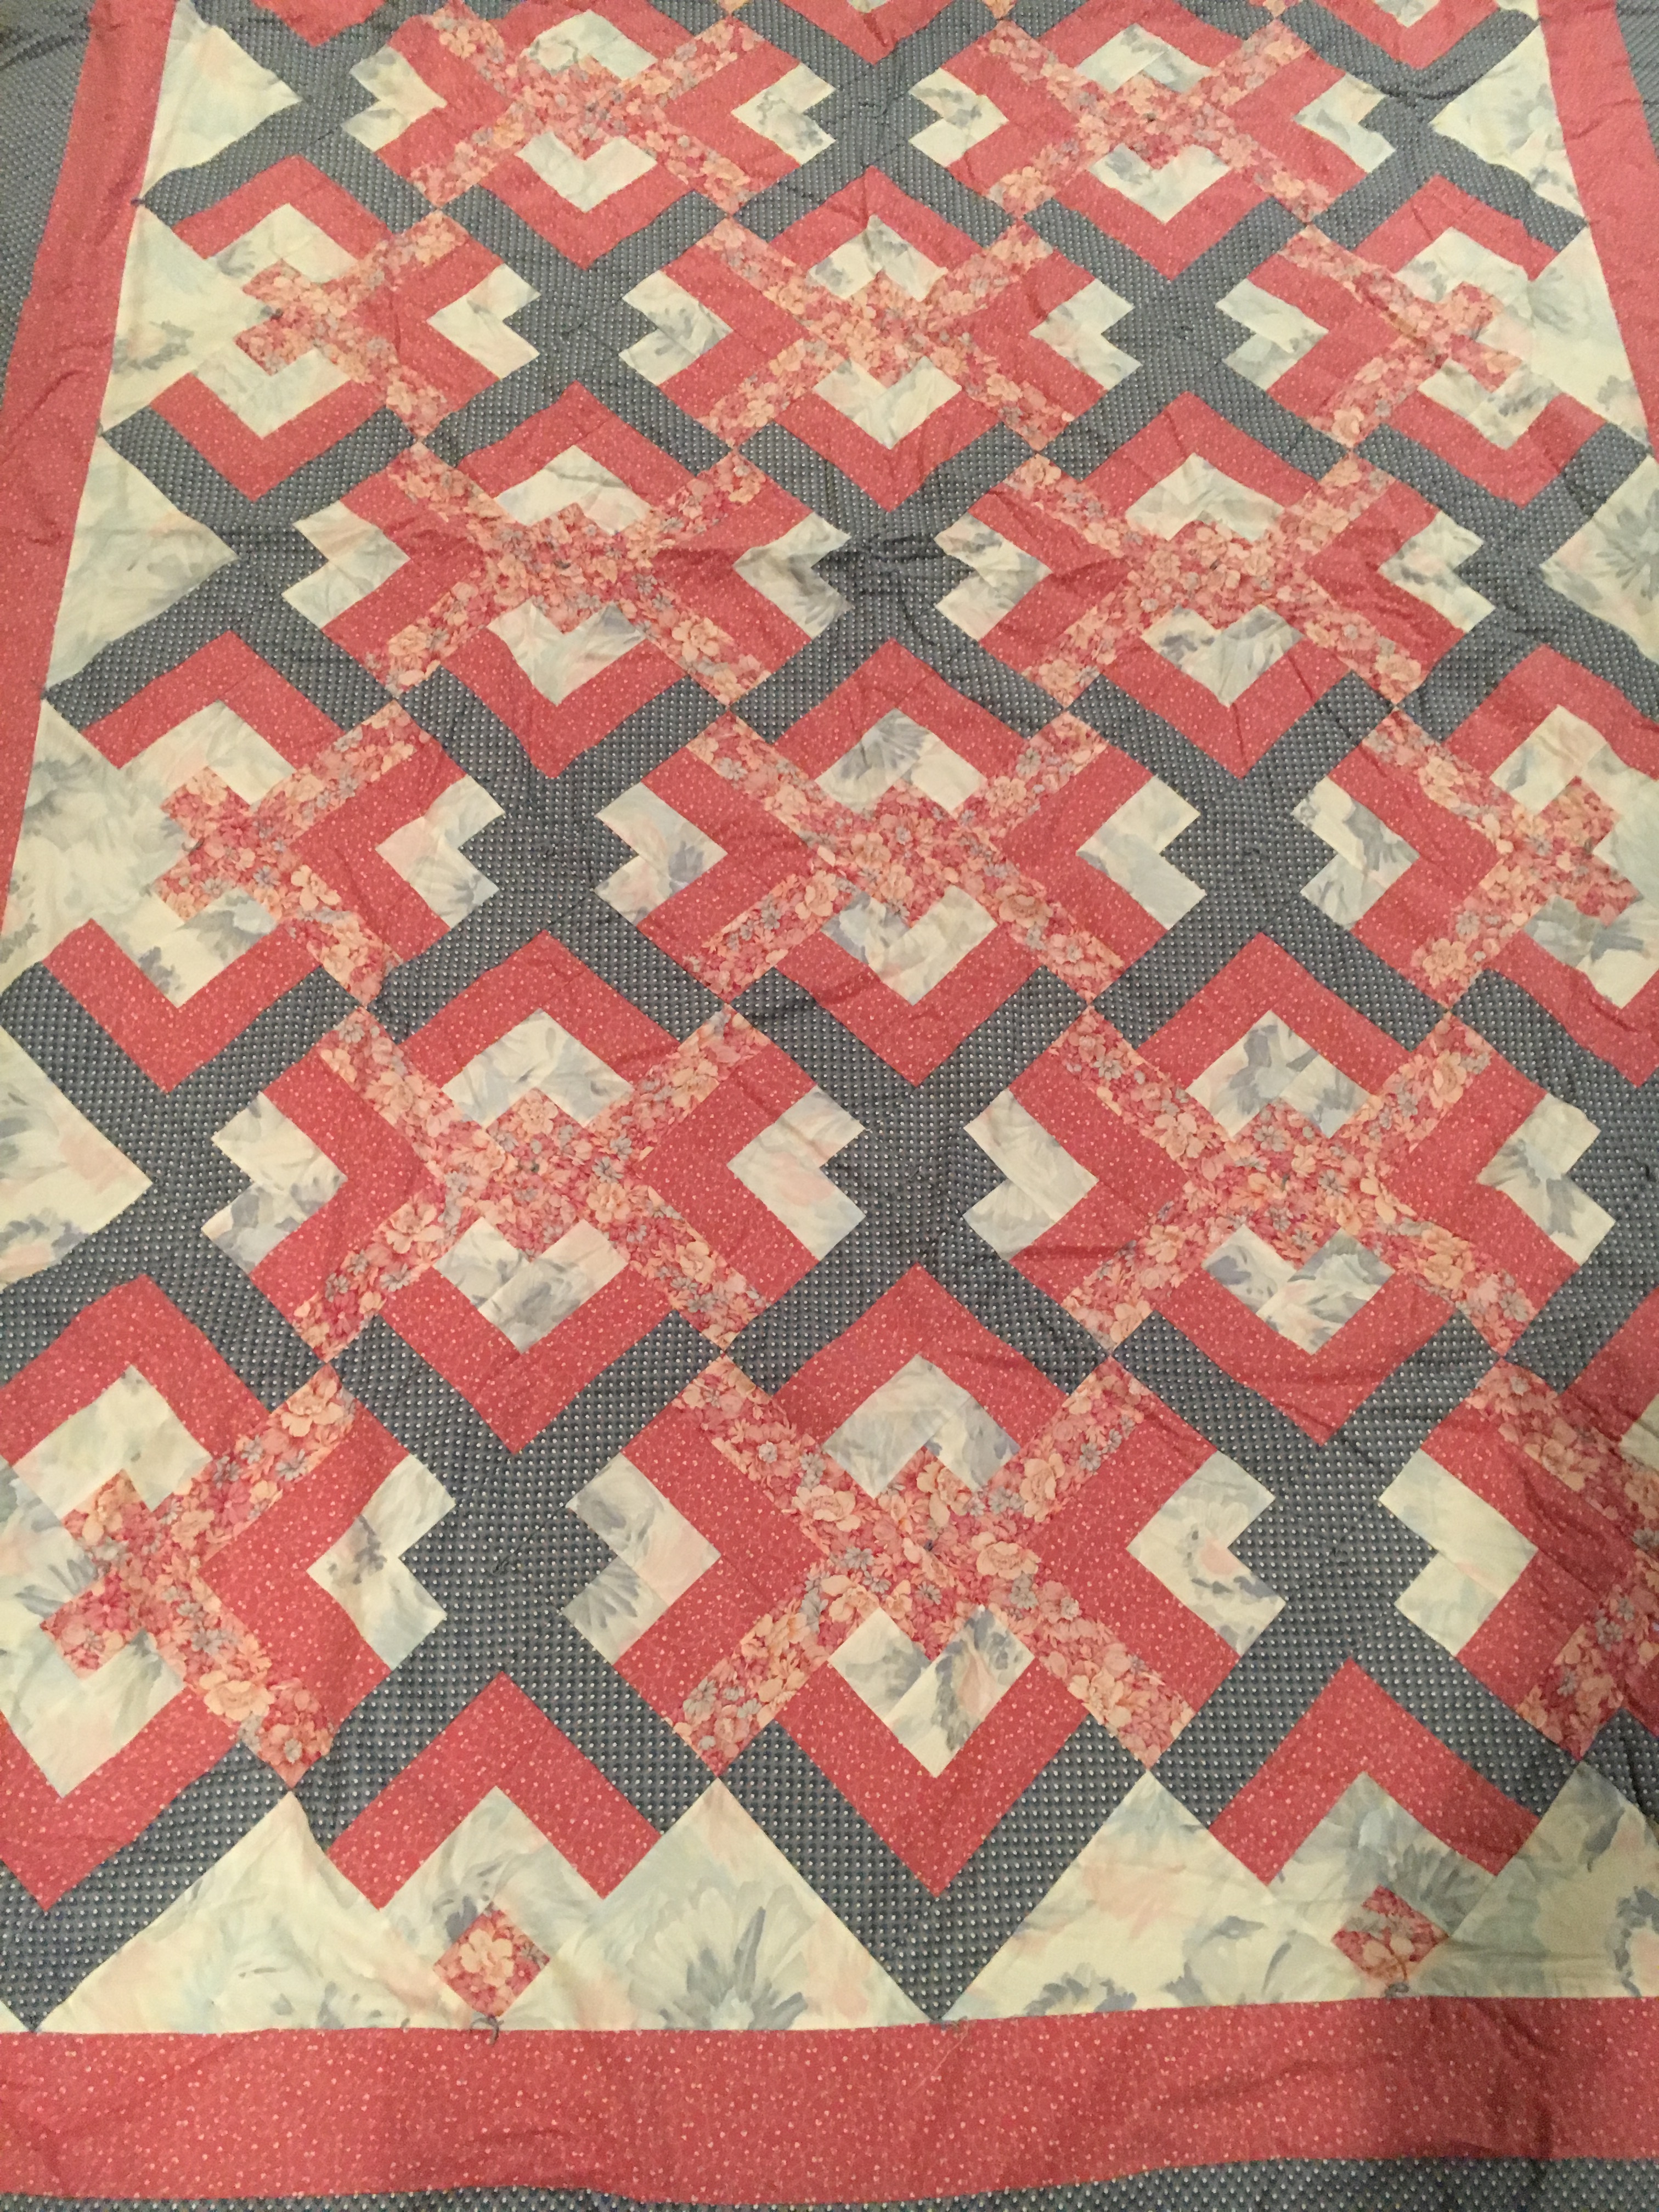
I made a Christmas tree quilt which must be packed up with all the Christmas stuff because I couldn’t find it to show you.  However, I did come across this bed quilt I made many years ago. (I completely forgot about this one!) I pulled it out of the cedar chest to photograph to show you.
img_5583

The past few days have been blustery here in Maryland…the kind of days where you want to wrap yourself up in a quilt and get cozy!  🙂

Thanks for stopping by!  Have a wonderful day!

Just Stampin’

Jeanie
 

img_4672
Stampin’ Up! Designer Series Paper

P is for Petals & Paisleys Specialty DSP

petals-paisleys-dsp

Welcome to the ABC’s with DSP!  This month I am featuring projects showcasing Stampin’ Up! Designer Series Paper. Today I am using the Petals & Paisleys Specialty Designer Series Paper. This paper pack is found in the Holiday Catalog (page 47).  It has 12 sheets: 2 each of 5 double-sided designs; 1 each of 2 single-sided designs with copper foil. I chose a leaf design today to go with the changing leaves here in Maryland.

img_5519
Petals & Paisleys Specialty Designer Series Paper

I really like the layout of this card design from Linda Heller. I am hoping to meet her in Atlanta when I attend the Stampin’ Up! Convention the beginning of November. She is so talented and very creative!  You can easily change the sentiment and DSP and use it for any occasion. I love the colors of fall.  For my card I used Cajun Craze and Delightful Dijon with Very Vanilla.  The Petals & Paisleys Designer Series Paper is cut at 3 1/4 x 3 1/2.  The Cajun Craze layer is just a smidge (1/8″) larger.  I stamped the sentiment on Very Vanilla with cajun craze ink and cut it out with the Layering Ovals Framelits. I cut the leaf from Delightful Dijon cardstock using the Paisley Framelits Dies.  I used the fine-tip glue pen to adhere it to a scrap of very vanilla and cut it out with my paper snips.  I attached the sentiment layer and the leaf with Stampin’ Dimensionals and added a candy dot to the leaf.

img_5520
Petals & Paisleys Specialty Designer Series Paper and Paisleys & Posies Stamp Set & Framelits

Here are some other projects I shared previously using the Petals & Paisleys Designer Series Paper. You can click on the image to see the original post.

img_4198
Petals & Paisleys Specialty Designer Series Paper   http://www.juststampin.com

img_4143

Petals & Paisleys Specialty Designer Series Paper   http://www.juststampin.com

img_4038
Simple card using Petals & Paisleys Specialty Designer Series Paper     http://www.juststampin.com

Thanks for stopping by! Have a Pleasant Day!

Just Stampin’

Jeanie

img_4672
Stampin’ Up! Designer Series Paper


O is for One Sheet Wonder with DSP

Welcome to the ABC’s with DSP!  This month I am featuring projects showcasing Stampin’ Up! Designer Series Paper. Today I am using the Festive Birthday Designer Series Paper to make 5 cards and envelopes from just one sheet of 12 x 12 DSP.

img_5468
One Sheet Wonder using Festive Birthday Designer Series Paper

I love working with one sheet of 12 x 12 paper and seeing what I can make.  I wanted some quick cards so I cut my 12 x 12 sheet of Designer Series Paper into 6 4×6 inch pieces.  The Festive Birthday DSP coordinates with Emerald Envy, Crushed Curry, Melon Mambo, Pumpkin Pie, Tempting Turquoise, and Whisper White cardstock so I pulled out a sheet of each to play with. Here’s how I put the cards together.

img_5476
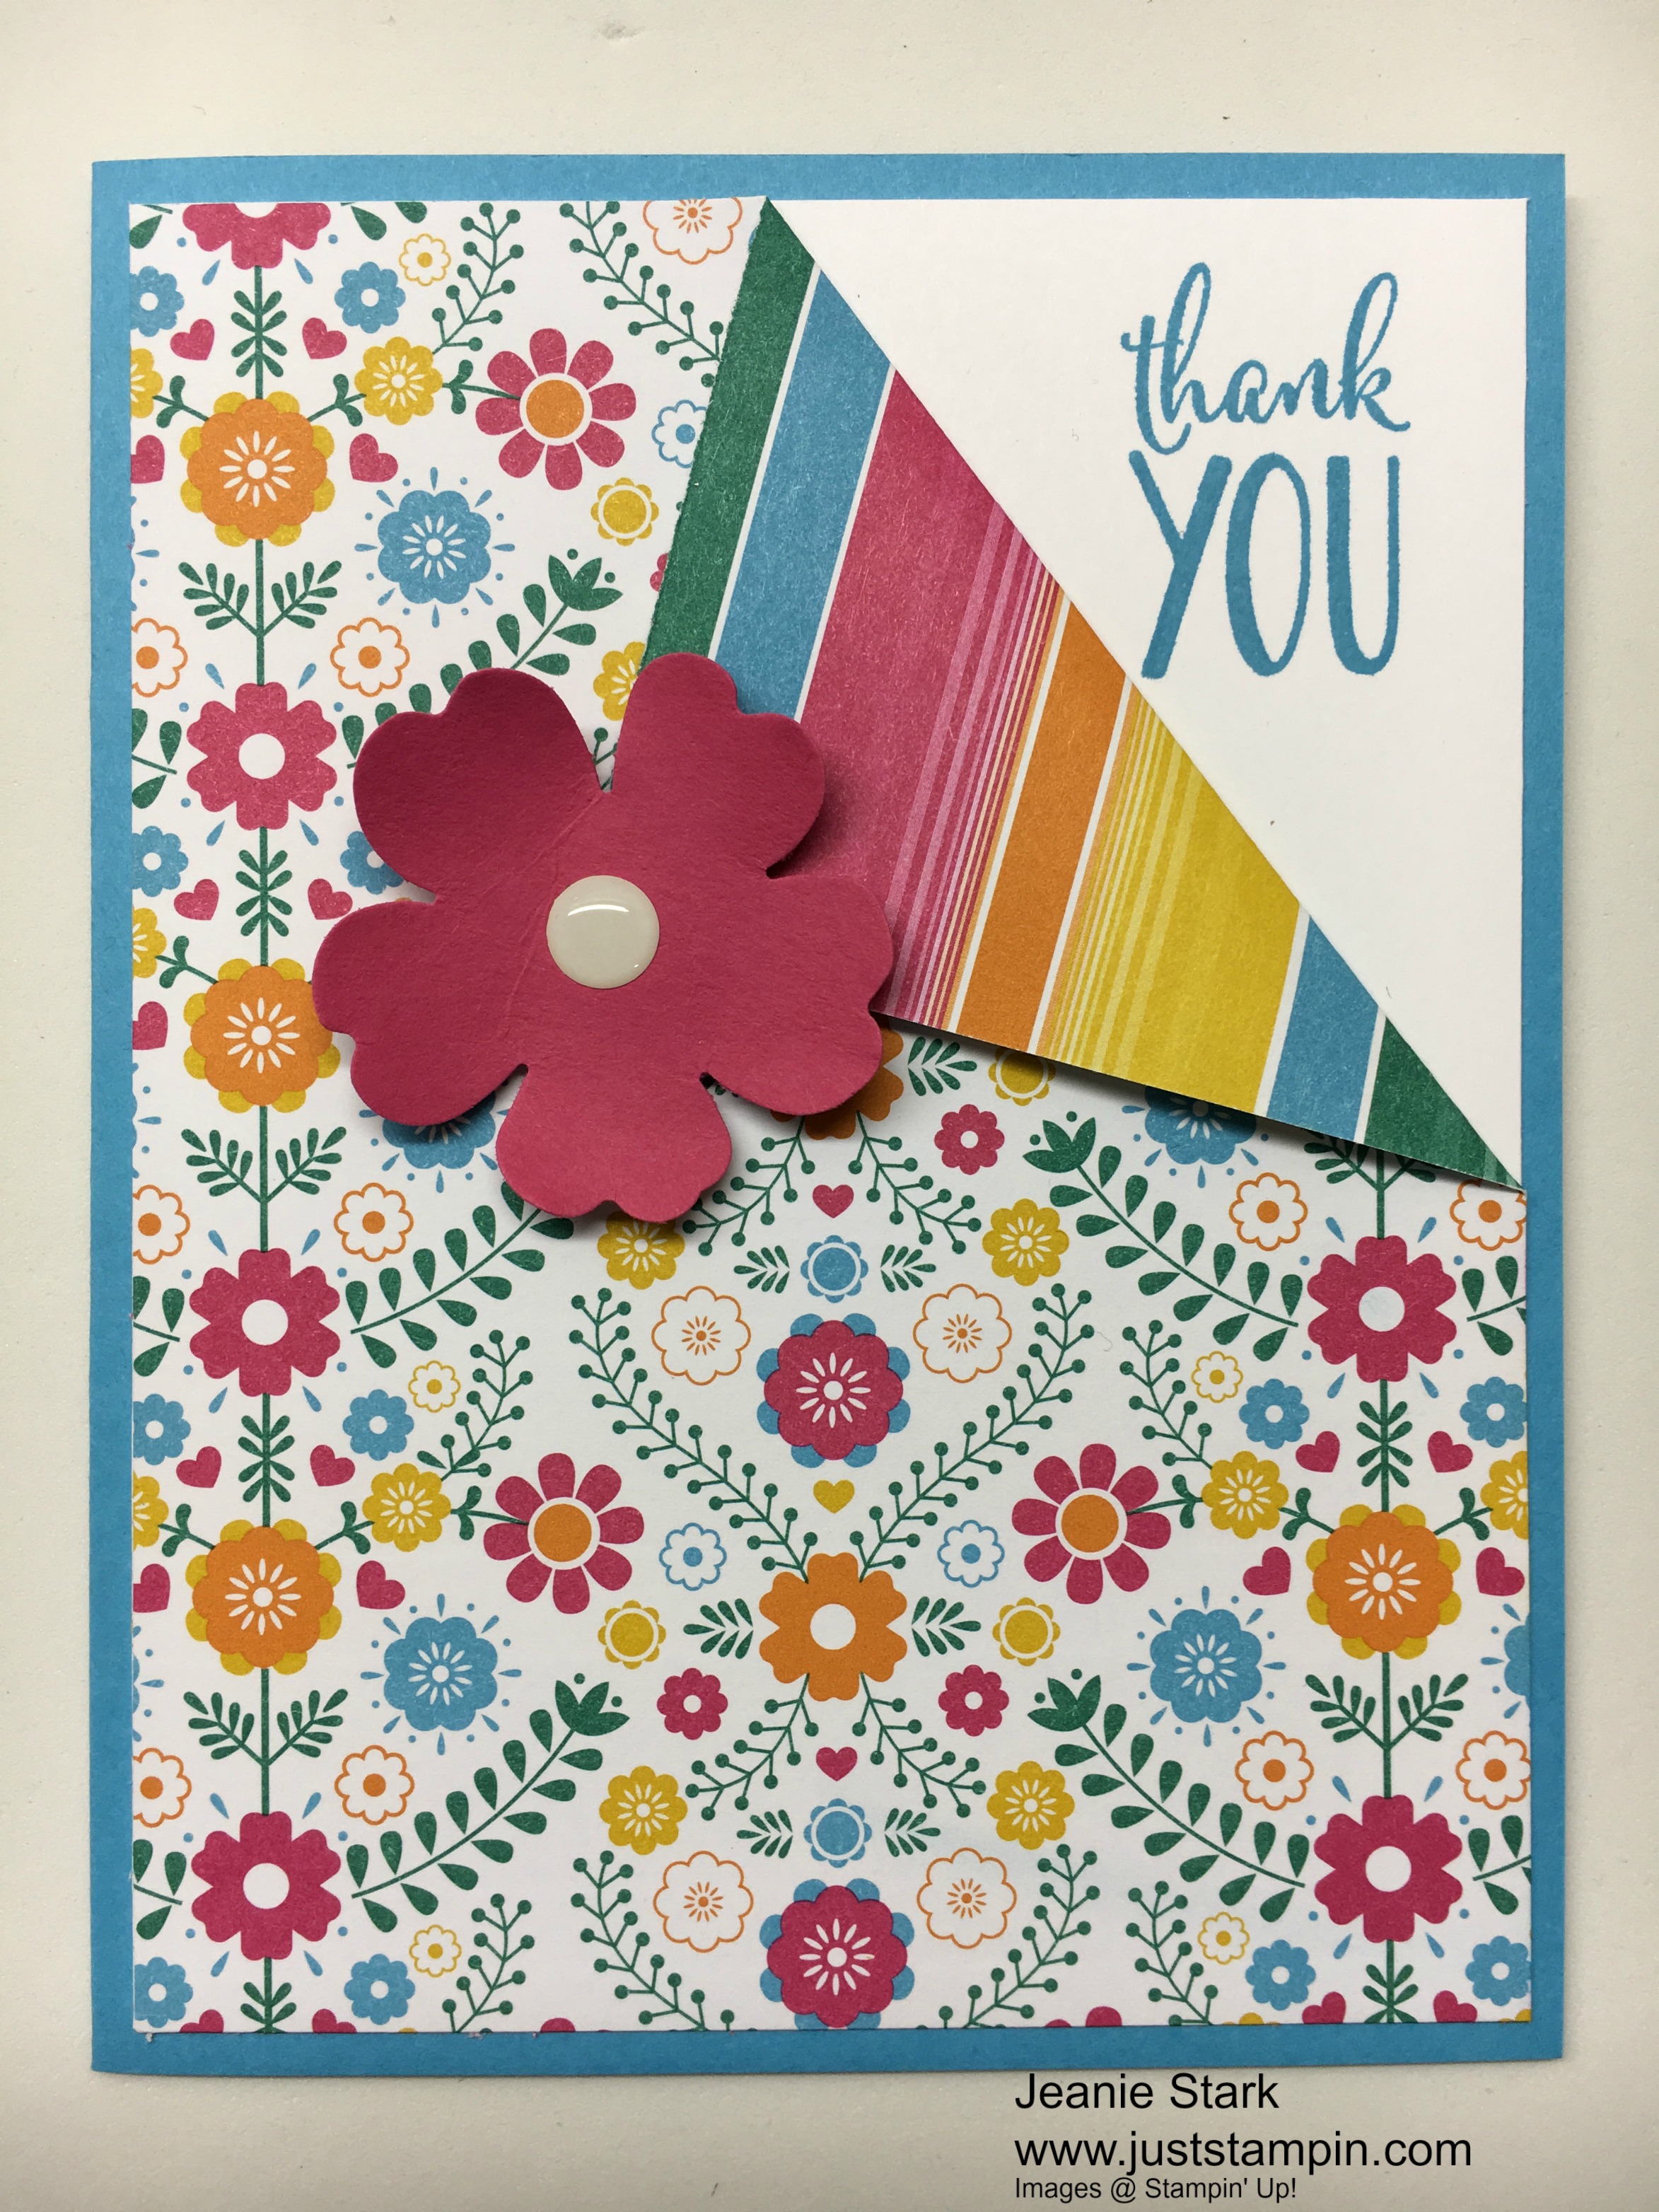
Festive Birthday Thank You card

I trimmed a piece of precut 4 x 6 DSP to 4 x 5 1/4 and then just folded down one corner and adhered it to a piece of 4 x 5 1/4 Whisper White.  I stamped the sentiment from the Happy Happenings Stamp Set in Tempting Turquoise ink to match my card base. I punched the flower from a scrap piece of melon mambo using the pansy punch.  I added a white perfect accent to the center and adhered it to my card with a Stampin’ Dimensional.  I used the 3/4 x 4 inch leftover piece of DSP inside the card. (I just adhered it to the bottom of a piece of Whisper White measuring 4 x 5 1/4. I forgot to take a photo.  Sorry!)

I cut 2 pieces of 4 x 6 DSP in half to make 4 2×6 pieces to decorate the envelopes. I cut a 1/4 inch strip from each color of cardstock used for the card bases to put on the envelopes with the DSP.

img_5473
Festive Birthday Designer Series Paper Thank you card and matching envelope

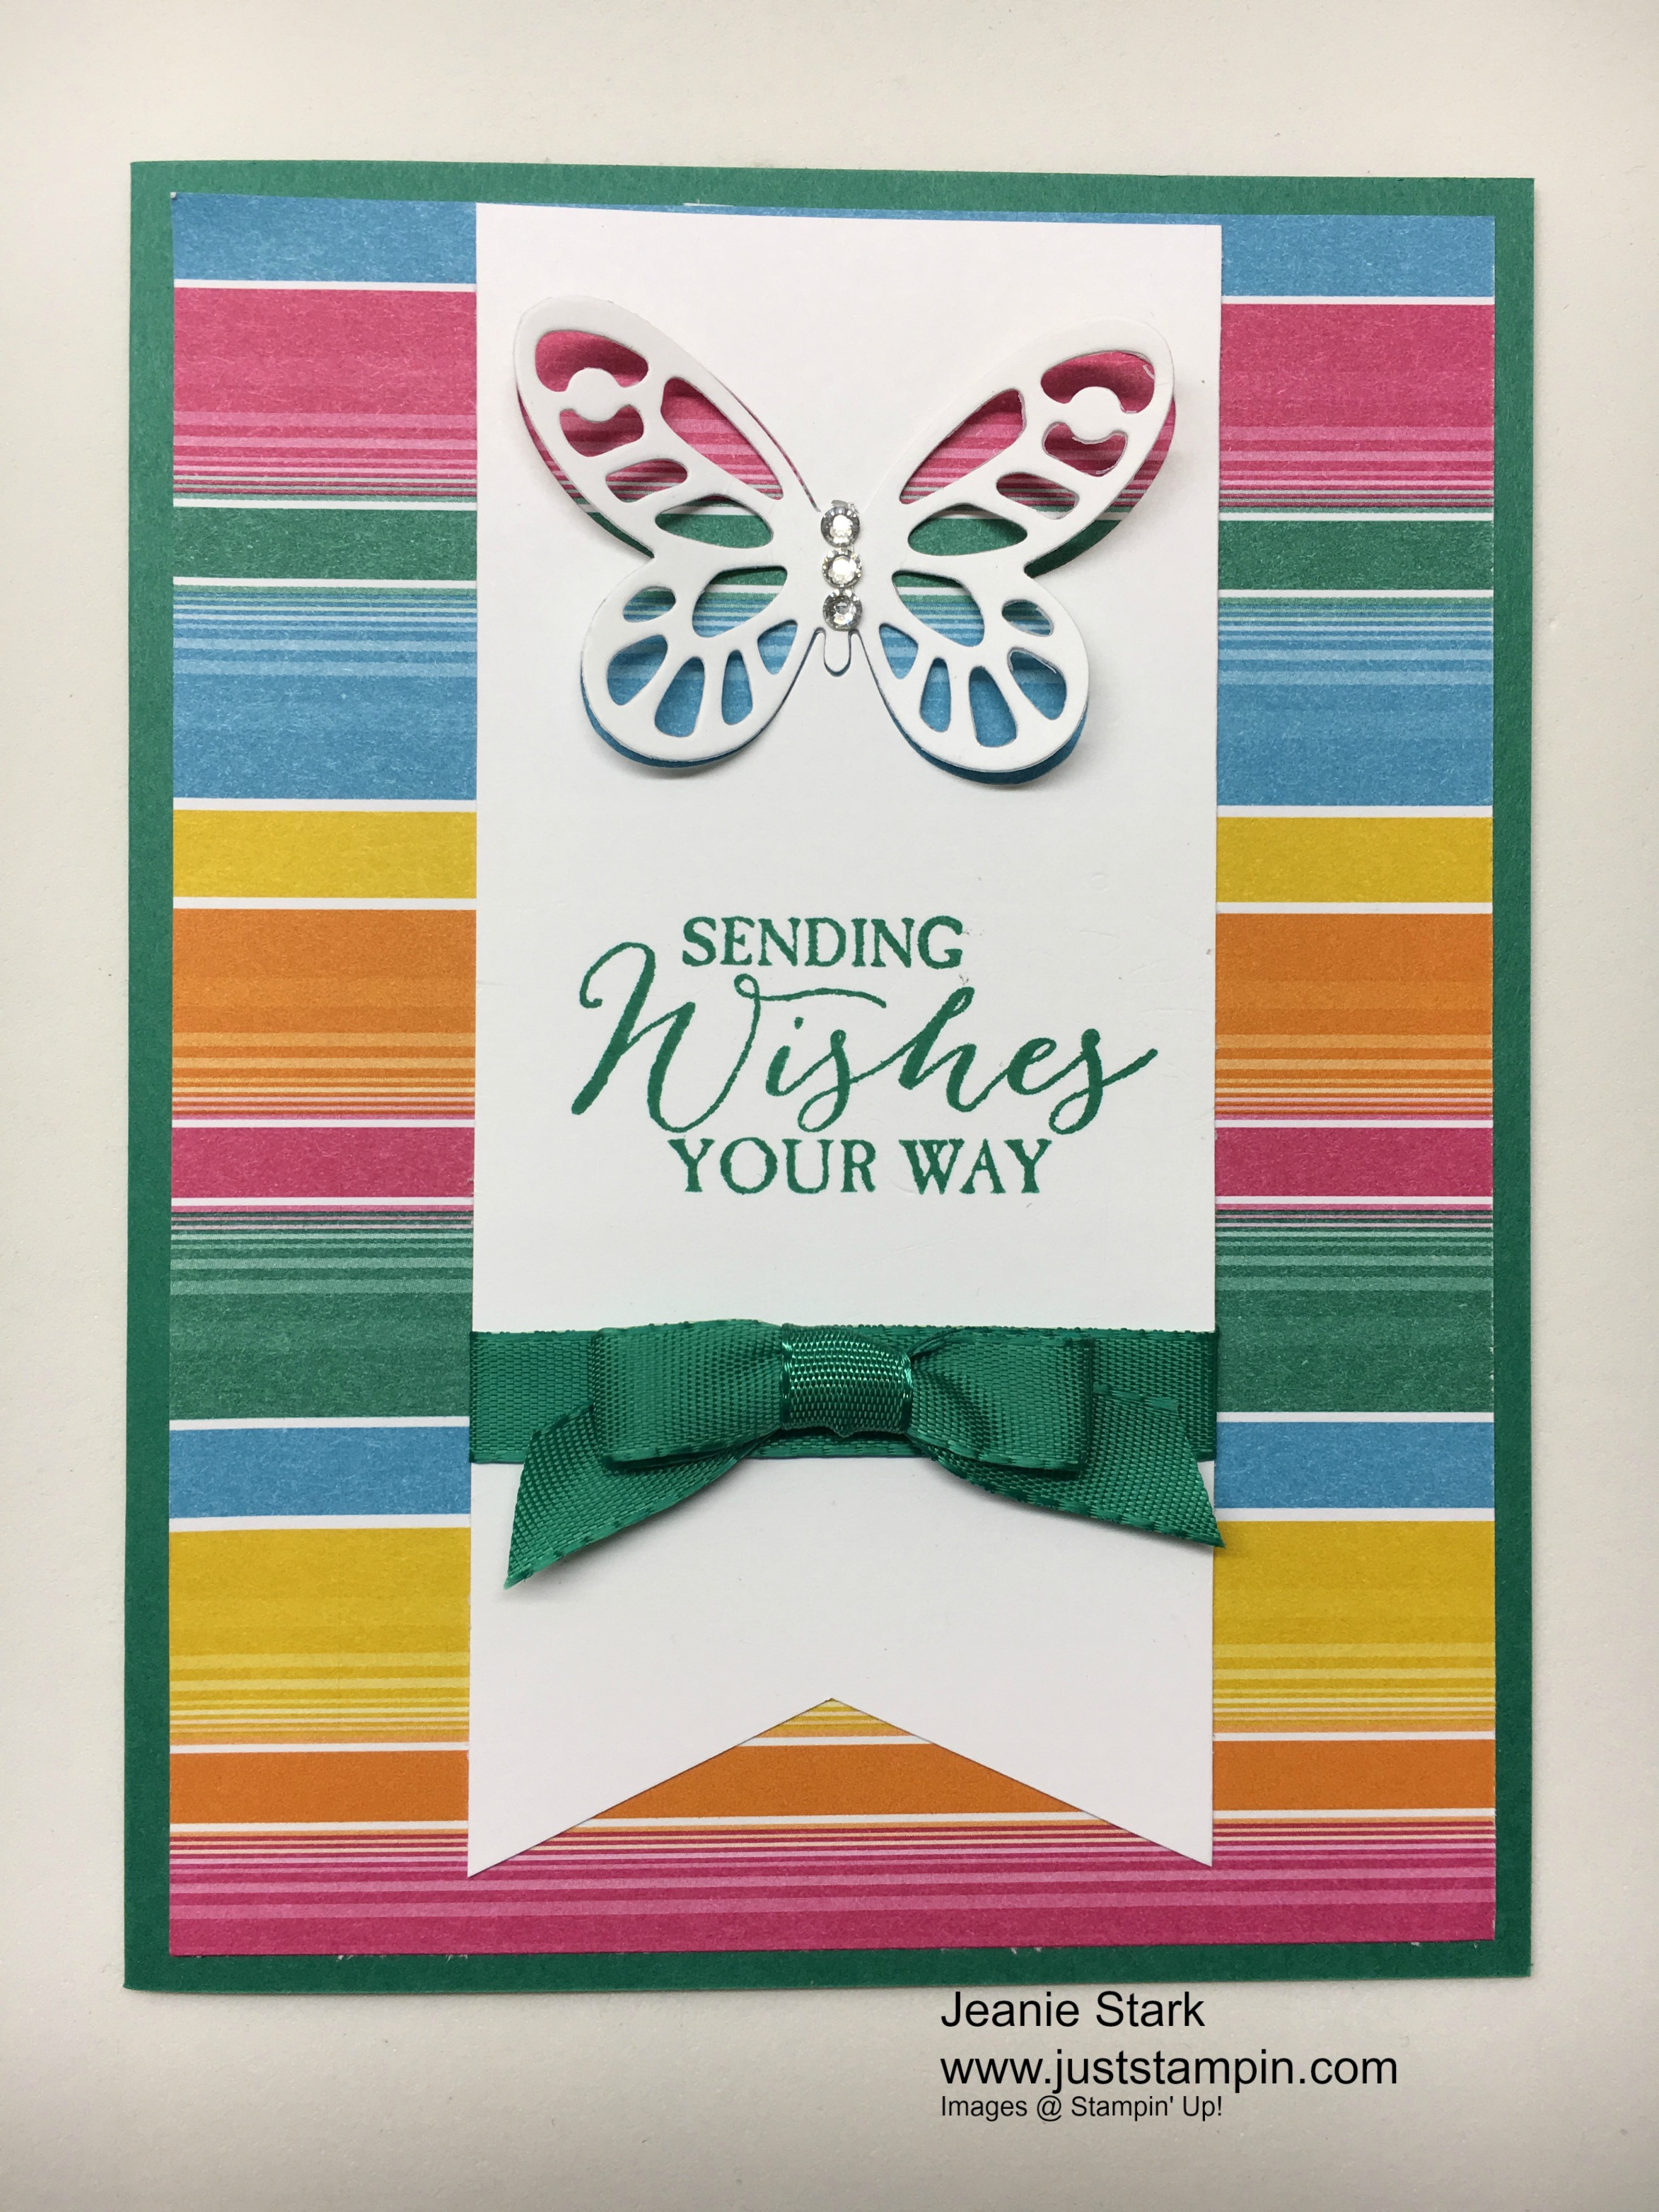
My next card also uses a piece 4 x 6 DSP trimmed to 4 x 5 1/4. (This time I saved the 3/4 x 4 inch piece for another card.)  I love the way the Stampin’ Up! DSP is double sided.  Here I used the Bold Butterfly Framelits to cut my butterfly from a piece of 2 1/4 x 5 Whisper White cardstock.  I stamped the sentiment from Butterfly Basics in Emerald Envy, cut the banner, and attached some Emerald Envy ribbon and a bow. I used a glue dot to adhere the butterfly and added some Rhinestone Basic Jewels.

Stampin Up Butterfly Basics birthday card idea - Jeanie Stark StampinUp

Stampin Up Bold Butterfly birthday card idea using Butterfly Wishes stamp set - Jeanie Stark StampinUp

The first 2 cards and envelopes used 3 pieces of the 4 x 6 DSP. For my next 2 cards I will use 2 more pieces.  I cut one piece of 4 x 6 DSP in half to make 2 3×4 inch pieces. (The other 4 x 6 piece is used for the envelopes.)

img_5479
Festive Birthday Designer Series Paper One Sheet Wonder

I adhered the 3 x 4 piece on to a Crushed Curry card base.  I stamped the sentiment from Watercolor Words on Whisper White cardstock with Crushed Curry ink.  I used the Layering Circles Framelits to cut the sentiment and a scalloped circle from Emerald Envy cardstock.  I added a piece of the Emerald Envy ribbon with a glue dot and attached the sentiment layer with Stampin’ Dimensionals. The Rhinestone Basic Jewels finished off this quick & simple card.

img_5470
Festive Birthday Designer Series Paper One Sheet Wonder card and matching envelope

My next card uses the 3/4 x 4 ” piece of DSP leftover from trimming the striped paper on the banner card. (It could be used on the inside of a card or layered on the front like I did here.)

img_5478
Festive Birthday Designer Series Paper with Watercolor Words Stamp Set

I adhered the DSP to a piece of 4 x 5 1/4 Whisper White cardstock.  I stamped the sentiment from Watercolor Words using Melon Mambo ink.  I wrapped some Melon Mambo thick Baker’s Twine and tied a bow before adhering it all to the card base using Fast Fuse.

img_5471
Festive Birthday and Watercolor Words

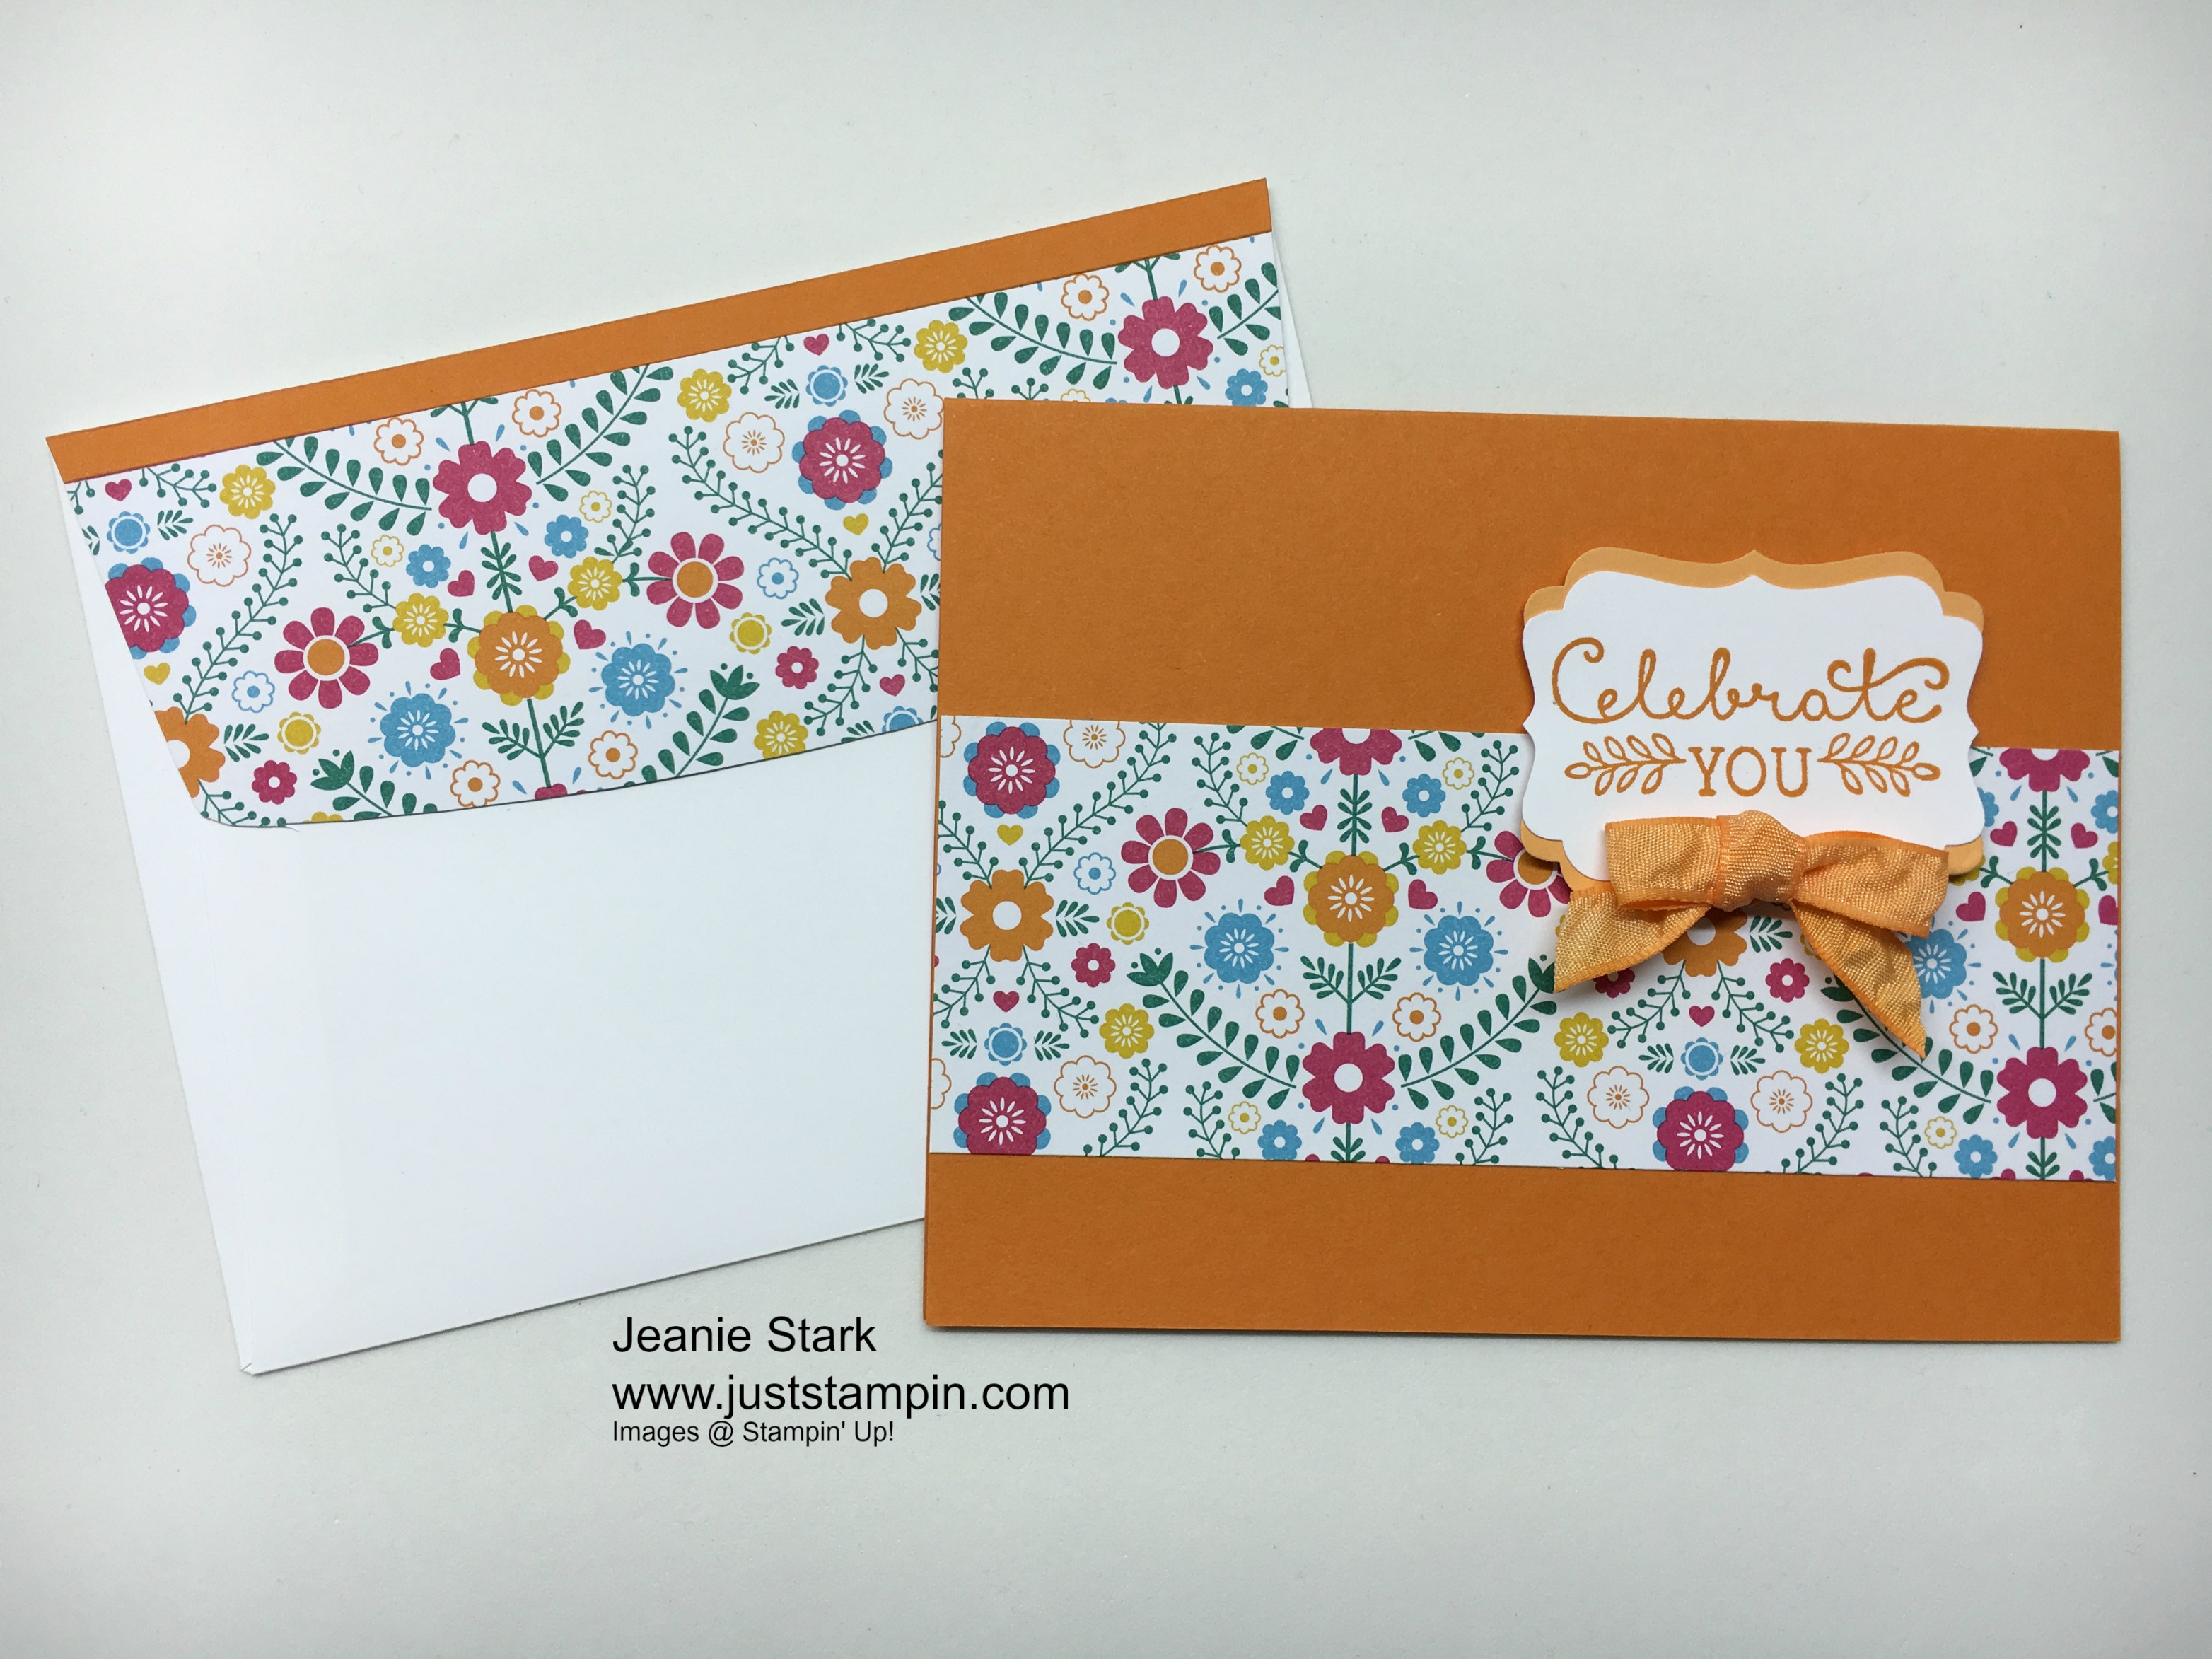
I cut my last piece of 4 x 6 DSP in half to make the card below. I attached the DSP to a Pumpkin Pie card base.  This card could easily be vertical or horizontal. This is one of those layouts I use again and again.  It seems to look different every time just by changing the DSP and matching cardstock, ribbon, cut out shape, and/or orientation.

img_5475
Festive Birthday Designer Series Paper One Sheet Wonder

I stamped the sentiment from Suite Sayings using Pumpkin Pie ink.  I punched it out with the Decorative Label Punch and also punched one out from a scrap of Peekaboo Peach to layer the sentiment. I attached the sentiment with Stampin’ Dimensionals and added a Peekaboo Peach bow using a glue dot.

img_5474
Festive Birthday Designer Series Paper and Suite Sayings Stamp Set

How cool is it that you can make 5 quick cards using just 1 piece of 12 x 12 DSP?! When you add the different sentiments and embellishments no one would ever know it was just a 4 x 6 piece of paper that started it all!  They all look different. Do you have a favorite?

img_5468
Festive Birthday Designer Series Paper One Sheet Wonder set of cards

festive-birthday

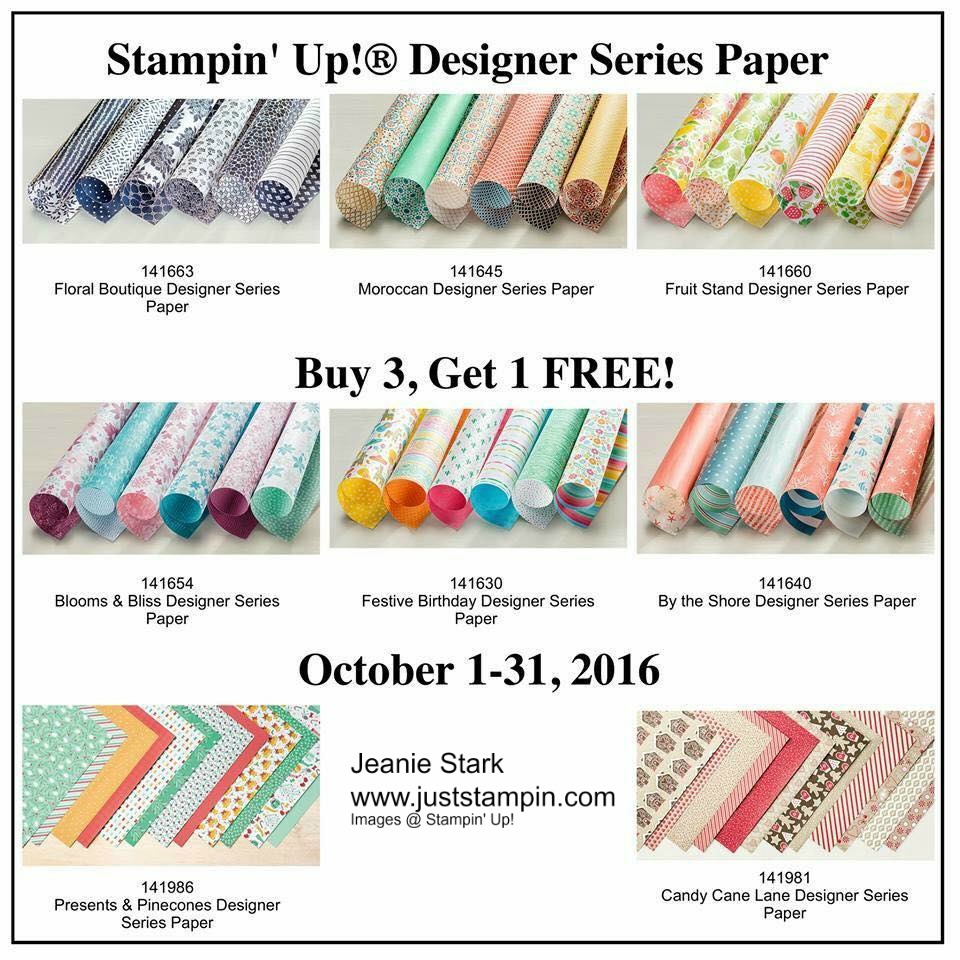
Click HERE to shop my online store and take advantage of the Stampin’ Up! Designer Series Paper Sale. Buy 3, Get 1 FREE Oct. 1-31.  Please use the Hostess Code 7DB3CBKS when you check out. I’ve added a visual below to show where to enter the code. I always send a thank you gift each month when you order from me.  I appreciate each and every order!

Thanks for stopping by!

Just Stampin’

Jeanie

img_4672
Stampin’ Up! Designer Series Paper