
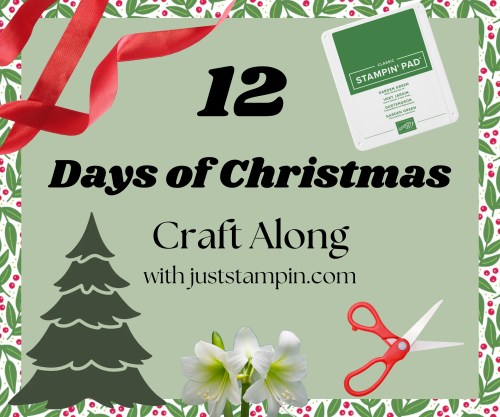
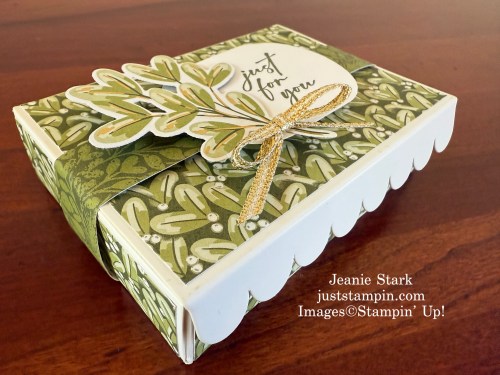
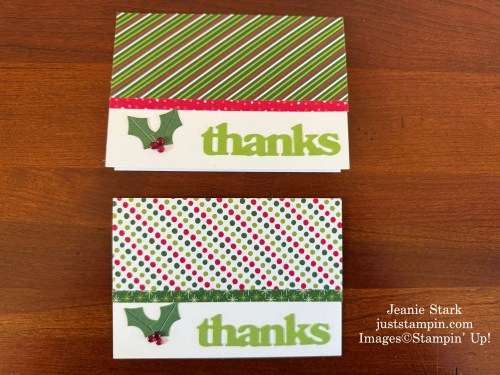
Today I have a Bonus Project to share with you that was included in my 12 Days of Christmas Craft Along Kit. I really appreciate those who order my kits and shop my online store and I like to thank them with little treats and notes. I used the Take A Bow 6×6 Designer Series Paper to create quick & easy fun fold treat holders.
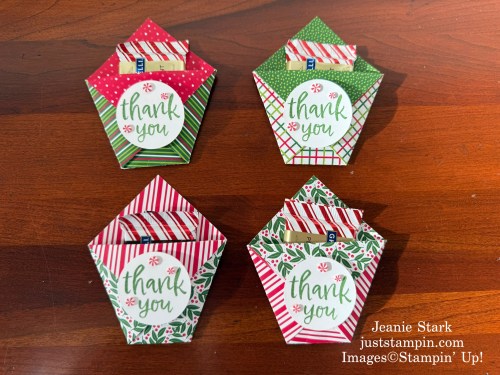
These would be fun to make for your holiday table. Add any sentiment, die cut, or stamped image. You could also put a tip in the pocket with the chocolate and give to your waitress, hairdresser, etc. So many possibilities!
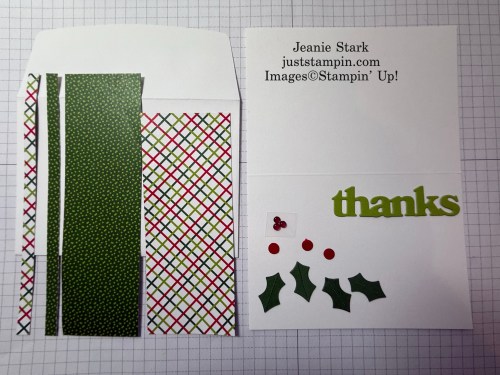
To Create this Project
Step 1: Start with a piece of 6×6 DSP.
Step 2: Fold the paper diagonally, corner to corner. (Use a bone folder to burnish.)

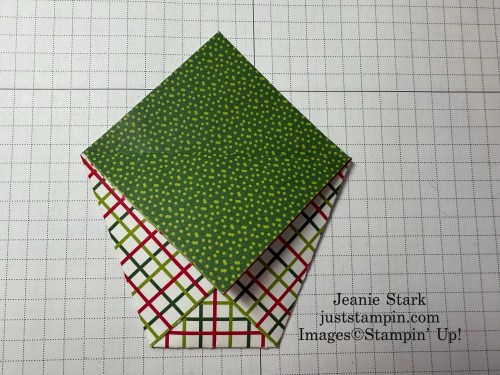
Step 3: Take your triangle and fold in each corner to the opposite side going straight across.
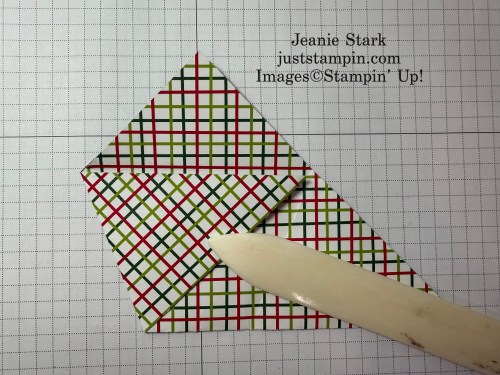
Step 4: Repeat with the opposite corner.

Step 5: Fold the front flap down over the two previous folds.
Step 6: Insert Ghirardelli Chocolate in pocket and embellish as desired.
No Adhesive needed!

* I stamped sentiment in Garden Green, punched with Circle Punch, added a few Real Red & White Adhesive-Backed Peppermints, and adhered circle layer to flap with Stampin’ Dimensionals.

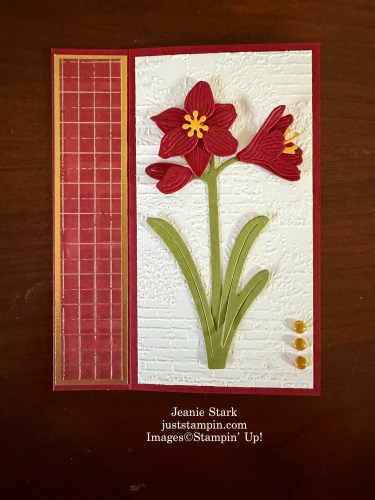
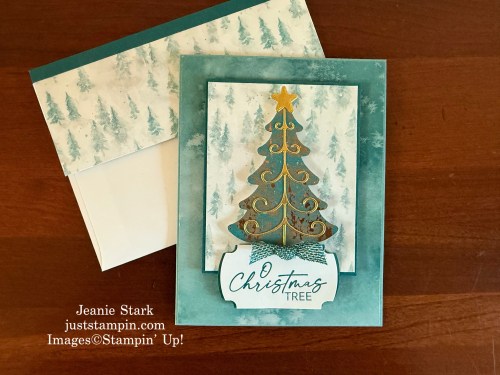
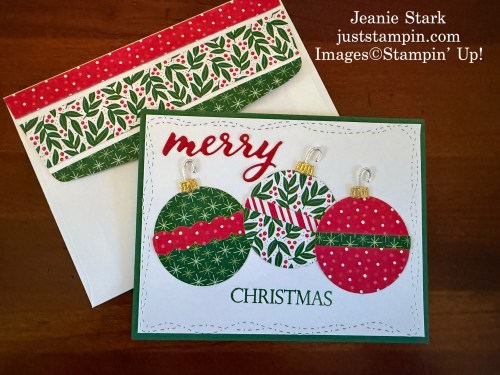
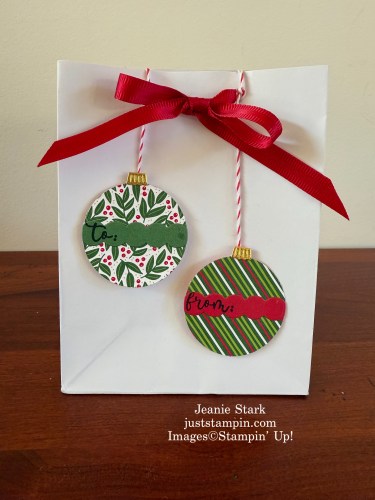
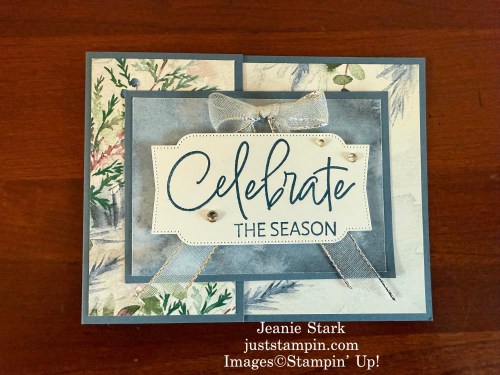
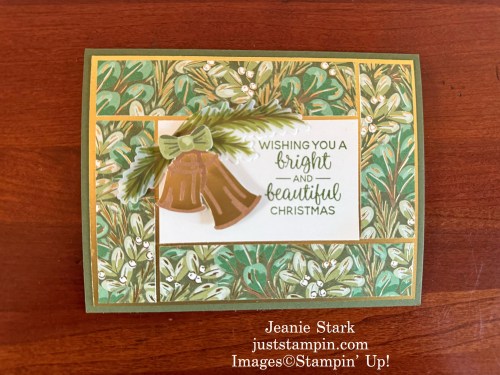
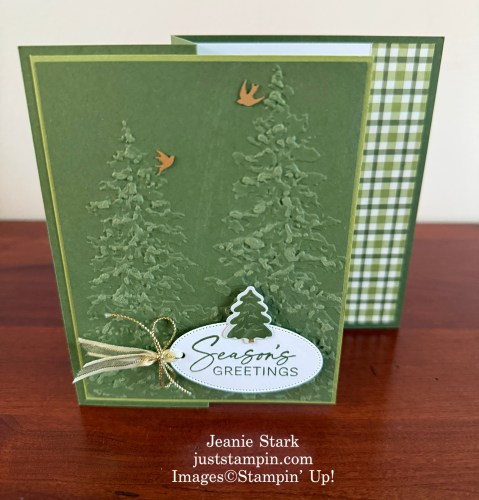
I hope you have enjoyed my 12 Days of Christmas craft along. Here is a recap of all 12 Days in case you missed any.
*Click on the image to view the original post with all the details.
Day 1
Day 2
Day 3
Day 4
Day 5
Day 6
Day 7
Day 8
Day 9
Day 10
Day 11
Day 12

Do you have a favorite project? I’d love to hear from you! Leave a comment below.
Coming soon….
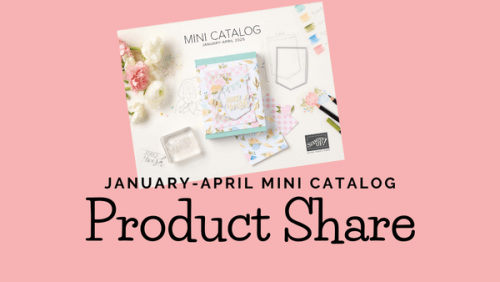
I will be offering product shares for the new Mini Catalog and Online Exclusives coming in January! Check back for sneak peeks and all the details!
Have a great day!!! Thanks for stopping by!
Just Stampin’
Jeanie
*If your order is under $150 please add the current host code to your order.
Host Code: YHMBWKAW
CLICK HERE TO SHOP or click on the product images below.
Here is your shopping list for today’s project:
|
|
|
|
|
|
|
|
![Take A Bow 6" X 6" (15.2 X 15.2 Cm) Designer Series Paper [ 164309 ]](https://assets1.tamsnetwork.com/images/EC042017NF/164309s.jpg "Take A Bow 6\" X 6\" (15.2 X 15.2 Cm) Designer Series Paper [ 164309 ]")
![Basic White 8 1/2" X 11" Cardstock [ 159276 ]](https://assets1.tamsnetwork.com/images/EC042017NF/159276s.jpg "Basic White 8 1/2\" X 11\" Cardstock [ 159276 ]")
![Garden Green Classic Stampin' Pad [ 147089 ]](https://assets1.tamsnetwork.com/images/EC042017NF/147089s.jpg "Garden Green Classic Stampin' Pad [ 147089 ]")
![1-3/4" (4.4 Cm) Circle Punch [ 119850 ]](https://assets1.tamsnetwork.com/images/EC042017NF/119850s.jpg "1-3/4\" (4.4 Cm) Circle Punch [ 119850 ]")
![Real Red & White Adhesive Backed Peppermints [ 164050 ]](https://assets1.tamsnetwork.com/images/EC042017NF/164050s.jpg "Real Red & White Adhesive Backed Peppermints [ 164050 ]")
![Stampin' Dimensionals [ 104430 ]](https://assets1.tamsnetwork.com/images/EC042017NF/104430s.jpg "Stampin' Dimensionals [ 104430 ]")

![Basic White Note Cards & Envelopes [ 159232 ]](https://assets1.tamsnetwork.com/images/EC042017NF/159232s.jpg "Basic White Note Cards & Envelopes [ 159232 ]")
![Hang An Ornament Dies [ 164089 ]](https://assets1.tamsnetwork.com/images/EC042017NF/164089s.jpg "Hang An Ornament Dies [ 164089 ]")
![Thanks & Beyond Dies [ 164397 ]](https://assets1.tamsnetwork.com/images/EC042017NF/164397s.jpg "Thanks & Beyond Dies [ 164397 ]")
![Granny Apple Green 8-1/2" X 11" Cardstock [ 146990 ]](https://assets1.tamsnetwork.com/images/EC042017NF/146990s.jpg "Granny Apple Green 8-1/2\" X 11\" Cardstock [ 146990 ]")
![Garden Green 8-1/2" X 11" Cardstock [ 102584 ]](https://assets1.tamsnetwork.com/images/EC042017NF/102584s.jpg "Garden Green 8-1/2\" X 11\" Cardstock [ 102584 ]")
![Cherry Cobbler & Pearl Adhesive Backed Berries [ 164119 ]](https://assets1.tamsnetwork.com/images/EC042017NF/164119s.jpg "Cherry Cobbler & Pearl Adhesive Backed Berries [ 164119 ]")
![Stampin' Seal [ 152813 ]](https://assets1.tamsnetwork.com/images/EC042017NF/152813s.jpg "Stampin' Seal [ 152813 ]")
![Multipurpose Liquid Glue [ 110755 ]](https://assets1.tamsnetwork.com/images/EC042017NF/110755s.jpg "Multipurpose Liquid Glue [ 110755 ]")
![Paper Trimmer [ 152392 ]](https://assets1.tamsnetwork.com/images/EC042017NF/152392s.jpg "Paper Trimmer [ 152392 ]")
![Mini Stampin' Cut & Emboss Machine [ 150673 ]](https://assets1.tamsnetwork.com/images/EC042017NF/150673s.jpg "Mini Stampin' Cut & Emboss Machine [ 150673 ]")


![Winterly Tree Tops Bundle (English) [ 164066 ]](https://assets1.tamsnetwork.com/images/EC042017NF/164066s.jpg "Winterly Tree Tops Bundle (English) [ 164066 ]")
![Winterly Tree Tops Cling Stamp Set (English) [ 164184 ]](https://assets1.tamsnetwork.com/images/EC042017NF/164184s.jpg "Winterly Tree Tops Cling Stamp Set (English) [ 164184 ]")
![Winterly Tree Tops Dies [ 164065 ]](https://assets1.tamsnetwork.com/images/EC042017NF/164065s.jpg "Winterly Tree Tops Dies [ 164065 ]")
![Nests Of Winter 12" X 12" (30.5 X 30.5 Cm) Designer Series Paper [ 164183 ]](https://assets1.tamsnetwork.com/images/EC042017NF/164183s.jpg "Nests Of Winter 12\" X 12\" (30.5 X 30.5 Cm) Designer Series Paper [ 164183 ]")
![Gray Granite 8-1/2" X 11" Cardstock [ 146983 ]](https://assets1.tamsnetwork.com/images/EC042017NF/146983s.jpg "Gray Granite 8-1/2\" X 11\" Cardstock [ 146983 ]")
![Pebbled Path 8 1/2" X 11" Cardstock [ 161722 ]](https://assets1.tamsnetwork.com/images/EC042017NF/161722s.jpg "Pebbled Path 8 1/2\" X 11\" Cardstock [ 161722 ]")
![Pebbled Path Classic Stampin' Pad [ 161648 ]](https://assets1.tamsnetwork.com/images/EC042017NF/161648s.jpg "Pebbled Path Classic Stampin' Pad [ 161648 ]")
![Cherry Cobbler & Gold 1/4" (6.4 Mm) Satin Ribbon [ 164028 ]](https://assets1.tamsnetwork.com/images/EC042017NF/164028s.jpg "Cherry Cobbler & Gold 1/4\" (6.4 Mm) Satin Ribbon [ 164028 ]")
![Mini Glue Dots [ 103683 ]](https://assets1.tamsnetwork.com/images/EC042017NF/103683s.jpg "Mini Glue Dots [ 103683 ]")
![Stampin' Cut & Emboss Machine [ 149653 ]](https://assets1.tamsnetwork.com/images/EC042017NF/149653s.jpg "Stampin' Cut & Emboss Machine [ 149653 ]")