
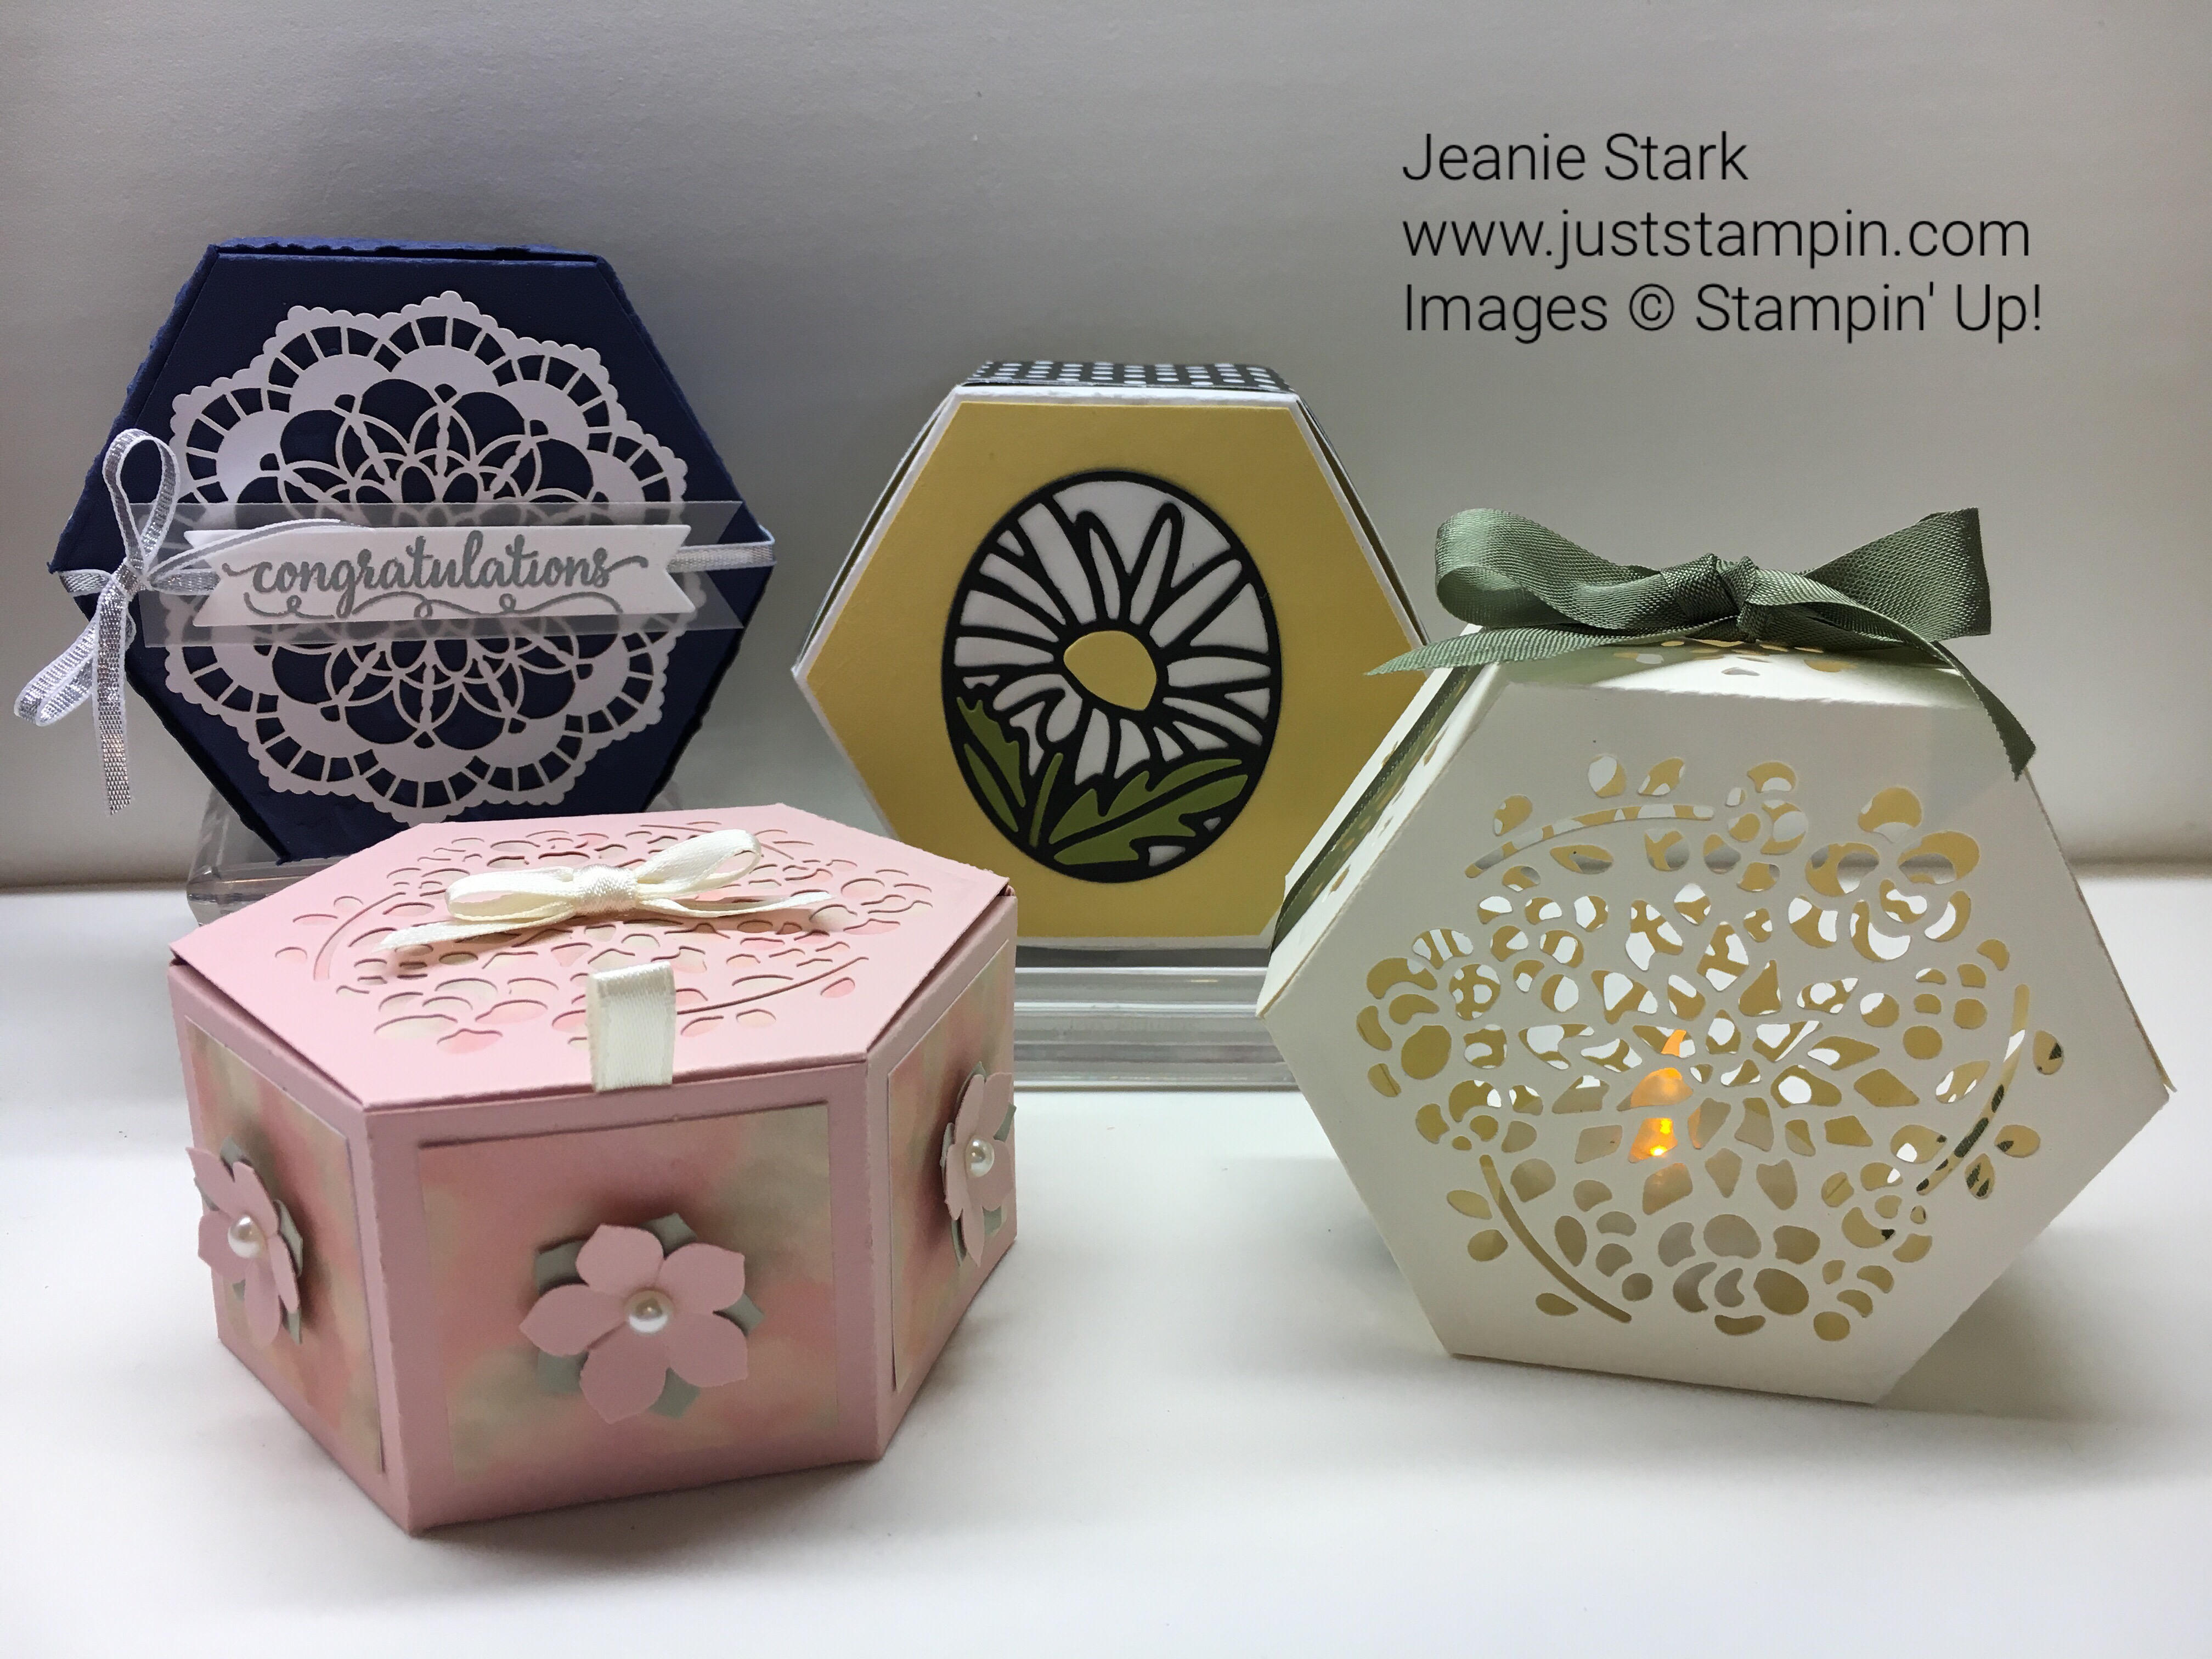
Welcome to my alphabet series showcasing some of the new products in the 2017 Occasions and Sale-A-Bration catalogs. Today I am showcasing the Window BoX Thinlits Dies featured on page 43 in the Occasions catalog. Move over Dragonfly Dreams…there’s a new favorite in town!! I think you’ll agree once you see some of the possibilities that you can do with these dies…they are to “die” for!!
The Window Box Thinlits Dies make it easy to create these boxes using the Big Shot. Check out this video for some great tips and to see all the different ways to use the thinlits included in this set.
Donna shared lots of great ideas for boxes and cards in her video! This set passed the versatility test for sure! I couldn’t stop making these boxes! I have lots of photos to share with you today.
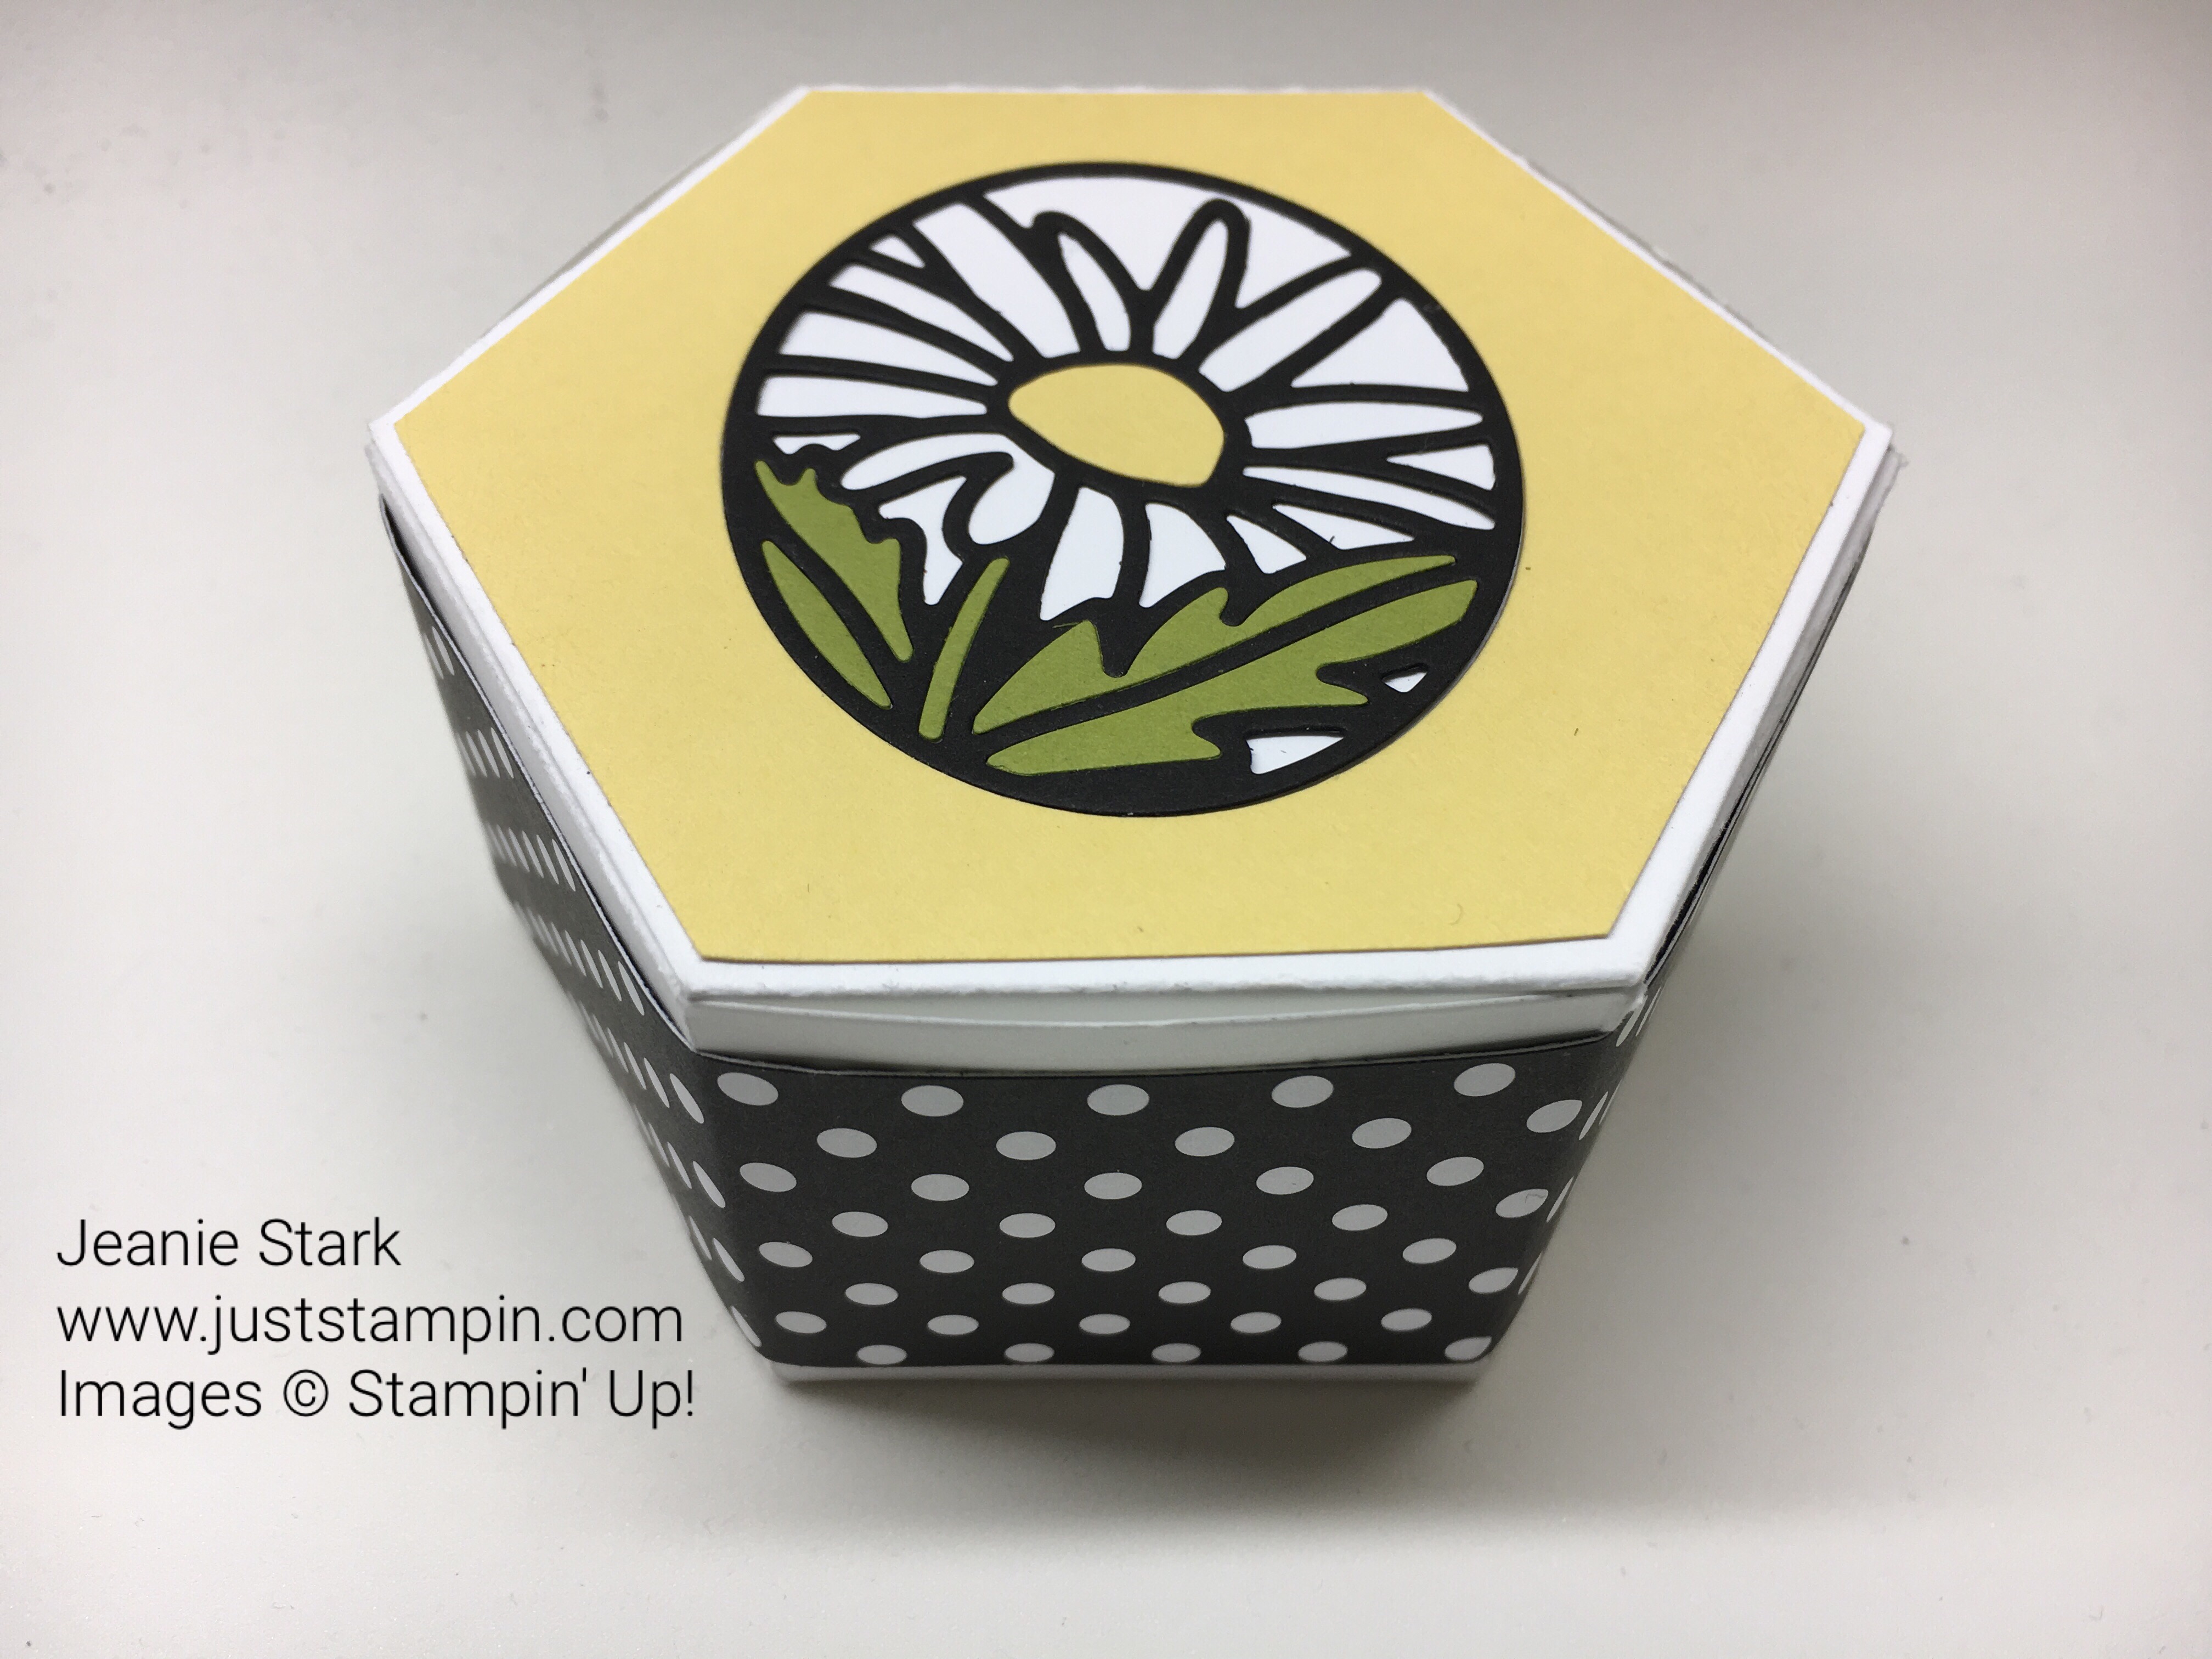
I love to make boxes and bags to coordinate with my cards. It makes a nice gift presentation. I made this box to go with a card I shared previously. You can find all the details for the card and how I made the tag insert (using the Timeless Tags Thinlits Dies) HERE.

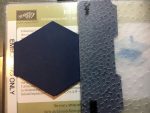
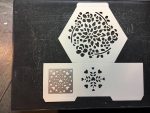
I started with a 6 x 11 piece of cardstock to cut my 2 dies. I cut the ends flaps off one of the pieces and put the box together as shown in the video. I used tear & tape to secure my box. I marked on the photo below the 7 places where you need to apply adhesive.


For this box, I cut a 1 1/2 x 12″ strip of black DSP from the Neutrals Collection. I started in the back and just wrapped it around and pressed gently along the corners to create natural score lines. Then I used Multipurpose Glue to adhere it to the box. As you can see this box holds a lot!


How would you like to receive this card kit and box? Check back tomorrow for information on my “Just Stampin’ Kit Buffet” TO GO!
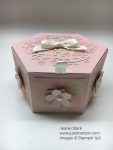
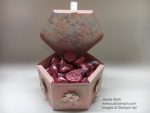
This next box is for the principal at my school. She loves pink! She has a bowl of Hershey kisses on her desk and my students love to stop by on our way out the door at 11:30 every day. They each choose a kiss from the bowl to take home. I thought it would be nice to fill this box with pink Hershey Kisses and have my class give it to her tomorrow for her birthday.
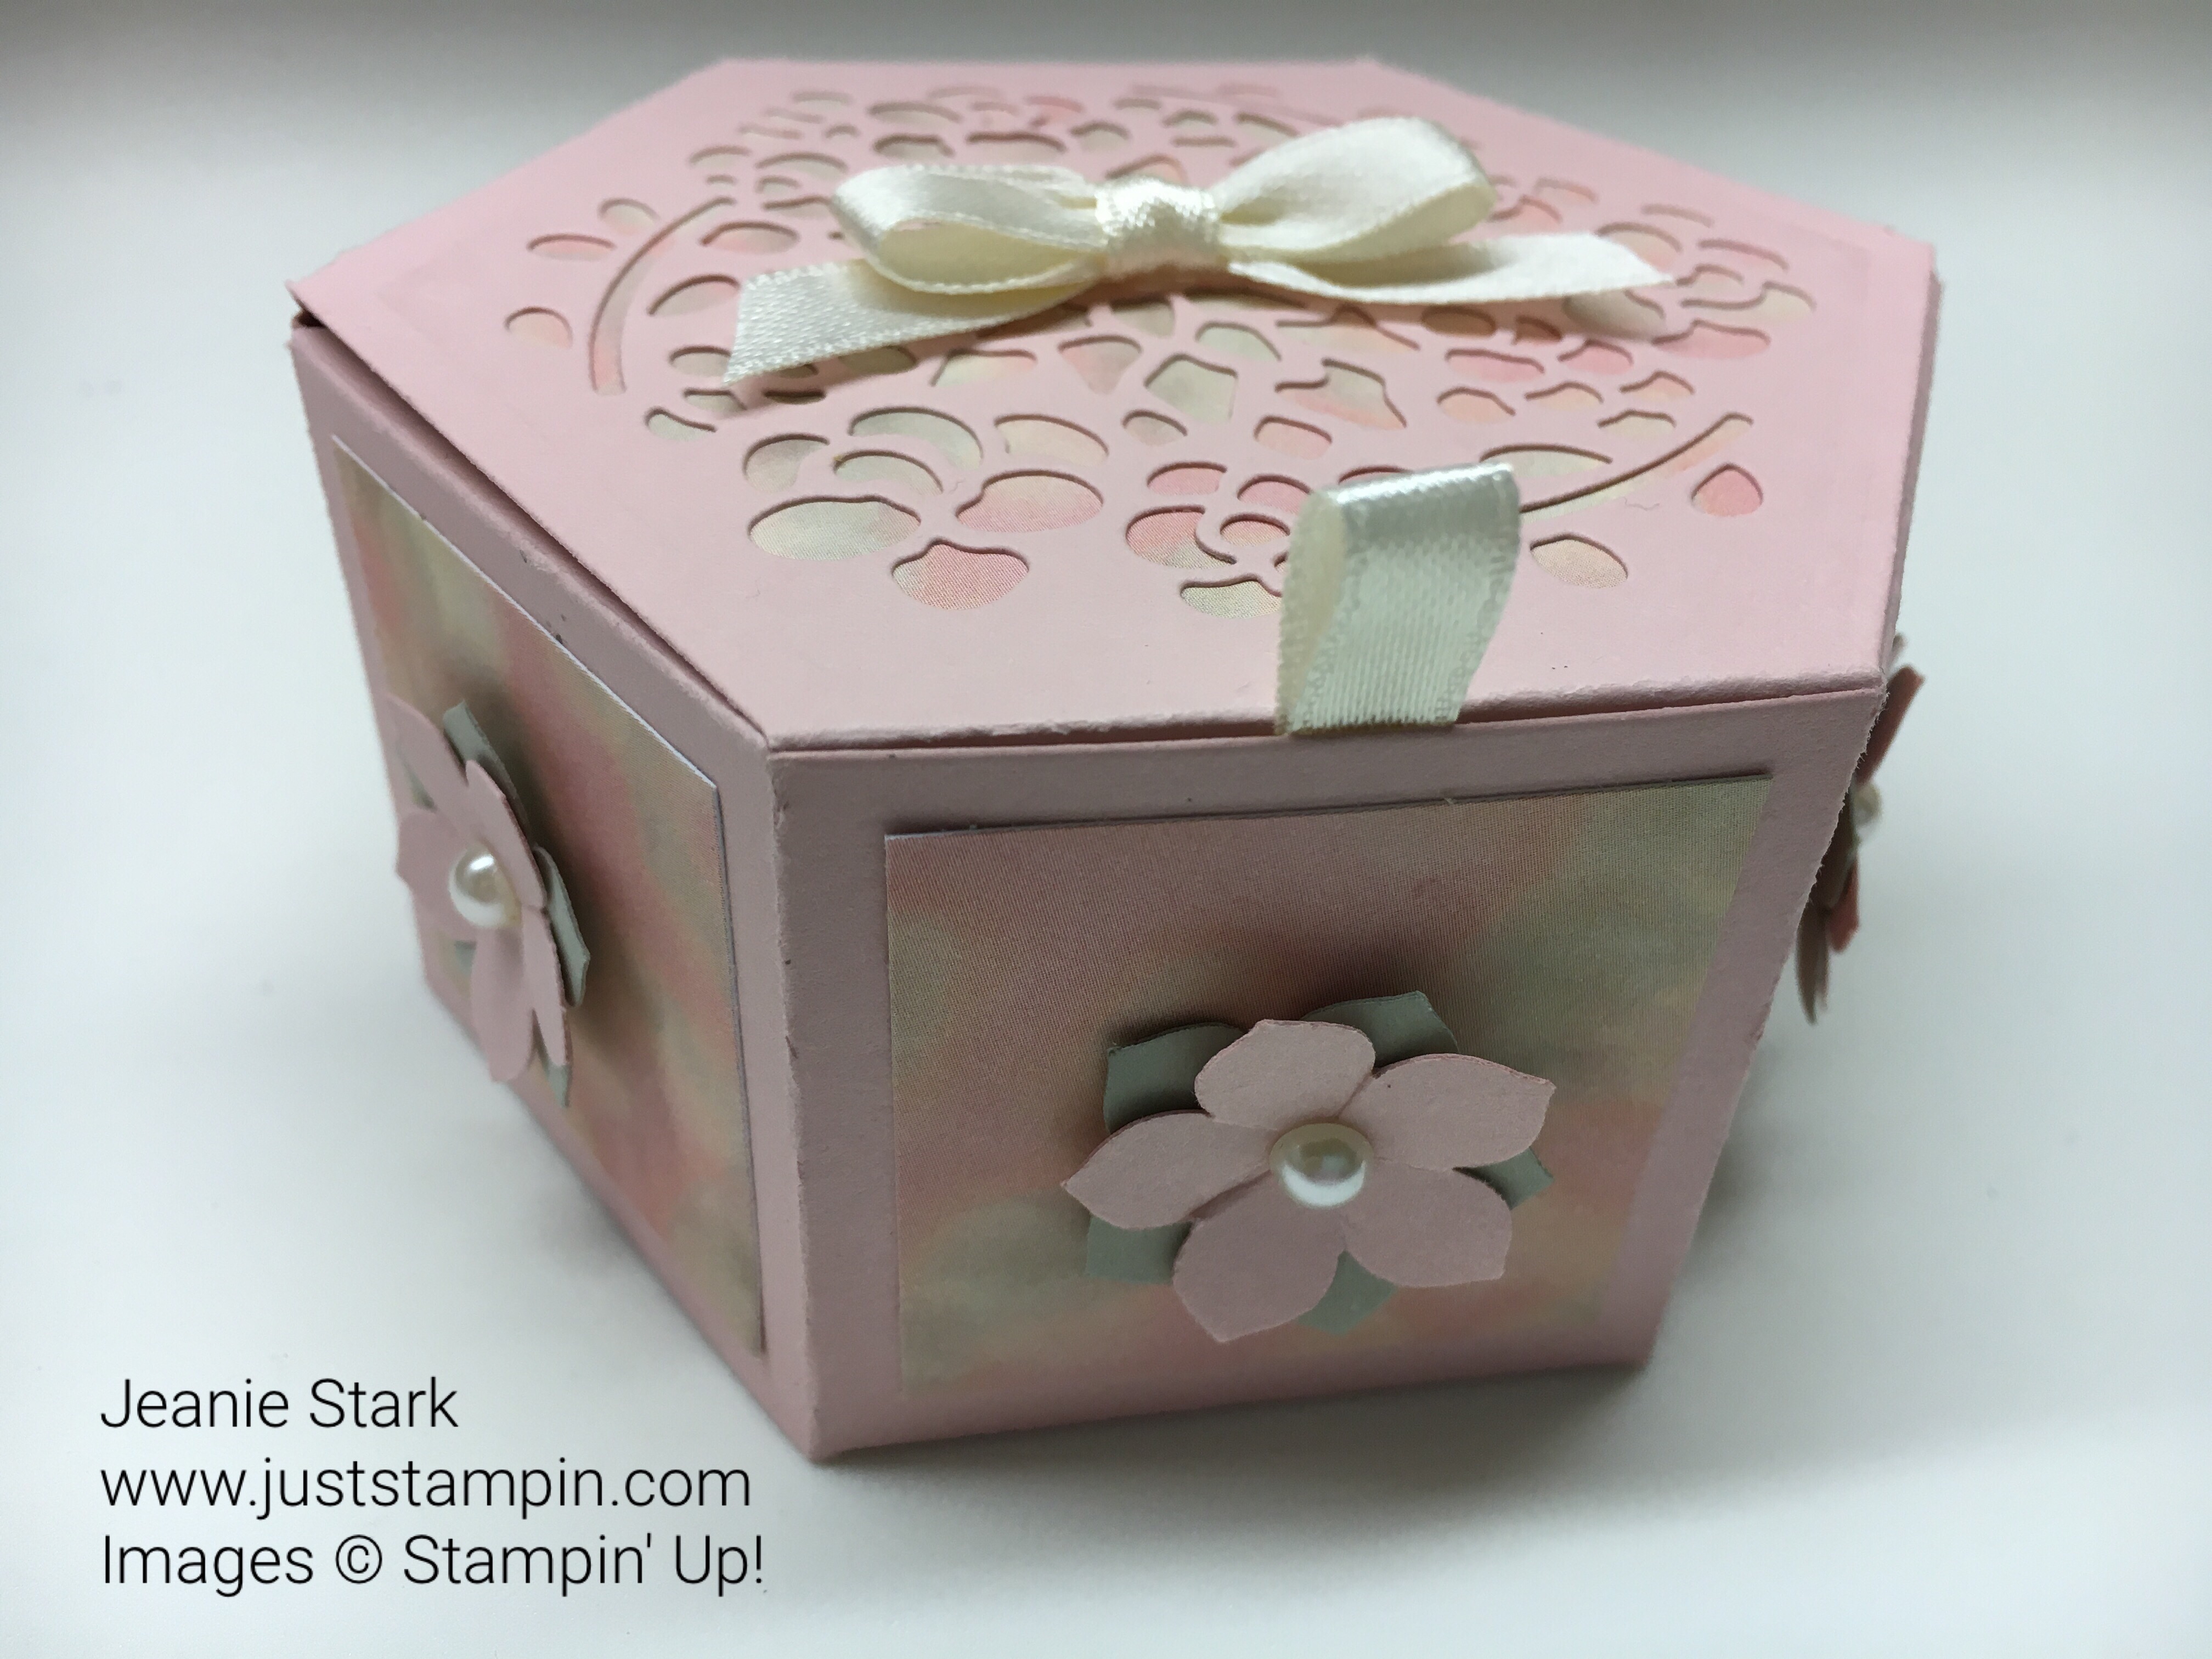
I made this box the same starting with a piece of 6 x 11 Blushing Bride cardstock this time. I used the Precision Base Plate and cut the top of the box before adhering the box together. Then I cut a 3 3/4 x 4 piece of Falling in Love Designer Series Paper and trimmed it along the score lines using my paper snips. I glued it on the inside of the lid. I cut 1 1/2″ squares from the same DSP and adhered those on the 6 panels of the box. I attached a little piece of Very Vanilla Satin Ribbon to the tab with a glue dot to make it easy to pull to open. The flowers were punched from Sahara Sand and Blushing Bride cardstock using the Petite Petals Bunch. I added Basic Pearl Jewels to the center of each.


I finished it off with a Very Vanilla bow on top. Even the inside looks so pretty!
The next box is for my niece who is getting married in two weeks. I used her colors to go with the card I made previously. (You can click HERE to see how I made the card.)
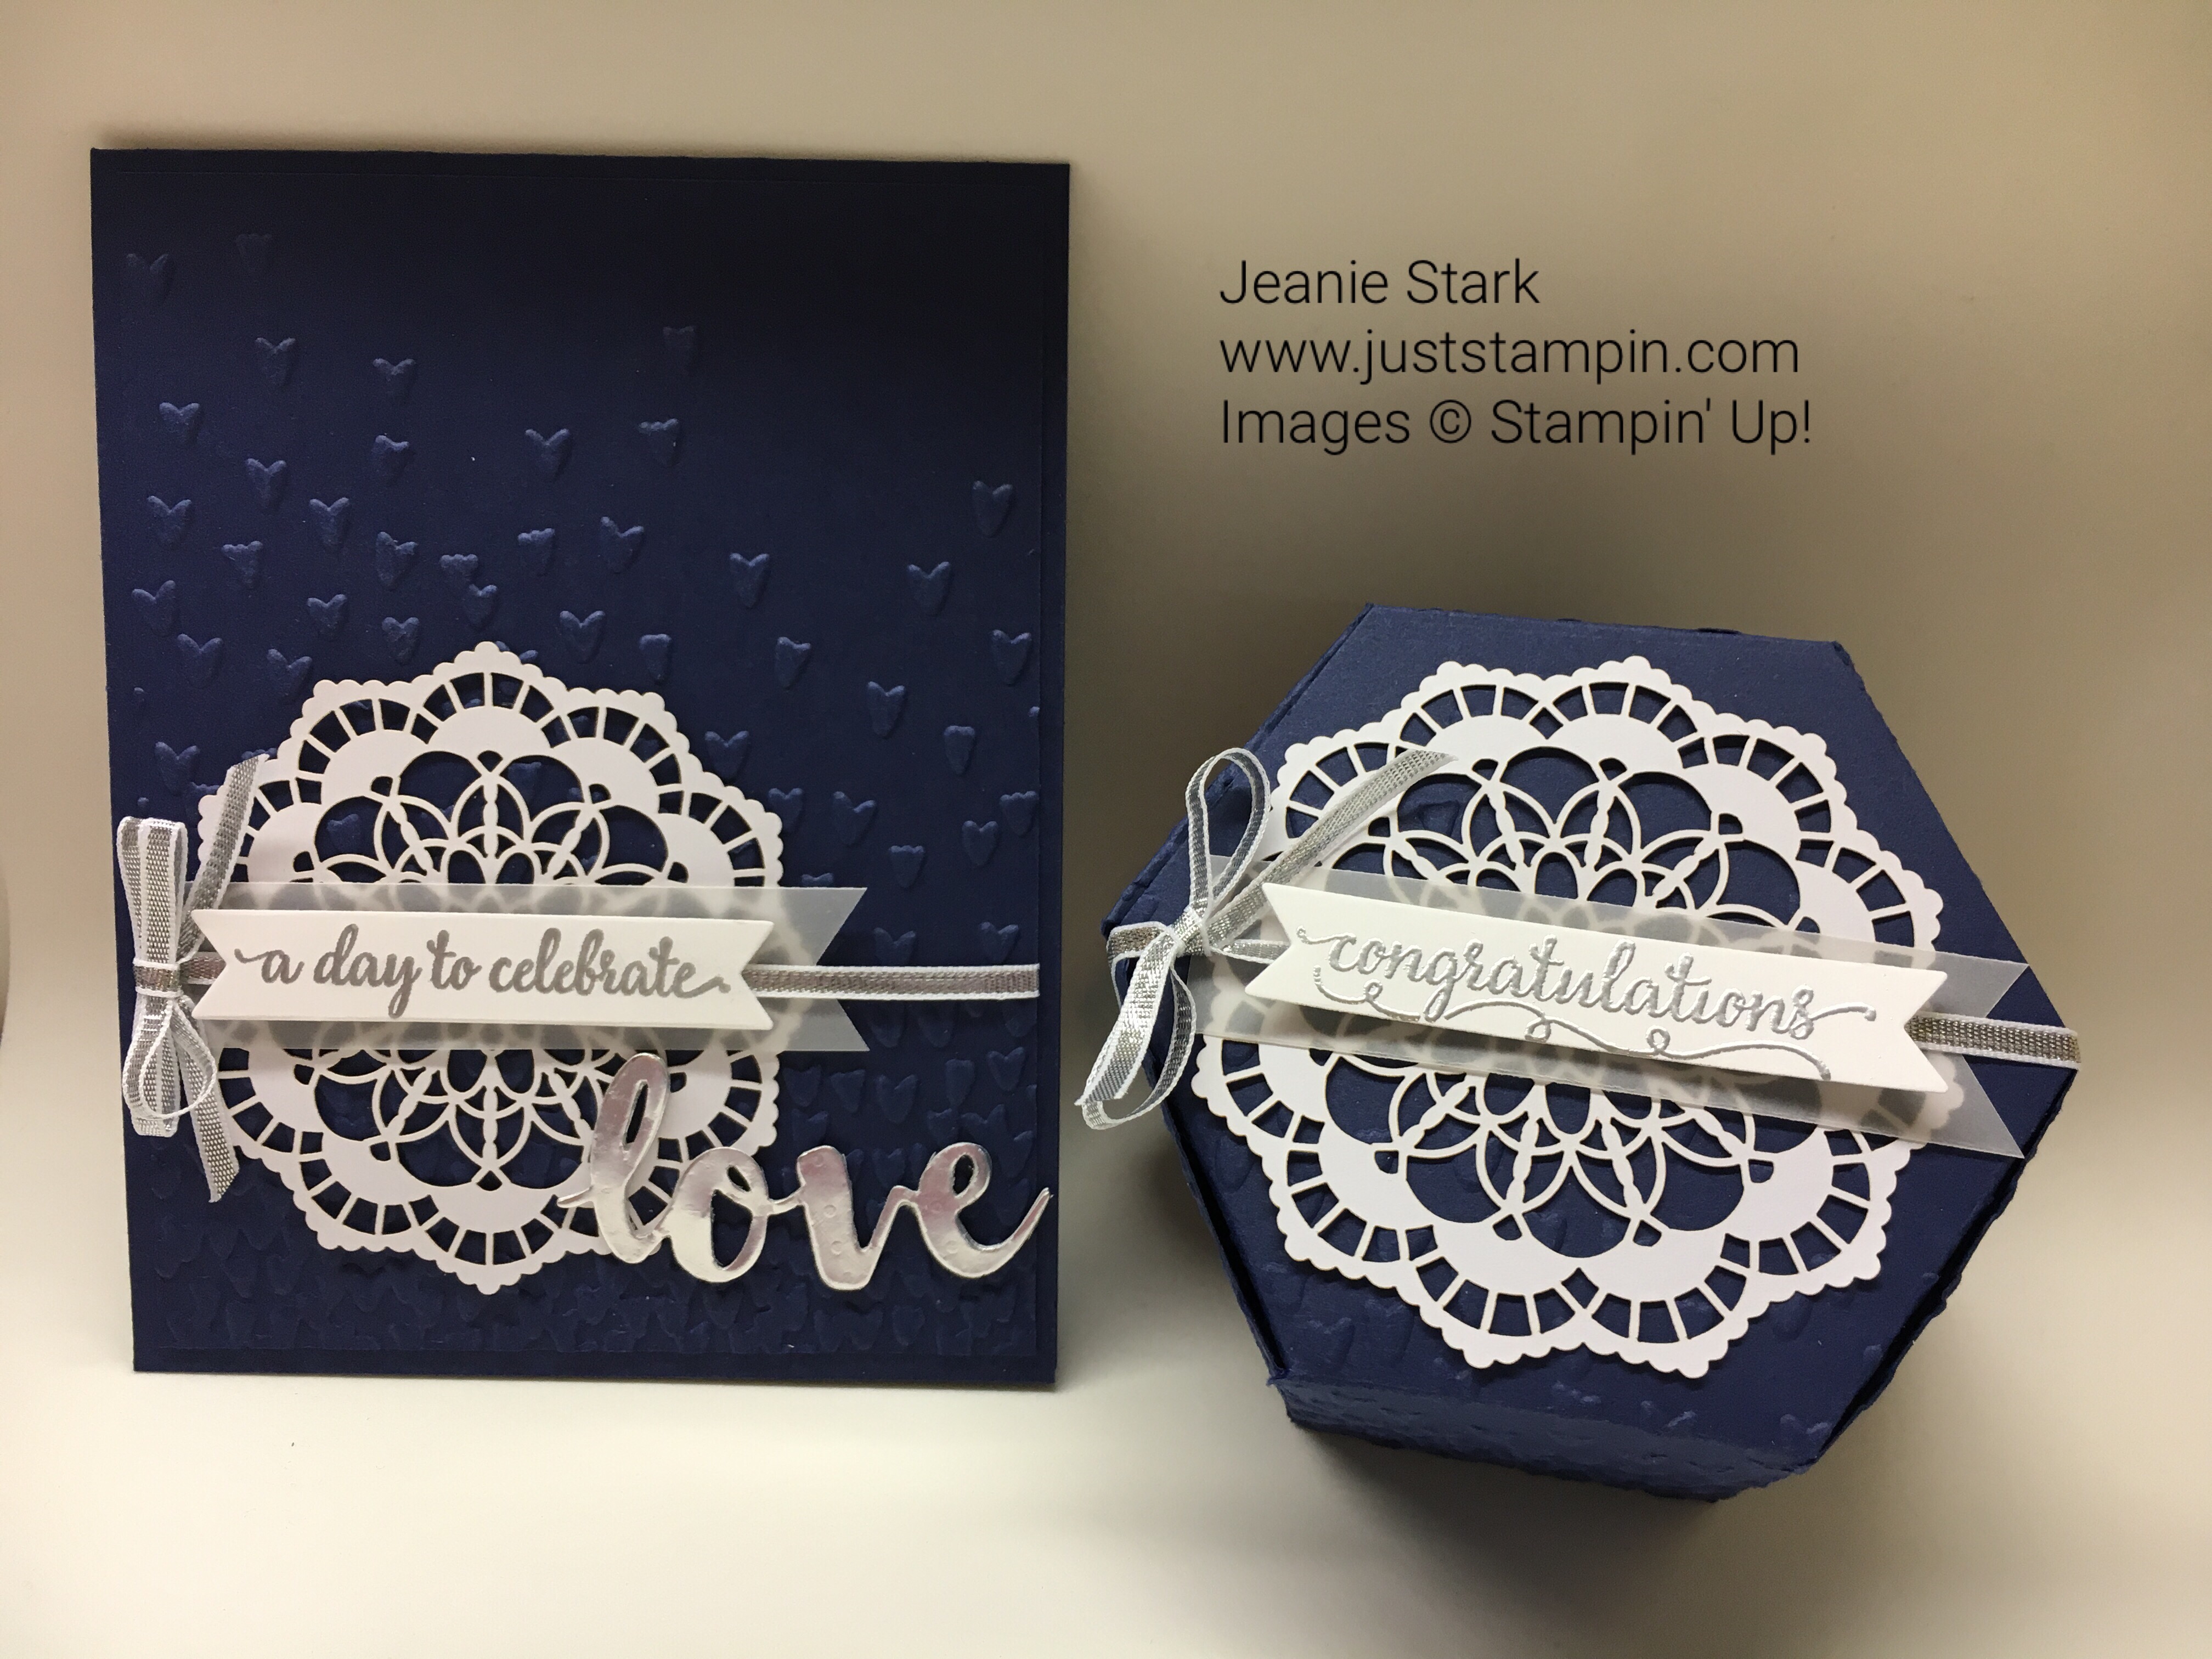
For this box I wanted to use the same elements as the card so I embossed the 2 die pieces using the Falling Petals Embossing Folder before I put the box together. I rotated the bottom piece before embossing (just like you would for one of the dies) so the hearts would be facing the right way when I put the box together.

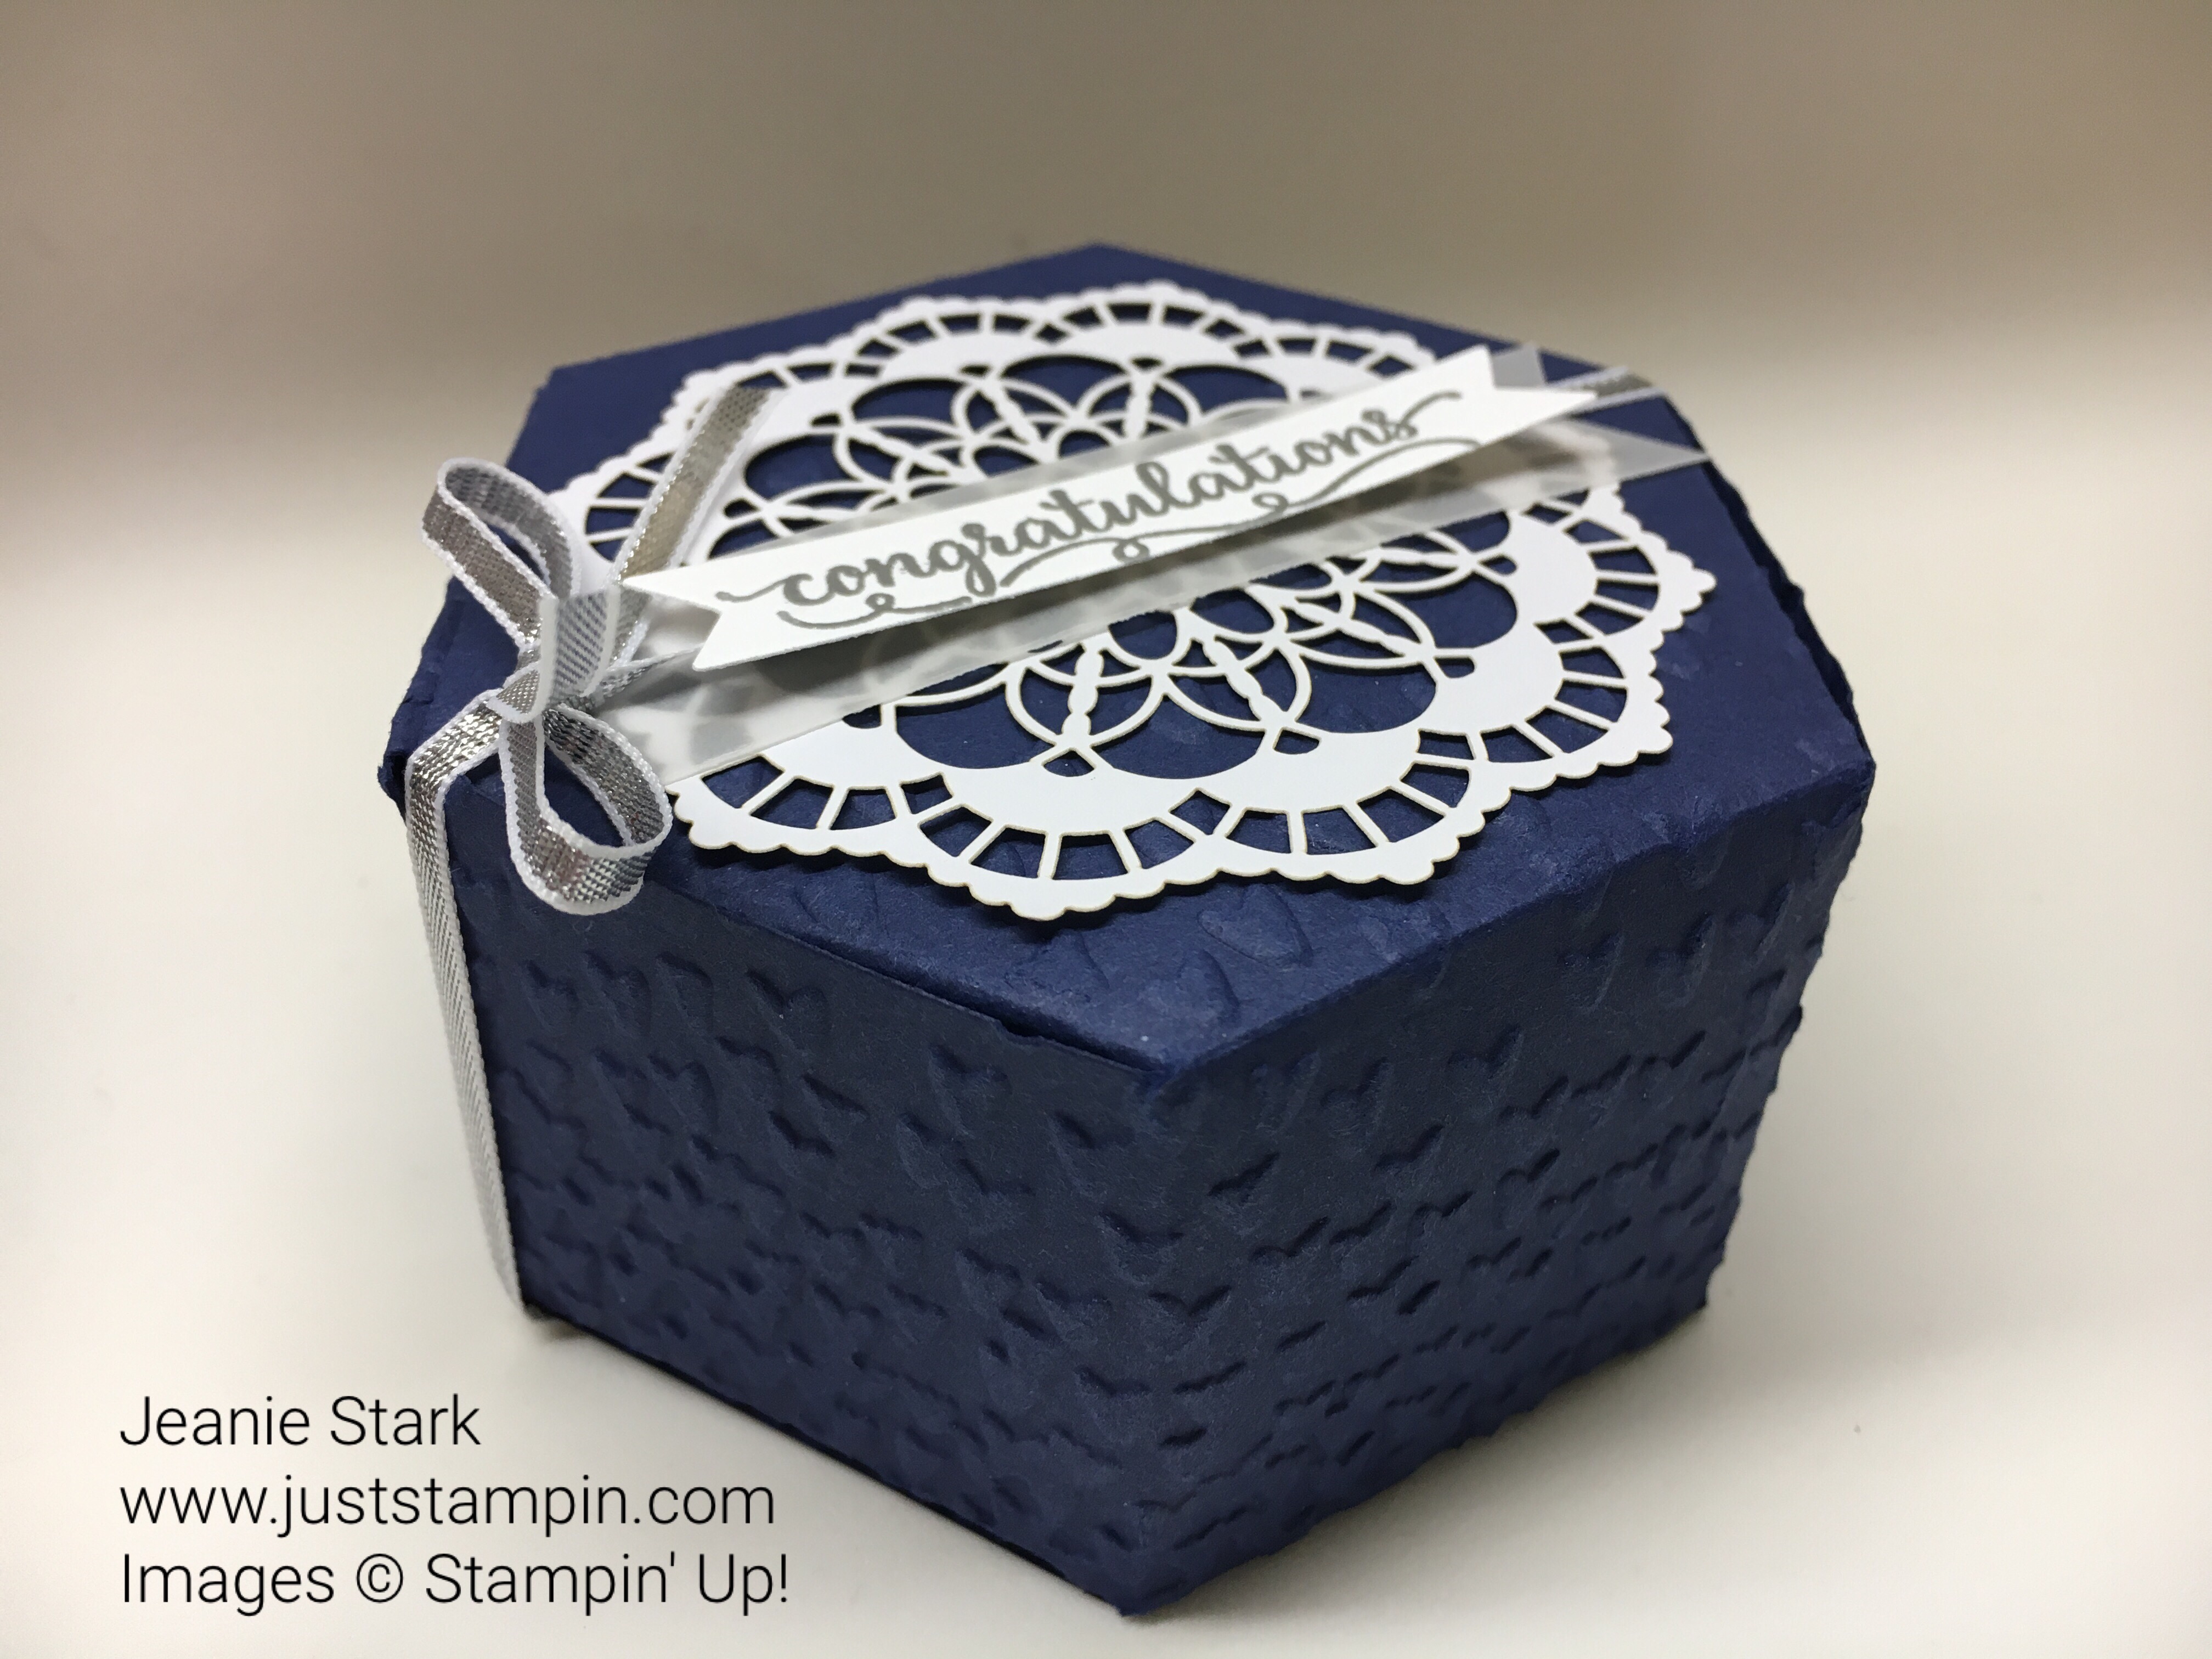
I heat embossed the sentiment using silver embossing powder and wrapped the box with the same silver ribbon as her card.
My last box (for now) is for our guest room. I thought it would be so pretty to use it for a night light for guests. I plan to make more of these as I think they are great little gifts to give! I used some retired Always Artichoke seam binding to wrap the box and tie a bow…it matched the throw pillow on the bed. You can still open the box without disturbing the ribbon to turn the battery light on and off.
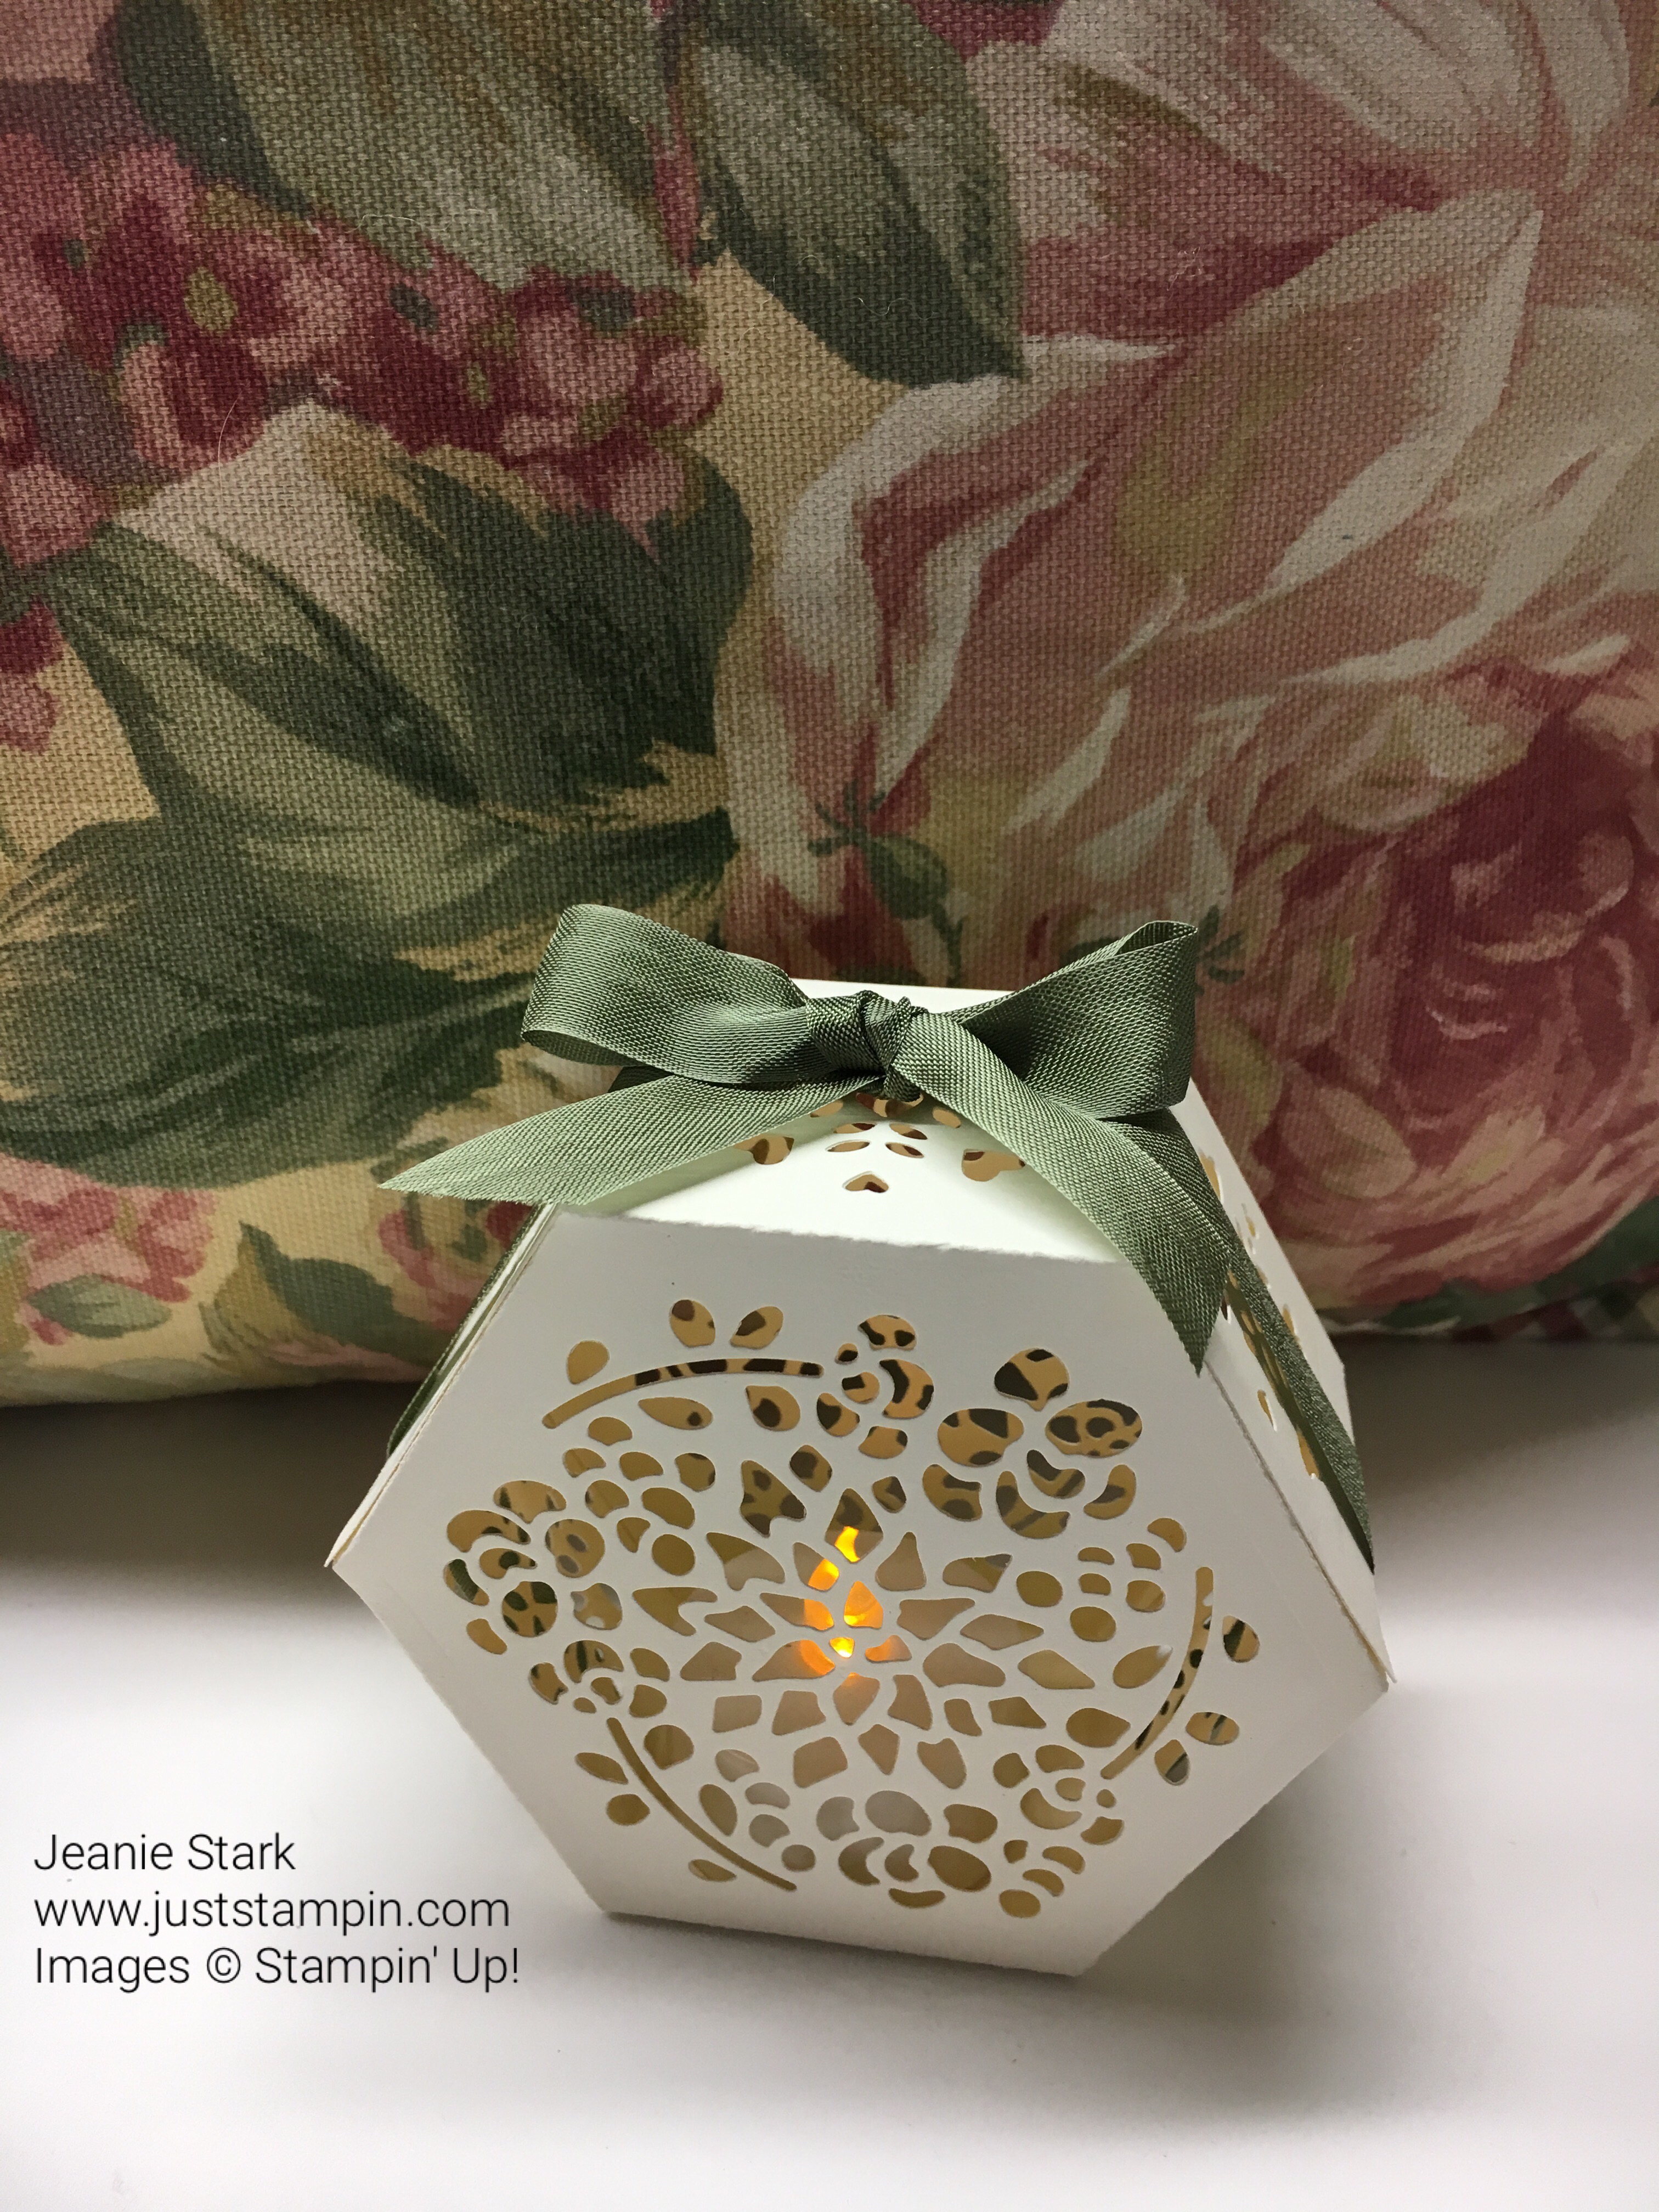
I was careful to remember to make sure my die was going the right way before I cut so the hearts would be facing up when I put the box together but with the ribbon wrapped around it you can’t even tell! (Keep that trick in mind if you mess up! LOL)


I love these “luminaries” and can’t wait to make more! These would be gorgeous on a dinner table! You can lay them down or stand them up..the candle fits either way. I still have more of these boxes I want to make. I haven’t even used the stamp set and it has great sentiments that fit perfectly on the top or side of the box! There’s even tags and a sweet little flower! They can be used with the box or alone on cards or other projects! You will definitely be seeing more of this set in the future! I’m going to make Valentine boxes for my family! So, which one is your favorite? I’d love to hear from you!
You can purchase the Window Box Thinlits Dies and Window Shopping Stamp Set as a Bundle and Save 10%. Click on the image below to view it in my online store.

You can purchase the products used to make today’s project in my online store. The bundle sells for $50.25 which automatically qualifies you for a FREE Sale-A-Bration gift. Use the February hostess code K3VM6YBW when you check out and I will send you a card kit as my thanks for shopping with me! Check back tomorrow to find out about my new kits TO GO!!! Click HERE to shop.

Have an eXtra special day!
Just Stampin’
Jeanie
P.S. I hope everyone is working on their card for my Card Swap! Click HERE for the details!