Watch It Wednesday…Curvy Keepsake Apples

img_3886

For some reason I had a craving for an apple on my way home from school yesterday. (Hmmm…I wonder if it has anything to do with my projects the last few days?  LOL ) When I got home I decided to make some treat boxes…apple ones of course! I really liked the more realistic look of the apples after I sponged them on my card the other day so I decided to give it a try with the Curvy Keepsake Box Thinlits.

Here’s a short video from Stampin’ Up! with directions for the Curvy Keepsake Box Thinlits.

I like to make the most of my paper so here’s how I cut 2 thinlits from a piece of 6 x 8 1/2 piece of cardstock.

I sponged my pieces first using Pear Pizzazz and Delightful Dijon ink. Then I adhered them together with Tombow Multipurpose Glue.  I used my bone folder to curve the ends like she did in the video.

I freehand cut the stem from a scrap piece of Early Espresso about 1/2 x 1 1/2.  See the photo below for how I attached the stem with a glue dot so I could open and close the box easily.

Next I stamped the leaves from the Thoughtful Branches stamp set in Old Olive ink and cut them out with the coordinating die.  I attached these to the stem with glue dots.

This makes a nice gift filled with chocolate, caramels, jewelry, etc.  What would you like to receive in the box?  The curvy keepsake box is so versatile…I have used it to make graduation caps, table favors for Thanksgiving (turkeys), Christmas (Santa, ornaments, and reindeer), Easter, etc.  I have got my money’s worth out of this!  It even comes with 3 different tags to use with this or other projects.  Click HERE to go to my online shop and see everything you get.

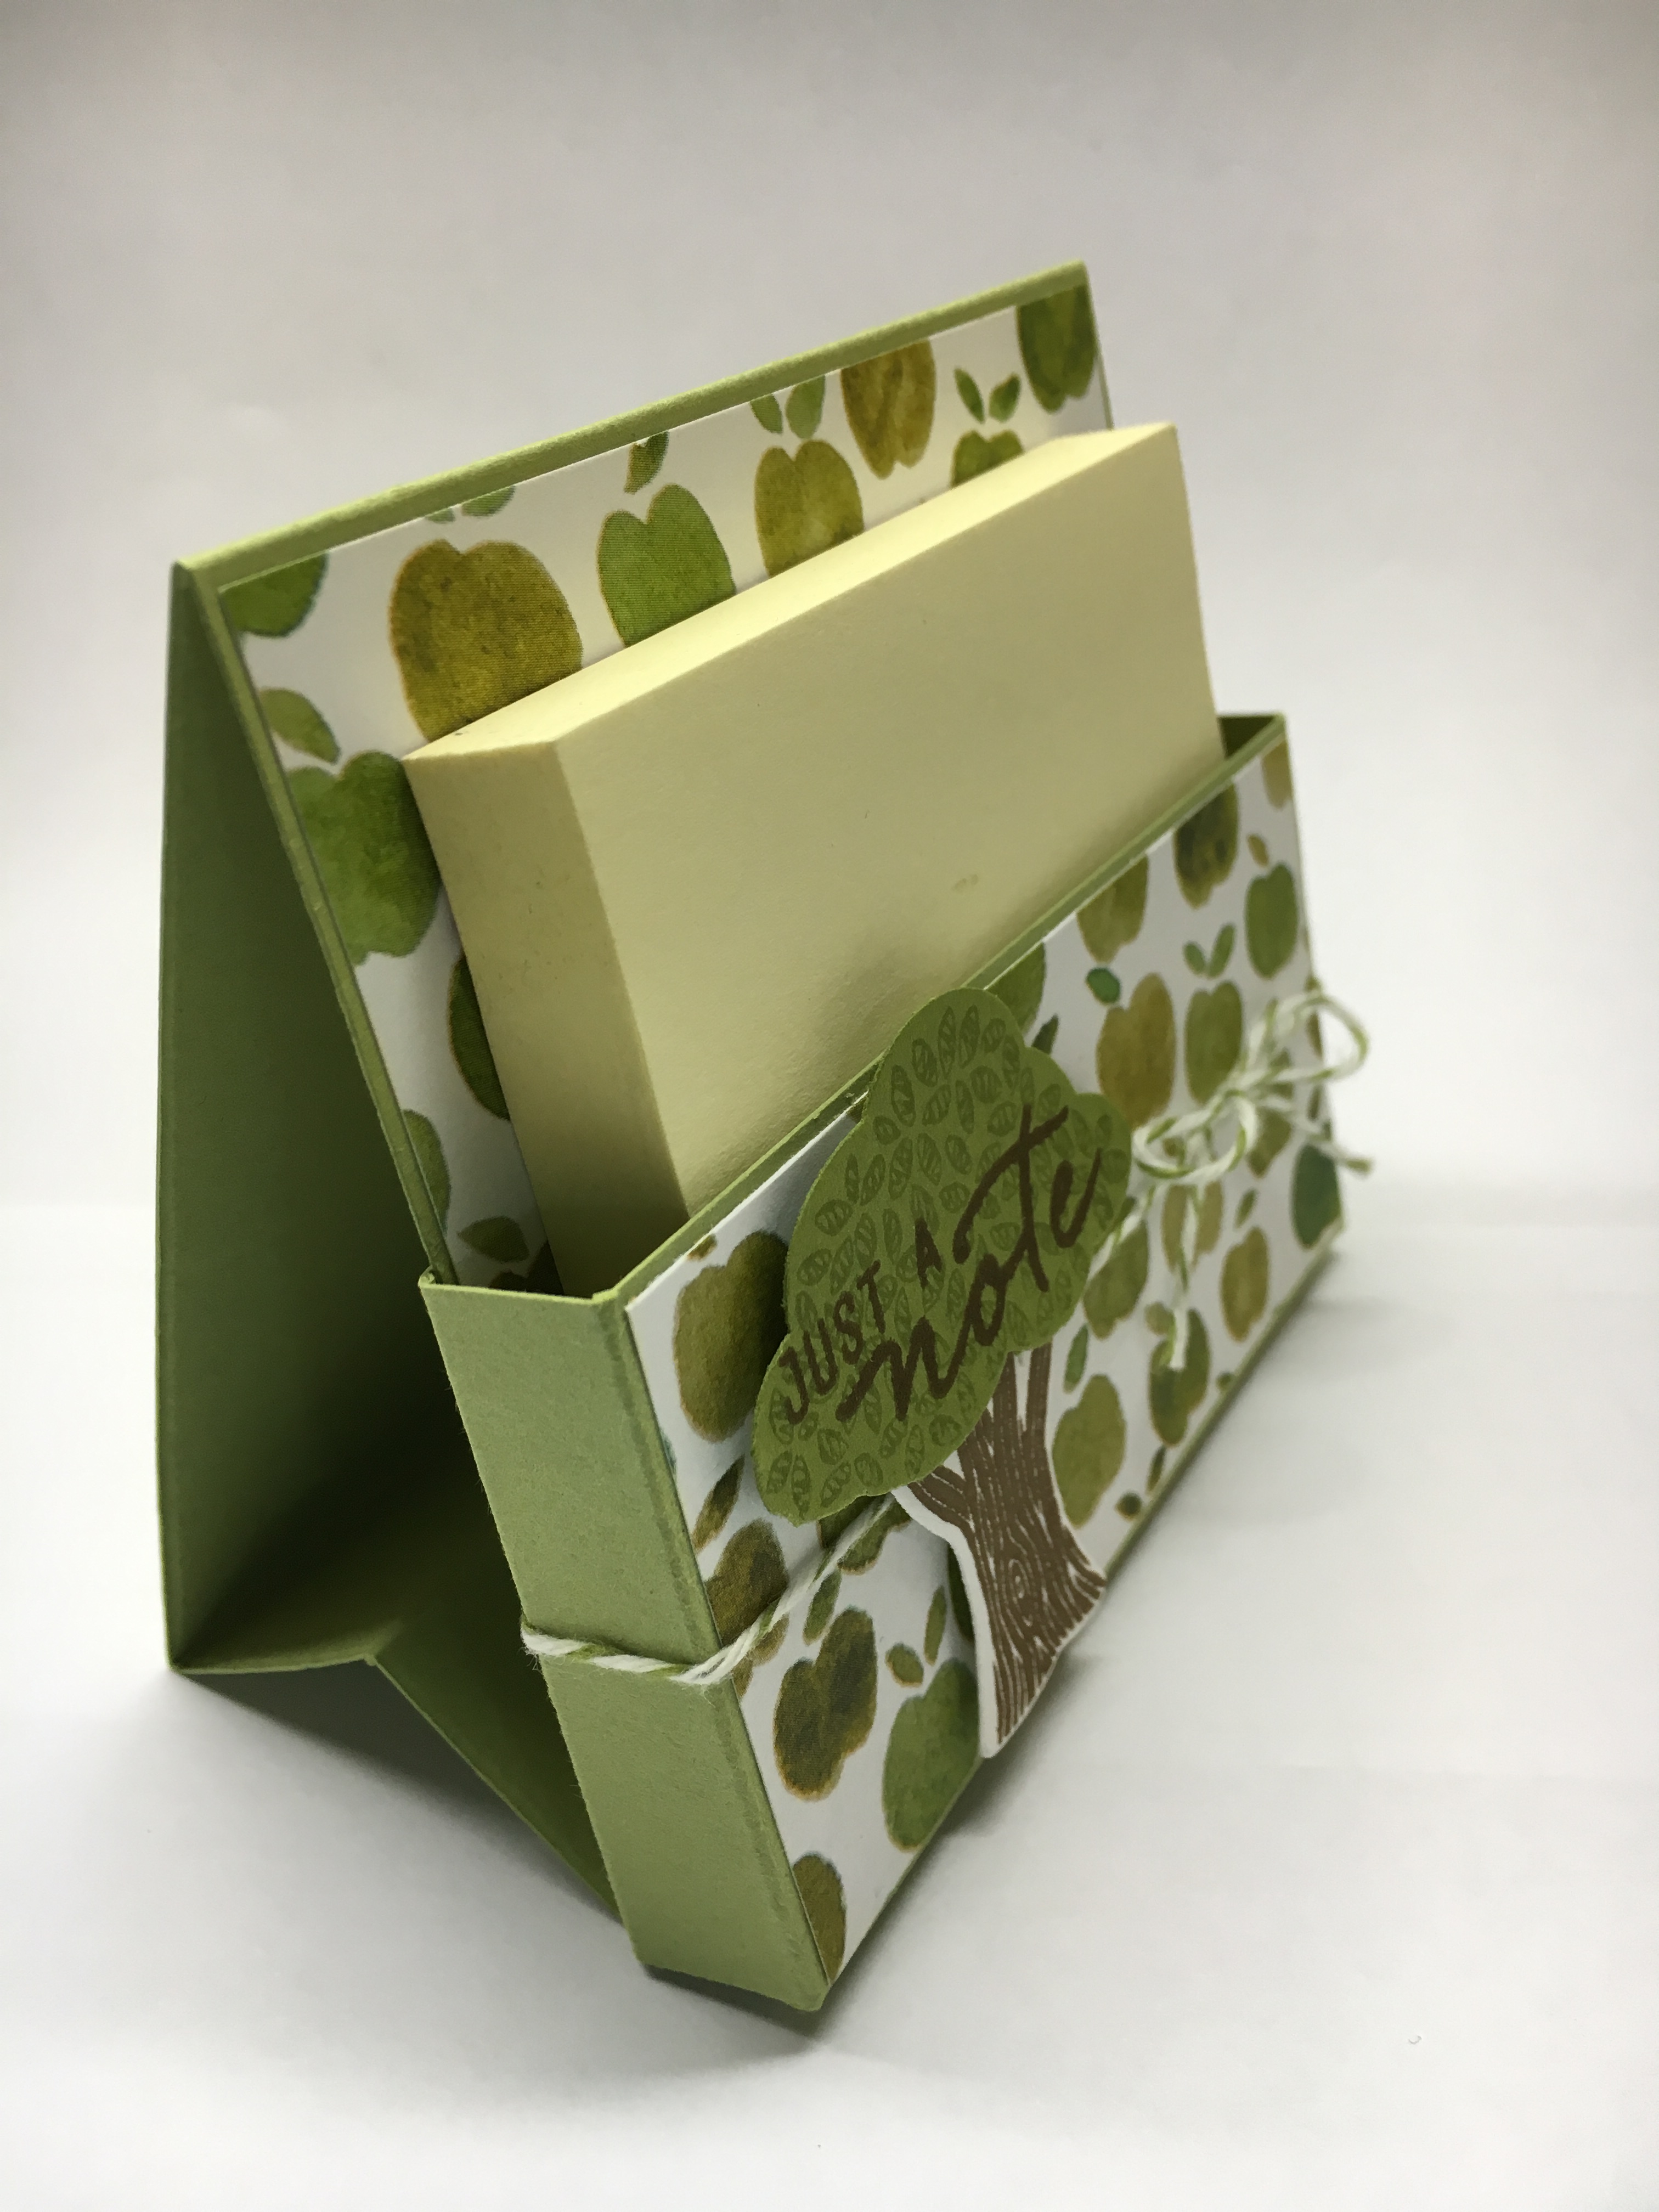
Look how nice it goes with my other projects this week to make a great gift set.

img_3878

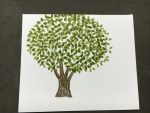
Did you notice I used the Thoughtful Branches Bundle on all three of these projects?…the stamped tree and sentiment on the card, the stamped and cut out trunk on the Post-It note holder, and the stamped and cut out leaves on the curvy keepsake apple box.  Today is the LAST DAY this set is available.  I hope you got yours!  You don’t want to regret letting this set pass you by.

I made these apples for 2 eighth grade students who are going to help me out and set up the gym in the mornings for my little ones.  We don’t have a separate play area to leave everything out so we need to store the bikes, etc. in closets and take everything in and out daily.  My students learn quickly how to  clean up and put it back away so the big kids can use the gym after us. 🙂  I like to make little treats like these to give our helpers each year so they keep coming back. I think these will start the year off just right!

img_3886

Thanks for stopping by!  Tomorrow is September 1st which means you can start shopping from the new holiday catalog. Lots of new ideas, stamp sets, designer series paper, and embellishments to choose from!  If you are not currently working with another demonstrator and would like a catalog, I’d be happy to send you one.

2016 Holiday catalog

Have a wonderful day!

Just Stampin’

Jeanie

Just a Note for Back to School

img_3841

I seem to have apples and school stuff on my mind this week! Today’s post-it note holder would be a great gift to give with the card I made yesterday. The apple DSP was still sitting on my desk along with some post it notes. (I am such a list person and anytime I get a thought or idea I have to jot it down. Sometimes I need a list to remind me of the list!)   I decided to use the leftover paper and make this post it note holder.  I am going to keep this one for myself; however, now that I know how quick and easy it is to make, I think I’ll make some for the office staff at work. They always do so much for everyone else!  I bet you can think of someone who might like one too.  Or just make one for yourself.

I watched a rather looooooong video by Jan Brown from the UK.  She CASed (Copied And Shared) it from someone else. I decided to change it up as I did not need to put a pocket on the back to hold a business card or gift card for myself. I suppose if you want to make one for someone else and put a nice gift card in the back no one would complain. LOL  I did try to simplify the steps so you don’t have to watch the 45 minute You Tube video but, just in case you want to watch Jan’s video you can click HERE.

Here’s the details for mine. Start with a 5 3/4 x 12 piece of Pear Pizzazz cardstock.  With the short side across the top of the Simply Scored Scoring Tool, score at 1/2, 1, 4 3/4, 5 1/4.  With the long side at the top, score at 2, 2 1/2, 6, 9 1/2, 10 1/2, 11 1/2.

img_3819

Next you need to cut 1 inch off the long sides from the 2 1/2 inch score line. See the photo for where to cut and snip.

img_3825

Fold and crease on the score lines with a bone folder. See the photo for which way to fold along the score lines. The box section is in front and it looks like a tent from the side view.

img_3827

Attach DSP (3 5/8 x 1 7/8, 3 5/8 x 3 3/8) and then put Tear & Tape Adhesive as shown and adhere the holder together.

Wrap Old Olive Baker’s Twine around the holder and tie a bow.  To decorate,  I used the Sprinkles of Life stamp set to stamp the tree leaves in Pear Pizzazz on Old Olive cardstock. I stamped the sentiment from Watercolor Wishes with Soft Suede ink. The tree leaves get punched out with the Tree Builder Punch. Stamp the tree trunk from the Thoughtful Branches stamp set in soft suede ink and cut it out with the matching Thinlits Die.

img_3845

img_3840

Attach the tree to the front of the holder with Stampin’ Dimensionals. Add your Post-It Notes and that’s it! There’s room on the side of the holder to put a pen or pencil.  I’m going to put a small golf pencil in mine.

img_3844

img_3843

I really like the way the Sprinkles of Life and Thoughtful Branches Bundles go together. This would make a nice little gift set. You could put the “Just a note” sentiment on the cards too!   If you missed yesterday’s post how to make the card you can see it HERE.

Stamp Sets: Sprinkles of Life, Thoughtful Branches, Watercolor Wishes  Inks: Soft Suede, Pear Pizzazz  Papers: Whisper White, Pear Pizzazz, Old Olive, Fruit Stand Designer Series Paper  Tools & Accessories: Tree Builder Punch, Beautiful Branches Thinlits Dies, Old Olive Baker’s Twine, Stampin’ Dimensionals, Post-It Notes

I remember taking my kids shopping for new backpacks and back to school supplies each year. Before they went to school I always took the traditional back to school photo on their first day. Now that my youngest is off at college, I didn’t think I’d have any first day photos this year. I was touched and surprised when my daughter texted me this photo on her first day of classes at college. So sweet and thoughtful of her to remember!

img_3611

They grow up so fast! Here are pictures of my son and daughter on their first day of kindergarten. Boy do I miss those days!

I hope you have a wonderful day!

Just Stampin’

Jeanie

tpolbpolymer

Apples for Back to School

img_3807

It’s back to school time!  I will be heading back to my classroom this week to get ready for my little cuties who start school right after Labor Day. I teach PreK and love working with 4 year olds!  This week they will come visit the classroom with their parents and have orientation but the real fun starts next week! In honor of Back to School I have some fun planned for you too! Each day, starting Labor Day, I will focus on some of the basics of stamping, showcase different products, and share some tips, tutorials, and exclusive Back to School Specials as I share cards and projects. Be sure to check back each day!

Let’s get to today’s card. I thought I would get a head start on thank you cards as I seem to go through a “bushel” each year! I love the apple print in the Fruit Stand Designer Series Paper. I cut a piece 5 1/2 x 12 then cut it into 1 1/2 inch strips (I plan to make a set of these cards).  I adhered my 1 1/2 x 5 1/2 inch strip to a piece of Old Olive that’s just 1/8 wider and wrapped some Old Olive Bakers Twine around it and tied a bow.  I attached this to the Pear Pizzazz card base and then stamped the sentiment just above using Early Espresso ink. I stamped the tree trunk and leaves from the Thoughtful Branches stamp set using Early Espresso, Old Olive, and Pear Pizzazz inks.  Then I cut out the tree with the 2 1/2″ Circle Punch.

Next I embossed a 3 x 3 piece of Early Espresso cardstock with the Woodgrain Embossing Folder. I adhered the tree to the embossed piece and attached it to the card with Stampin’ Dimensionals. I cut the apples out of Old Olive at first and attached them with glue dots but, I thought they needed to stand out more so I used Delightful Dijon then added some pear pizzazz ink using a sponge dauber.  I thought it looked more like the apples in the Designer Series Paper.   I also tried Soft Suede cardstock and ink instead of Early Espresso. What do you think?

img_3809

Did you notice I didn’t stamp any grass on my first one? Oops!  Do you prefer the Granny Smith apples or Golden Delicious? I didn’t make any red apples and Honeycrisp are my favorite! I love to go apple picking! Every year we pick apples then make homemade applesauce, apple butter, apple crisp, and apple bread. It won’t be long before it’s time to go apple picking. Yum!

img_7564

img_0472

Someone couldn’t wait til they got home to taste test the apples.

img_7573
How easy is this for apple picking?  LOL

A set of these thank you cards would make a great teacher gift. (I should know!)  The Thoughtful Branches set won’t be available after Wednesday, so don’t miss out on this limited time bundle (available only through August 31st).  Order yours today!

Stamp Set: Thoughtful Branches  Inks: Early Espresso, Pear Pizzazz, Old Olive  Papers: Whisper White, Early Espresso, Pear Pizzazz, Old Olive, Delightful Dijon, Fruit Stand Designer Series Paper  Tools & Accessories: Woodgrain Embossing Folder, 2 1/2 inch Circle Punch, Tree Builder Punch or Thoughtful Branches Thinlits Dies, Old Olive Baker’s Twine, Sponge Dauber

tpolbpolymer

Have a wonderful day!

Just Stampin’

Jeanie