D is for Designer Series Paper

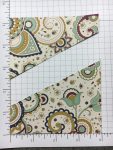
Welcome to my ABC’s of Stampin’ series.  Today it’s all about Designer Series Paper (aka DSP)! I love color and patterns and enjoy decorating my home with lots of different coordinating fabrics.  That’s one reason why I love Stampin’ Up! Designer Series Paper…it coordinates with our color collections. Here’s one example showing 5 colors that coordinate with this piece of DSP from the new Holiday Catalog, Petals & Paisleys Specialty Designer Series Paper.

Stampin Up Petals & Paisleys Specialty Designer Series Paper - Jeanie Stark StampinUp

Click HERE for a chart prepared by our amazing PALS leader, Mary Fish.  It has a list of all the Designer Series Paper and coordinating cardstock colors.  I keep a copy in my craft area for easy reference.

Today I am going to show you how to let the DSP shine! Stampin Up! Designer Series Paper comes in 12 x 12 or 6 x 6 paper packs. The paper has double-sided designs which gives you even more choices and variety for your projects. Here’s some tips for cutting your paper to make some quick and simple cards with DSP.  Start with a piece of 6 x 6 (or cut your 12 x 12 to 6 x 12 then 6 x 6).Cut the 6 x 6 to 4 x 6, then 4 x 5 1/4.  You will now have 3 pieces: 1 @ 4 x 5 1/4, 1 @ 3/4 x 4, and 1 @ 2 x 6.

Stampin Up Petals & Paisleys Specialty Designer Series Paper - Jeanie Stark StampinUp

You will use all 3 pieces to follow a simple “formula” to make a card and decorate the envelope.

Cut 2 inches off the 4 x 5 1/4 piece so you have 2 pieces: 1 @ 2 x 4 and 1 @ 3 1/4 x 4.  Turn one piece over so you have 2 different designs. Choose a piece of coordinating cardstock (4 1/4 x 11, scored at 5 1/2) and adhere both pieces.


You can attach a piece of coordinating ribbon or a strip of cardstock over the seam line. Stamp a sentiment and cut or punch out and adhere with Stampin’ Dimensionals. I used ribbon from the coordinating trio pack and attached a bow with a glue dot.  I used the Layering Circles Framelits to cut and layer my sentiment from Places You’ll Go stamp set. (Who do you think I made this card for?)


I used the small 3/4 inch strip on the inside of my card and the 2 x 6 strip for my envelope flap.  How cool is that-no leftover pieces!


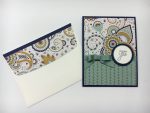
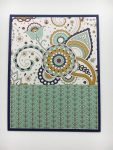
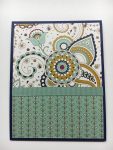
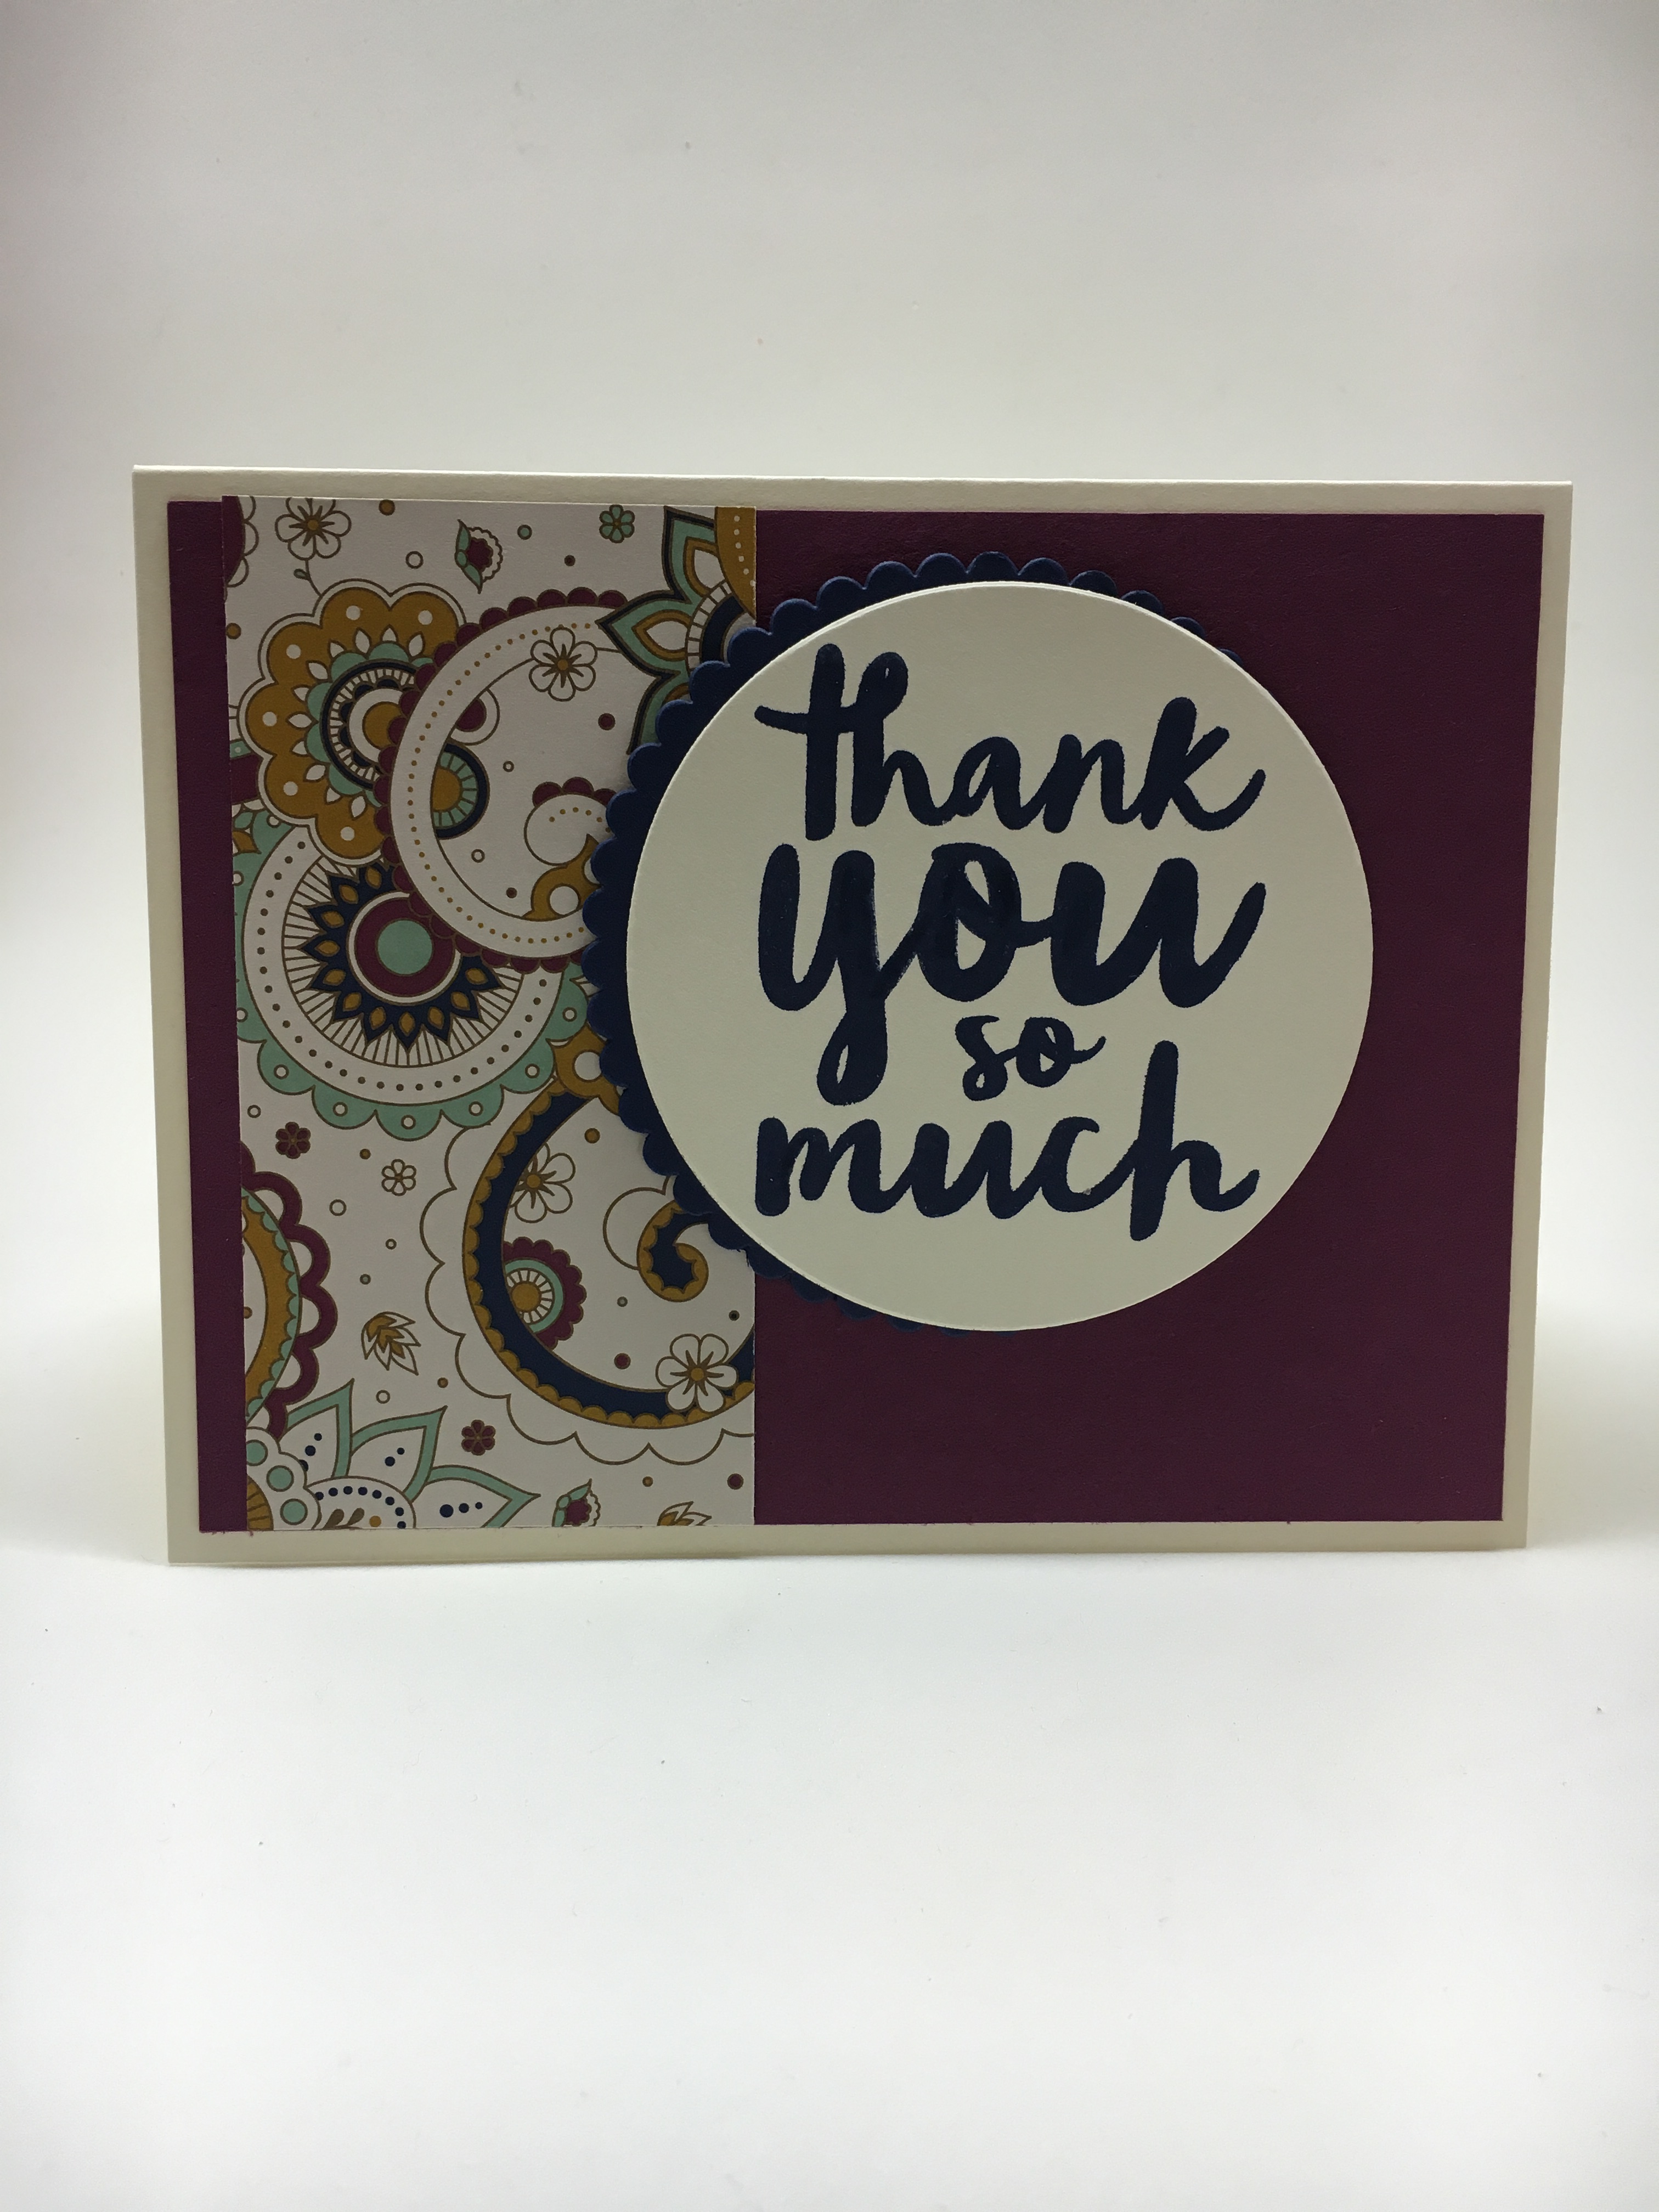
Here’s another “formula” for using another 6 x 6 piece of DSP.   (I cut my 12 x 12 sheet to 6 x 12, then 6 x 6 so I had 2 6 x6 pieces.) This time I made 2 cards from the 6 x 6 DSP.  (Just because I had to use all the pieces!) For the first one I was inspired by one of my  Paper Pumpkin kits that had intricate die cut outs with a diagonal strip in the middle to add a sentiment, ribbon, etc.

I cut the 6 x 6 DSP into 3 pieces: 1 @ 2 x 6, 1 @ 4 x 4, and 1 @ 2 x 4.

Stampin Up Petals & Paisleys Specialty Designer Series Paper - Jeanie Stark StampinUp

Next I cut the 4 x 4 piece on an angle (slash), separated the pieces, and adhered to a piece of 4 1/4 x 5 1/2 coordinated cardstock.  You can stamp a sentiment, add cutouts, etc. So many possibilities!


I played around with different colors and cut outs and came up with this for a friend who is starting a new job. I layered the die from Sunshine Wishes Thinlits.


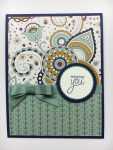
For my third card, I intended to use the 2 x 4 piece of DSP to make a banner using the triple banner punch but, I liked it layered on the card as it was.  I used the layered circle framelits to cut out my sentiment and coordinated layer and attached it to my card with Stampin’ Dimensionals.  The last piece of 2 x 6 DSP was used for my envelope again.  🙂

img_4130img_4142

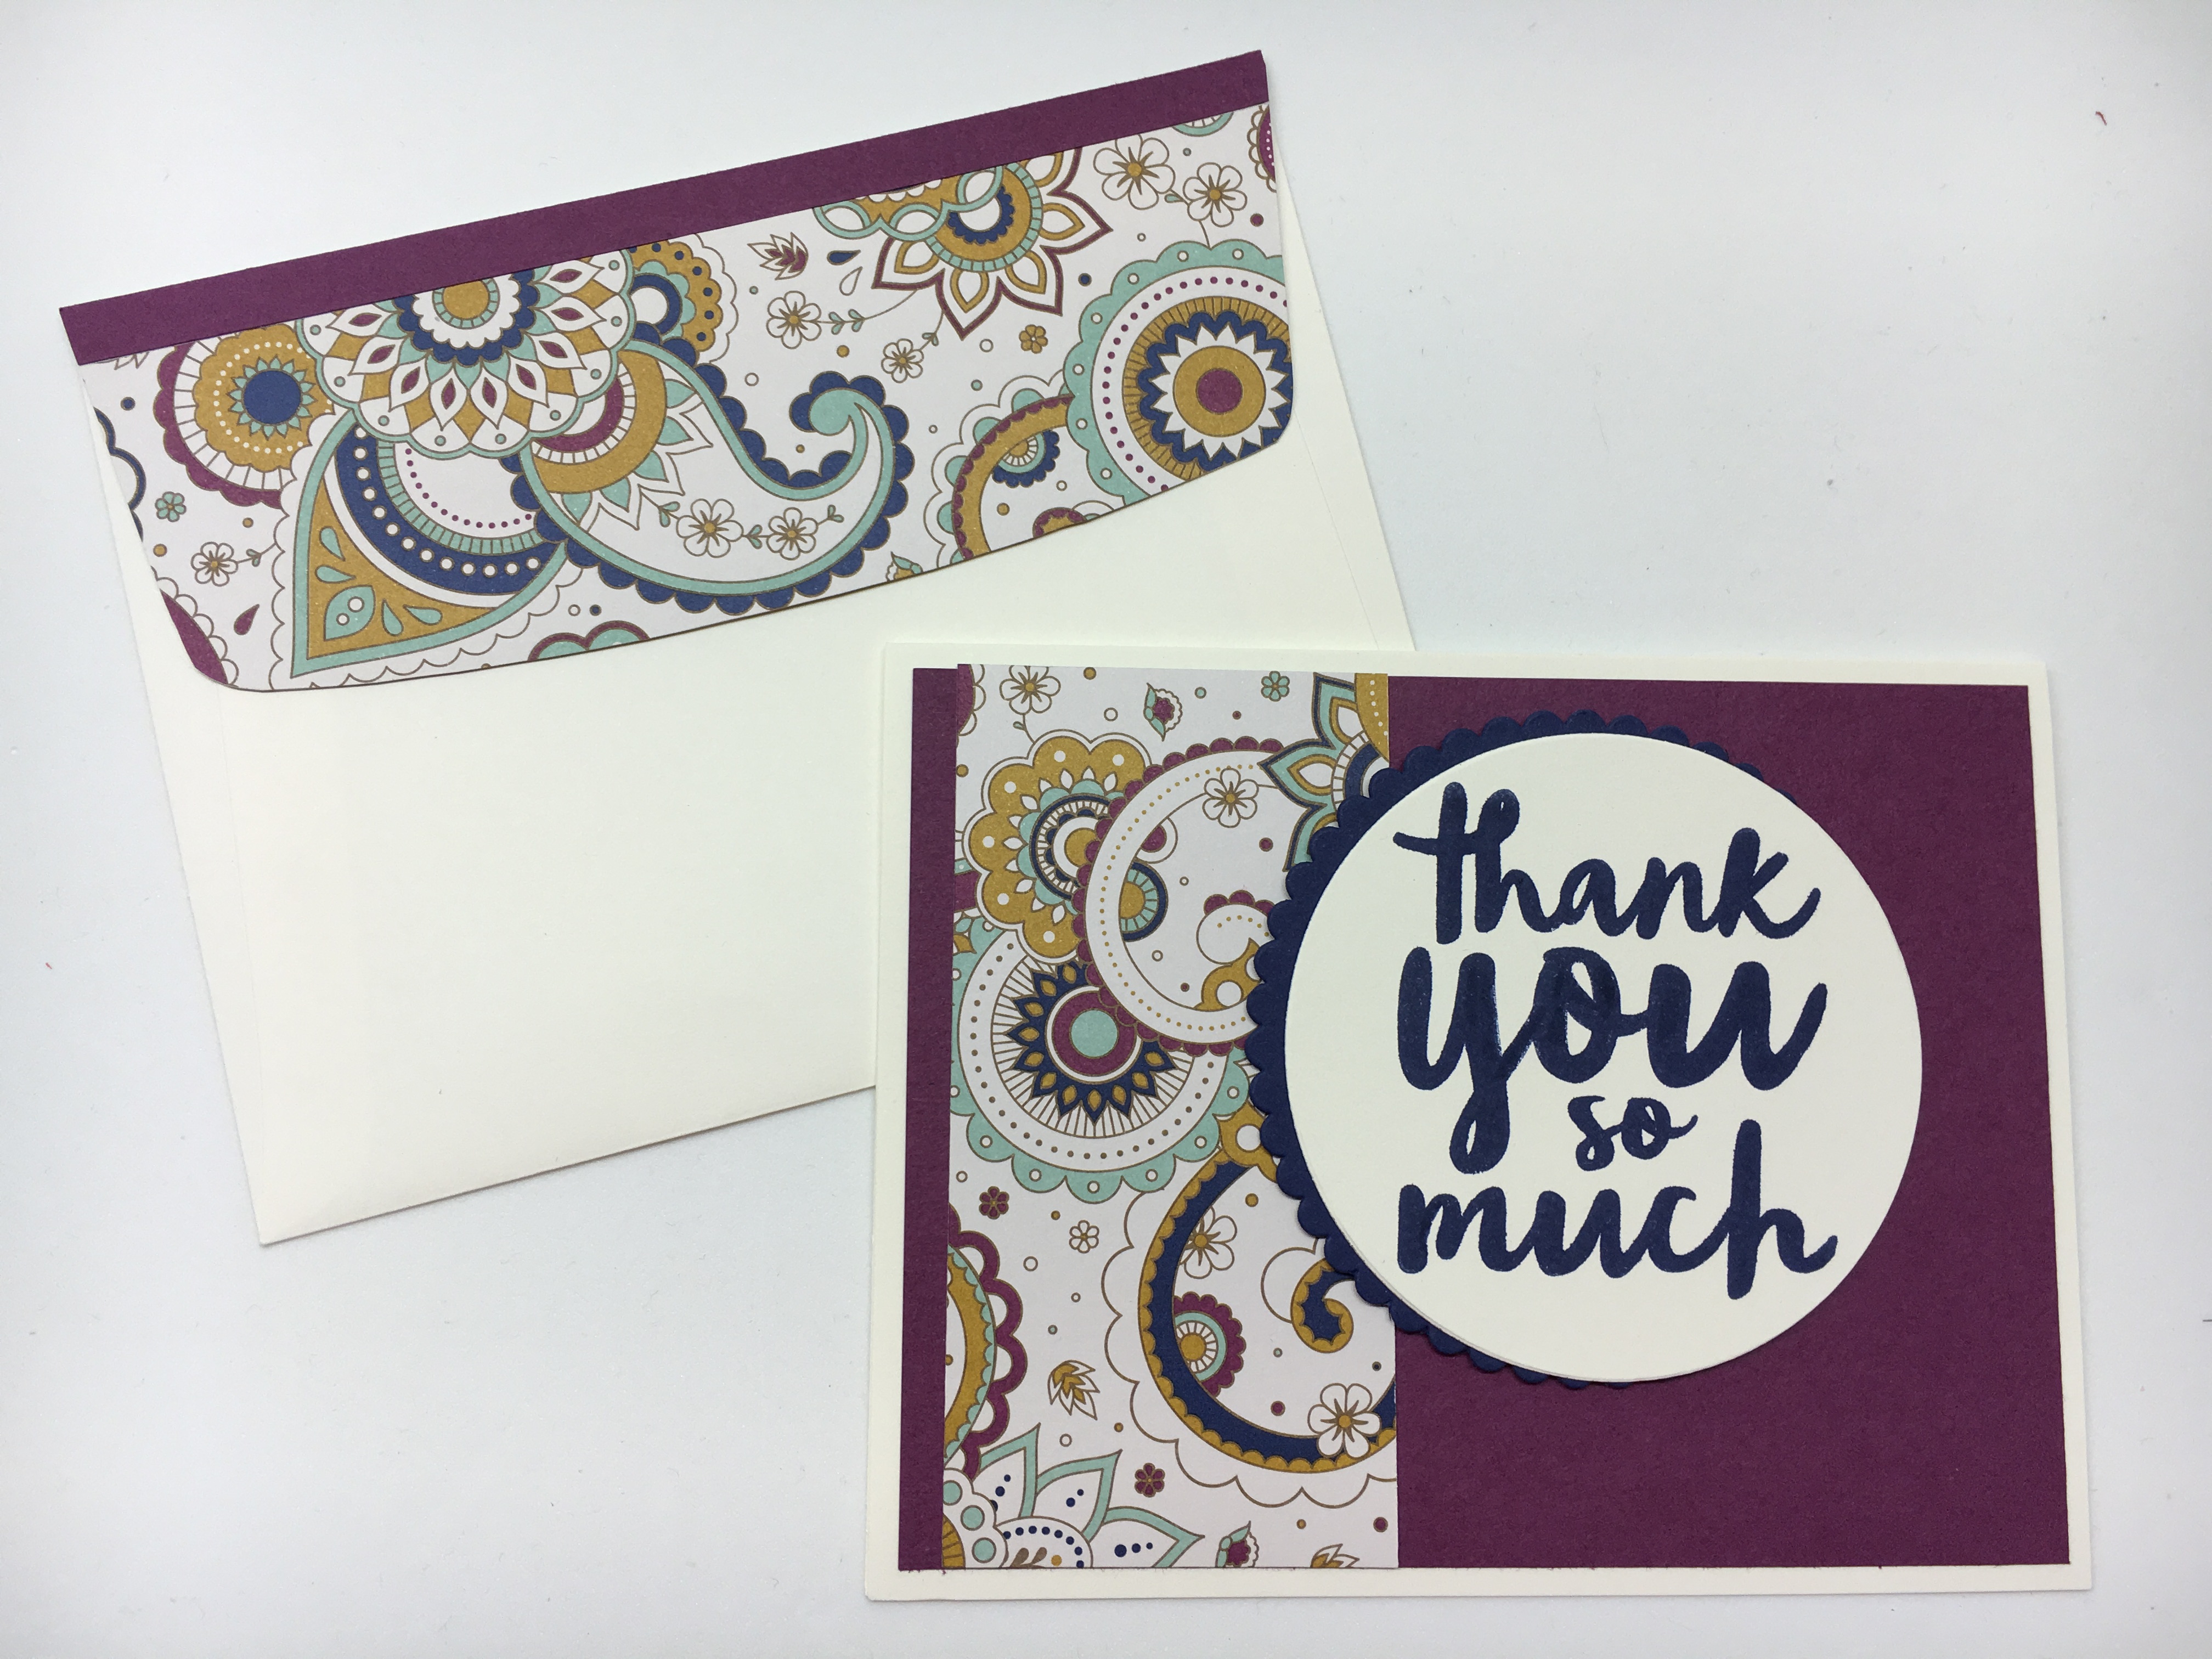
WOW!  3 different cards with matching envelopes from a piece of 6 x 12 DSP! And they were quick & easy!

img_4143

I store my 12 x 12 DSP in plastic magazine files by color collections. It’s easy to see and grab what I need.


How would you like some Designer Series Paper to design some cards of your own?  You can get a sampling for FREE with today’s Back to School Special.  Simply place an order(through my online shop) of $30 or more (before tax and shipping) and use the Hostess code VS23B4FP  at checkout.  I will mail you a sampling of Stampin’ Up! Designer Series Papers.You will be able to make cards like these in a jiff.

I hope you have a Delightful Day!

Just Stampin’

Jeanie

C is for Cardstock Color Collections

Welcome to my ABC’s of Stampin’ series.  Today I am featuring our Cardstock Color Collections.  Let’s face it, when we talk about the basics, you need to start with cardstock when it comes to card making. What I love about Stampin’ Up is everything coordinates…the cardstock, ink, markers, ribbon, etc.  And you can’t beat the quality! When I shop for clothes, I like it when everything is together with mix and match options so I can get different looks with the same skirt or pair of pants. More bang for my buck that way!  That’s how it works with the Stampin’ Up! Color Collections.  You have options to mix and match with Designer Series Paper, etc. to create many different cards and all the colors coordinate.  Simple one stop shopping to make life easier (which leaves more time to create)!

Stampin’ Up! offers 5 different color collections: Regals, Neutrals, Brights, Subtles, and In Color.  Each collection has 10 colors. Every paper has an ink pad to match for perfect Color Coordination. Our trendy In Color collections are available for 2 years, giving a fresh collection of coordinating products.

img_4070
2016 – 2018 In Color Boxes

I love the 2016-2018 In Color Collection. These adorable little boxes are a perfect example of Stampin’ Up!’s color coordination…the cardstock, ink, and ribbon are all the same color on each box for a beautiful tone on tone look. This project is a total CASE (Copy and Share Everything) from Sam Donald (aka Pootles).  I was over the top in love with these boxes and matching ribbon and couldn’t wait to create them. Here’s the link to her video.  She is so talented and it’s even a treat to listen to her talk. (I love the accent!)

Pootles’ Way Back Wednesday Stampin’ Up! In Colour Pinch Boxes

Our classic 80 pound cardstock is an excellent, sturdy choice for card bases or layers and accents. The cardstock is dyed all the way through and is acid- and lignin-free which means it’s also safe for memory keeping. It is available in either 12 x 12 or 8 1/2 x 11.

I found this mail sorter at a second hand shop and love it for storing my 8 1/2 x 11 cardstock. It’s organization and decor all in one!

img_4033

I keep my scraps in hanging file folders in my desk drawer within easy reach for when I’m creating. They are organized by color collections in alphabetical order (of course!).

img_4036

To make a standard sized card, cut  8 1/2 x 11 cardstock in half (either at 5 1/2 or 4 1/4).  I score my cardstock (with the Stampin’ Trimmer or Simply Scored Scoring Tool) and use the bone folder to get a nice crisp fold on my cards.You get 2 cards from a sheet of cardstock which you can choose to open 2 ways.


Here are some basic measurements for adding layers to your cards starting from the card base at the bottom and building the layers on top. You can easily increase or decrease by 1/8″ to make thinner or thicker mats if you want. (I keep a copy of this in my craft area for easy reference so I don’t have to keep doing the math!)

Layering and Matting

5 ½” x 4 ¼” Card

5 ¼” x 4”

5” x 3 ¾”

4 ¾” x 3 ½”

4 ½” x 3 ¼”

4 ¼” x 3”

4” x 2 ¾”

3 ¾” x 2 ½”

3 ½” x 2 ¼”

3 ¼” x 2”

3” x 1 ¾”

2 ¾” x 1 ½”

Here’s a set of cards I shared previously that I made using the 2016-2018 In Colors and coordinating In Color Designer Series Paper Stack. See how the cardstock, ink, ribbon, and designer series paper all coordinate?

img_3547


You can check out all the Stampin’ Up! cardstock  HERE.

How would you like a set of Stampin’ Up! Color Charts for easy reference?  You can get a set for FREE with today’s Back to School Special.  Simply place an order(through my online shop) of $30 or more (before tax and shipping) and use the Hostess code VS23B4FP   at checkout.  I will mail you a set of the Cardstock Color Collections.

img_4067

What’s your favorite color or color collection?  I would love to hear from you!

img_4068

Have a colorful day!

Just Stampin’

Jeanie