

Yesterday I shared with you my very first blog post, this candy treat holder I made for the Fourth of July. Today I am going to share with you how I made the organza ribbon to match. One of the things I absolutely love about Stampin Up is how the product line all coordinates…paper, ink, markers, ribbons, and embellishments. While we have a great selection of gorgeous ribbons to choose from, they do not come in every color. I love our white organza ribbon and when I needed a particular color ribbon for a project I was working on I tried dying it using our ink and a sponge dauber. And it worked! Here’s a little tip…..give it a chance to dry before attaching it to your project. (I learned that one the hard way!)
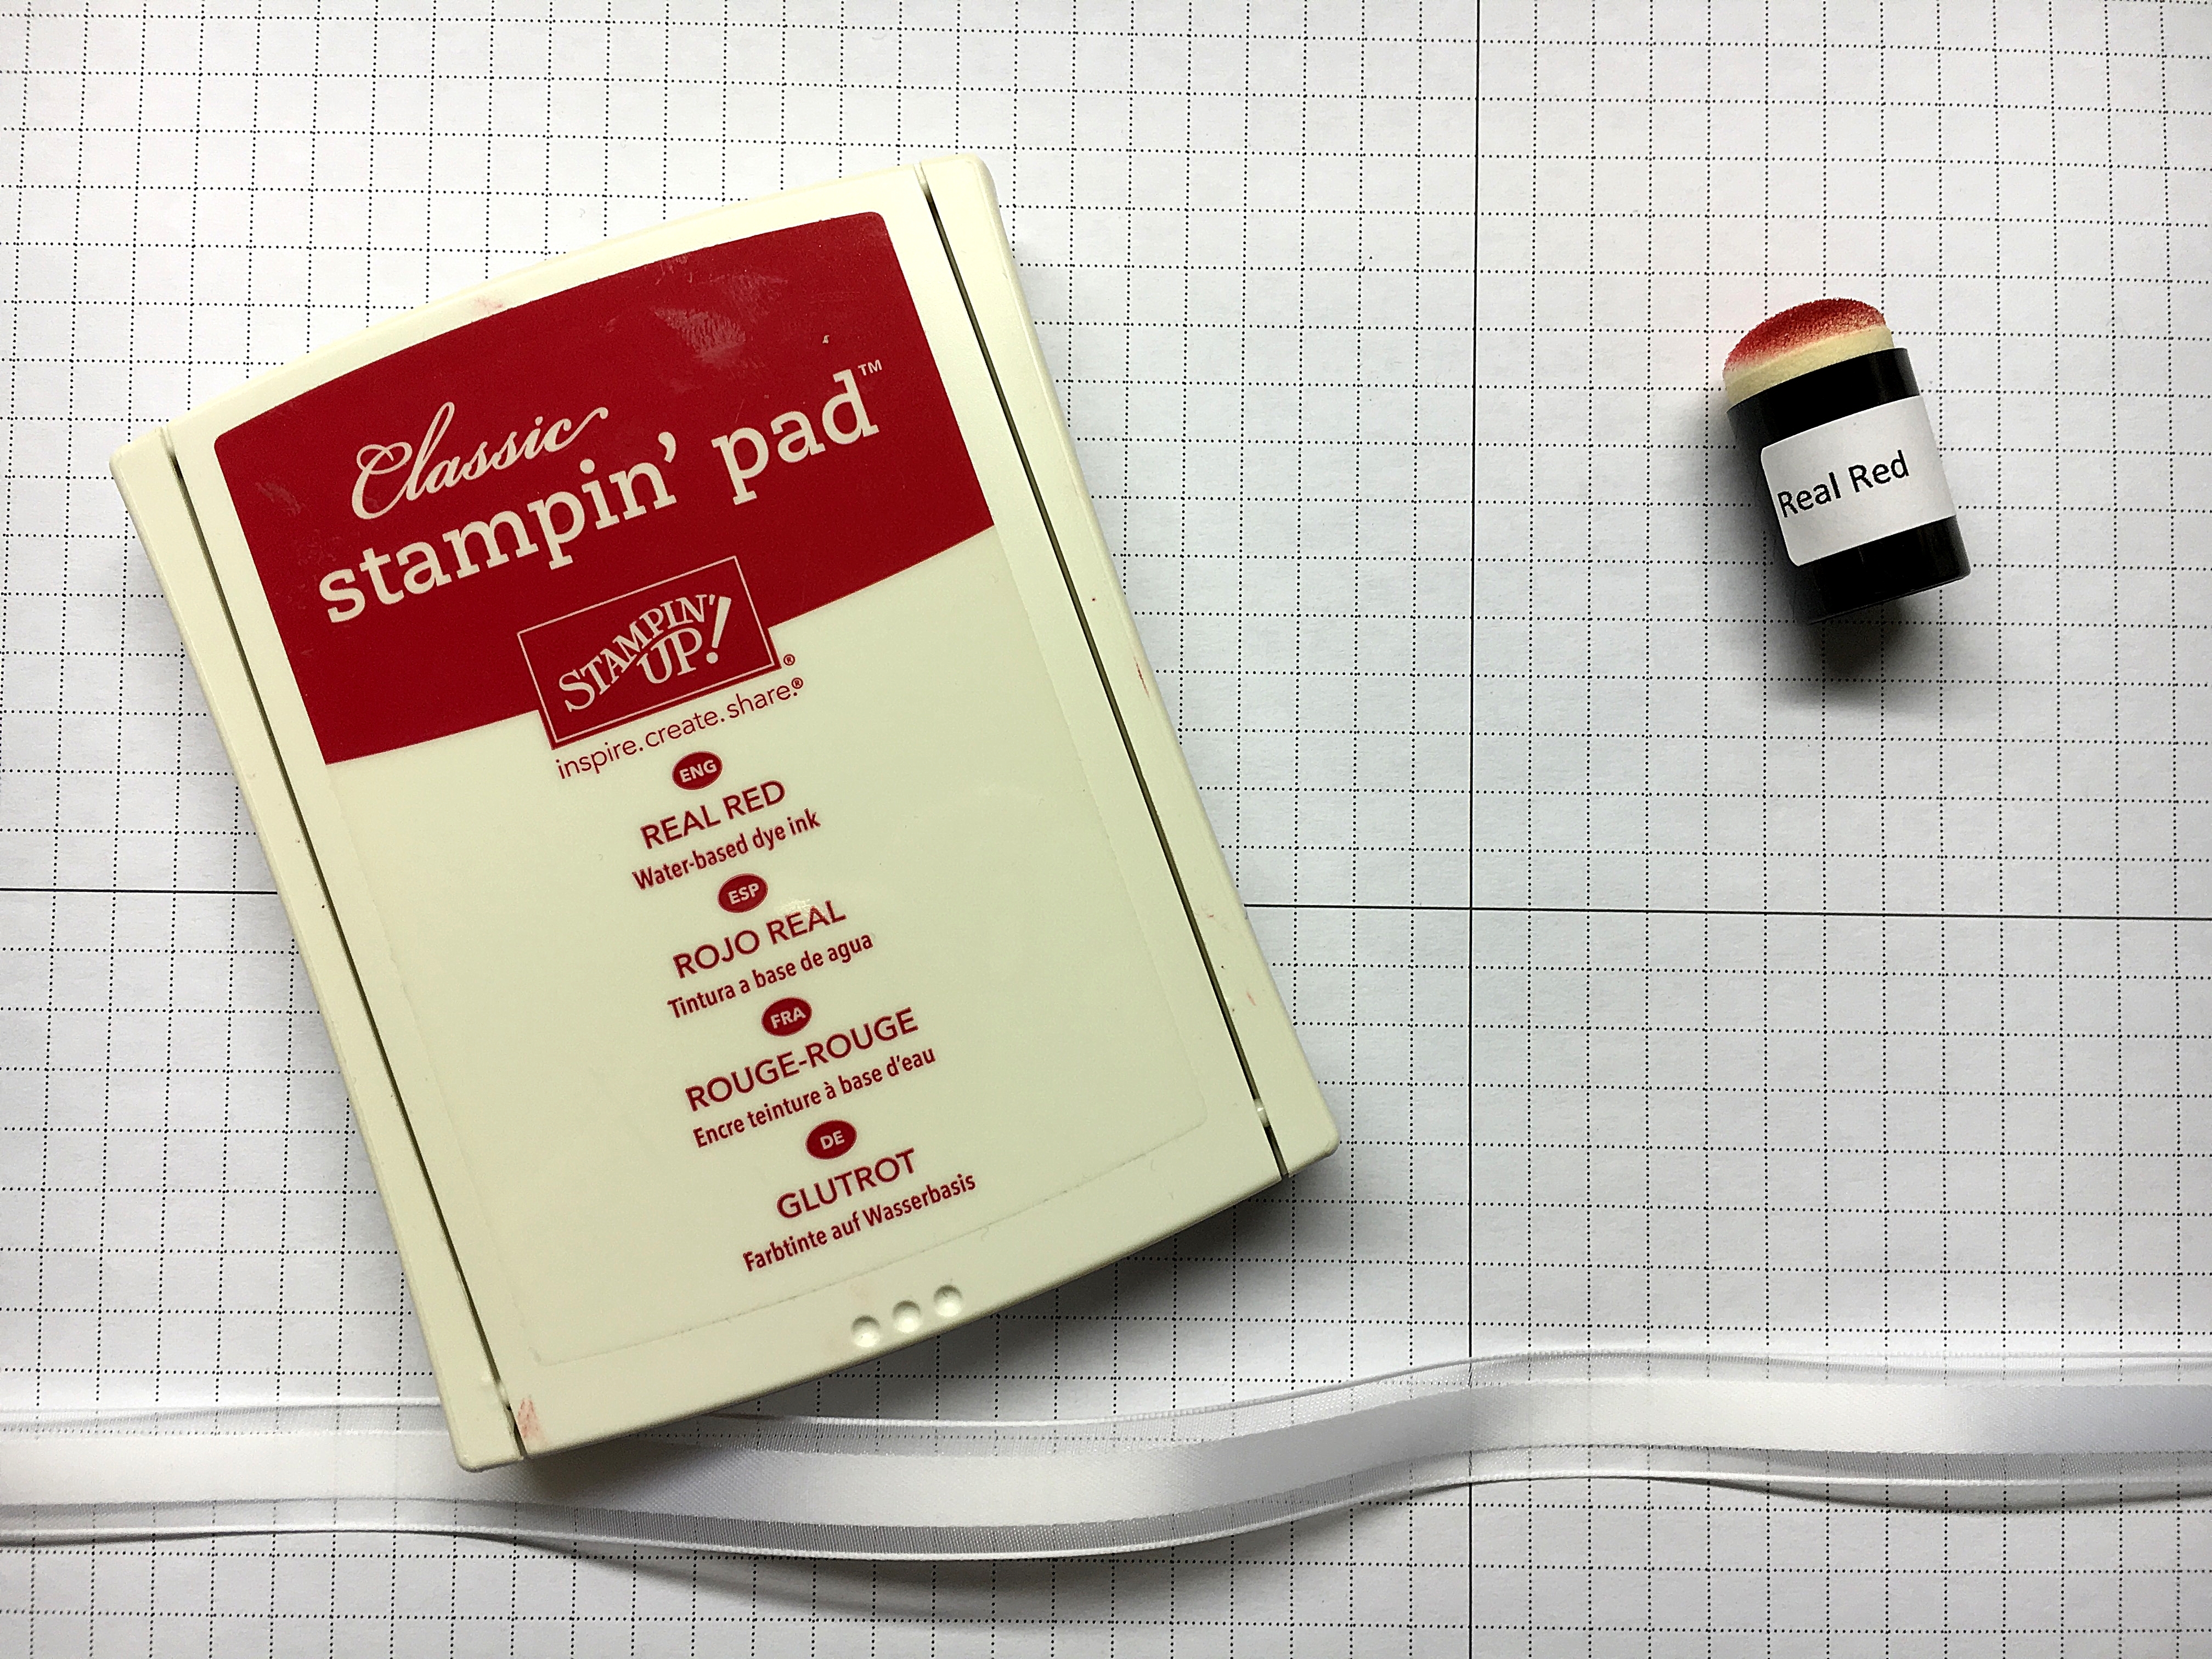
All it takes is a few simple supplies: your choice of ink color, a sponge or sponge dauber, and the organza ribbon. I started with 15 inches of ribbon for my project.
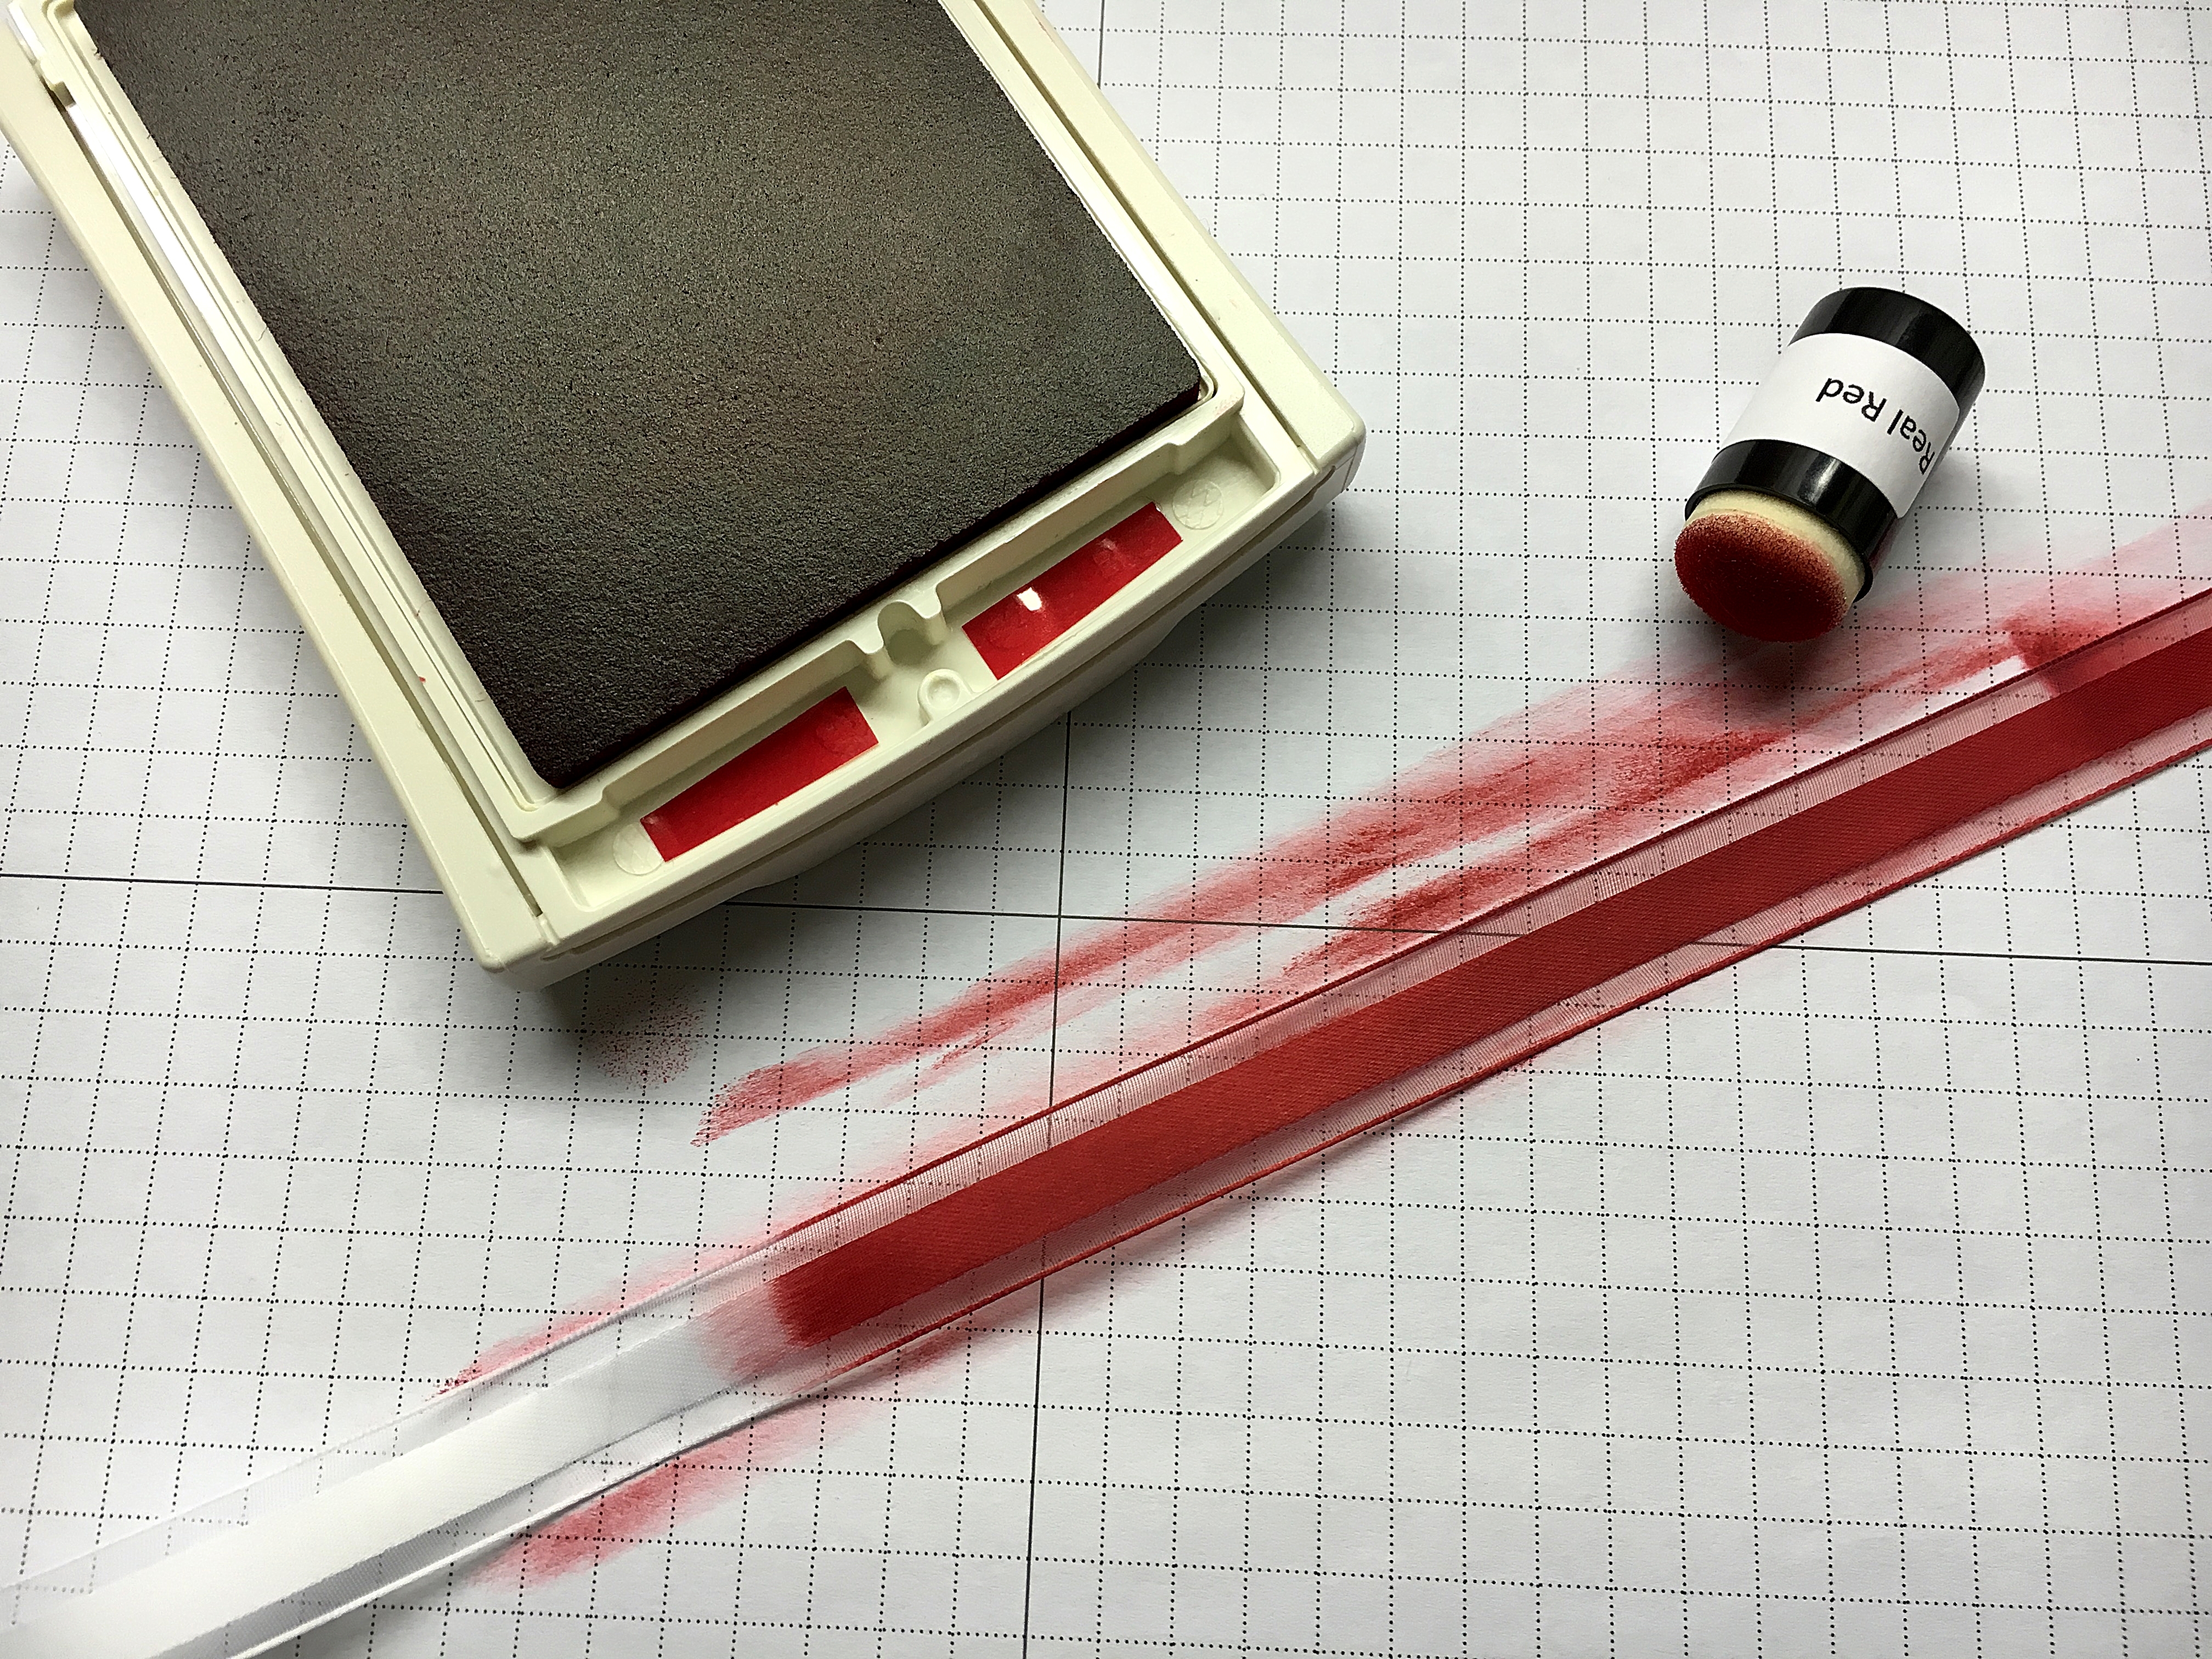
Just dab your sponge in the ink and rub it across your ribbon. How cool is that? Now you can start with one roll of white organza ribbon and make a whole rainbow of colors for your cards or projects. It’s quick and easy and ribbon always adds a nice touch. Click the Shop button if you would like to go to my online store to purchase some of this gorgeous ribbon or any Stampin’ Up products.
I hope you enjoyed this Tuesday Tip. Subscribe to my blog to receive notifications when I post new projects and tips. (I couldn’t sleep last night thinking of all the ideas I want to share with you.)
Thanks for stopping by. Have a wonderful day Just Stampin’
Jeanie