Star of Light Candle Box

I enjoy the glow of burning candles! (And I absolutely love the smell when you blow them out!) Candles are a symbol of hospitality and I think they make a great hostess gift. Today’s project is a beautiful box to gift some candles.

Stampin Up Star of Light candle box idea- Jeanie Stark StampinUp

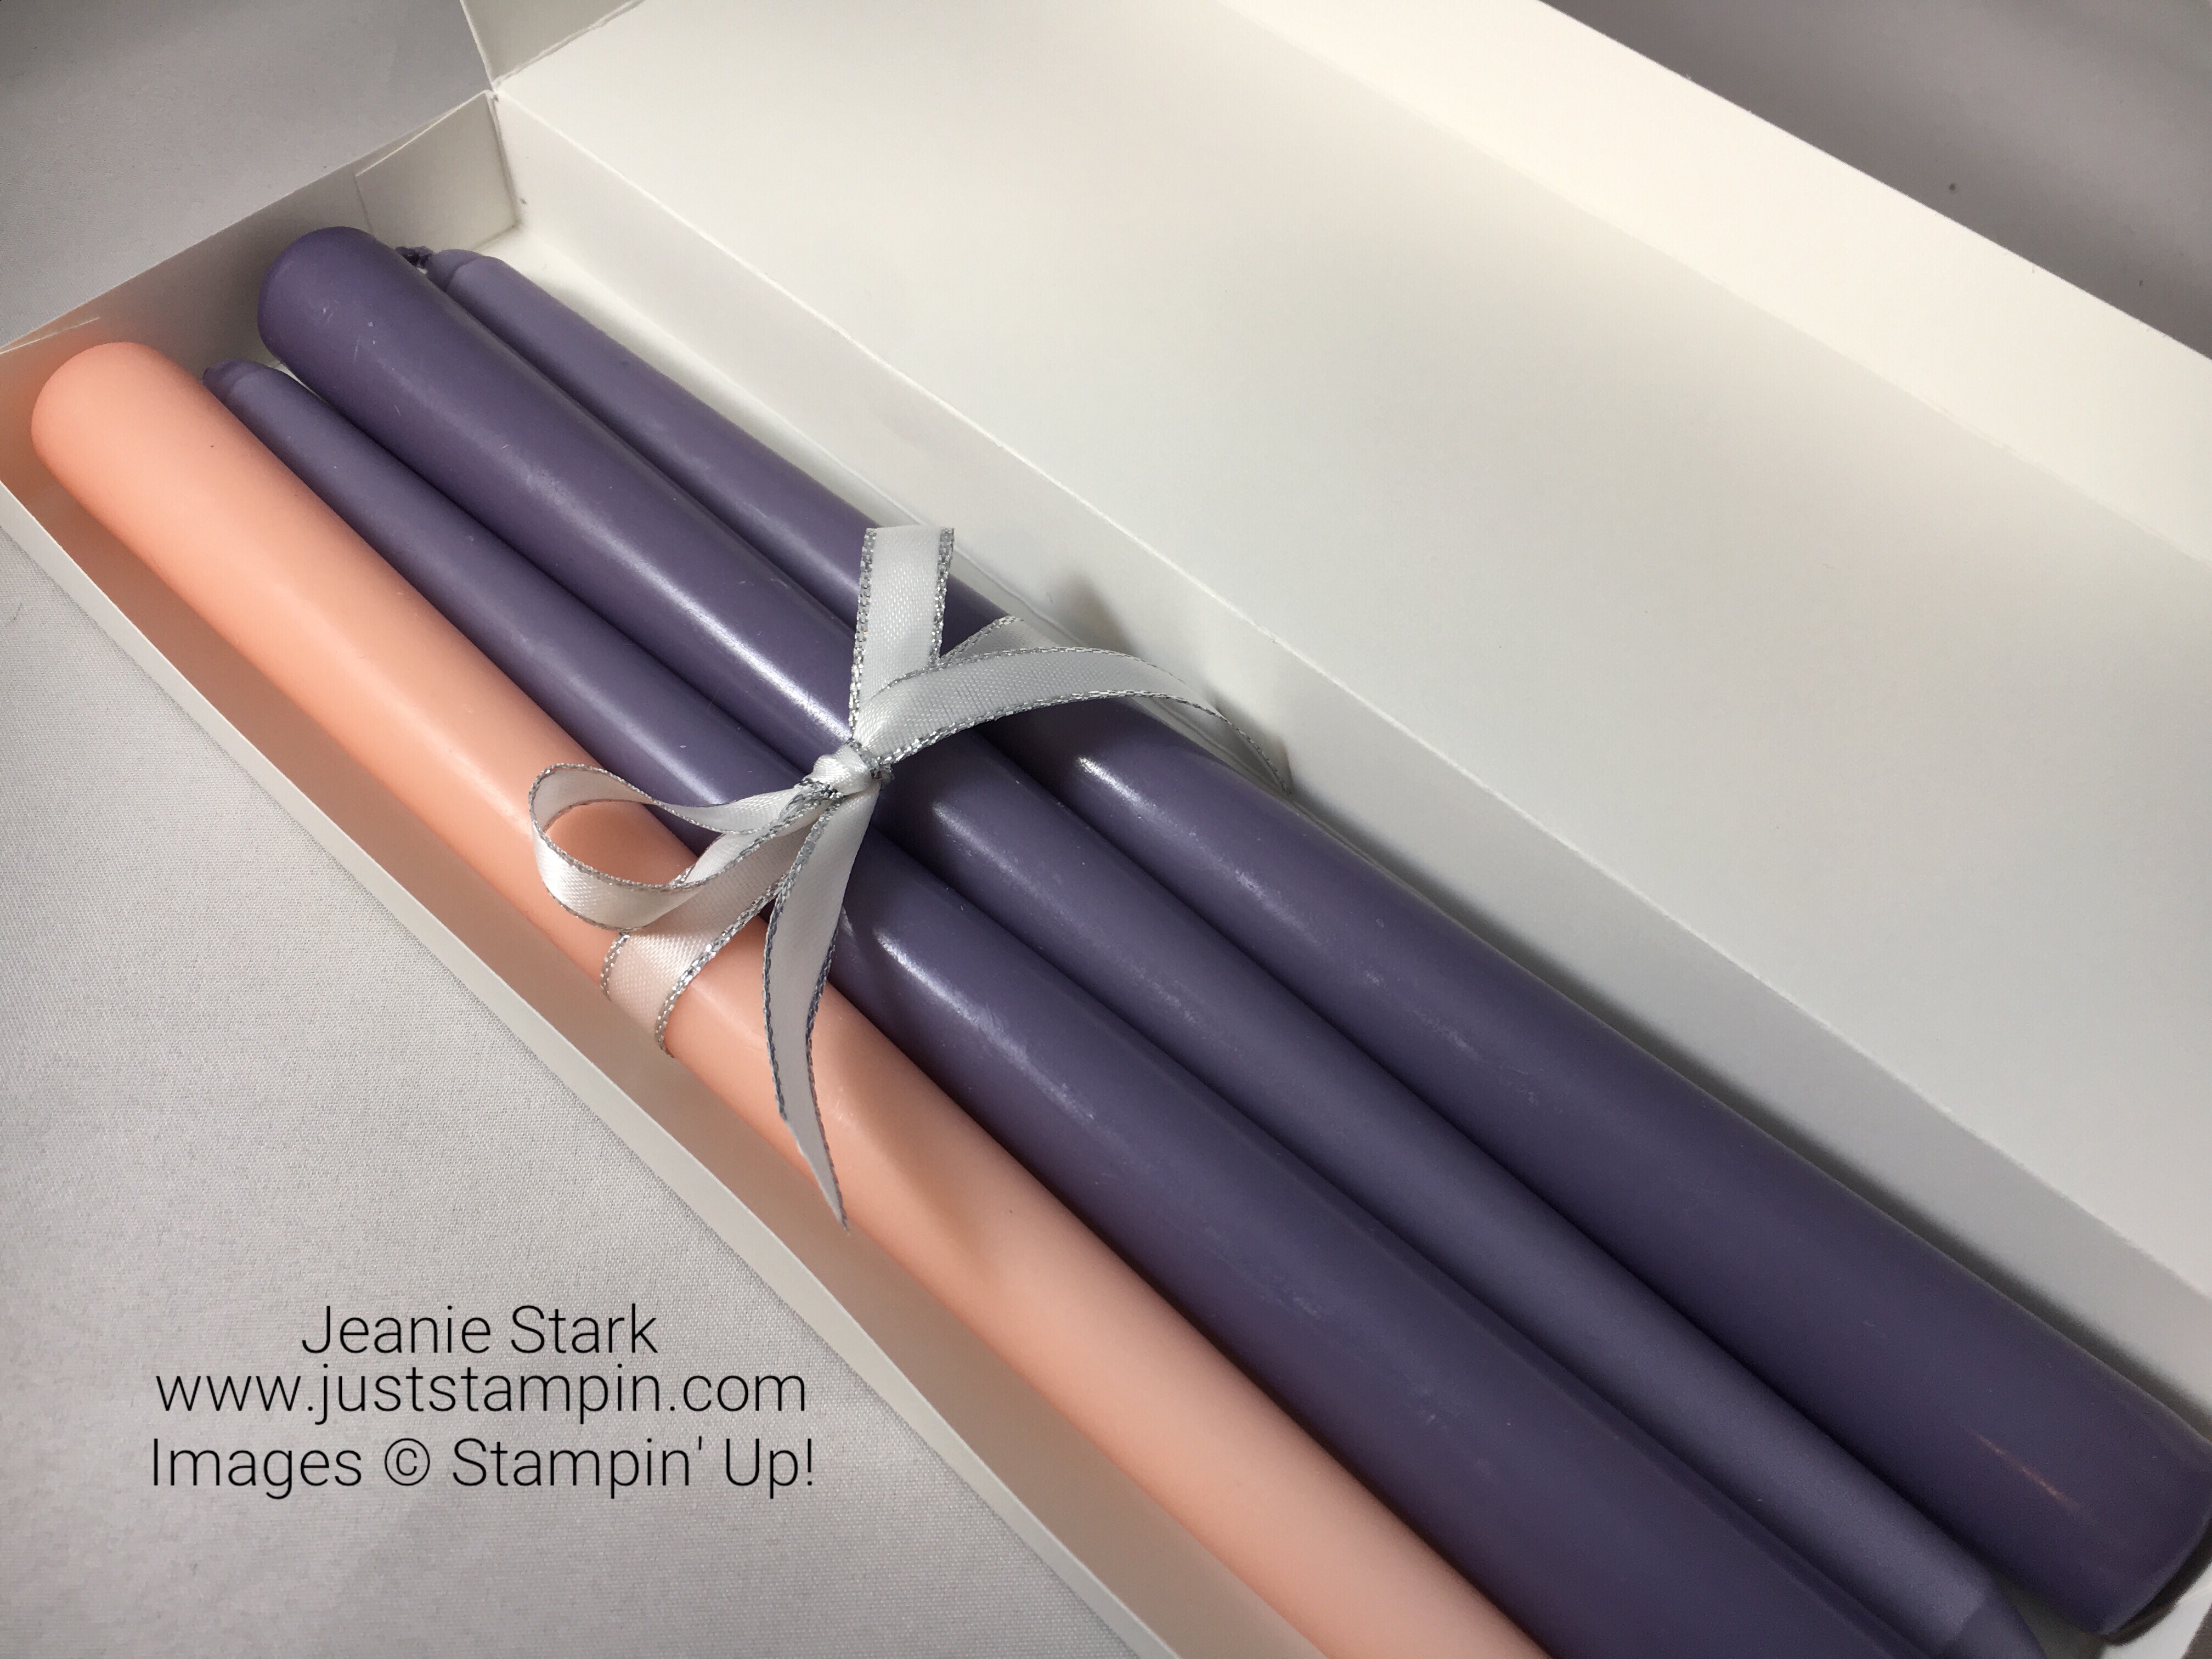
The box holds 4  10″ dinner candles.

Stampin Up Star of Light candle box idea- Jeanie Stark StampinUp

I CASEd this idea from the amazing Sam Hammond (Pootles.com).  She is so talented and an absolute joy to listen to (Love her British accent!). You can watch her video below.

We don’t have “standard” size candles in the US so I had to adjust the dimensions to fit my 10″ candles.

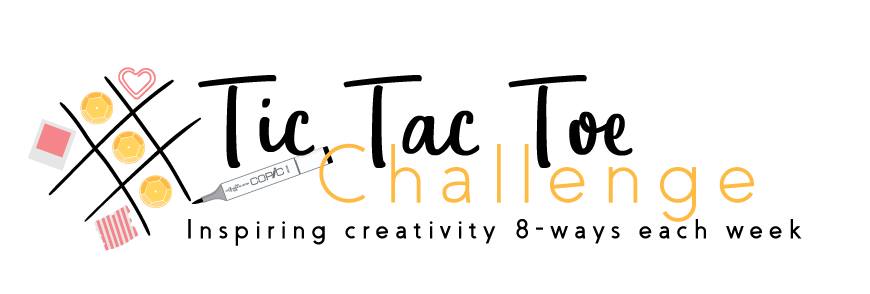
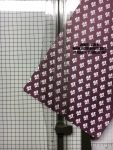
I started with a piece of 12 x 12 cardstock and cut 2 7/8 from one side so it measures 12 x 9 1/8. With the long (12 inch) side across the top, score at 7/8 and 11 1/8.  Score along the short side at 7/8, 4 1/8, 5, 8 1/4.

I followed Sam’s directions for cutting and assembling the box. *You need to use a strong adhesive (Fast Fuse, Tear & Tape, or Multipurpose Liquid Glue) on the 6 notched pieces.

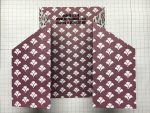
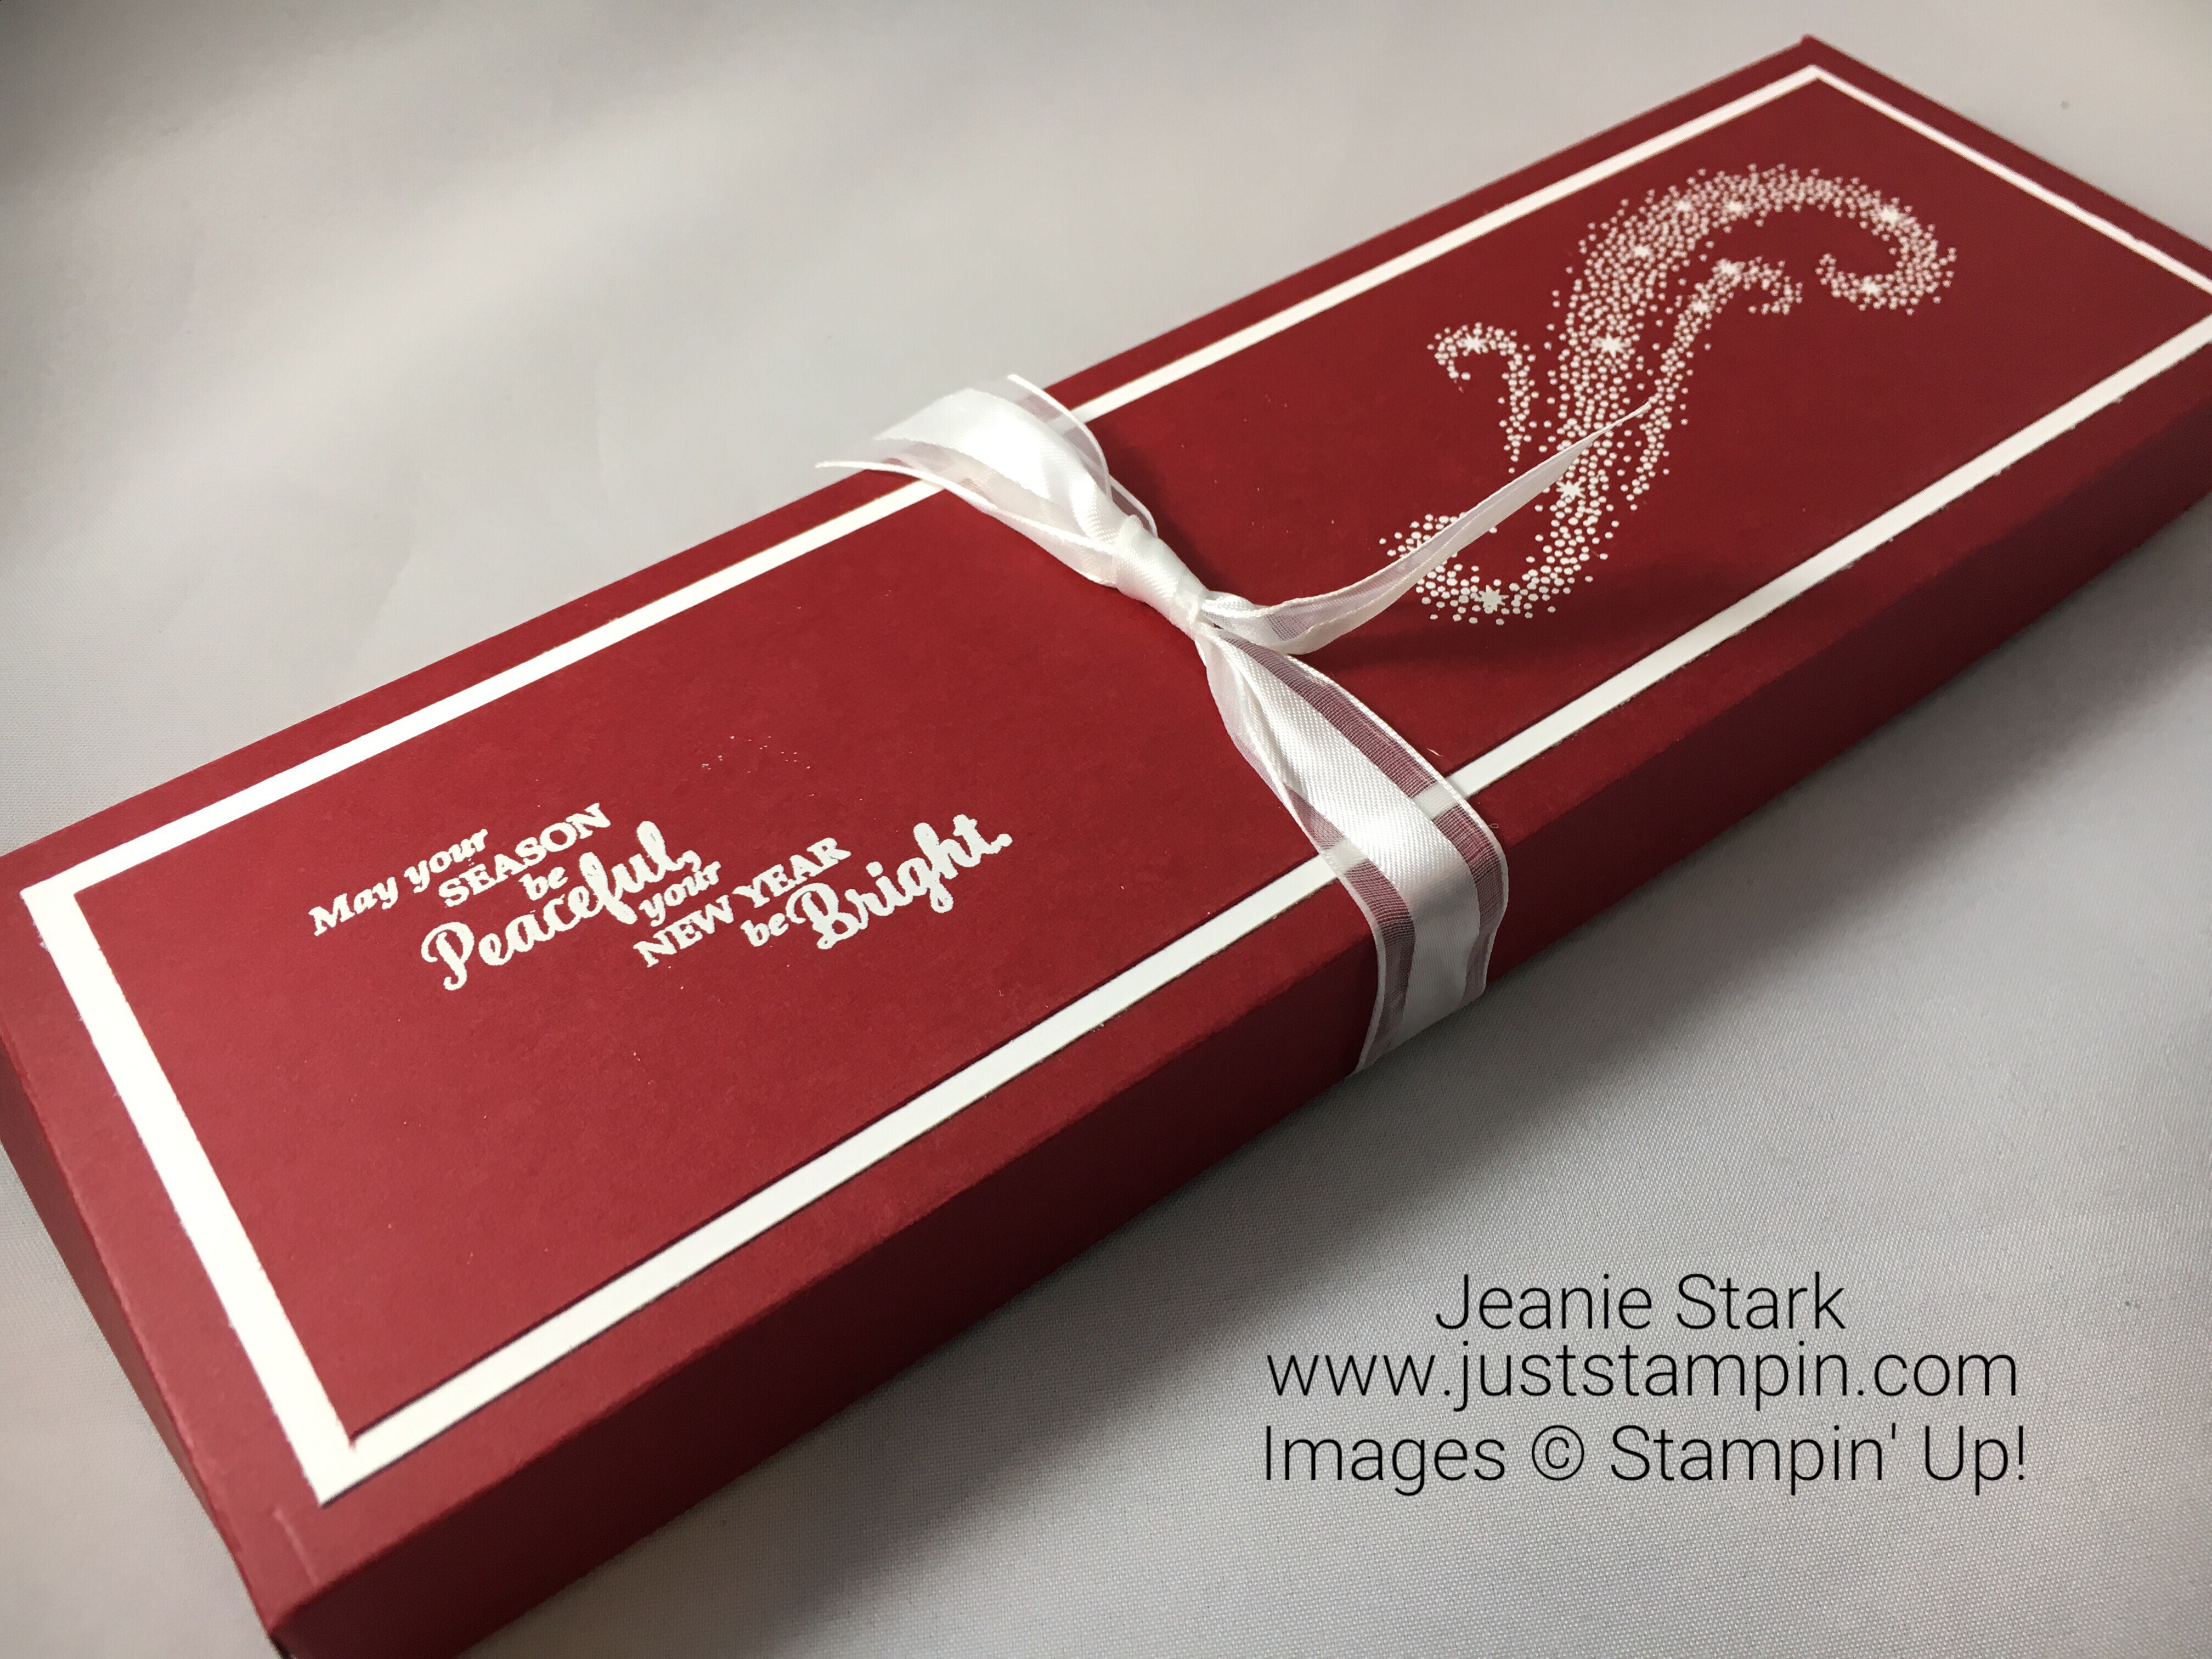
I adjusted the layers on the top of my boxes to fit my measurements. The top layers measure 9 3/4 x 2 3/4 and 9 1/2 x 2 1/2. The Star of Light Stamp set is perfect for this box.  I love to heat emboss and it was fun to try out the different color combinations. I used silver embossing powder on navy and purple, gold on green, and white on red. These boxes are so quick & easy to make which worked out great for me because I need several hostess gifts! Here’s a look at each of the different color combinations I made.

Stampin Up Star of Light candle box idea- Jeanie Stark StampinUp

This Whisper White box has silver foil and Perfect Plum layers on top with silver embossing. This box holds 3 purple and 1 pink candle for a coworker who bought a new advent wreath and needed some candles.  (Purple candles are not always easy to find so I stock up when I find them.)

Stampin Up Star of Light candle box idea- Jeanie Stark StampinUp

Next is my red and white box with white embossed layers. I put red and white candles wrapped in white organza ribbon inside. I have good news…Stampin’ Up! brought back the white organza ribbon!  I love this ribbon as it is so easy to sponge in different colors. (Click HERE to see one of my first blog posts showcasing this technique.) The ribbon will be available in the new Occasions Catalog Jan. 3rd. Yea!!!

Stampin Up Star of Light candle box idea- Jeanie Stark StampinUp

Stampin Up Star of Light candle box idea- Jeanie Stark StampinUp

I love the green and very vanilla with gold embossing on this box. (The photo does not do it justice!) There are vanilla candles inside.

Stampin Up Star of Light candle box idea- Jeanie Stark StampinUp

Stampin Up Star of Light candle box idea- Jeanie Stark StampinUp

Navy and white are classic and so elegant with the silver embossing and Silver Metallic-Edge Ribbon.

Stampin Up Star of Light candle box idea- Jeanie Stark StampinUp

Stampin Up Star of Light candle box idea- Jeanie Stark StampinUp

I really like these boxes and would be thrilled to receive any one of them as a gift! Which candle box is your favorite?

Here’s a fun fact…Did you know the practice of placing lighted candles in the windows at Christmas was brought to America by the Irish?  The historical background of this custom is quite interesting.

You can purchase the products used to make today’s projects from my online store. Stampin’ Up!’s Year End Sales Event is happening now! Click on any of the links below to view. Get your favorites before they are gone!

Have a wonderful day! I am away this weekend with some of my stamping friends (aka The Sisterhood of the Traveling Stamps  LOL ). I love getting together with these gals!  There is always lots of fun, laughter, food, and sharing great ideas!

Just Stampin’

Jeanie

Click products to shop online!

Whisper White 5/8" Organza Ribbon

Whisper White 5/8″ Organza Ribbon
[114319]
$6.00

Heat Tool

$30.00

I appreciate each and every order. To get a FREE thank you gift from me, simply enter the host code below at checkout. *If you have an order over $150, DON’T USE THE HOST CODE, but get your Stampin’ Rewards AND the free thank you gifts from me!

December Host Code: 7H3KGTSS

Year End Sales Event

Stampin’ Up! has announced it’s list of retiring merchandise from the Holiday Catalog.  In addition, they have discounted select retiring and surplus products.

Click for the list of Retiring Holiday Products (PDF)

Stampin Up discounted year end sales event - Jeanie Stark StampinUp

Click to view discounted retiring holiday products

Retiring Favorites

Click to view retiring holiday products

An Angled Double Gate Fold for TTTC#24

Stampin Up Number of Years Fun Fold Birthday Card Idea - Jeanie Stark StampinUp

tic tac toe

Today is Thursday which means it’s time for another Tic Tac Toe Challenge!  This week’s challenge is as easy as ABC!

img_8444

When I created this challenge board I had no idea what I was going to create.  I just picked an element for each letter A-I. Today’s card idea came together quick & easy as I started thinking about what I could create.  You know how I LOVE fun folds so I started with that and then thought what I could make that would be angled and that’s where I started…An angled double gate fold.

Stampin Up Number of Years Fun Fold Birthday Card Idea - Jeanie Stark StampinUp

To make this fun fold start with a piece of designer series paper that is 5 1/2 x 12. Score on the 12″ side at 2, 4, 8,and 10.  Mark the center on each 5 1/2″ side at 2 3/4.  Then make diagonal cuts from the top of the DSP at the 4″ and 8″ score lines to the 2 3/4″ mark on each side.

This is what is should look like after you cut and fold on the score lines.

I used other elements from the challenge board to decorate my card.  My daughter just turned 20 so I used the Number of Years Stamp Set to mark the occasion. Using a circle die cut to stamp and heat emboss my greeting combined 4 elements from my board. I made  a belly from a 1 x 9 1/2 piece of whisper white cardstock which I wrapped around my card and adhered in the front.  I also adhered some coordinating Fresh Fig Ribbon with Tear & Tape then  I attached the layering circles to the belly band with Stampin Dimensionals.

The inside of my card offers some inspirational thoughts for my daughter’s milestone birthday.  I used the Fresh Fig Stampin’ Marker to write my message and added a bow using 1/2″Finely Woven Fresh Fig Ribbon. I love the way this card can display on a desk, bookcase, or mantle.

Stampin Up Number of Years Fun Fold Birthday Card Idea - Jeanie Stark StampinUp

I used the same Fresh Florals Designer Series Paper to decorate the flap on the envelope.

Stampin Up Number of Years Fun Fold Birthday Card Idea - Jeanie Stark StampinUp

I hope you will play along with this week’s Tic Tac Toe Challenge.  You can click Here to see what the other designers created this week to inspire you.

Today is the day you need to preorder the Stamparatus! Click HERE for all the details.

StamparatusHow to Reserve Your Stamparatus Tutorial for Customers

Have a wonderful day!

Just Stampin’

Jeanie

You can purchase any of the Stampin’ Up! products used to make today’s project from my online store. Click HERE to shop or click on the images below.

To get a FREE thank you gift from me, simply enter the host code below at checkout. *If you have an order over $150, DON’T USE THE HOST CODE, but get your Stampin’ Rewards AND the free thank you gifts from me! Click HERE to shop.

November Host Code: VYUCFAYA


Product List

D is for Deck the Halls!

Welcome to my ABC Holiday Series! I LOVE to decorate for the holidays! I will admit I do go a bit overboard (decorating 5 – 7 trees)! Our home becomes a forest… each tree is full of special memories! I think the “Deck the Halls” sentiment from the Carols of Christmas stamp set is the perfect box top for gifting a special ornament.

Stampin Up Carols of Christmas and Foil Frenzy gift box idea - Jeanie Stark StampinUp

I made this box for my sister. She lives on the water and has a nautical Christmas tree. I found this beautiful ornament for her when I was at the beach. It is the perfect colors for her décor and has special meaning because I always serve crabs when she comes to visit. (Maryland has the best crabs!)

img_7974

My box measures 3 x 3 x 2.  I started with a 8 x 8 piece of Soft Sky Foil Frenzy Specialty Designer Series Paper. I used the Envelope Punch Board to make my box.  I punched and scored at 2 1/2 and 5 3/8. Sam Donald (Pootles.com) shared a nifty trick for when your paper is larger than your punch board. The first punch and score is no problem at 2 1/2 however, the punch board only measures to 5″. To measure past the length of the punch board, simply line your punch board up on the grid paper at the 5 inch mark and move your paper over 3/8″ and punch and score.  I have some photos to show you how I did it. (I took the photos after I already scored it all but you can see how I lined it up using the grid paper.)

Next, round all the corners using the corner rounder on the punch board, fold along the score lines, and cut 2 sides (opposite each other) up to the first score line. Apply adhesive on the flaps as shown. I used Tear & Tape so you could see it in the photo but Fast Fuse works great for this and right now there is a special if you purchase Fast Fuse, you get 2 refills FREE! It’s my adhesive of choice for most projects.

I made a belly band to keep the box closed.  I cut a 3/4 x 11 strip of Soft Sky and wrapped it around the box (creasing it as I went) and secured it with Fast Fuse on the top. I adhered a strip of 3/8″ Soft Sky Classic Weave Ribbon on top with Tear & Tape. I added another strip of Tear & Tape on top of the ribbon and adhered a 2 7/8 square of Soft Sky Cardstock to the belly band.  Next I stamped the sentiment in VersaMark then Soft Sky ink and heat embossed it with Clear Embossing Powder for a tone on tone look. I adhered the stamped 2 3/4 square on top with Stampin’ Dimensionals and added a matching ribbon bow. The belly band slides off to open the gift.

Stampin Up Carols of Christmas and Foil Frenzy Envelope Punch Board Gift Box idea - Jeanie Stark StampinUp

I like to give ornaments as gifts. I give my children an ornament every year.  I wrap the ornament and that is the first gift they get to open each year when we decorate the tree.  I always try to find one that has some meaning to go with their interests at the time or places we traveled together.  When my son moved out I gave him a box with all his ornaments from over the years… trains, dinosaurs, sharks, Star Wars, Harry Potter, and all kinds of sports ornaments…so him! He can decorate his Christmas tree and be reminded of his childhood.

Here’s a couple of photos of my daughter decorating the tree for the first time.  She had just turned 2 and it was so funny how she put all the ornaments on the same branch.

I hope you are enjoying this Holiday alphabet series as much as I am! I love getting a head start on cards, gifts, favors, packaging and more!

You can purchase any of the Stampin’ Up! products used to make today’s project from my online store. Click HERE to shop or click on the images below to order. *The Carols of Christmas Stamp Set is offered as a bundle and I recommend purchasing it as a bundle to save 10%! I didn’t use the dies today (they are awesome by the way) but I will be sharing ideas using them later! Check out this video to see how cool and versatile this set can be!

Have a wonderful day!

Just Stampin’

Jeanie

To get a FREE thank you gift from me, simply enter the host code below at checkout. *If you have an order over $150, DON’T USE THE HOST CODE, but get your Stampin’ Rewards AND the free thank you gifts from me!

Click HERE to Shop.

Current Host Code:  BHYQXWS2

*OCTOBER ONLINE ORDER SPECIAL…I am giving away the Merry Patterns Stamp Set for FREE to 1 lucky winner in October!  Anyone who places an online order using the host code will be entered in a drawing to win this stamp set. The winner will be announced November 1st after all October orders are complete!

Merry Patterns stamp set

Product List

img_7874

Say hello to a new world of colorful creativity! One of the perks of being a Stampin’ Up! Demonstrator is getting sneak peeks at new products and being able to order early. Demonstrators (and anyone who signs up between October 1st – 15th) can purchase the new Stampin’ Blends before the are released (sometime before the end of the year). You could get the Stampin’ Blends Marker Collection (all 26 colors plus the color lifter)  with “no strings attached” as part of your $99 starter kit.  I welcome hobby demonstrators! Click HERE for more information and to join my team! Questions? Email me and we can arrange a time to chat!

WCMD banner

Less than 1 week left to take advantage of these savings!!!!

World Card Making Day is October 7th. In celebration of this day, Stampin’ Up is offering 15% off select card making essentials, plus a deal on Fast Fuse Adhesive (BUY FAST FUSE ADHESIVE AND GET TWO REFILLS FOR FREE) October 1–10! Don’t miss out on this chance to stock up on card making staples to keep celebrating all year long. Click Here for the WCMD flyer.

DSP banner

During the entire month of October, select packs of Designer Paper will be part of a Buy 3, Get 1 Free special! Click HERE for the DSP sale flyer.

Paper Pumpkin season of style

Click on the image above to find out about the upcoming October and November Paper Pumpkin coordinating kits and how you can earn $5 off your next online order!