Yummy Fruit

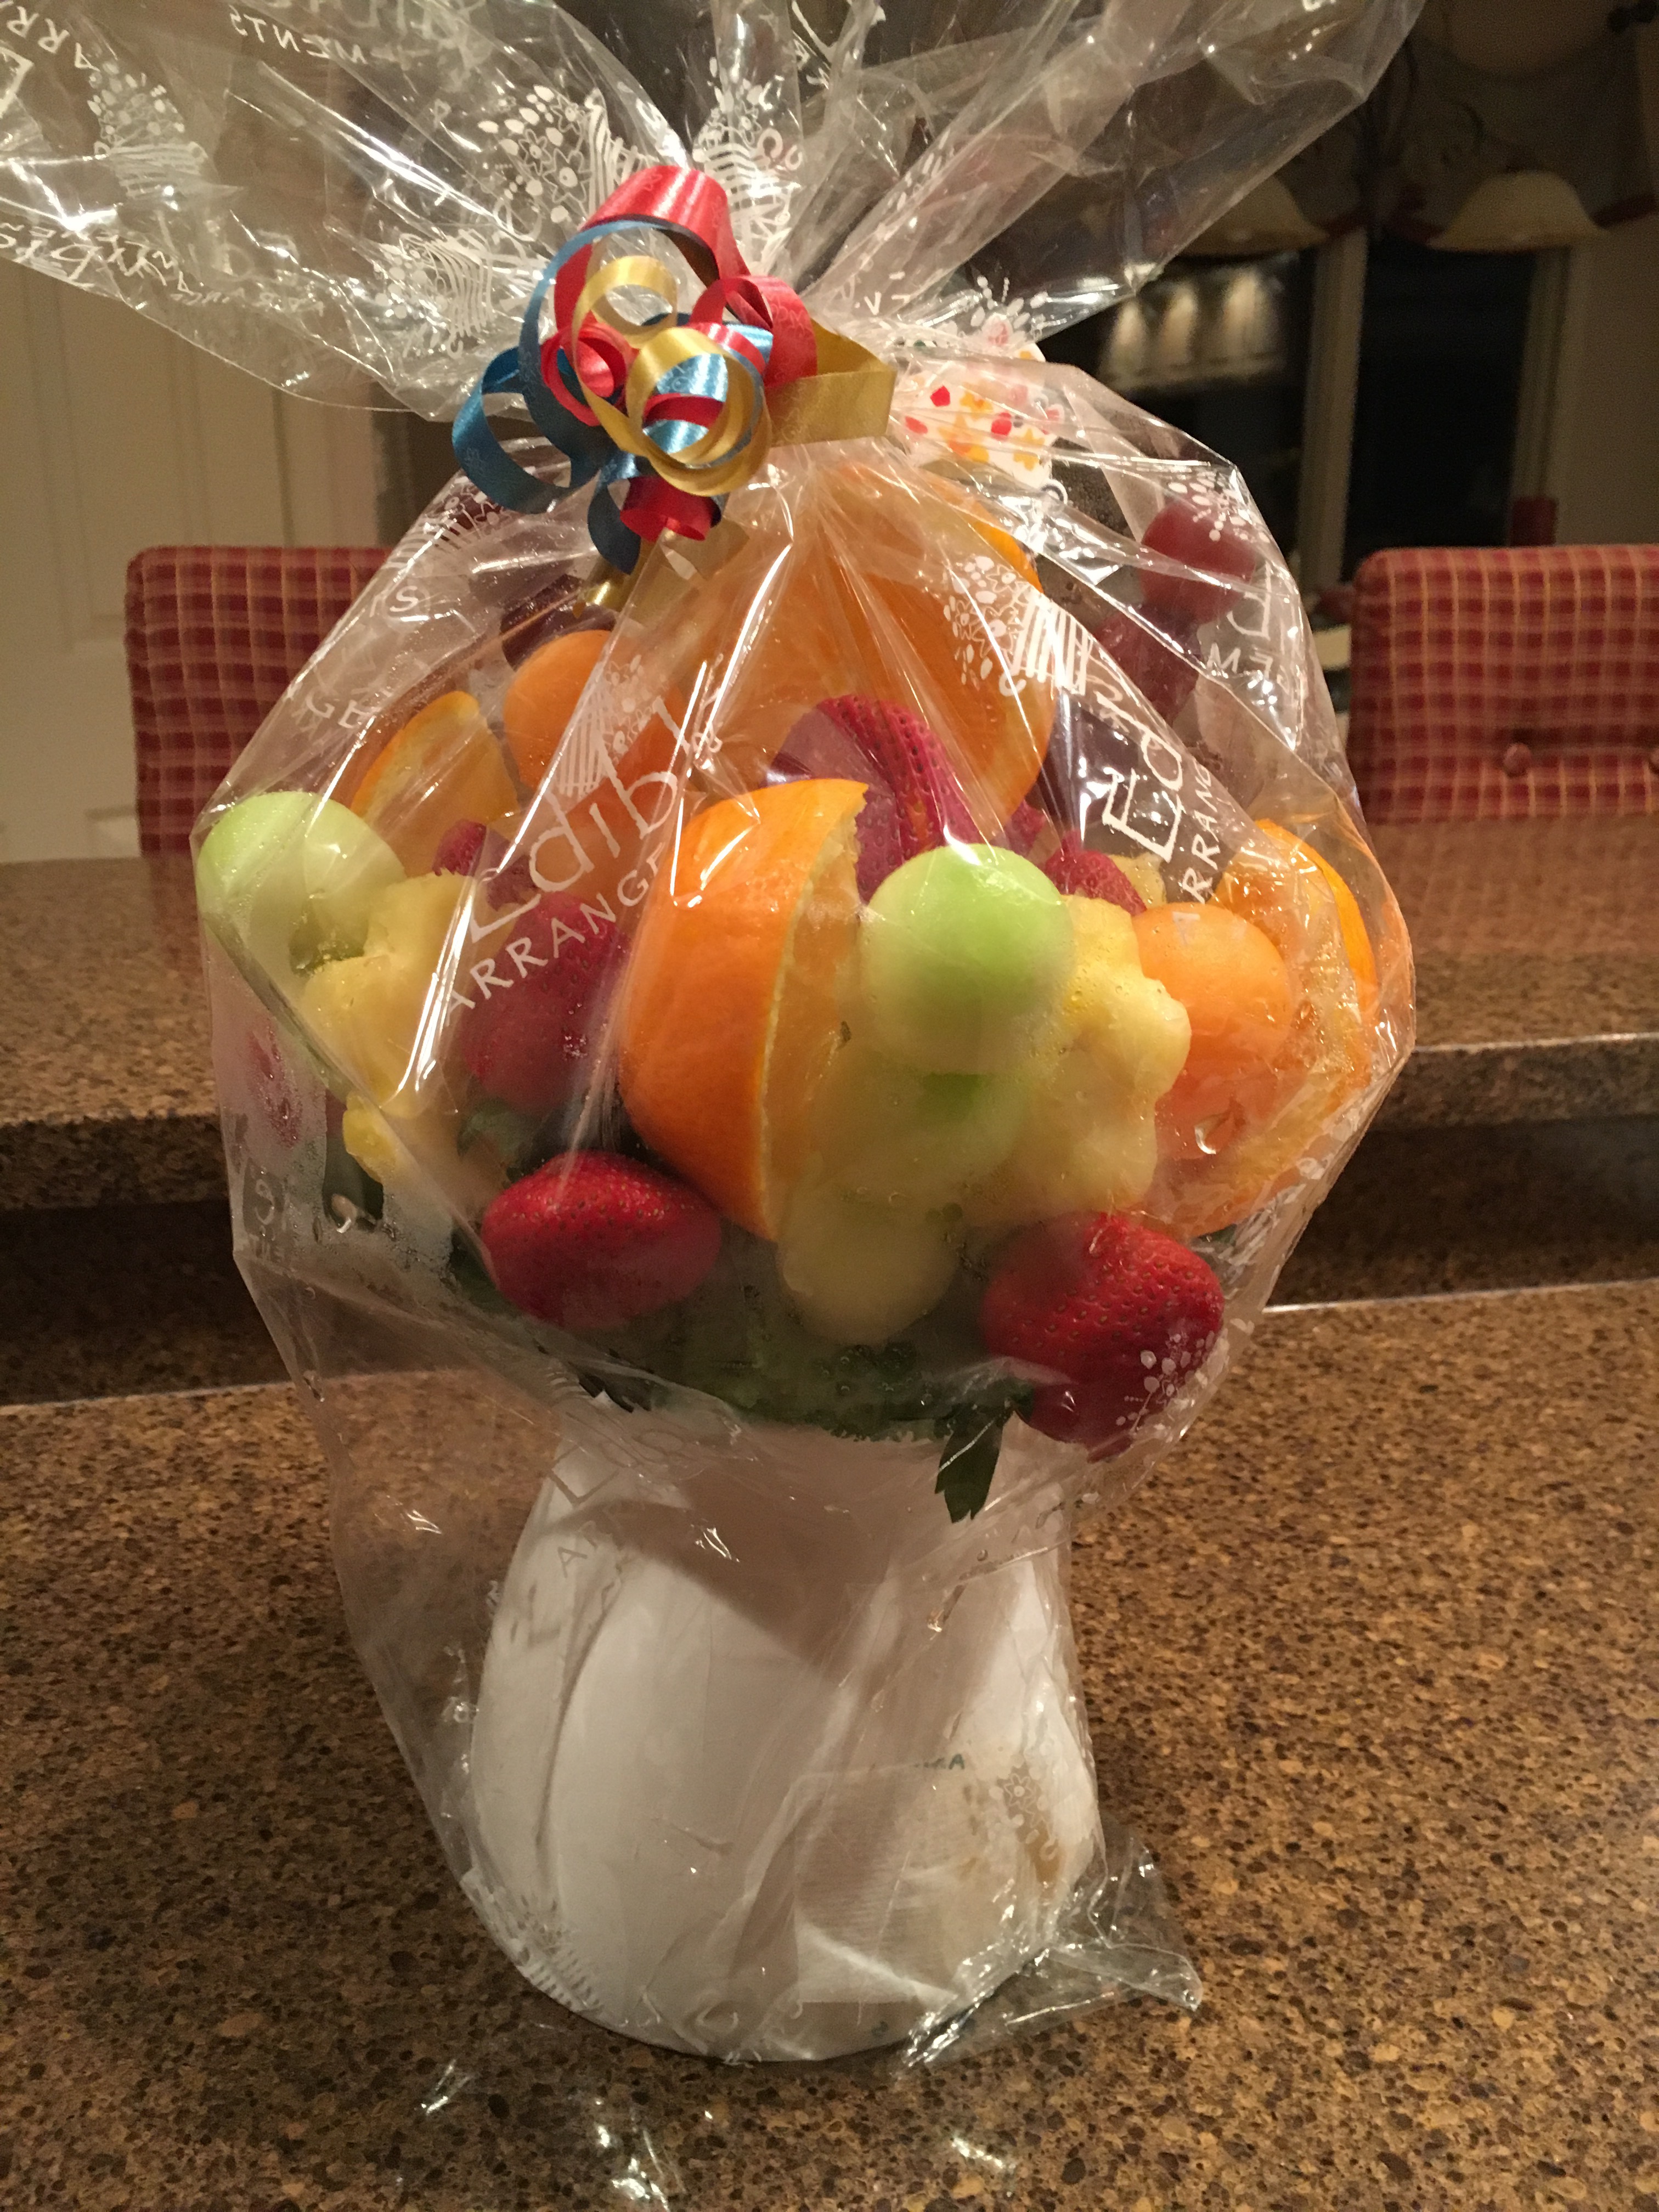
I love fruit!  It’s right up there with my other favorites, ice cream and chocolate! I received this delicious Edible Arrangement from my coworkers.

img_9204

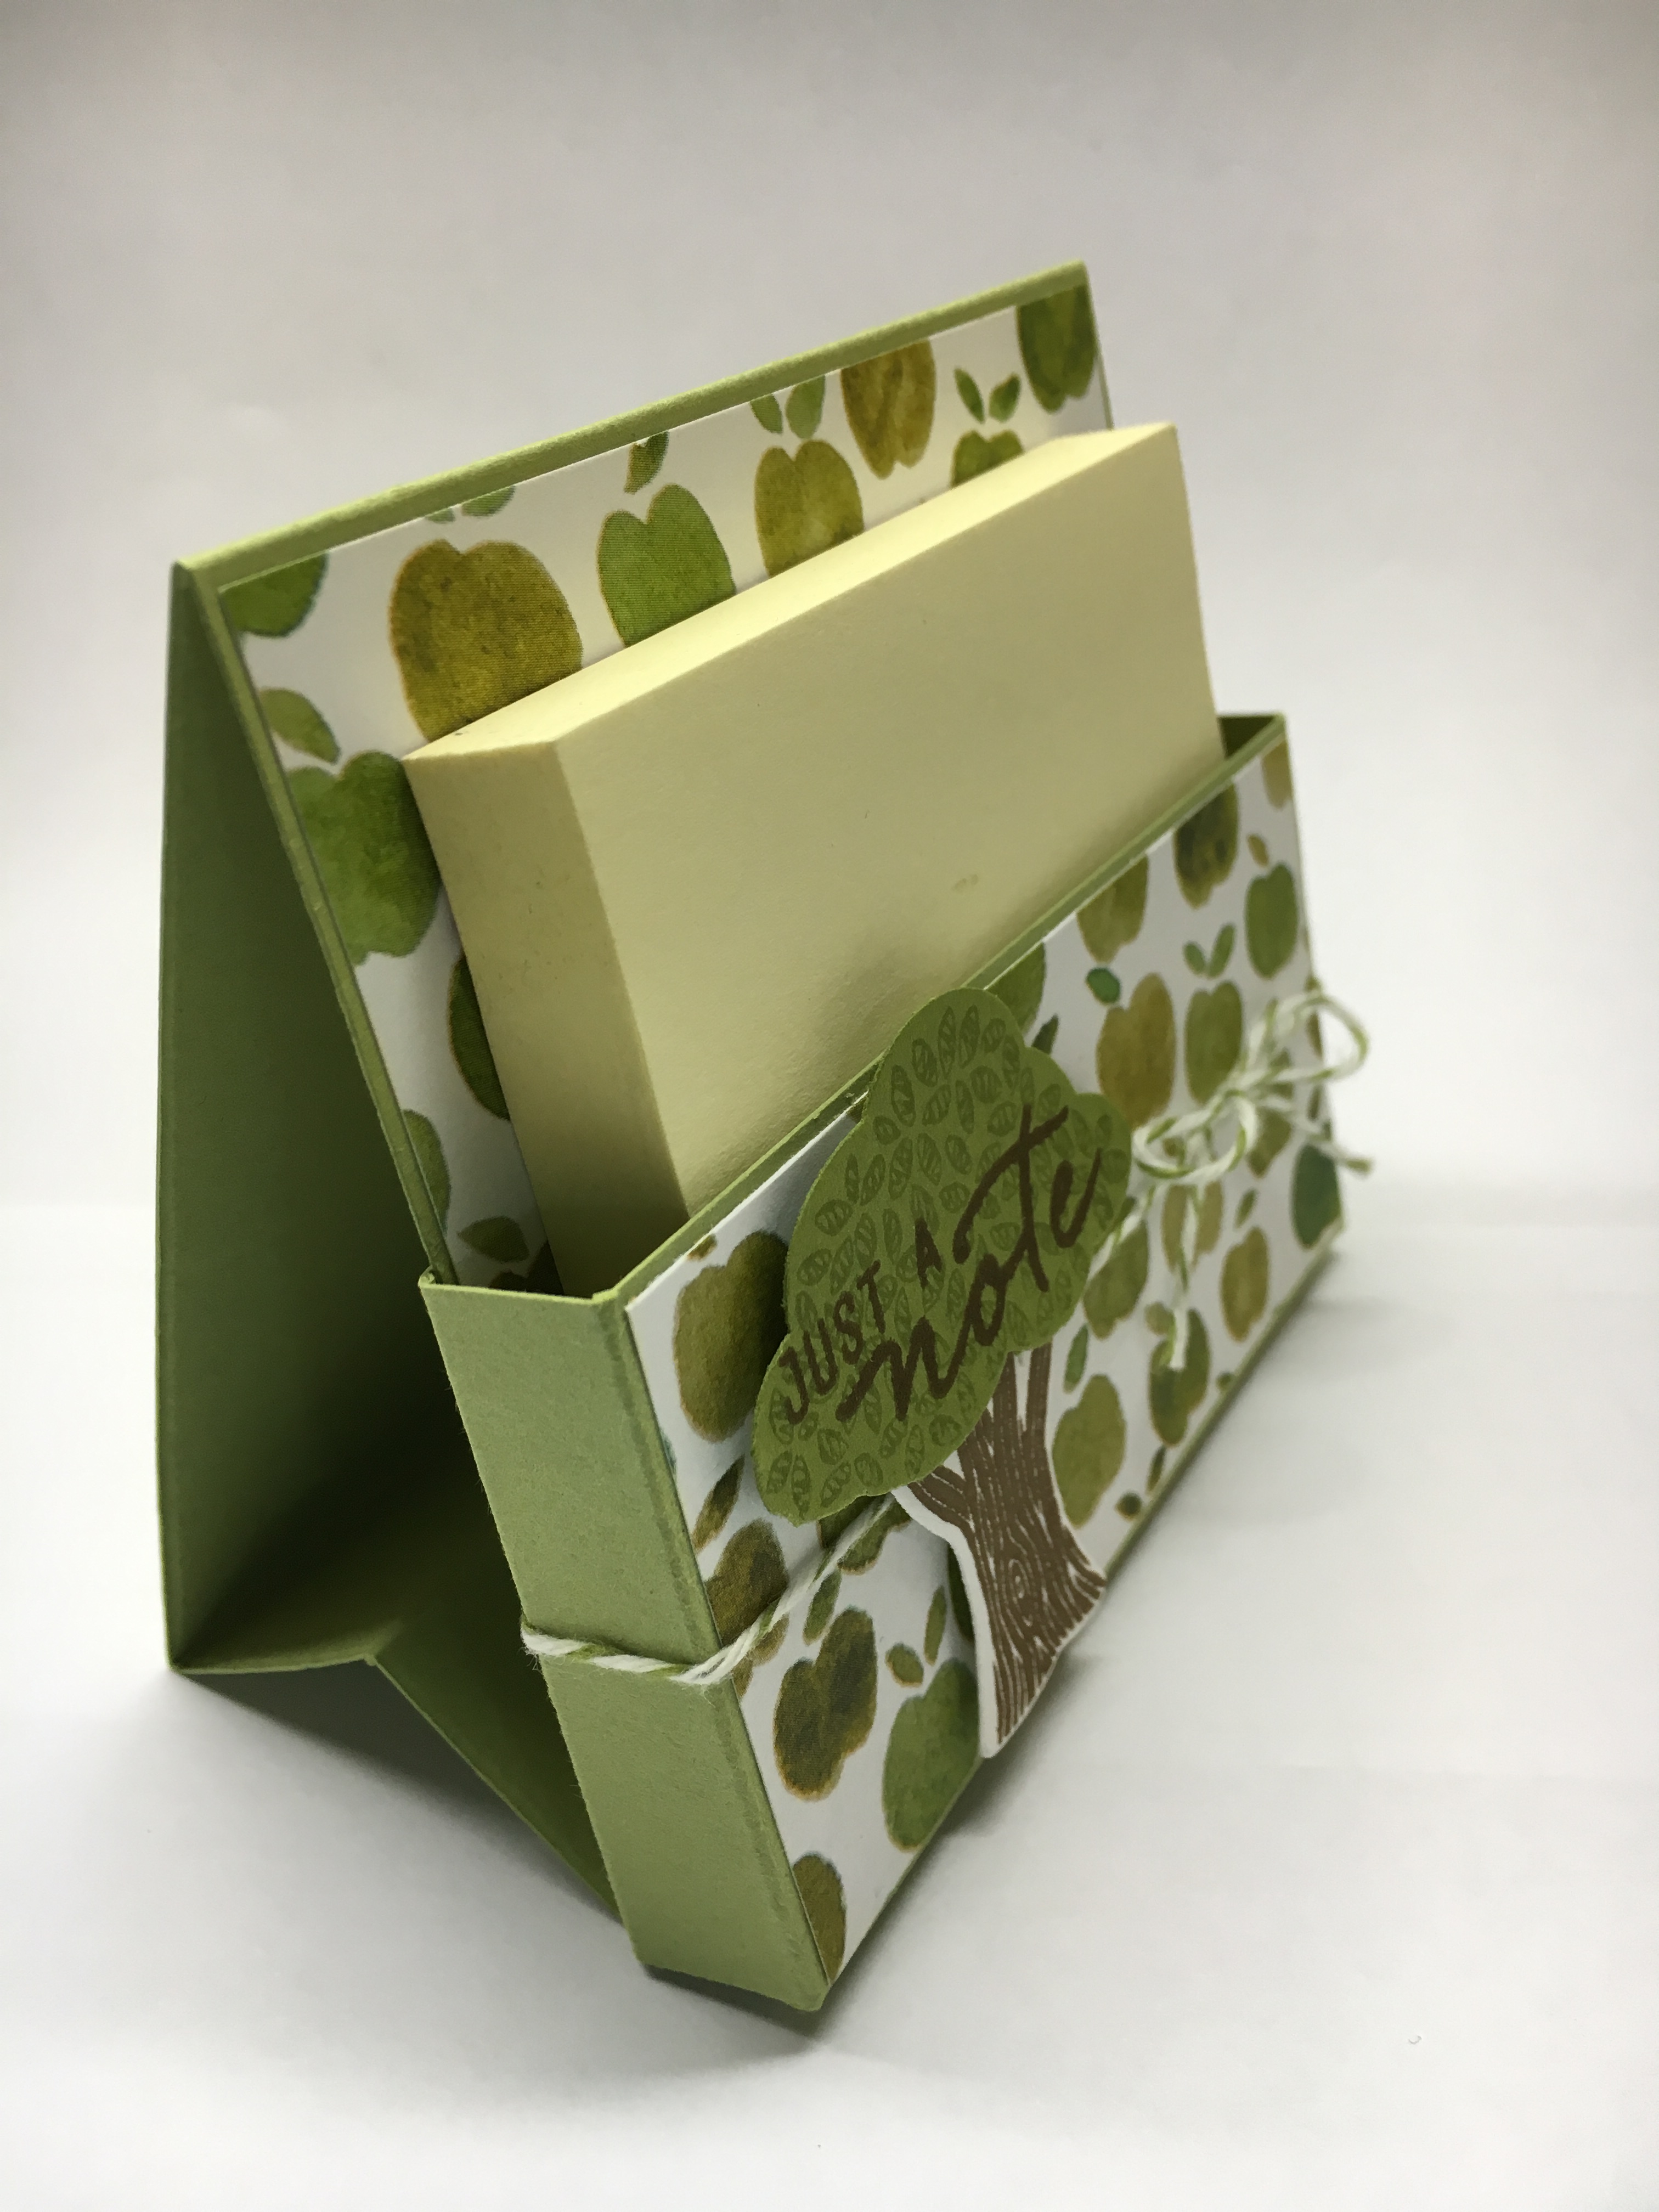
Here’s my quick & simple thank you note using the Fresh Fruit Designer Series Paper.

img_9671

I used a Whisper White Note Card…my favorite go to for thank you notes. The 1/2 doily was left on my desk from yesterday’s projects so I just adhered that on the left of the note card. The strawberry print DSP measures 2 1/4 x 5.  I cut a 1/4″ strip of Garden Green cardstock and adhered that next to my DSP. I stamped the sentiment from Tin of Cards Stamp Set using Real Red Ink.  I cut it out using the Stitched Shapes Framelits and adhered it to a Real Red scallop circle cut from the Layering Circles Framelits.  I “fussy cut” a strawberry from the DSP and attached it with a glue dot and popped up the sentiment layer with Stampin’ Dimensionals.  I found a bag with strawberry wrapped candy at CVS and put those in a bowl in the teachers lounge along with the card.

img_9672

Yesterday was my first day back to work.  It was great to see my sweet students. They had all kinds of news and stories they couldn’t wait to share. Their smiling faces is the best medicine!  I am thankful I only teach mornings…I came home and took a 3 hour nap! When my own kids were in school my motto was, “12-3 is All About Me!” I would try to get all my errands done before they got home from school and I turned in to “Taxi Mom”. Nowadays it feels like 12-3 is nap time for me! LOL

I really like how this note card turned out! You really get a lot of bang for your buck with the Stampin’ Up! Note Cards & Envelopes.  You get 20 cards and envelopes for $6.00. That’s just 30 cents each! Think of all the smiles you could make happen with a simple “just because” card.  I went out to dinner last night with some of my friends and we were discussing “Fat Tuesday” and Lent and tossing out ideas for what we could do during this time.  It just occurred to me that one of the things I can do is share more handmade kindness.  So, I am going to commit to send out 40 cards in 40 days. I think I will write my message on a sticky note and include an extra envelope so the recipient can choose to keep the card or “pay it forward” and send it to someone else. I can easily change out the sentiment on today’s card and even make the layered circles larger if needed.  This is one of those “formula” cards I will use again and again with other DSP.  Go give it a try!

You can order any of the supplies used on today’s card from my online store.  Click HERE to shop!

Have a wonderful day!

Just Stampin’

Jeanie

fruit-stand-dsp-photo

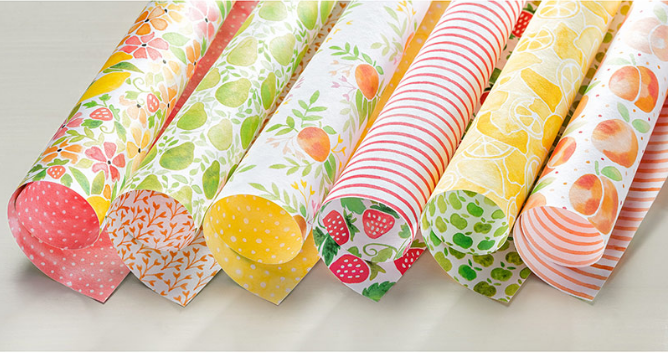
Fresh Fruit Designer Series Paper  Item # 141660  $11.00

Whisper White Note Cards & Envelopes  Item # 131527  $6.00


Just a Note for Back to School

img_3841

I seem to have apples and school stuff on my mind this week! Today’s post-it note holder would be a great gift to give with the card I made yesterday. The apple DSP was still sitting on my desk along with some post it notes. (I am such a list person and anytime I get a thought or idea I have to jot it down. Sometimes I need a list to remind me of the list!)   I decided to use the leftover paper and make this post it note holder.  I am going to keep this one for myself; however, now that I know how quick and easy it is to make, I think I’ll make some for the office staff at work. They always do so much for everyone else!  I bet you can think of someone who might like one too.  Or just make one for yourself.

I watched a rather looooooong video by Jan Brown from the UK.  She CASed (Copied And Shared) it from someone else. I decided to change it up as I did not need to put a pocket on the back to hold a business card or gift card for myself. I suppose if you want to make one for someone else and put a nice gift card in the back no one would complain. LOL  I did try to simplify the steps so you don’t have to watch the 45 minute You Tube video but, just in case you want to watch Jan’s video you can click HERE.

Here’s the details for mine. Start with a 5 3/4 x 12 piece of Pear Pizzazz cardstock.  With the short side across the top of the Simply Scored Scoring Tool, score at 1/2, 1, 4 3/4, 5 1/4.  With the long side at the top, score at 2, 2 1/2, 6, 9 1/2, 10 1/2, 11 1/2.

img_3819

Next you need to cut 1 inch off the long sides from the 2 1/2 inch score line. See the photo for where to cut and snip.

img_3825

Fold and crease on the score lines with a bone folder. See the photo for which way to fold along the score lines. The box section is in front and it looks like a tent from the side view.

img_3827

Attach DSP (3 5/8 x 1 7/8, 3 5/8 x 3 3/8) and then put Tear & Tape Adhesive as shown and adhere the holder together.

Wrap Old Olive Baker’s Twine around the holder and tie a bow.  To decorate,  I used the Sprinkles of Life stamp set to stamp the tree leaves in Pear Pizzazz on Old Olive cardstock. I stamped the sentiment from Watercolor Wishes with Soft Suede ink. The tree leaves get punched out with the Tree Builder Punch. Stamp the tree trunk from the Thoughtful Branches stamp set in soft suede ink and cut it out with the matching Thinlits Die.

img_3845

img_3840

Attach the tree to the front of the holder with Stampin’ Dimensionals. Add your Post-It Notes and that’s it! There’s room on the side of the holder to put a pen or pencil.  I’m going to put a small golf pencil in mine.

img_3844

img_3843

I really like the way the Sprinkles of Life and Thoughtful Branches Bundles go together. This would make a nice little gift set. You could put the “Just a note” sentiment on the cards too!   If you missed yesterday’s post how to make the card you can see it HERE.

Stamp Sets: Sprinkles of Life, Thoughtful Branches, Watercolor Wishes  Inks: Soft Suede, Pear Pizzazz  Papers: Whisper White, Pear Pizzazz, Old Olive, Fruit Stand Designer Series Paper  Tools & Accessories: Tree Builder Punch, Beautiful Branches Thinlits Dies, Old Olive Baker’s Twine, Stampin’ Dimensionals, Post-It Notes

I remember taking my kids shopping for new backpacks and back to school supplies each year. Before they went to school I always took the traditional back to school photo on their first day. Now that my youngest is off at college, I didn’t think I’d have any first day photos this year. I was touched and surprised when my daughter texted me this photo on her first day of classes at college. So sweet and thoughtful of her to remember!

img_3611

They grow up so fast! Here are pictures of my son and daughter on their first day of kindergarten. Boy do I miss those days!

I hope you have a wonderful day!

Just Stampin’

Jeanie

tpolbpolymer