OnStage Card Swap…Day 1

One of the things I love about attending Stampin’ Up!’s OnStage events is getting together with my stamping friends and swapping cards.  Here are some of the cards I received. *Each of these cards are made with items that are retiring.  If you see something you like, order now before it’s too late!

Stampin Up Layering Love clean & simple card idea - for ideas and ordering visit www.juststampin.com Jeanie Stark StampinUp
Card Created by Susan Itell

Susan used the Tutti-frutti Designer Series Paper and Layering Love Stamp set.  I love the large sentiments in this stamp set.  It will be retiring in May so grab it now while you still can! You can check out the other sentiments in this set in the product list below.

Stampin Up Garden in Bloom and Butterfly Thinlits Die birthday card idea - For inspiration and ordering visit www.juststampin.com Jeanie Stark StampinUp
Card Created by Nancy Farell

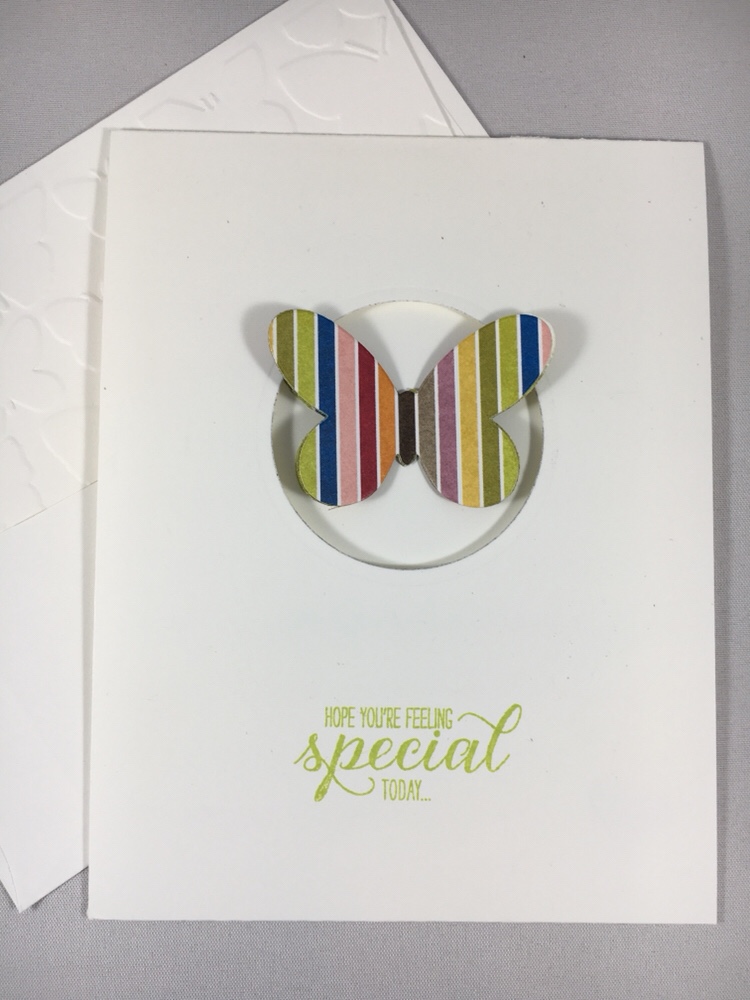
Nancy used Butterflies Thinlits and Garden in Bloom Stamp Set to create this fun card.  The thinlits, stamp set, and Fluttering Embossing Folder used on the envelope are retiring.  Get them before they “fly” away! Here’s a peek at the inside of this card.

Stampin Up Garden in Bloom and Butterfly Thinlits Die birthday card idea - For inspiration and ordering visit www.juststampin.com Jeanie Stark StampinUp
Card Created by Nancy Farrell

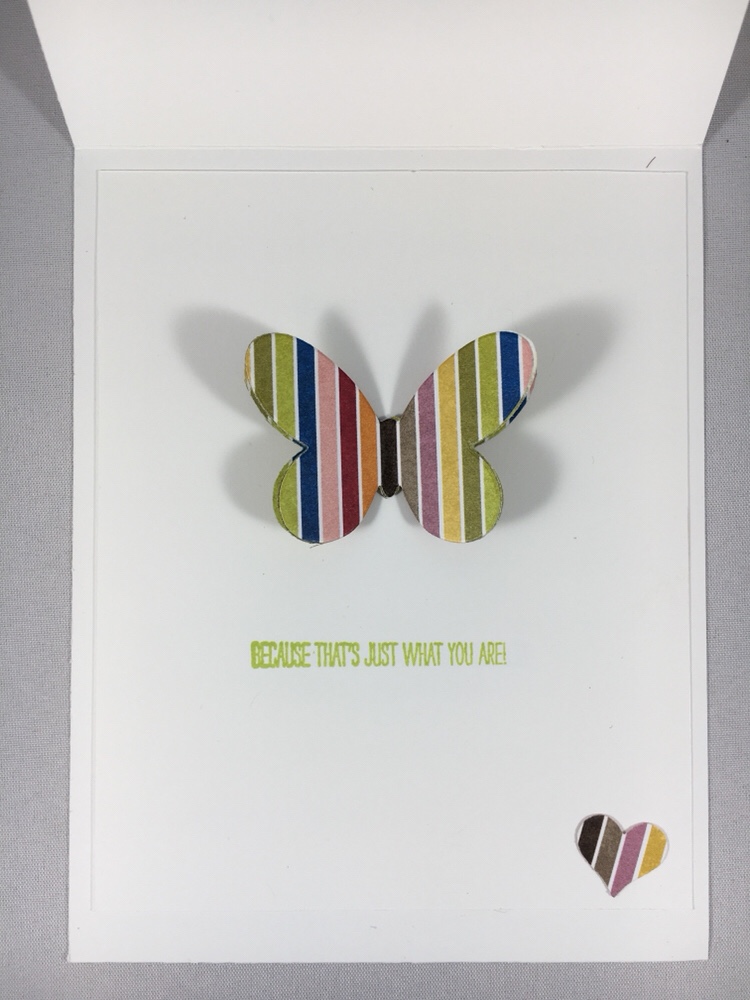
I love the way Nancy cut out the circle on the front of the card and had the butterfly wings peeking through! So creative!

Stampin Up Bold Butterfly Framelits and Watercolor Wings Stamp Set friend card idea - For inspiration, ordering, and more, visit www.juststampin.com Jeanie Stark StampinUp
Card Created by Karen Hallam

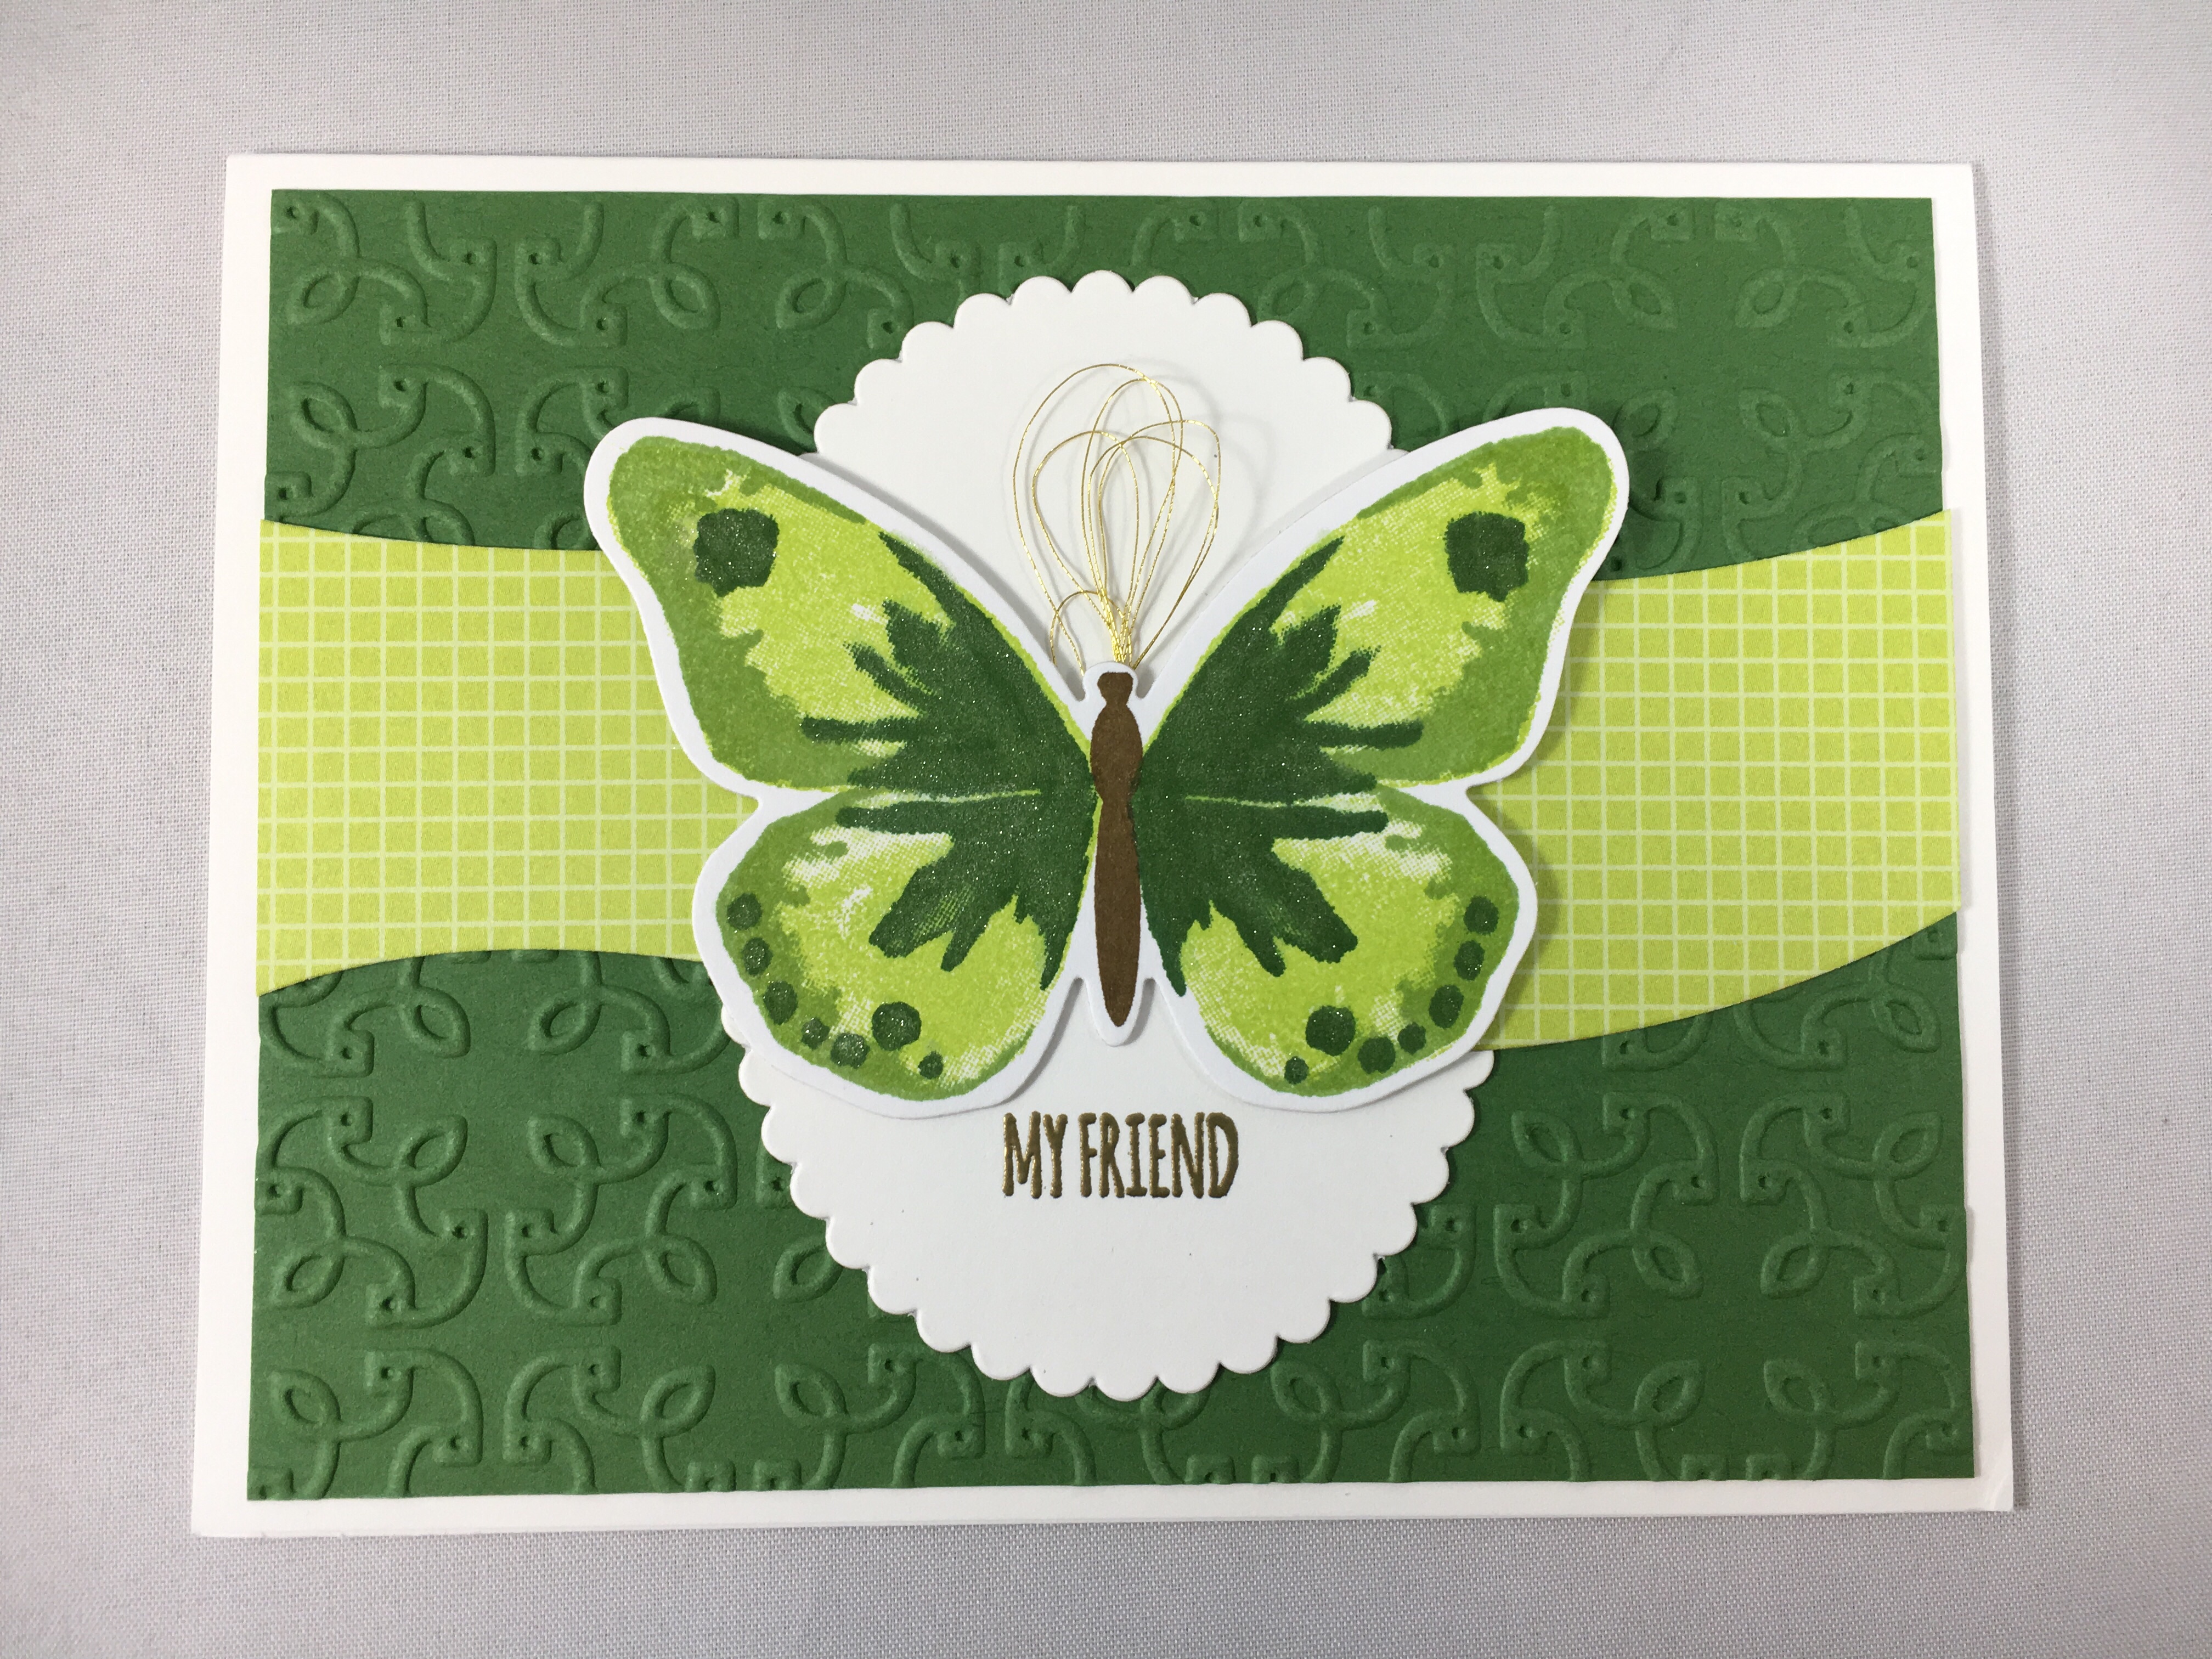
Karen used the Watercolor Wings Stamp Set and Bold Butterfly Framelits Die to create this beautiful card.  This butterfly stamp set and Framelits are also retiring! I love all the layers and texture on this card!

Stampin Up Flower Shop Thank You card idea - For ideas, ordering, and more, visit www.juststampin.com Jeanie Stark StampinUp
Card Created by Mary Anne Schnettgoecke

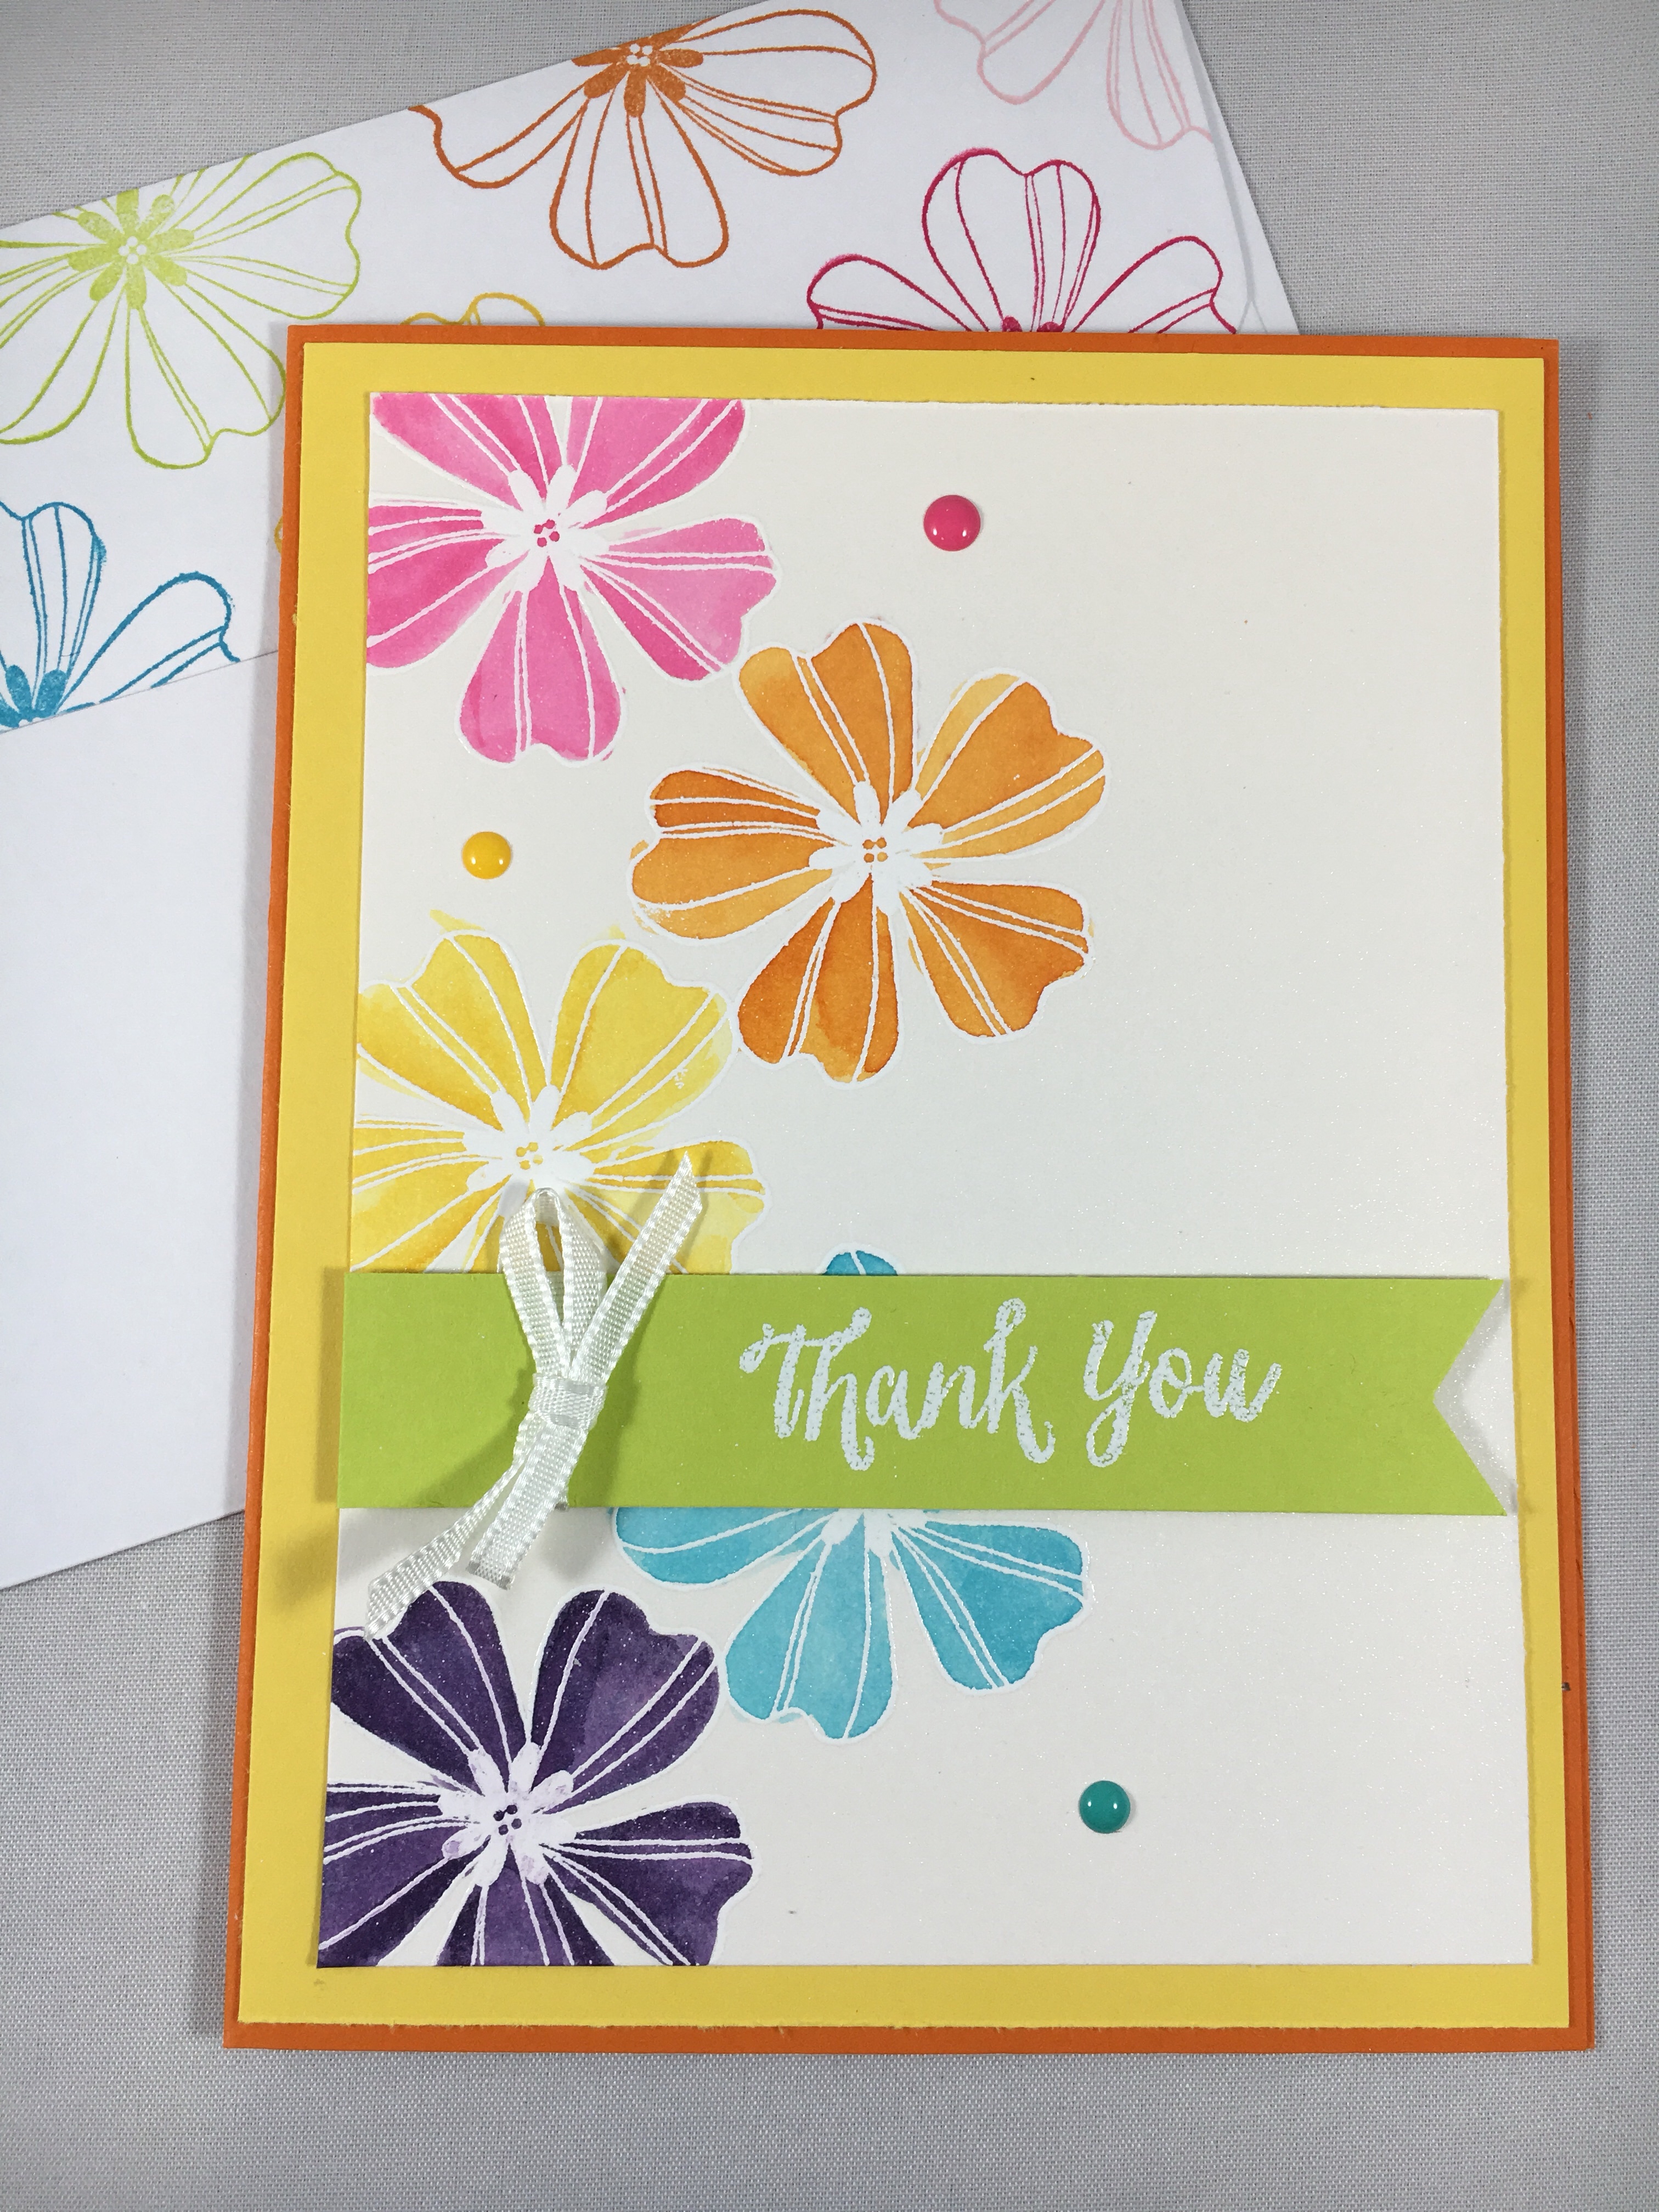
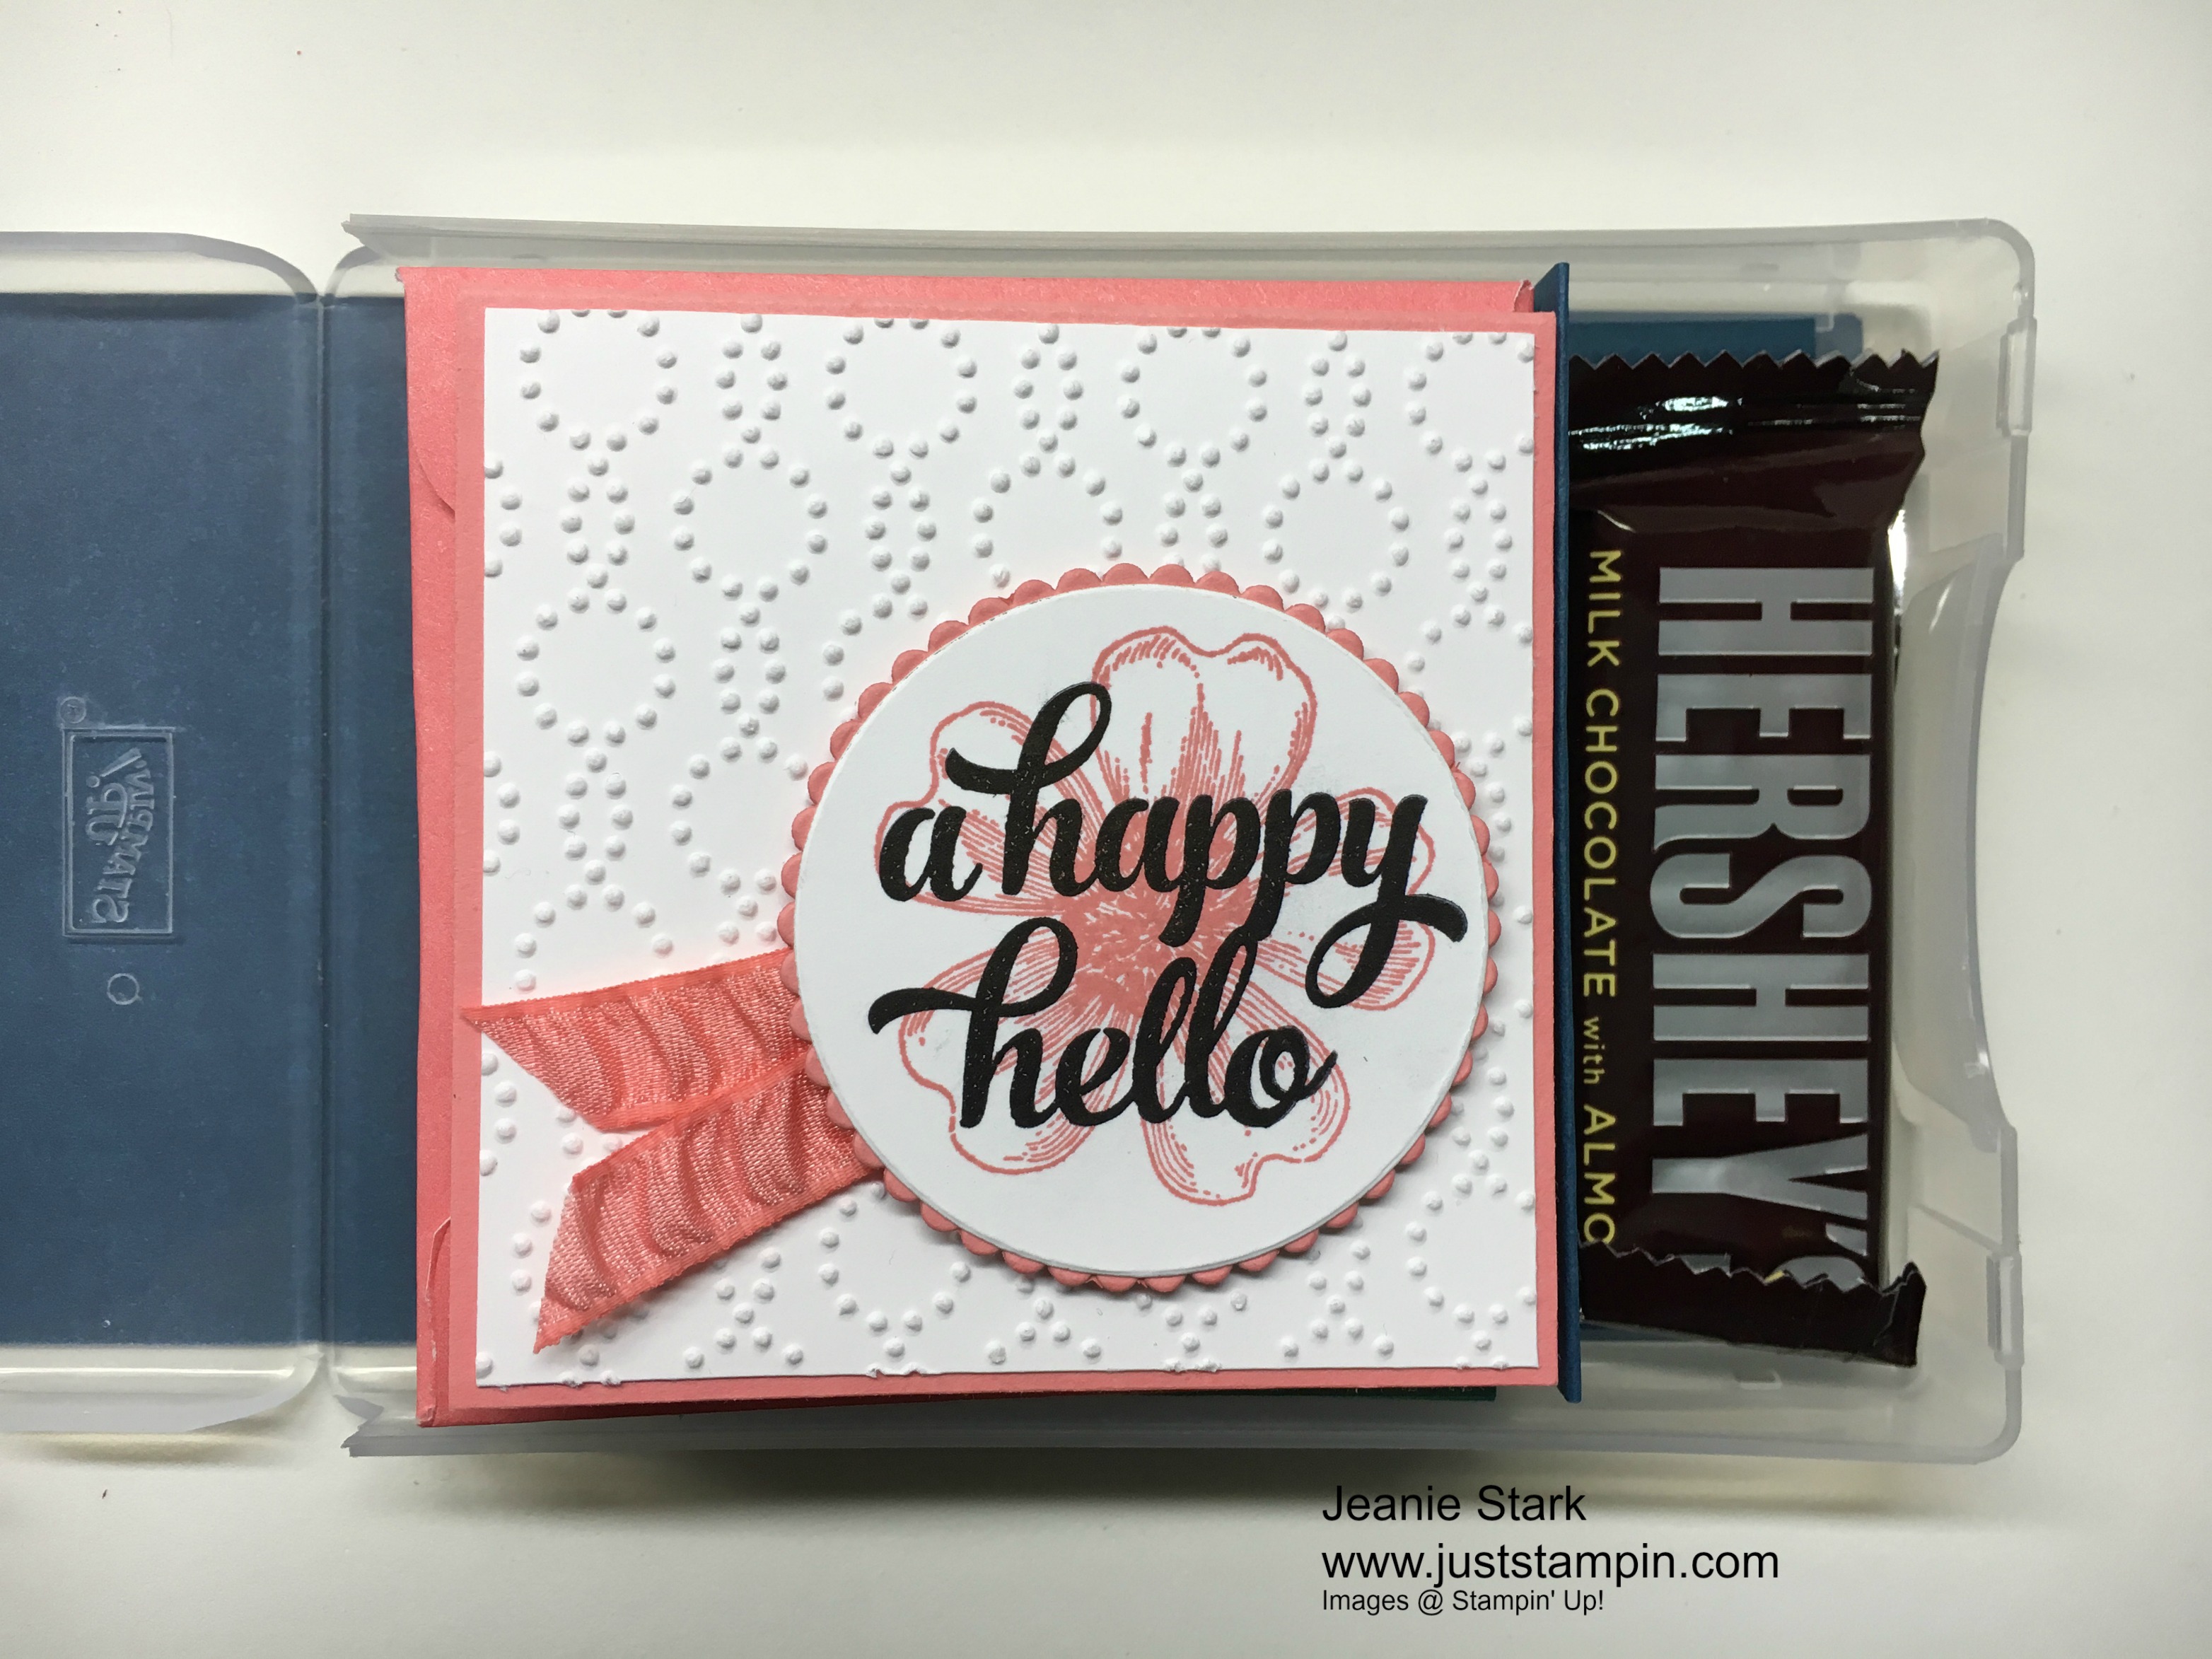
This thank you card created by Mary Anne is sure to brighten anyone’s day!  I absolutely love the Flower Shop Stamp Set and matching Pansy Punch and I may shed a few tears over these retiring. I have used them for all different occasions! I love the way Mary Anne heated embossed the flowers with white embossing powder then watercolored such bright and cheery colors. She used my favorite paper too, Shimmery White. Thank goodness the paper is sticking around!!!

Stampin Up Country Livin' Masculine Birthday card idea - for inspiration, ordering, and more visit www.juststampin.com Jeanie Stark StampinUp
Card Created by Anne-Marie Schofer

Anne-Marie made matching red tags for all the PALS attending the event.  She is just the sweetest and is from my home state of Massachusetts! She used the Country Livin’, Guy Greetings, and Hardwood Stamp sets to create this masculine birthday card using the masking technique. For some reason I want to sing “These boots were made for walking..” The Guy Greetings stamp set used on this card is retiring but Hardwood and Country Livin’ will be in the new annual catalog.

I hope this showcase of cards has inspired you today!  Check back tomorrow to see more beautiful cards I received.  Be sure to check out the retiring items below so you don’t have any regrets later! Don’t forget, you will receive my swap card (click HERE to view) with your online order in April! Click HERE to shop.

Last Chance Products

SHOP Retiring Stamps

SHOP Retiring Bundles

SHOP Everything Else

Occasions Catalog Retired List-US

Annual Catalog Retired List-US

Have a wonderful day!

Just Stampin’

Jeanie

*Host Code Exclusive! All orders placed through my online store are eligible for my FREE monthly gifts (card kits and more!). Please use the current host code below. *If your order is $150 or more, do not use this code as You become the hostess and get the Rewards!

Host Code: G6Q7BC3V

Product List *Click on image to view.
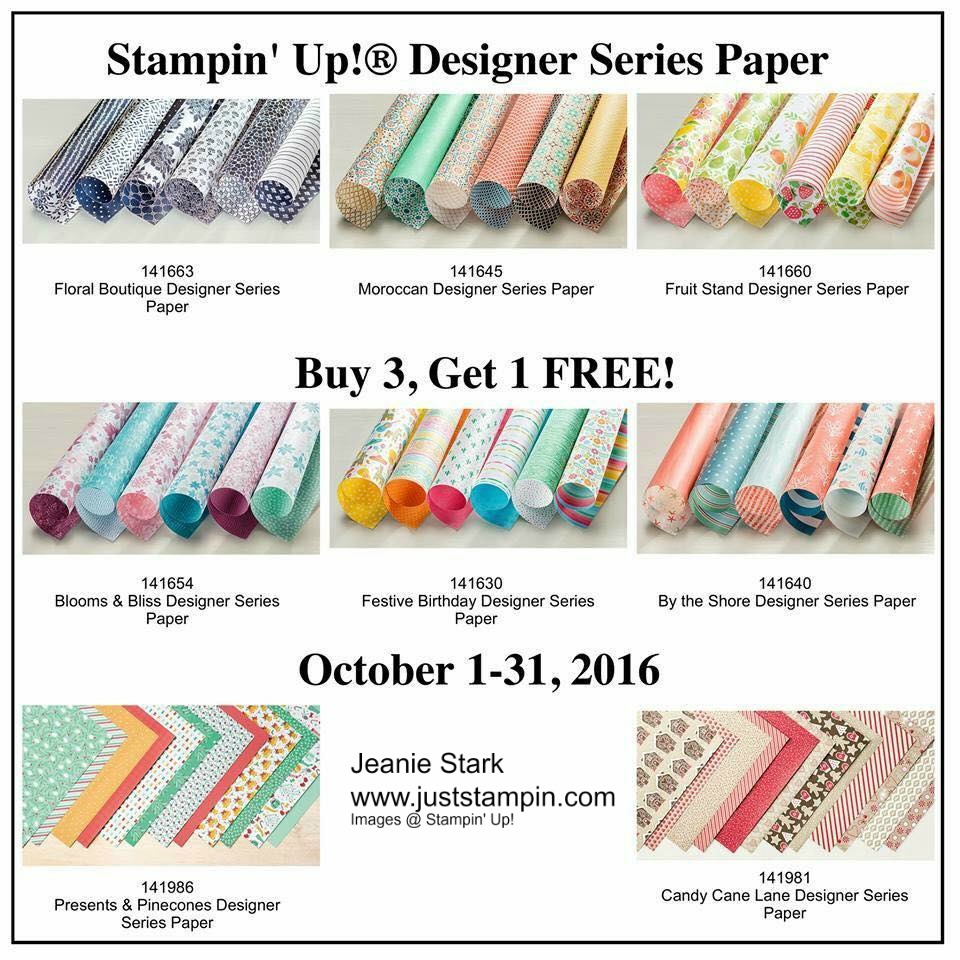
Pansy Punch

$16.00

Happy New Year!

img_7991
Start a new family tradition!

A friend of mine posted this idea on Facebook and I knew this was something I could do and enjoy with my family. It’s quick & easy!  I decided to spruce up my jar to make it part of my decor so I could set it out and be reminded to do it throughout the year.

IMG_8284

I had a Longaberger mason jar in my pantry and decided to use that.  I love and use Longaberger baskets throughout my home and craft space to keep things organized. My husband buys the tree trimming basket for me every year and I put those on a tree in our kitchen for the holidays. You can see in the photos that I chose the colors for my jar and paper holder to match the table runner and curtains in my kitchen.

IMG_8270

img_8271
My Longaberger basket tree.  I fill the baskets with candy for the holidays.

I made a belly band for the mason jar using a 2 inch strip of soft suede cardstock. I used the Scalloped Tag Topper to punch each end and threaded mint macaron mini striped ribbon through the ends and tied a bow. I heat embossed the sentiment from Paisleys and Posies with clear embossing powder.  To emboss any color all you have to do is ink your stamp in VersaMark first, then ink it in whatever color you want and stamp it on your cardstock. Add clear embossing powder and heat it.  I used mint macaron ink for the sentiment.  I used the Layering Circles Framelits to cut a piece of Mint Macaron cardstock for the lid.  I stamped the flower from Flower Shop Stamp Set with soft suede ink and punched it out with the pansy punch.  I also punched a mint macaron flower and attached both to the top of my jar with Stampin’ Dimensionals.  I can’t wait to start adding wonderful memories to the jar!

IMG_8273

I found a pad of paper in my desk drawer that was the perfect size to fit in a business card holder.  You can click HERE for directions how to make the business card holder.  You can easily cut copy paper to size (2 x 3 1/2) to fit in the holder or just use any little paper pack.

IMG_8281

I used soft suede cardstock and ink for my paper holder along with the same mint macaron ribbon I used on my jar.  I love how the flower from Flower Shop Stamp Set matches the flower in my material.  I punched the flower out with the pansy punch and attached it with a dimensional.  I used the date stamp on the rotary punch from the December Paper Pumpkin kit to stamp my paper.

img_8265
Rotary stamp from the December 2016 Paper Pumpkin kit

I am going to send my daughter back to college with some of these papers in a stamped envelope for her to write on and then send home when she has them completed.  I am hoping I can get my son and husband to add their good blessings to the jar too! What fun this will be to share a year from now.

IMG_8284

Stamps Sets: Flower Shop, Paisleys & Posies, December 2016 Paper Pumpkin Rotary Stamp  Inks: Mint Macaron, Soft Suede, VersaMark  Papers: Soft Suede, Mint Macaron, Very Vanilla  Tools & Accessories: Pansy Punch, Scalloped Tag Topper Punch, Layering Circles Framelits, Mint Macaron Mini Striped Ribbon, Clear Embossing Powder, Heat Tool, Simply Scored Scoring Tool, Stampin’ Dimensionals

I am not one to make new year resolutions.  Mainly because I never seem to be able to keep them. This is something I know I can do and I love that it is a wonderful way to reflect upon and remember the many blessings. I hope this has inspired you to use what colors you have to create one for yourself or as a gift. If you would like to purchase any of the products I used you can Click HERE to shop my online store.

Last night we rang in the new year doing something we’d never done before. We usually travel over the holidays and visit family in Massachusetts.  This year our plans changed and we stayed home. We decided to check out the local celebration that has become a New Year’s Eve tradition in our small town. New York City may have the ball dropping at midnight but, here in Hagerstown, Maryland we have a Donut Drop.  A local family owned business, Krumpe’s, makes the most delicious donuts and they gave away 6,000 free donuts last night to everyone who assembled downtown to watch the annual Donut Drop countdown. I am all about trying new things and we had a fun time with my daughter and her friend.

Thanks for stopping by!  I wish you and your family a happy, healthy New Year filled with many blessings!

Just Stampin’

Jeanie


E is for Envelope DSP

Welcome to my ABC’s of DSP series! This month I am featuring projects showcasing Stampin’ Up! Designer Series Paper. Did you know Stampin’ Up! has Envelope paper? It is often overlooked in the catalog (page 176).  It is thin text-weight paper to use for making envelopes.  You get 20 sheets: 2 each of 2 double-sided designs in 5 colors. It comes in 12 x 12 sheets in the In Colors.  I enjoy making odd sized cards on occasion so this paper is great to make matching envelopes and you know how I love the In Colors! I used the 2016 – 2018 In Colors for today’s cards and project.

img_5201
3 x 3 In Color Gift Enclosure Cards

I love these 3 x 3 cards and they were quick & easy to make! (My kind of cards!!!)  I cut my cardstock 3 x 6 and scored it at 3.  I cut Whisper White at 2 7/8 x 2 7/8 and ran it through the Big Shot with the Elegant Dots Embossing folder before adhering it to my card. I like the way the dots on the embossing folder compliment the dotted envelope paper. I stamped the flower from the Flower Shop stamp set on Whisper White cardstock.  Then I stamped the sentiments from Tin of Cards Stamp Set on top using Basic Black ink.  I cut them out with the Layering Circles Framelits and glued them to a scalloped circle.  I cut a  4 inch piece of ribbon and attached it with glue dots. I popped the layered sentiment with Stampin’ Dimensionals.  The envelopes were easy to make using the Envelope Punch Board.  Check out this short video from Stampin’ Up! to see how simple it is to use!

I used the 2016-2018 In Color Envelope paper to make my custom sized envelopes.  I cut the paper at 5 1/4 x 5 1/4 and followed the directions on the punch board.  Here’s my finished cards and envelopes.

img_5209
Flirty Flamingo 3 x 3 card and matching envelope paper
img_5207
Peekaboo Peach 3 x 3 card and matching envelope
img_5206
Emerald Envy 3 x 3 card and matching envelope
img_5205
Sweet Sugarplum 3 x 3 card and matching envelope

After I finished these adorable cards I thought they would make a nice little gift.  So I pulled out a half size wood mount stamp case.  It’s the perfect size for these cards, envelopes, and some chocolate.  I only had 1 mini Hershey bar but you could easily add another in the box.

img_5211
Half Size wood- mount stamp case used as a card holder for 3 x 3 cards.

I made an insert for the case to keep the cards in place.  It measures 3 1/4 x 6.  I scored it at 3 1/2, 4 1/4, and 5.  Fold on the score lines and insert in the case.  I also cut a piece of Dapper Denim Envelope paper at 11 1/4 x 3 3/8 to slide into the sleeve on the cover.  I decorated the front to match the look of the cards.

img_5212
Half size wood-mount stamp case to hold 3 x 3 cards.

I hope you like today’s cards and project.  These stamp cases are wonderful storage containers for all kinds of things.  I use the half size to store my retired In Color ink refills.  It holds 5 refills and stands up on my shelf. You can purchase any of the items used to make today’s projects in my online shop.  You can click HERE to get started. Please use the Hostess Code 7DB3CBKS when you check out.  I’ve added a visual below to show where to enter the code. I always send a thank you gift each month when you order from me.  I appreciate each and every order!

Stampin’ Up! has a special offer for the month of October on select Designer Series Paper.

dsp-sale

img_4672

Thanks for stopping by! Have a wonderful day!

Just Stampin’

Jeanie