The Designer Tin of Cards Kit adds up to fun! Read all the way to the bottom because I have a special offer for you today! I love the contents in this kit and the final results are pretty amazing! When I offer my classes locally I always like to give alternative ideas. I know the teacher in me should follow the directions, but what can I say, I’m all about choices and inspiring others to see the possibilities. Here are some alternative ideas to go with the Designer Tin of Cards Kit.

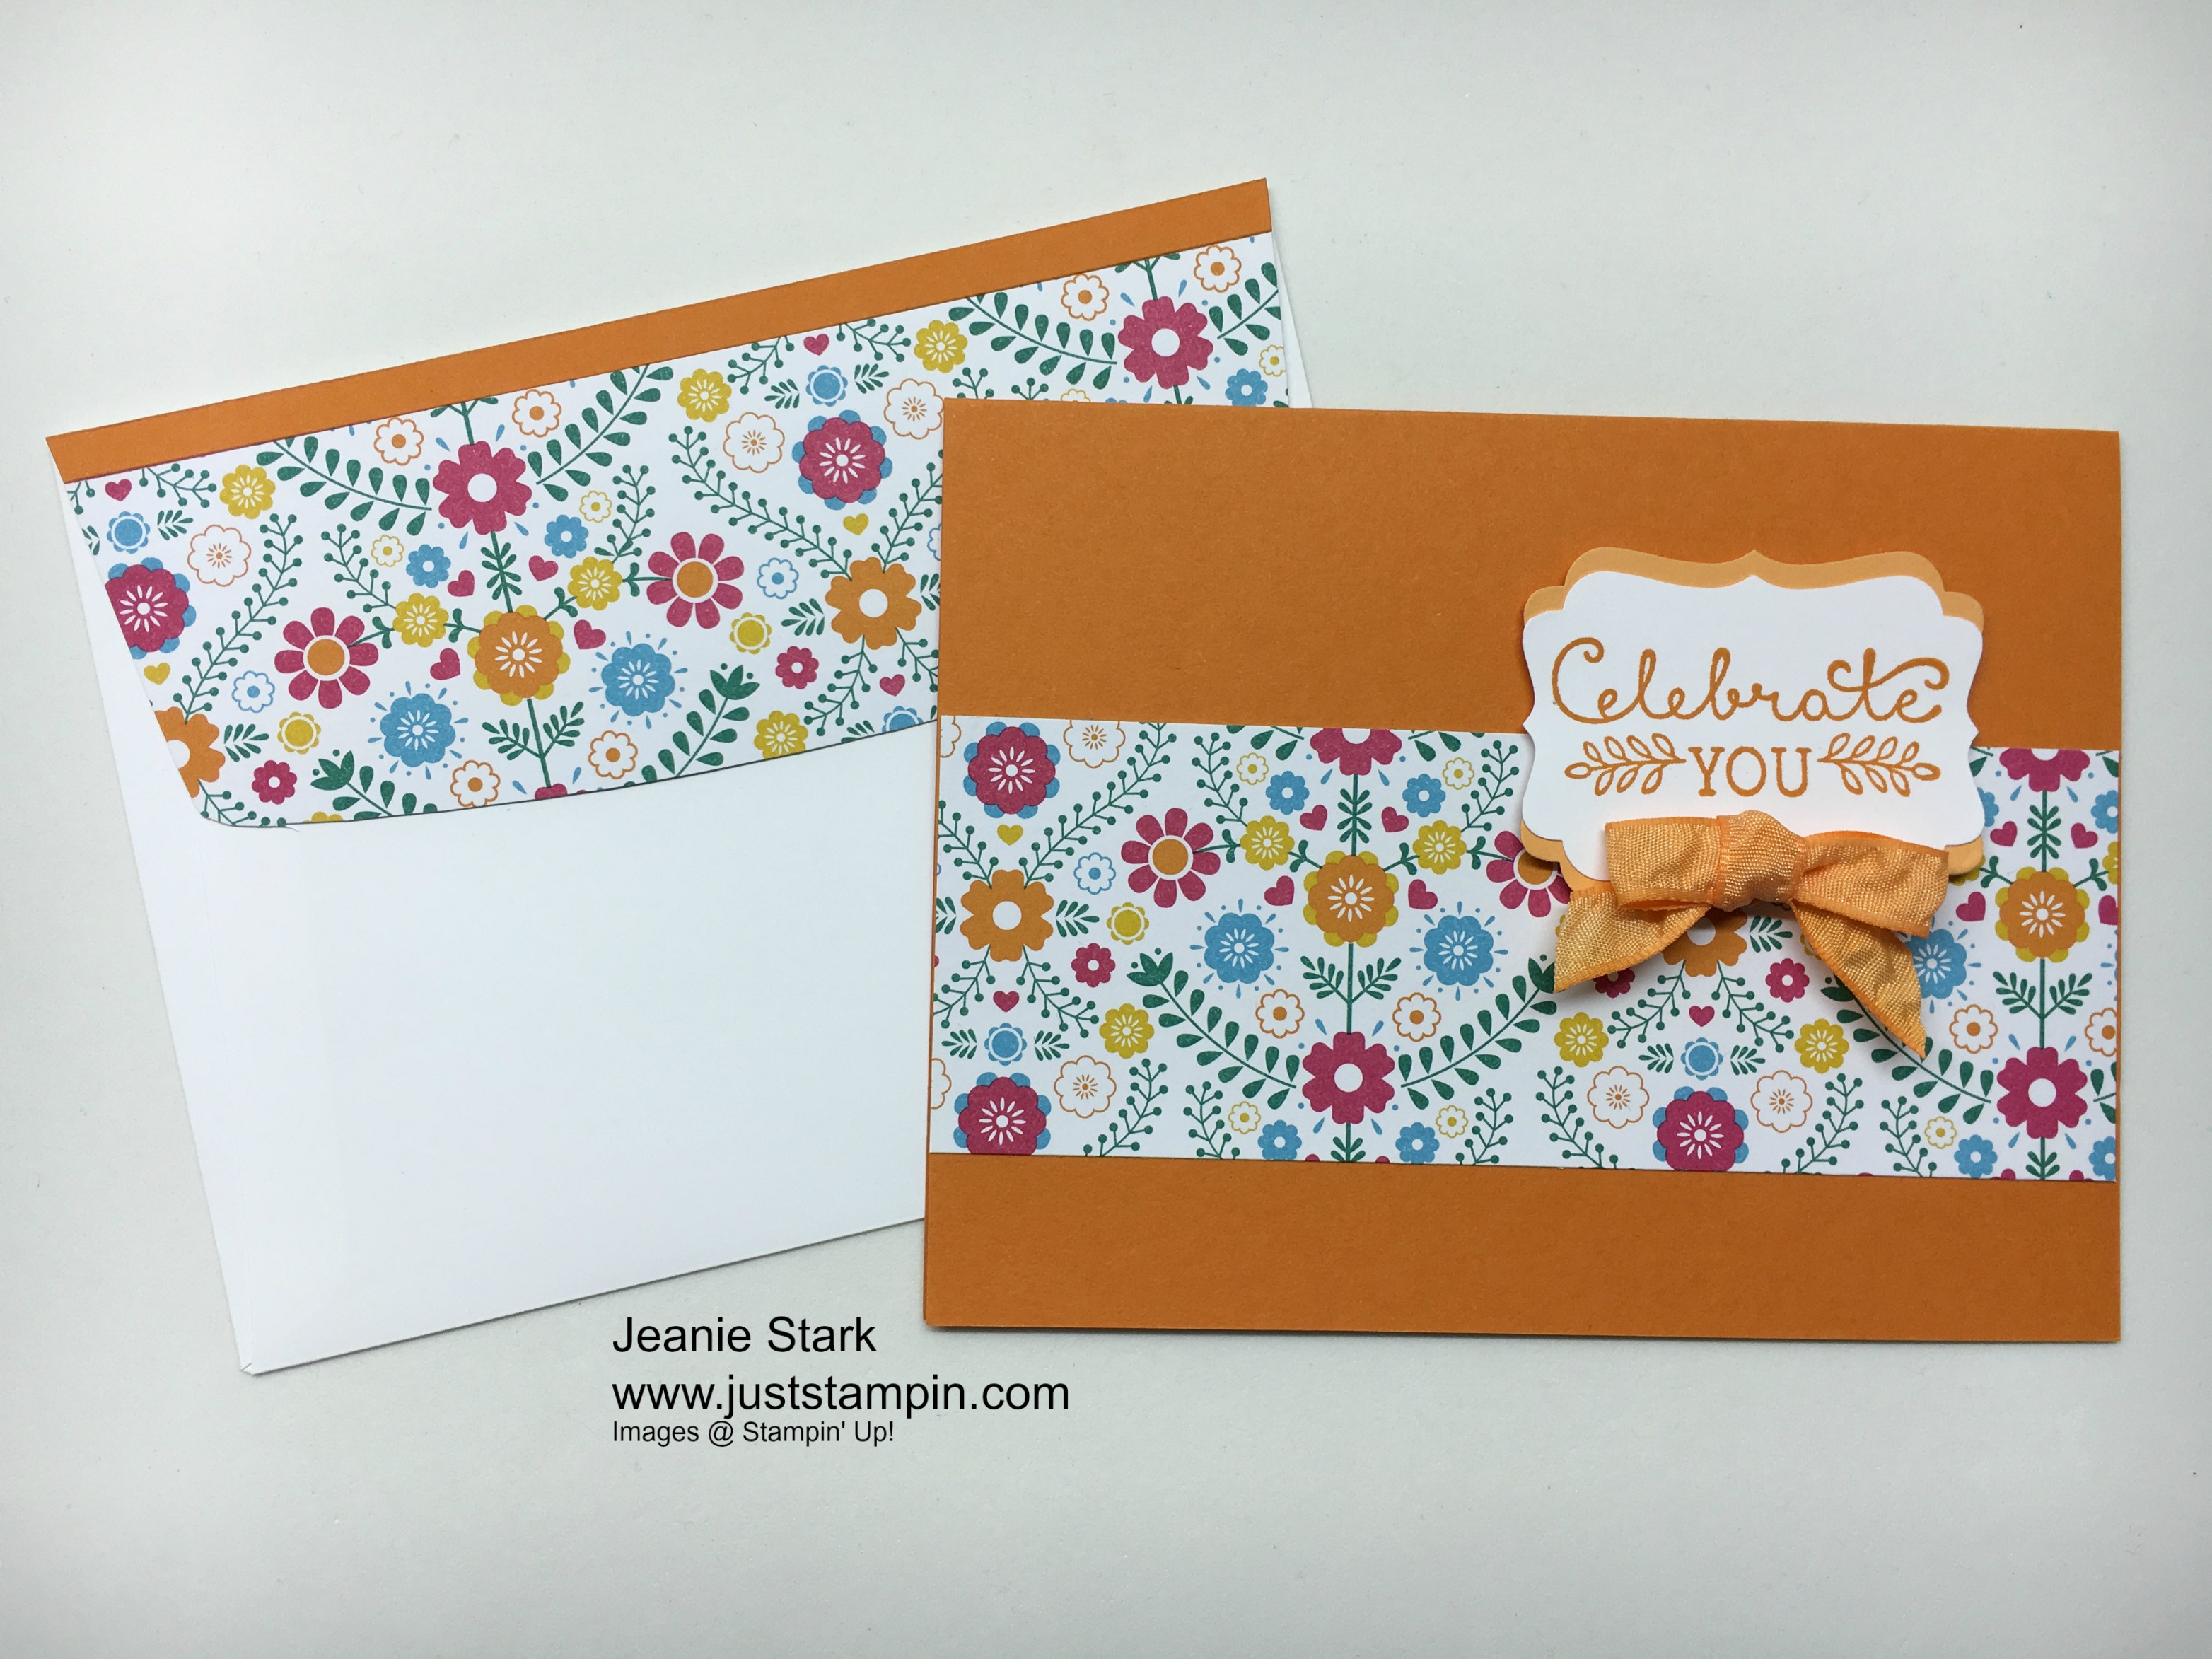
Everyone needs birthday cards. I sell more birthday cards at the shop than any other. Let’s face it, wouldn’t you rather get a bright and cheery card on your birthday than a facebook post? As you can see, just changing the sentiment, orientation, or placement of the balloons changes it up so you are not making everyone the same card. The kit comes with 4 of each design. I tried to show the original and other possibilities. I love the way our Designer Series Paper packs coordinate with the designs in the kit so I could make my envelopes match. I just think it ties it all together and is a preview of what’s inside.
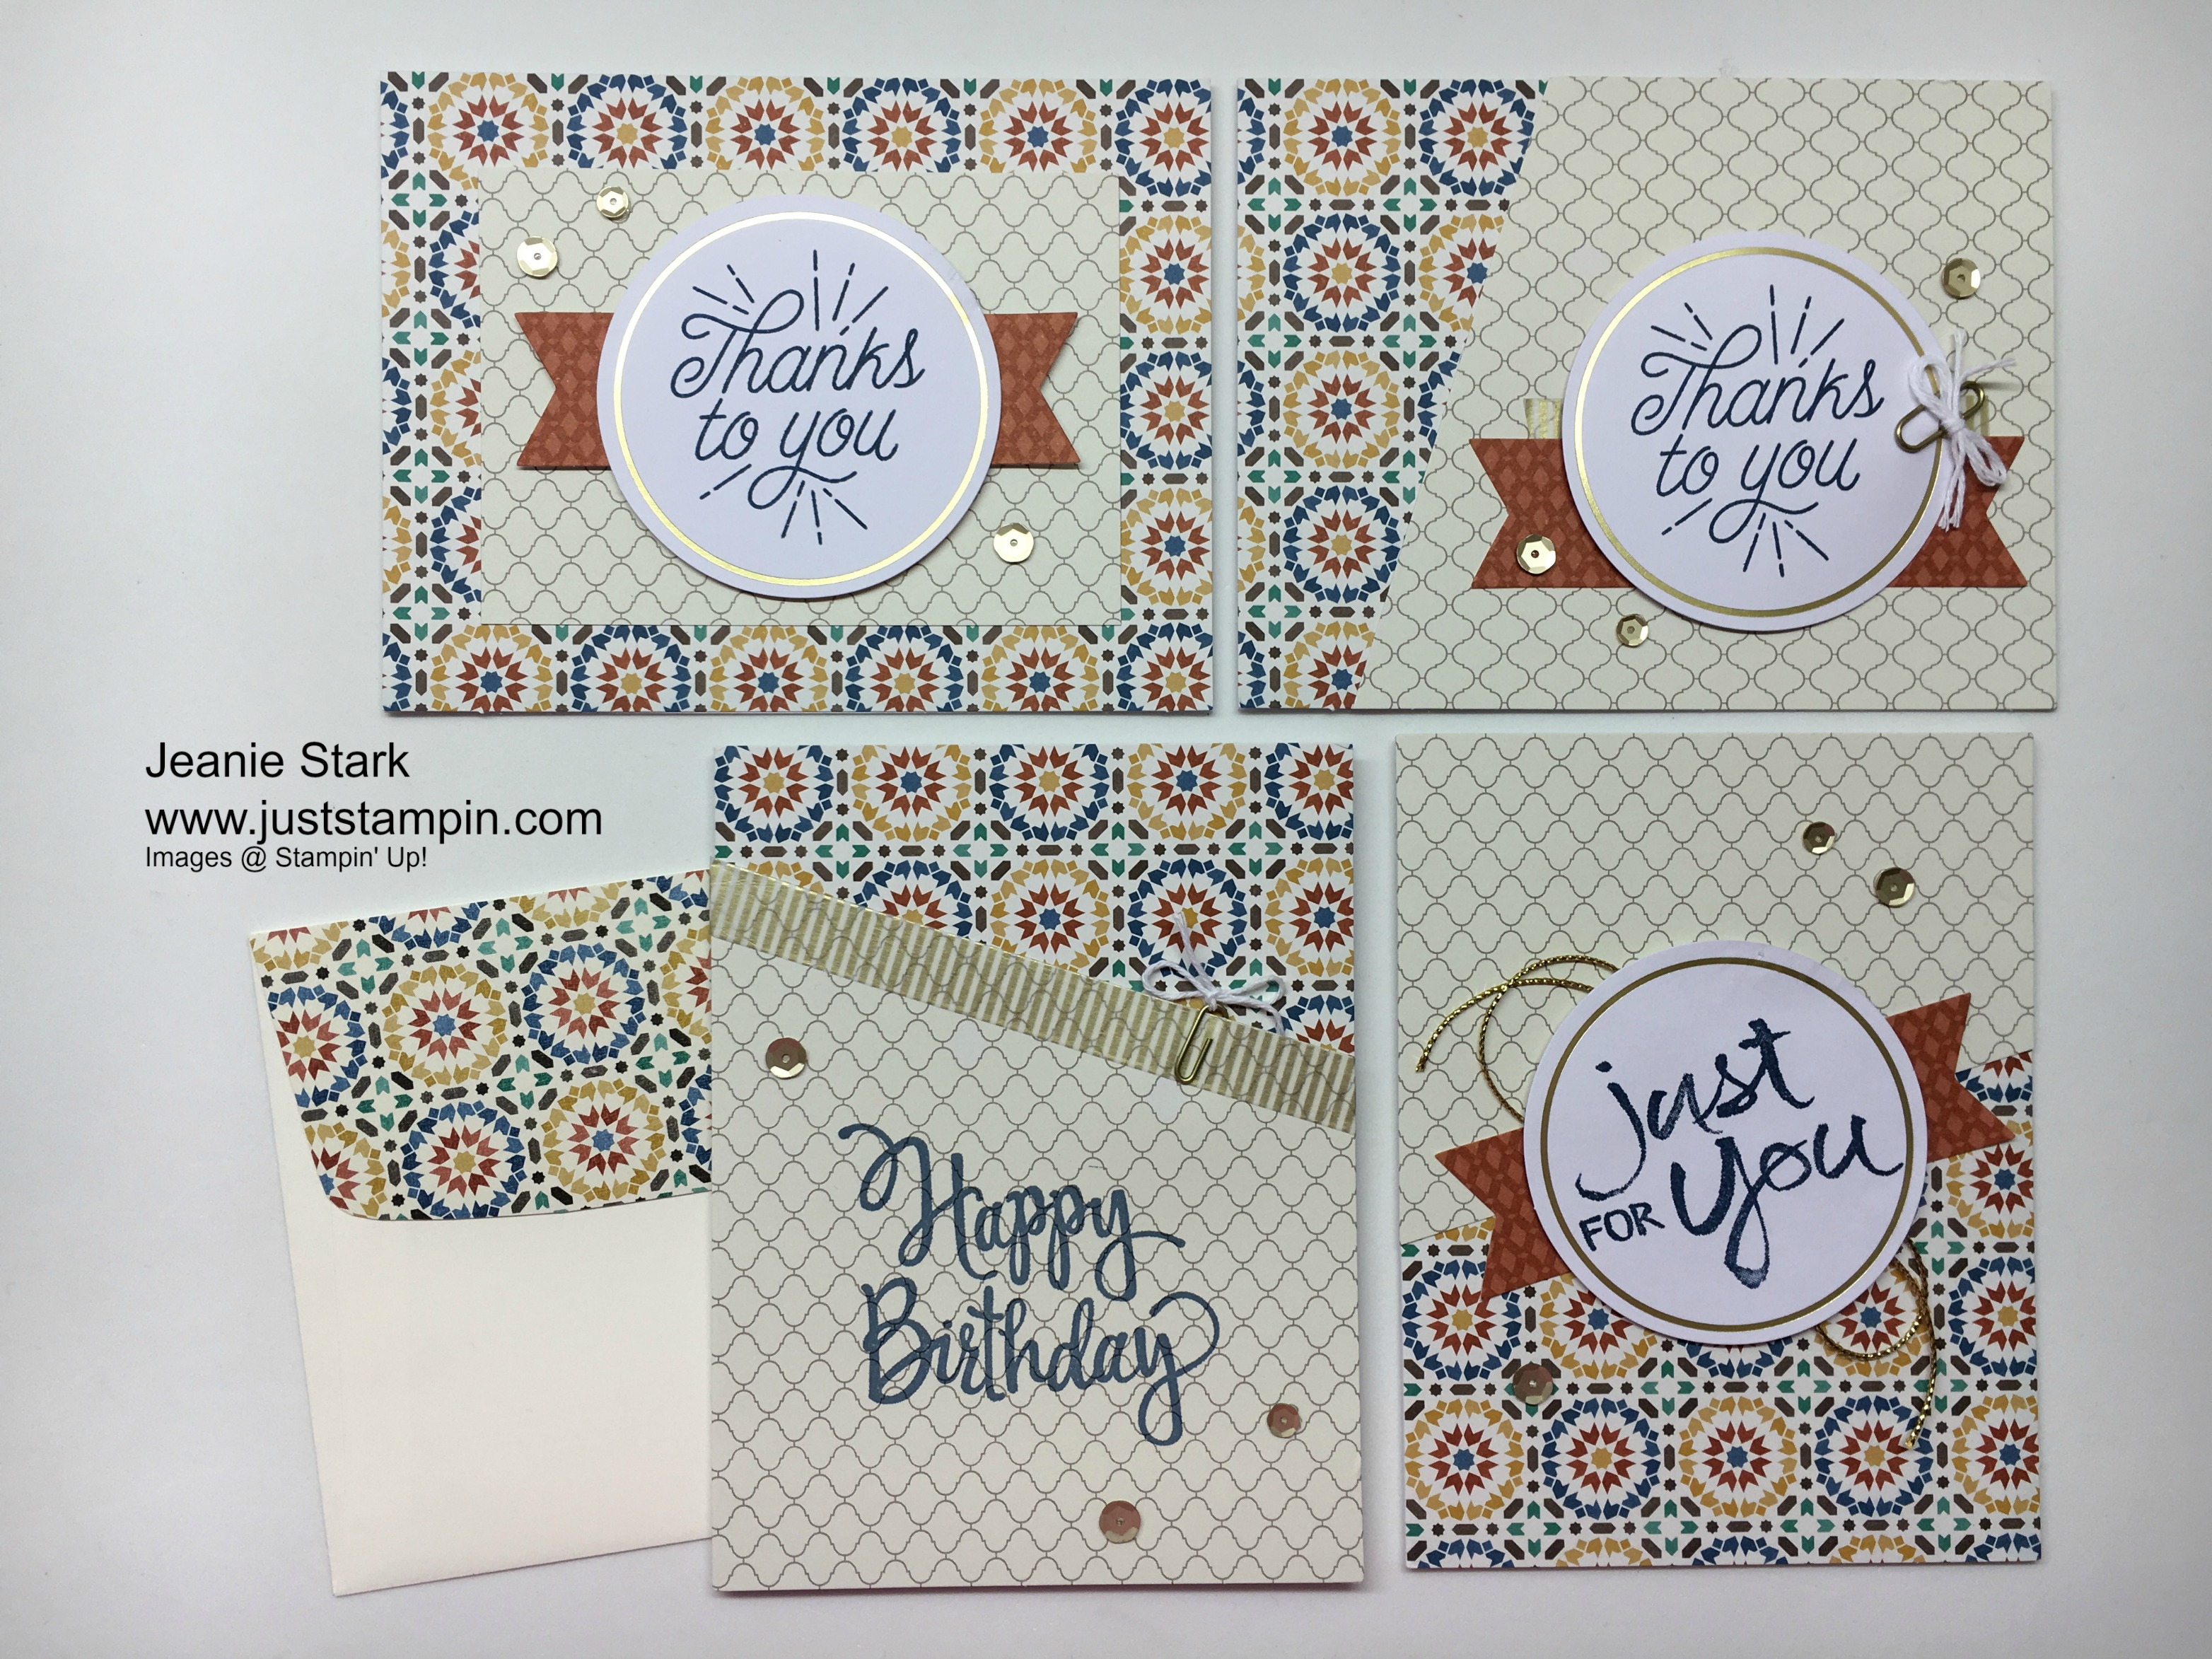
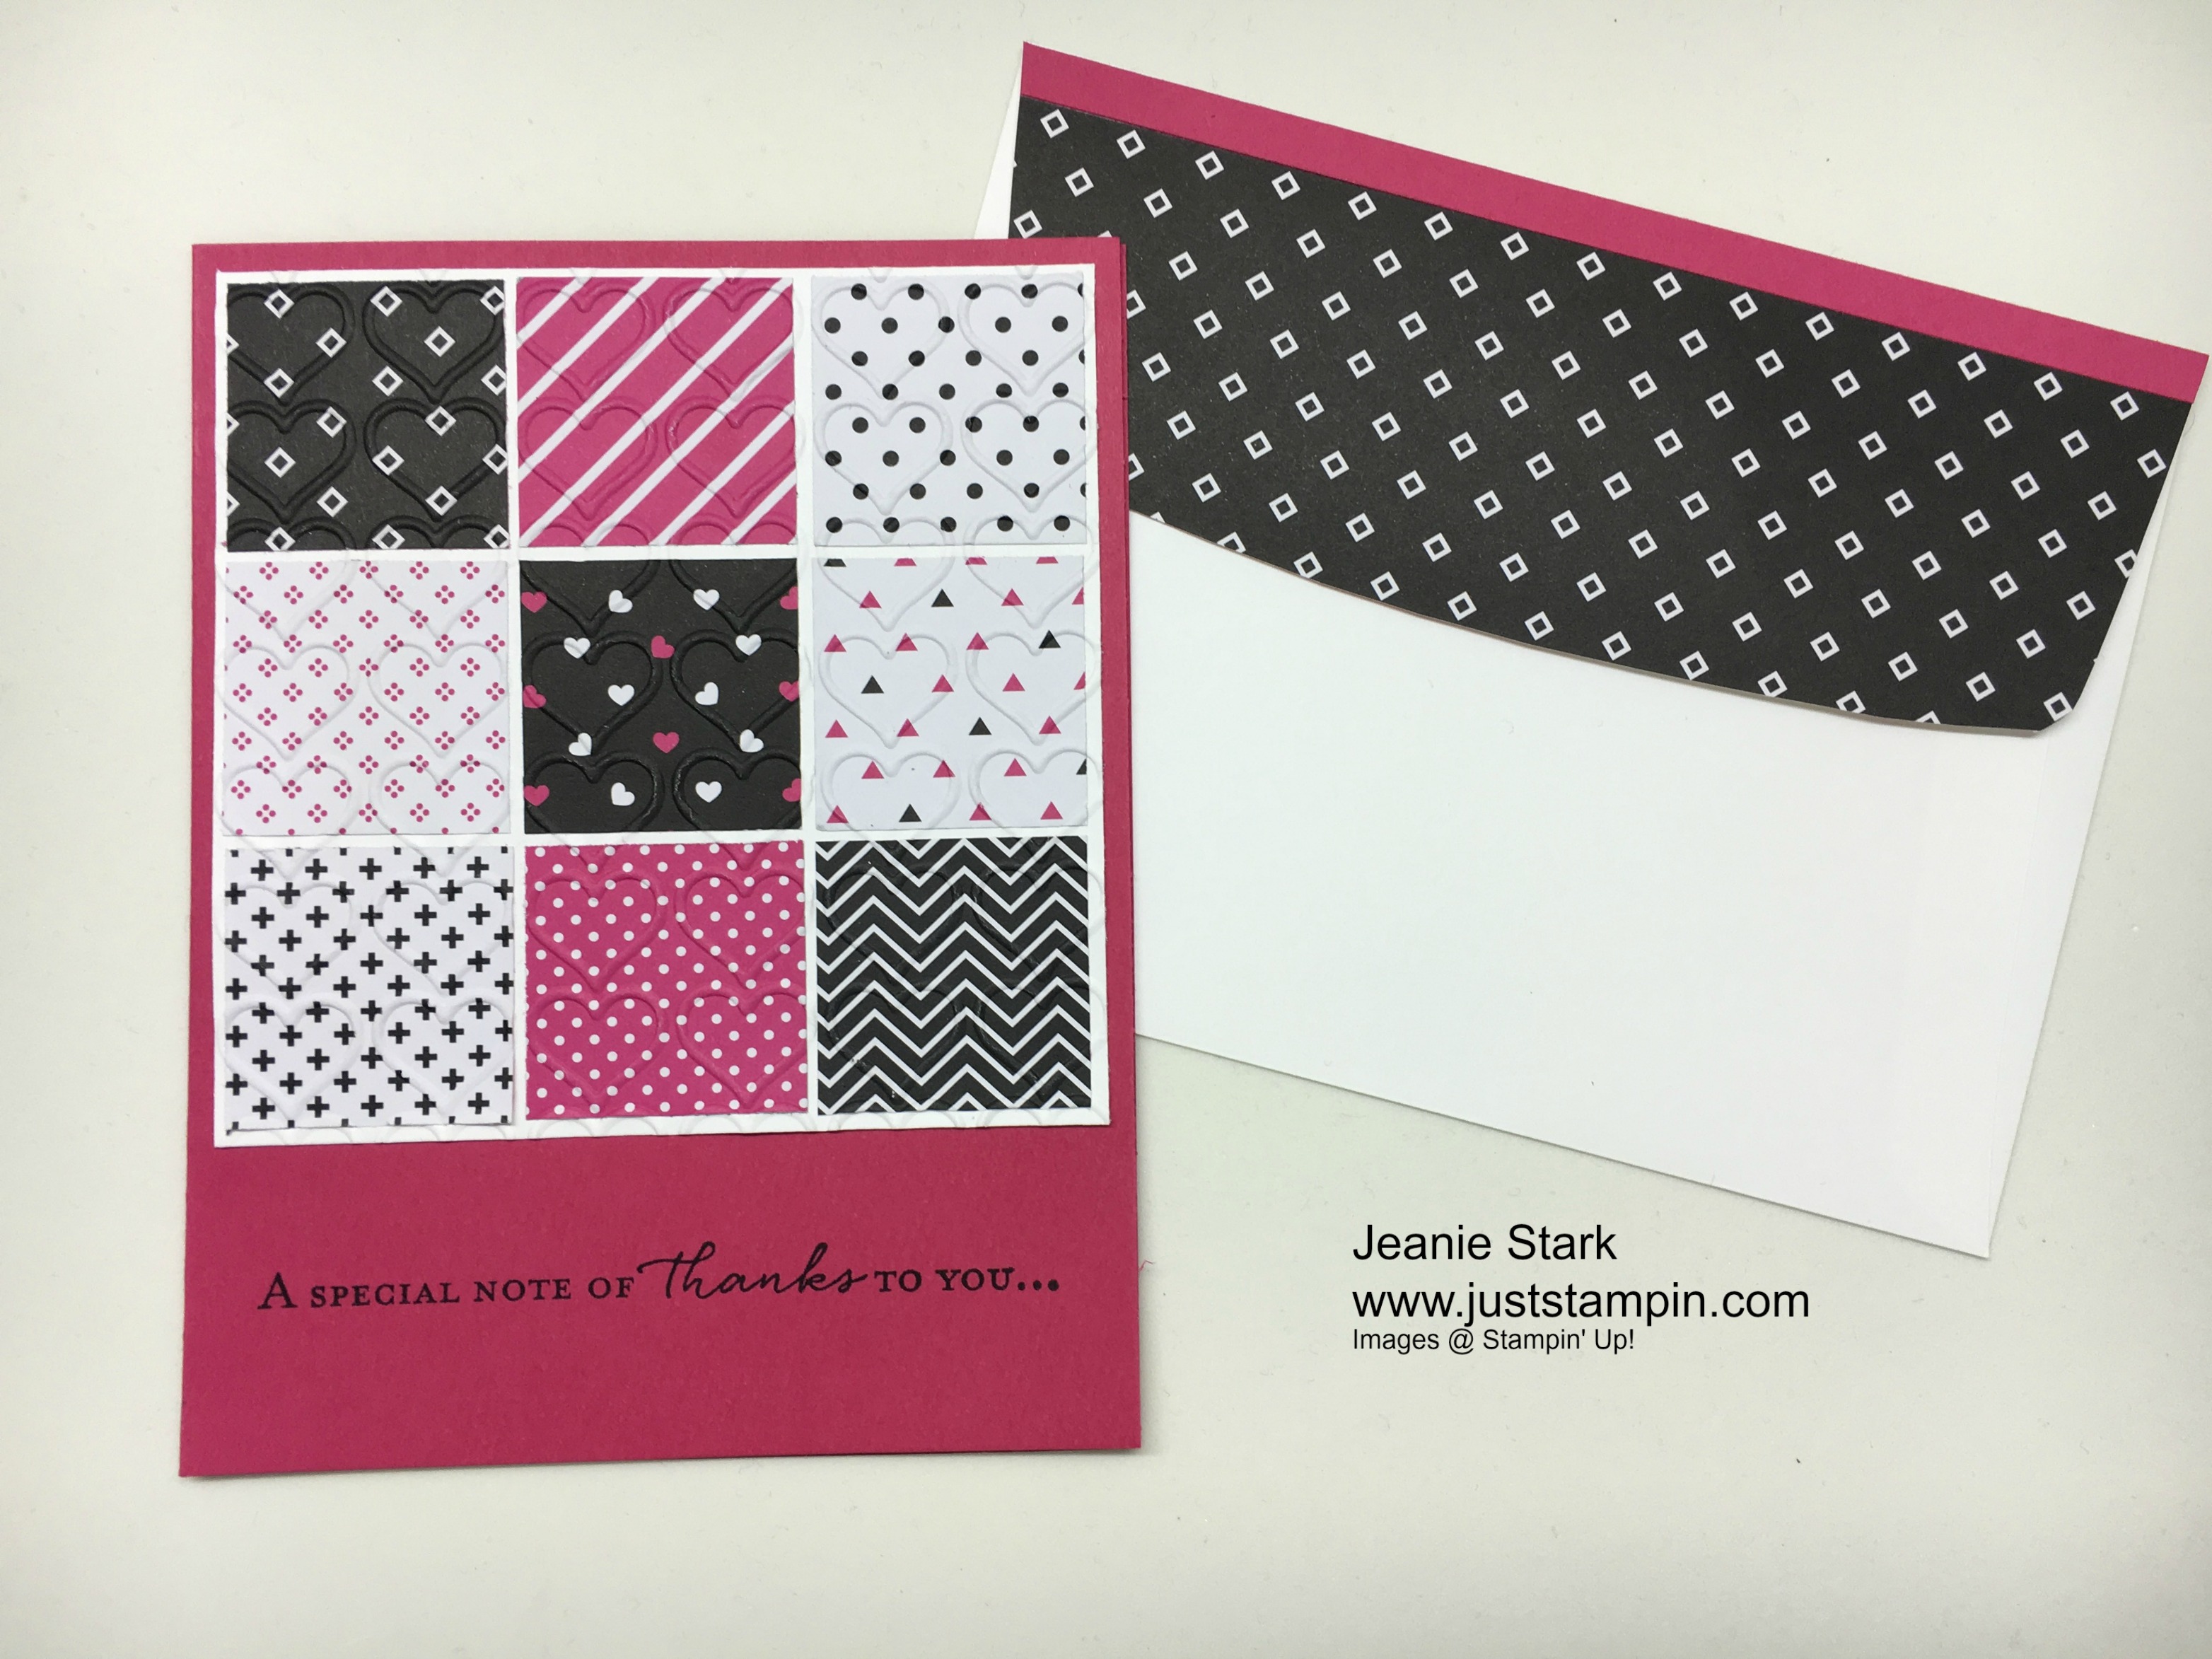
The top right card is the design that was intended with the kit. You can see how simple it is to change it up. I usually don’t stamp the inside of my cards until I’m giving them out as I try to choose a card that’s special for each person. If you notice the bottom right card is the one my daughter gave to my husband for his birthday. You can see that post HERE. All I did was stamp “DAD” under the Just For You to personalize it before she gave it to him. The kit comes with the washi tape, sequins, mini clips, twine, and everything else you need to make the cards.
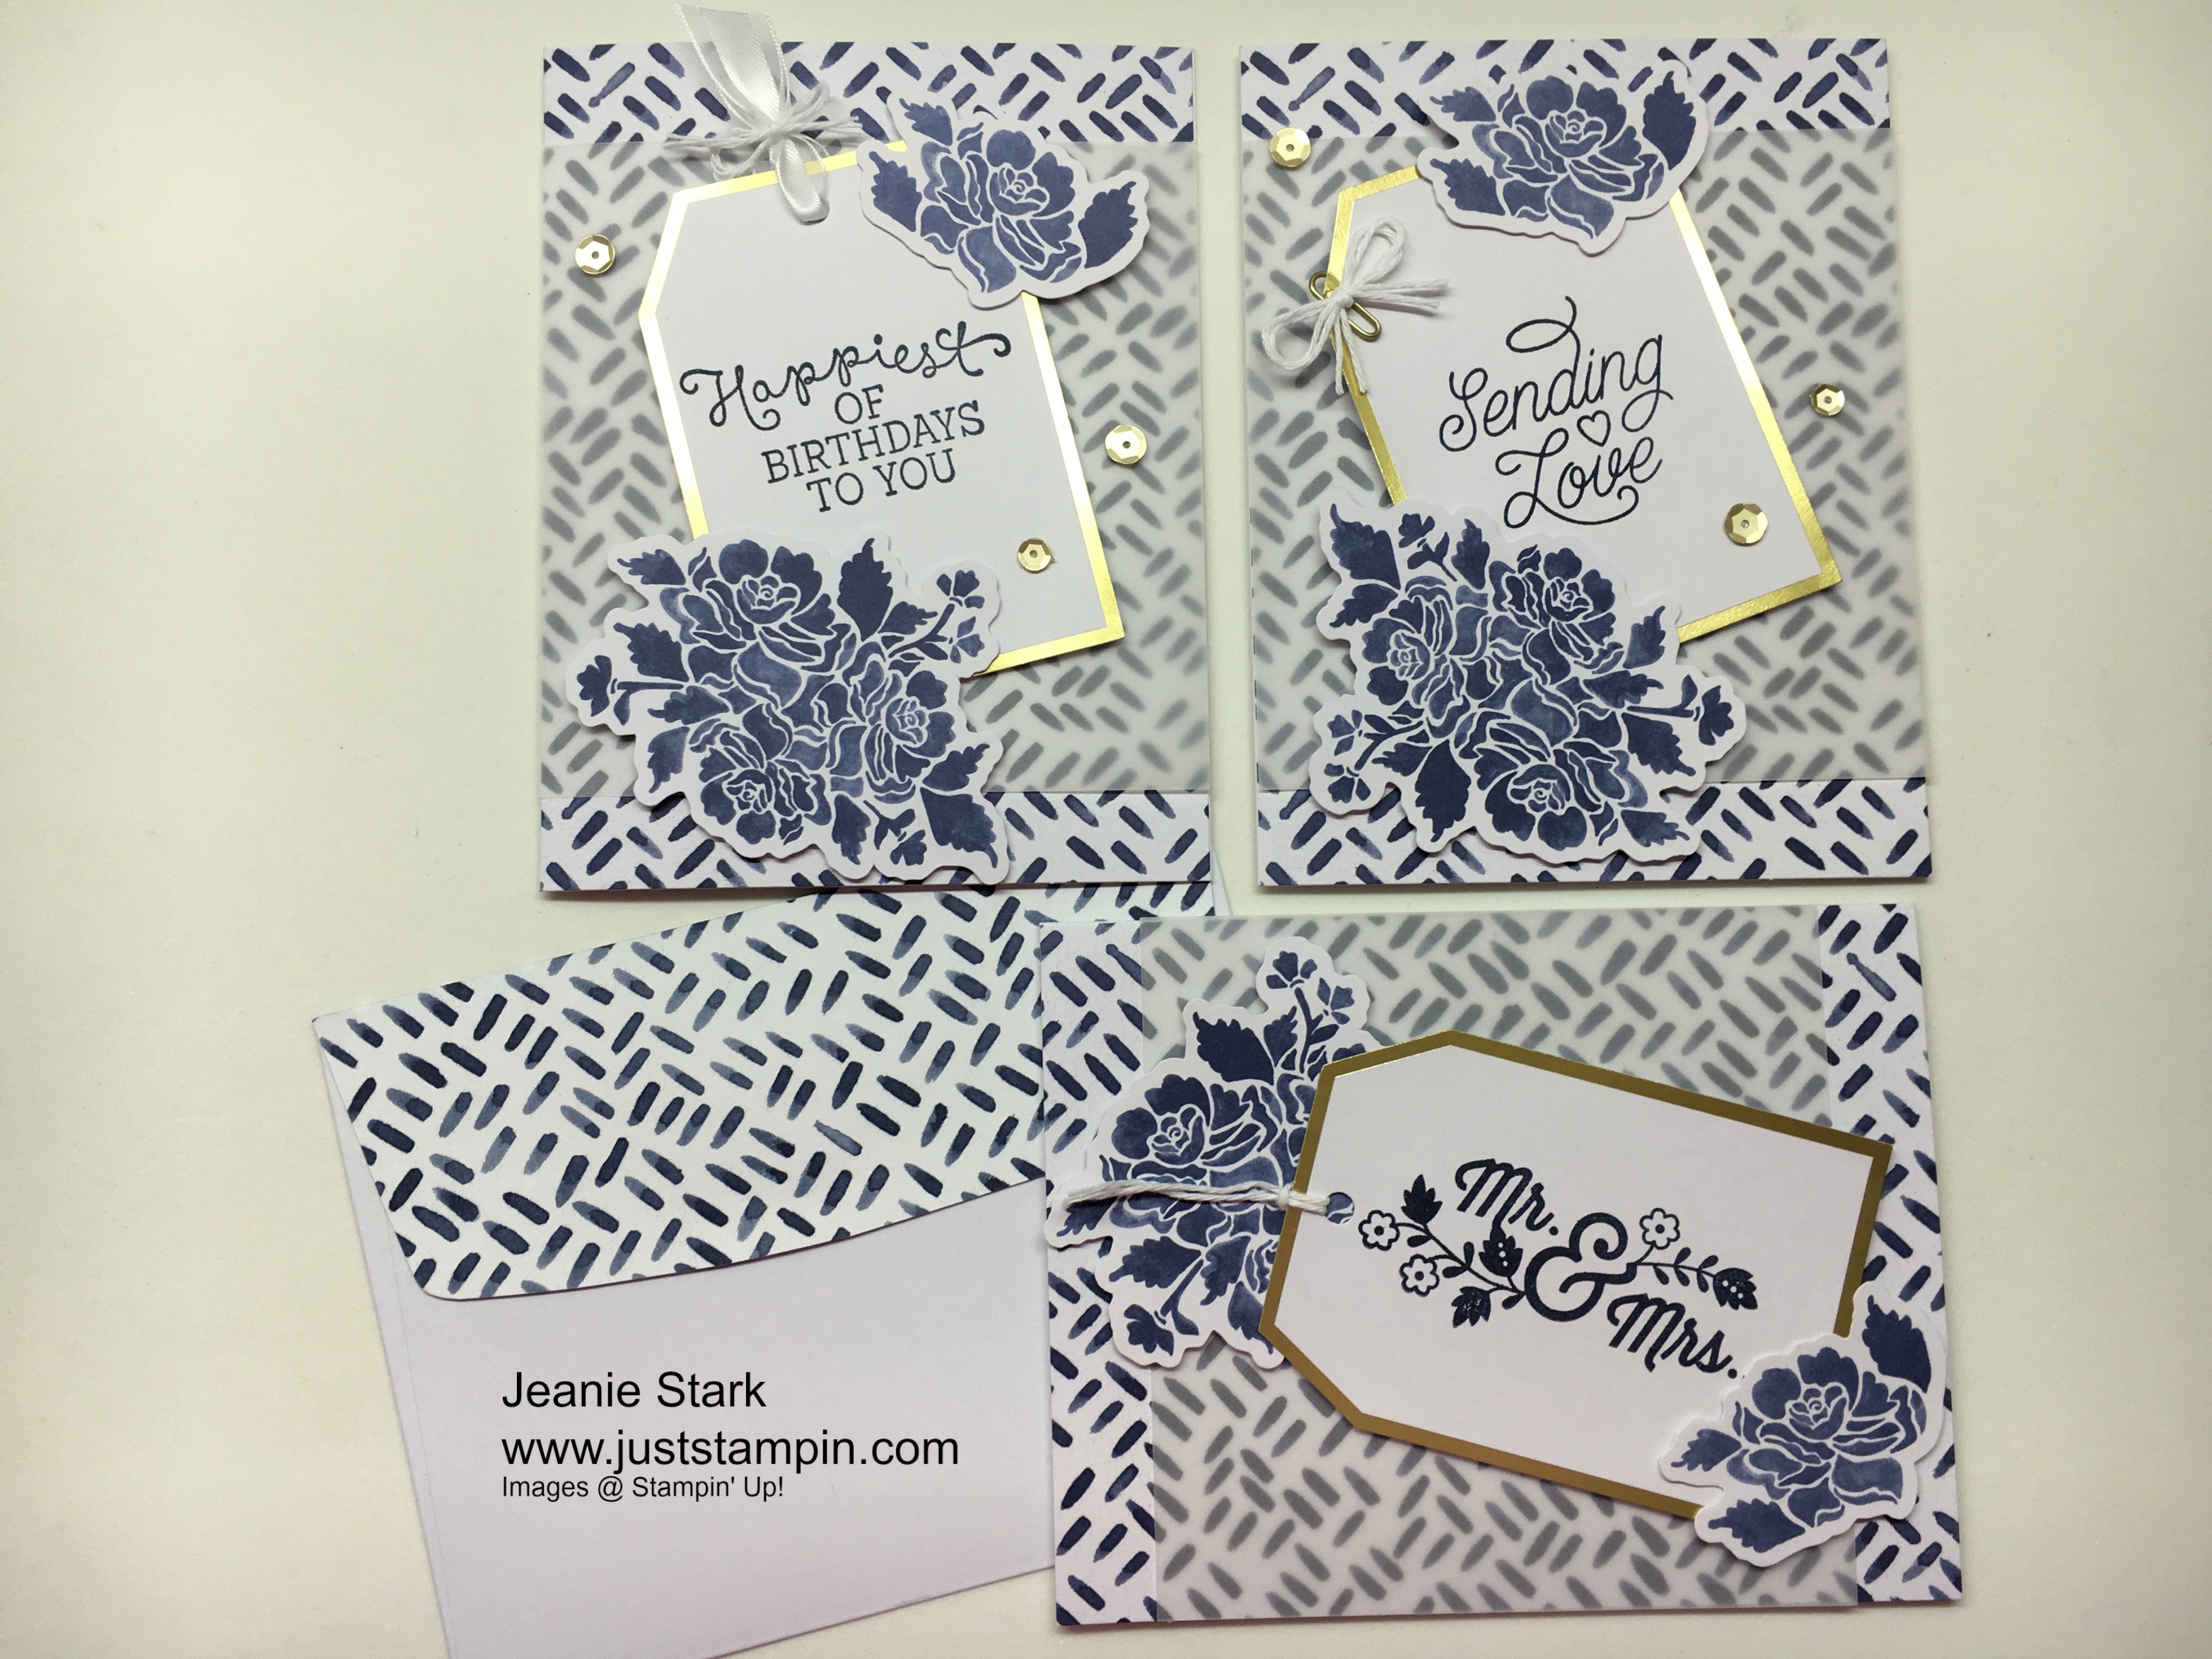
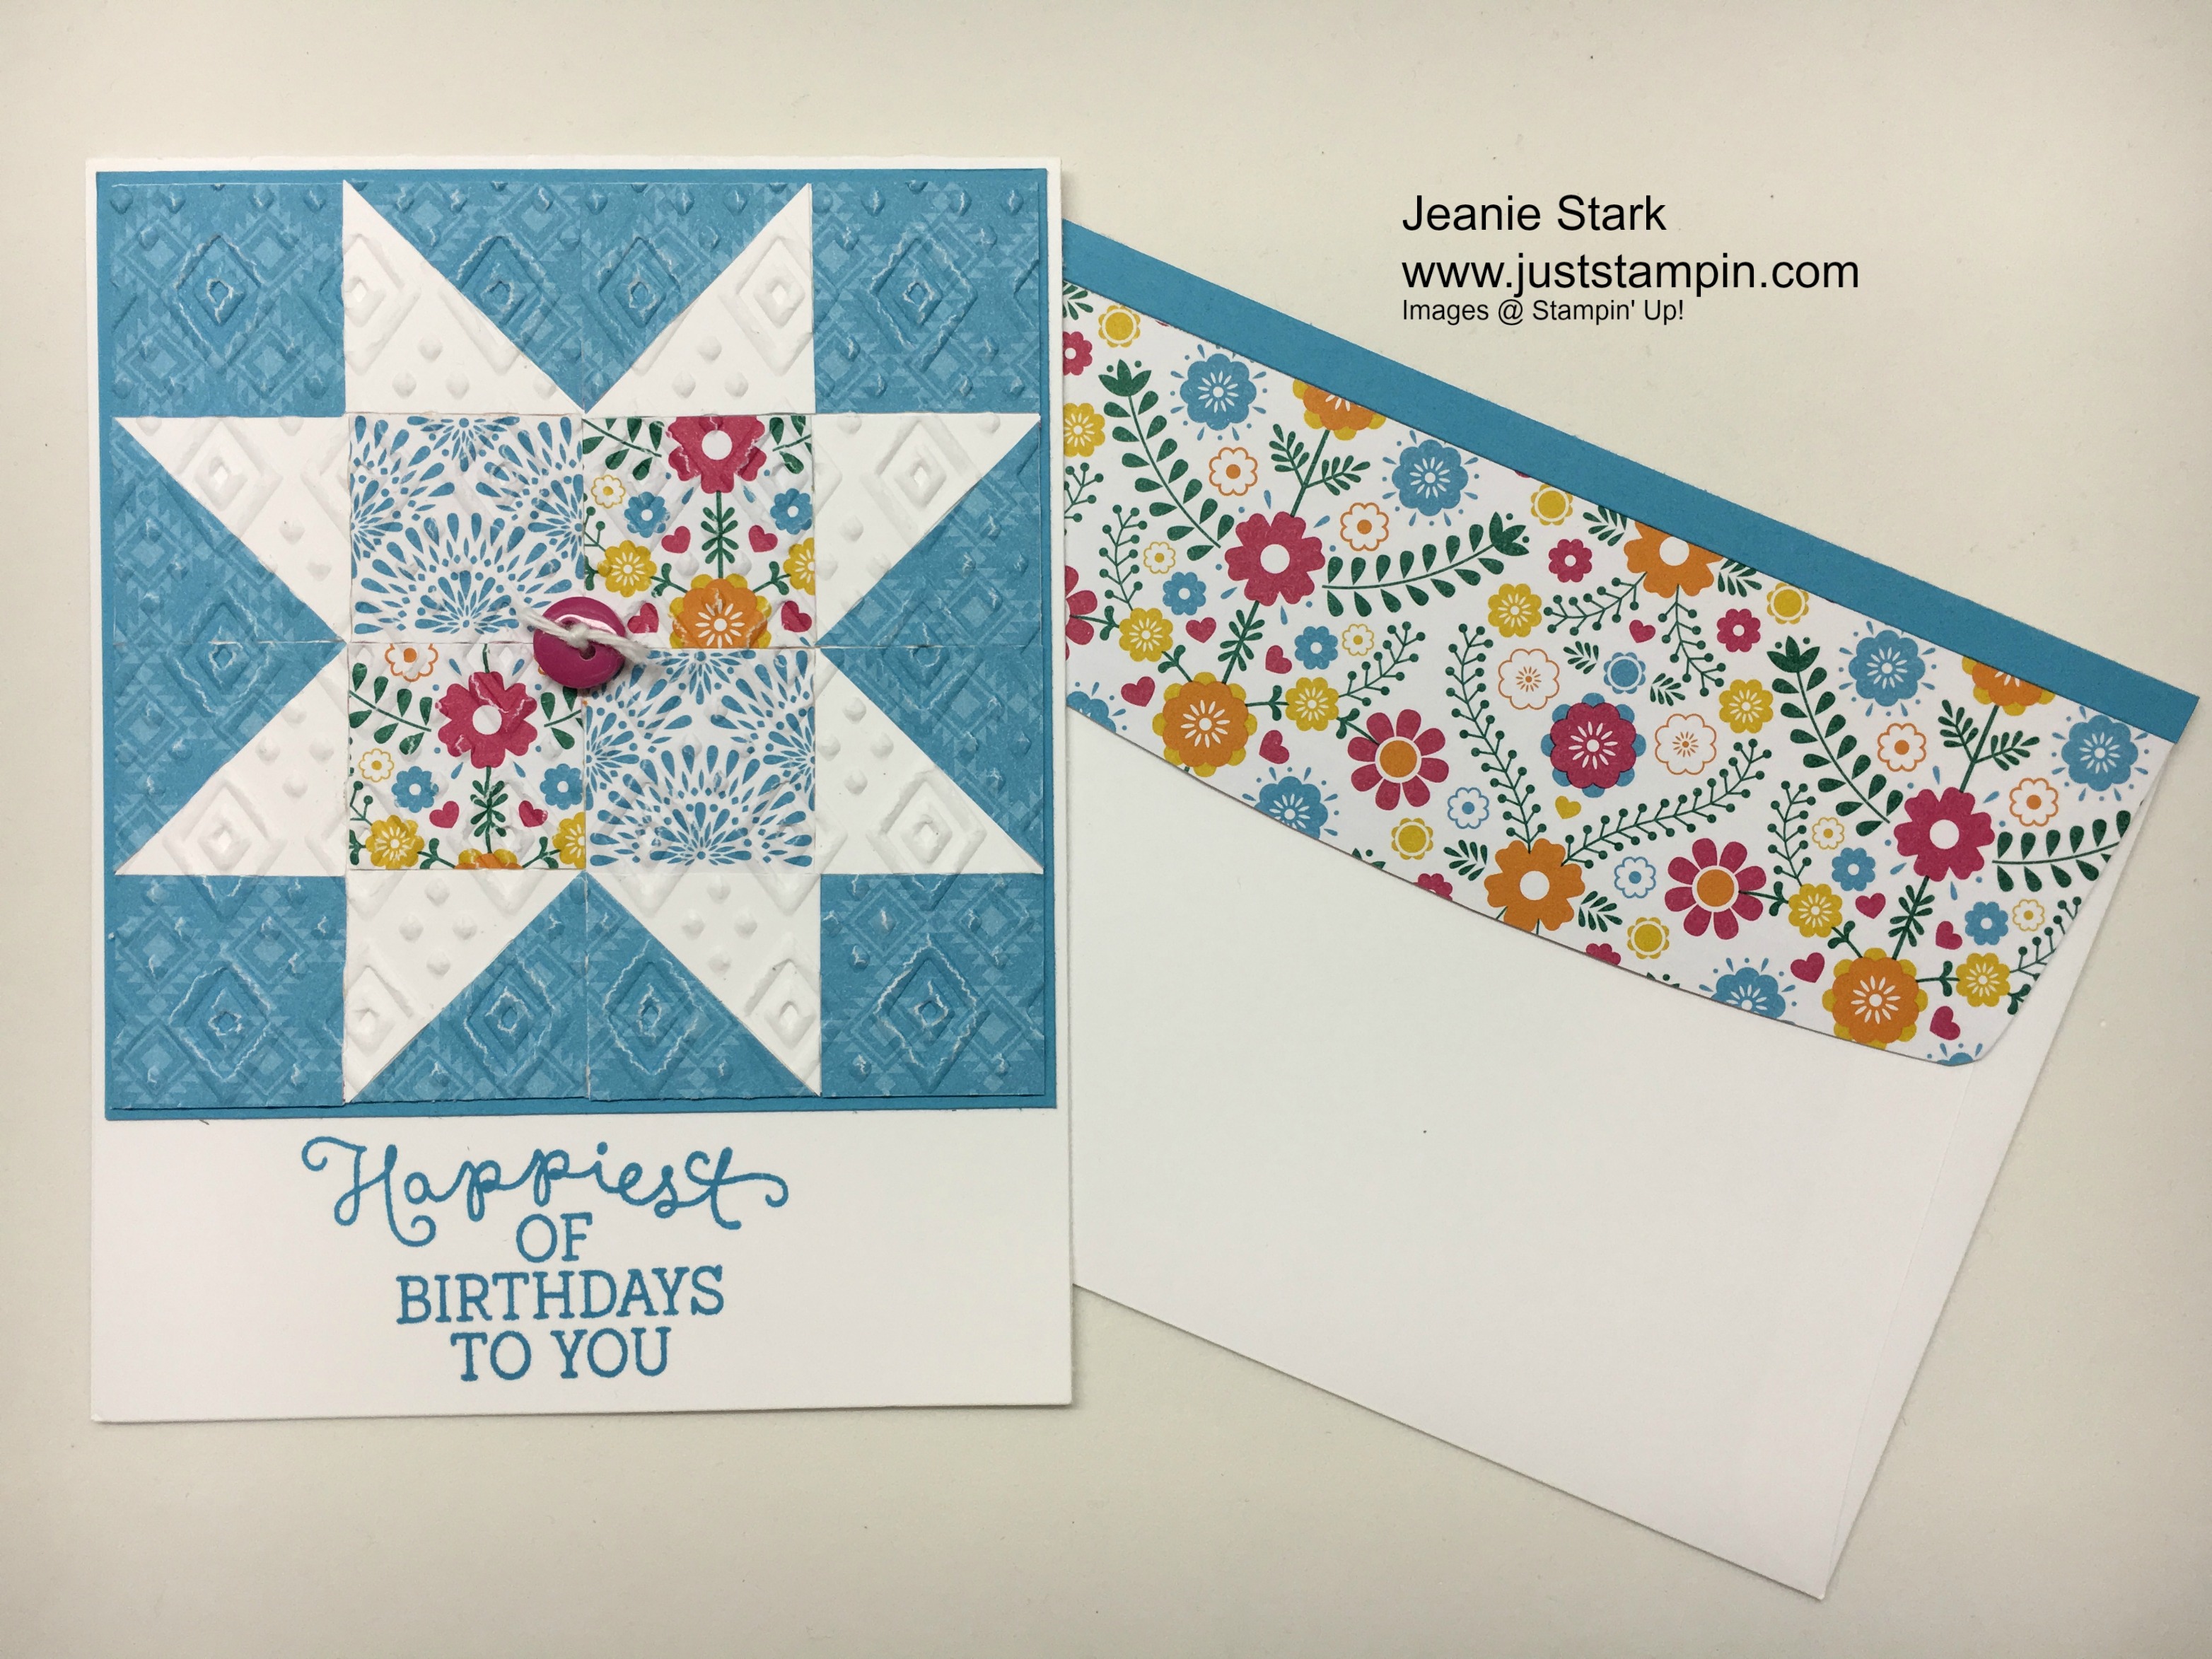
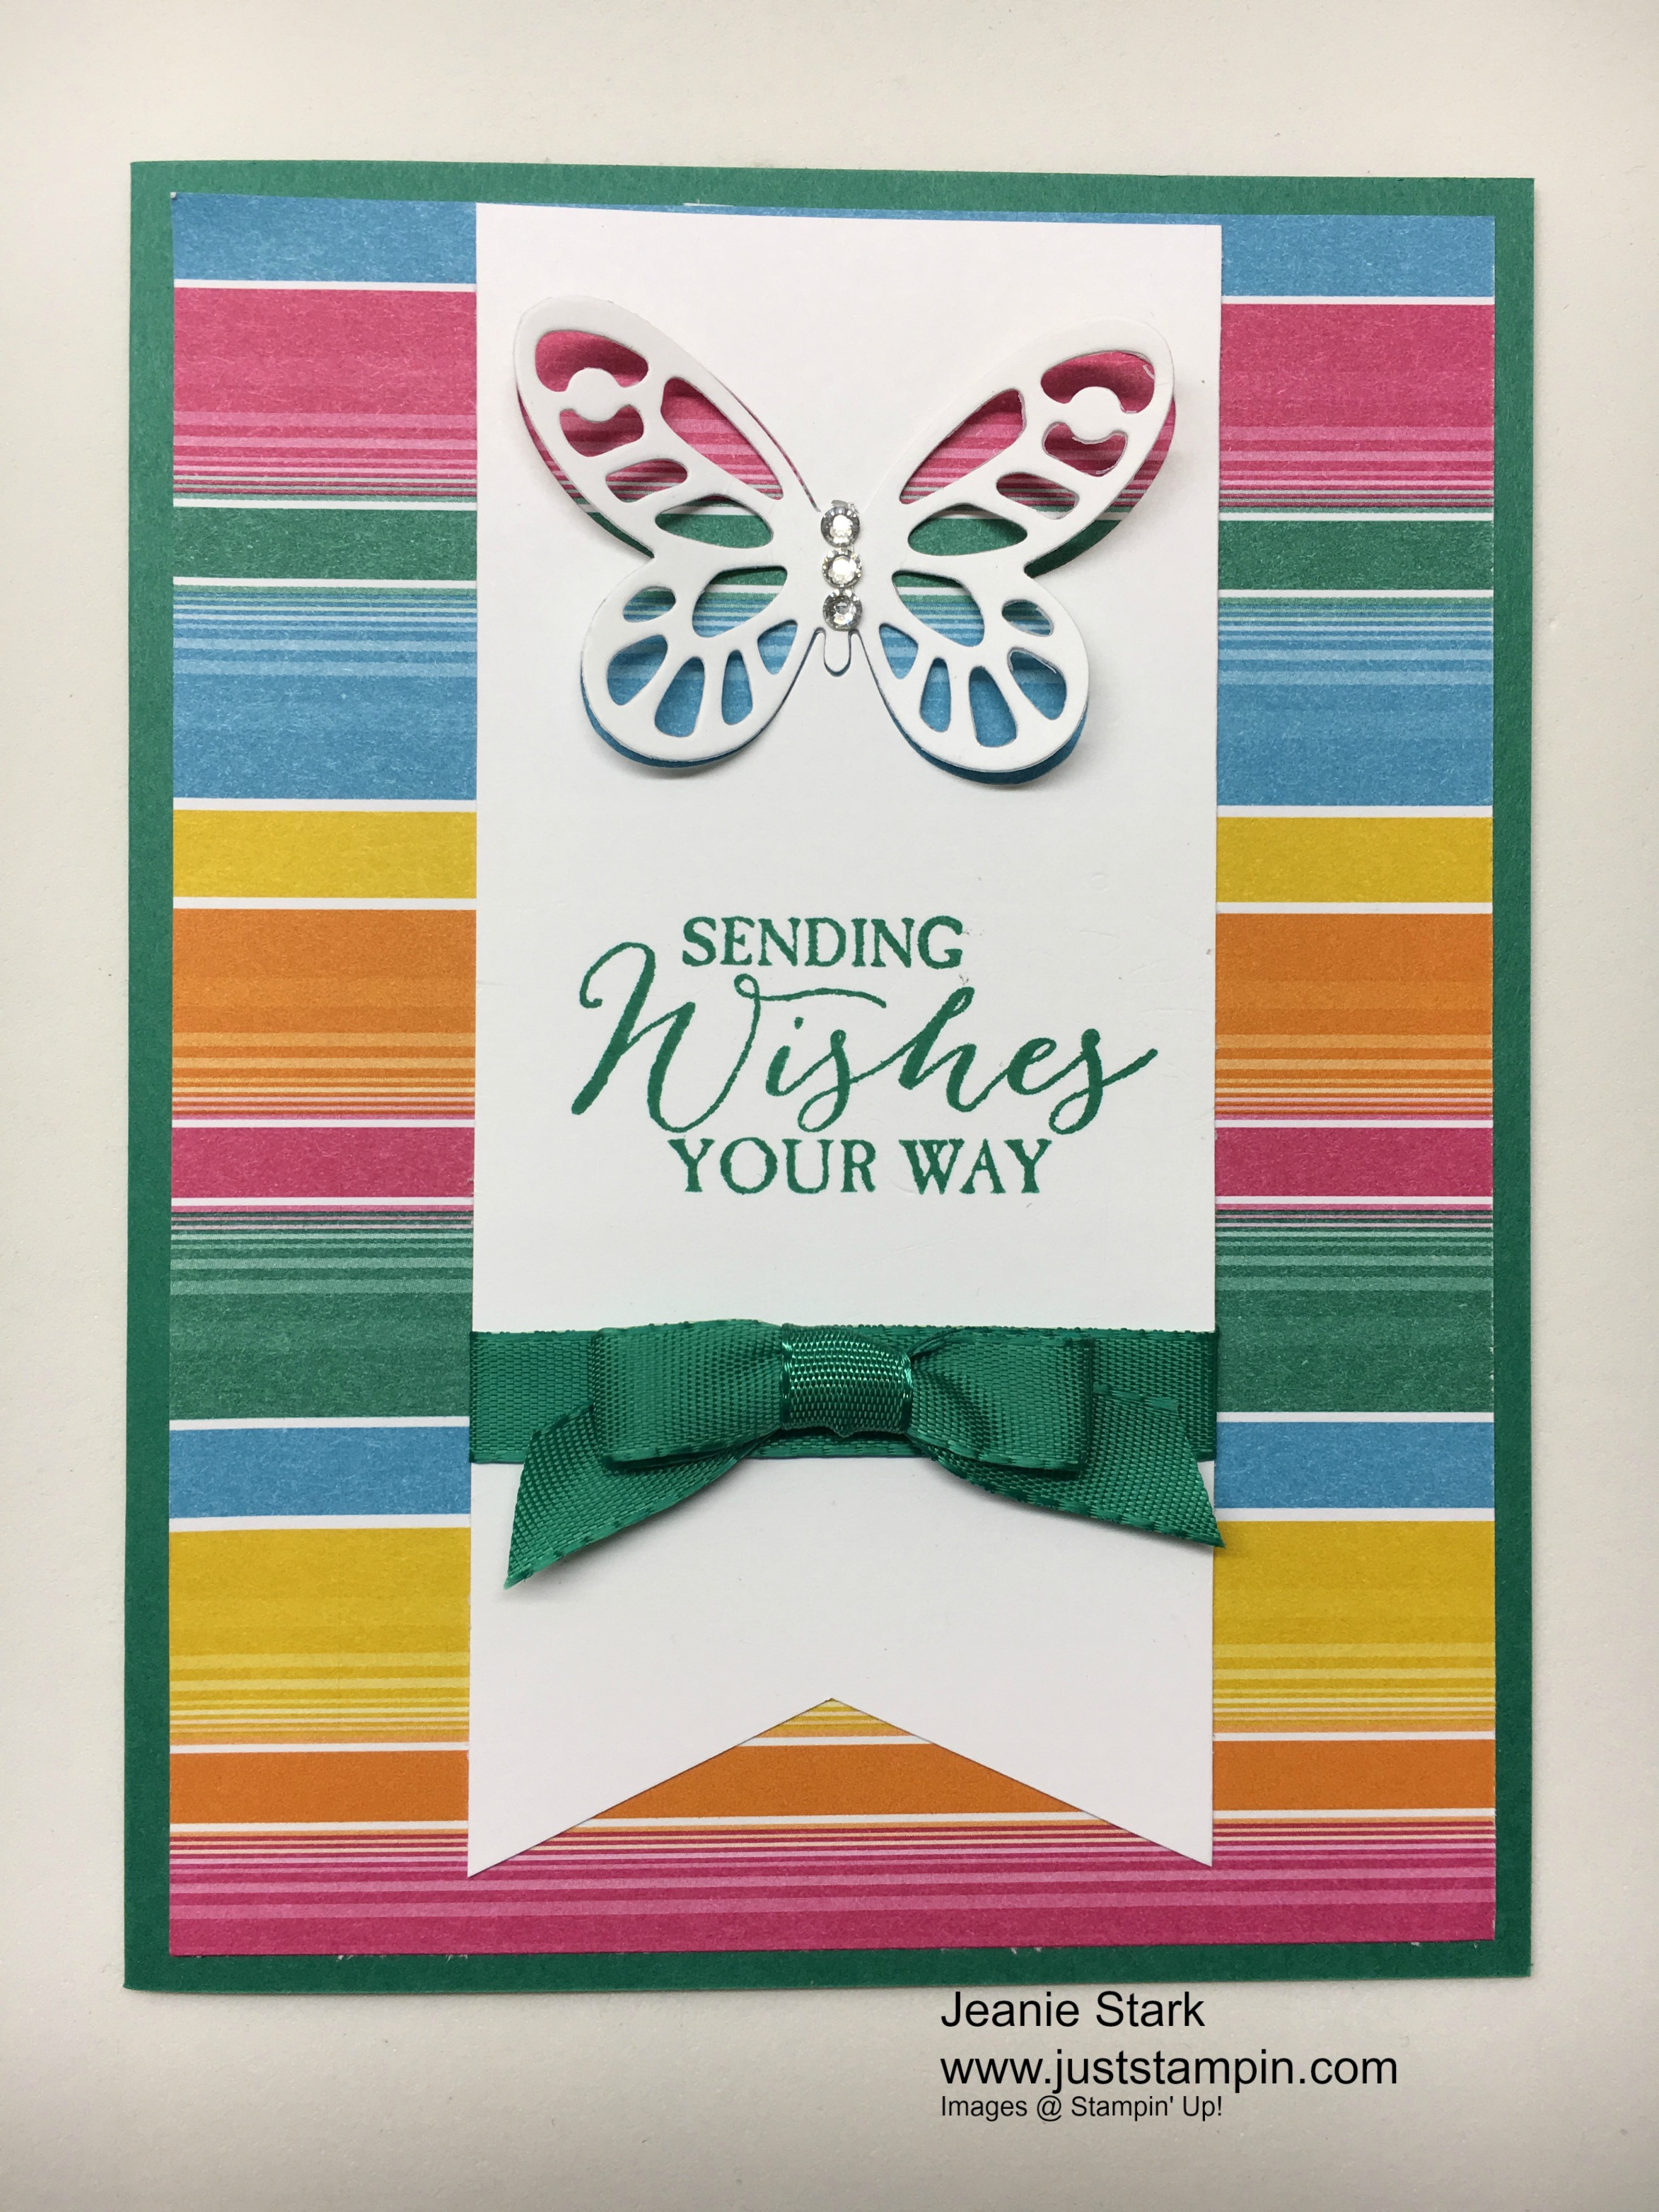
I love navy and white together. So clean and crisp! I thought this design would make a great wedding or anniversary card as well as birthday. The directions intend for the large floral die to peek out from under the sentiment but I thought it was just too pretty to hide behind so I layered it on top. The kit comes with color photos and step by step directions to make it easy to complete.

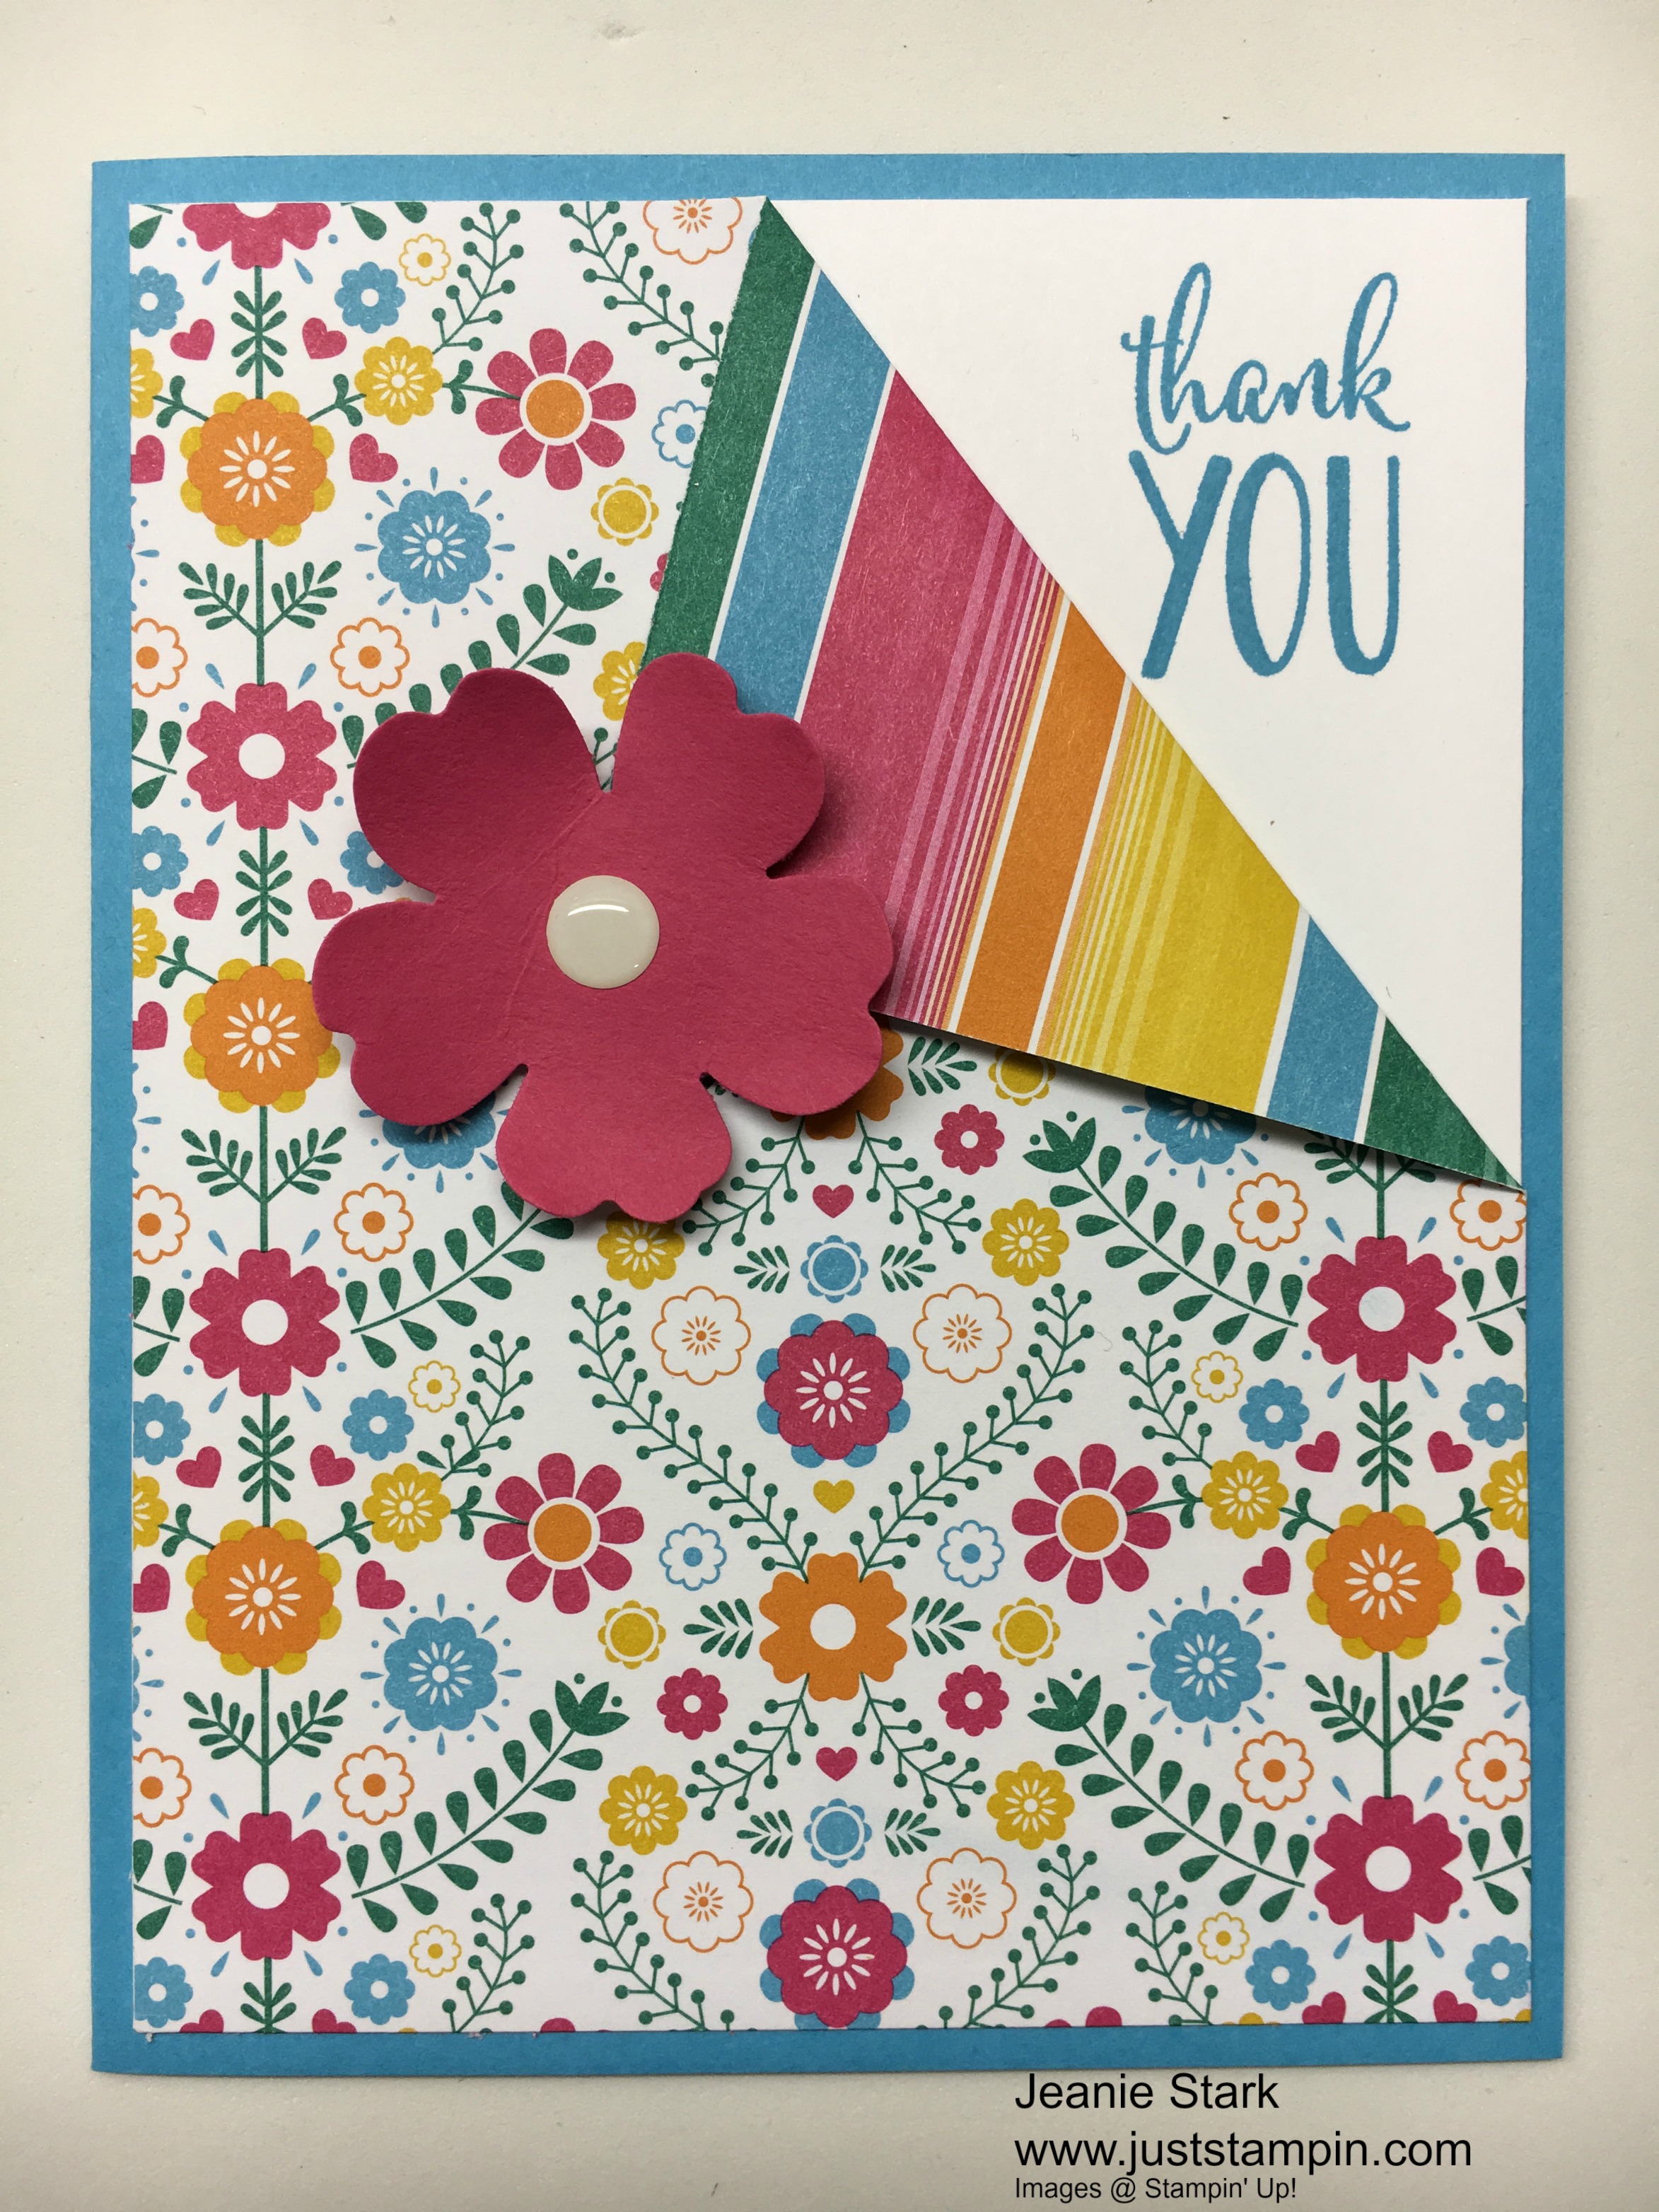
The top right card is the design from the kit. All I did for the one to the left is change the sentiment and offset the DSP behind the sentiment. The birthday card uses the leftover circle die from the Moroccan set above. (I stamped directly on the DSP.) Pinterest is a great source for alternative ideas. Once you get the kit in your hands and start playing with placement you’ll find even more ways to change it up!
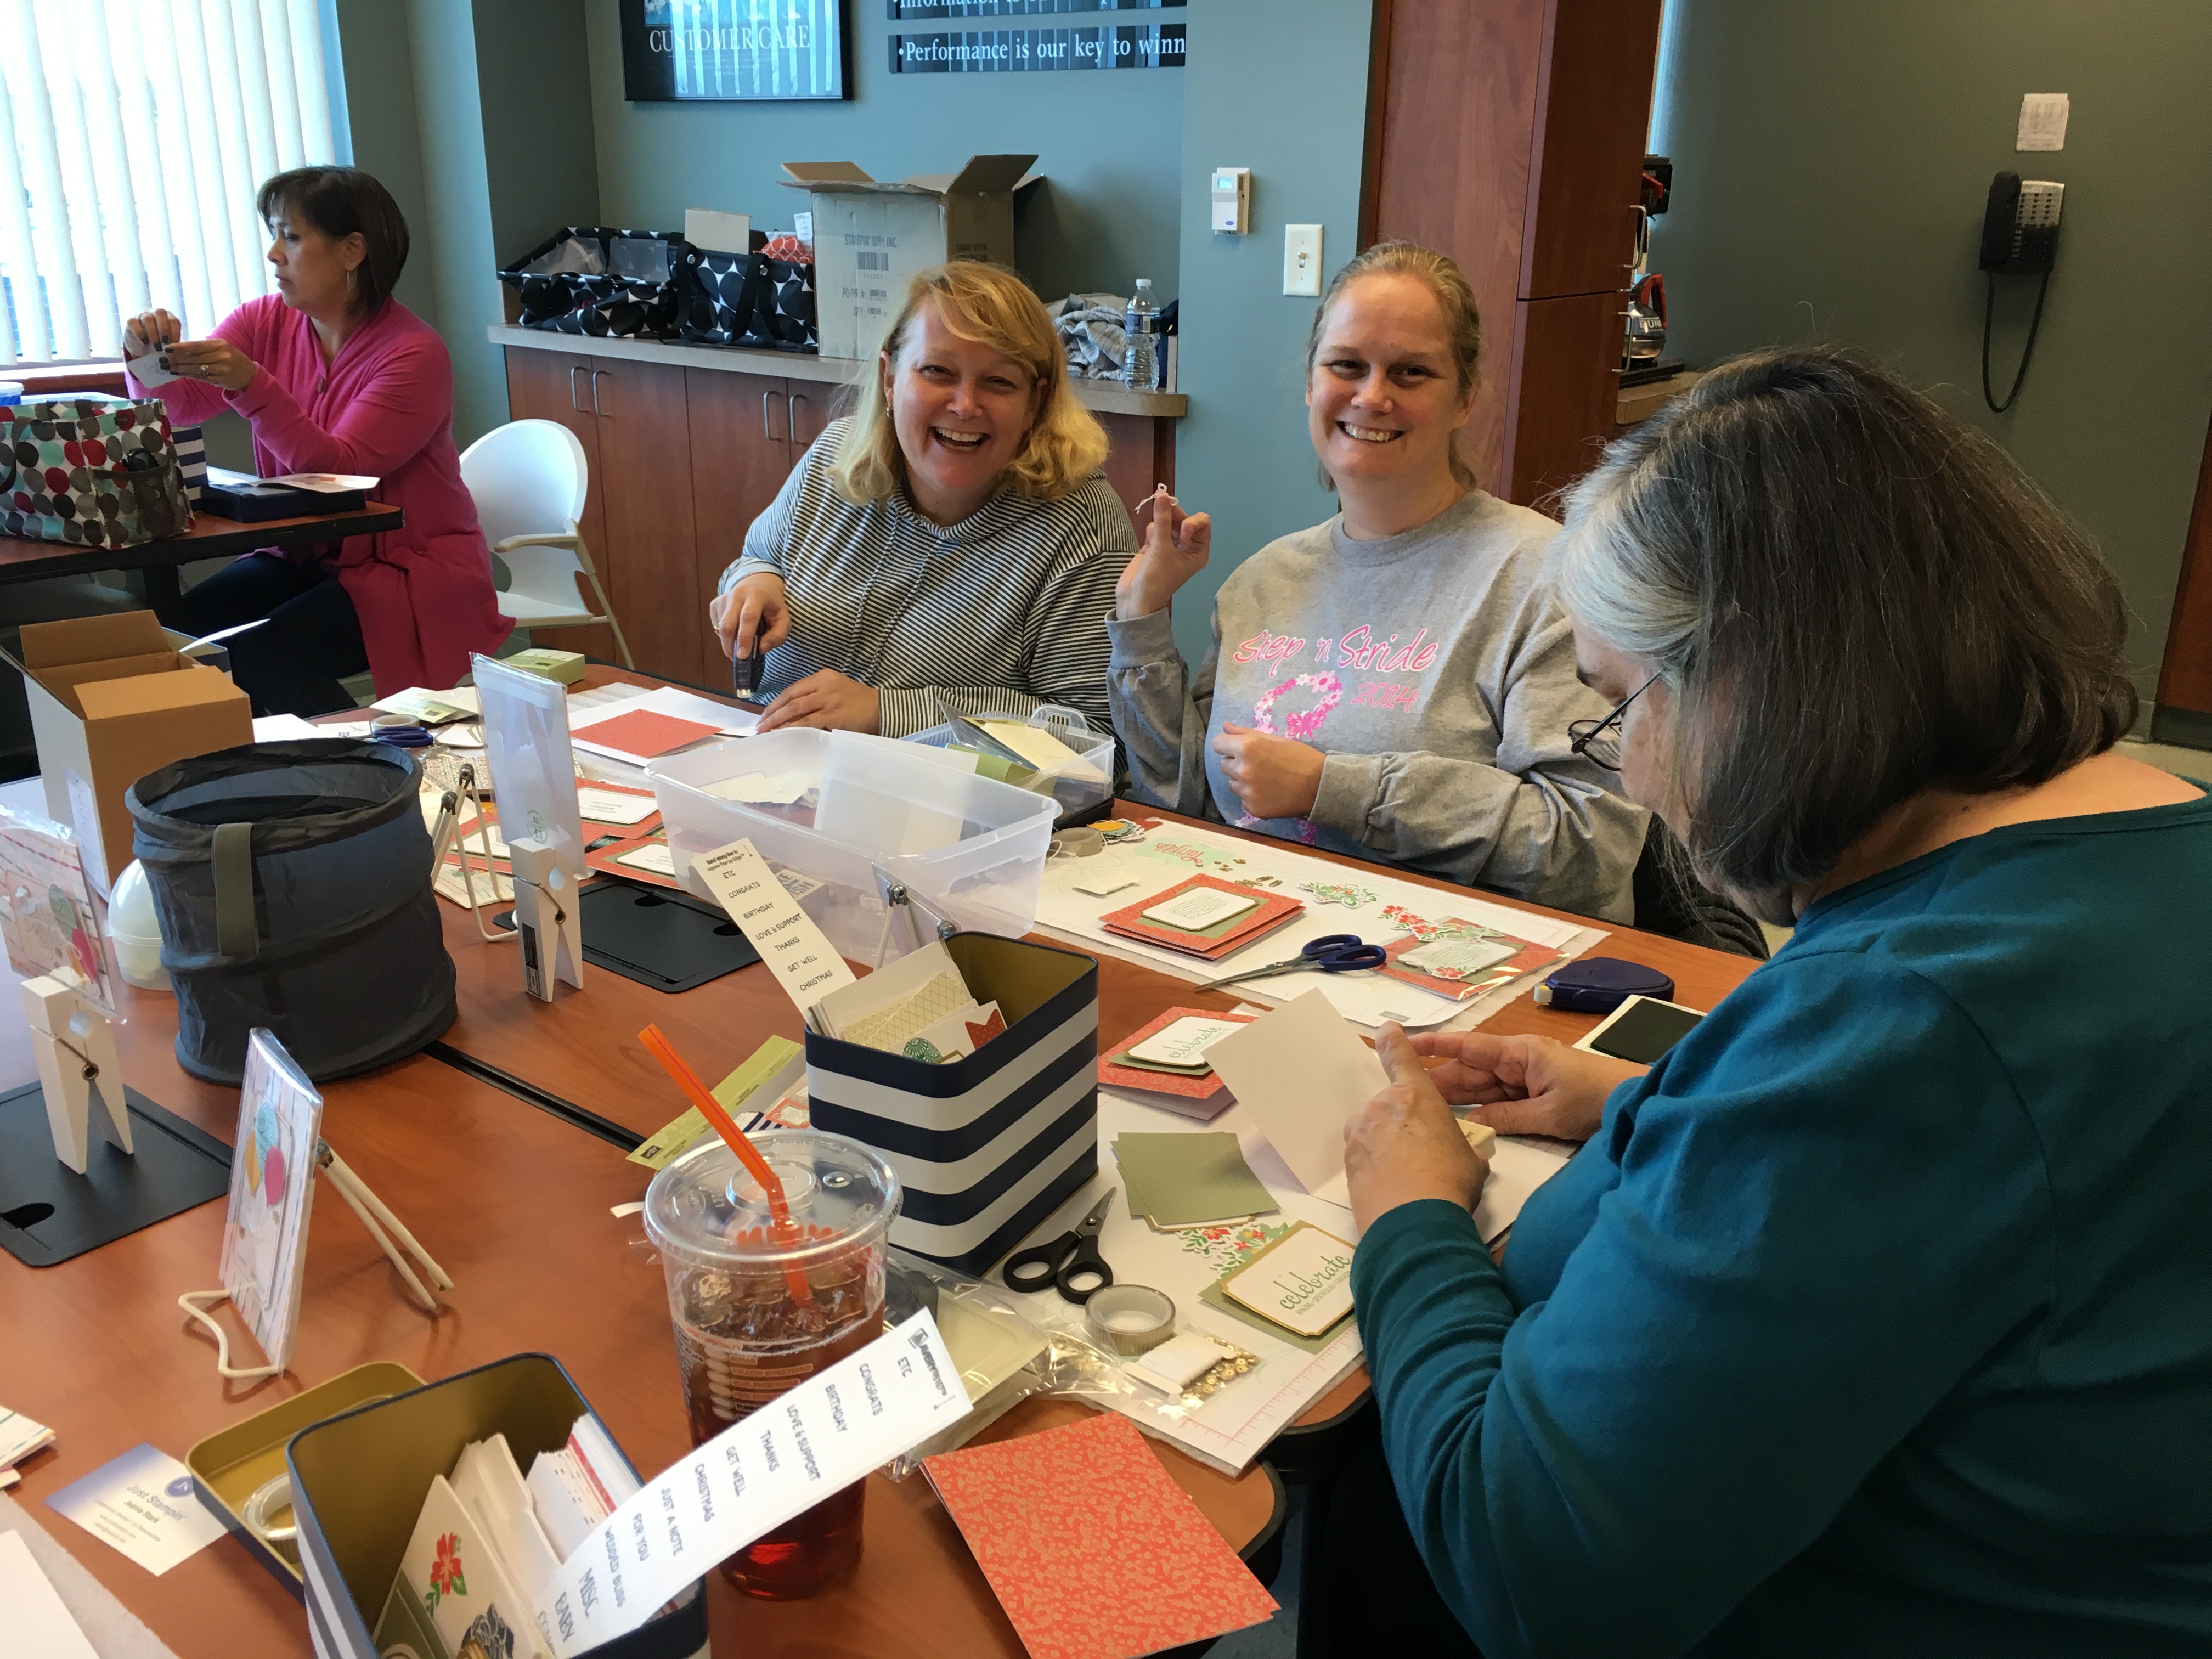
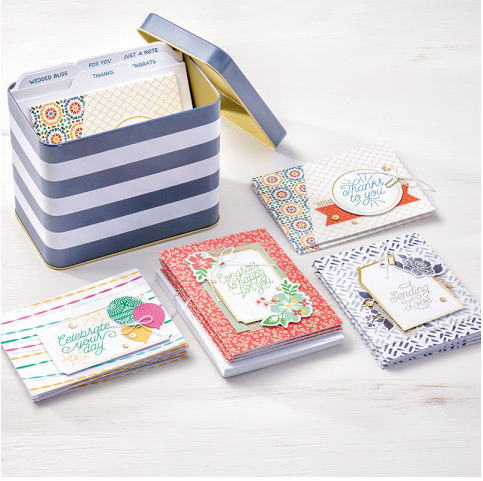
Here’s a Special Offer for you…If you purchase the Designer Tin of Cards Project Kit through my online store, I will send you a set of my stick on labels for the tin dividers, the extra ribbon I used, as well as the directions for the alternative ideas. If you purchase the Designer Tin of Cards Project Kit and Designer Tin of Cards photopolymer stamp set through my online store, I will send you the above PLUS the DSP to decorate your envelopes to match. This would be a great kit to birthday or Christmas gift for a friend or get a group of friends together and have your own fun afternoon! The kit makes 16 cards and includes the envelopes and beautiful tin with tab dividers! Check out the photos below from my local get together.


Click HERE to purchase your kit today. (Kit found on page 160 in the annual catalog.)
Designer Tin of Cards Project Kit (#141651 $27.00)
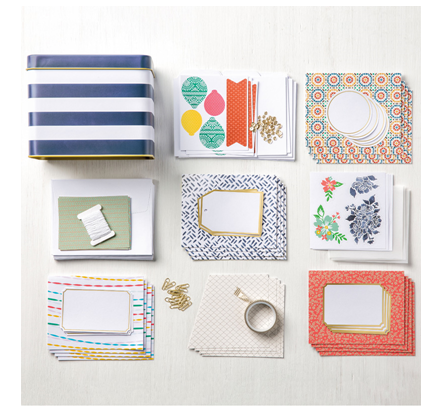
Designer Tin of Cards Photopolymer Stamp Set (#141739 $26.00)

Check out this video showcasing the Tin of Cards kit.
Have a wonderful day!
Just Stampin’
Jeanie