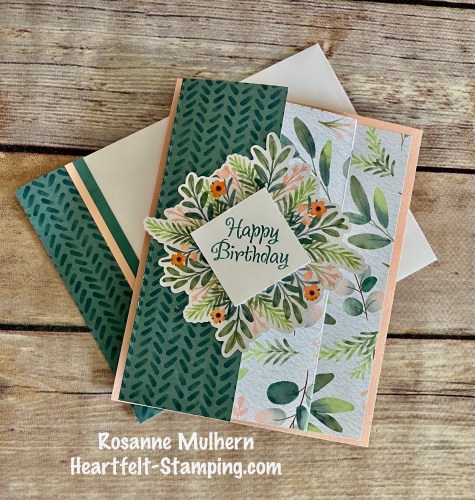
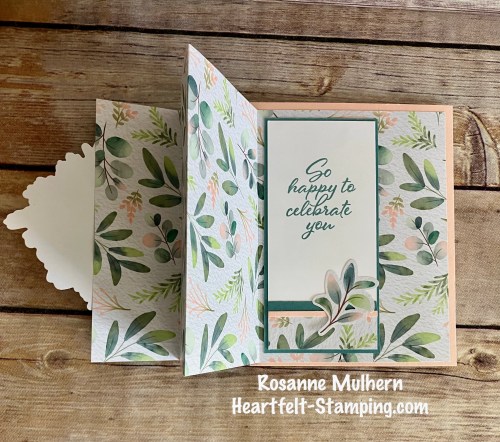
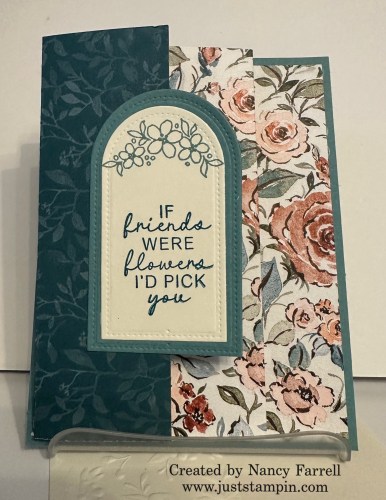
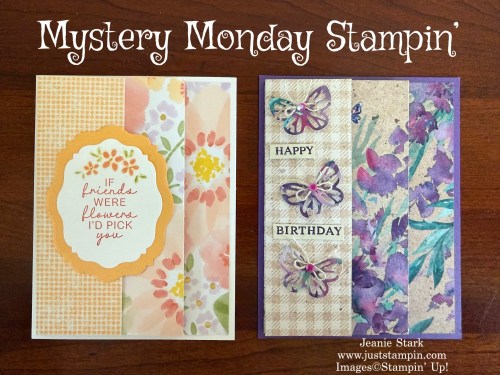
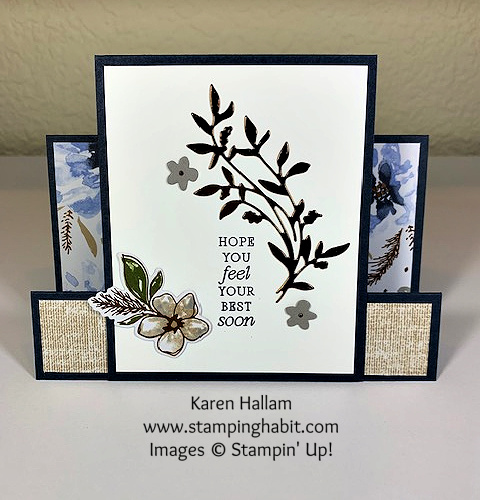
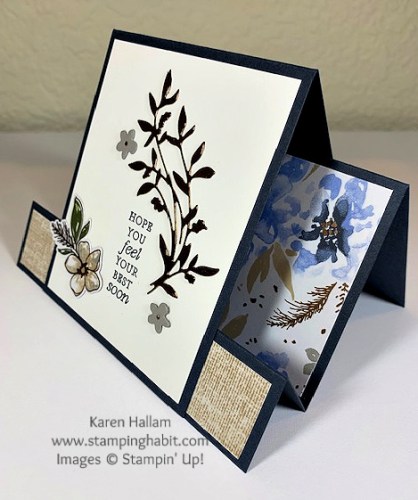
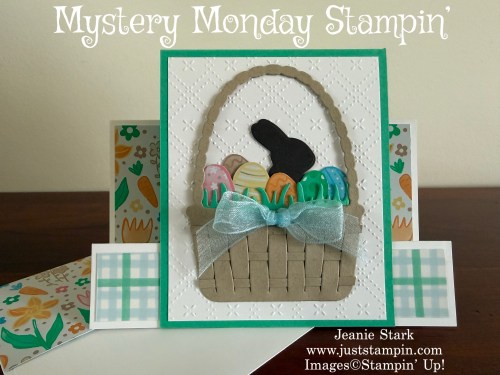
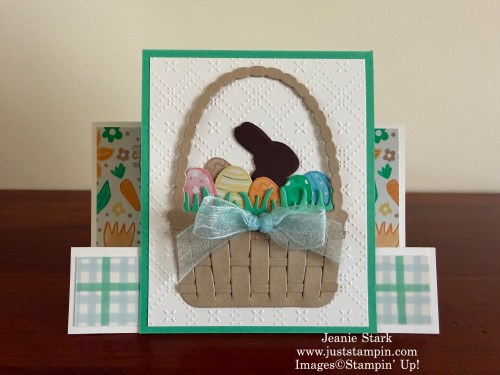
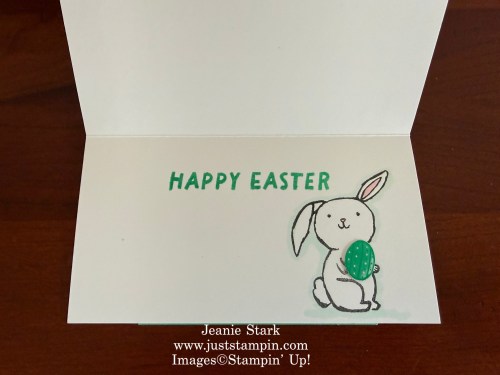
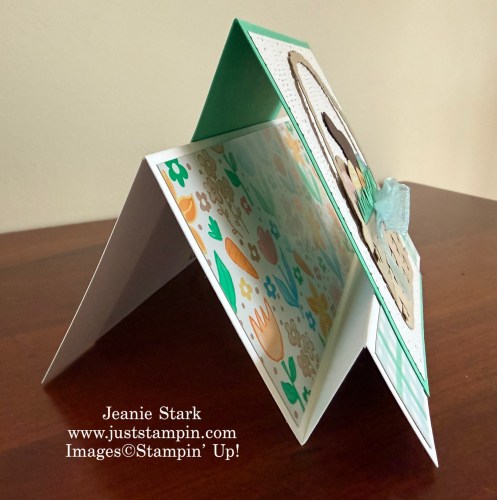
Welcome to my Sunday Showcase where I share the fun fold cards from my stamping friends. These Faux Step Cards were created by following my Mystery Monday Stampin‘ clues.
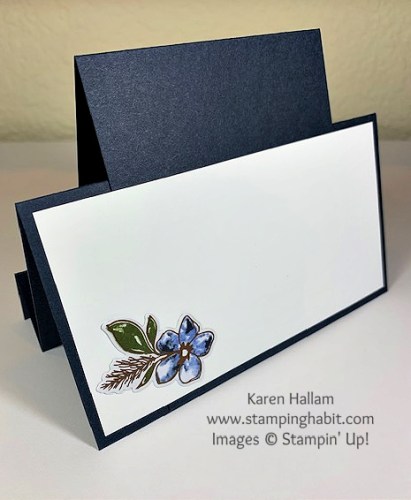
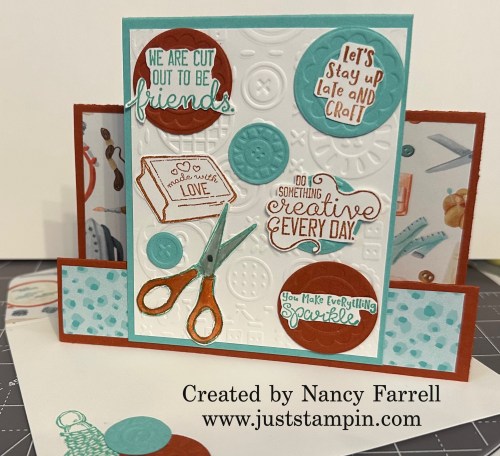
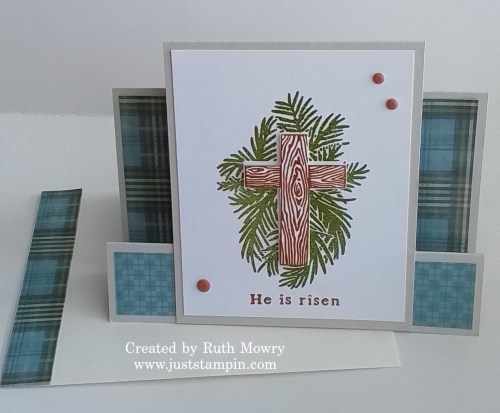
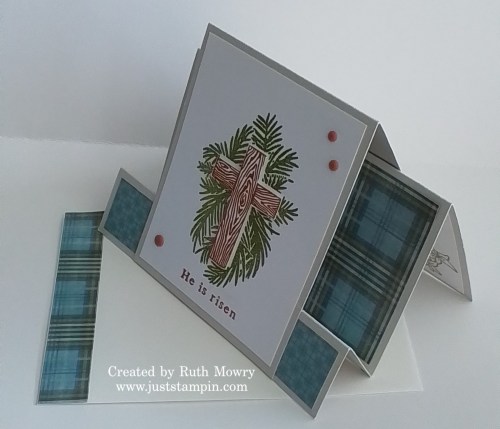
Many thanks to these ladies for sharing their creativity!!!
Are you ready to give this fun fold a try?
Click HERE for the Mystery Monday Stampin’ Clues
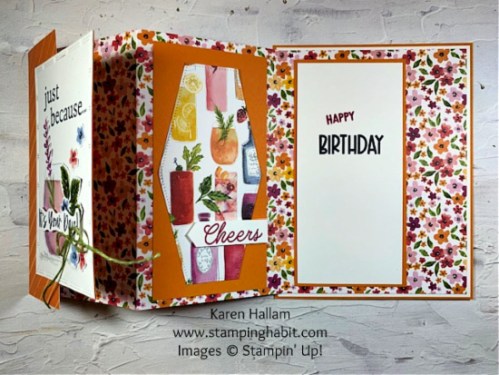
Click on the image below for more details on the Step Fold Card I created.
Below is a set of step fold cards I created several years ago.
Click on the image to view the original post.

I would love to have you join me for this week’s Mystery Monday Stampin’! It’s really fun and easy. I give you step by step clues to create a fun fold card. The best part is you USE WHAT YOU HAVE to create a handmade card! Whether you’re a beginner or a seasoned stamper, this is a creative way to kick off your week with stamping fun. You do not need a specific stamp set or paper. You already have what you love, so use it! You will find the first clue (the supplies and measurements) for this week’s challenge below.
CLUE #1 -Gather your supplies to be ready to play Mystery Monday Stampin’
- Cardstock – 4 1/4 x 11
- Cardstock (coordinating color)- 3 3/4 x 3 3/4, 2 @ 2 3/4 x 2 3/4
- Designer Series Paper- 6 x 6, 4 x 4, 1 x 4 *You will use/see both sides.
- Basic White Cardstock- 2 @ 2 1/2 x 2 1/2, extra for stamping
- Envelope
- Stamps
- Ink
- Adhesive
- Embellishments/Ribbon of choice (optional)
- Tools – Trimmer/Score Board, Bone Folder
- *Optional – coloring tools, die cut/punch, embossing folder, Cut & Emboss Machine
Check back tomorrow for the rest of the clues!
Have a great day! Thanks for stopping by!
Just Stampin’
Jeanie

My Just Stampin’ Rewards:
I appreciate each and every order! Here are the things you can expect when you place an online order with me:
- Shop and earn 10% back in Stampin’ Rewards on orders of $20 or more. Use them on your next order or save them up to 1 year for something special!
- All orders will receive a handmade thank you card from me.
(*You can choose to remove the sticky note inside and reuse the card.) - With a $50 order you will receive the Fun Fold PDF’s from my Mystery Stampin’ cards. *You will receive that month’s PDF’s on the first of the following month.
- With an order of $75 (or more) I will send you the PDF’s and thank you card as well as a card kit or Stampin’ Up Product of my choosing – this varies monthly.
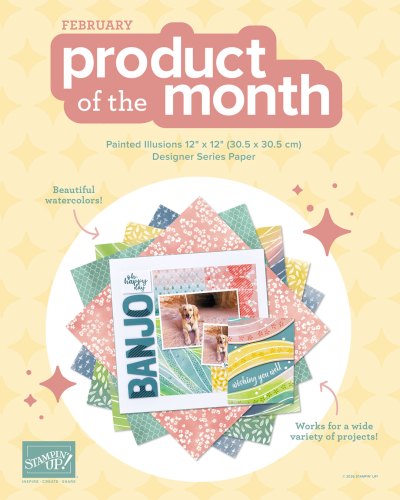
- Orders of $75 (or more) qualify for the Product of the Month! For just $5 you can add-on the New March Product of the Month or any of the previous Products of the Month. AWSL
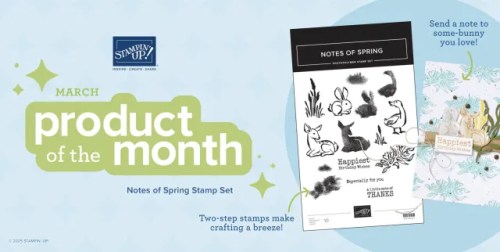
CLICK HERE FOR PRODUCT OF THE MONTH

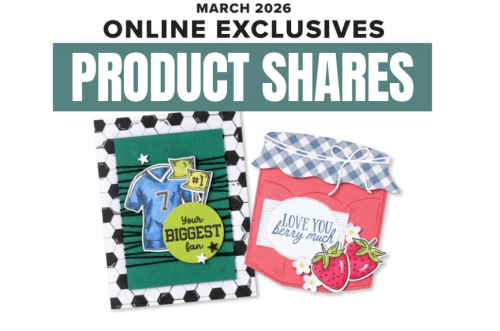
CLICK HERE TO VIEW CURRENT ONLINE EXCLUSIVES *NEW ITEMS!
CLICK HERE TO VIEW THE ONLINE MINI CATALOG
CLICK HERE TO SHOP STAMPIN’ UP!
CLICK HERE to SHOP LAST CHANCE PRODUCTS
Click HERE TO SHOP KITS COLLECTION *NEW Kits Added!
CLICK HERE TO SUBSCRIBE TO PAPER PUMPKIN
CLICK HERE TO VIEW MY TUTORIALS
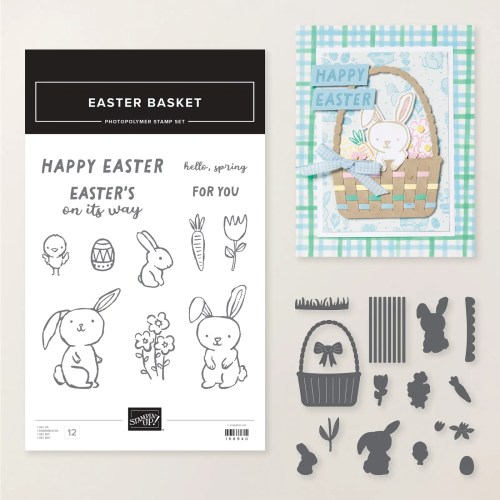


![Easter Basket Bundle (English) [ 166947 ]](https://assets1.tamsnetwork.com/images/EC042017NF/166947s.jpg "Easter Basket Bundle (English) [ 166947 ]")
![Easter Basket Photopolymer Stamp Set (English) [ 166940 ]](https://assets1.tamsnetwork.com/images/EC042017NF/166940s.jpg "Easter Basket Photopolymer Stamp Set (English) [ 166940 ]")
![Easter Basket Dies [ 166946 ]](https://assets1.tamsnetwork.com/images/EC042017NF/166946s.jpg "Easter Basket Dies [ 166946 ]")
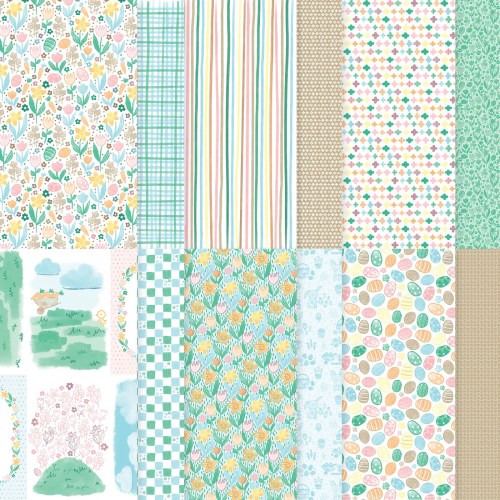
![Easter Joy 12" X 12" (30.5 X 30.5 Cm) Specialty Designer Series Paper [ 166939 ]](https://assets1.tamsnetwork.com/images/EC042017NF/166939s.jpg "Easter Joy 12\" X 12\" (30.5 X 30.5 Cm) Specialty Designer Series Paper [ 166939 ]")
![Basic White 12" X 12" (30.5 X 30.5 Cm) Thick Cardstock [ 166782 ]](https://assets1.tamsnetwork.com/images/EC042017NF/166782s.jpg "Basic White 12\" X 12\" (30.5 X 30.5 Cm) Thick Cardstock [ 166782 ]")
![Shy Shamrock 8 1/2" X 11" Cardstock [ 163795 ]](https://assets1.tamsnetwork.com/images/EC042017NF/163795s.jpg "Shy Shamrock 8 1/2\" X 11\" Cardstock [ 163795 ]")
![Shy Shamrock Classic Stampin Pad [ 163808 ]](https://assets1.tamsnetwork.com/images/EC042017NF/163808s.jpg "Shy Shamrock Classic Stampin Pad [ 163808 ]")
![Basic Gray Classic Stampin' Pad [ 149165 ]](https://assets1.tamsnetwork.com/images/EC042017NF/149165s.jpg "Basic Gray Classic Stampin' Pad [ 149165 ]")
![Pretty In Pink Stampin’ Blends Combo Pack [ 163824 ]](https://assets1.tamsnetwork.com/images/EC042017NF/163824s.jpg "Pretty In Pink Stampin’ Blends Combo Pack [ 163824 ]")
![Beautiful Pattern 3 D Embossing Folder [ 167097 ]](https://assets1.tamsnetwork.com/images/EC042017NF/167097s.jpg "Beautiful Pattern 3 D Embossing Folder [ 167097 ]")
![Balmy Blue 1/2" (1.3 Cm) Sheer Ribbon [ 165767 ]](https://assets1.tamsnetwork.com/images/EC042017NF/165767s.jpg "Balmy Blue 1/2\" (1.3 Cm) Sheer Ribbon [ 165767 ]")
![Basic White Medium Envelopes [ 159236 ]](https://assets1.tamsnetwork.com/images/EC042017NF/159236s.jpg "Basic White Medium Envelopes [ 159236 ]")
![Multipurpose Liquid Glue [ 110755 ]](https://assets1.tamsnetwork.com/images/EC042017NF/110755s.jpg "Multipurpose Liquid Glue [ 110755 ]")
![Mini Glue Dots [ 103683 ]](https://assets1.tamsnetwork.com/images/EC042017NF/103683s.jpg "Mini Glue Dots [ 103683 ]")
![Bone Folder [ 102300 ]](https://assets1.tamsnetwork.com/images/EC042017NF/102300s.jpg "Bone Folder [ 102300 ]")
![Paper Trimmer [ 152392 ]](https://assets1.tamsnetwork.com/images/EC042017NF/152392s.jpg "Paper Trimmer [ 152392 ]")
![Stampin' Cut & Emboss Machine [ 149653 ]](https://assets1.tamsnetwork.com/images/EC042017NF/149653s.jpg "Stampin' Cut & Emboss Machine [ 149653 ]")