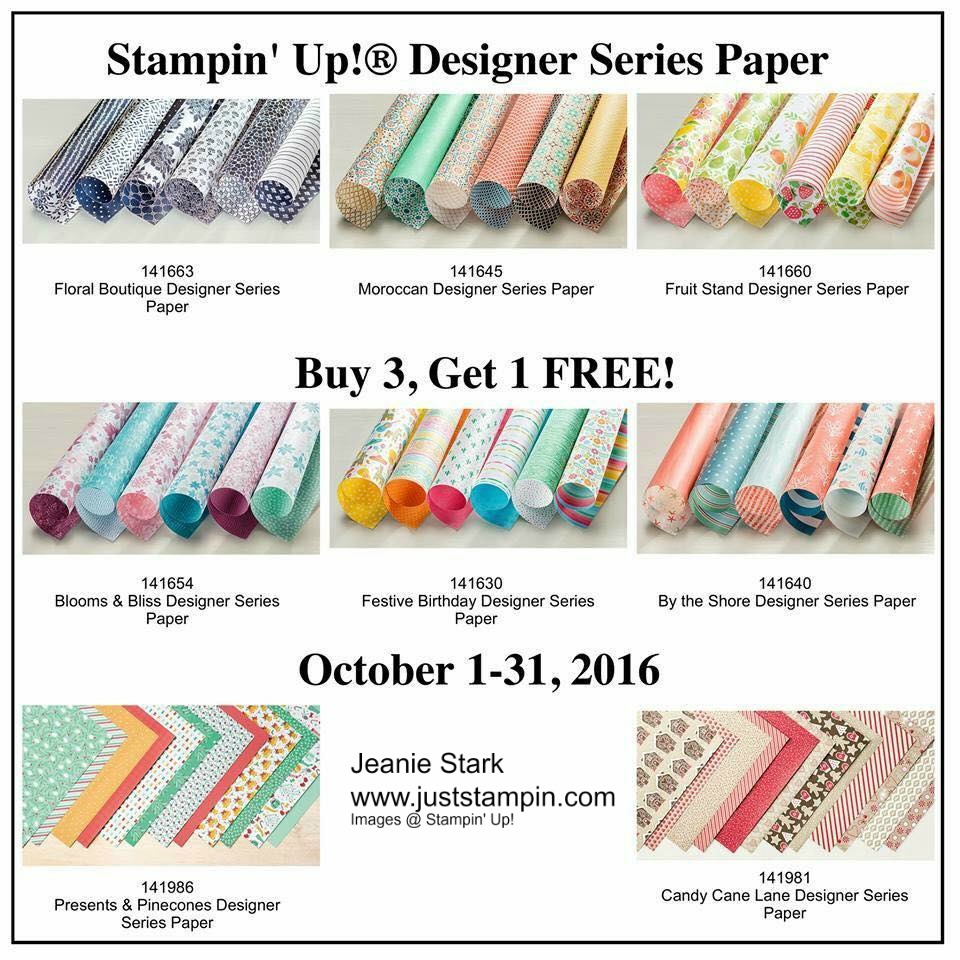
Welcome to the ABC’s with DSP! This month I am featuring projects showcasing Stampin’ Up! Designer Series Paper. Today I am showcasing This Christmas Designer Series Paper.
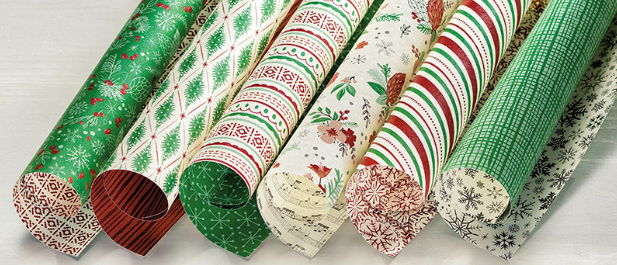
One of the things I love about this paper pack is you get 4 of each of the designs. That’s great when you want to make multiple cards using one design. You can get 6 4″x 6″ pieces from each 12 x 12 sheet…that’s 24 from each design. Great for making Christmas cards!

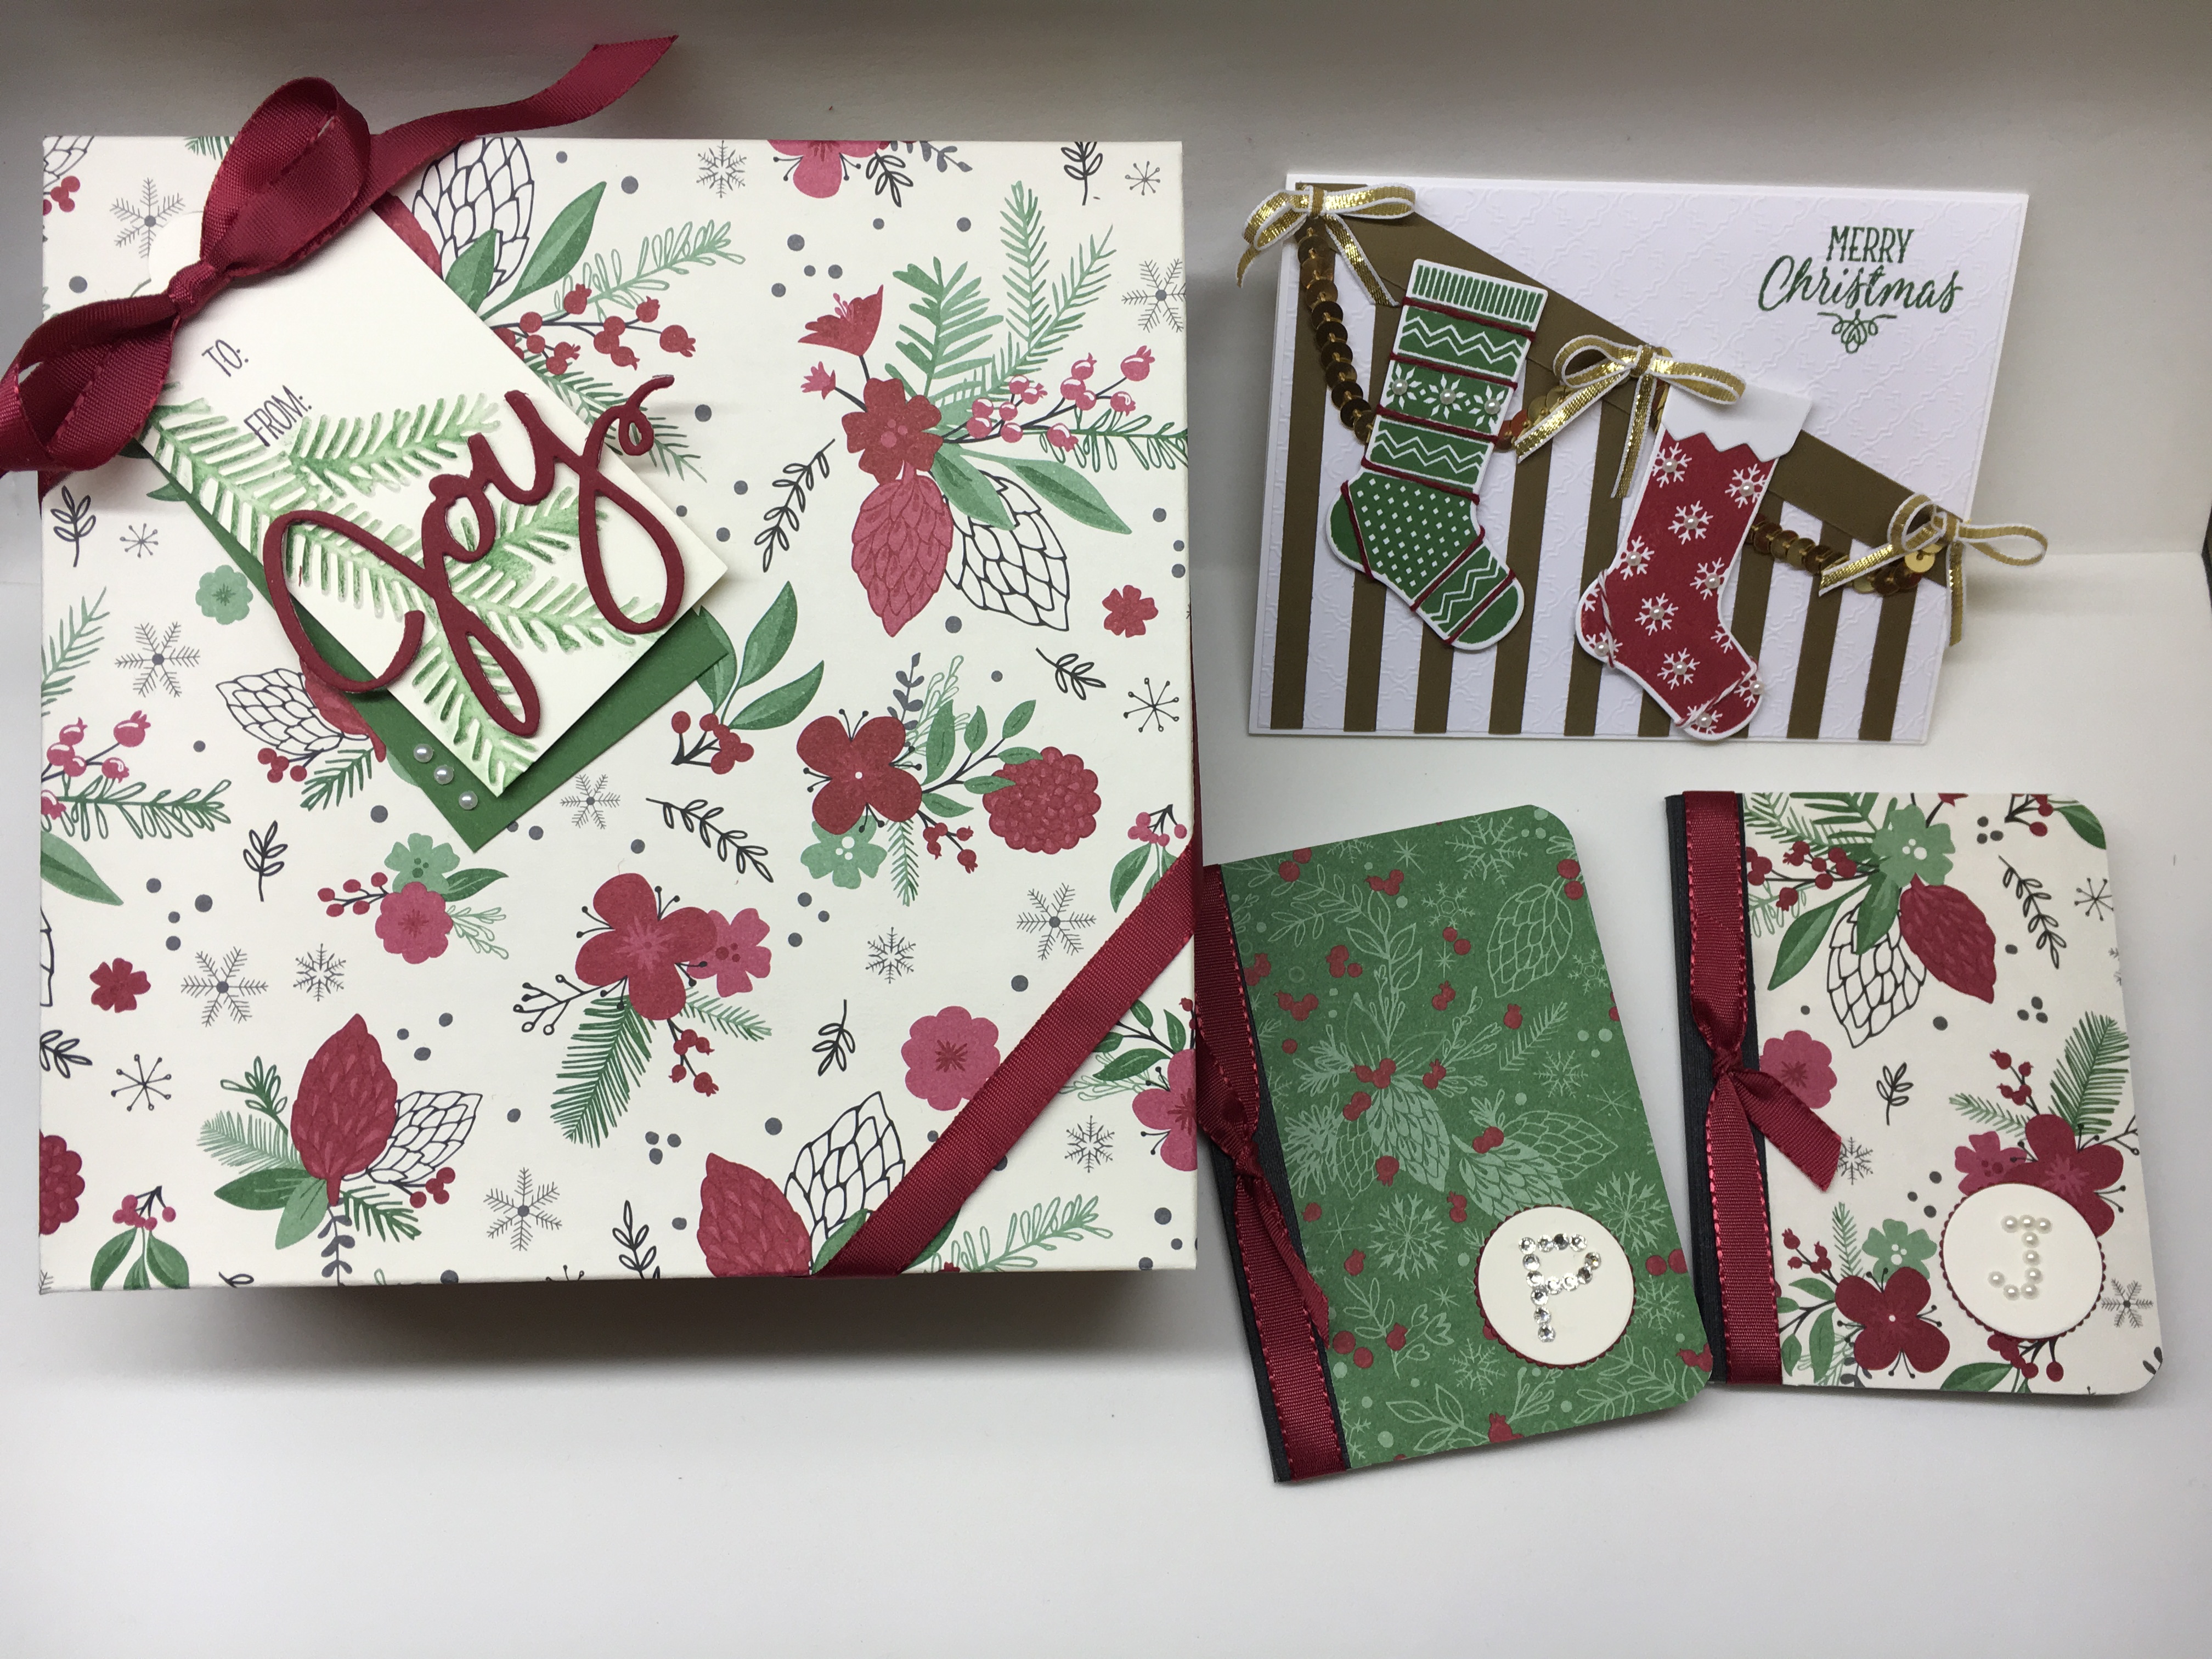
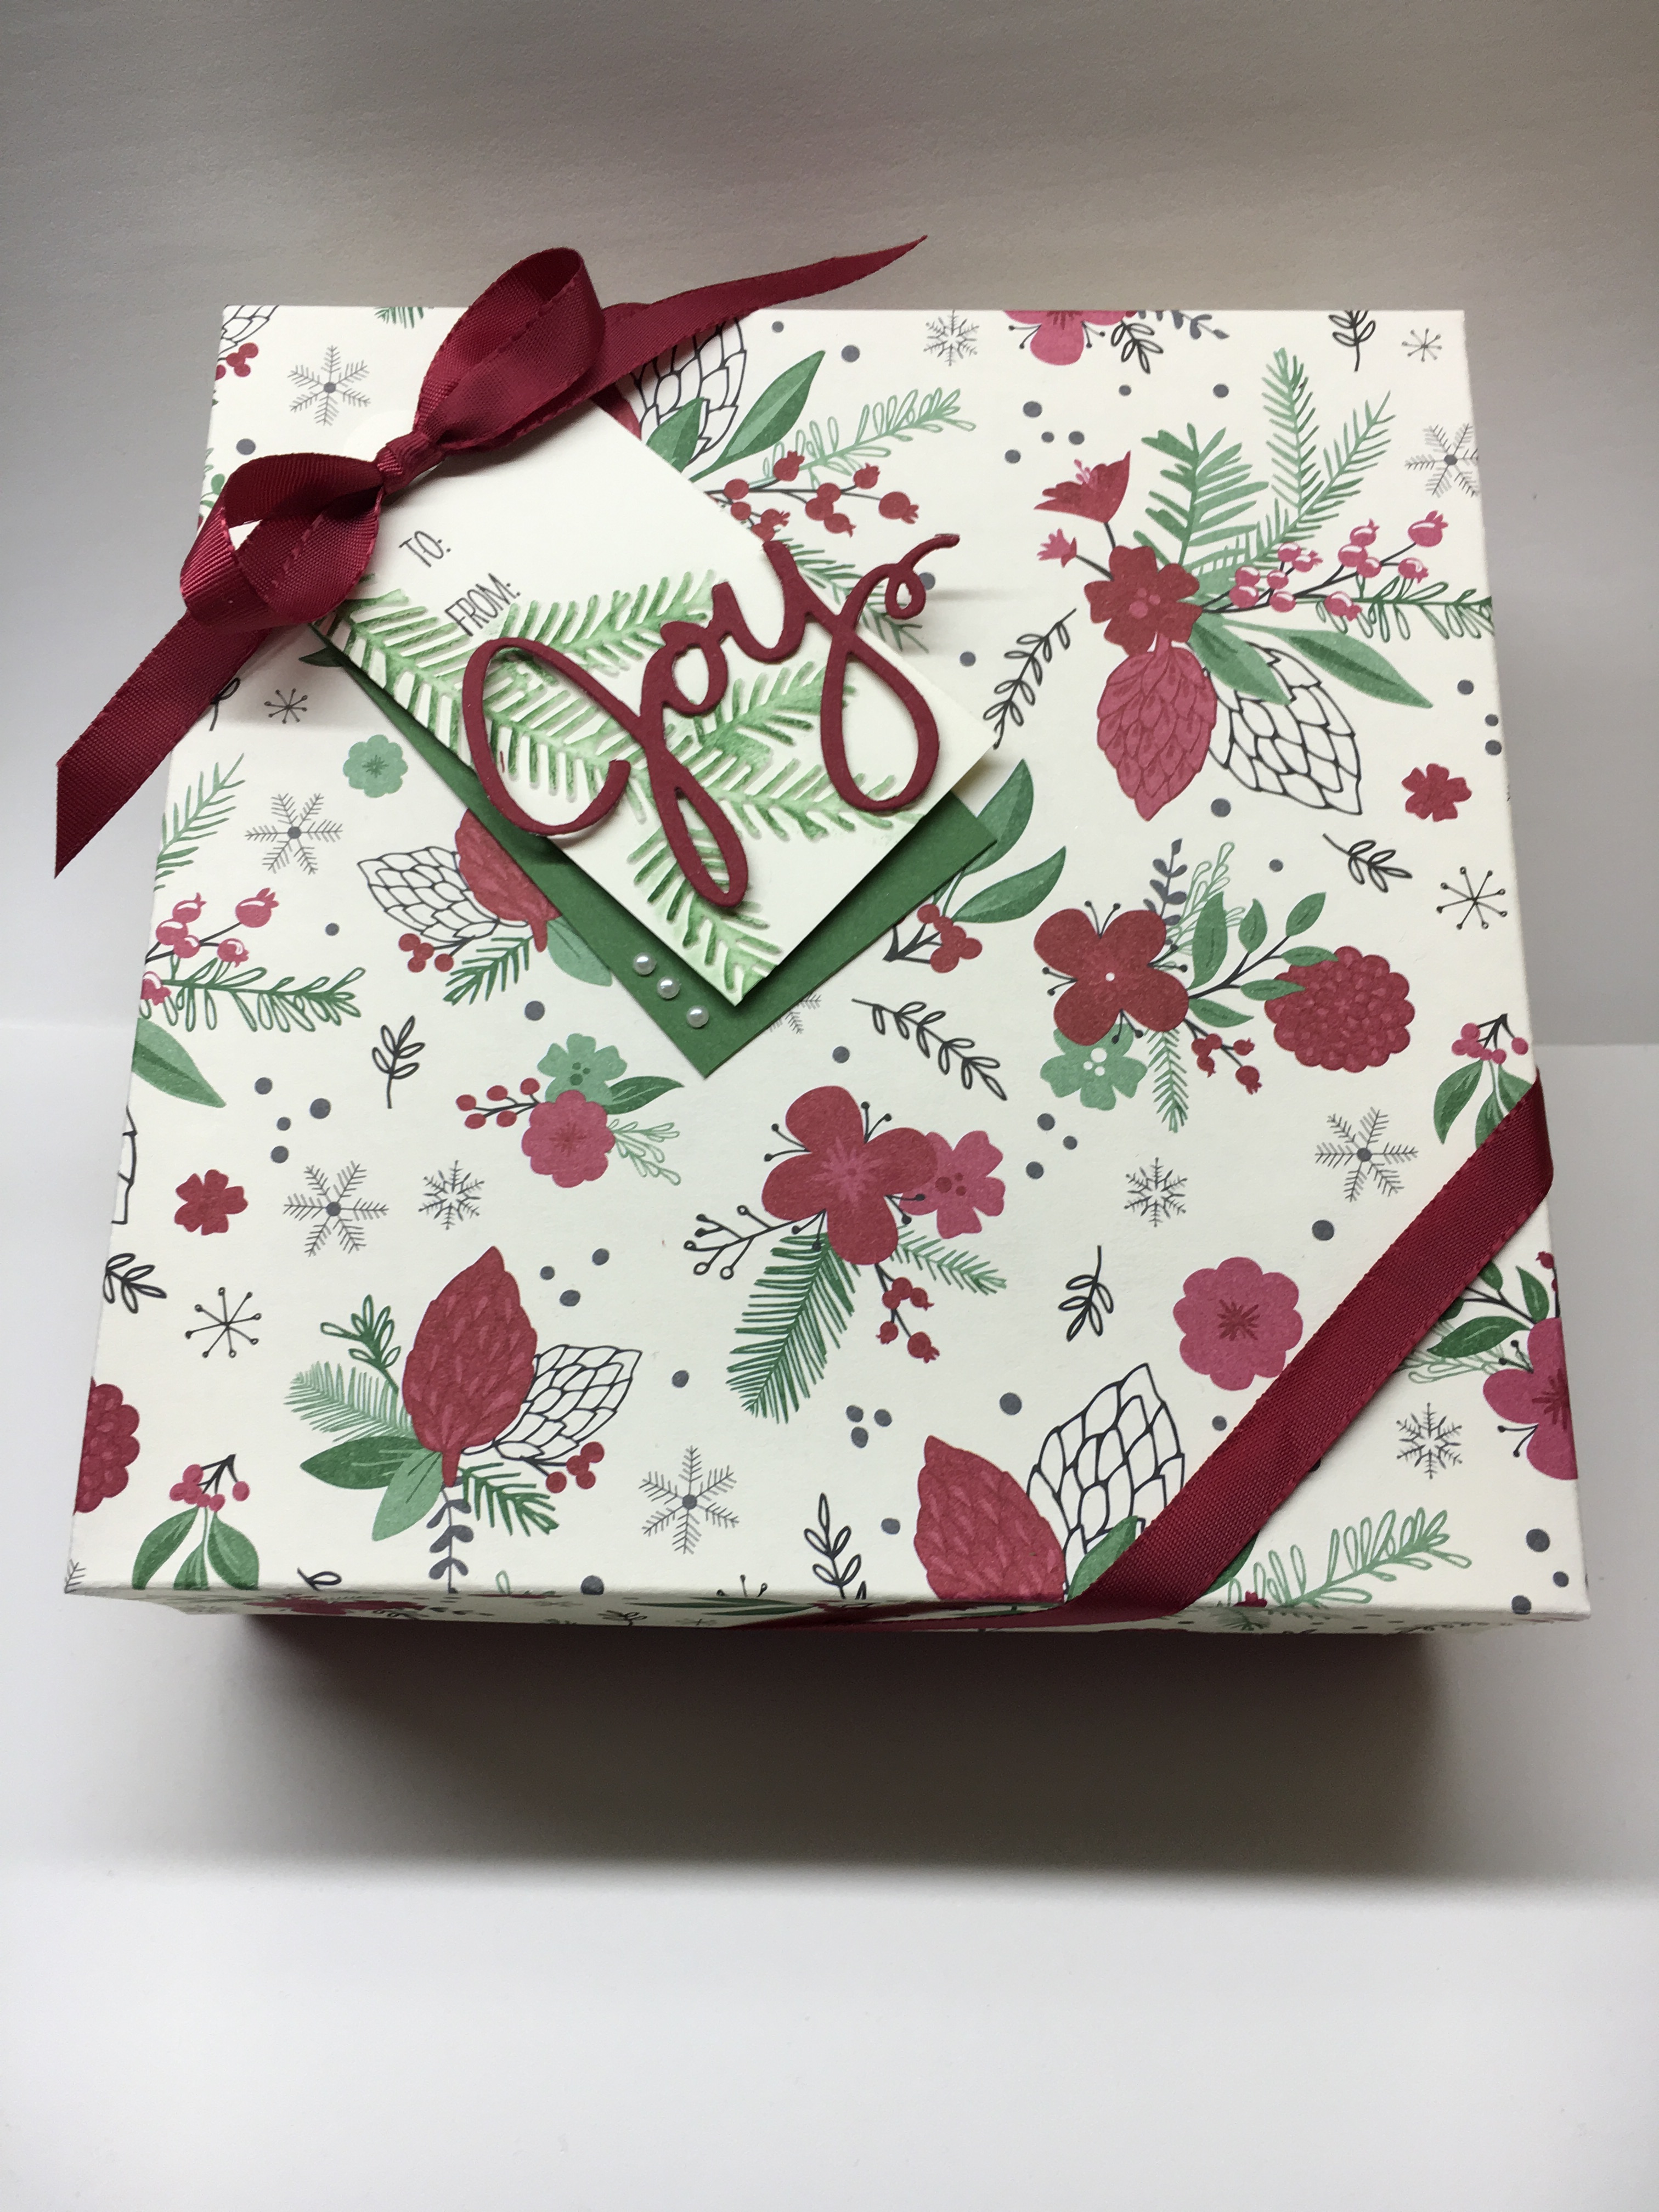
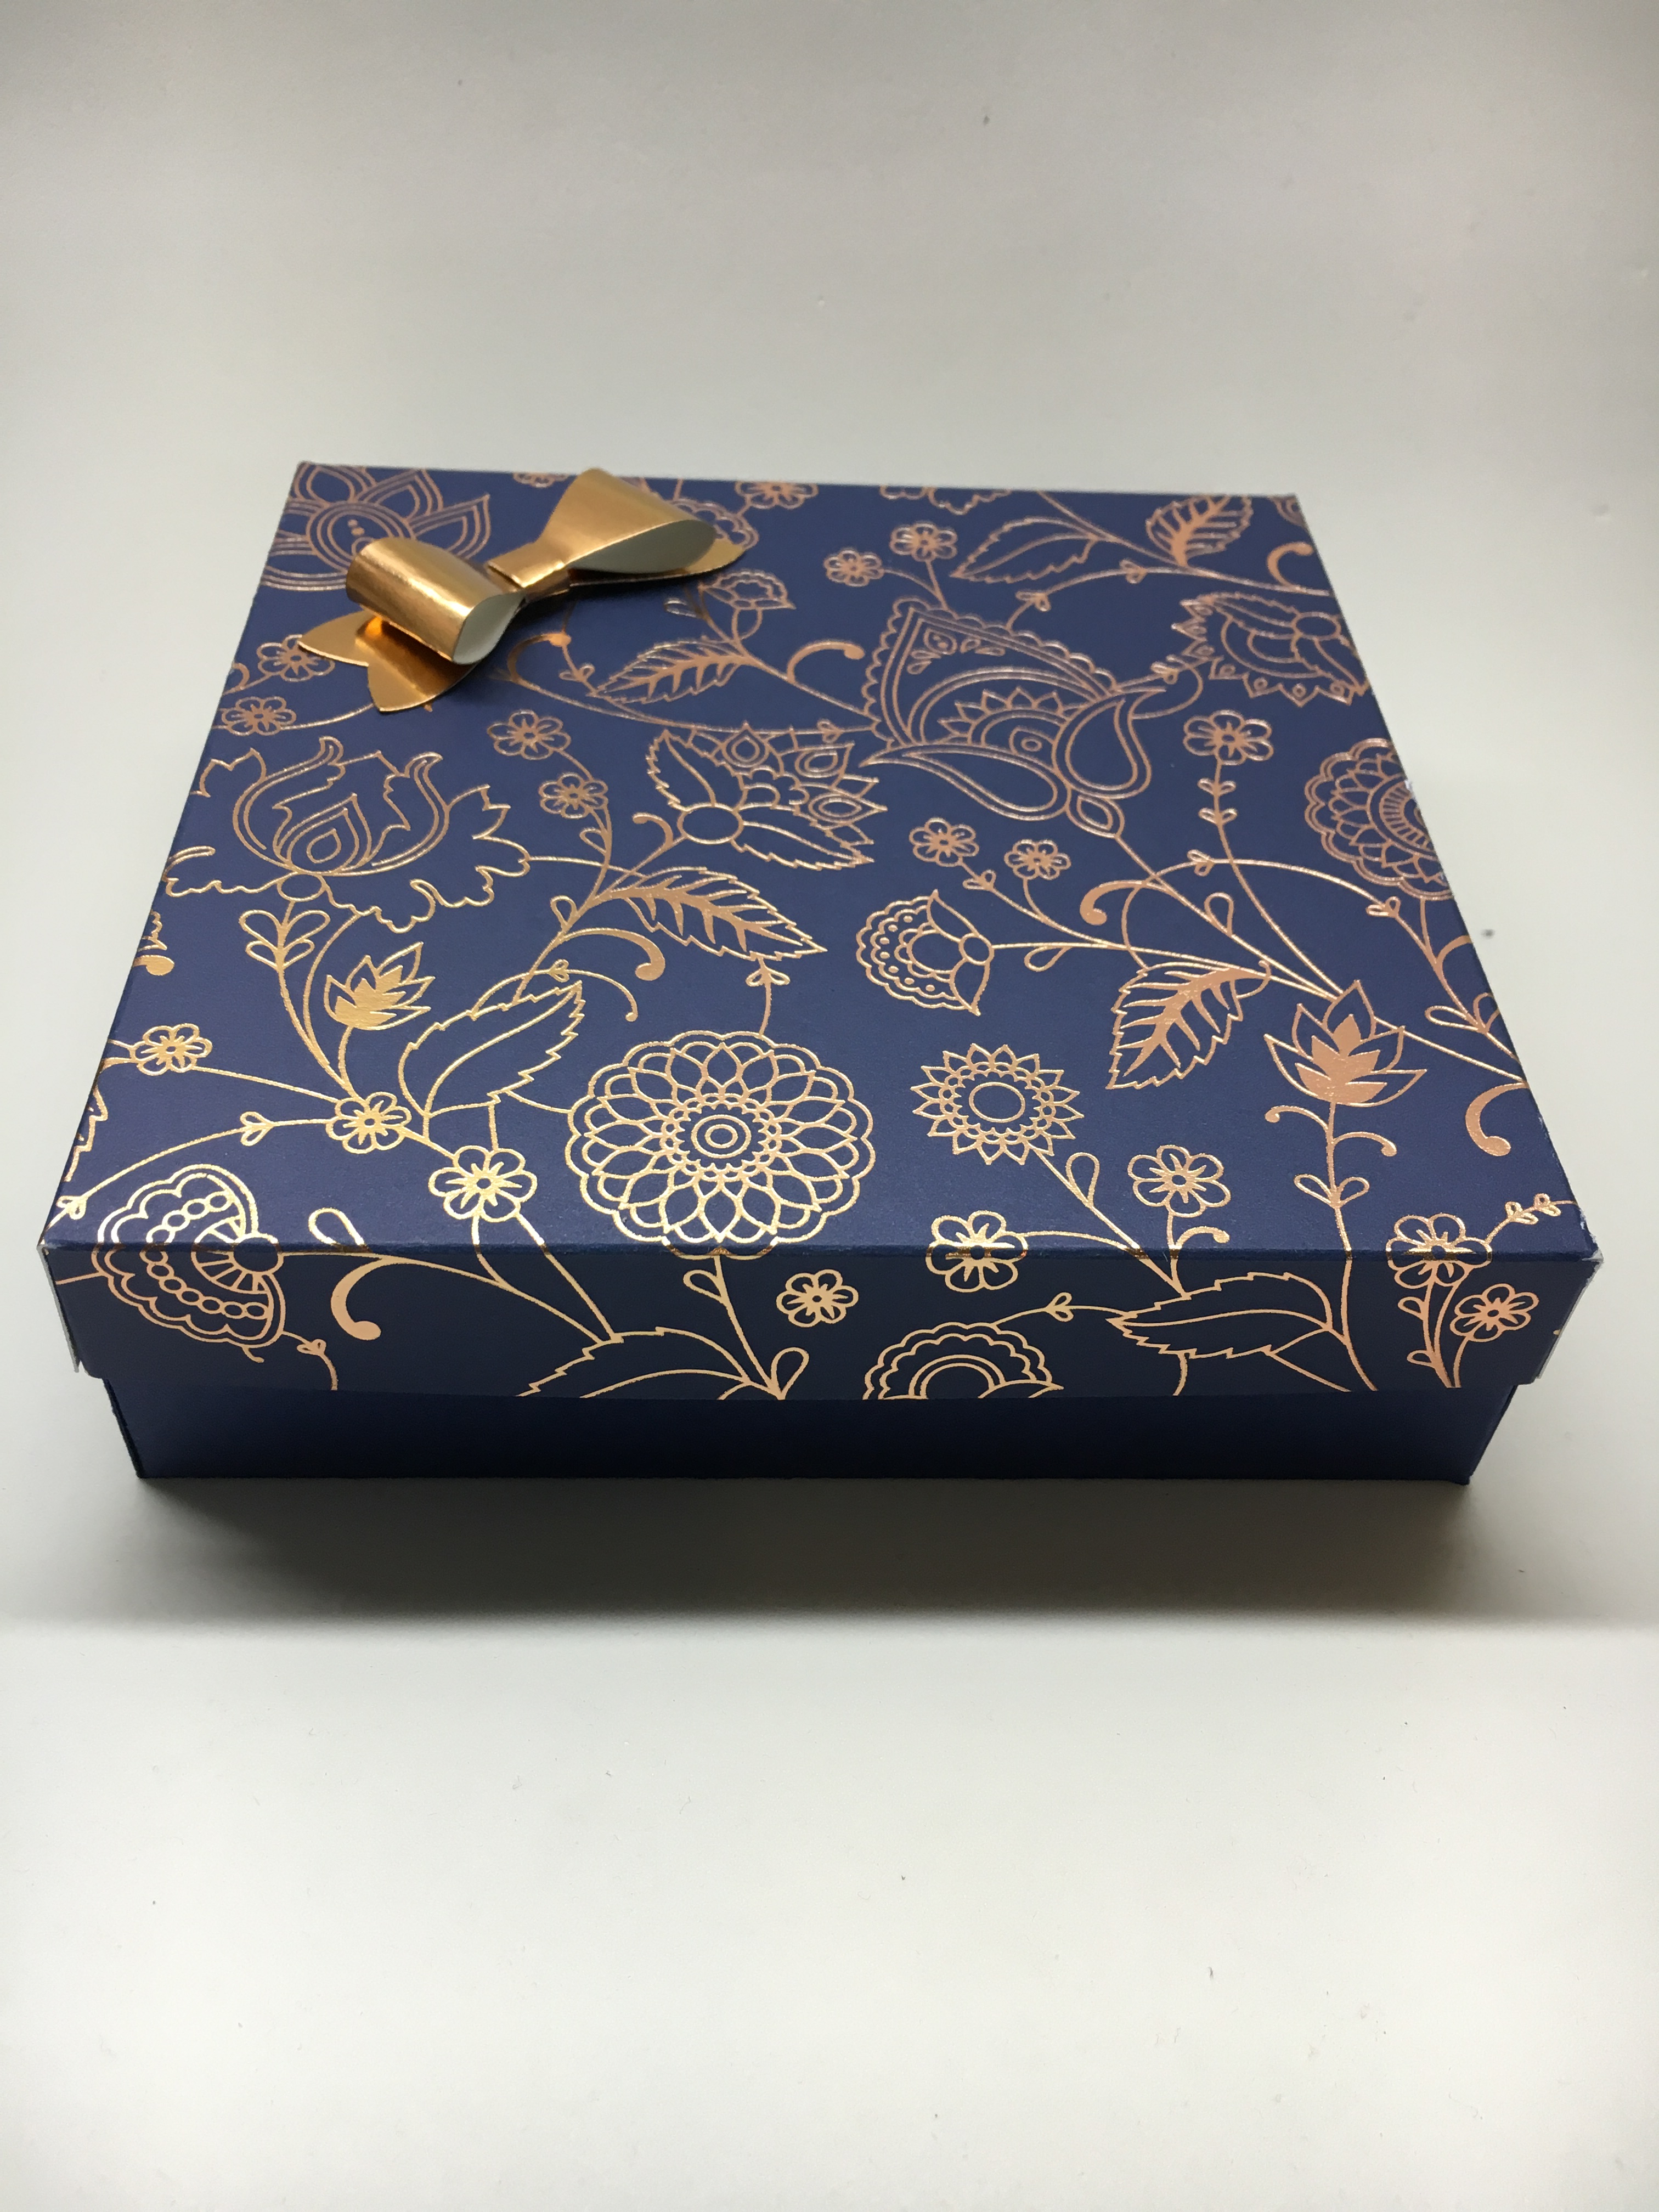
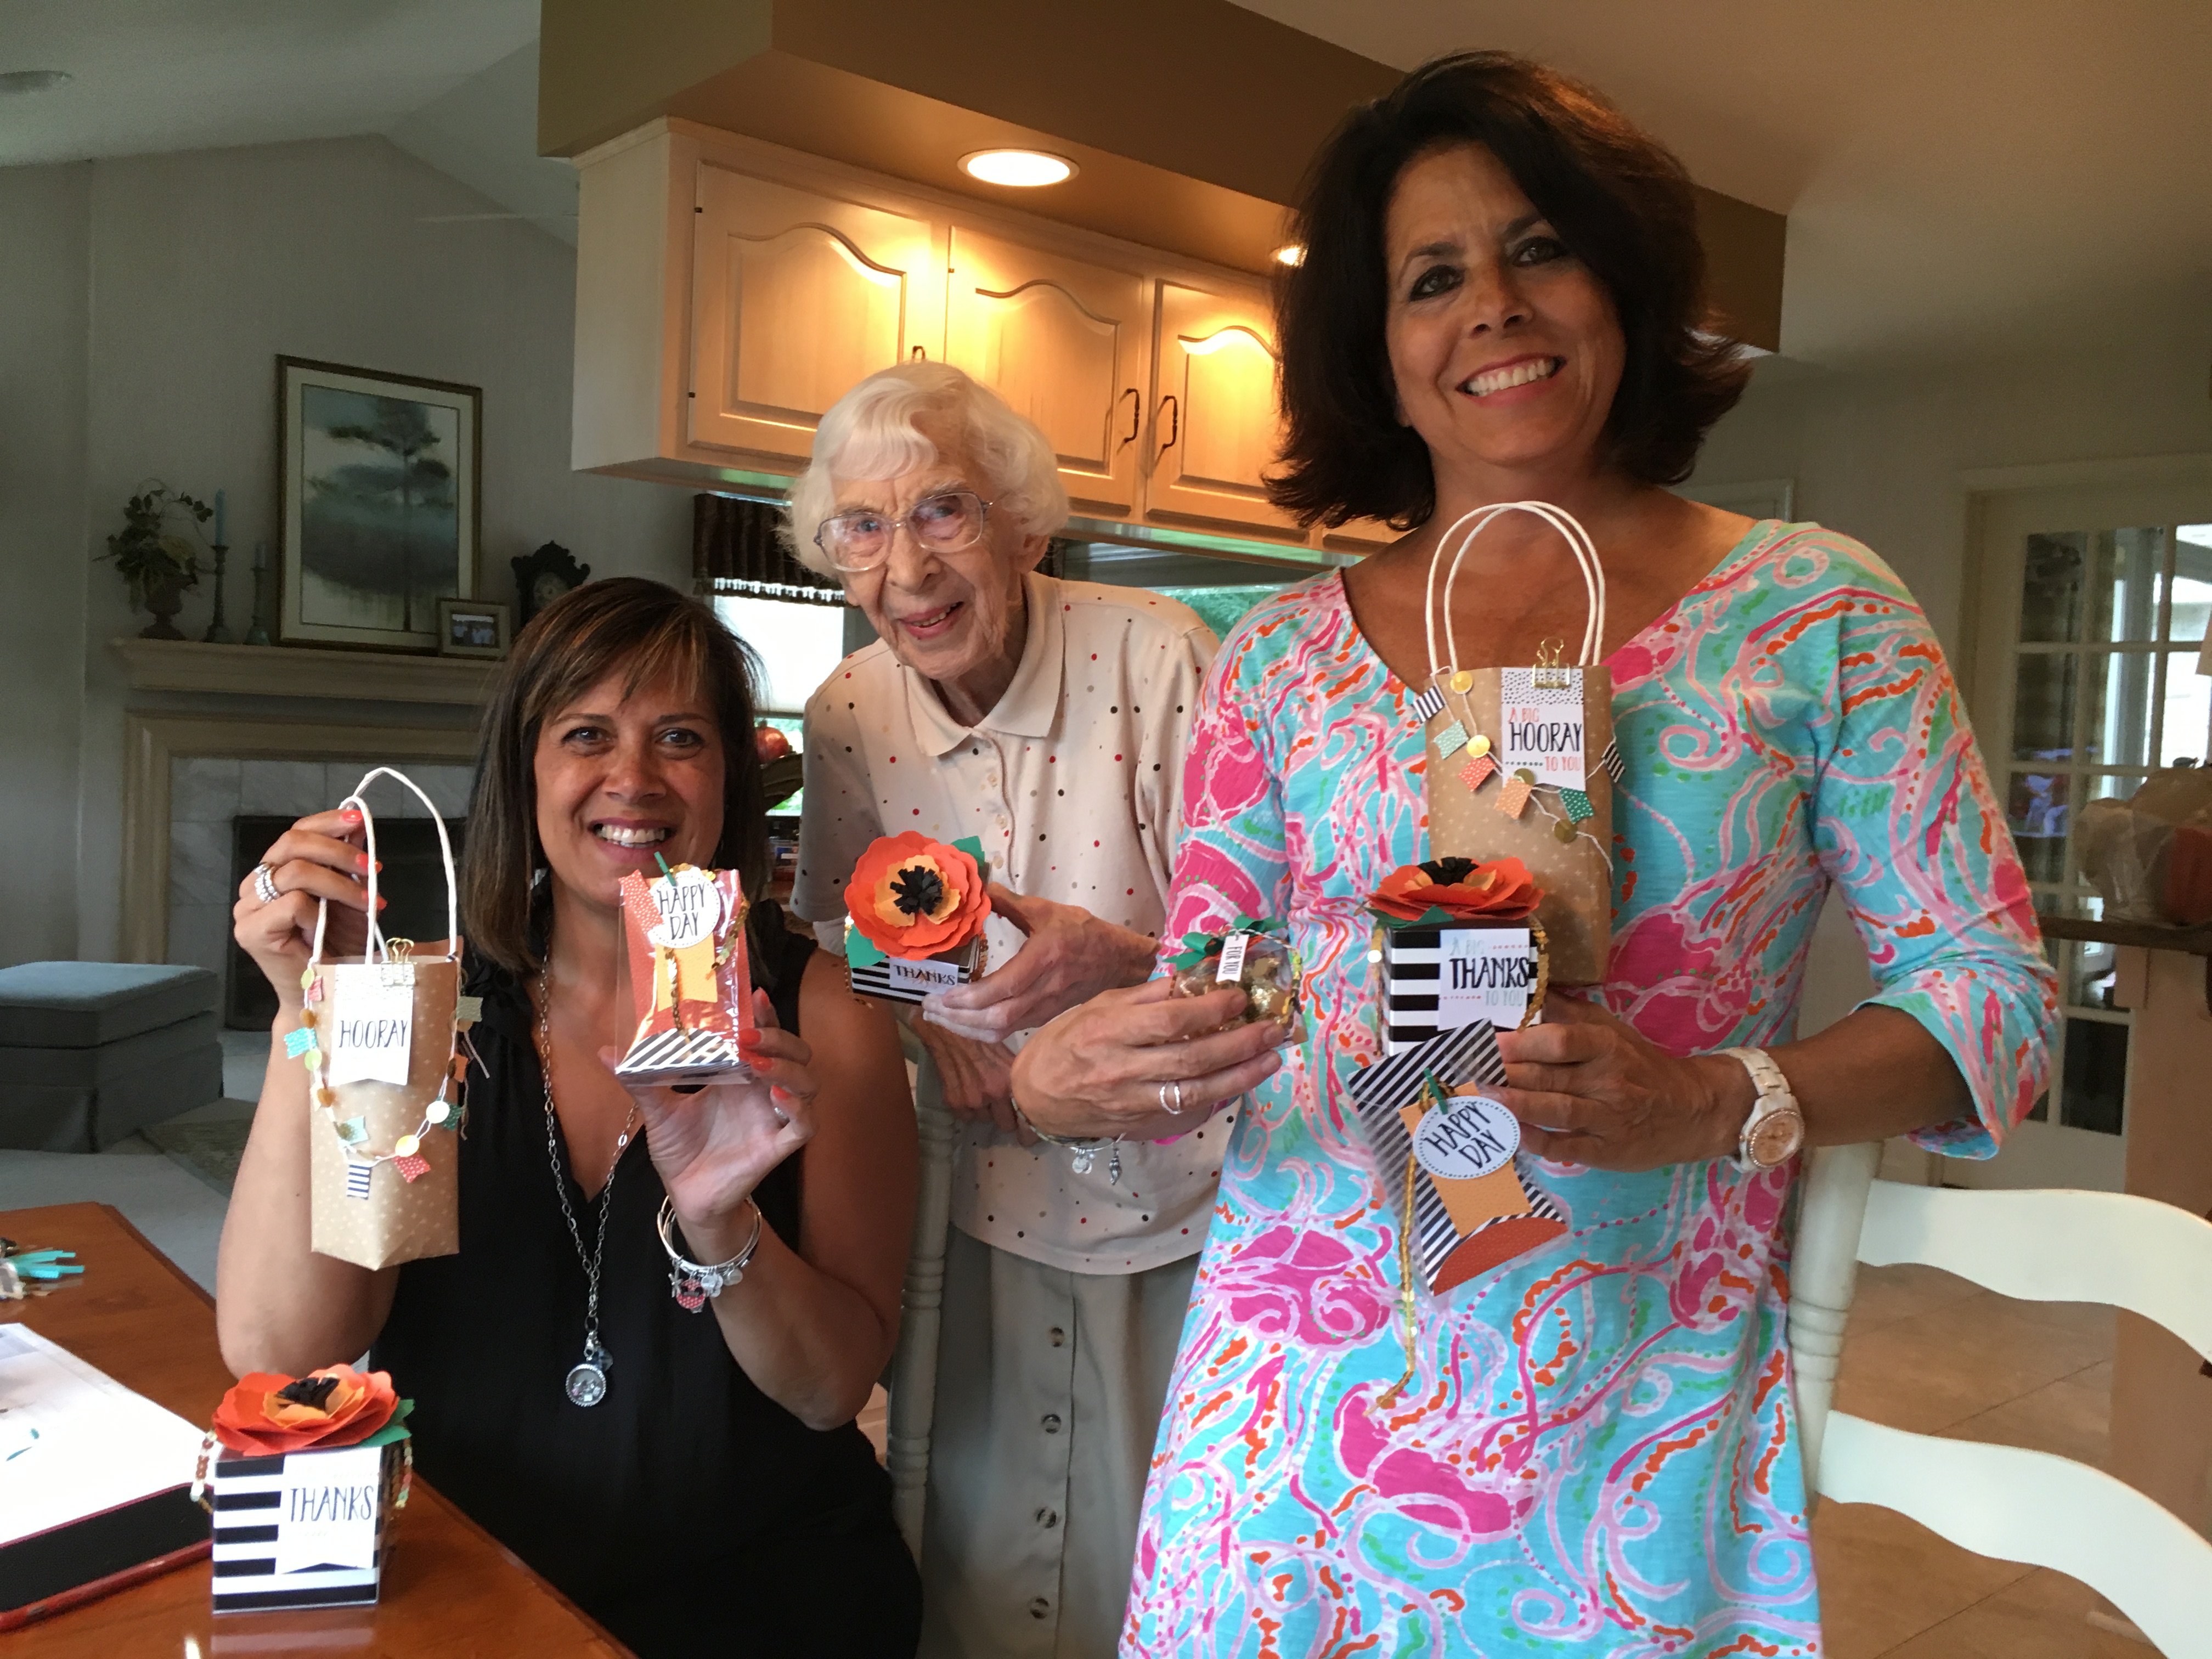
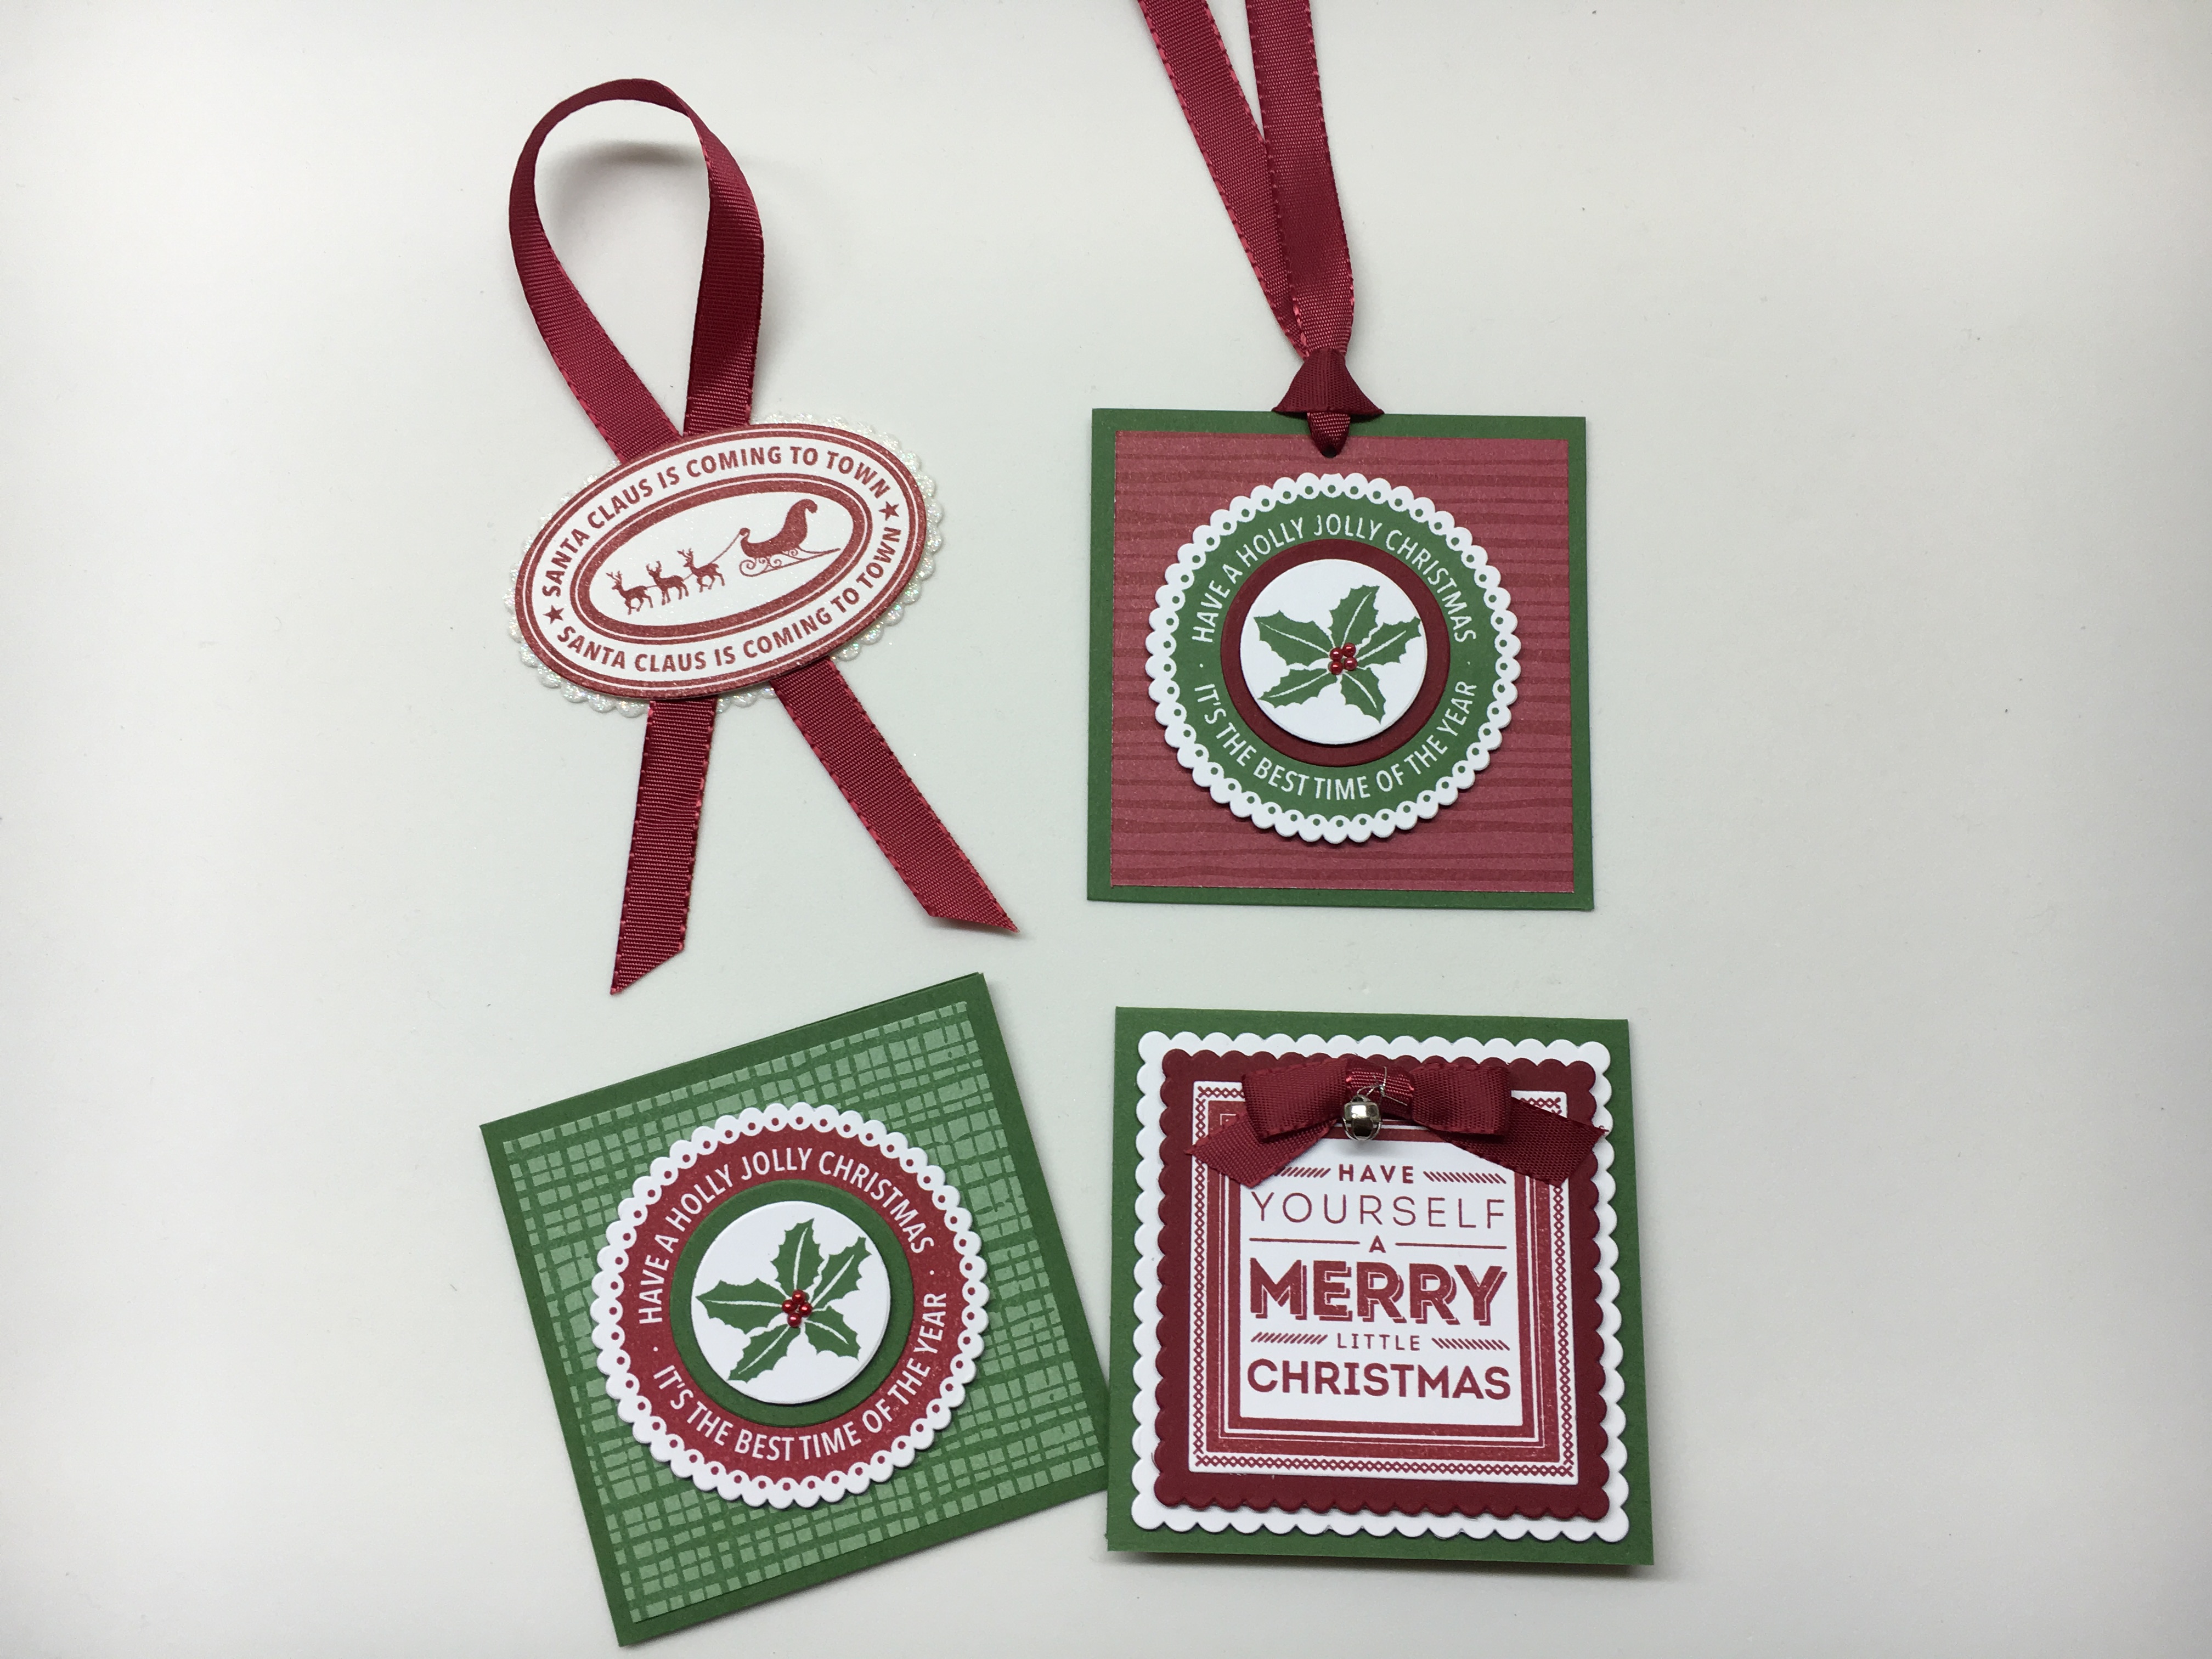
It’s less than 2 months til Christmas! Time to start working on those Christmas card ideas and gift tags! Here are some ideas I posted previously showcasing this paper pack with cards, boxes, and tags. Click on the image to see the original post.
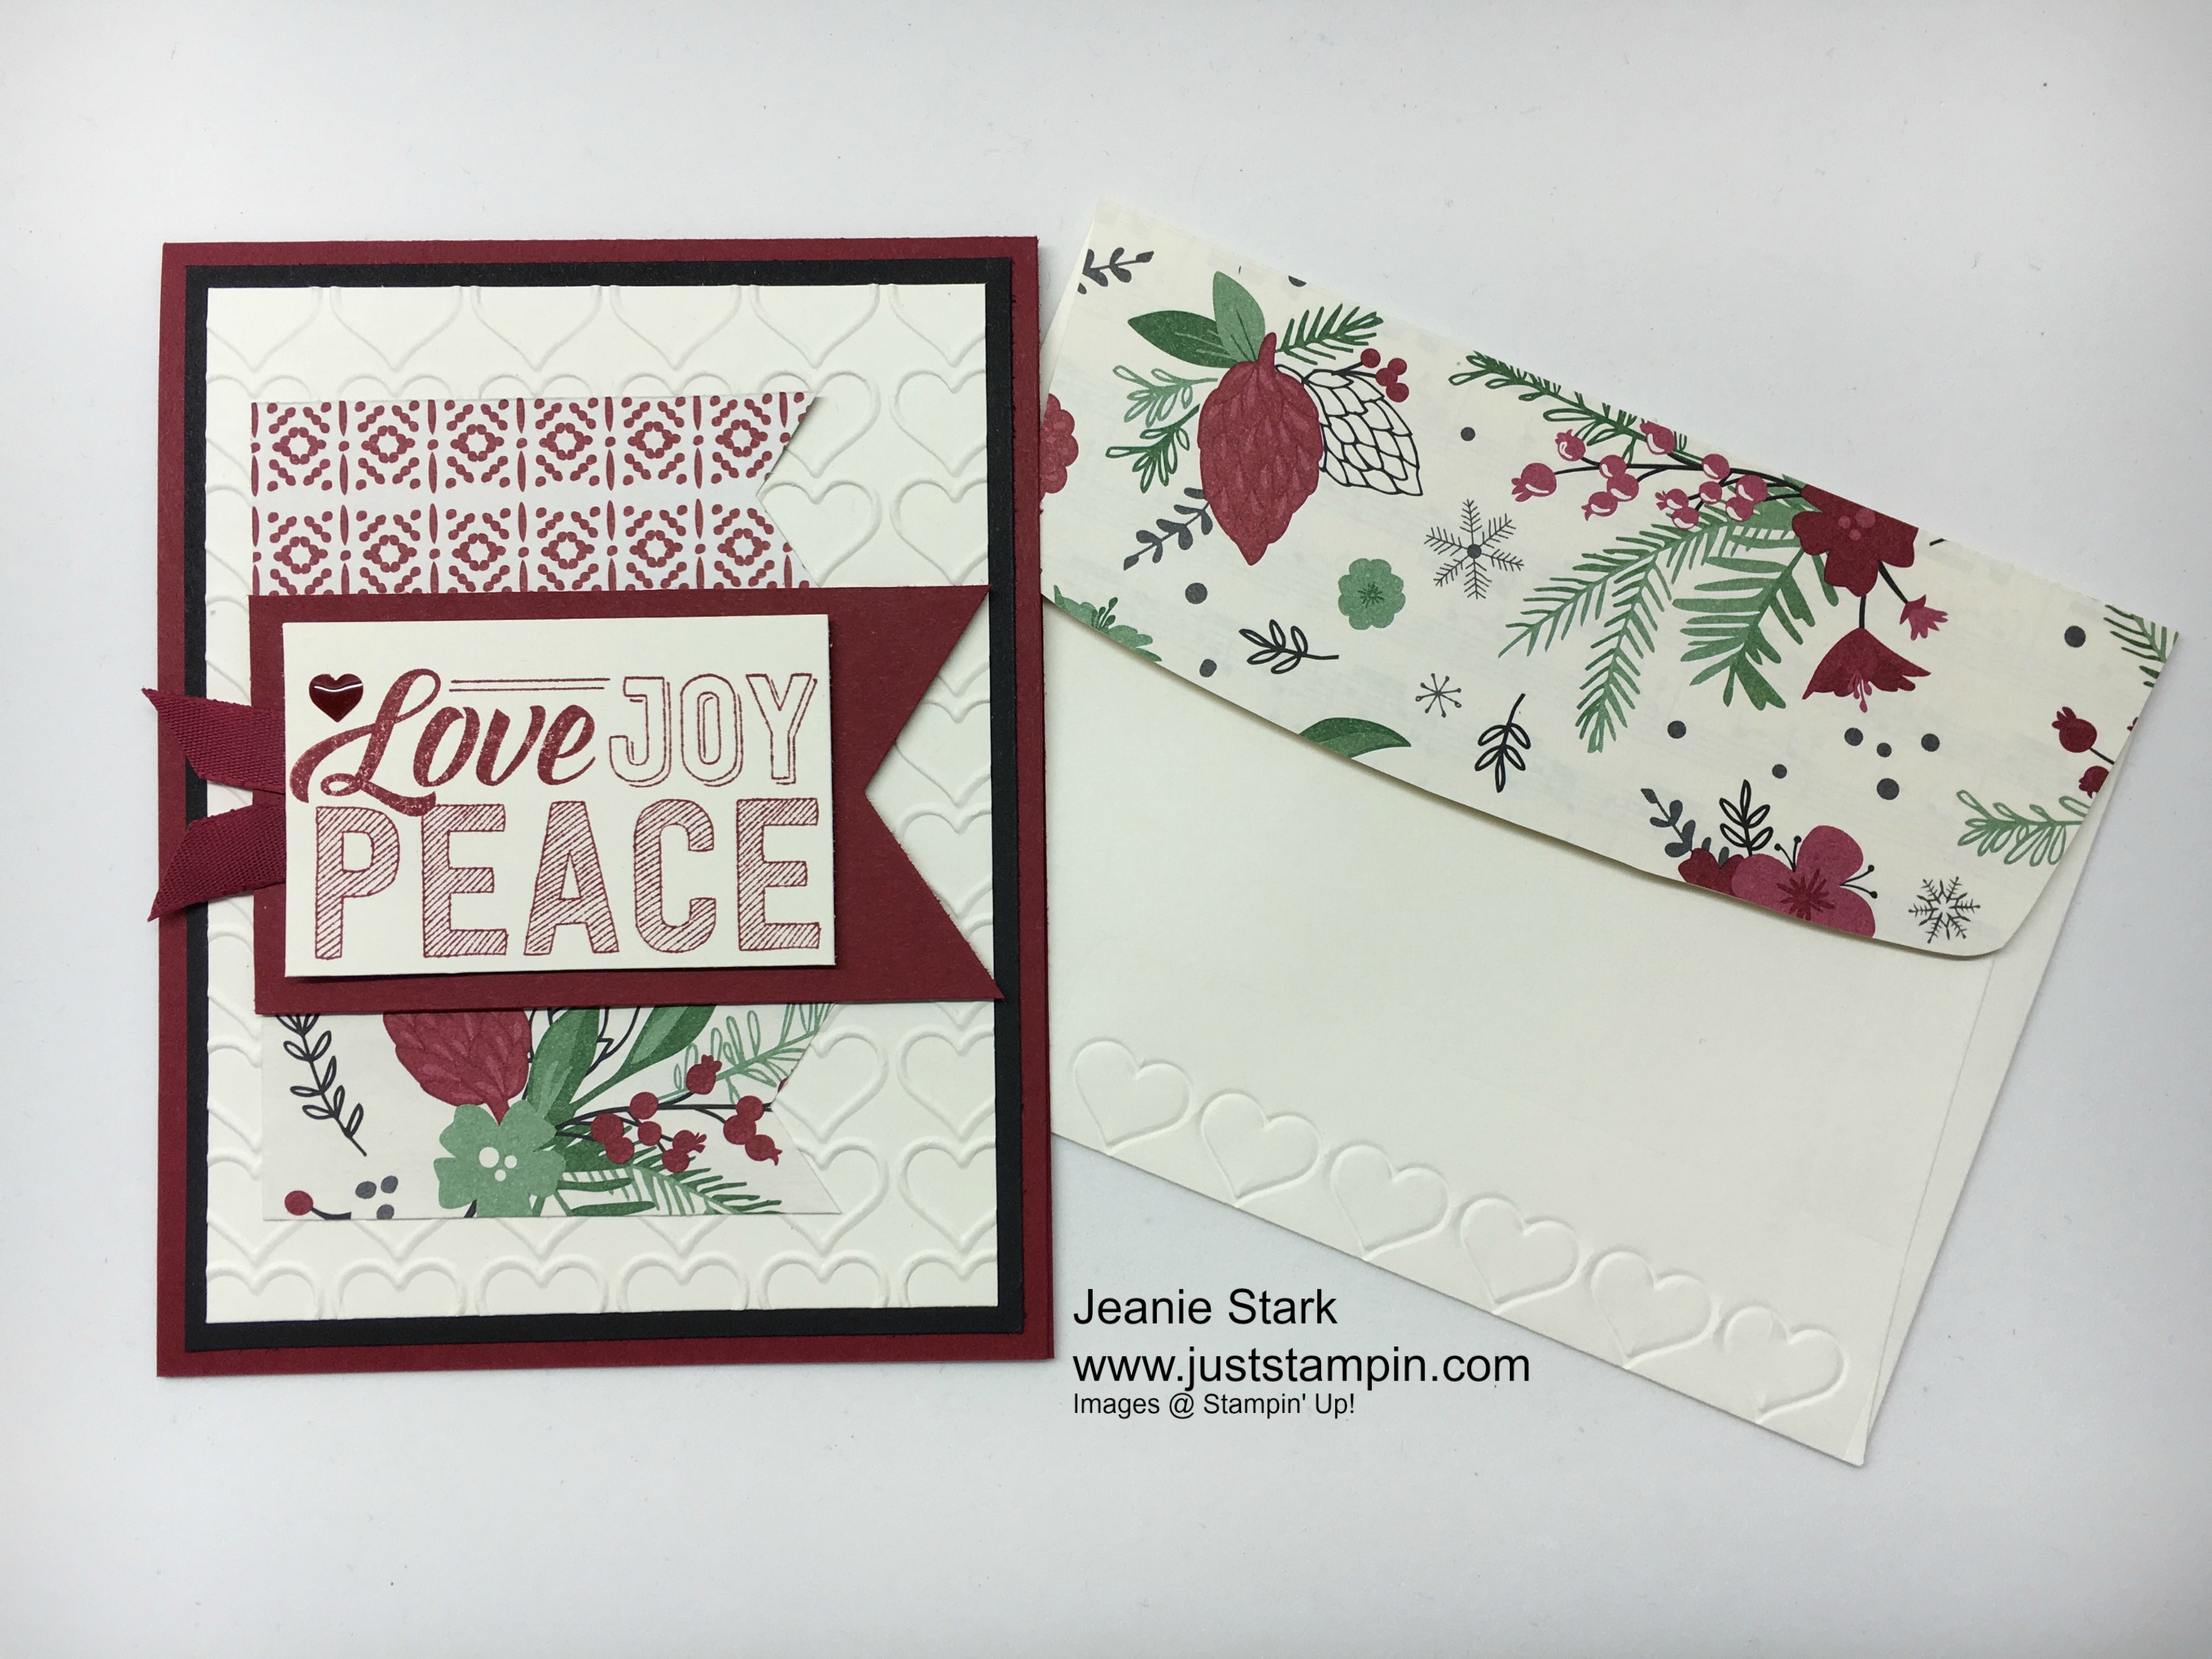

This Christmas Designer Series Paper and Stampin’ Up! Merry Medley Stamp Set


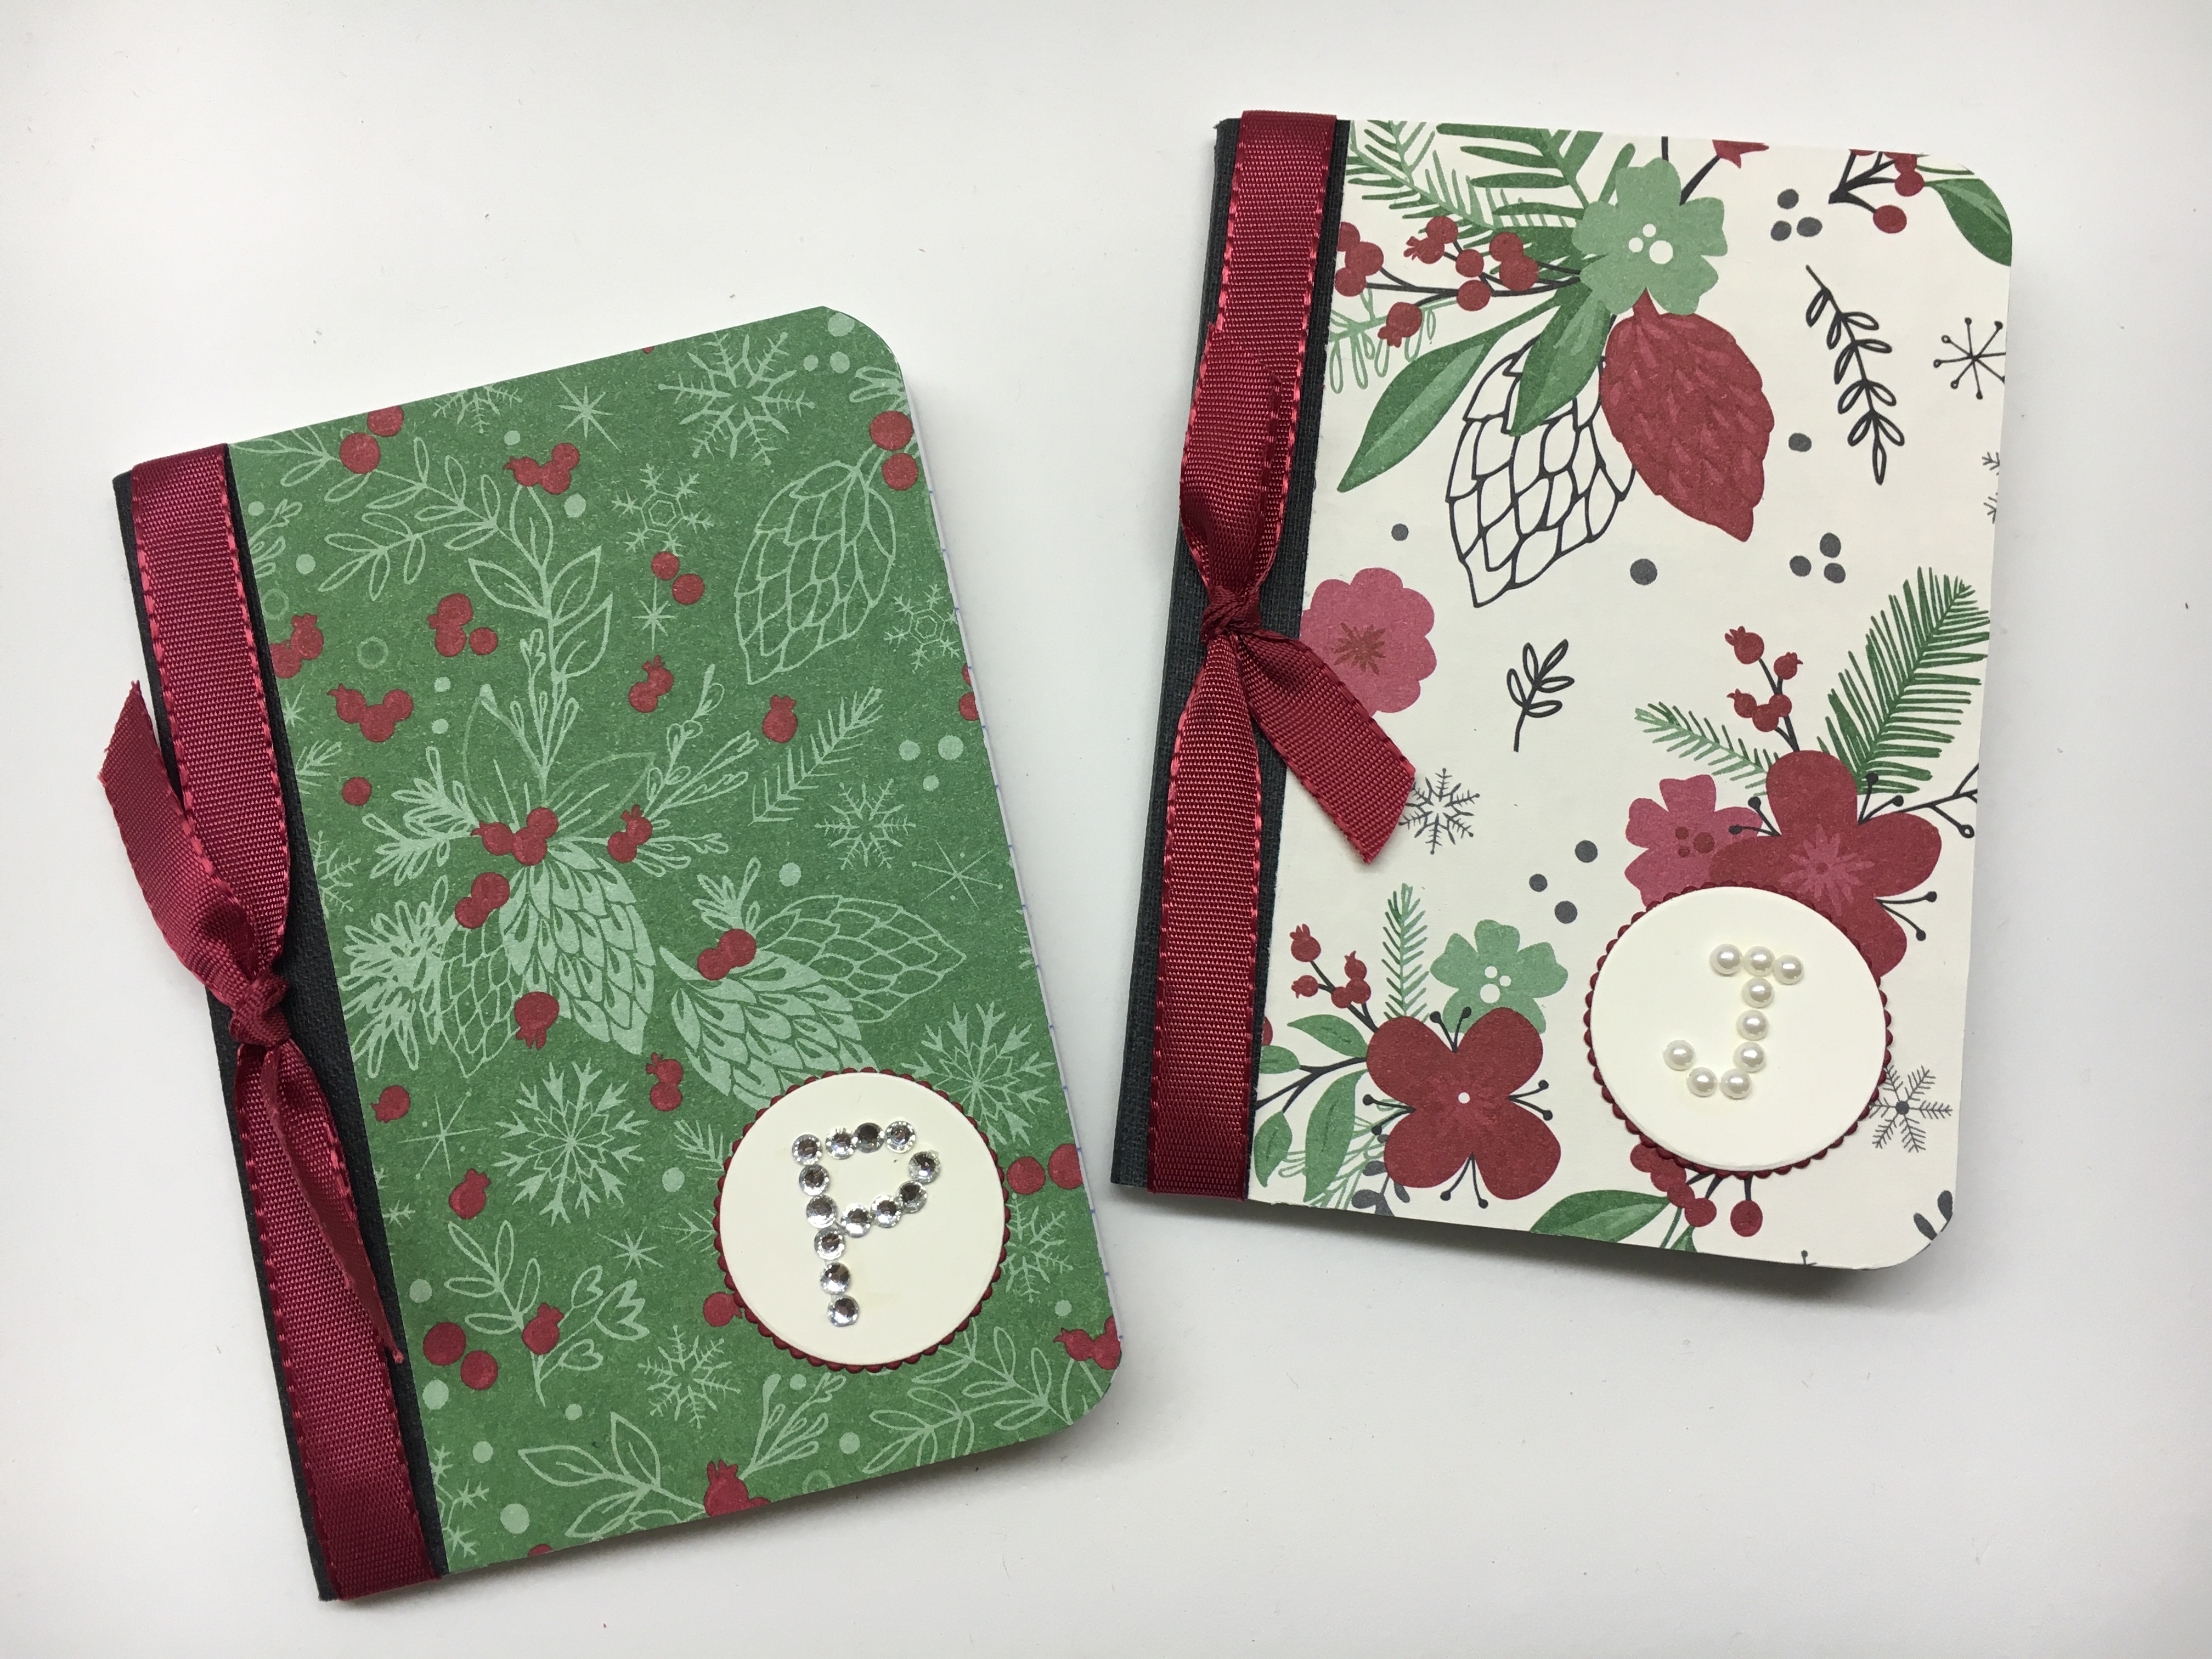
Mini Notebooks covered with Stampin’ Up! Designer Series Paper make great stocking stuffers and fit nicely in a purse!

Stampin’ Up! announced an upcoming sneak peek…. I am SUPER excited and can’t wait to get my hands on these! Check out the video below!
Stitched from the Heart – Available 1 Nov 2016
Not only are stitches a classic trend, they illustrate the quality, precision, and extra care taken when creating a piece. With Stitched Shapes Framelits you can make paper stitches in seconds, turning any project into one that is stitched from the heart. You have the opportunity to purchase Stitched Shapes Framelits ahead of their official release in the 2017-2018 annual catalog that comes out in June and get 25% off coordinating stamp sets.
The framelits coordinate with the stamp sets below that will be 25% off their regular price.

I will be putting in an order early morning November 1st so let me know if you want to order (email me: j.stark@myactv.net) or you can order online and use the Hostess Code 7DB3CBKS when you check out. I’ve added a visual below to show where to enter the code. I always send a thank you gift each month when you order from me. I appreciate each and every order!
Thanks for stopping by! Have a wonderful day!
Just Stampin’
Jeanie