T is for Tunnel Fold

Welcome to my ABC’s with Fun Folds series. Today’s fun fold is a Tunnel card.  It is so cool when you open it up to reveal the “tunnel” on the inside of the card.

Stampin Up Fun Fold Tunnel Card using High Tide stamp set. For directions, supplies, and inspiration visit www.juststampin.com

Stampin Up Fun Fold Tunnel Card using High Tide stamp set. For directions, supplies, and inspiration visit www.juststampin.com

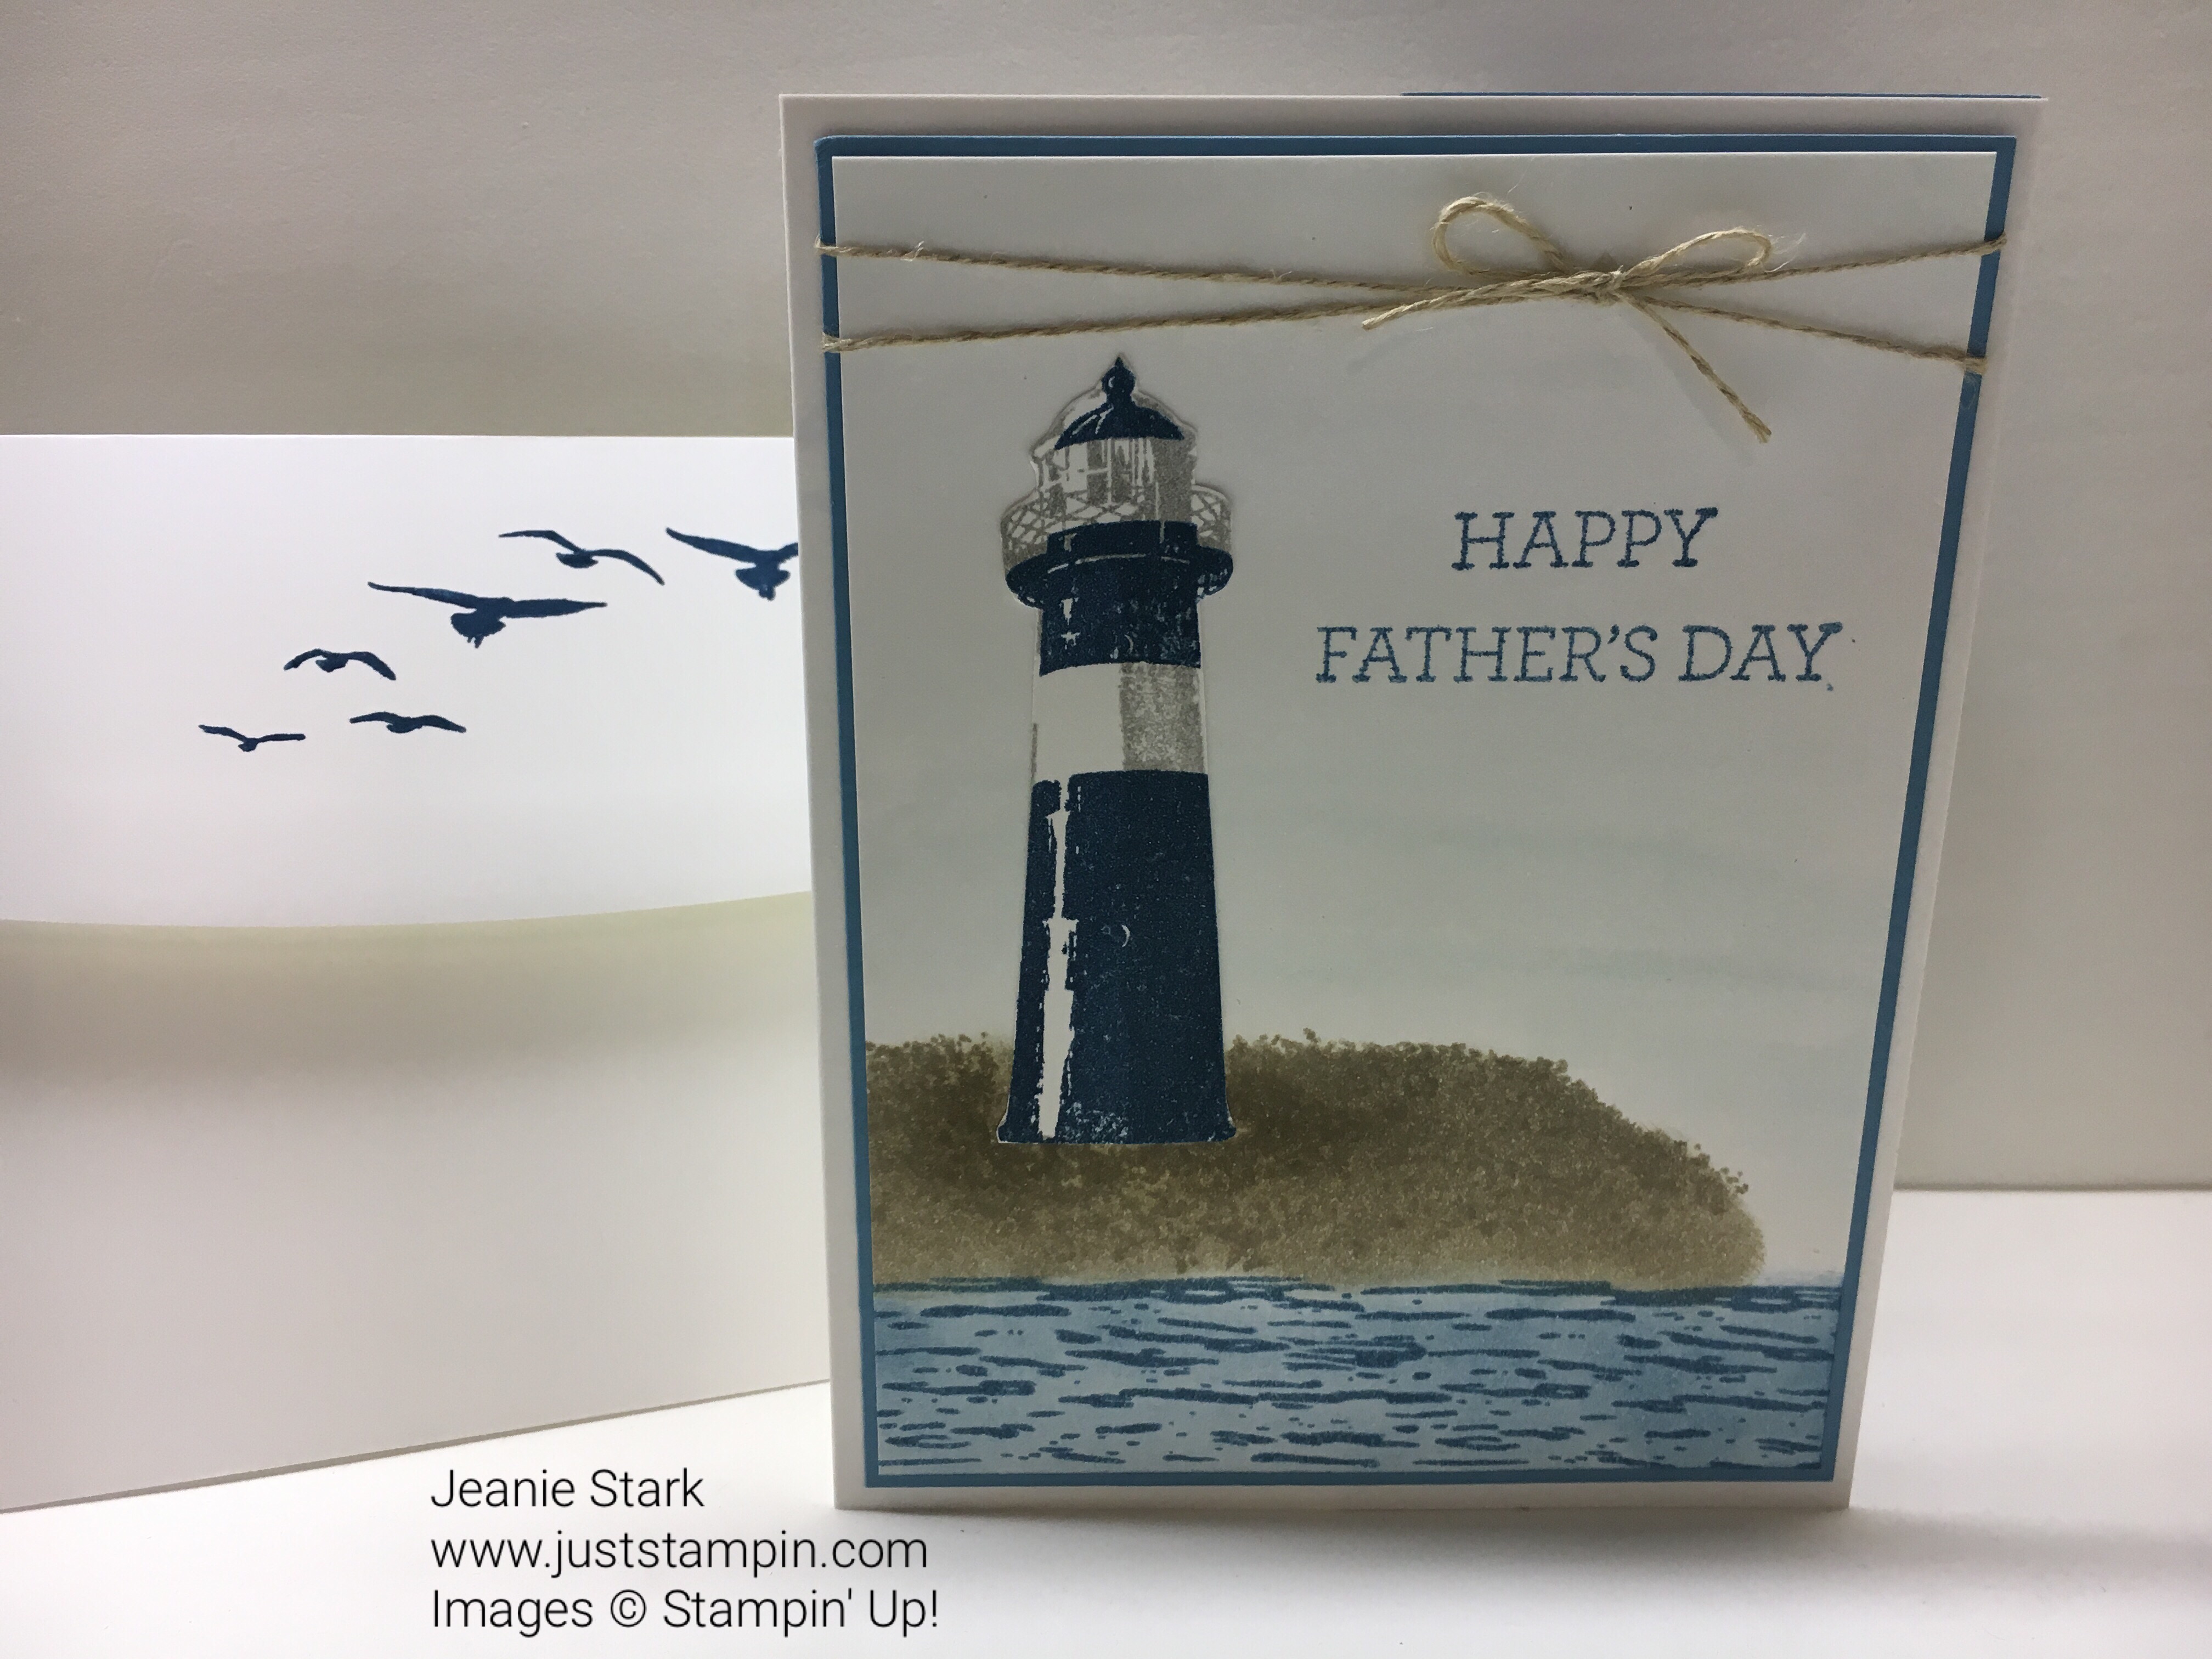
I love lighthouses! When I first saw the High Tide Stamp Set I knew I had to have it. I enjoy visiting lighthouses during our travels and learning the history of each. I made this card for my husband for Father’s Day.  I am usually very last minute; however, this year I am going to be away for Father’s Day so I needed to make his card before I left. I love this sentiment from High Tide…it works for Father’s Day as well as other occasions. Parenting is not always easy and it helps to have someone to support you with the tough decisions. I feel like we got lucky in the kid department…we are blessed with two wonderful children and we are so proud of both of them.

Let’s get to today’s card…

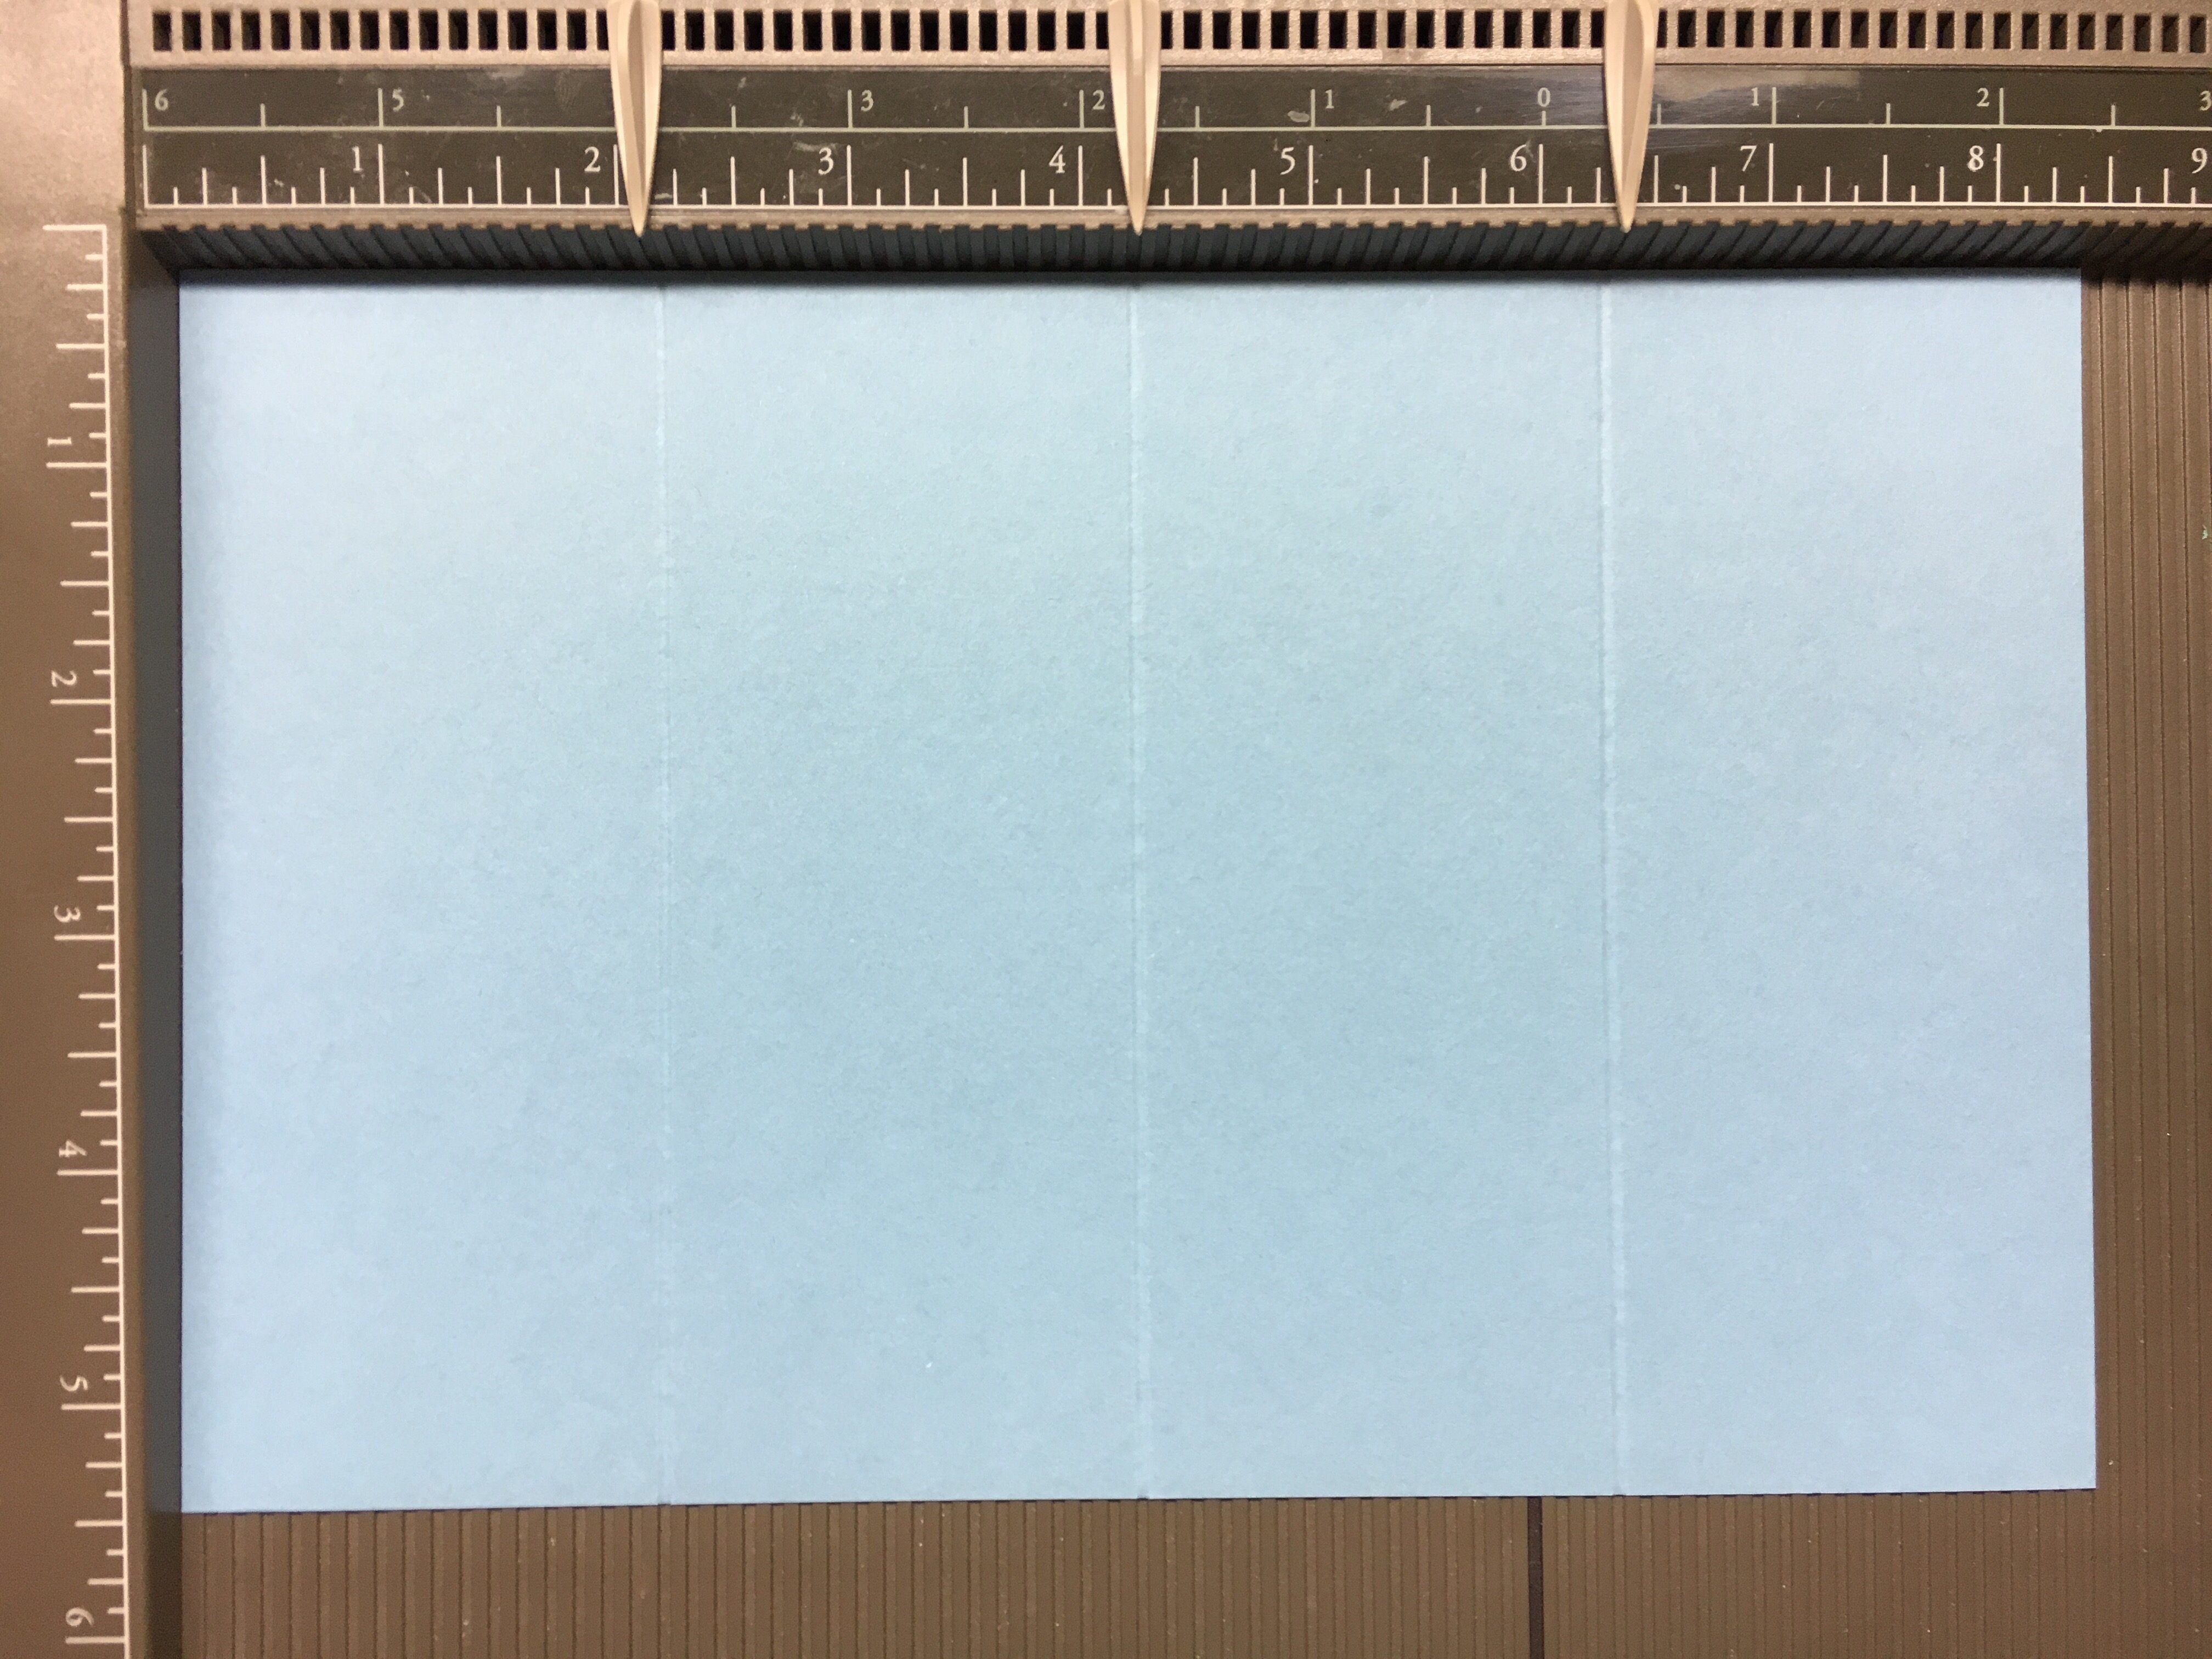
You need two 8-1/2″ x 5-1/2″ sheets of card stock. The “window” piece is scored at 2-1/8, 4-1/4″ & 6-3/8″. I used Shimmery White and Marina Mist.

img_3147

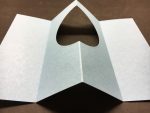
Die cut a window in the center of the window piece (I used the Layering Circles Framelits).

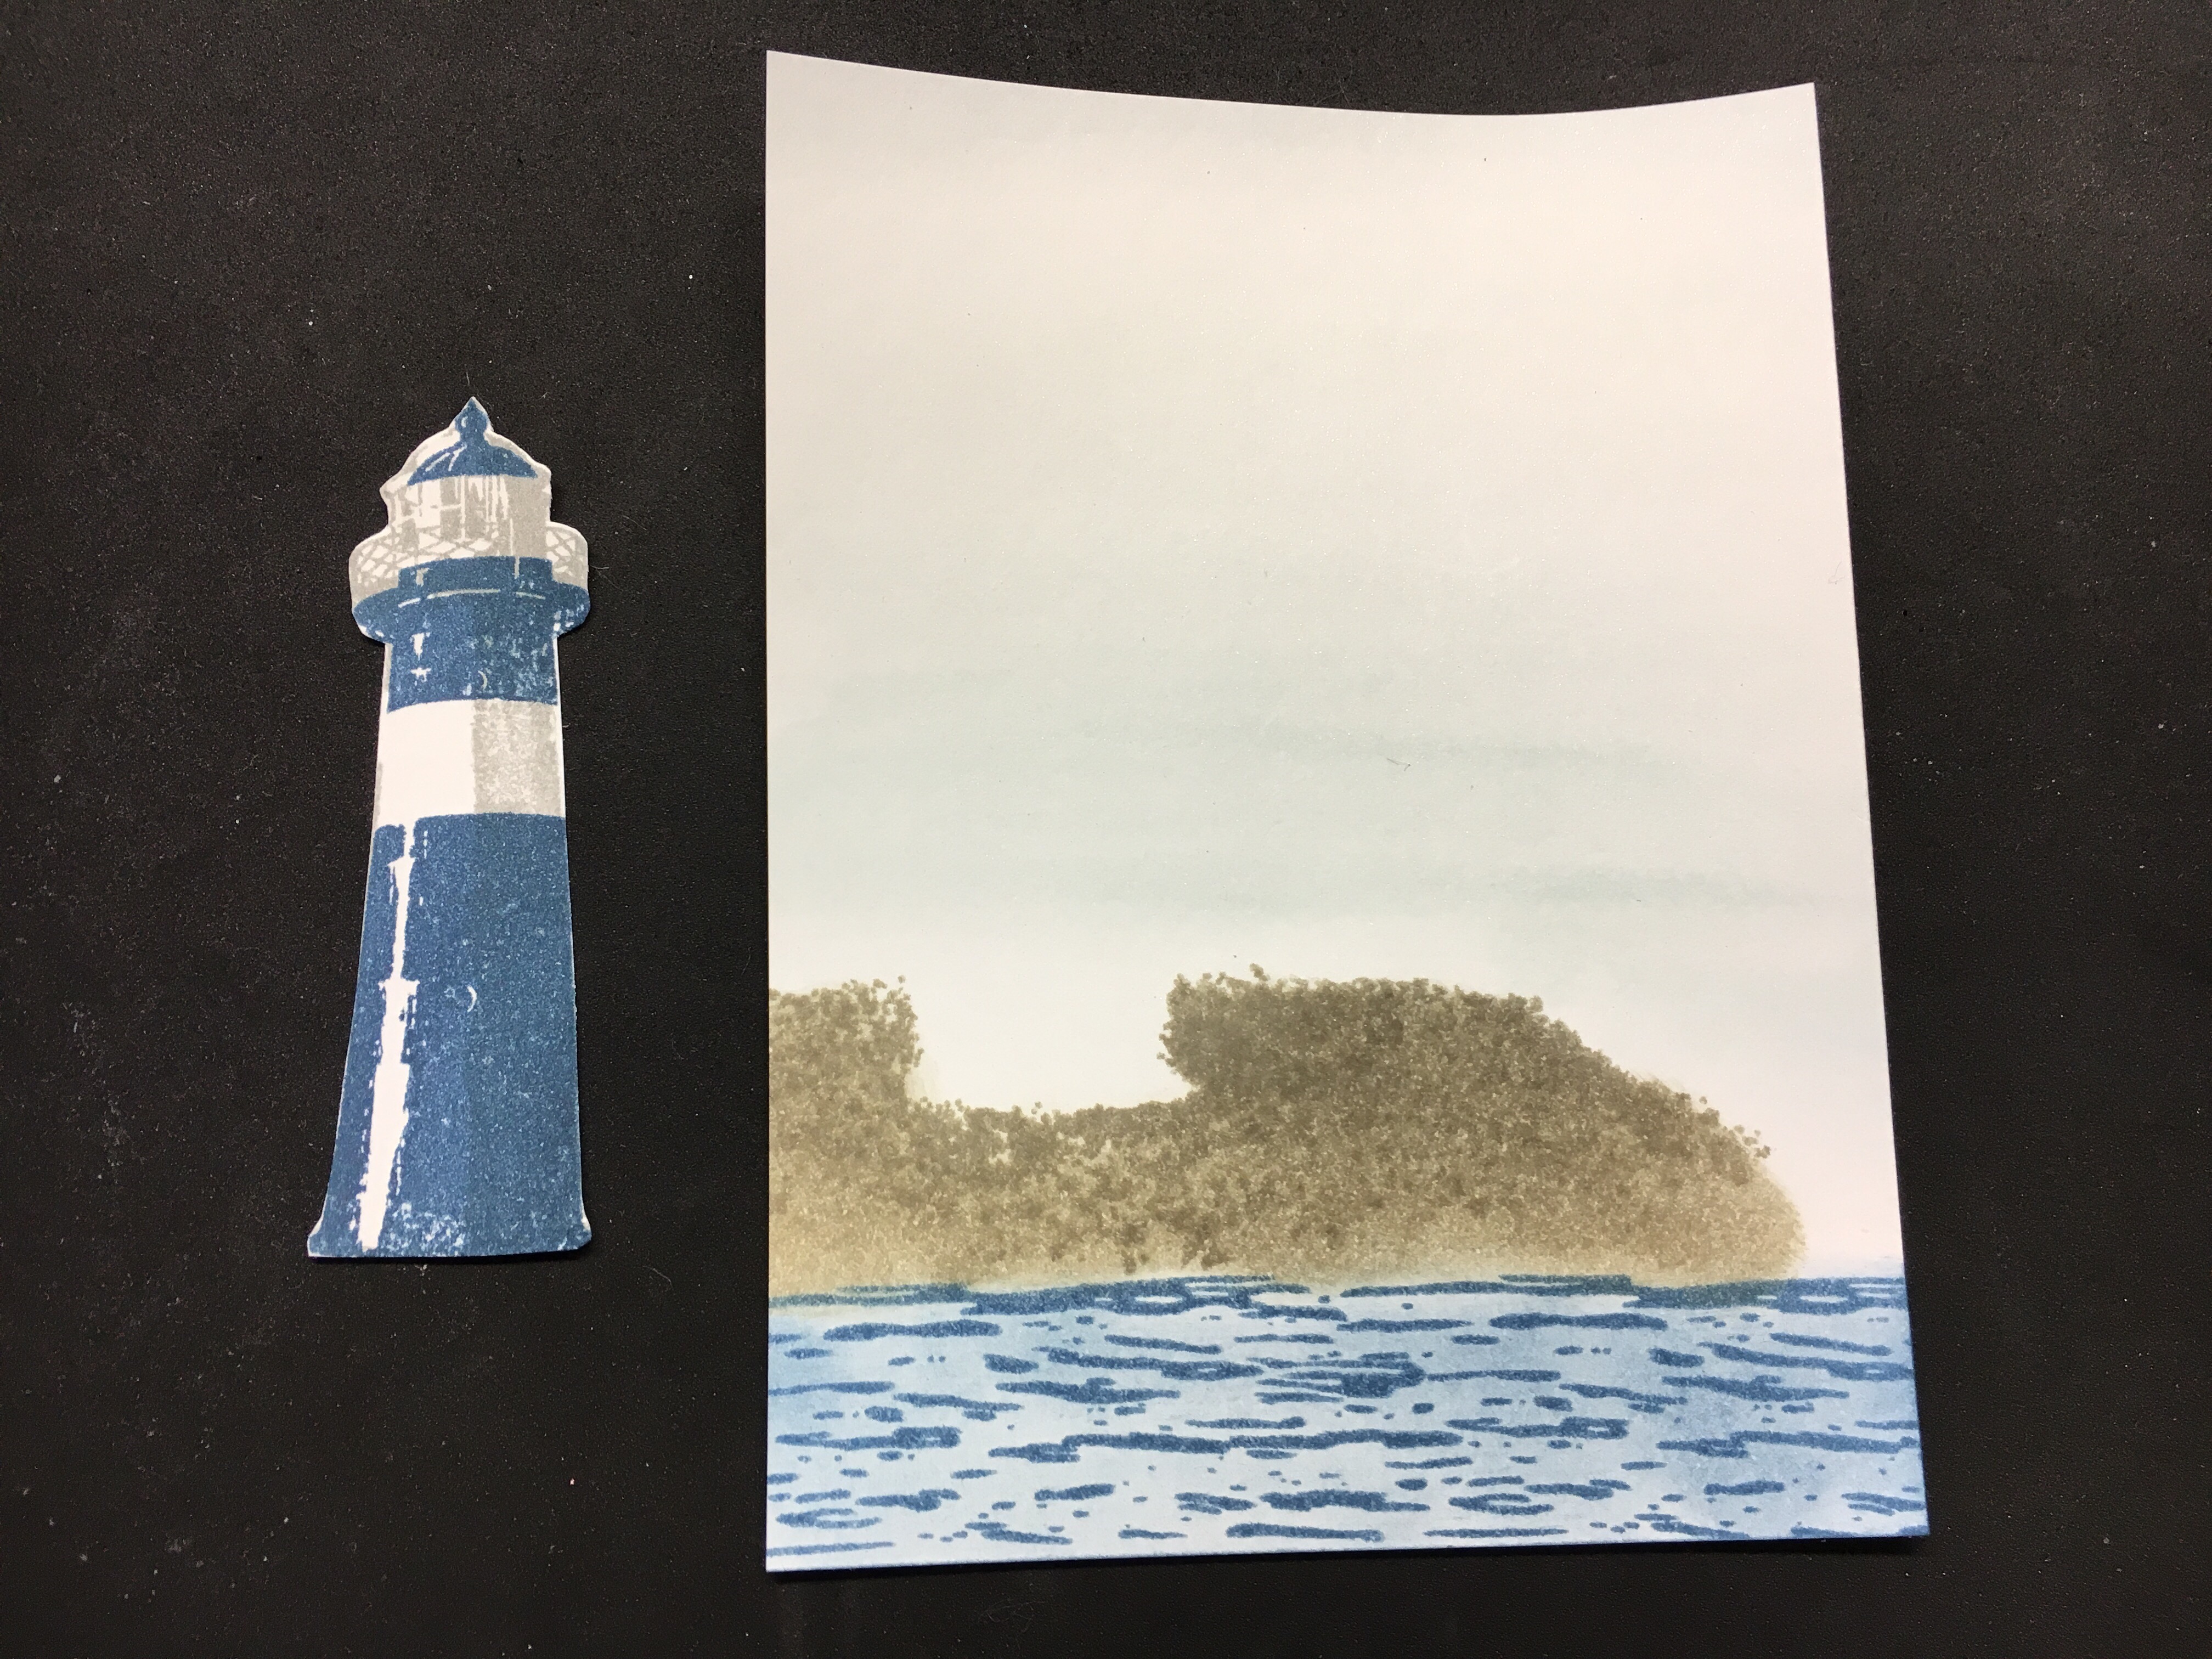
The “base” piece is stamped before folded in half. I did a watercolor wash on the top portion of my card using Soft Sky Ink and my Aqua Painter. I stamped the water with Marina Mist ink then sponged it with a sponge dauber.

img_3141

Adhere the left panel and the right panel of the window piece to the base piece.

Decorate the front of the card as you like.  I used Shimmery White cardstock and did the same watercolor wash, stamping, and sponging as I did on the inside. I used Sahara Sand around the base of my lighthouse. The lighthouse is a two step stamp.  I used Dapper Denim and Smoky Slate then fussy cut the lighthouse.

img_3146

I stamped the sentiment from Crazy About You in Marina Mist and layered this piece on a piece of 4 x 5 1/4 Marina Mist. I wrapped some Linen Thread and tied and bow before adhering it to the card base. It really is a simple card with a WOW factor when you open it! Some simple stamping on the envelope flap and it’s done! (A week ahead…I think this might be a record for me!! LOL)

Stampin Up Fun Fold Tunnel Card using High Tide stamp set. For directions, supplies, and inspiration visit www.juststampin.com

Stamp Sets: High Tide, Crazy About You Inks: Marina Mist, Sahara Sand, Dapper Denim, Smoky Slate, Daffodil Delight  Papers: Marina Mist, Shimmery White  Tools & Accessories: Layering Circles Framelits, Sponge Daubers, Aqua Painter, Linen Thread

During my last alphabet series I had a quiz for the letter Q.  The school year is almost over so it’s time for a test. Let’s have some fun for a chance to win a special treat. (Yes, only a teacher would think taking a test is fun!) Below are some photos from a few of the lighthouses I have visited during our travels. Leave a comment with your answers and I will choose a winner using random.org. Good Luck!

  1. Where was the first lighthouse built in the United States? (Hint: It is the state where I grew up.)
  2. What is the name of the lighthouse pictured below and where is it located? (Hint: It is the tallest lighthouse in the U.S.)

img_3180

3.  Where is this lighthouse located? (What country? Hint: Use your observation skills!)

img_3182

4. What state are both of these lighthouses located? a) Maine b) Georgia c) North Carolina

5. On what island is this lighthouse located? (Hint: It’s the setting for Anne of Green Gables.)

img_3184

6. On which Massachusetts island is this lighthouse located? (Martha’s Vineyard or Nantucket?)

img_3175

7. The location of this lighthouse is one of my favorite places to visit.  Where is it? a) Cape Cod, Massachusetts  b) Cape May, New Jersey  c) Bar Harbor, Maine

img_3178


8. The location of this lighthouse is one of my favorite places to visit.  Where is it? a) Cape Cod, Massachusetts  b) Cape May, New Jersey  c) Bar Harbor, Maine


img_3176


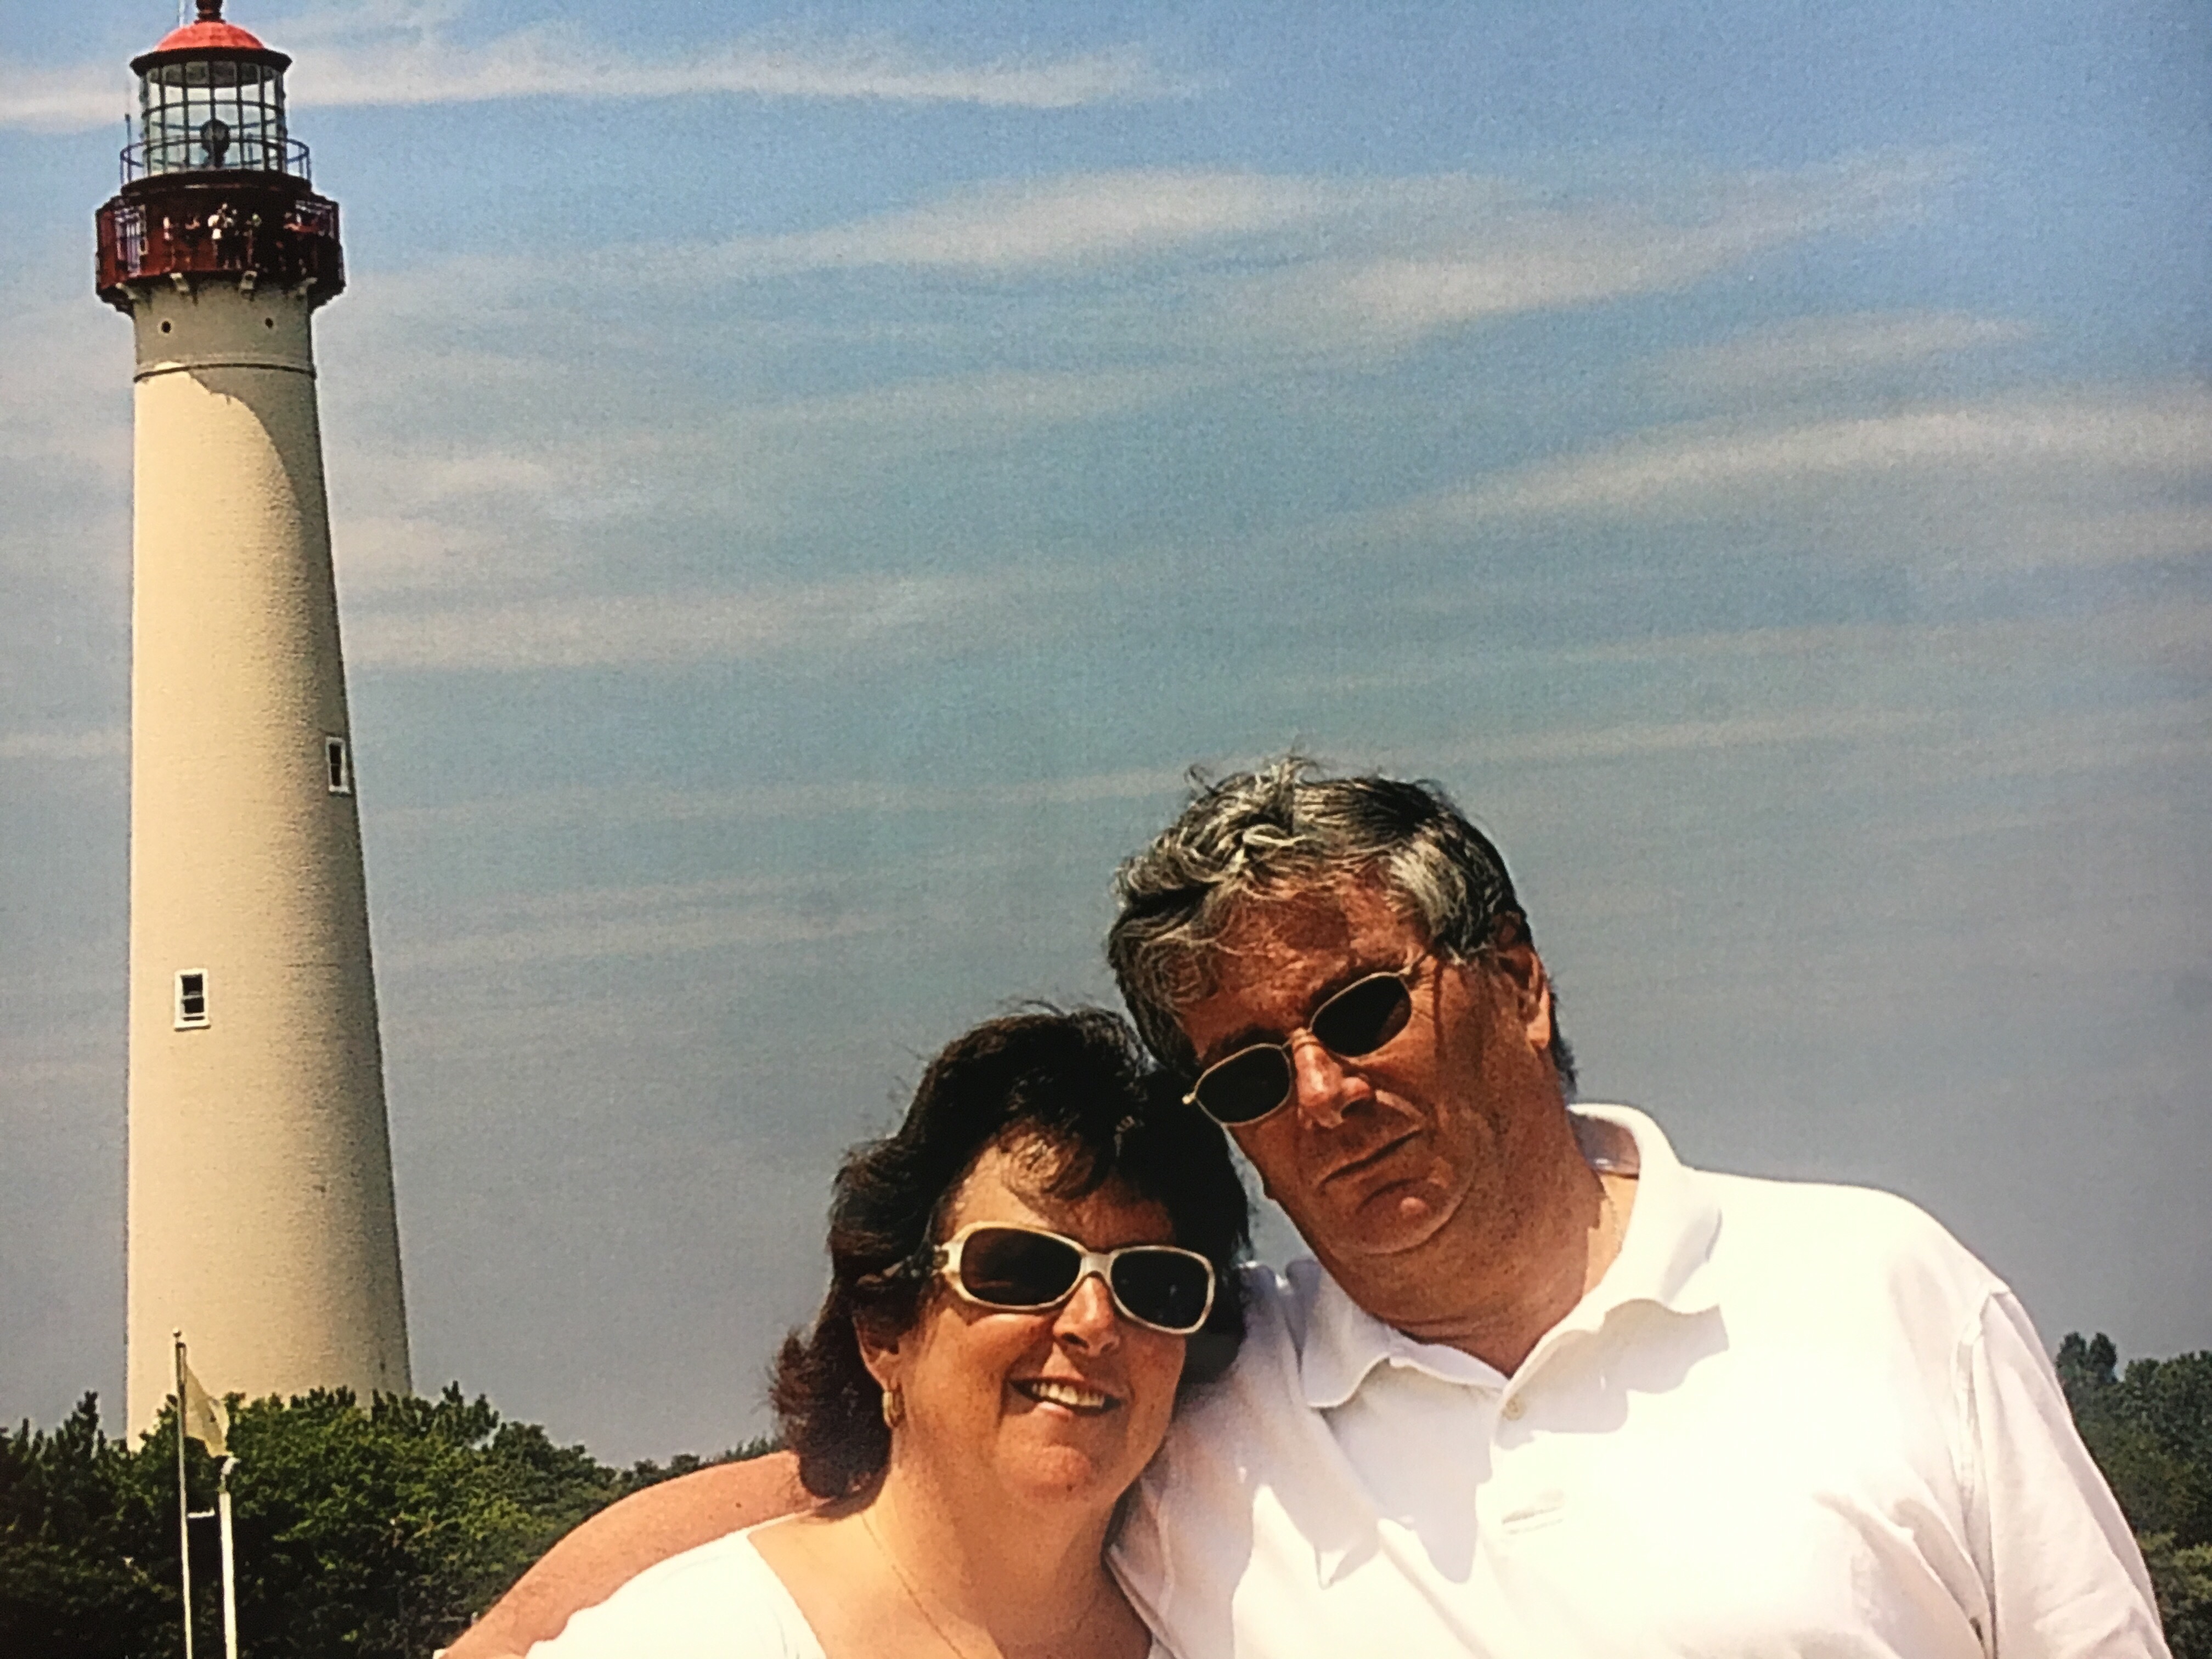
I hope you enjoyed these photos of different lighthouses. I apologize for the quality… I was in a hurry and just took a photo of a photo for these directly from my scrapbooks. (I wish I was a better photographer!)   I hope this inspires you to have fun with the High Tide Stamp Set! Don’t forget to leave a comment with your answers.  I will announce the winner on Monday.  You have until 11 pm (EST) Sunday evening to enter!

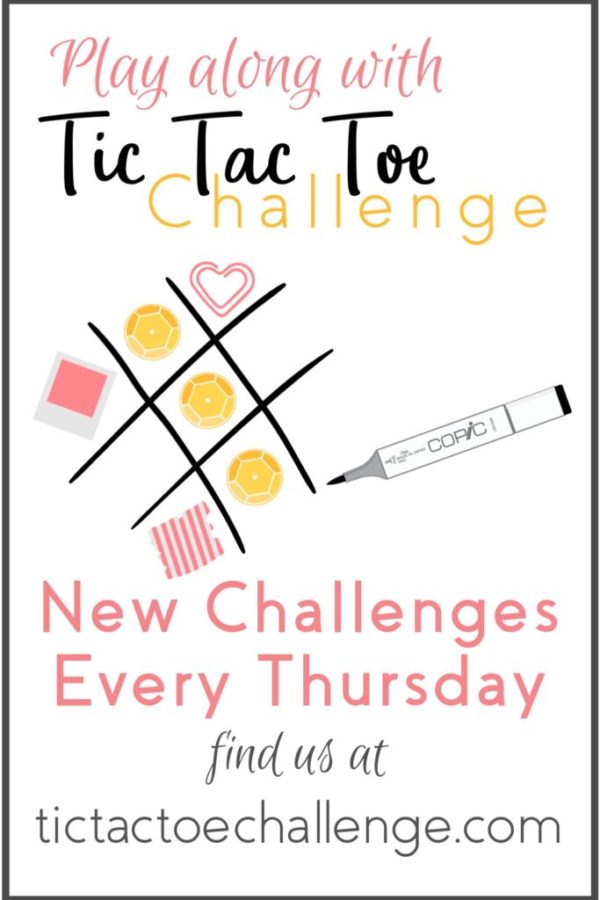
I almost forgot… T is also for Tic Tac Toe! Our very first Tic Tac Toe Challenge begins this Thursday, June 8th! That’s tomorrow! Visit us now to read up on the rules so you are ready to play along with us and s-t-r-e-t-c-h your creativity!


Have a terrific day!

Just Stampin’

Jeanie

*All orders placed through my online store are eligible for my FREE monthly gifts (card kits and more!).  Earn Free ribbon in June. Click HERE to shop. Please use the current host code below.

 Current Host Code: E4KWM7WD


A is for Accordion Fun Fold

Welcome to my ABC’s with Fun Folds series.  I am super excited about this series! I love fun fold cards (and boxes too)! Today I am showcasing an accordion fold card I made for my mom for Mother’s Day.

img_2102

My mom loves red so the color was an obvious choice.  I used the different designs from the Sending Love Designer Series Paper Pack Stack as a backdrop for my letters. My inspiration for this fun fold came from a previous Paper Pumpkin kit a few years back, Layers of Gratitude. The kit contained accordion folded thank you cards and a little box to wrap them in.  I made my card with just 1 piece of 8 1/2 x 11 Real Red cardstock.  I cut 2 strips at 3 3/4 x 2 3/4.  I scored these at 2 3/4, 3 3/4, 5 1/2, 8 1/4. I was left with a strip measuring 1 x 11 which I used for a belly band to hold my card closed. The 8  DSP pieces measure 2 1/2 x 3 1/2.  I cut the letters out from Real Red cardstock using the Large Letters Framelits Dies.

I folded along the score lines in a mountain/valley fold and glued the two strips together by overlapping in the middle.  You are left with 7 spaces to decorate. Simply adhere the DSP then each of the letters. I stamped Happy and Day from the Crazy About You Stamp Set and adhered them with the inside sentiment. I think this will look nice on my mom’s bookcase where she displays photos and some of her favorite things.

I made a belly band with the leftover piece of 1 x 11 Real Red cardstock.  I simply wrapped it loosely around the closed card, cut the excess, and adhered it with Fast Fuse.  I used the Butterfly Basics Stamp Set to stamp and punch the sentiment. I attached it with Stampin’ Dimensionals. It makes such a pretty presentation and a nice surprise when you slide off the belly band and open.

img_2101


img_2102

Stamp Sets: Crazy About You (Retiring), Butterfly Basics  Ink: Real Red  Paper: Real Red, Whisper White, Sending Love Designer Series Paper Pack Stack (Retiring)  Tools & Accessories: Large Letters Framelits Dies, Decorative Label Punch (Retiring)

This is a fun fold you could use for many occasions…you could spell out anything from Welcome to Congrats for a new baby, retirement, graduation, etc.  It could even be used to showcase photographs to keep in your purse or display on your desk or shelf.  So many possibilities with just 1 sheet of cardstock.

Congratulations to Susan K. for guessing the theme of this ABC series!!!  I will send you a pack of Cupcakes & Carousels Designer Series Paper Stack.  The 6 x 6 paper is great to use for today’s project, cards, or the treat holders I showcased HERE! Thanks to everyone who played along!  I had so much fun reading your responses and I got lots of great ideas for future ABC series.  I hope you will enjoy this series as we work our way through the alphabet with some fun folds! I shared that my inspiration for today’s accordion fun fold came from one of my Paper Pumpkin kits.  Well, here’s your chance to start your own Paper Pumpkin subscription and SAVE 25% off your first 3 months!

Paper Pumpkin Creativity promo

Stampin’ Up! has a new promotion for first time Paper Pumpkin subscribers…You can SAVE 25% on your first three months! What a great Mother’s Day gift for yourself or your mom.  Better yet, start a subscription for both of you and enjoy doing it together!!  It’s one of those gifts that’s great for all ages. (My subscribers range in age from 9 – 90!) Here’s the details…

Here are the details:

  • For first-time subscribers only.
  • Subscribers must join between Thursday May, 11 and Saturday, June 10, 2017; 11:50 PM (MT) .
  • Available for month-to-month subscriptions, not prepaid subscriptions.
  • Discount applied to one kit per month for the first three months of a new subscription. After that, the price for each month’s kit will return to the regular price of $19.95.
  • Enter the promo code, STARTHERE, at PaperPumpkin.com to subscribe.
  • Keep in mind that unless you cancel, your membership will continue at full price after the first three discounted months.

Let me know if you have any questions.  I would love for you to be a part of my Paper Pumpkin Players! Check back tomorrow to find out what new fold I have for B!

Have an Awesome day!

Just Stampin’

Jeanie

*All orders placed through my online store are eligible for my FREE monthly gifts (card kits and more!).  Click HERE to shop. Please use the current host code below.

 May Host Code:  K64KSNRE

You Amaze Me

Stampin Up Rose Garden Thinlits card idea - Jeanie Stark StampinUp

Delayed flights and icy road conditions did not prevent our family reunion yesterday!  My daughter made it home from college and I am looking forward to the next 3 weeks!! I made this card for her and chose the perfect sentiment. She is amazing and I am one proud mama! (She just completed her first semester at Georgia Tech with all A’s!)

Her favorite color is purple so I chose Elegant Eggplant for my card base and die cut flower. I used copper foil and copper embossing powder to coordinate the sentiment with the Petals & Paisleys Specialty Designer Series Paper. I love the copper foil in the design.

Stampin Up Rose Garden Thinlits card idea - Jeanie Stark StampinUp

This card went together quick.  I used the Fine-Tip Glue Pen to adhere the die cut flower and word and popped the sentiment layer with Stampin’ Dimensionals.  I did not need to make a matching envelope as this card was beside her bed when she got home.

img_7488
Simple and elegant card for an amazing young lady

Stamp Set: Crazy About You  Ink: VersaMark  Papers: Elegant Eggplant, Very Vanilla, Gold Foil, Petals & Paisleys Specialty Designer Series Paper  Tools & Accessories: Hello You Thinlits, Rose Garden Thinlits, Gold Embossing Powder, Heat Tool, Stampin’ Dimensionals, Fine-Tip Glue Pen

If you like this project and want to order the supplies needed to make it yourself, please feel free to contact me.  Also, you can visit my online store to order any of the project supplies needed and save on great deals during the Stampin’ Up! year-end closeout sale.

year-end-closeouts-blue

Have a wonderful day!

Just Stampin’

Jeanie