T is for Stampin’ Trimmer

Welcome to my ABC’s of Stampin’ series!  Yesterday I left you with a teaser for today. I’m so glad you stay tuned as I have a real treat for you!  Before we take a look at the Stampin’ Trimmer and tips for using it, I want to share with you my Favorite Background Stamp that I did not tell you yesterday…it’s Merry Medley!  This stamp has so many cool sentiments that I thought it could be more than just a background stamp. In fact, when I started playing with it yesterday, I decided that I would offer this stamp with my Stamp of the Month Kit.  You can preorder this  kit from me now through September 29th. The kit includes the Merry Medley stamp, Cherry Cobbler & Garden Green Stampin’ Write Markers, and all the supplies…card bases, envelopes, ribbon, cardstock, Designer Series Paper, die cuts, embossed pieces (precut and ready to stamp and assemble) to make 5 cards and a 3D project (mini notebook)!

img_4537
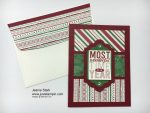
Merry Medley Stamp of the Month   October 2016

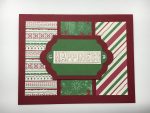
All the sentiments used on these projects came from just 1 stamp! Take a look.

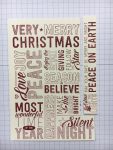
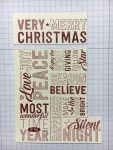
I inked it up and stamped it on Very Vanilla cardstock.  Then I  used my Stampin’ Trimmer to cut it up to make all the different sentiments for my cards! Here’s a tip for inking up large stamps like this one: Turn the stamp over and tap the ink on top of the stamp. It is easier to get good coverage that way. I love how some of the sentiments are open for you to color. I find it very relaxing to color!

I couldn’t have cut these pieces so precise without my Stampin’ Trimmer. Here’s a short video from Stampin’ Up! highlighting it’s features.

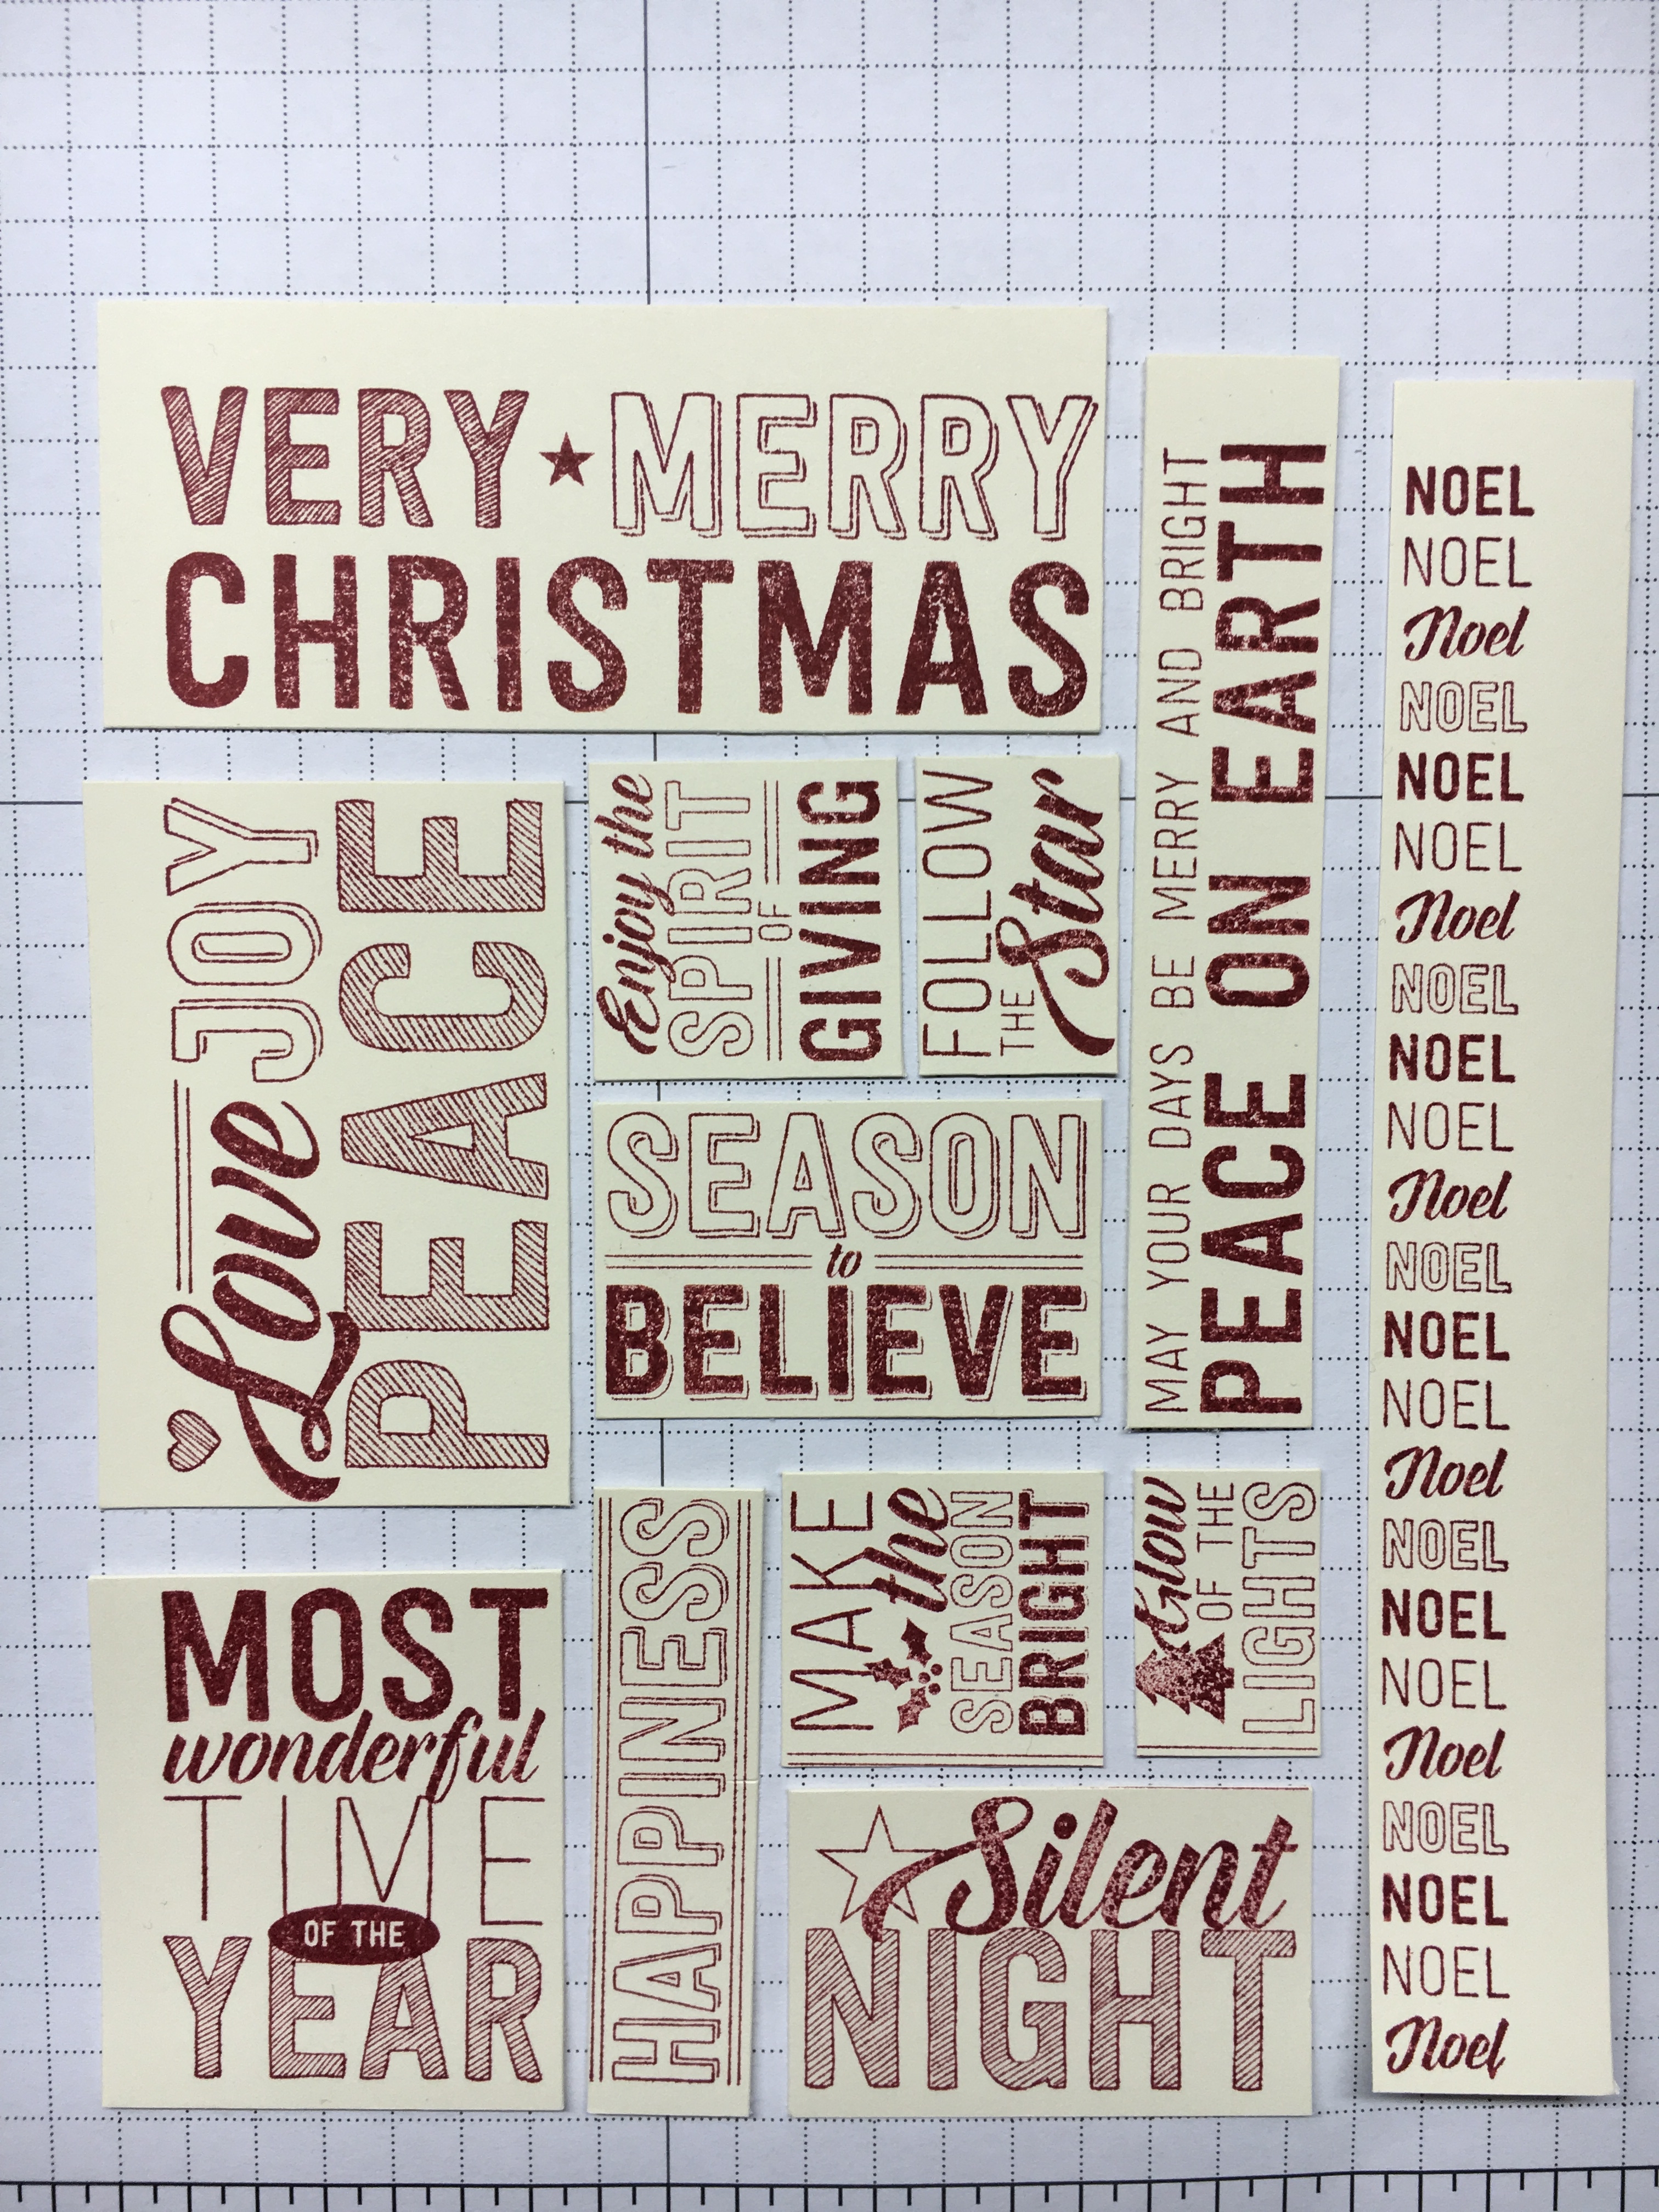
Here’s a visual for you showing how I cut the sentiments apart step by step.
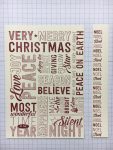
img_4503

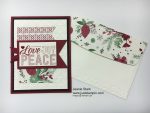
How cool is that! You get 12 different sentiments to use on cards, tags, etc. Here’s the 5 cards you’ll make from the kit.

Here are some alternate ideas you could do using different sentiments.

You will make just one of the mini notebooks. The tag is included as a Bonus; however, the  sentiment shown on the tag is used on one of the cards above.

The cost of the Merry Medley Stamp Kit is $40 (Merry Medley clear mount stamp and set of 2 Stampin’ Write Markers are included with the kit).  Note: If you prefer the wood mount Merry Medley stamp the cost is $45. Email me (j.stark@myactv.net) by September 29th  with “Merry Medley Kit” in the subject and I will send you a PayPal invoice.  Be sure to include your shipping address! I will order the stamp set and markers and precut everything for your kit. You will just need ink (Cherry Cobbler or Garden Green), adhesive and trimmer.  I will send you a file with all the directions when I ship your kit.  Just think, you can get a head start on some fun Christmas cards to use or give as a gift to someone else.  I make Christmas cards for my mom to send out and I like the way this has different sentiments you can send to each person.  And I love the little notebook!  I keep one in my purse all the time and I have made a bunch to give as gifts. So, do you have a favorite card from today?  Leave me a comment.  I always enjoy hearing from you!

Have a Terrific Day!

Just Stampin’

Jeanie
H is for Heat Embossing

Welcome to my ABC’s of Stampin’ series.  Today I am going to share the magic of heat embossing.  It is fun to do and really steps up your project with just a few simple steps.

img_4231

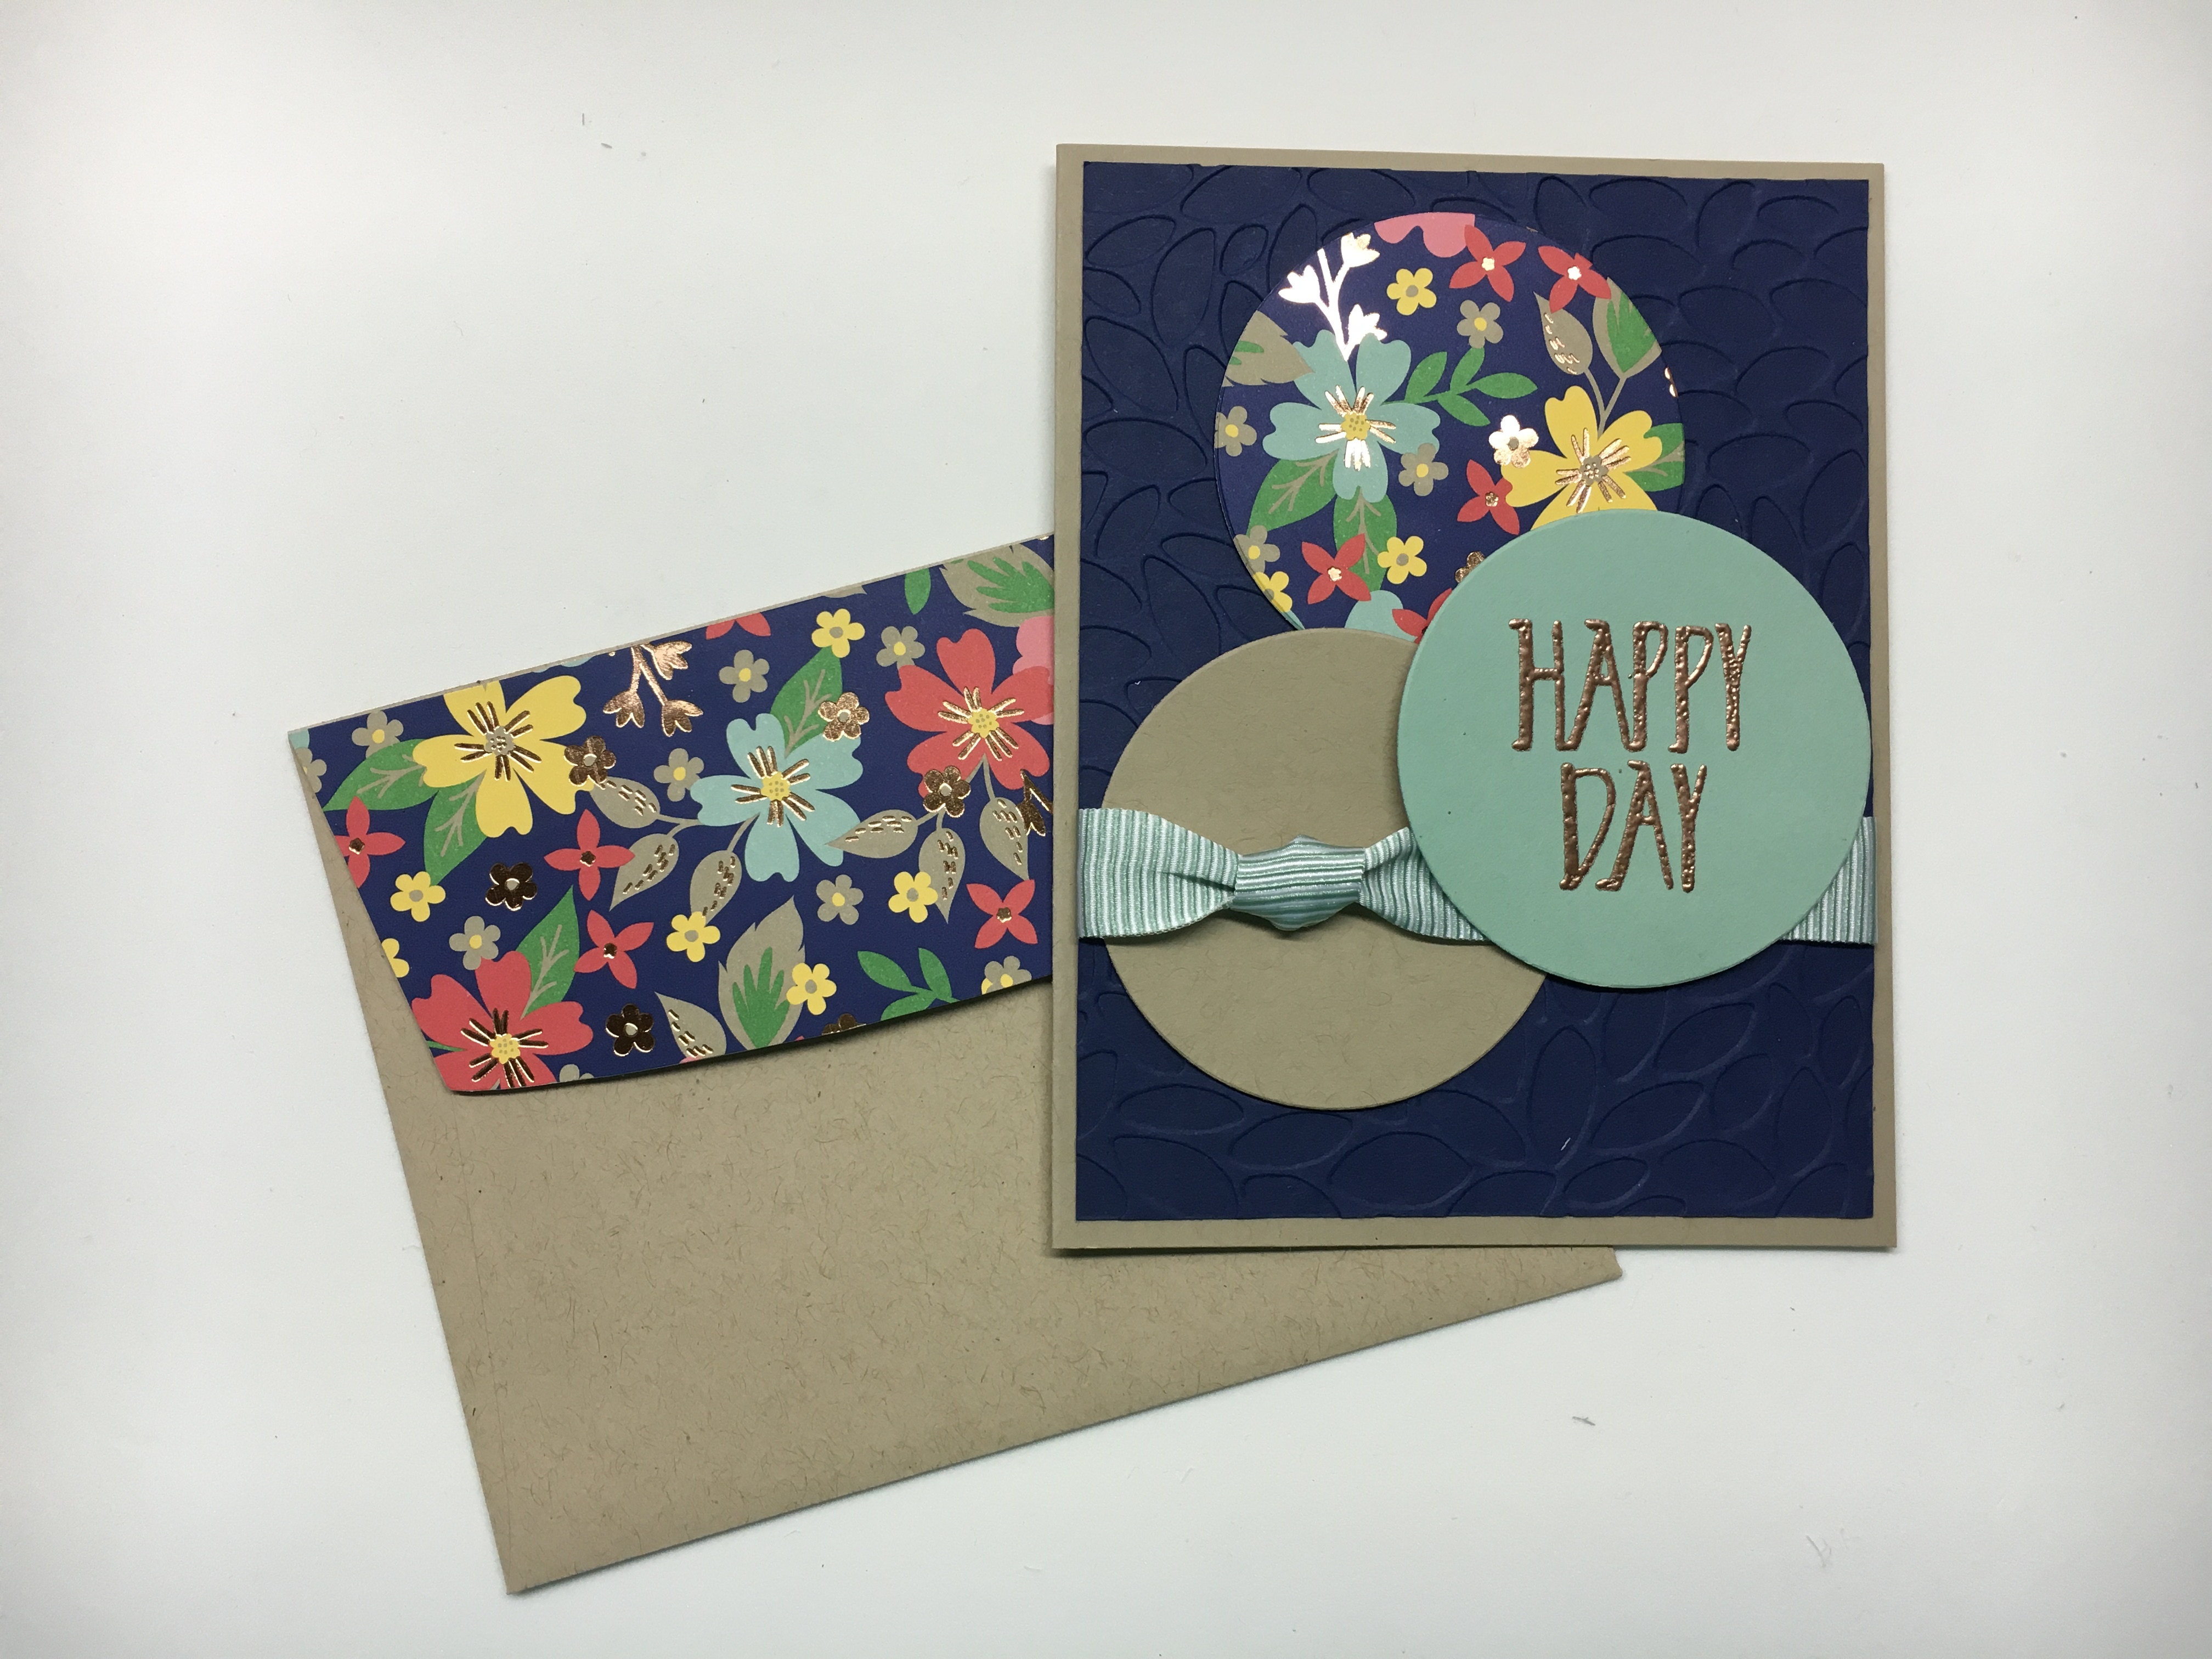
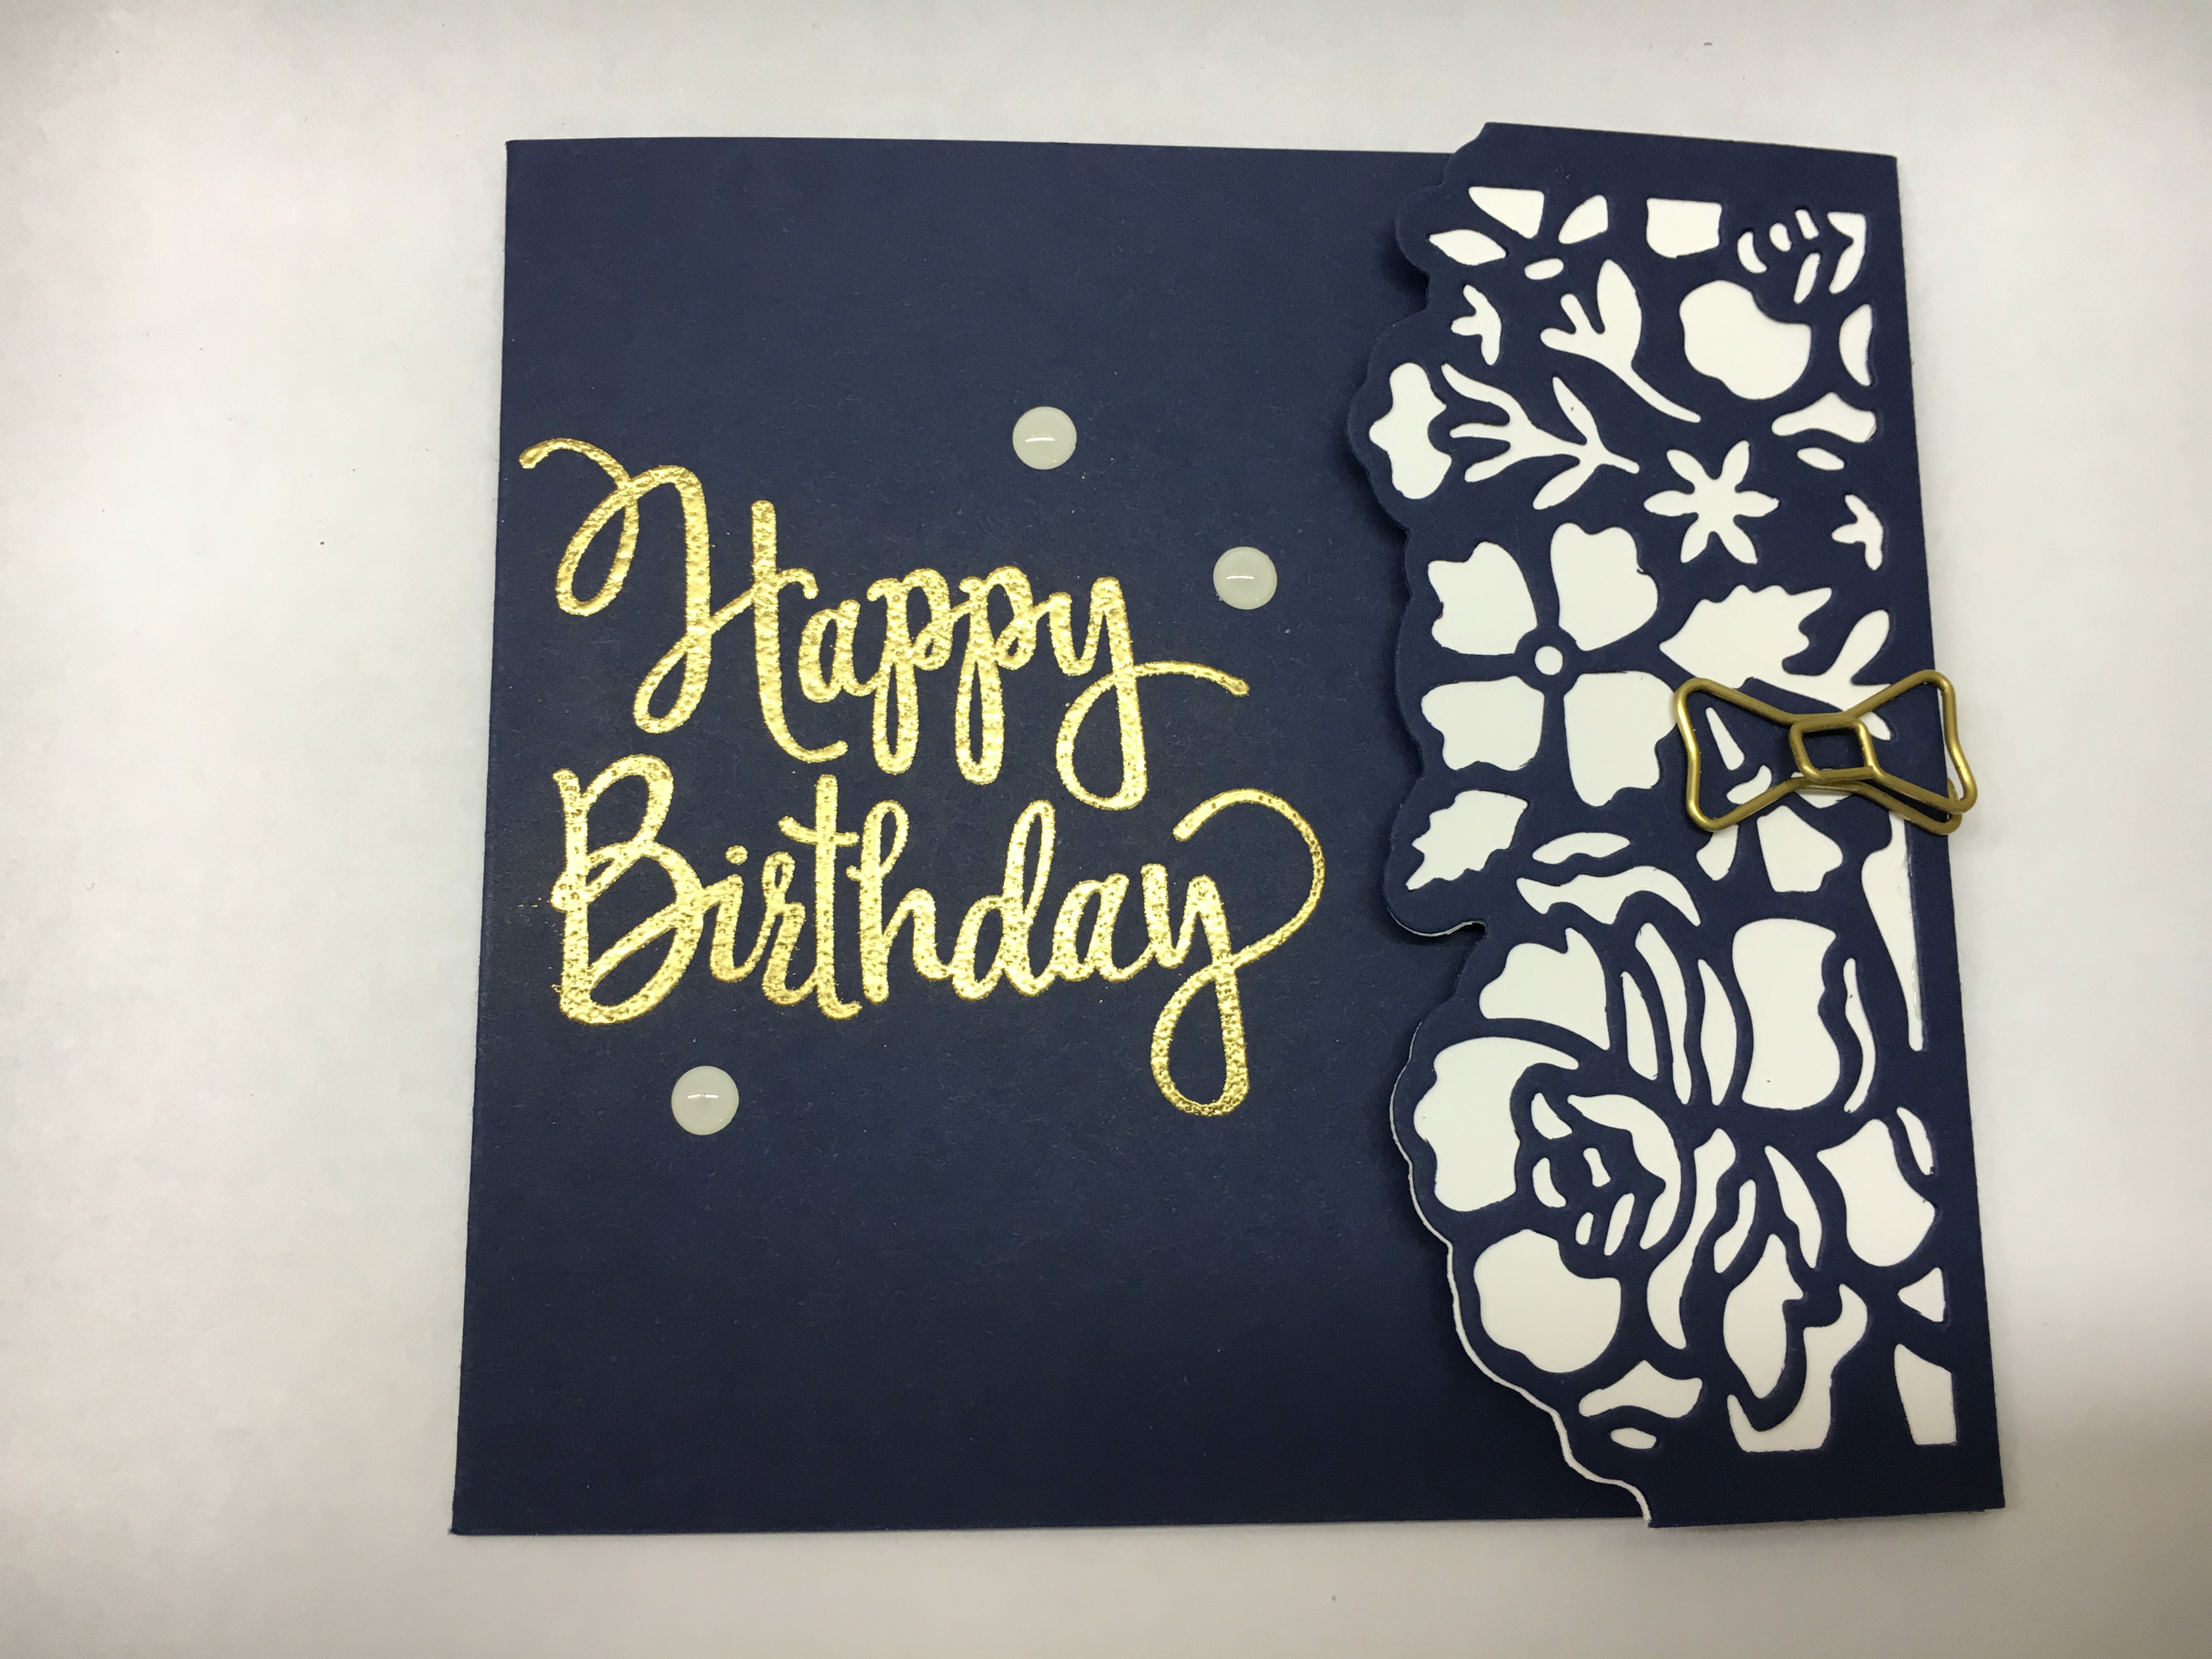
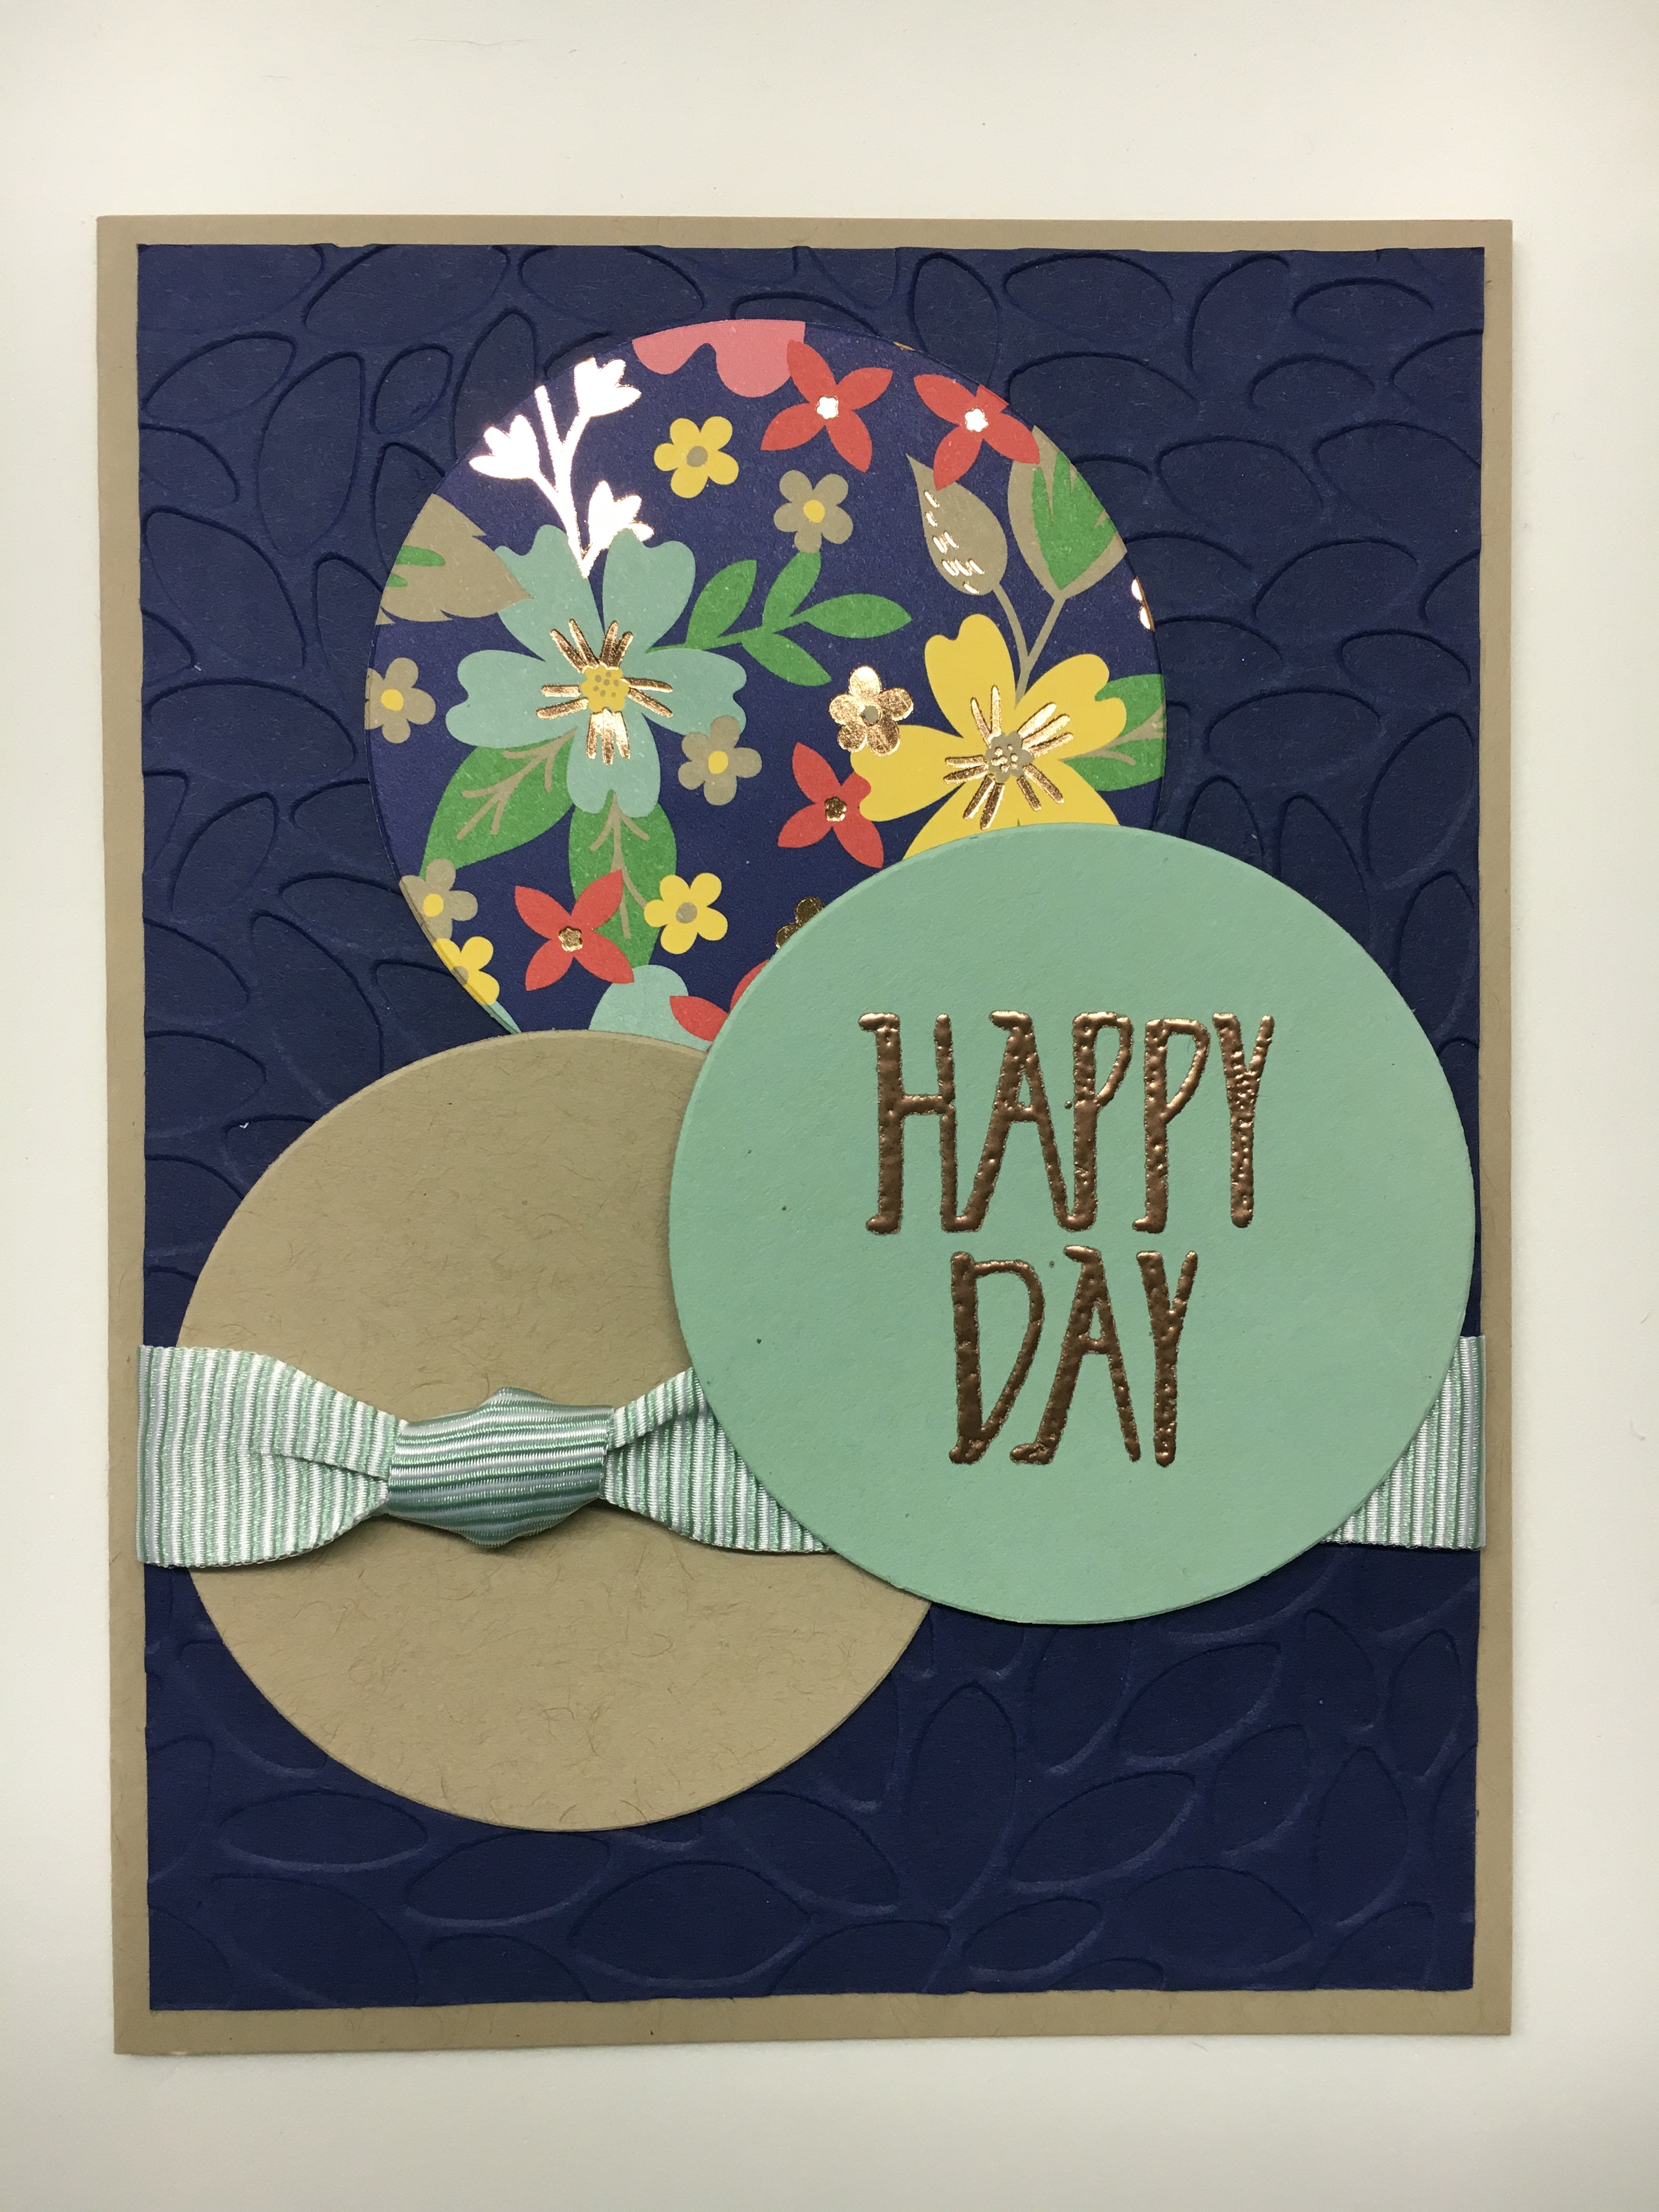
I have used this card design many times. (What can I say, I love circles!) This card is another example of taking a “formula” that works and going with it. The Layering Circles Framelits made it quick & easy to cut out the circles. I pulled my colors from the Designer Series Paper, Affectionately Yours.  I love the copper foil in the print so I used the copper embossing powder to heat emboss my sentiment from the Perfectly Wrapped stamp set. I popped up the sentiment with Stampin’ Dimensionals. I love the In Color mini striped ribbon and just tied a simple knot and adhered the ribbon on the back. The Night of Navy cardstock is emobssed with the Petal Burst Textured Impressions Embossing Folder and adhered to a Crumb Cake card base. I lined the envelope flap with matching DSP to complete my card. Happy Day!

img_4238

Watch this quick video from Stampin’ Up! to see how to turn stamped images into glossy raised designs with heat embossing!

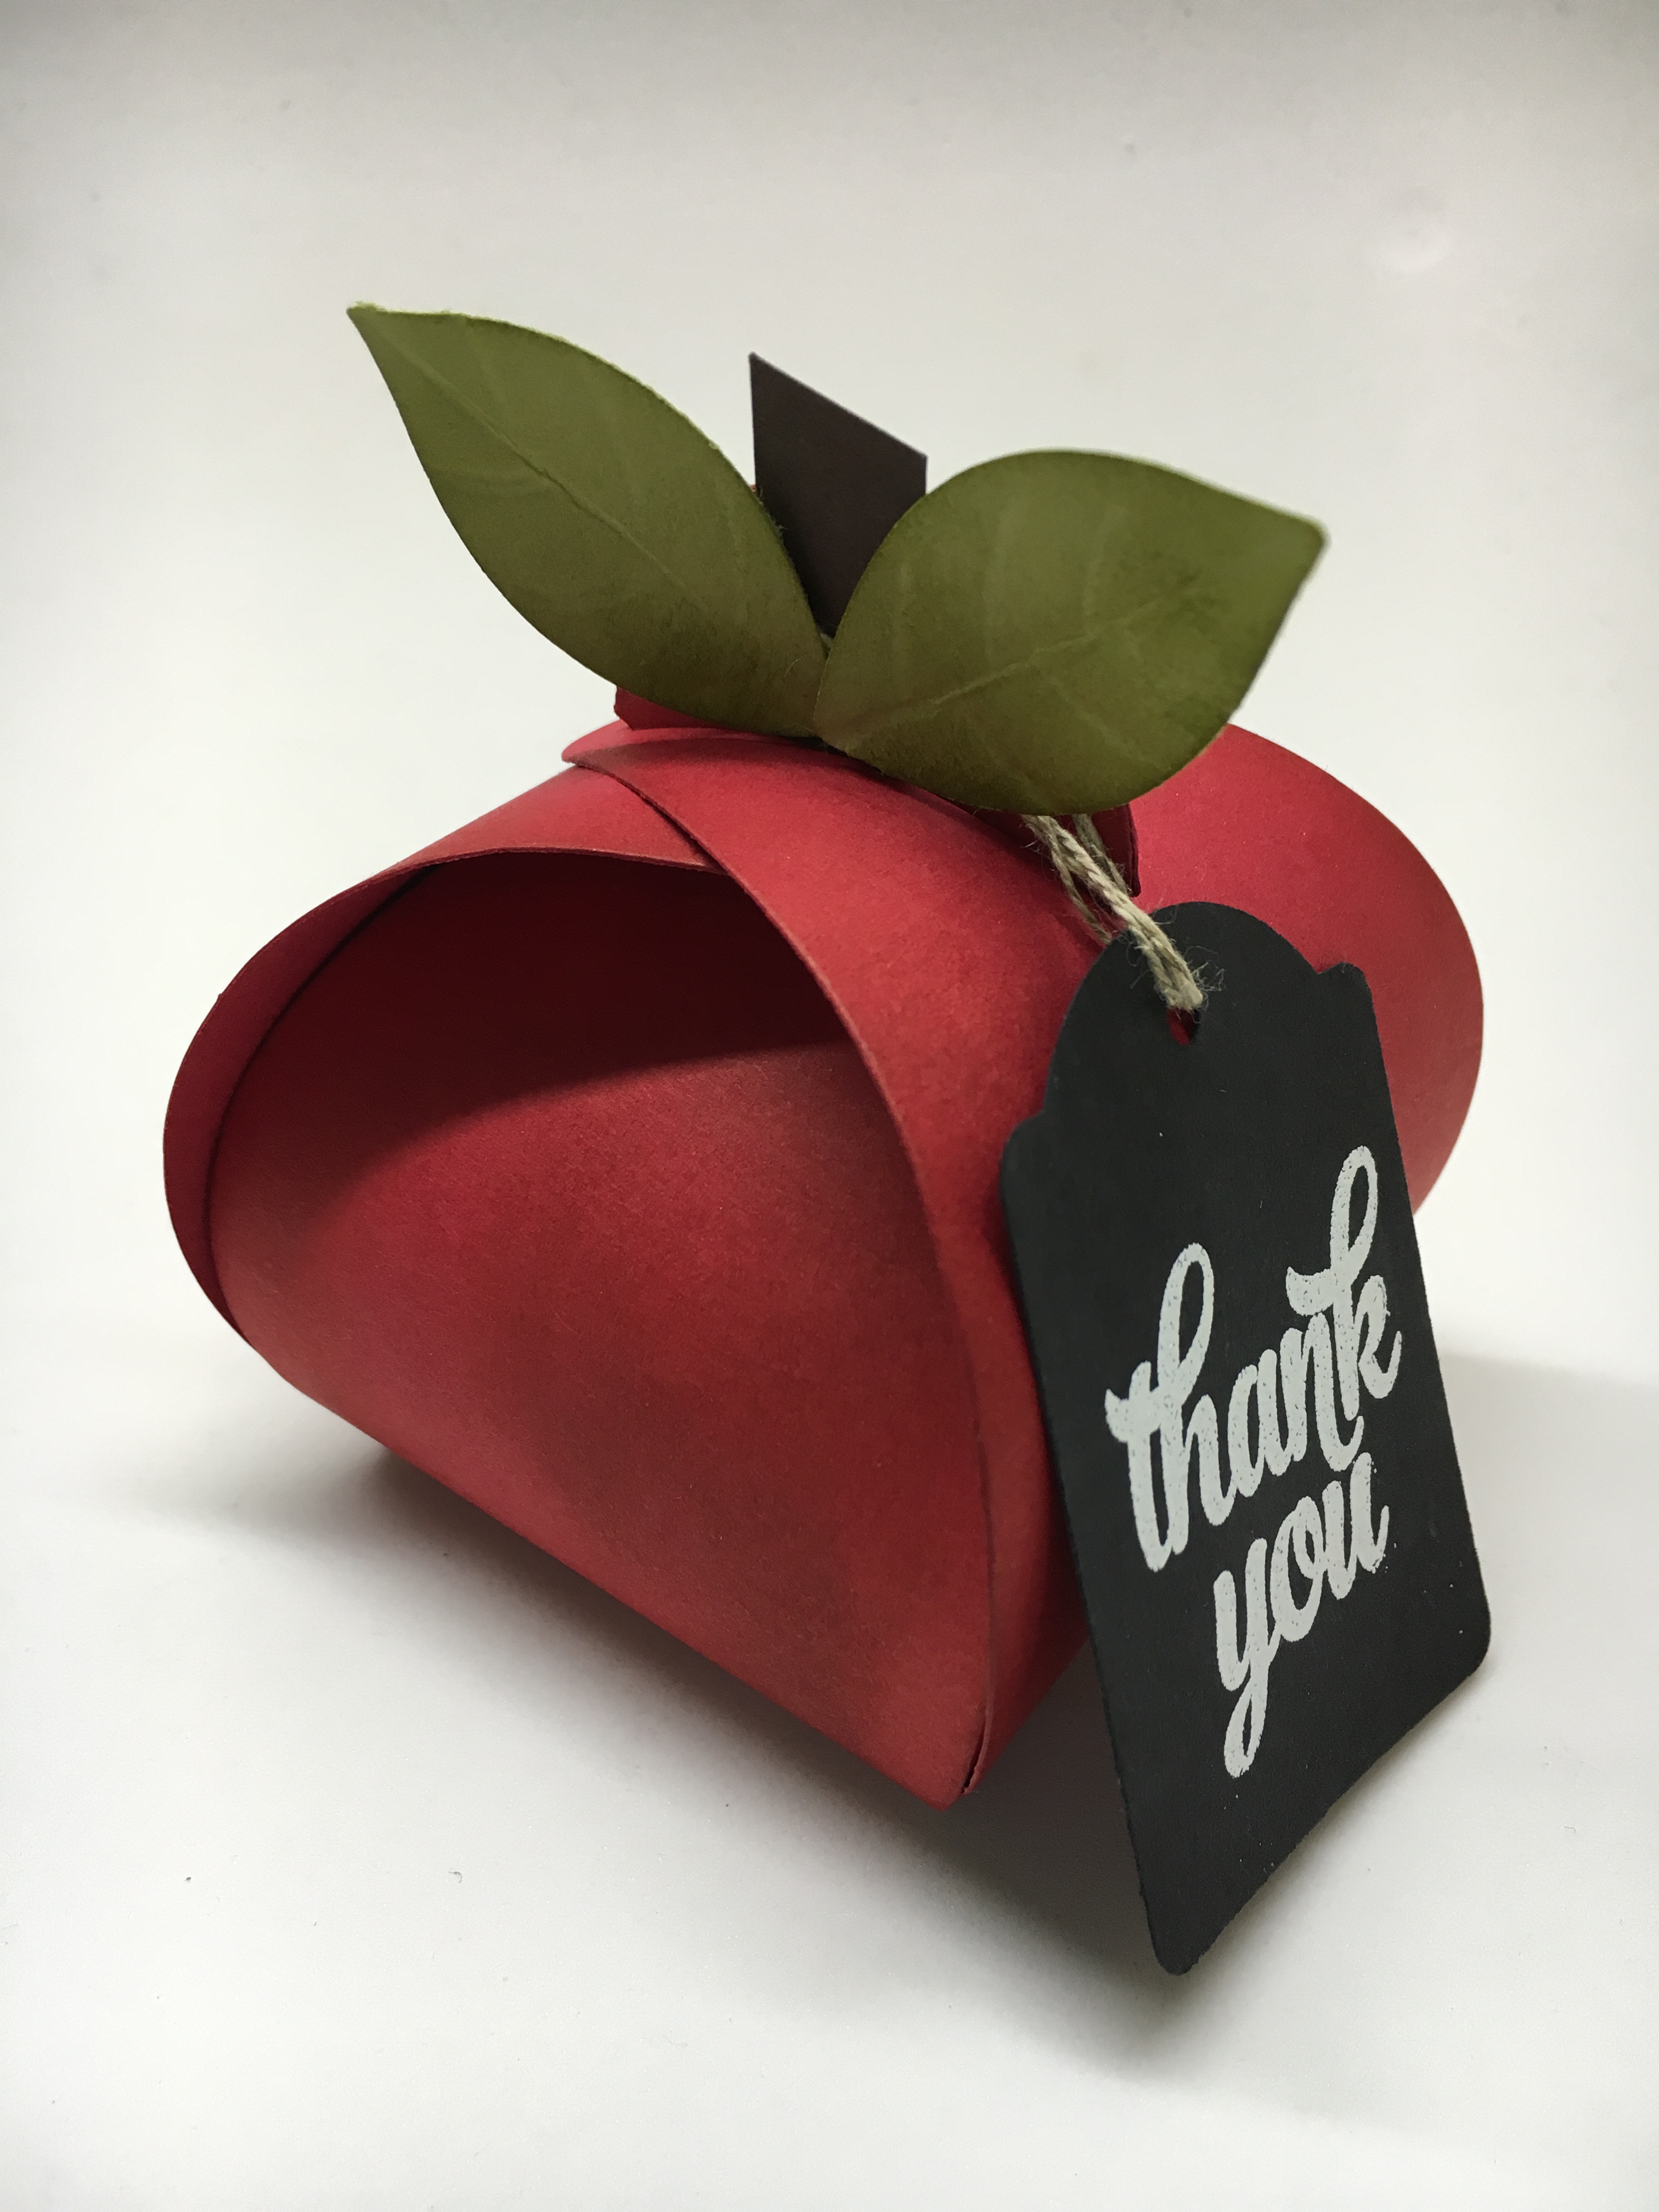
Remember those curvy keepsake apples I made during my Back to School week?  I heat embossed a tag with white embossing powder on black cardstock before giving them to my student helpers.

img_4228


Here’s another card I made using the heat tool and gold embossing powder.  You can click on the image to see the details.

img_3185

I say Hooray for Heat Embossing! Here’s my Back to School Special for today…Get a FREE Stampin’ Emboss Powder of your choice with a purchase of $50 or more (before tax & shipping) from my online shop. Remember to use the Hostess CodeVS23B4FP  when you check out. (I’ve included a visual below to show you where to enter the hostess code.)  Click HERE to go to my online shop to see the heat tool, embossing powders, and more.

Have a Happy Day!

Just Stampin’

Jeanie

special-offers

G is for Gift Giving

Welcome to my ABC’s of Stampin’ series. Today we’re getting geared up for the holidays. When it comes to Gift Giving, Stampin’ Up! has got you covered!  From ready to go gift boxes and bags to making special custom gift holders you can find it all right here!  And I will show you how!

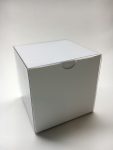
These 3 x 3 x 3 White Gift Boxes are in the Holiday catalog and come with acetate sleeves. They are food safe which makes them great for some yummy cookies to give to friends or neighbors.  They are also big enough for a beautiful holiday candle for that special hostess.

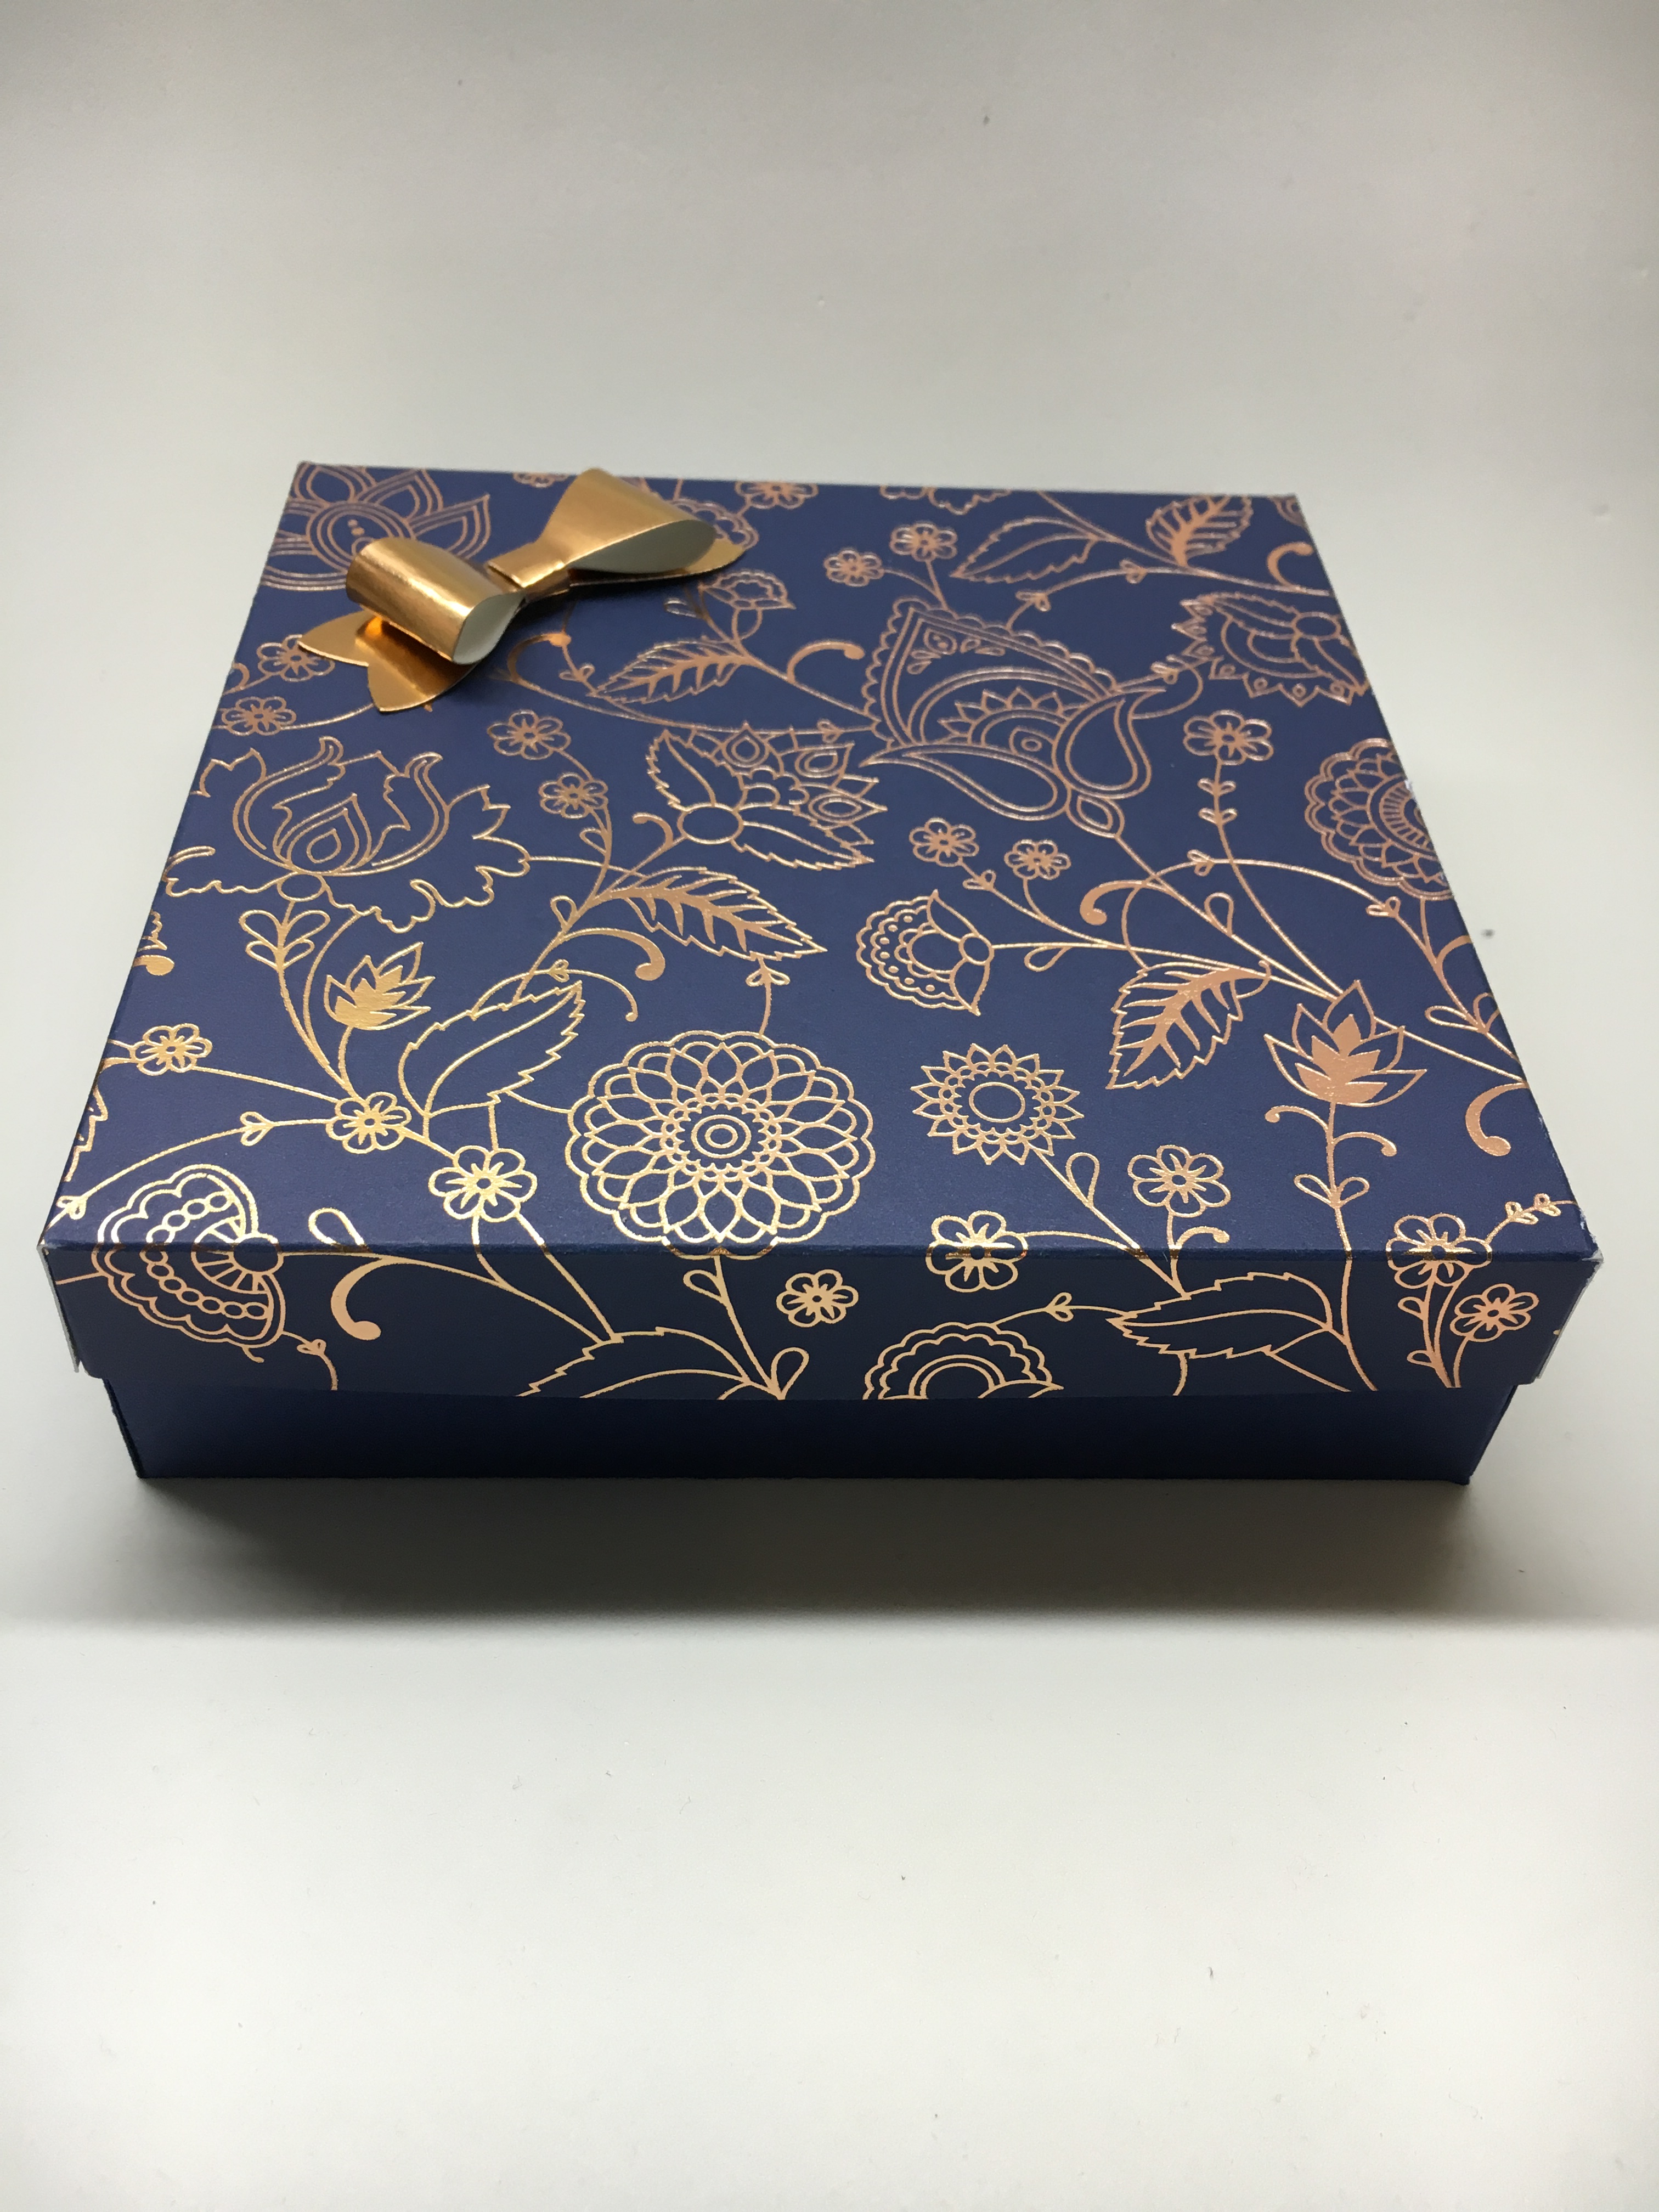
With the right tools, you can make your own gorgeous gift boxes for different sized gifts. Here’s one I made with cardstock and Designer Series Paper using my Personal Trimmer.

img_4198

I have a GREAT video from Stampin’ Up! to share with you to show how to make your own gift boxes like I did above.  I learned some great tips (Do you know how much is a smidge?  LOL)!!!  It’s a bit longer than usual but well worth watching!  FYI…You can just watch the first 9 minutes to see how I made my gift box. It is so so easy to do!!! (Of course, I won’t tell if you don’t!!)


You can also add a fun element to gift packaging using the Gift Box Punch Board. You can create containers just right for that special gift.  Use with cardstock or Designer Series Paper to create boxes up to 4″ on each side. (Sizing chart printed on board.)  Check out this video.


Instead of buying bags for small treats and gifts, create them in a variety of sizes using the cardstock and Designer Series Paper of your choice.  You can make bags 2″ deep, up to 3 5/8″ wide, from 4″ to 10″ tall using the Gift Bag Punch Board. Check out this video to see how it works!

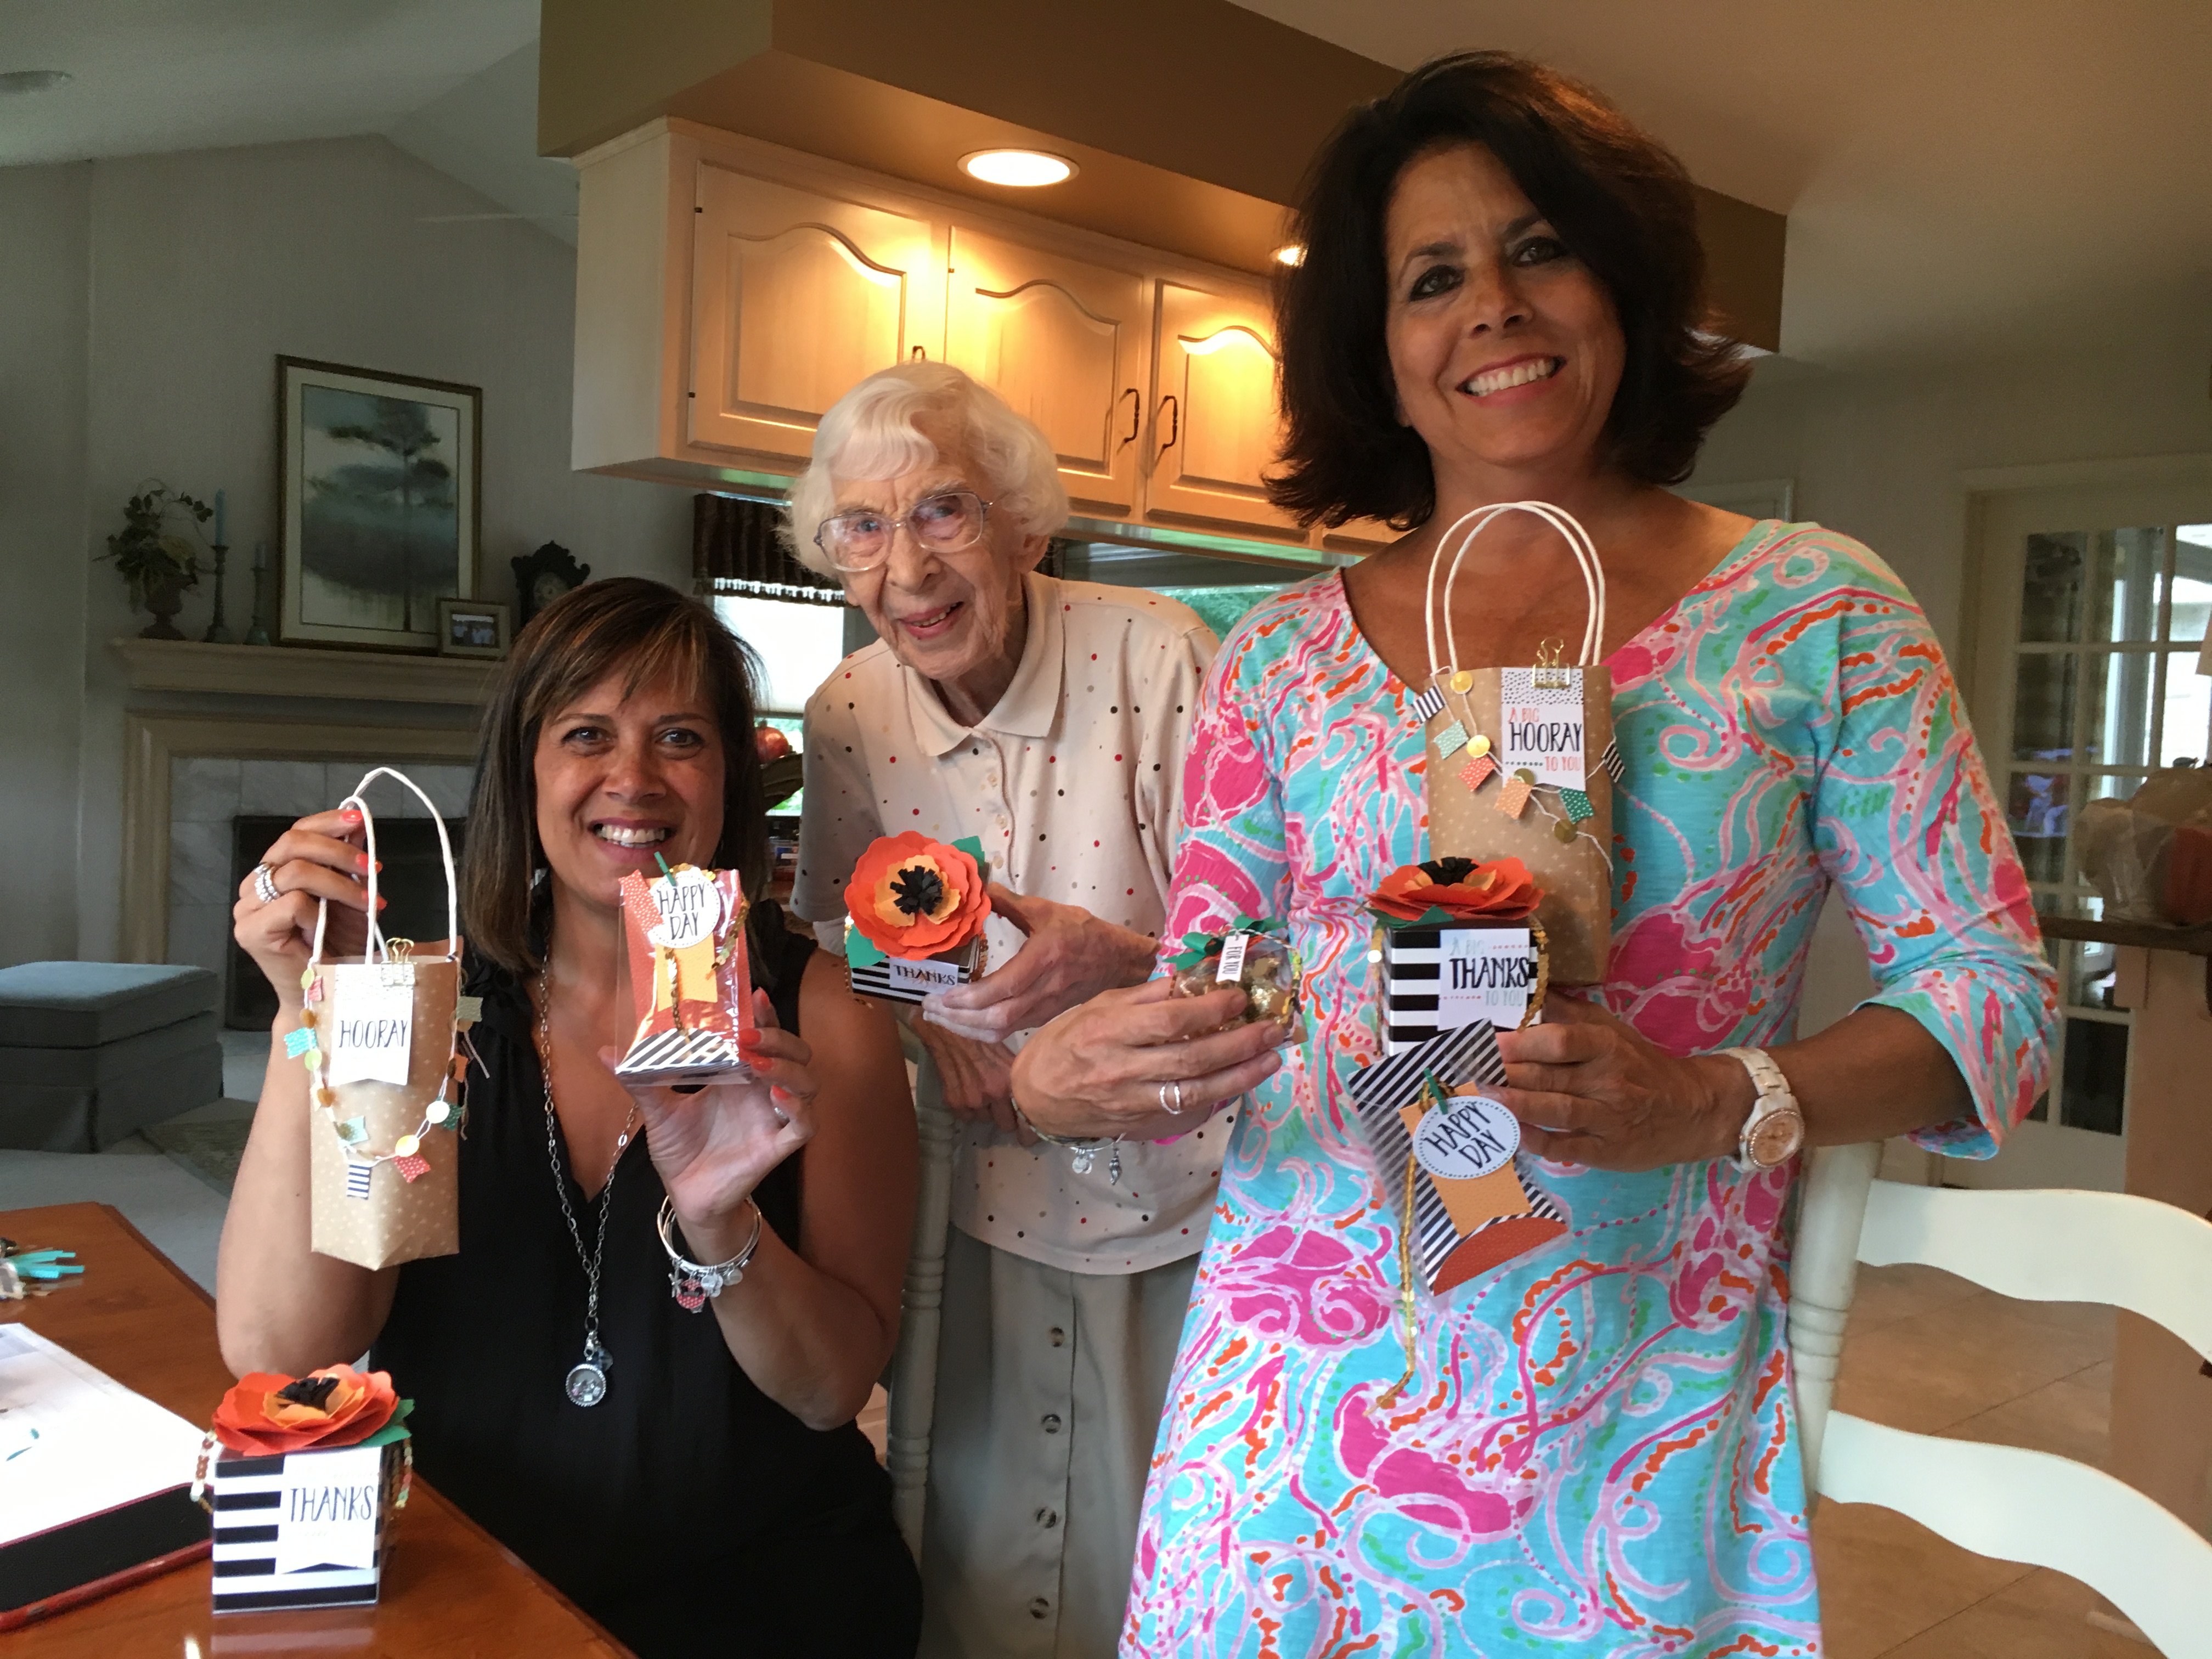
Another option to help you with your gift wrapping is the Perfectly Wrapped Project kit.  I recently held a class using this kit and the ladies LOVED their projects.

img_3226

With the holiday season coming up you are going to want to get a head start on your gifts. Shop HERE to purchase one of these amazing tools today and get busy creating gifts from the heart! As a special thank you for purchasing from me today, I am offering a Back to School Special…With the purchase of any of the gift making tools featured (Gift Box Punch Board, Gift Bag Punch Board, Personal Trimmer, or Perfectly Wrapped Project Kit) I will send you a set of handmade tags.  You can use them as samples to make your own tags or put them on your gifts ready to go!  In addition, with a purchase of $50 or more (before tax & shipping) I will send you 10 sheets of 12 x 12 card stock to get your gift making started! You can also purchase Gift Certificates through me and make gift giving simple and great!

What’s on your wish list?  Email me your wish list along with names and email (or phone #) of who you would like me to share your wish list with and I will put on my crafty elf hat and be Santa’s helper. (See I really have a crafty elf hat…a gift from one of my students. 🙂

img_4189

I will send you a little gift just for sending me your wish list!  Email me: j.stark@myactv.net

Have a GREAT day!

Just Stampin’

Jeanie