A Paper Pumpkin Gift Set

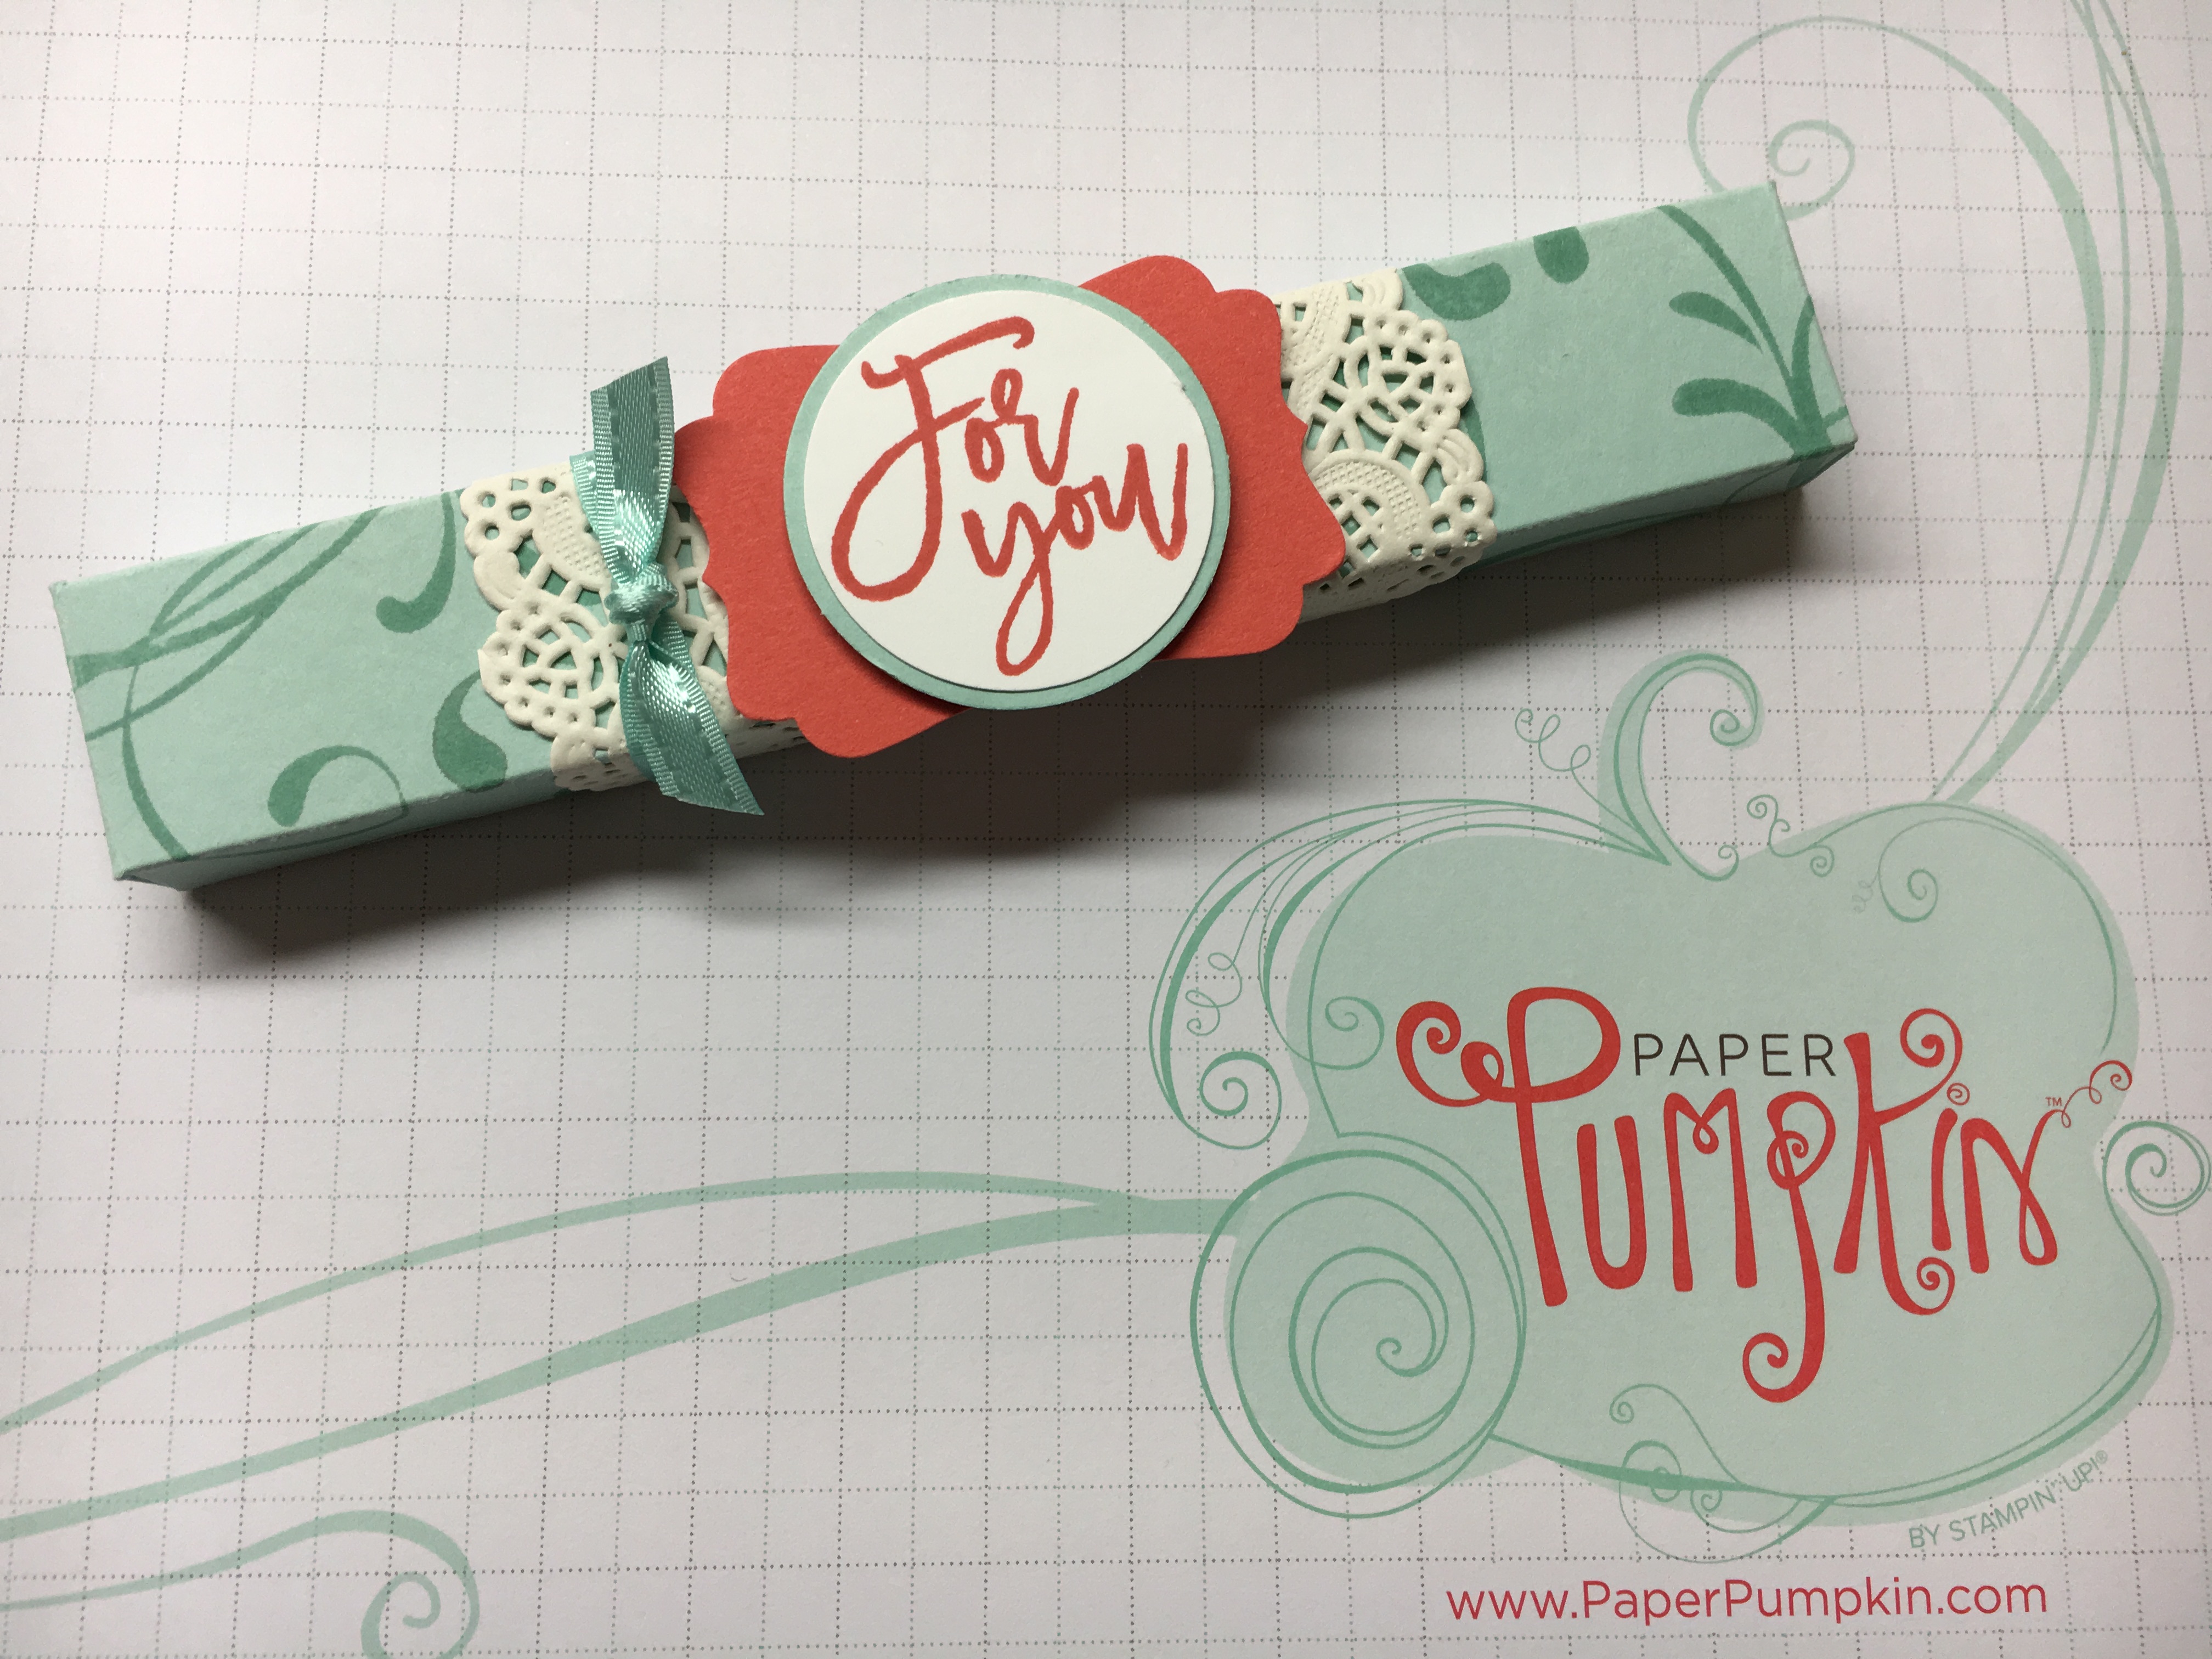
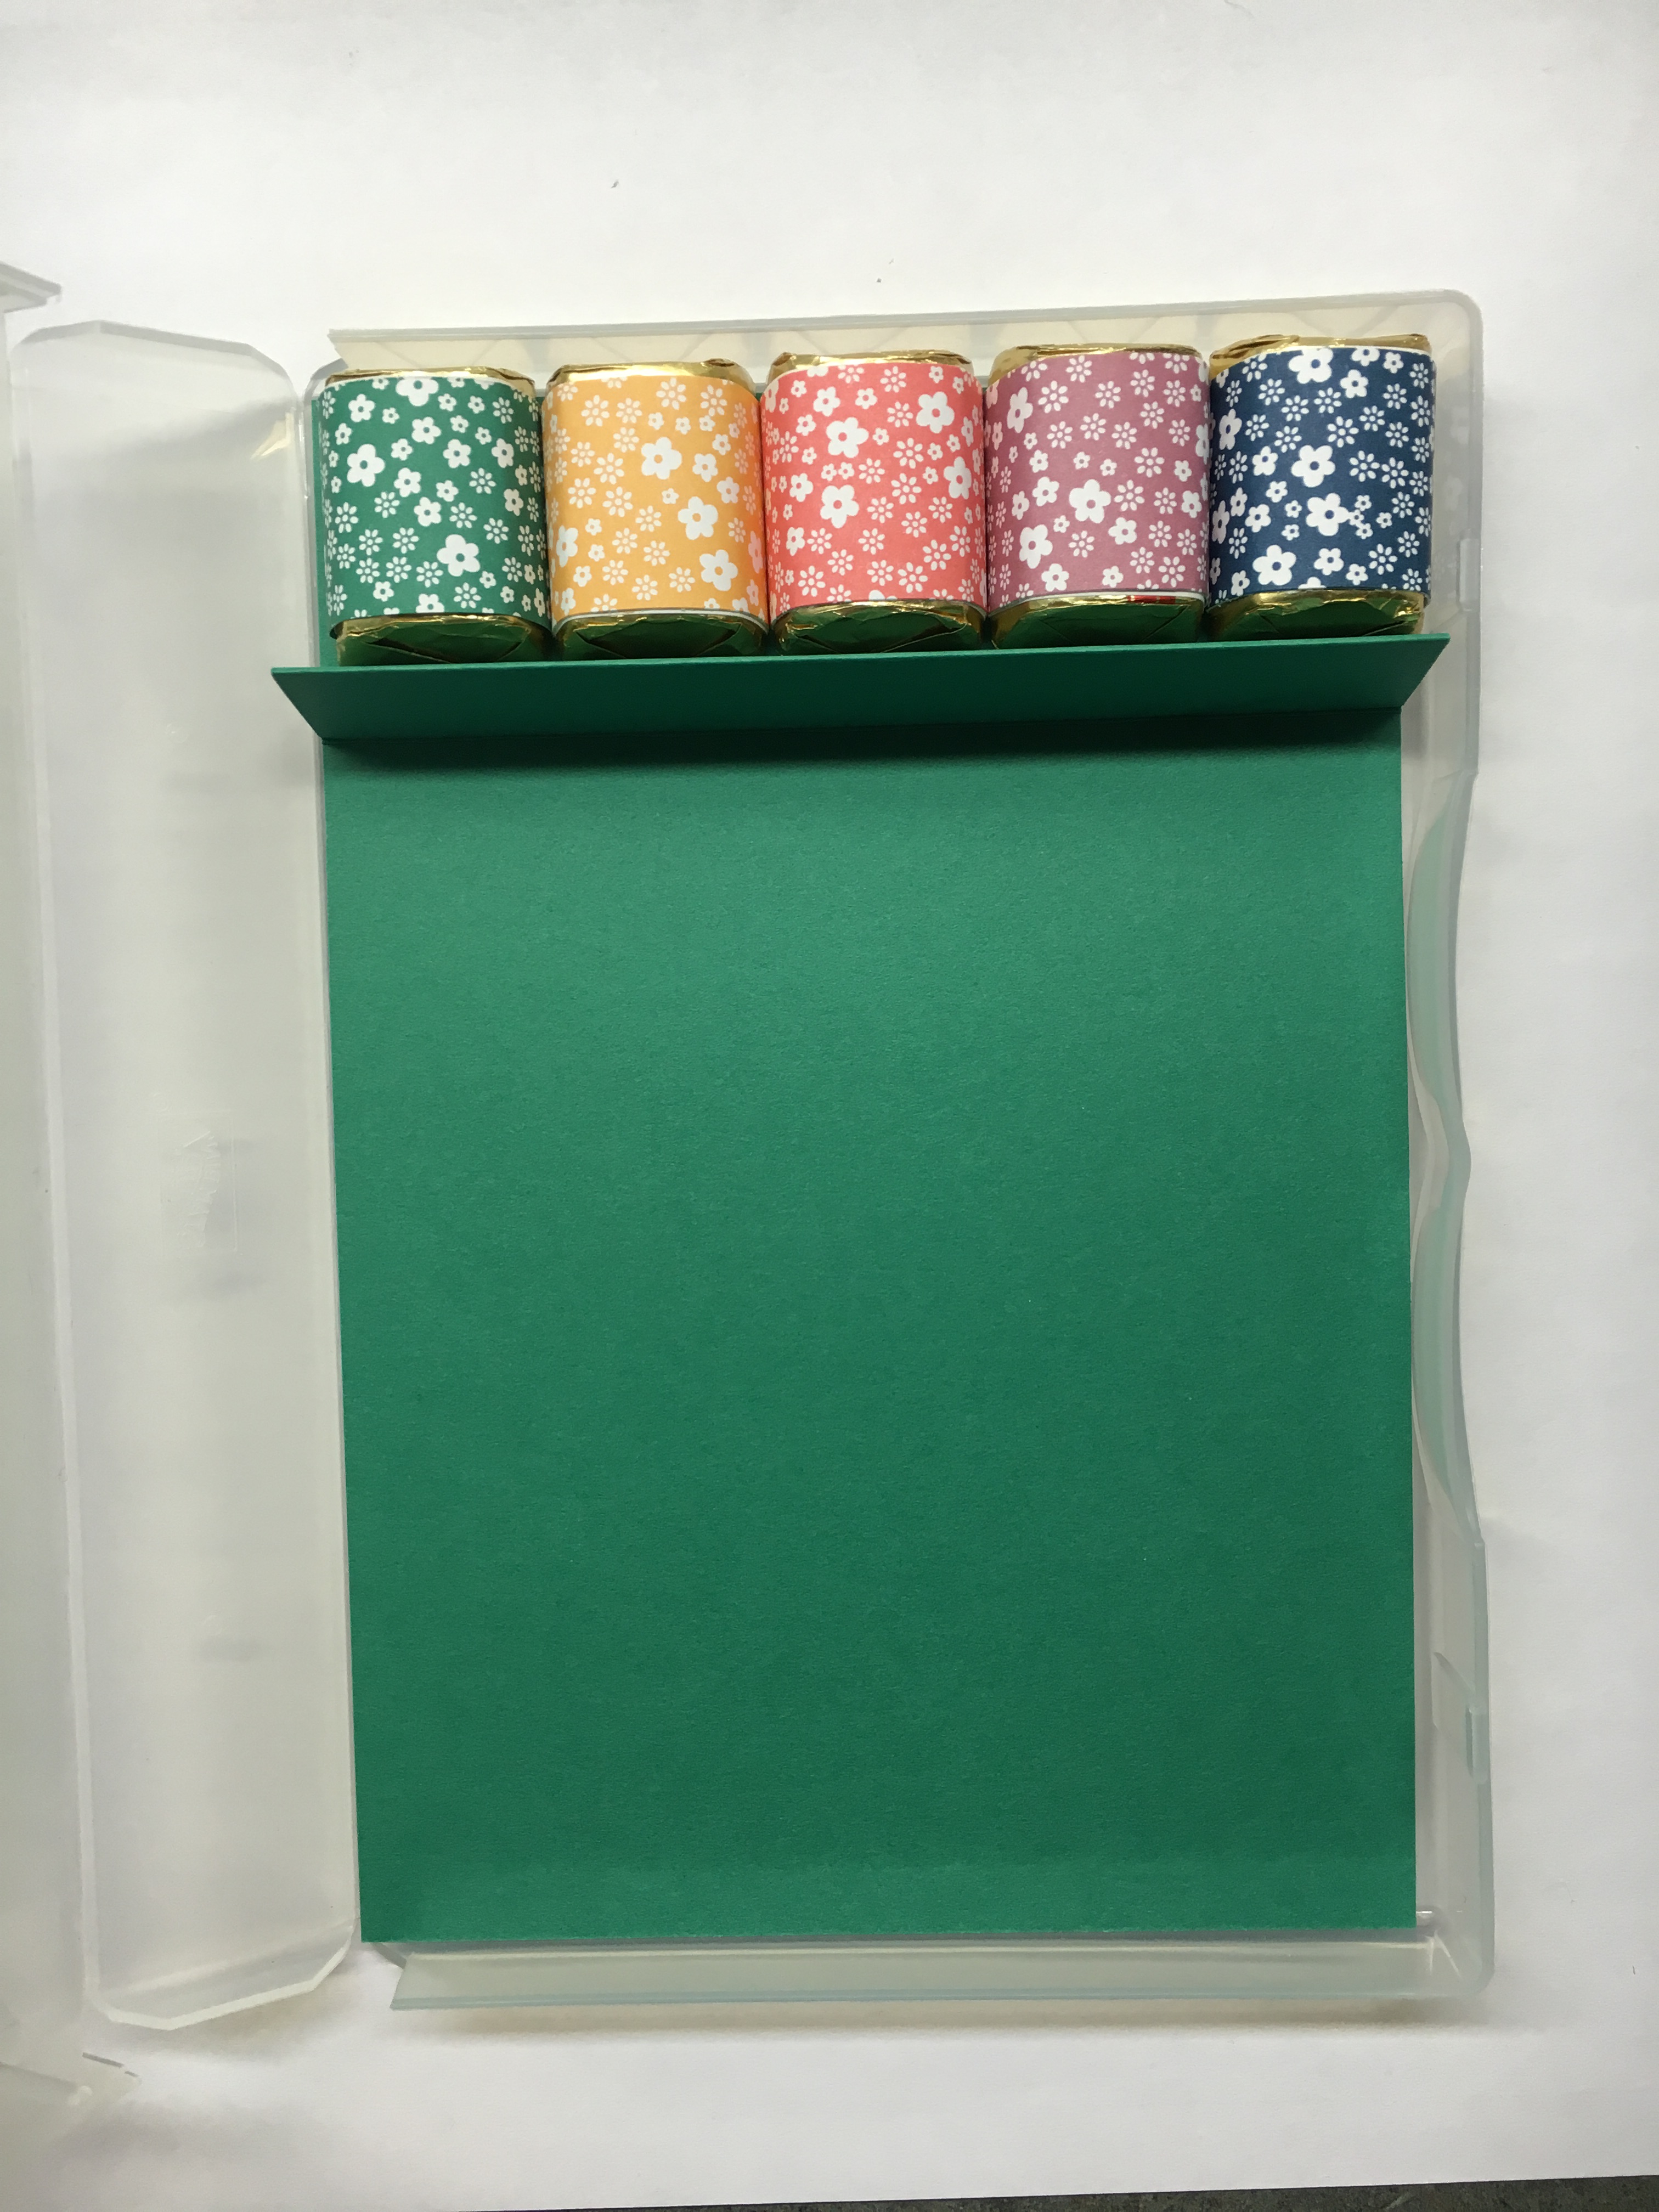
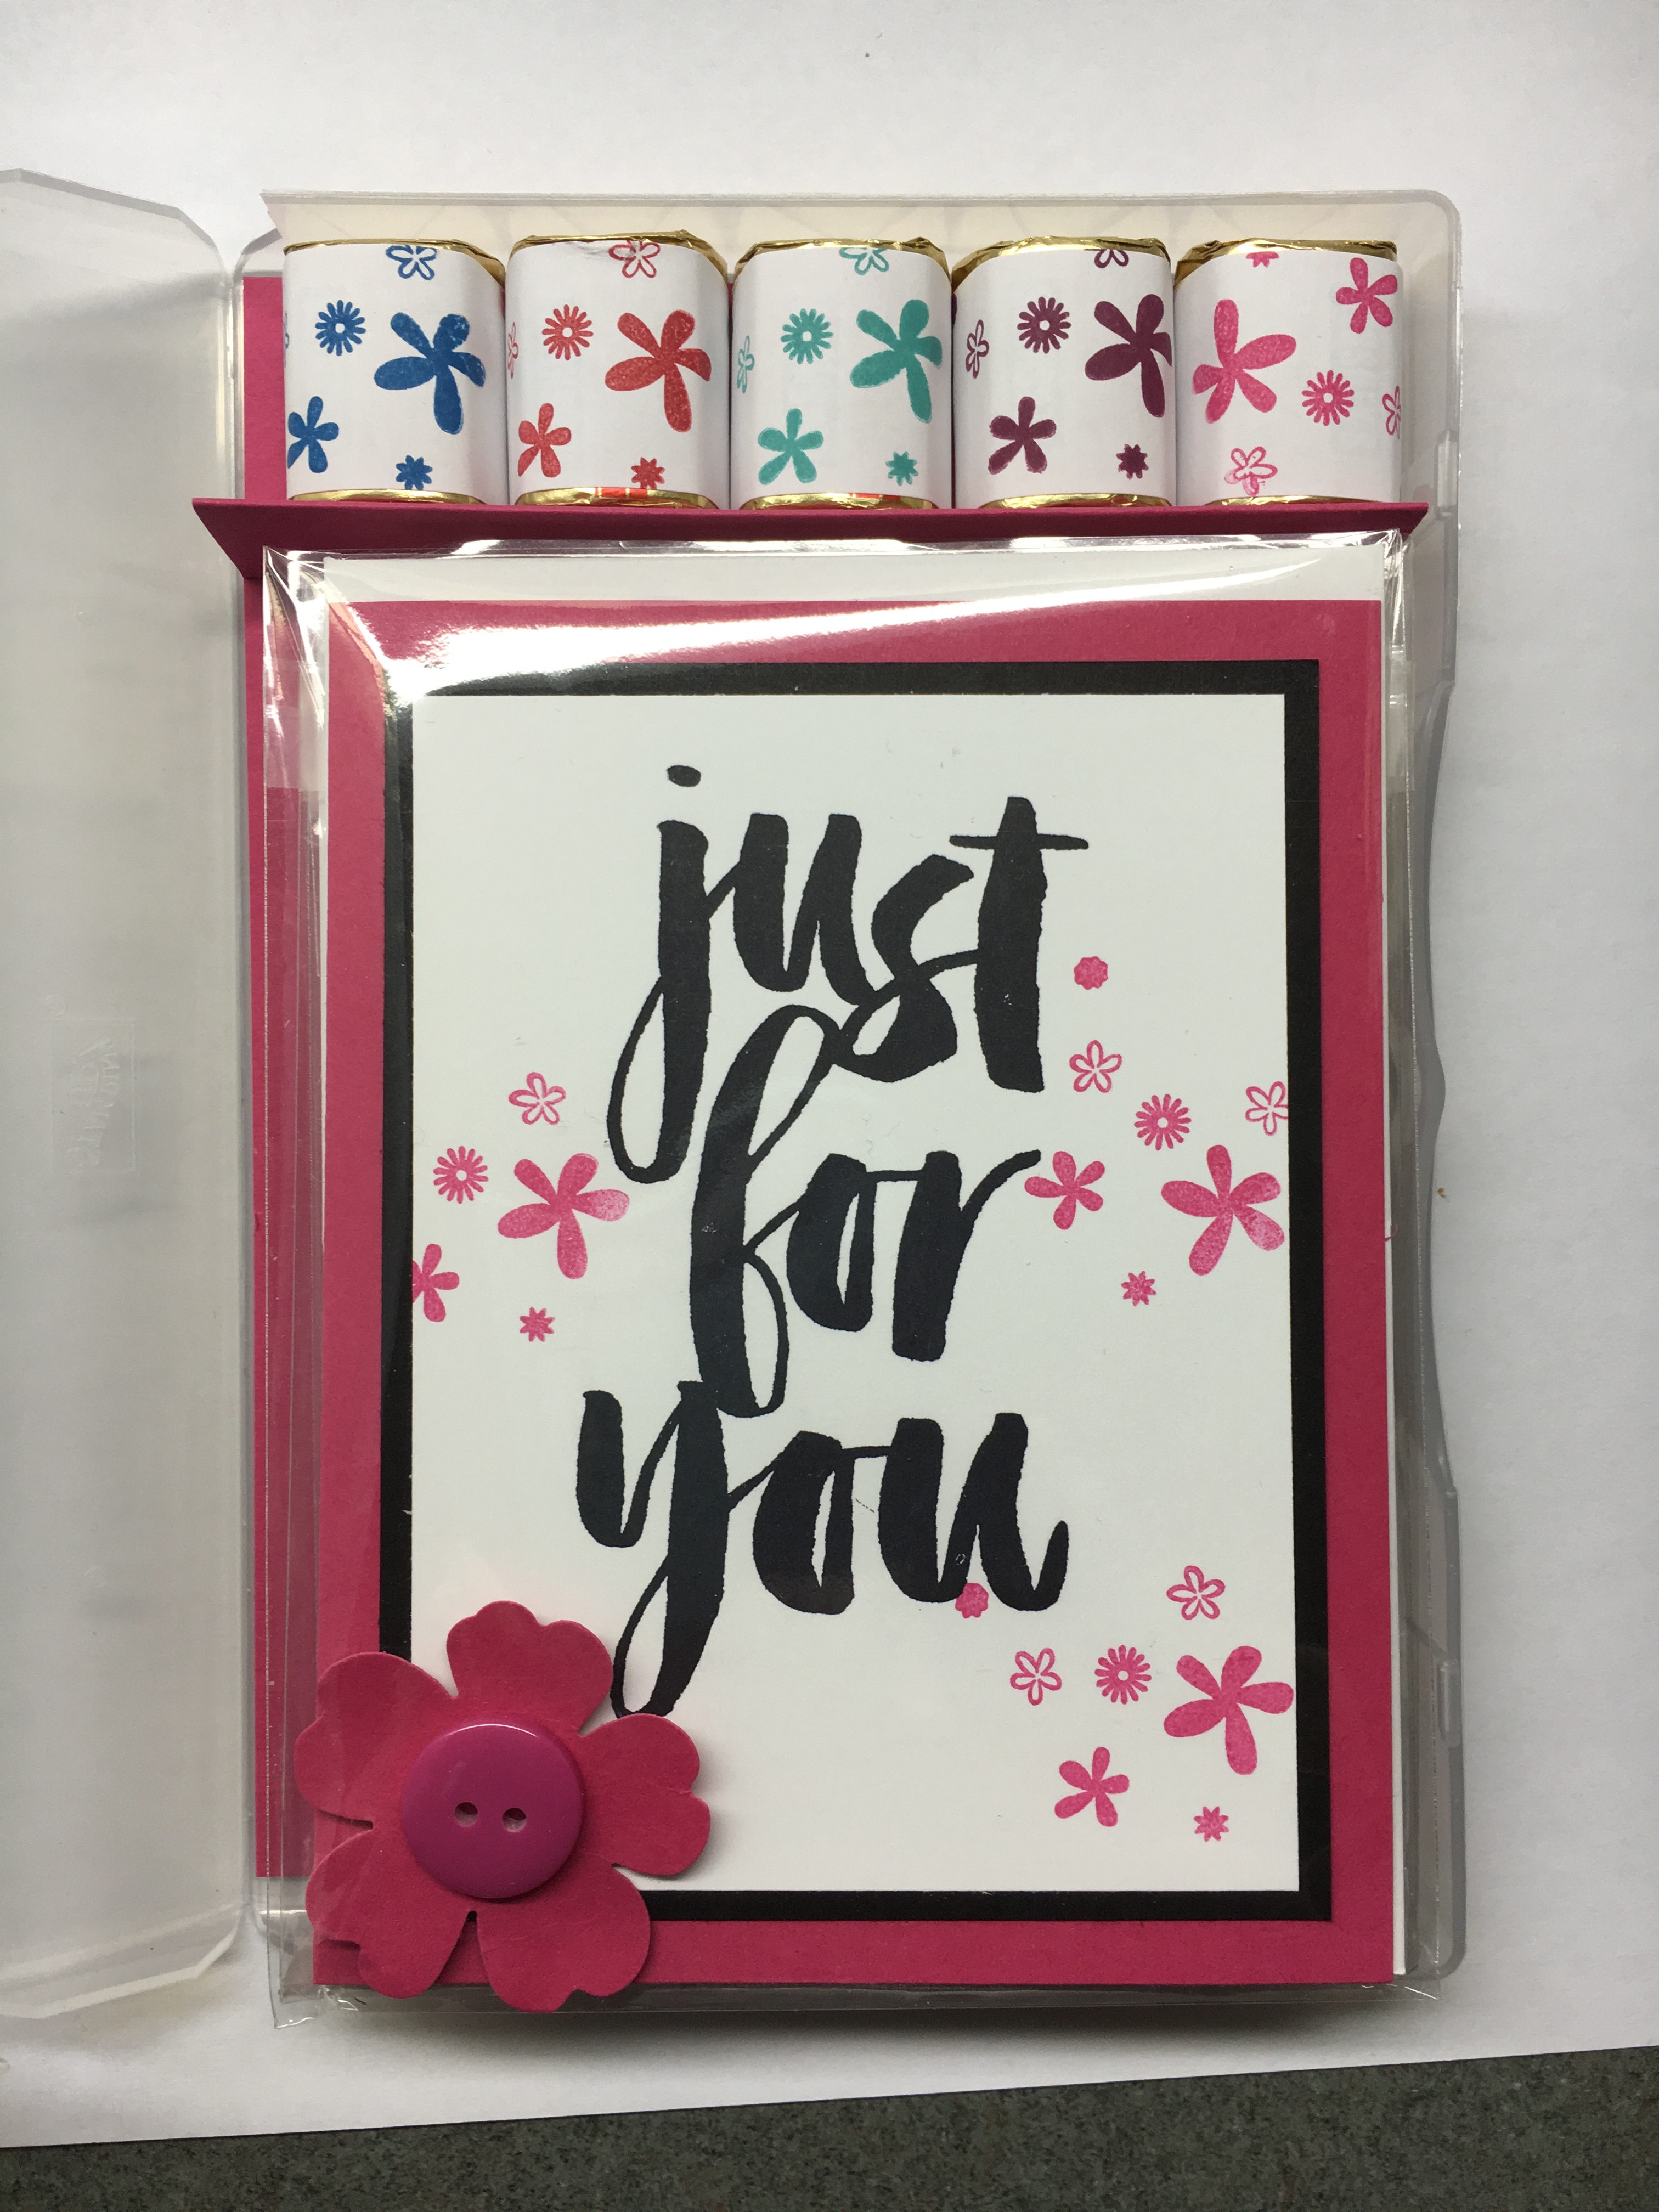
I have had so much fun playing with last month’s Paper Pumpkin kit!  One of the nice things about being a Paper Pumpkin subscriber is you get to order refill kits for just $8.00! I love the shaker cards in this kit and thought they would make a fun gift set to give. I bought several extra kits, added my own touch, and split them up to make sets of 4.

img_6599
Gift set of cards from October 2016 Paper Pumpkin kit

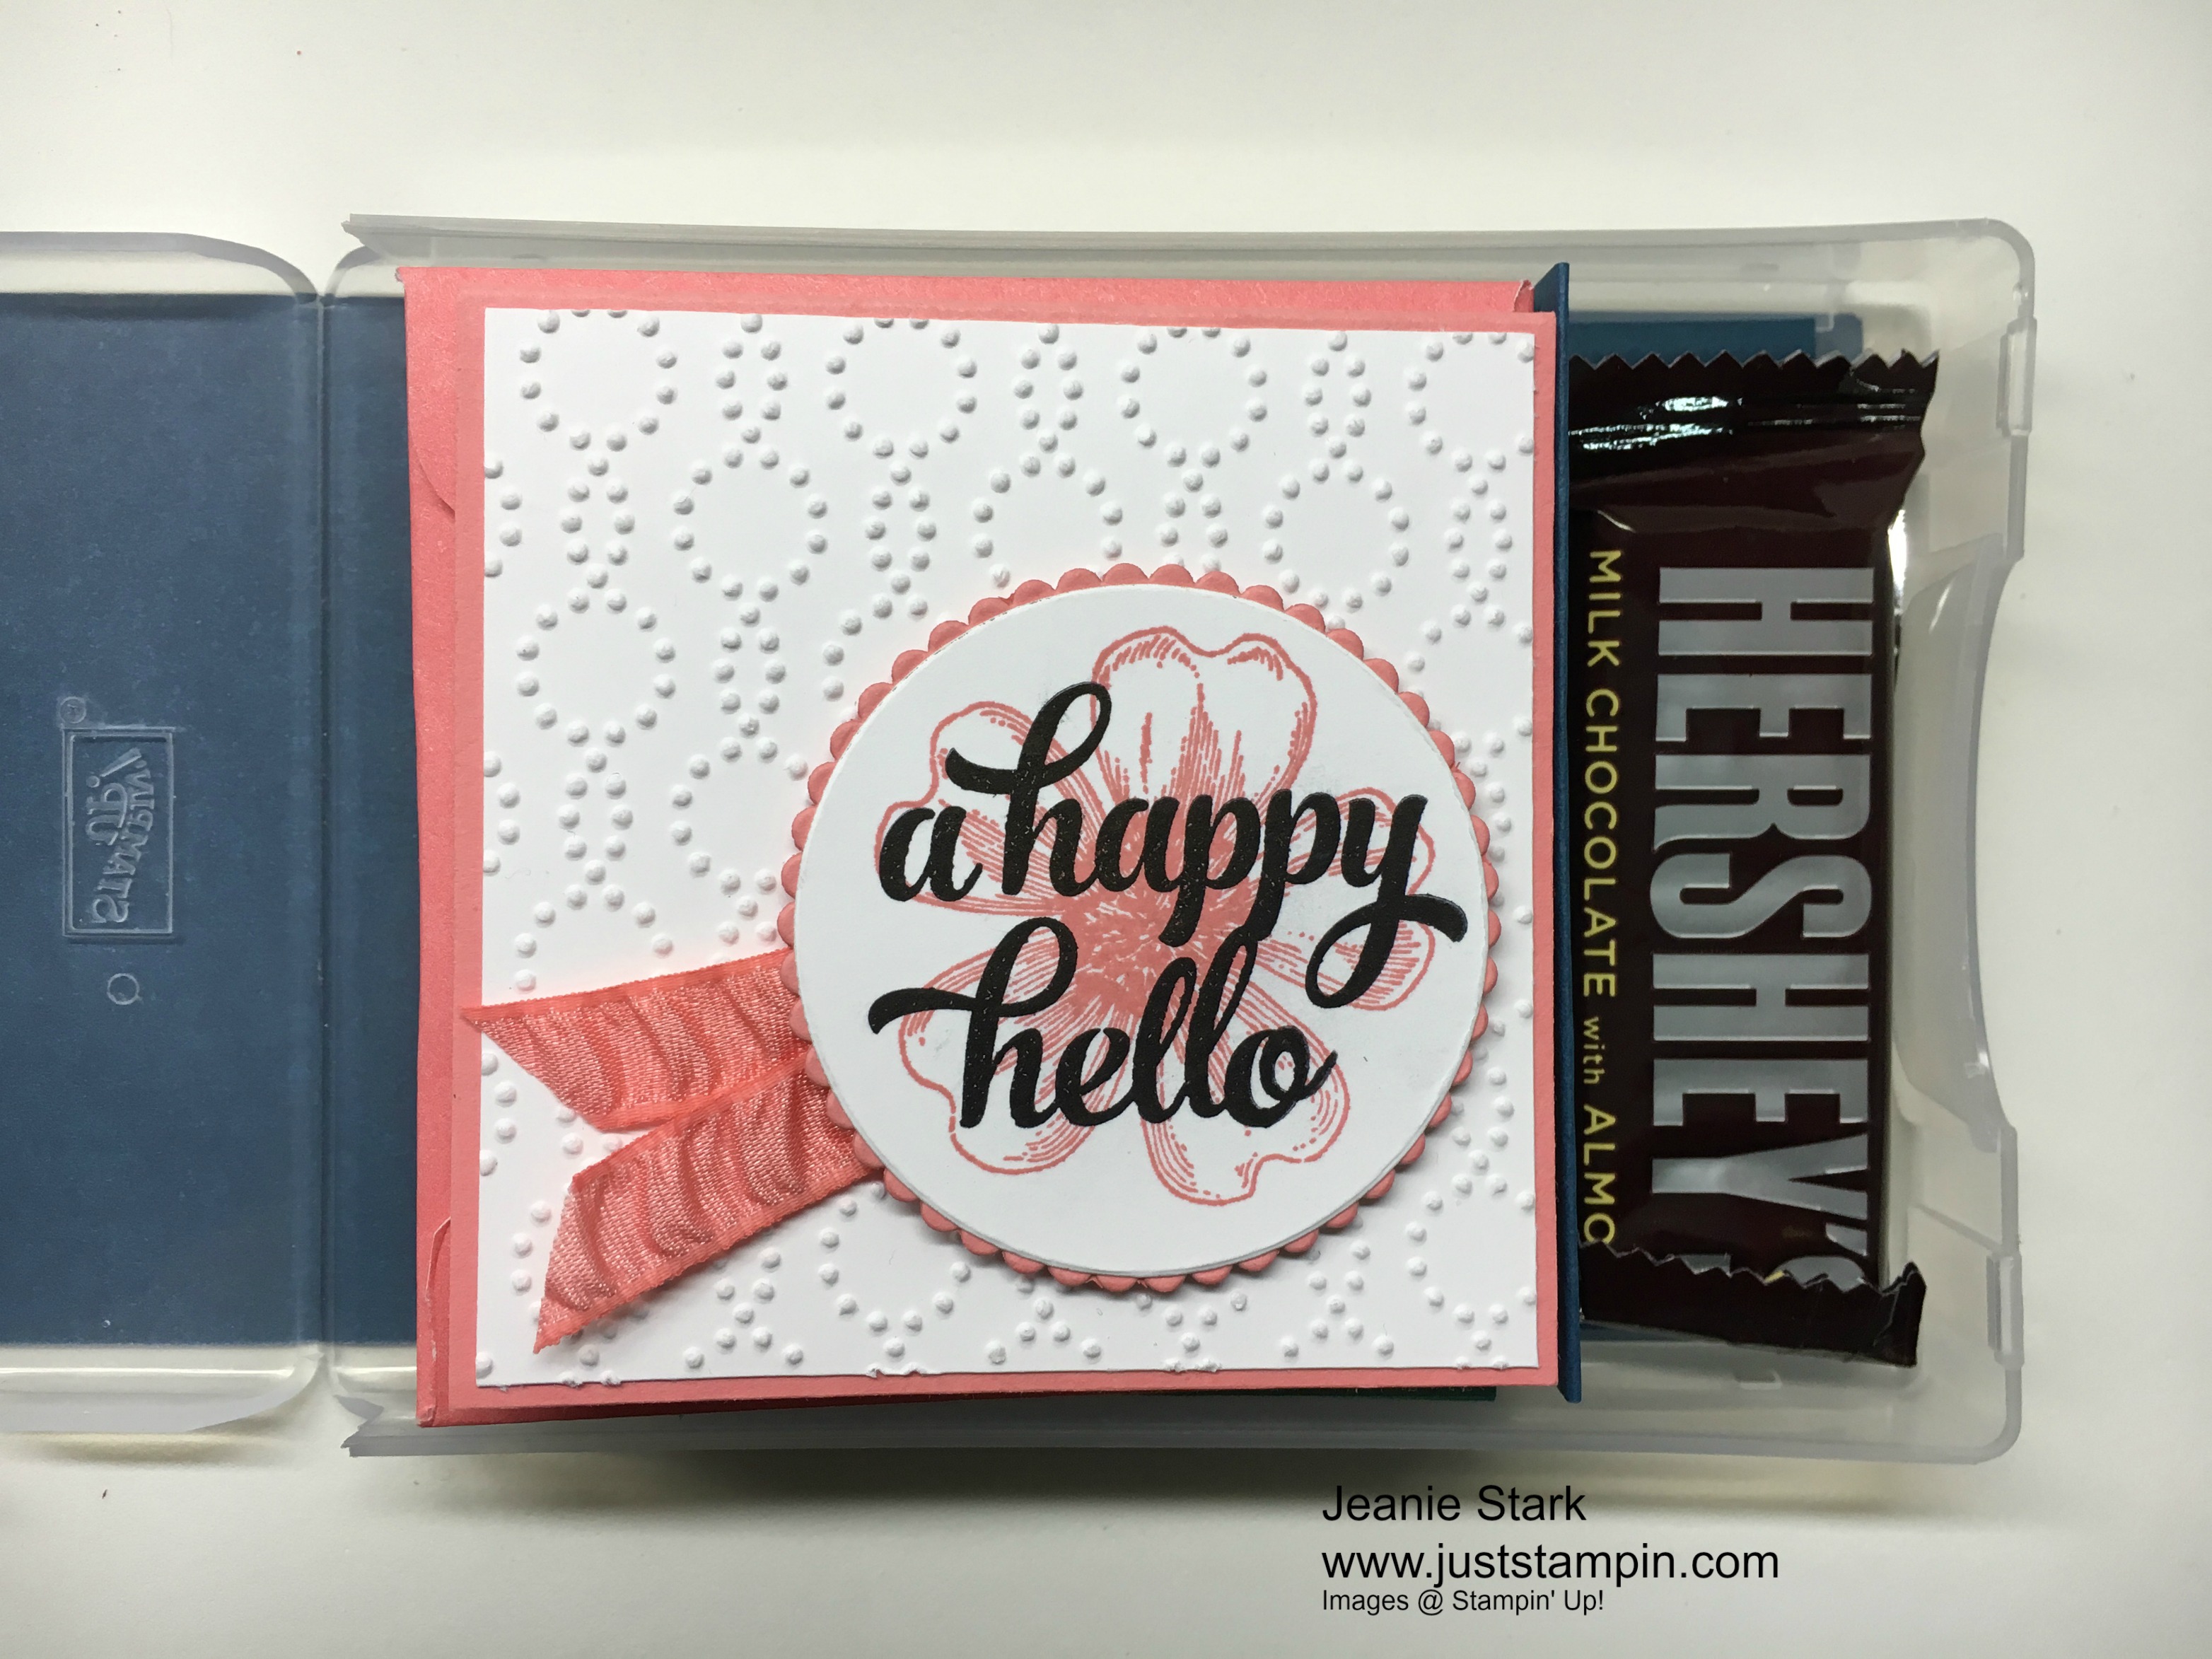
I love to give cards to friends and hostesses and they also make nice gifts for teachers, hairdressers, etc.  Instead of giving a set of thank you cards or all occasion cards,  I decided to “shake it up” this time and let the recipient decide what kind of card it’s going to be. I stamped the die cuts with several possible sentiments and included some glue dots to adhere them to the cards. I stamped both sides of the die cut shapes to give even more options.  They can choose to layer the die cuts on the front of the card or use one on the front and one on the inside. I even sponged some of the punched out leaves which they can add to the front of the envelope or on the inside of the card. There’s so many possibilities.

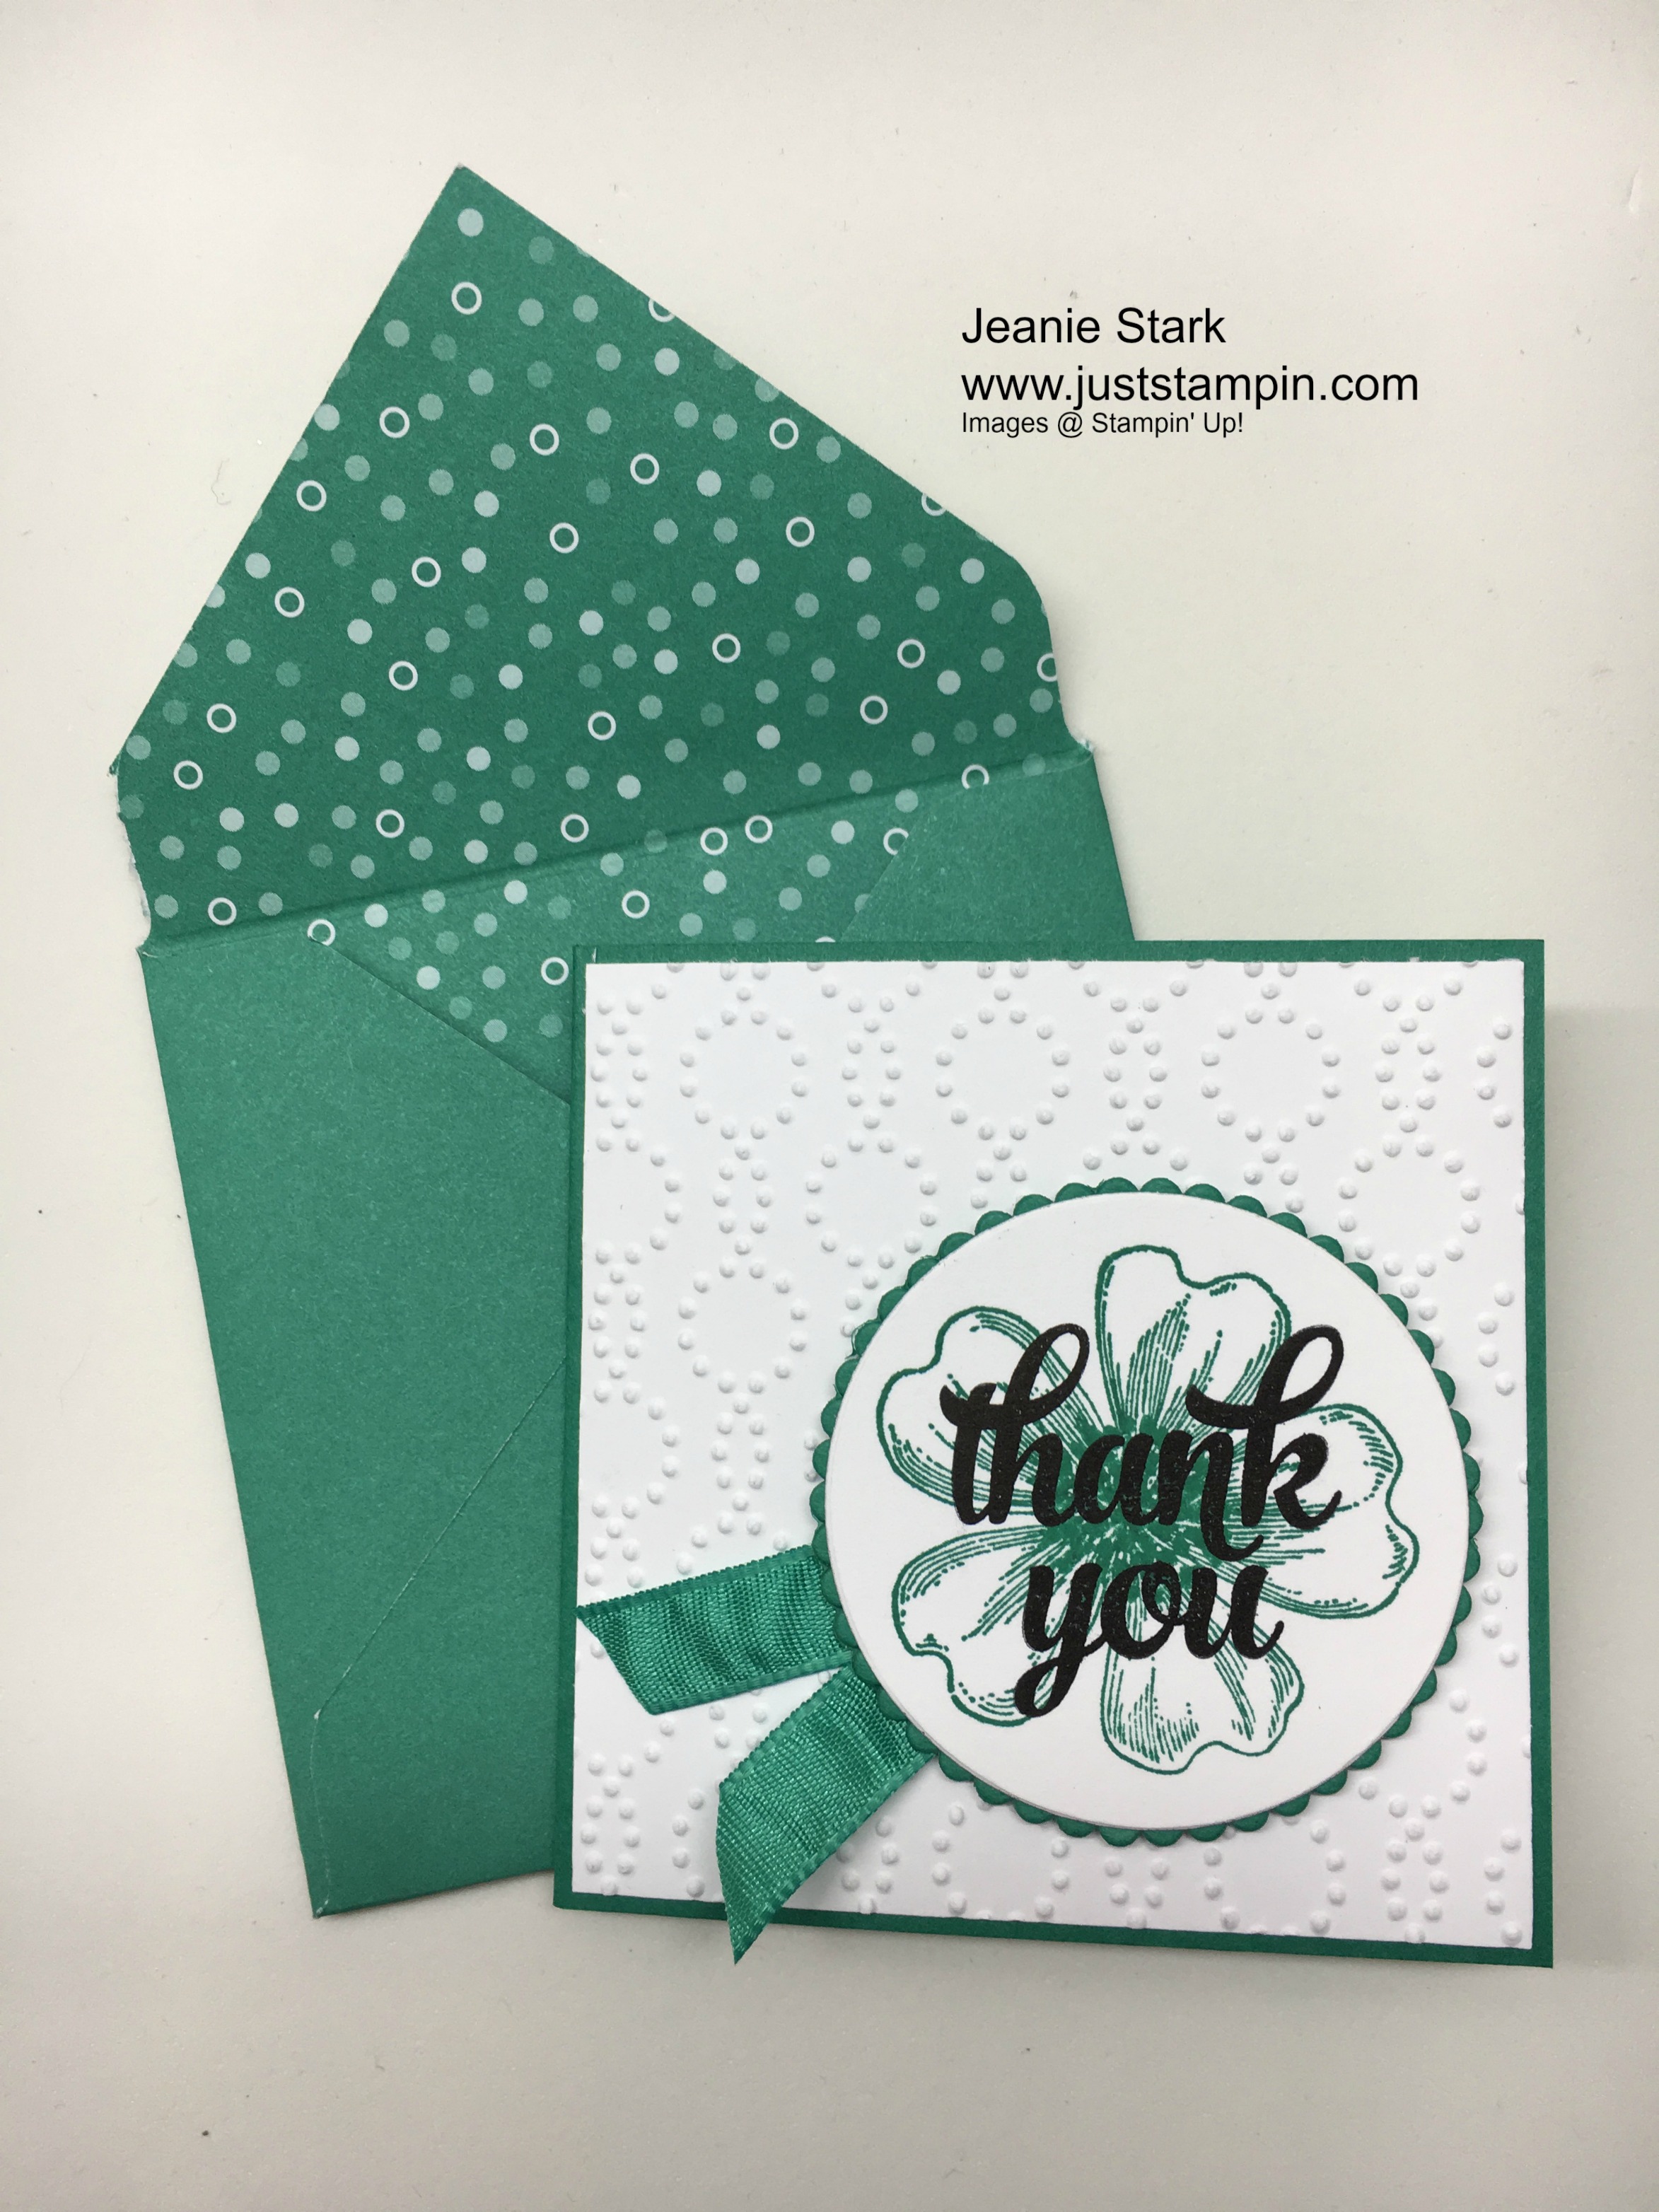
Here’s a look some possible cards with the added sentiments.

The recipient can decide if they need all birthday cards, thank you cards, etc.

I cut some of the die cut banners from the kit in half to give more options for sentiments. I love the “just wanted to say..” stamp.  You can use it as a note and write inside or attach several different sentiments inside.

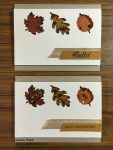
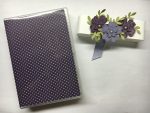
Another nice thing about this set is you have the option of making it a vertical card.

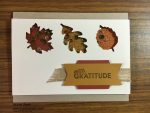
In addition to using the stamp set in the kit as well as past paper pumpkin kits, I made a few of my own banners to include some sentiments for Thanksgiving. I’m sure any Thanksgiving host would love a special card.

I hope I have given you lots of ideas and different ways to combine elements and think “outside the box”. The Paper Pumpkin kits make it quick, easy, and affordable to give lots of handmade gifts. I even like to include the stamps in the package so they have everything they need to send a card and make someone smile! Who do you know that would love a set of cards?

img_6604
Gift set made from October 2016 Paper Pumpkin kit

I’m getting together this afternoon with my Paper Pumpkin Players and I have lots of alternative ideas for them this month! We’ll be making more than just cards!

Have a wonderful day!

Just Stampin’

Jeanie

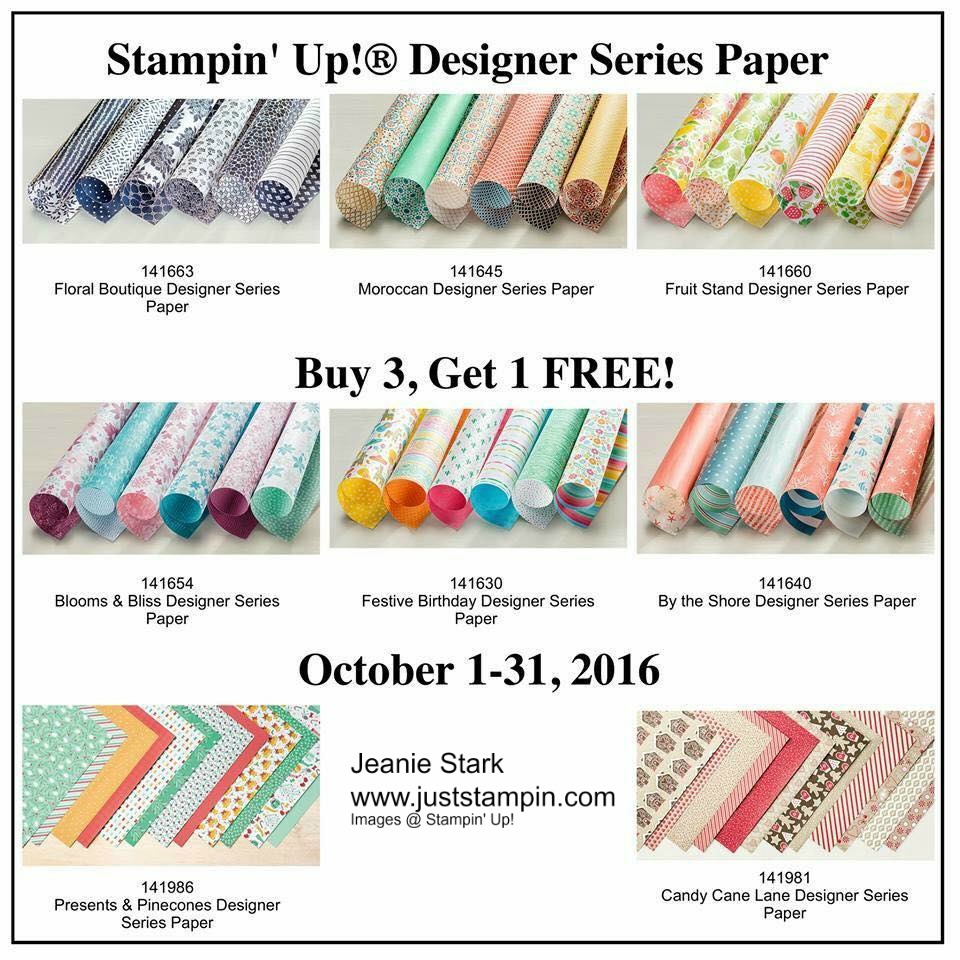
Click HERE to shop my online store or  HERE to Sign up for Paper Pumpkin and get your monthly surprise in the mail. Subscribe to Paper Pumpkin through me and I will send you this pen box and a Paper Pumpkin pen as my thank you gift. Each month I offer little treats and extras for my subscribers. Join the fun!

img_3375


E is for Envelope DSP

Welcome to my ABC’s of DSP series! This month I am featuring projects showcasing Stampin’ Up! Designer Series Paper. Did you know Stampin’ Up! has Envelope paper? It is often overlooked in the catalog (page 176).  It is thin text-weight paper to use for making envelopes.  You get 20 sheets: 2 each of 2 double-sided designs in 5 colors. It comes in 12 x 12 sheets in the In Colors.  I enjoy making odd sized cards on occasion so this paper is great to make matching envelopes and you know how I love the In Colors! I used the 2016 – 2018 In Colors for today’s cards and project.

img_5201
3 x 3 In Color Gift Enclosure Cards

I love these 3 x 3 cards and they were quick & easy to make! (My kind of cards!!!)  I cut my cardstock 3 x 6 and scored it at 3.  I cut Whisper White at 2 7/8 x 2 7/8 and ran it through the Big Shot with the Elegant Dots Embossing folder before adhering it to my card. I like the way the dots on the embossing folder compliment the dotted envelope paper. I stamped the flower from the Flower Shop stamp set on Whisper White cardstock.  Then I stamped the sentiments from Tin of Cards Stamp Set on top using Basic Black ink.  I cut them out with the Layering Circles Framelits and glued them to a scalloped circle.  I cut a  4 inch piece of ribbon and attached it with glue dots. I popped the layered sentiment with Stampin’ Dimensionals.  The envelopes were easy to make using the Envelope Punch Board.  Check out this short video from Stampin’ Up! to see how simple it is to use!

I used the 2016-2018 In Color Envelope paper to make my custom sized envelopes.  I cut the paper at 5 1/4 x 5 1/4 and followed the directions on the punch board.  Here’s my finished cards and envelopes.

img_5209
Flirty Flamingo 3 x 3 card and matching envelope paper
img_5207
Peekaboo Peach 3 x 3 card and matching envelope
img_5206
Emerald Envy 3 x 3 card and matching envelope
img_5205
Sweet Sugarplum 3 x 3 card and matching envelope

After I finished these adorable cards I thought they would make a nice little gift.  So I pulled out a half size wood mount stamp case.  It’s the perfect size for these cards, envelopes, and some chocolate.  I only had 1 mini Hershey bar but you could easily add another in the box.

img_5211
Half Size wood- mount stamp case used as a card holder for 3 x 3 cards.

I made an insert for the case to keep the cards in place.  It measures 3 1/4 x 6.  I scored it at 3 1/2, 4 1/4, and 5.  Fold on the score lines and insert in the case.  I also cut a piece of Dapper Denim Envelope paper at 11 1/4 x 3 3/8 to slide into the sleeve on the cover.  I decorated the front to match the look of the cards.

img_5212
Half size wood-mount stamp case to hold 3 x 3 cards.

I hope you like today’s cards and project.  These stamp cases are wonderful storage containers for all kinds of things.  I use the half size to store my retired In Color ink refills.  It holds 5 refills and stands up on my shelf. You can purchase any of the items used to make today’s projects in my online shop.  You can click HERE to get started. Please use the Hostess Code 7DB3CBKS when you check out.  I’ve added a visual below to show where to enter the code. I always send a thank you gift each month when you order from me.  I appreciate each and every order!

Stampin’ Up! has a special offer for the month of October on select Designer Series Paper.

dsp-sale

img_4672

Thanks for stopping by! Have a wonderful day!

Just Stampin’

Jeanie

Tuesday Tip…Gift Box for Cards

Yesterday I shared with you a set of thank you cards.  You can see that post HERE if you missed it. Today I am going to share 2 ways to present your cards for gift giving.  I put yesterday’s cards in a clear stamp case as I wanted to put a little chocolate in there too. Chocolate is like stamping vitamins right? Here’s the case and directions for the insert.

img_3551
Stampin’ Up! Wide Stamp Case

To make the insert for the stamp case start with a piece of cardstock measuring 5 x 8 1/2. Score at 5 3/4, 6 1/2, 7 1/4.  Fold as shown in the photo.

The inset for the stamp case holds your cards and envelopes in place. The extra section is perfect for a little candy. I started out with these Hershey Nuggets wrapped in 1 x 3 In Color Designer Series Paper but changed my mind and went with the kisses to go with the contest theme.

img_3577

Not only can you wrap the nuggets with DSP but you can also stamp the Avery address labels and just stick them over the wrappers (I use this idea a lot!). Here’s a set I stamped with the Perpetual Birthday Calendar Stamp Set.

img_3576

You can also decorate the stamp case for gift giving.  Cut a piece of Designer Series Paper 7 x 11 1/4.  Score it at 5 and 6 1/4.  Slip the DSP in the sleeve on the stamp case and you have a gift wrapped box!  I made a belly band and decorated it with flowers and die cut leaves for my daughter and put some monogrammed notecards inside.  Can you tell her favorite color?

Did you know you can purchase these empty stamp cases?  You can find them on page 183 in the annual catalog.  I could do another whole post on ways to use these cases!  They are great for markers, reinkers, gift tags, etc. You get 4 wide cases (like these that I’ve shown) for $7 and they are so nice and sturdy. I’m sure you’ll find many uses for them.

I promised you 2 card holder ideas today so let’s get to the second one.  I use this idea a lot to display card sets in my craft area as well as for gift giving.  The box can hold 5 -6 cards and envelopes depending on how many layers or embellishments you add.

img_3563

Start with a piece of 7 1/2 x 11 cardstock. With the short side along the top, score at 1 1/2 and 6.  Score the other side at 3 3/4 and 5 1/4.  Fold along the score lines and cut as shown.

Add tear & tape adhesive and  stick the sides together.  Decorate the front as desired.  I usually decorate it match my cards. You can cut the sides at an angle if you prefer (like I shared previously with the business card holders). So many possibilities! Quick & Easy!

I hope you enjoyed these ideas.  If you make one send me a photo!  I would love to see your creations!

Have a wonderful day!

Just Stampin’

Jeanie