This is not the ending to my alphabet series I planned. Sometimes life throws you a curve ball and all we can do is try to knock it out of the park! I had to have surgery yesterday and will be taking some time to rest and recuperate. I am hoping for a speedy recovery so I can get back to stamping and my sweet little 4 year old students. Til then, browse past projects and enjoy life!
Use this host code when you order and receive a free gift from me! If your order is over $150 do not use this code…you will earn hostess rewards and you’ll still get the free gift.
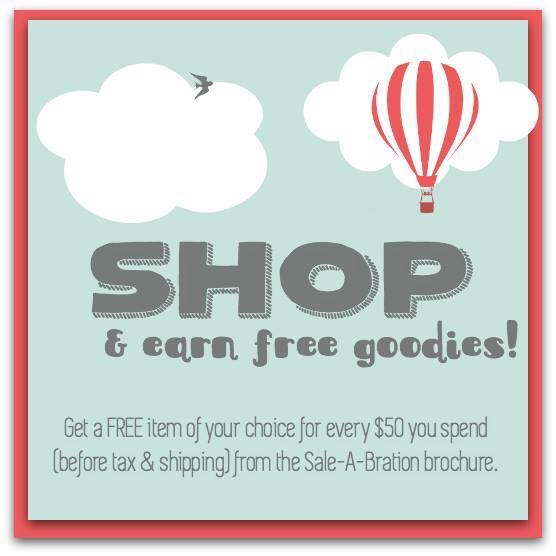
Stampin’ Up!’s Sale-A-Bration 2017 is going on now through March 31!!
Shop!
For every $50 you spend (before tax and shipping), you get a FREE Sale-A-Bration product. That means it’s the perfect time to purchase those products you’ve had your eye on while earning more products for free. As an added bonus, Stampin’ Up! will have three new Sale-a-bration products available starting on February 21!
Host!
Place an order of $250 or greater or host a party with at least $250 in sales during Sale-A-Bration and you’ll earn $25 more in Stampin’ Rewards/Host Cash!! You can even apply your Stampin’ Rewards toward a Starter Kit and become a demonstrator yourself!
Join!
It’s the best time of year to join Stampin’ Up! During Sale-A-Bration, you can become a demonstrator for just $99 and choose TWO additional stamp sets for your Starter Kit—any stamp set, any price! (Excludes Sale-A-Bration sets and bundles.) Plus, the kit ships for free! Send me an email me at j.stark@myactv.net if you have any questions or want to plan a time to chat. Click HERE and HERE for more information or click below to Join the Fun!
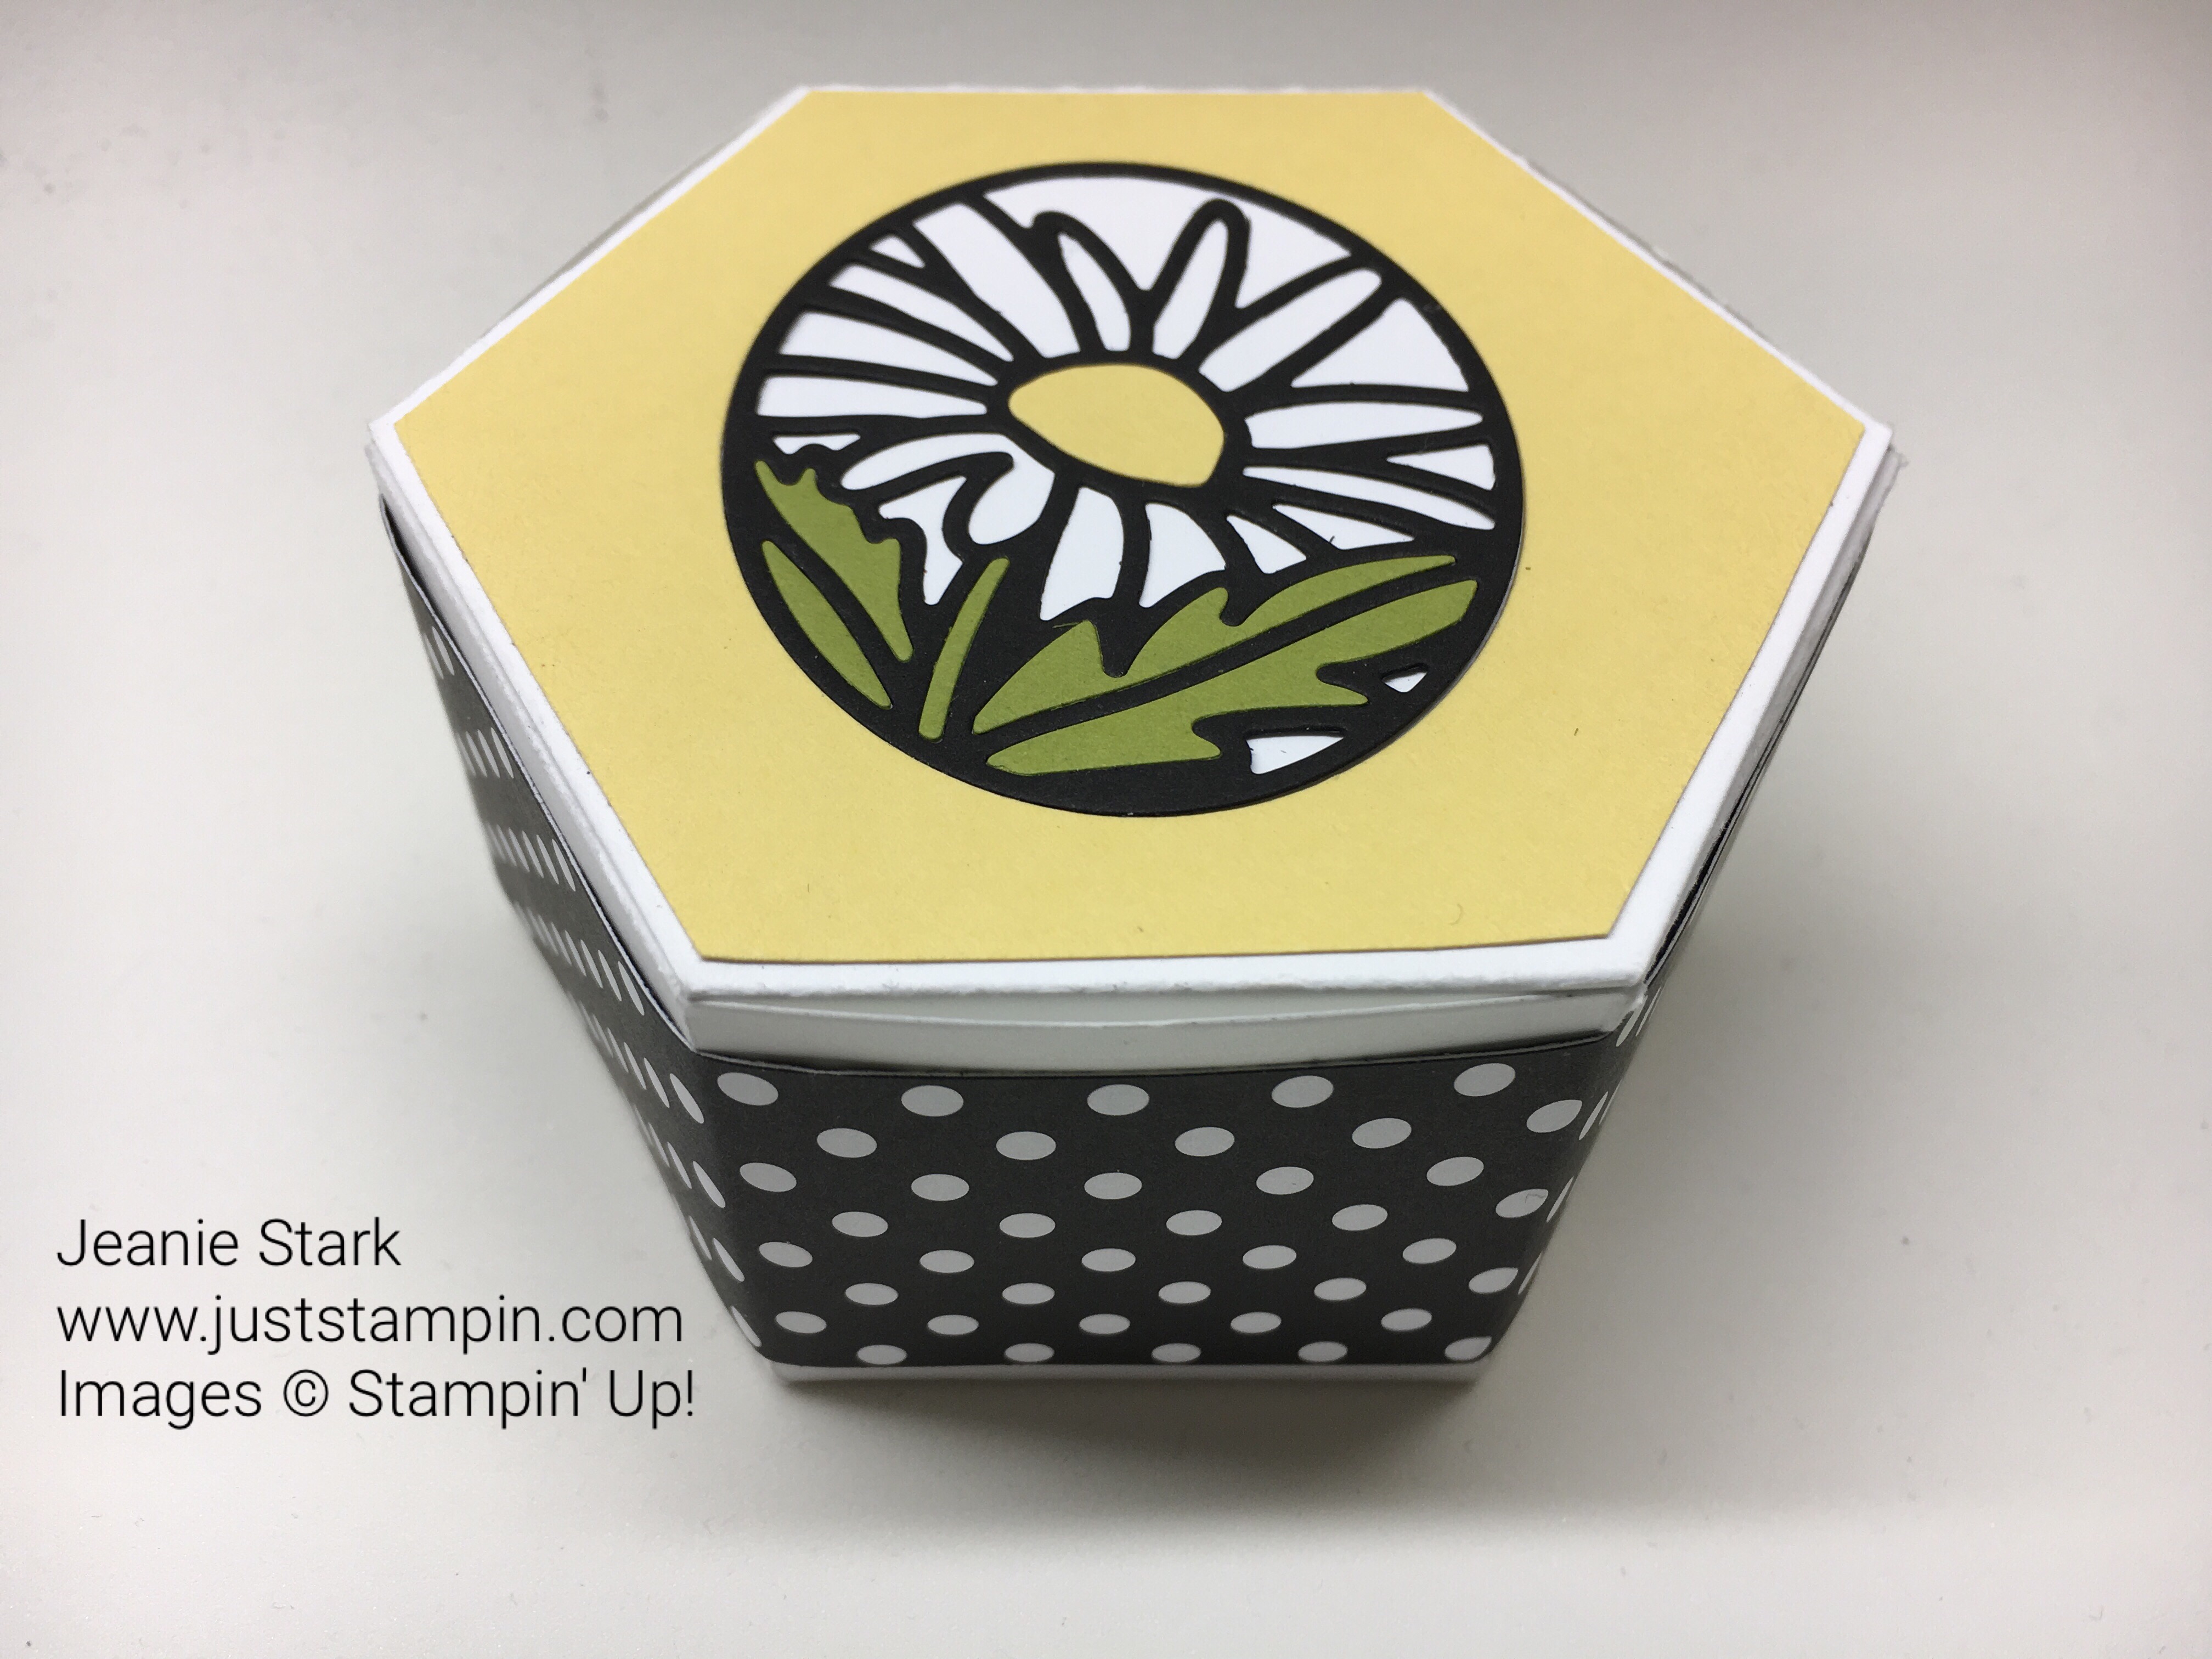
Welcome to my alphabet series showcasing some of the new products in the 2017 Occasions and Sale-A-Bration catalogs. Today I am showcasing the Yummy in My Tummy Stamp Set featured on page 16 in the Occasions catalog. The stamp set coordinates with the Layering Circles Framelits Dies. You can create simple projects with your child to embellish treats for friends or classmates. These candy treat bags look yummy!
Older kids may like a Rocher chocolate or EOS lip balm coming out of the monster tummy. I found this one on Pinterest. How cute would that be for a new”mom to be”!
Have you heard what else is Yummy? Yesterday I promised I would share with you information on my “Just Stampin’ Kit Buffet“! I love to spoil my customers and they have been enjoying my card buffet kits and 3D projects at classes and/or when they place an online order. I love to send out card kits and/or 3D treats for online orders placed through me using the monthly hostess code. My card kit and treat “buffet” is filled with cards as well as boxes, bags, tags, or other 3D projects. Everything is pre-cut and ready to assemble. Starting this month I am offering my “Just Stampin’ Card Kit and 3D Project Buffet” TO GO. The monthly “Kit Buffet” costs $10 (plus shipping).
Here’s how you can reserve your seat at the table (and enjoy the feast):
Option #1 Email me (j.stark@myactv.net) with “Just Stampin’ Kit Buffet” in the subject line. Include your full name, mailing address, and email address. I will send you a PayPal invoice. Orders need to be placed by February 15th in order to be mailed out at the end of the month.
Option #2 Get your kit buffet for FREE when you place an order for $50 or more through my online store using the monthly hostess code (K3VM6YBW). Kits are usually shipped out after the last day of the month.
Just Stampin’ Buffet TO GO Kits include:
Pre-cut supplies for four projects (stamped images not included, in accordance with Stampin’ Up! policy)
Envelopes for non 3D projects
Pre-punched items and/or Big Shot items, such as die cuts and textured embossed
Ribbon and/or embellishments
Many people have commented that they would like to make certain projects but don’t have the die cuts, punches, embellishments, paper, etc. and can’t buy it all. I get it! My buffet kits are intended for you to be able to see and try out different products while being able to substitute different stamp sets. Kits will include 3 cards and one 3D item. I will send you an email when your kit is shipped. It will include an attachment with the project samples, supplies, and directions. You can substitute different stamps and sentiments using what you have or copy my samples. The choice is up to you! Let’s face it, a buffet is intended to have something for everyone! (I showcased a sneak peek at the 3D project yesterday.) Here’s another teaser…Stampin’ Up! is coming out with 3 additional Sale-A-Bration products starting Feb. 21st. Demonstrators were able to pre-order these items which included some new gorgeous Glimmer paper. Mine is on the way and will be used for one of the cards in your kit this month. Be the first to get your hands on some of this!
Order your kit today! Limited availability!
Have a wonderful day!
Just Stampin’
Jeanie
P.S. There’s still time to join my Card Swap! Simply make a card and mail it to me along with a self-addressed stamped envelope. I will swap out the cards and send you a card someone else has shared. I will showcase all the cards on my blog. I am excited to see and share your creations! Mail your cards to me by February 22nd! Use what you have and go create something!
Mail cards to me:
Jeanie Stark
12907 Lance Circle
Hagerstown, MD 21742
Earn a FREE gift for every $50 you spend January 4 – March 31. Please use the February hostess code K3VM6YBW when you check out. I will send you a card kit as my thanks for shopping with me! Click HERE to shop.
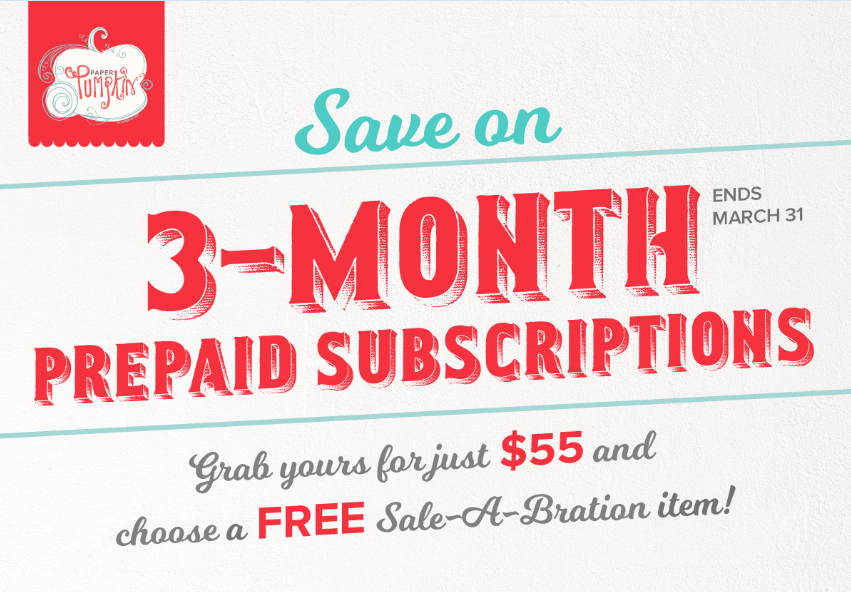
3-Month Prepaid Paper Pumpkin On Sale During Sale-a-bration!!
Welcome to my alphabet series showcasing some of the new products in the 2017 Occasions and Sale-A-Bration catalogs. Today I am showcasing the Window BoX Thinlits Dies featured on page 43 in the Occasions catalog. Move over Dragonfly Dreams…there’s a new favorite in town!! I think you’ll agree once you see some of the possibilities that you can do with these dies…they are to “die” for!!
The Window Box Thinlits Dies make it easy to create these boxes using the Big Shot. Check out this video for some great tips and to see all the different ways to use the thinlits included in this set.
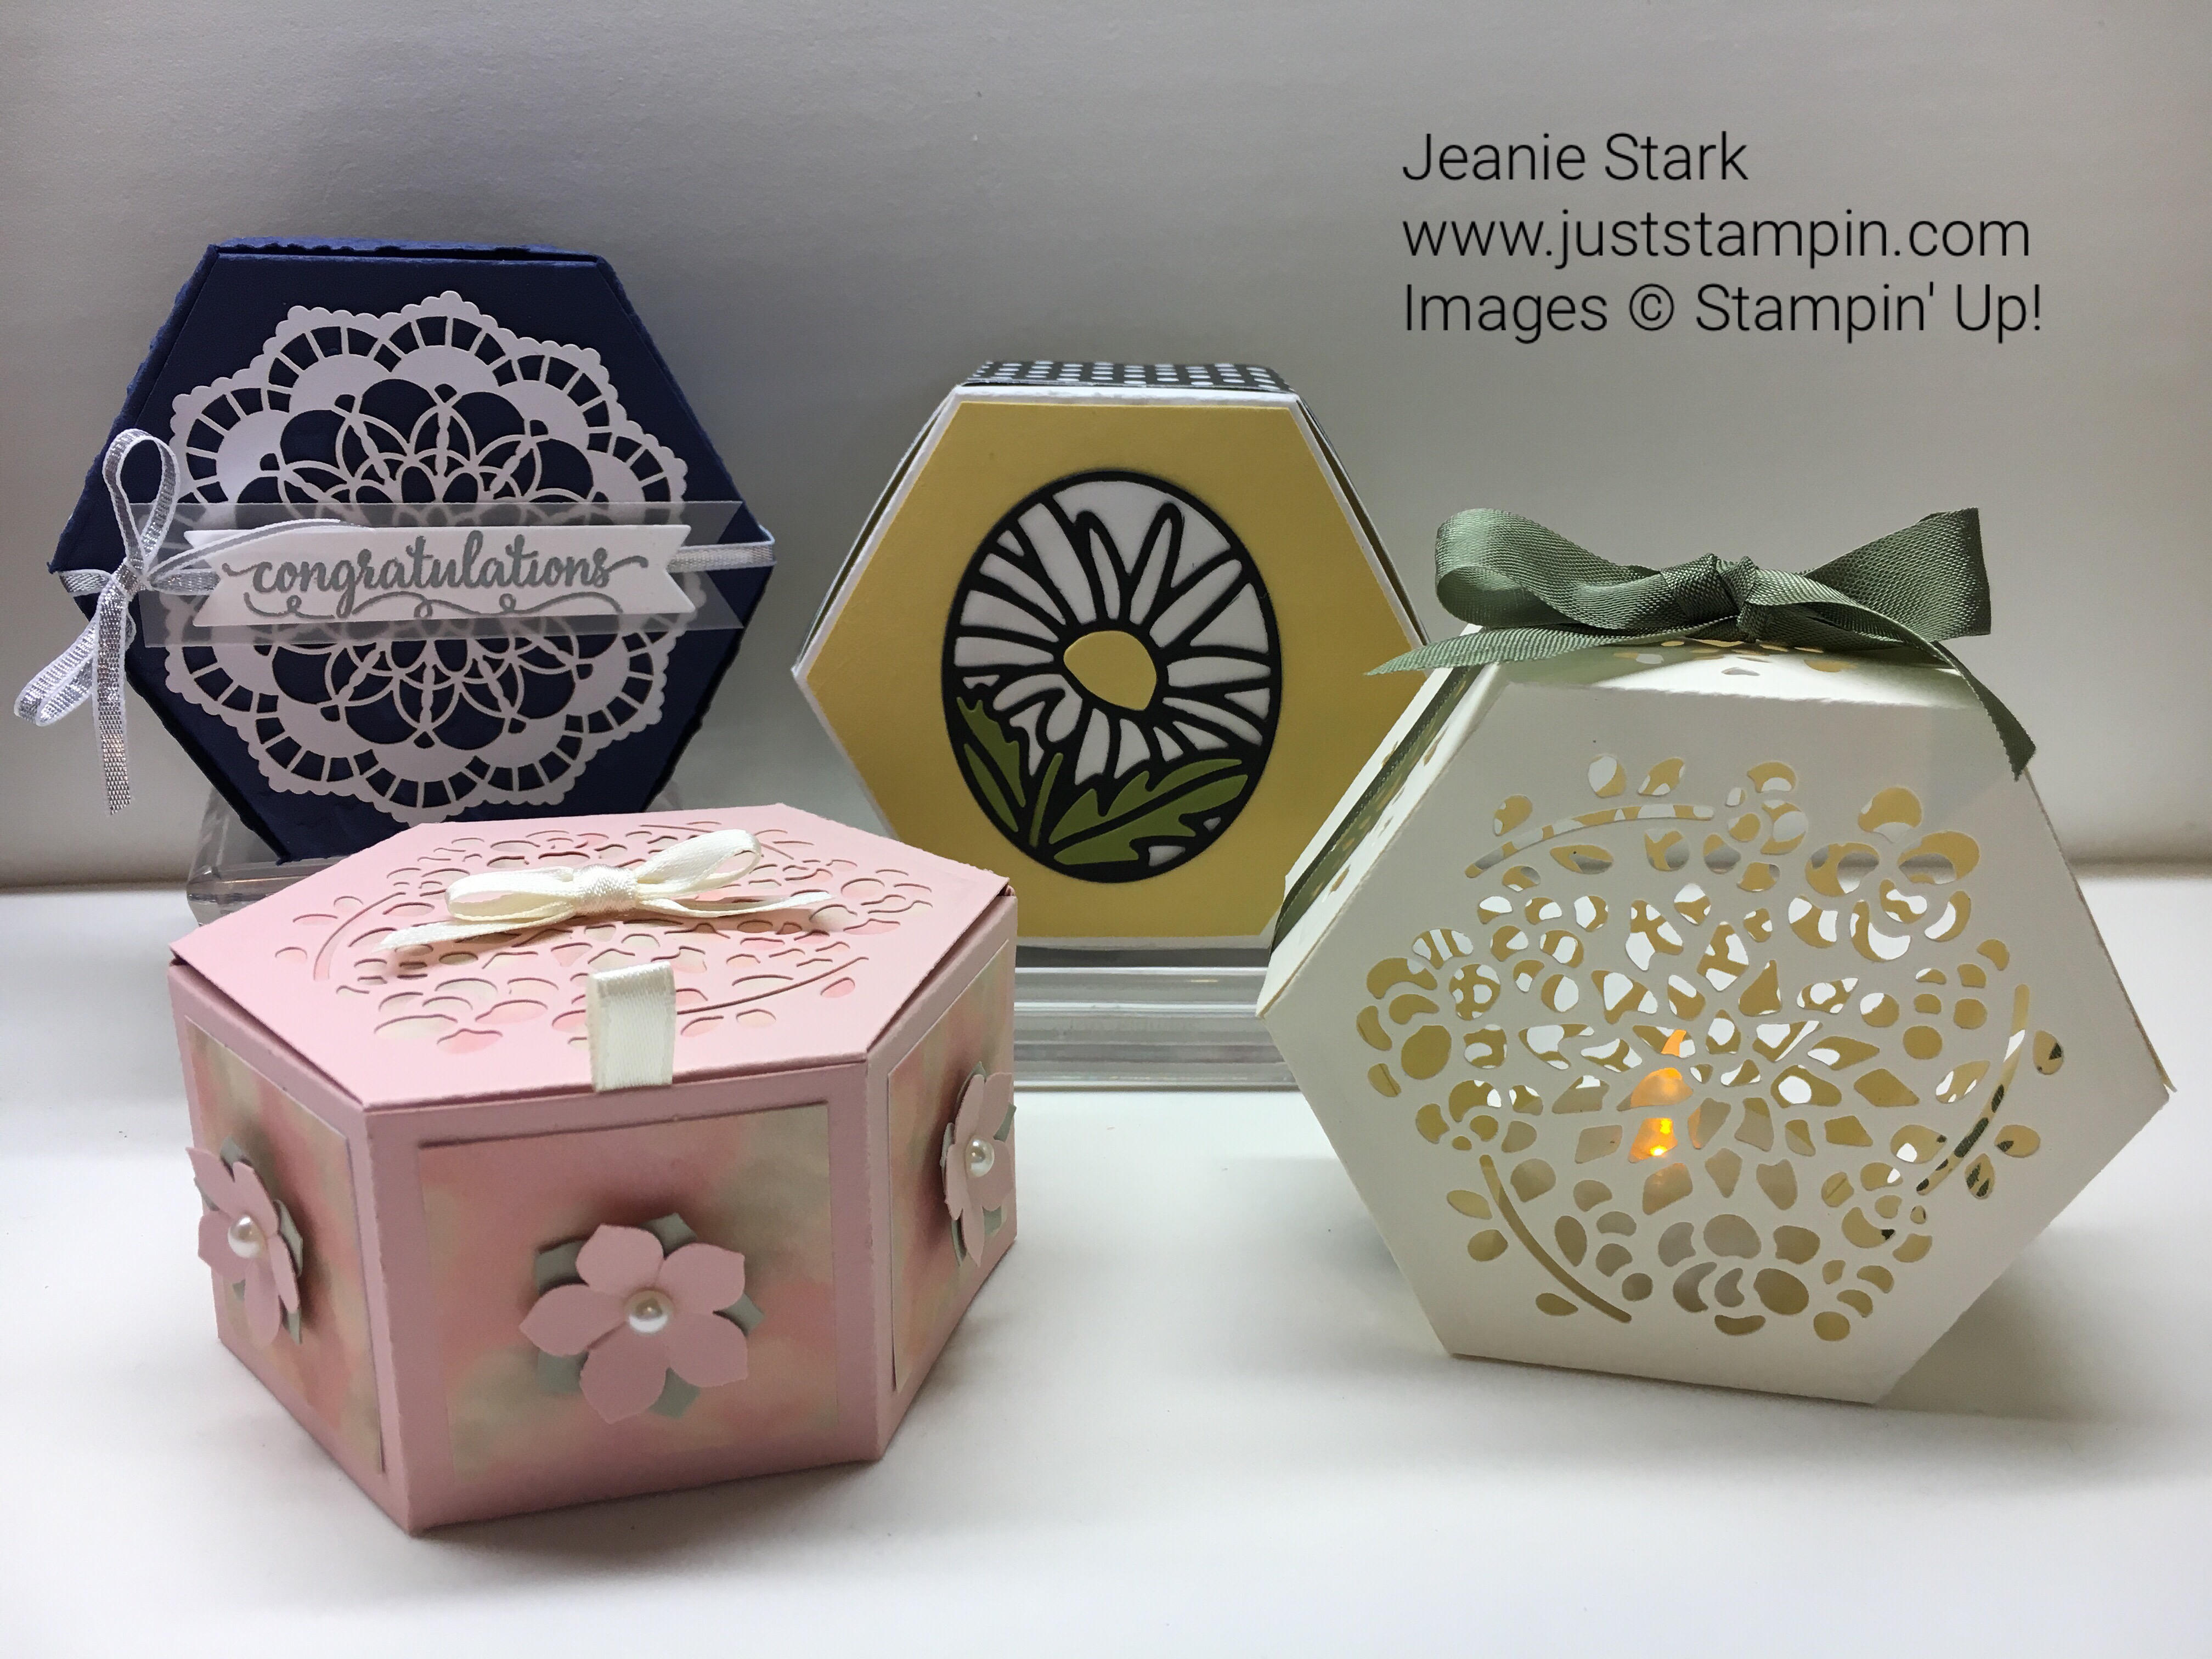
Donna shared lots of great ideas for boxes and cards in her video! This set passed the versatility test for sure! I couldn’t stop making these boxes! I have lots of photos to share with you today.
I love to make boxes and bags to coordinate with my cards. It makes a nice gift presentation. I made this box to go with a card I shared previously. You can find all the details for the card and how I made the tag insert (using the Timeless Tags Thinlits Dies) HERE.
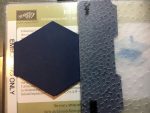
I started with a 6 x 11 piece of cardstock to cut my 2 dies. I cut the ends flaps off one of the pieces and put the box together as shown in the video. I used tear & tape to secure my box. I marked on the photo below the 7 places where you need to apply adhesive.
For this box, I cut a 1 1/2 x 12″ strip of black DSP from the Neutrals Collection. I started in the back and just wrapped it around and pressed gently along the corners to create natural score lines. Then I used Multipurpose Glue to adhere it to the box. As you can see this box holds a lot!
How would you like to receive this card kit and box? Check back tomorrow for information on my “Just Stampin’ Kit Buffet” TO GO!
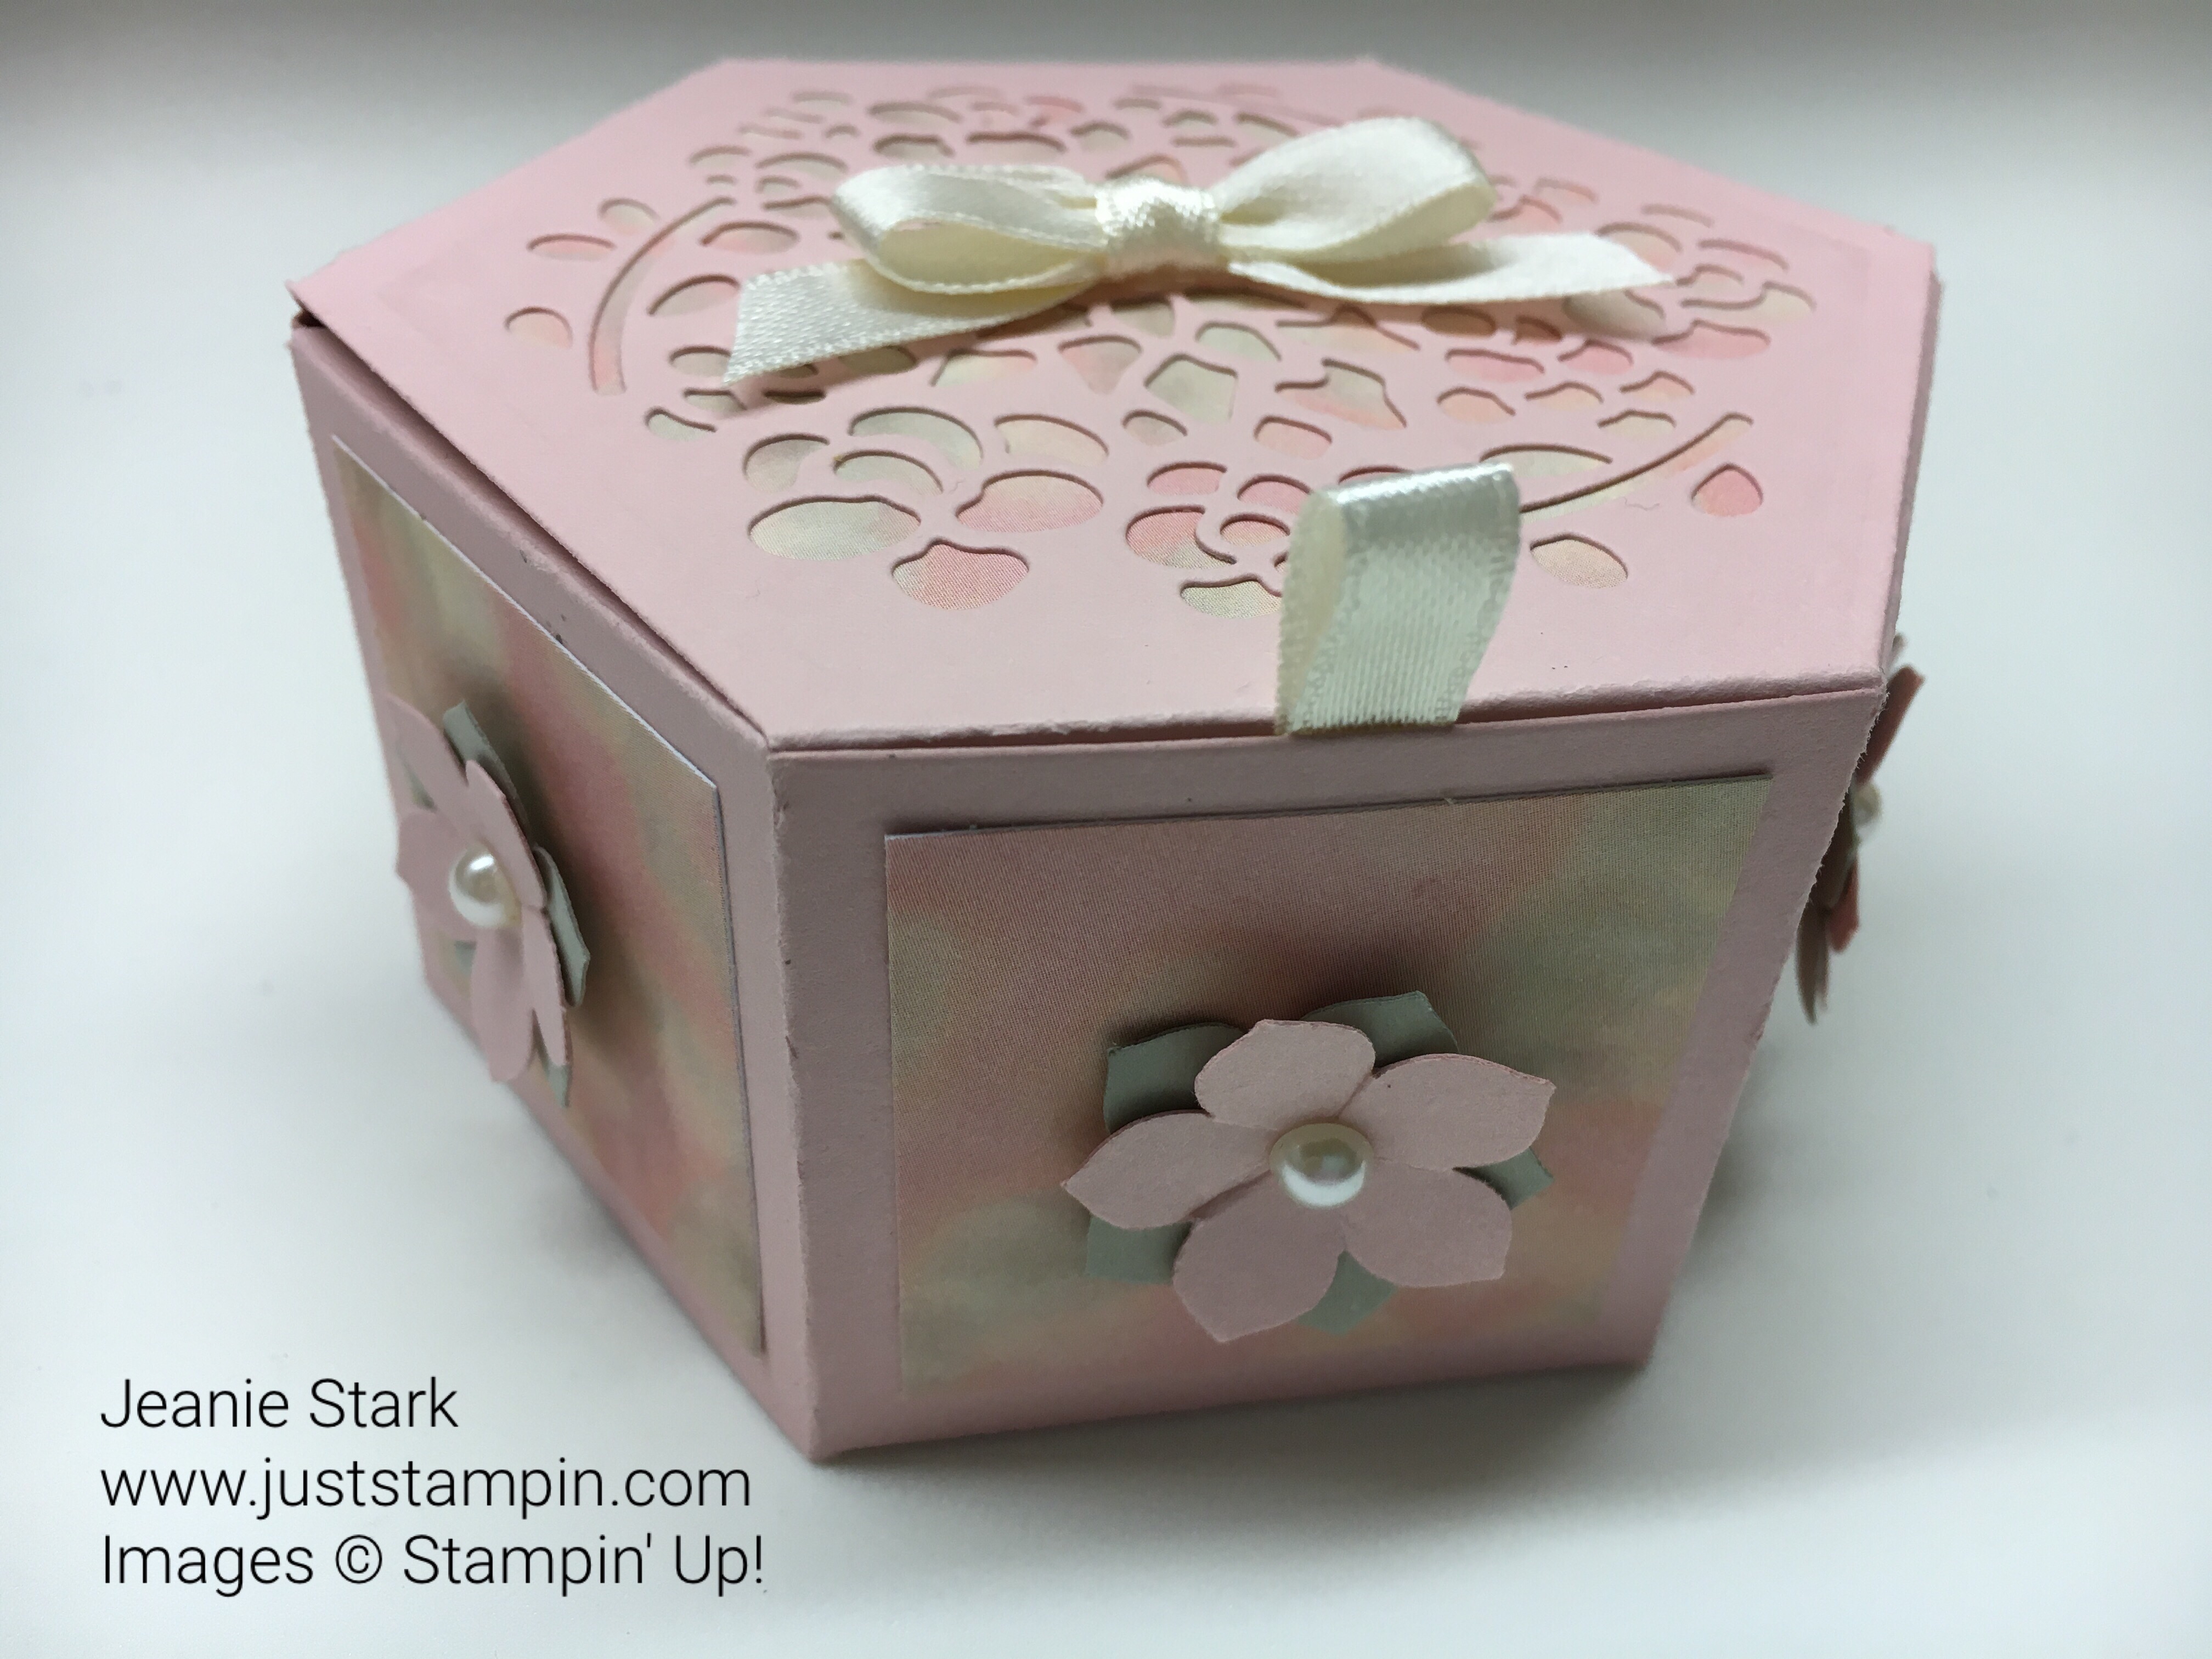
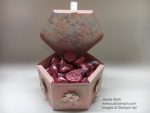
This next box is for the principal at my school. She loves pink! She has a bowl of Hershey kisses on her desk and my students love to stop by on our way out the door at 11:30 every day. They each choose a kiss from the bowl to take home. I thought it would be nice to fill this box with pink Hershey Kisses and have my class give it to her tomorrow for her birthday.
I made this box the same starting with a piece of 6 x 11 Blushing Bride cardstock this time. I used the Precision Base Plate and cut the top of the box before adhering the box together. Then I cut a 3 3/4 x 4 piece of Falling in Love Designer Series Paper and trimmed it along the score lines using my paper snips. I glued it on the inside of the lid. I cut 1 1/2″ squares from the same DSP and adhered those on the 6 panels of the box. I attached a little piece of Very Vanilla Satin Ribbon to the tab with a glue dot to make it easy to pull to open. The flowers were punched from Sahara Sand and Blushing Bride cardstock using the Petite Petals Bunch. I added Basic Pearl Jewels to the center of each.
I finished it off with a Very Vanilla bow on top. Even the inside looks so pretty!
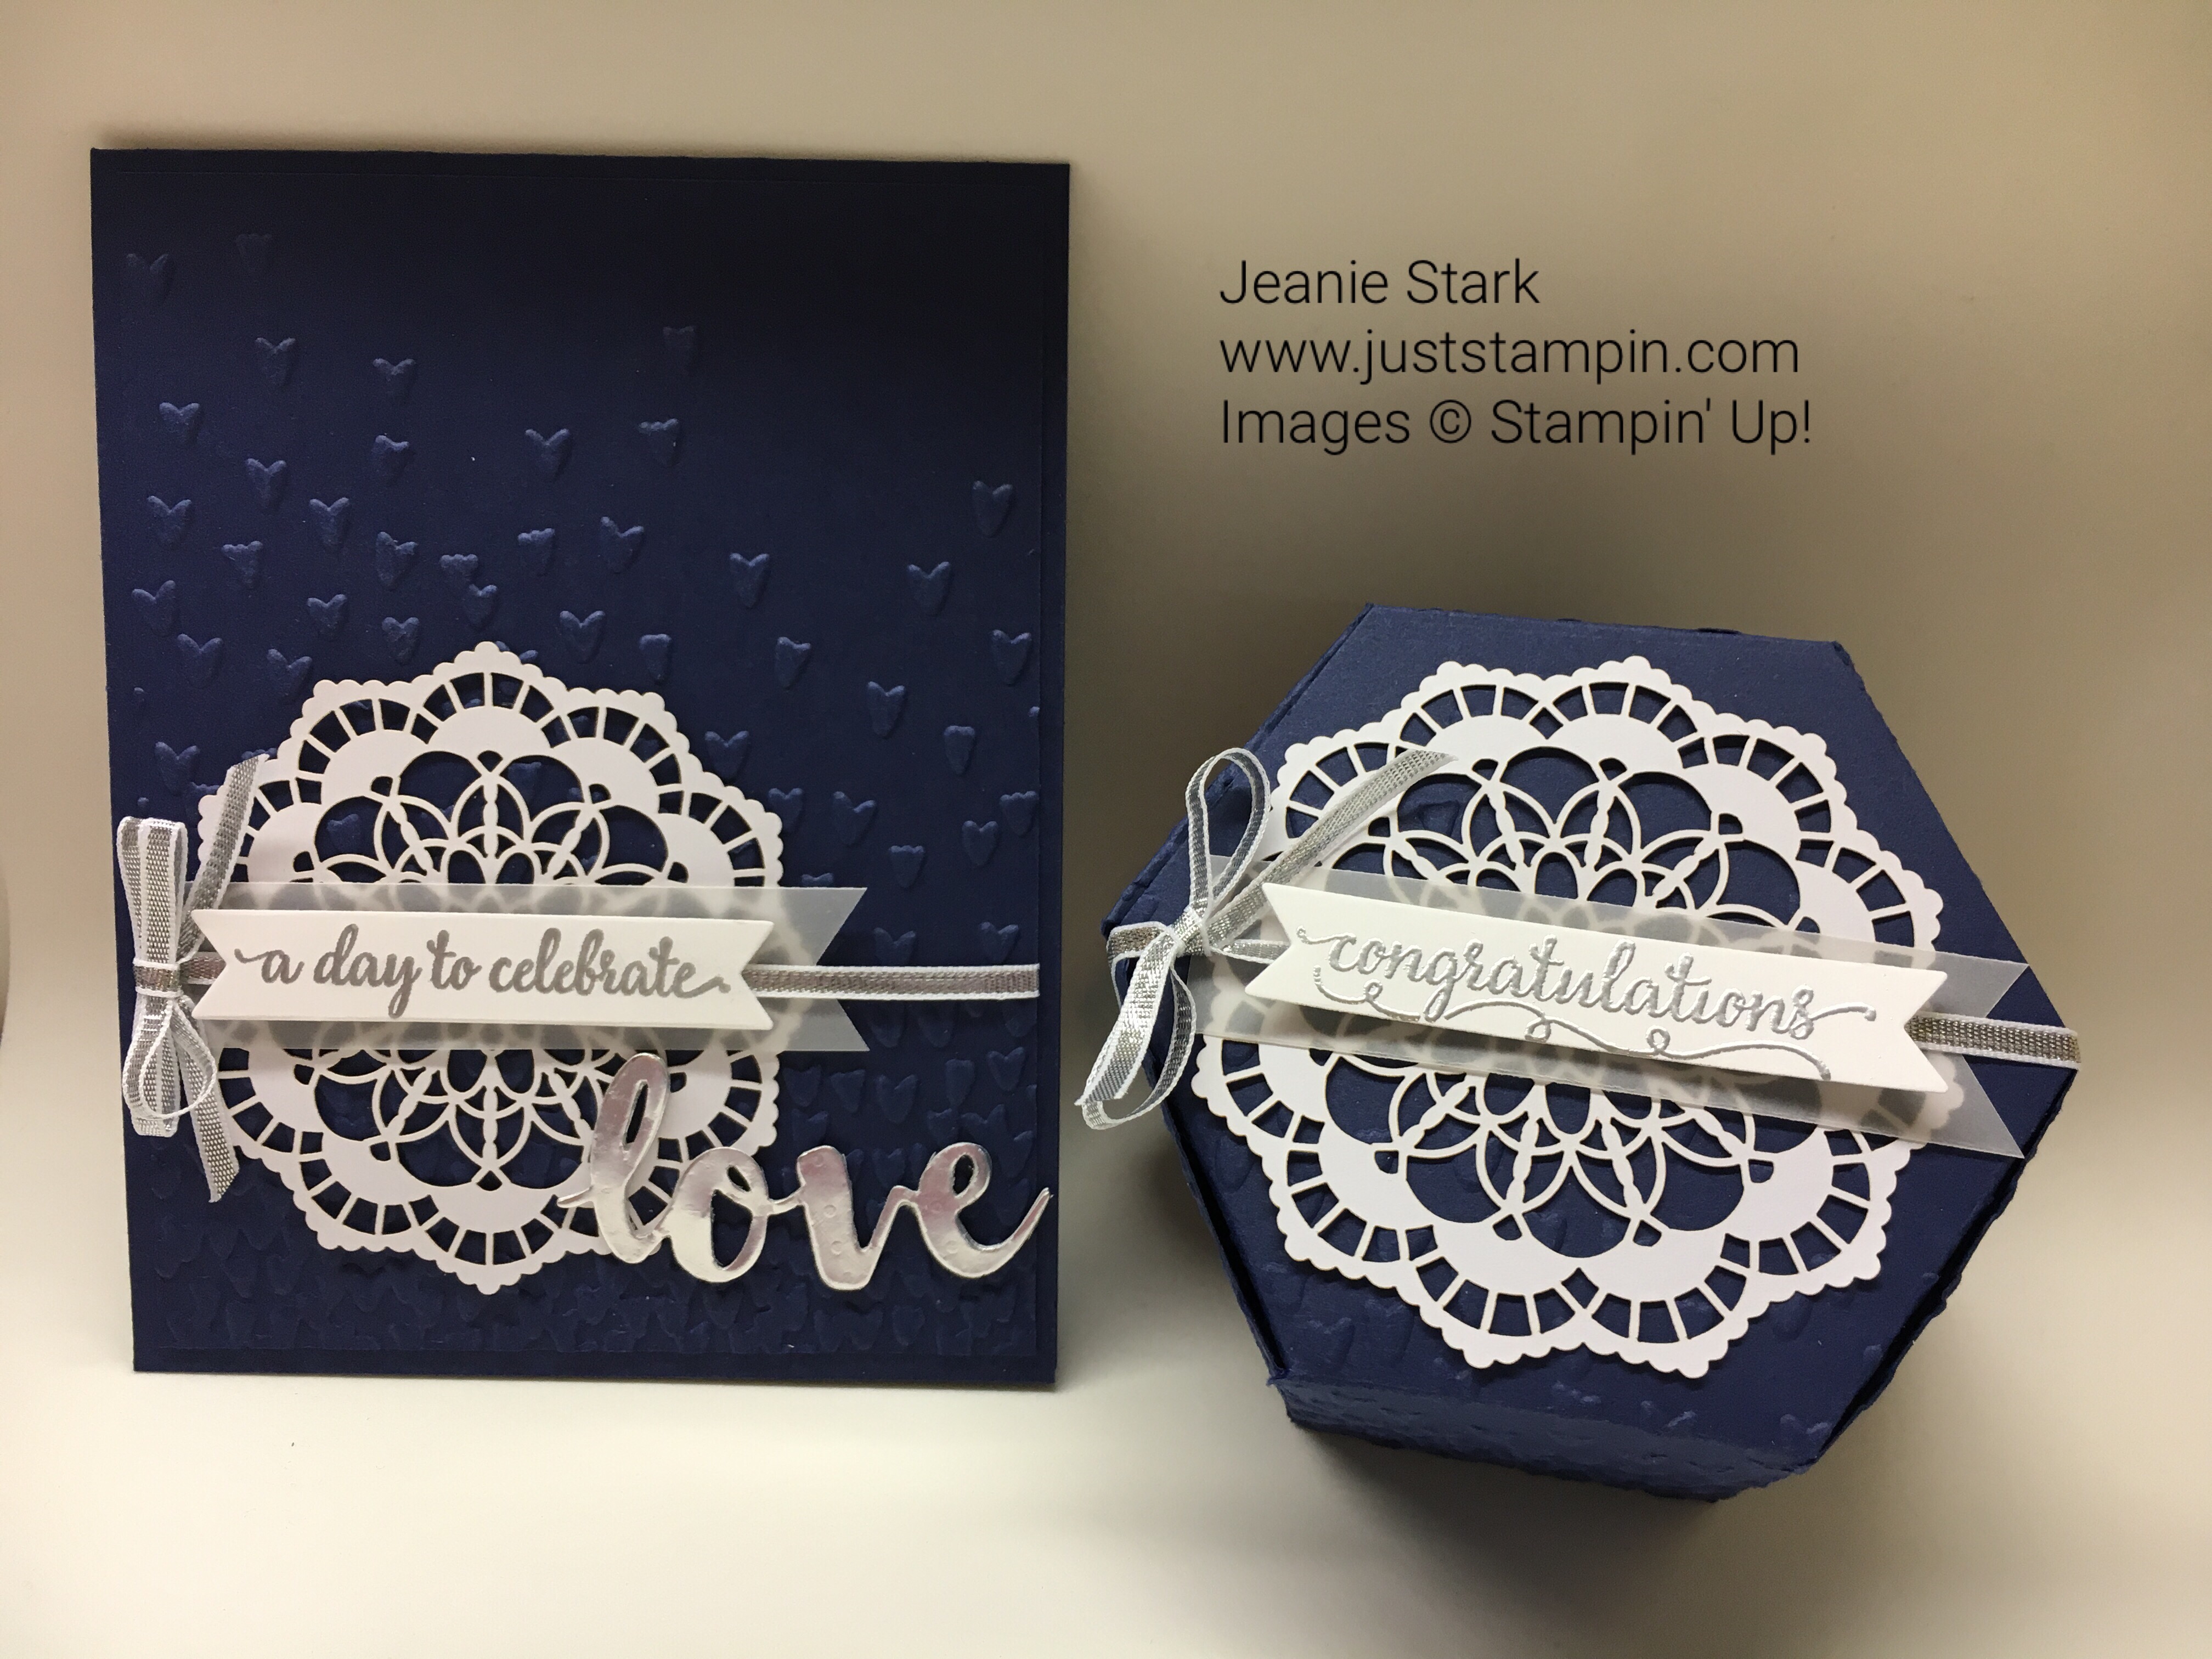
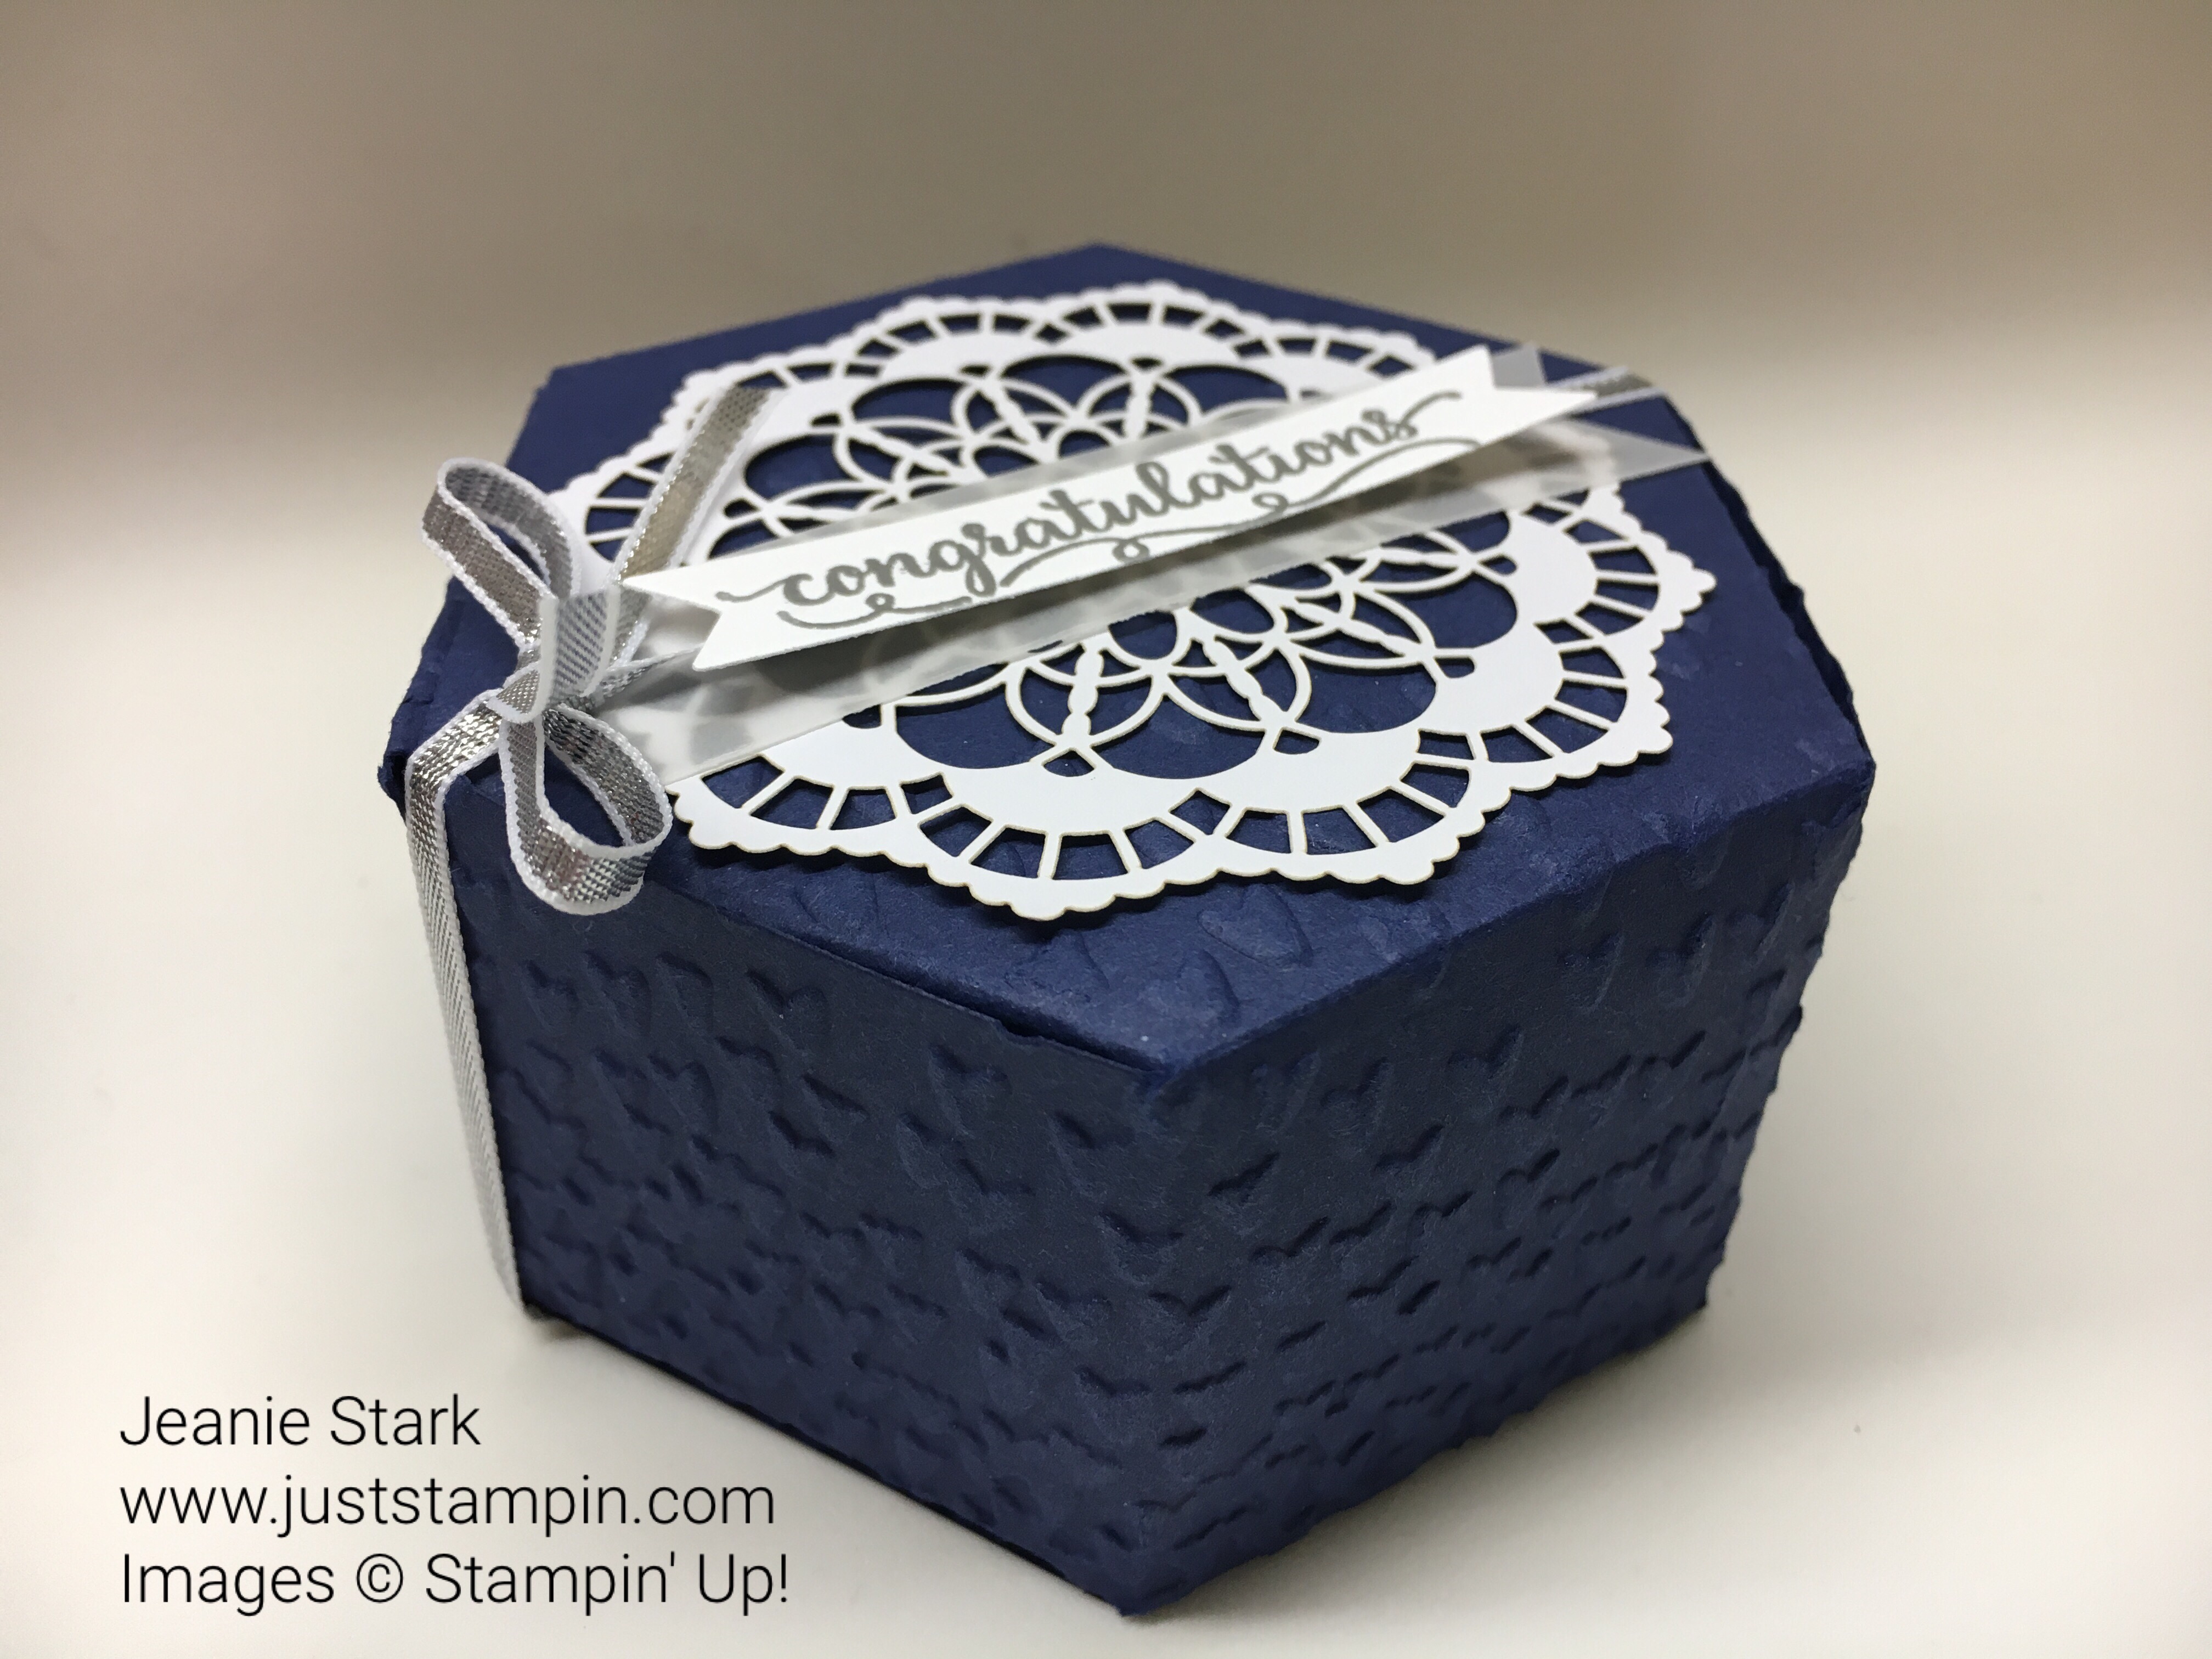
The next box is for my niece who is getting married in two weeks. I used her colors to go with the card I made previously. (You can click HERE to see how I made the card.)
For this box I wanted to use the same elements as the card so I embossed the 2 die pieces using the Falling Petals Embossing Folder before I put the box together. I rotated the bottom piece before embossing (just like you would for one of the dies) so the hearts would be facing the right way when I put the box together.
I heat embossed the sentiment using silver embossing powder and wrapped the box with the same silver ribbon as her card.
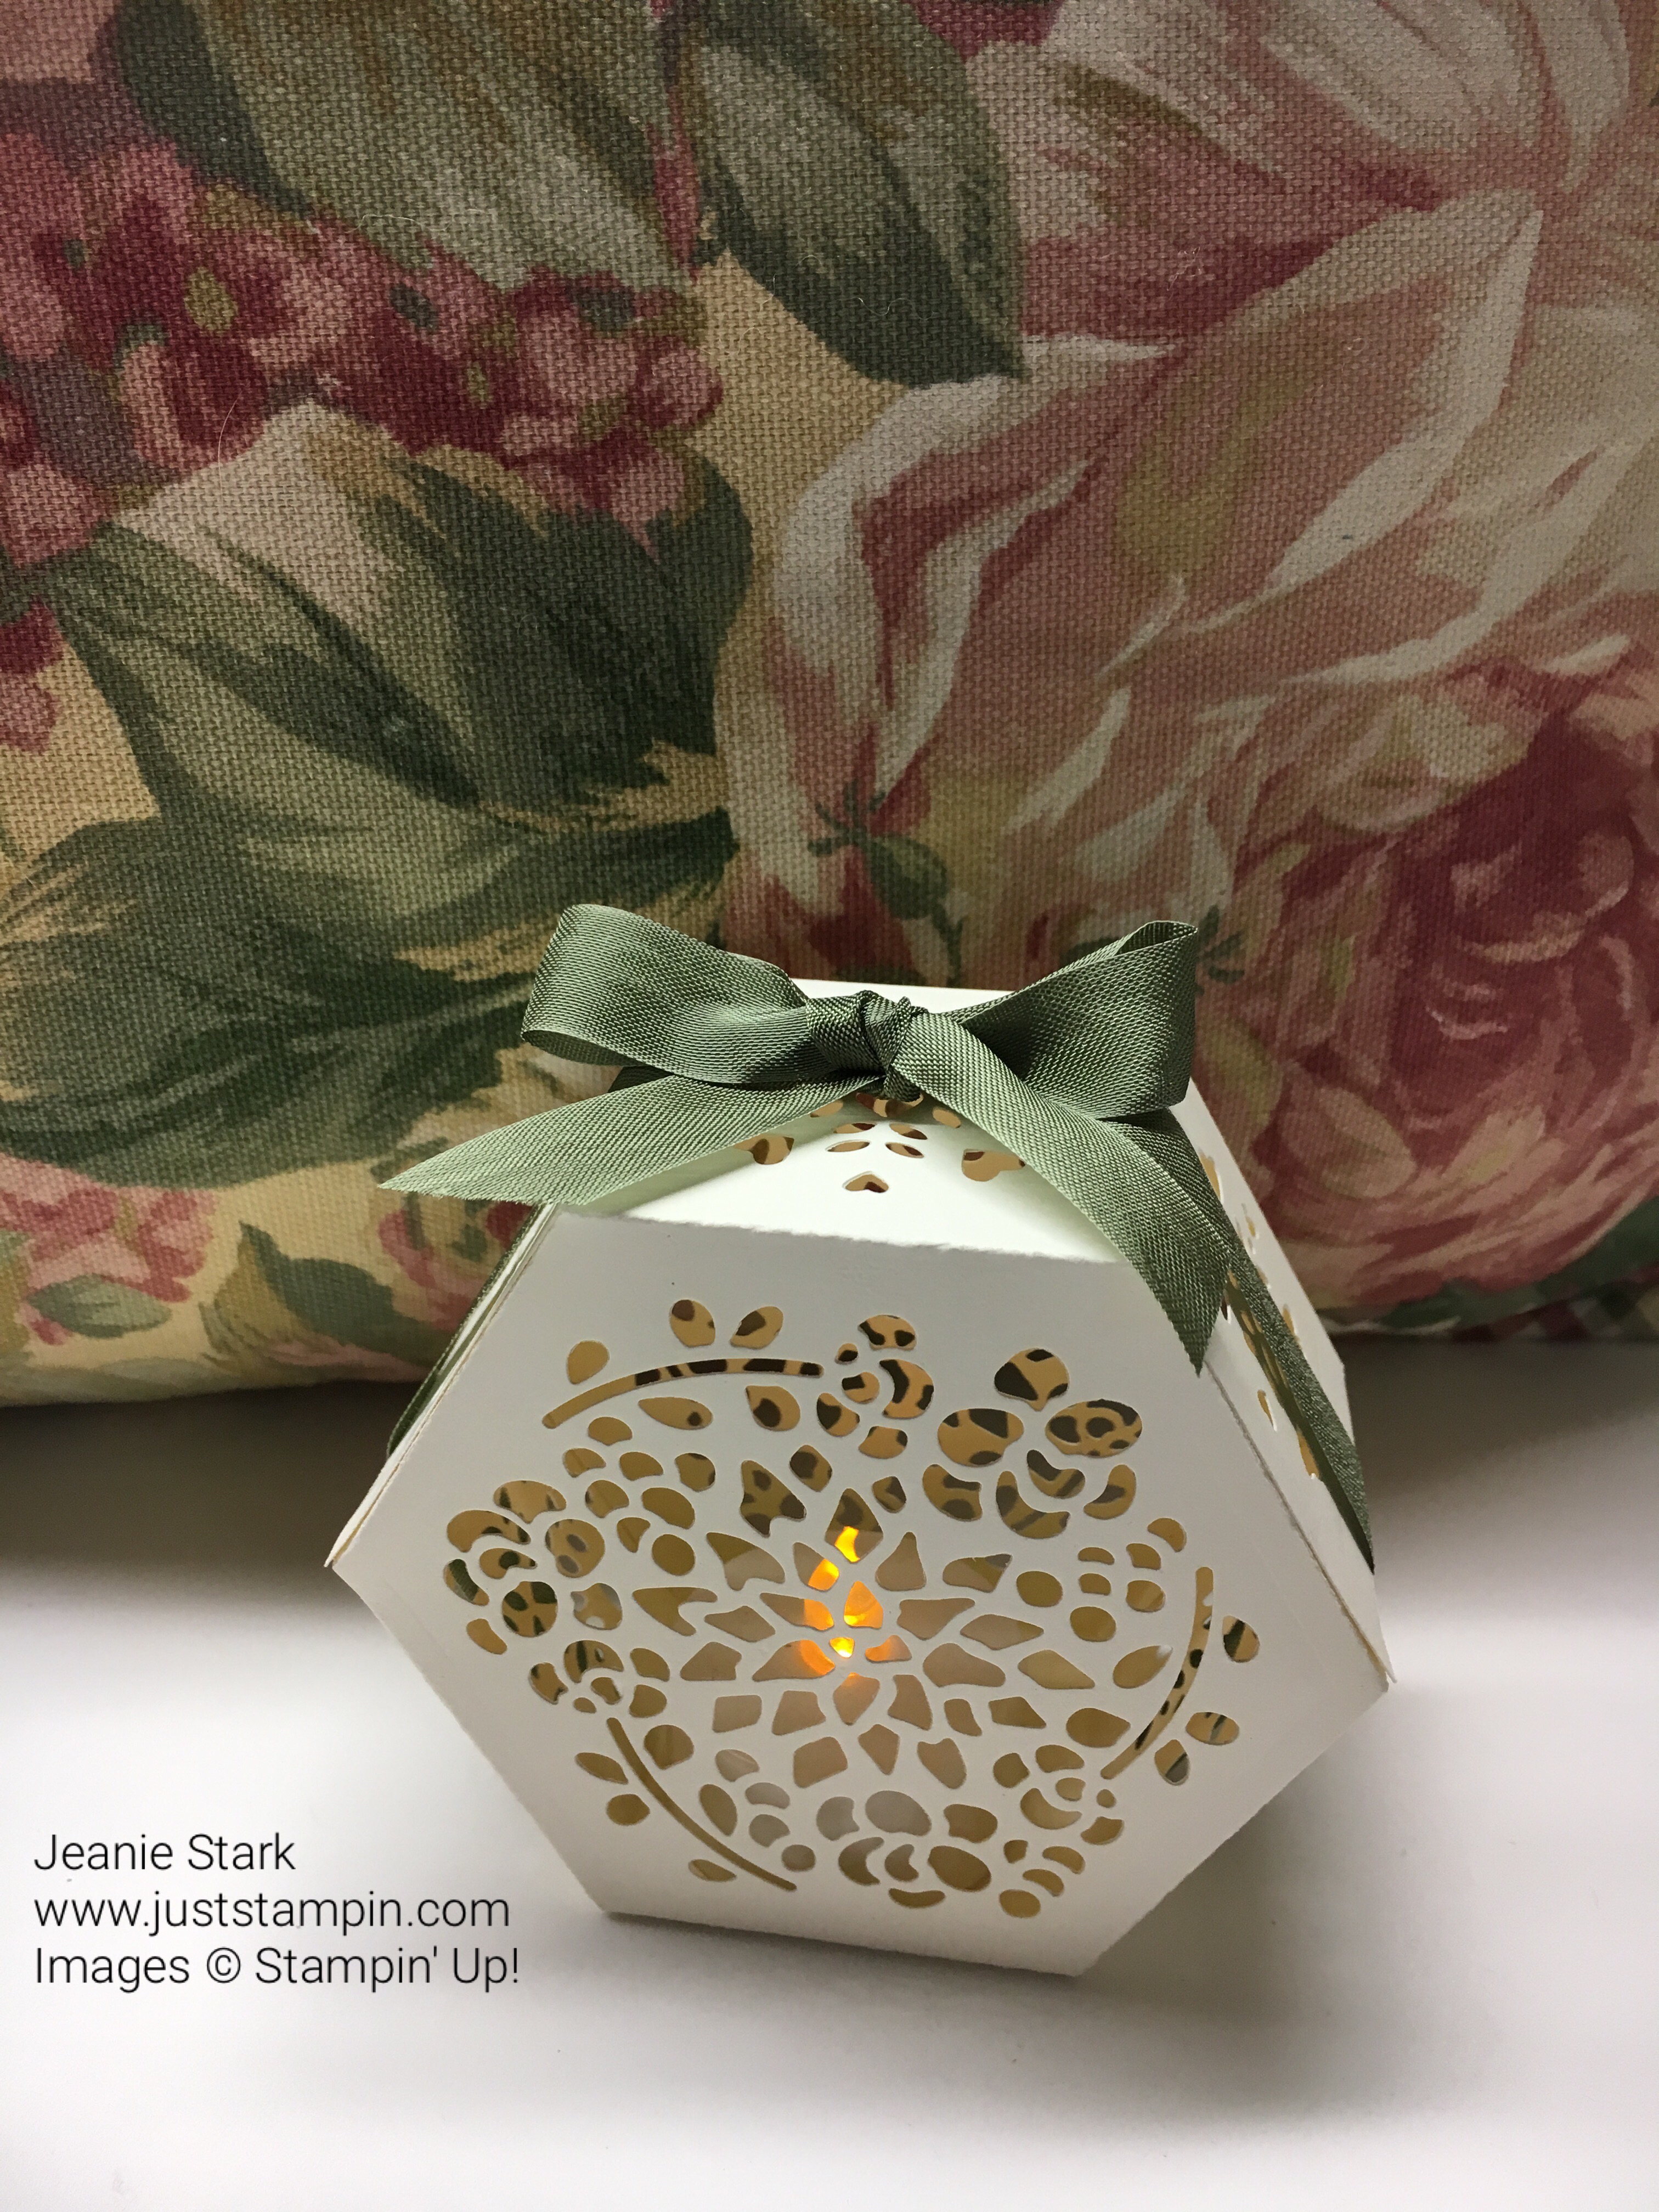
My last box (for now) is for our guest room. I thought it would be so pretty to use it for a night light for guests. I plan to make more of these as I think they are great little gifts to give! I used some retired Always Artichoke seam binding to wrap the box and tie a bow…it matched the throw pillow on the bed. You can still open the box without disturbing the ribbon to turn the battery light on and off.
I was careful to remember to make sure my die was going the right way before I cut so the hearts would be facing up when I put the box together but with the ribbon wrapped around it you can’t even tell! (Keep that trick in mind if you mess up! LOL)
I love these “luminaries” and can’t wait to make more! These would be gorgeous on a dinner table! You can lay them down or stand them up..the candle fits either way. I still have more of these boxes I want to make. I haven’t even used the stamp set and it has great sentiments that fit perfectly on the top or side of the box! There’s even tags and a sweet little flower! They can be used with the box or alone on cards or other projects! You will definitely be seeing more of this set in the future! I’m going to make Valentine boxes for my family! So, which one is your favorite? I’d love to hear from you!
You can purchase the Window Box Thinlits Dies and Window Shopping Stamp Set as a Bundle and Save 10%. Click on the image below to view it in my online store.
You can purchase the products used to make today’s project in my online store. The bundle sells for $50.25 which automatically qualifies you for a FREE Sale-A-Bration gift. Use the February hostess code K3VM6YBW when you check out and I will send you a card kit as my thanks for shopping with me! Check back tomorrow to find out about my new kits TO GO!!! Click HERE to shop.
Have an eXtra special day!
Just Stampin’
Jeanie
P.S. I hope everyone is working on their card for my Card Swap! Click HERE for the details!