
I am so excited about the new alphabet series I will be starting this week! I have been busy brainstorming and creating as well as finishing up my thank you gifts for customers who ordered through me in April. Check back tomorrow to see the fun treat holder I made as well as a chance to win some blog candy. YUM!
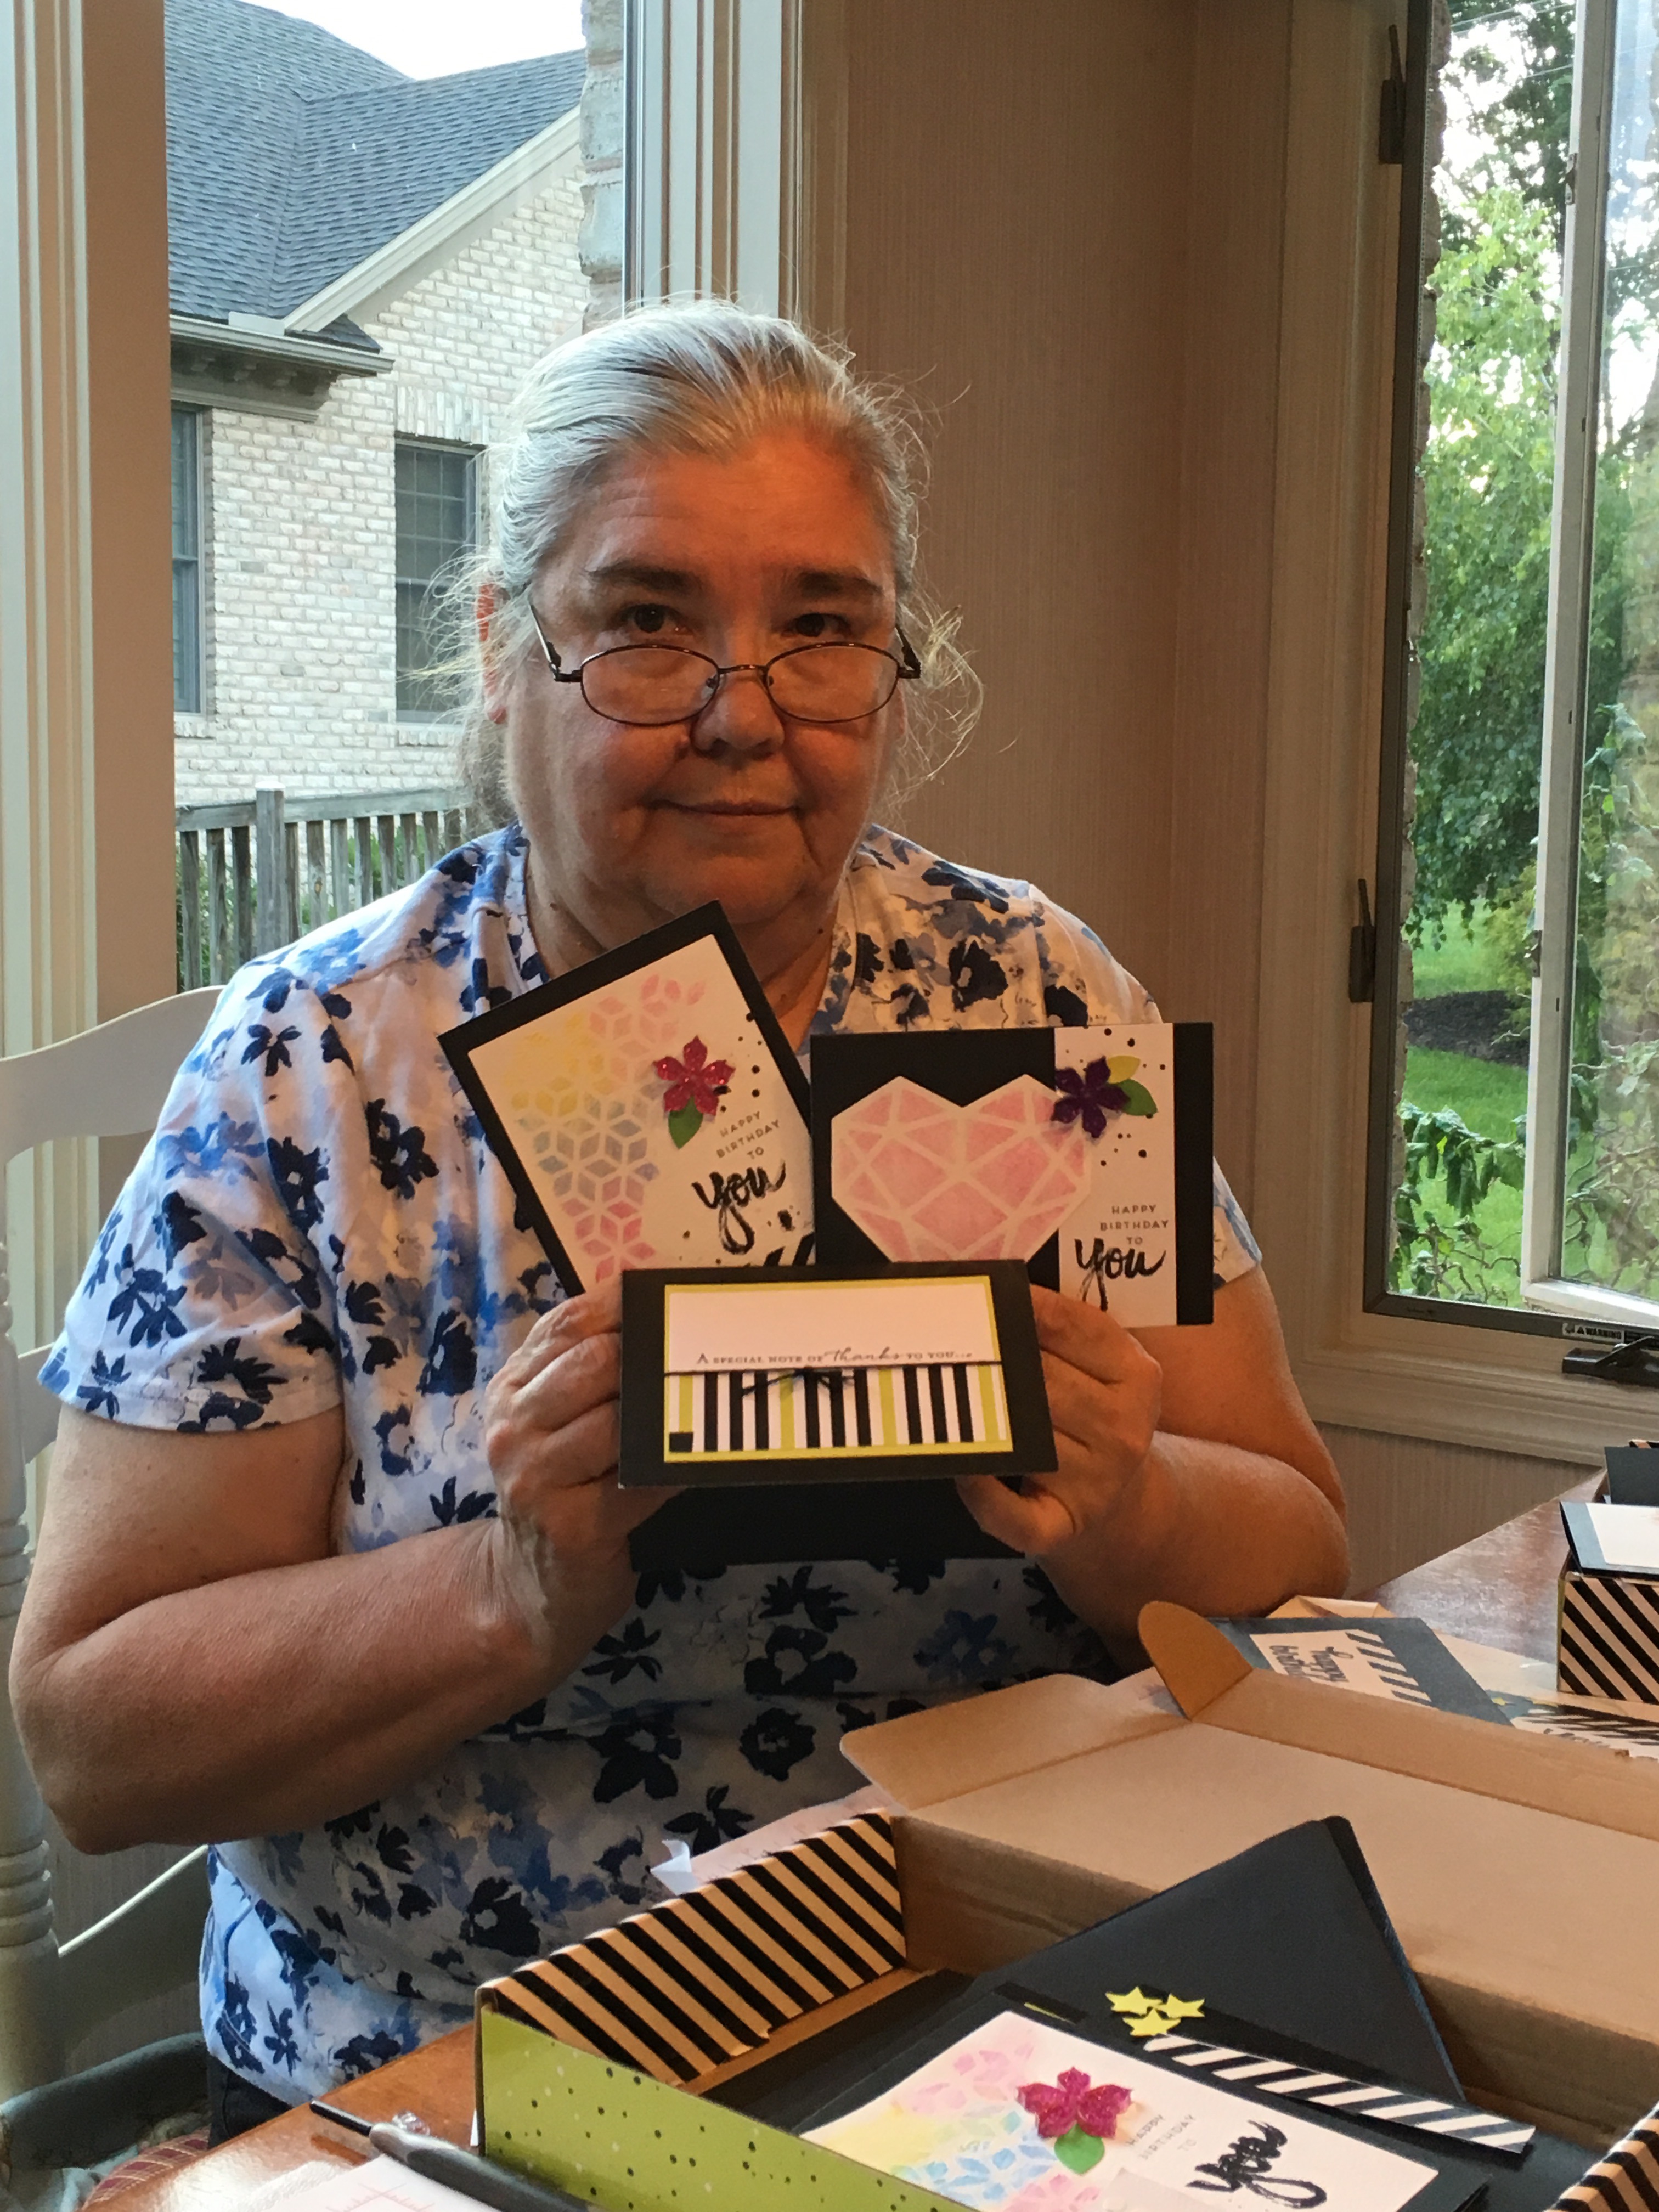
Just a reminder…Wednesday is the last day to sign up for Paper Pumpkin to get the May kit. There has been lots of chatter and clues on the Paper Pumpkin Facebook Page as to what the May kit will be. It sounds like possibly a golfing theme to me. I know a lot of people have mentioned wanting a golf stamp set as well as masculine card ideas. Of course we never know for sure what’s going to be in the kit until it’s released. I love the surprise every month and ALWAYS find ways to use the kit even if it’s not the intended projects. I had so much fun with the April kit and so did my Paper Pumpkin Players. We got together last week and enjoyed some stress free painting with the watercolor pencils included in the kit. We also opened up a few of the envelopes and had fun creating some alternative projects using the designer series paper that lined the envelopes. Thanks to Pinterest and my fellow demonstrators (who so willing share and swap ideas with me), we had plenty of inspiration to choose from! Special thanks to Deana Rekow, Kim Morris, Debbie Henderson, Rachel Tessman, Susan Itell, and Dawn Olchefske for their inspiration and ideas! Here are some photos of my display boards and more from our get together.


Here’s a few close ups of some of the cards I created using products from the kit.

I love fun fold cards! This Z fold card was quick & easy to do. Simply score the front of the card at 2 1/8 and fold back. (If you were making one from scratch you would also need to score at 4 1/4. The cards in the kit were already scored at 4 1/4.) I like how you get a “sneak peek” at the the inside with this fun fold.


I used the heart from the kit as a template and stamped around the shape with the “Love” stamp. Photopolymer stamps make it so easy to see where to stamp. I have plenty of room to write a message inside the heart shape.
I had so much fun cutting open the envelopes and using the paper to create more cards. (I will embellish Whisper White Envelopes to match the other cards in the kit.) To open up the envelopes I used the Heat Tool (on low) and gently pulled the seams up as it heated.

For this card I used the 2″ Circle Punch to punch the designer paper from the envelope flaps. I cut one of the black cards in the kit to layer the circles on the card front. The sentiment is from the Tin of Cards Stamp Set (retiring this month) and the card base is the new In Color, Lemon Lime Twist. Doesn’t it look great with black? I love the contrast!
I made this card using a strip I had leftover after cutting apart an envelope for another project. (You know how I love to use my scraps!) This is one of those “formula cards” that can be used again and again when you need a quick card. Adhere a strip of DSP along the bottom of a piece of whisper white and stamp your sentiment above. I added a layer of Lemon Lime Twist and some black twine and popped it up with Stampin’ Dimensionals. Quick & easy!
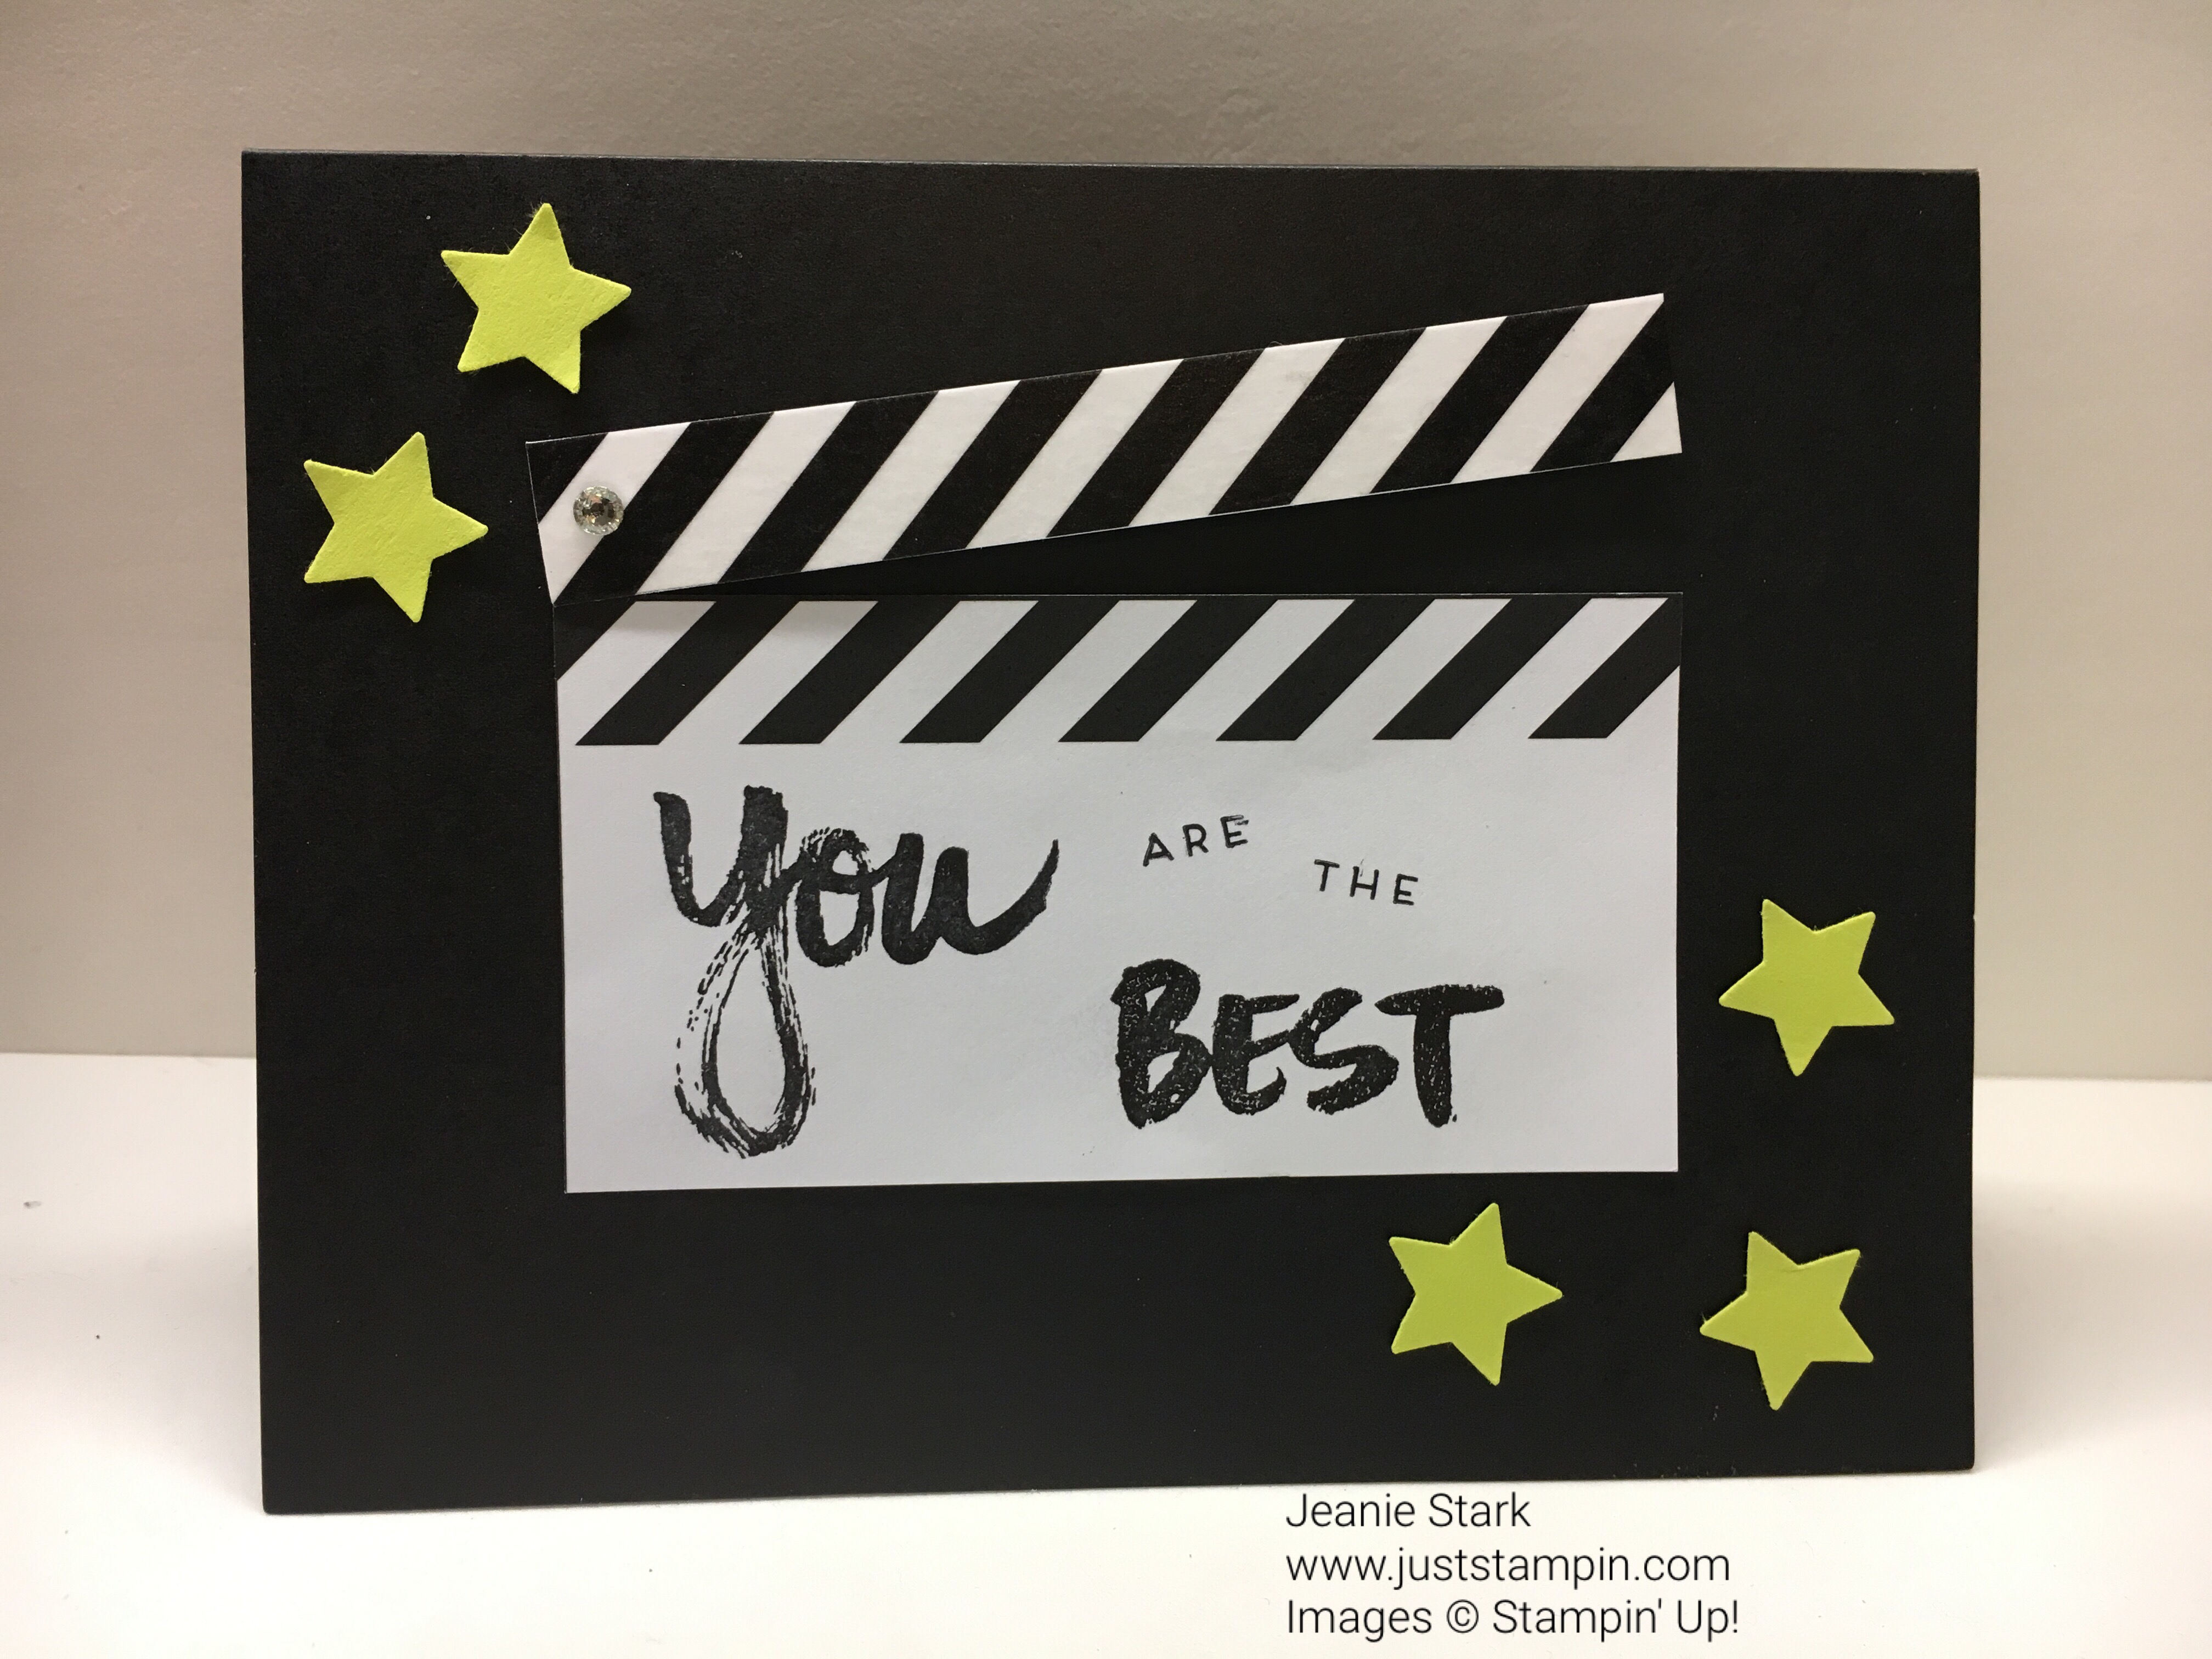
How fun is this card?! I thought Hollywood the minute I saw the envelopes in the kit. This card is perfect for so many occasions and works for both male and female. I used the washi tape in the kit to make the extra piece on top to match and popped it up with Stampin’ Dimensionals. The stars were punched from scraps of Lemon Lime Twist.

Have you heard of a “bagalope”? It’s a bag made from an envelope. How cool!!! You can do this with any envelope and can get 2 different looks depending on which end you cut. All you have to do to make this is seal the envelope and cut 1/4″ from the top. Then score 5/8″ in from each of the other 3 sides. Fold and crease the score lines and adhere the flaps on the bottom. (I used Glue Dots.) Think of all the possibilities you can make! What a great little gift set this will make by decorating the “bagalope” to match your card!!!

Claire and Sheila were concentrating on their watercolor art and making masterpieces.
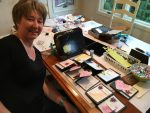
Here’s some of the players (others were being shy and didn’t want their picture taken) showcasing their art.

Cheryl finished hers in just a few hours. She has her Mother’s Days cards ready to go!
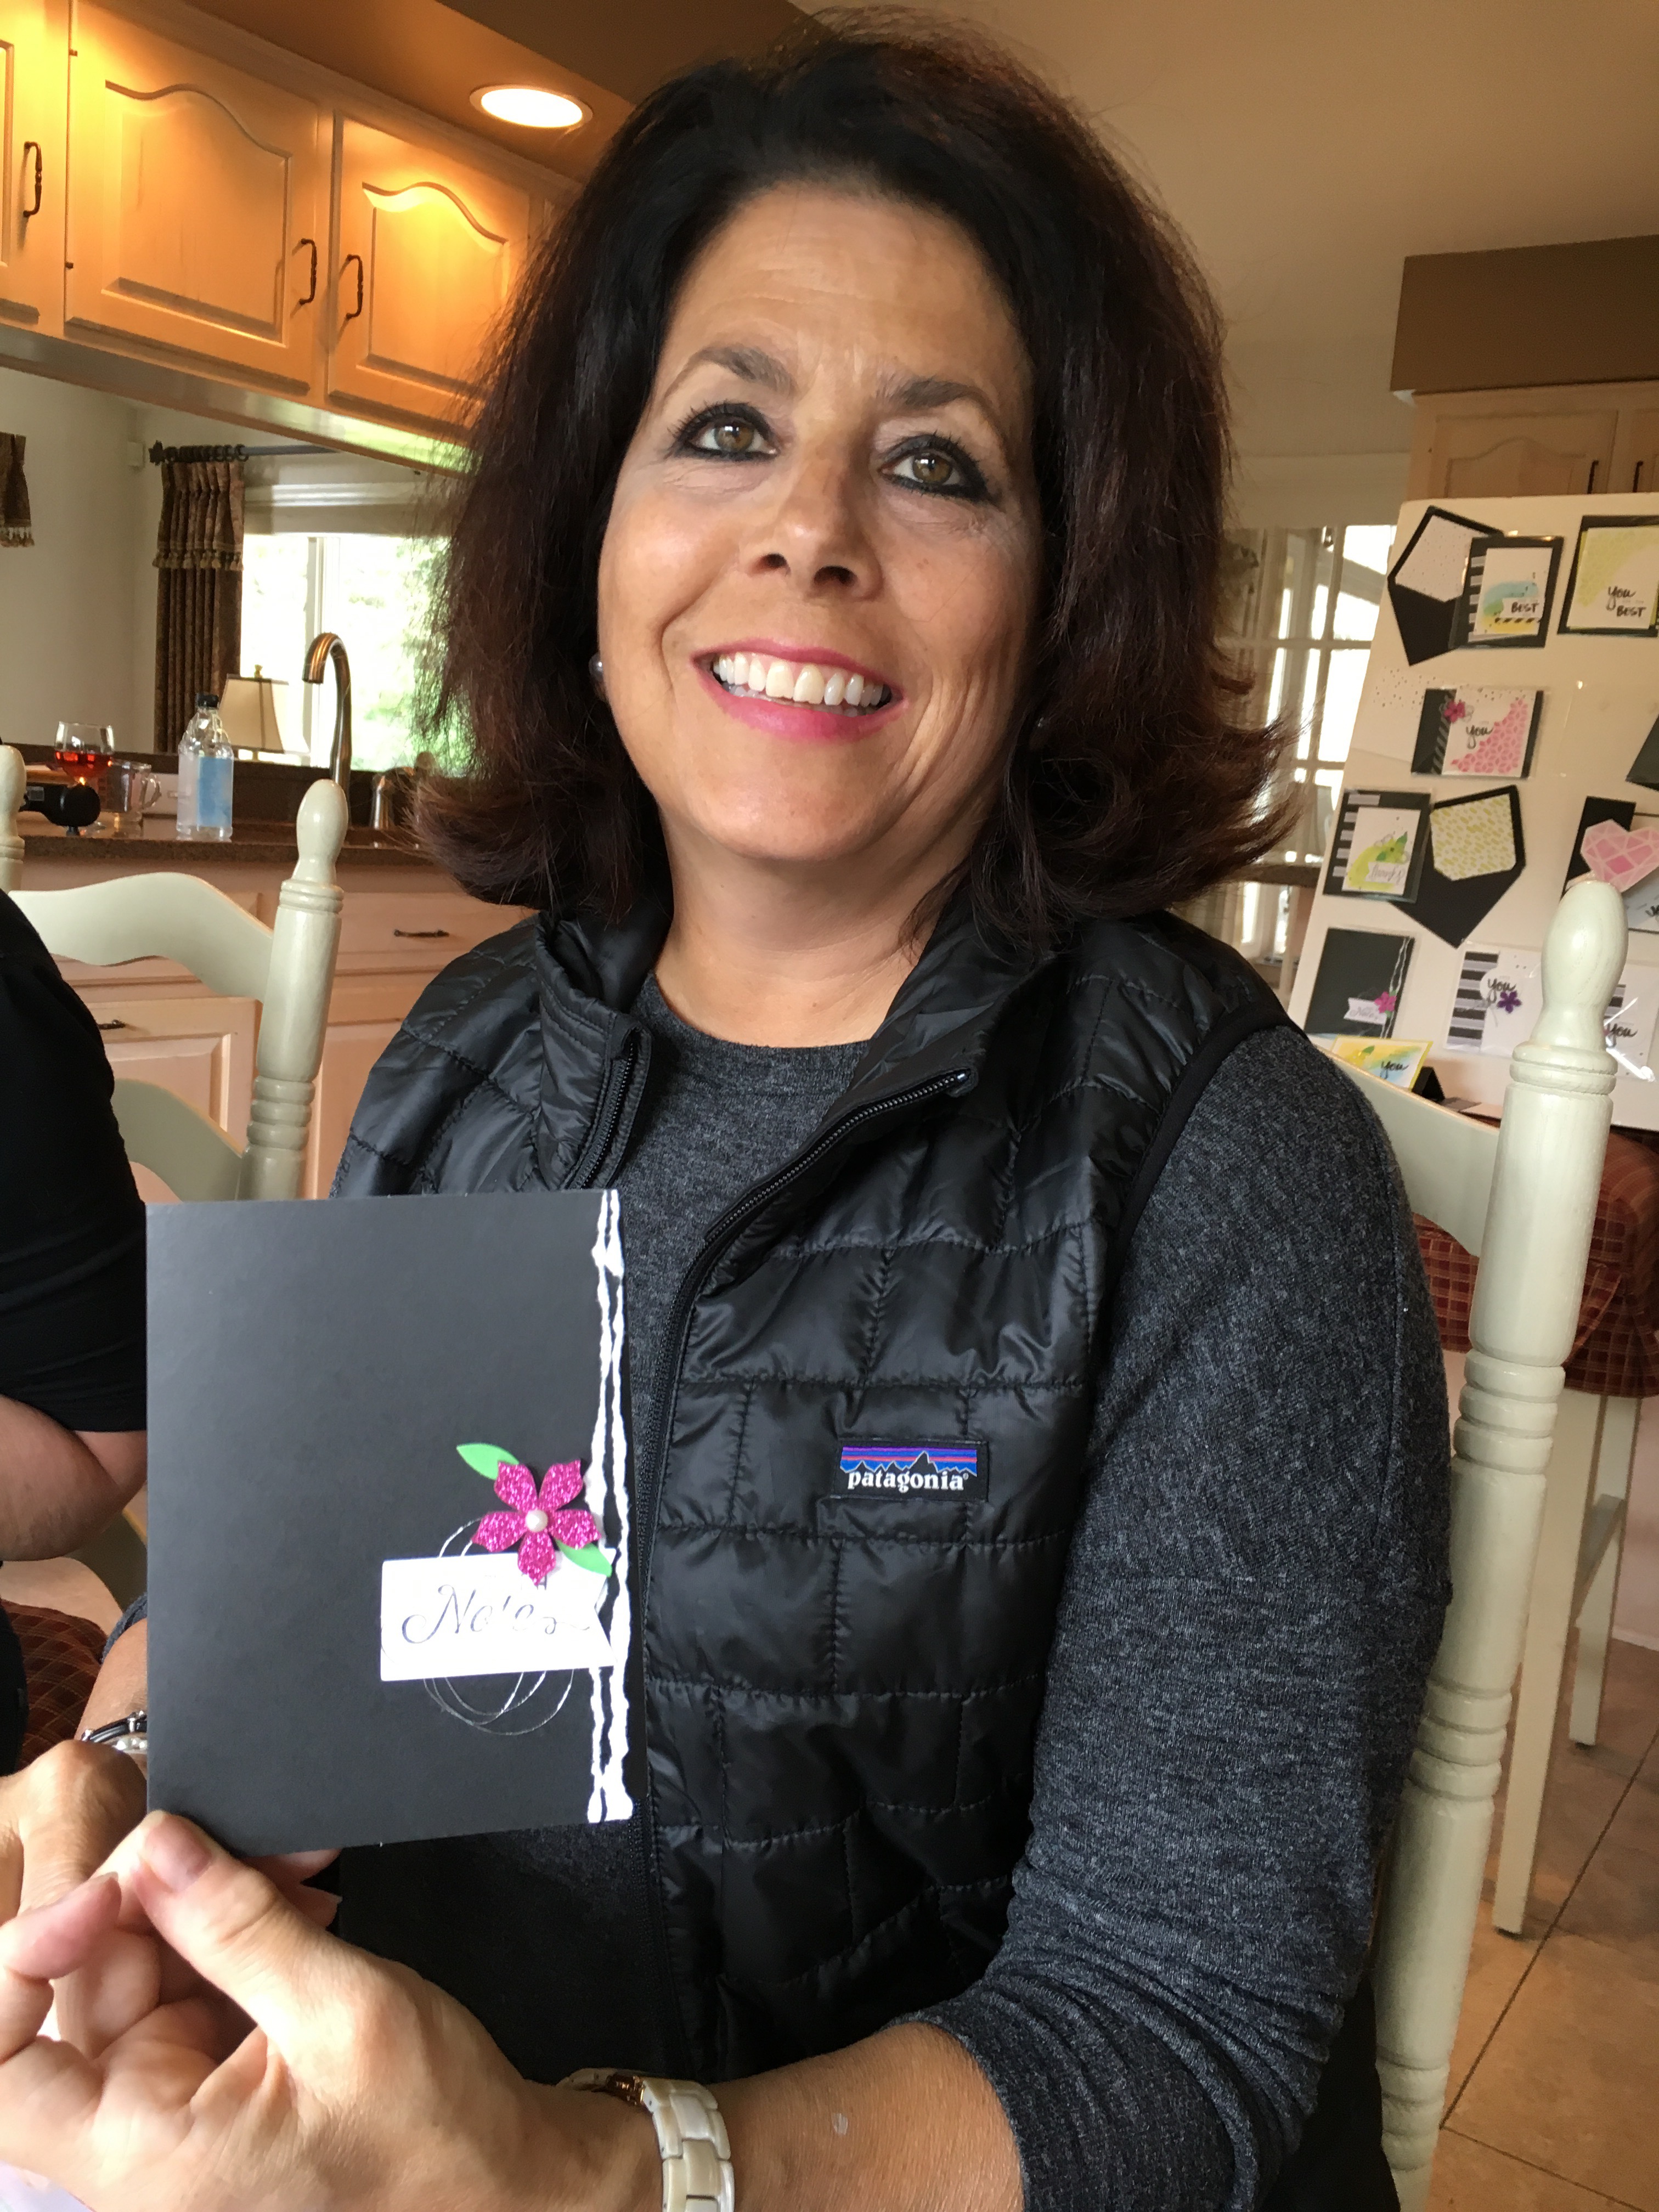
I love the torn paper technique Paula used for this note card.
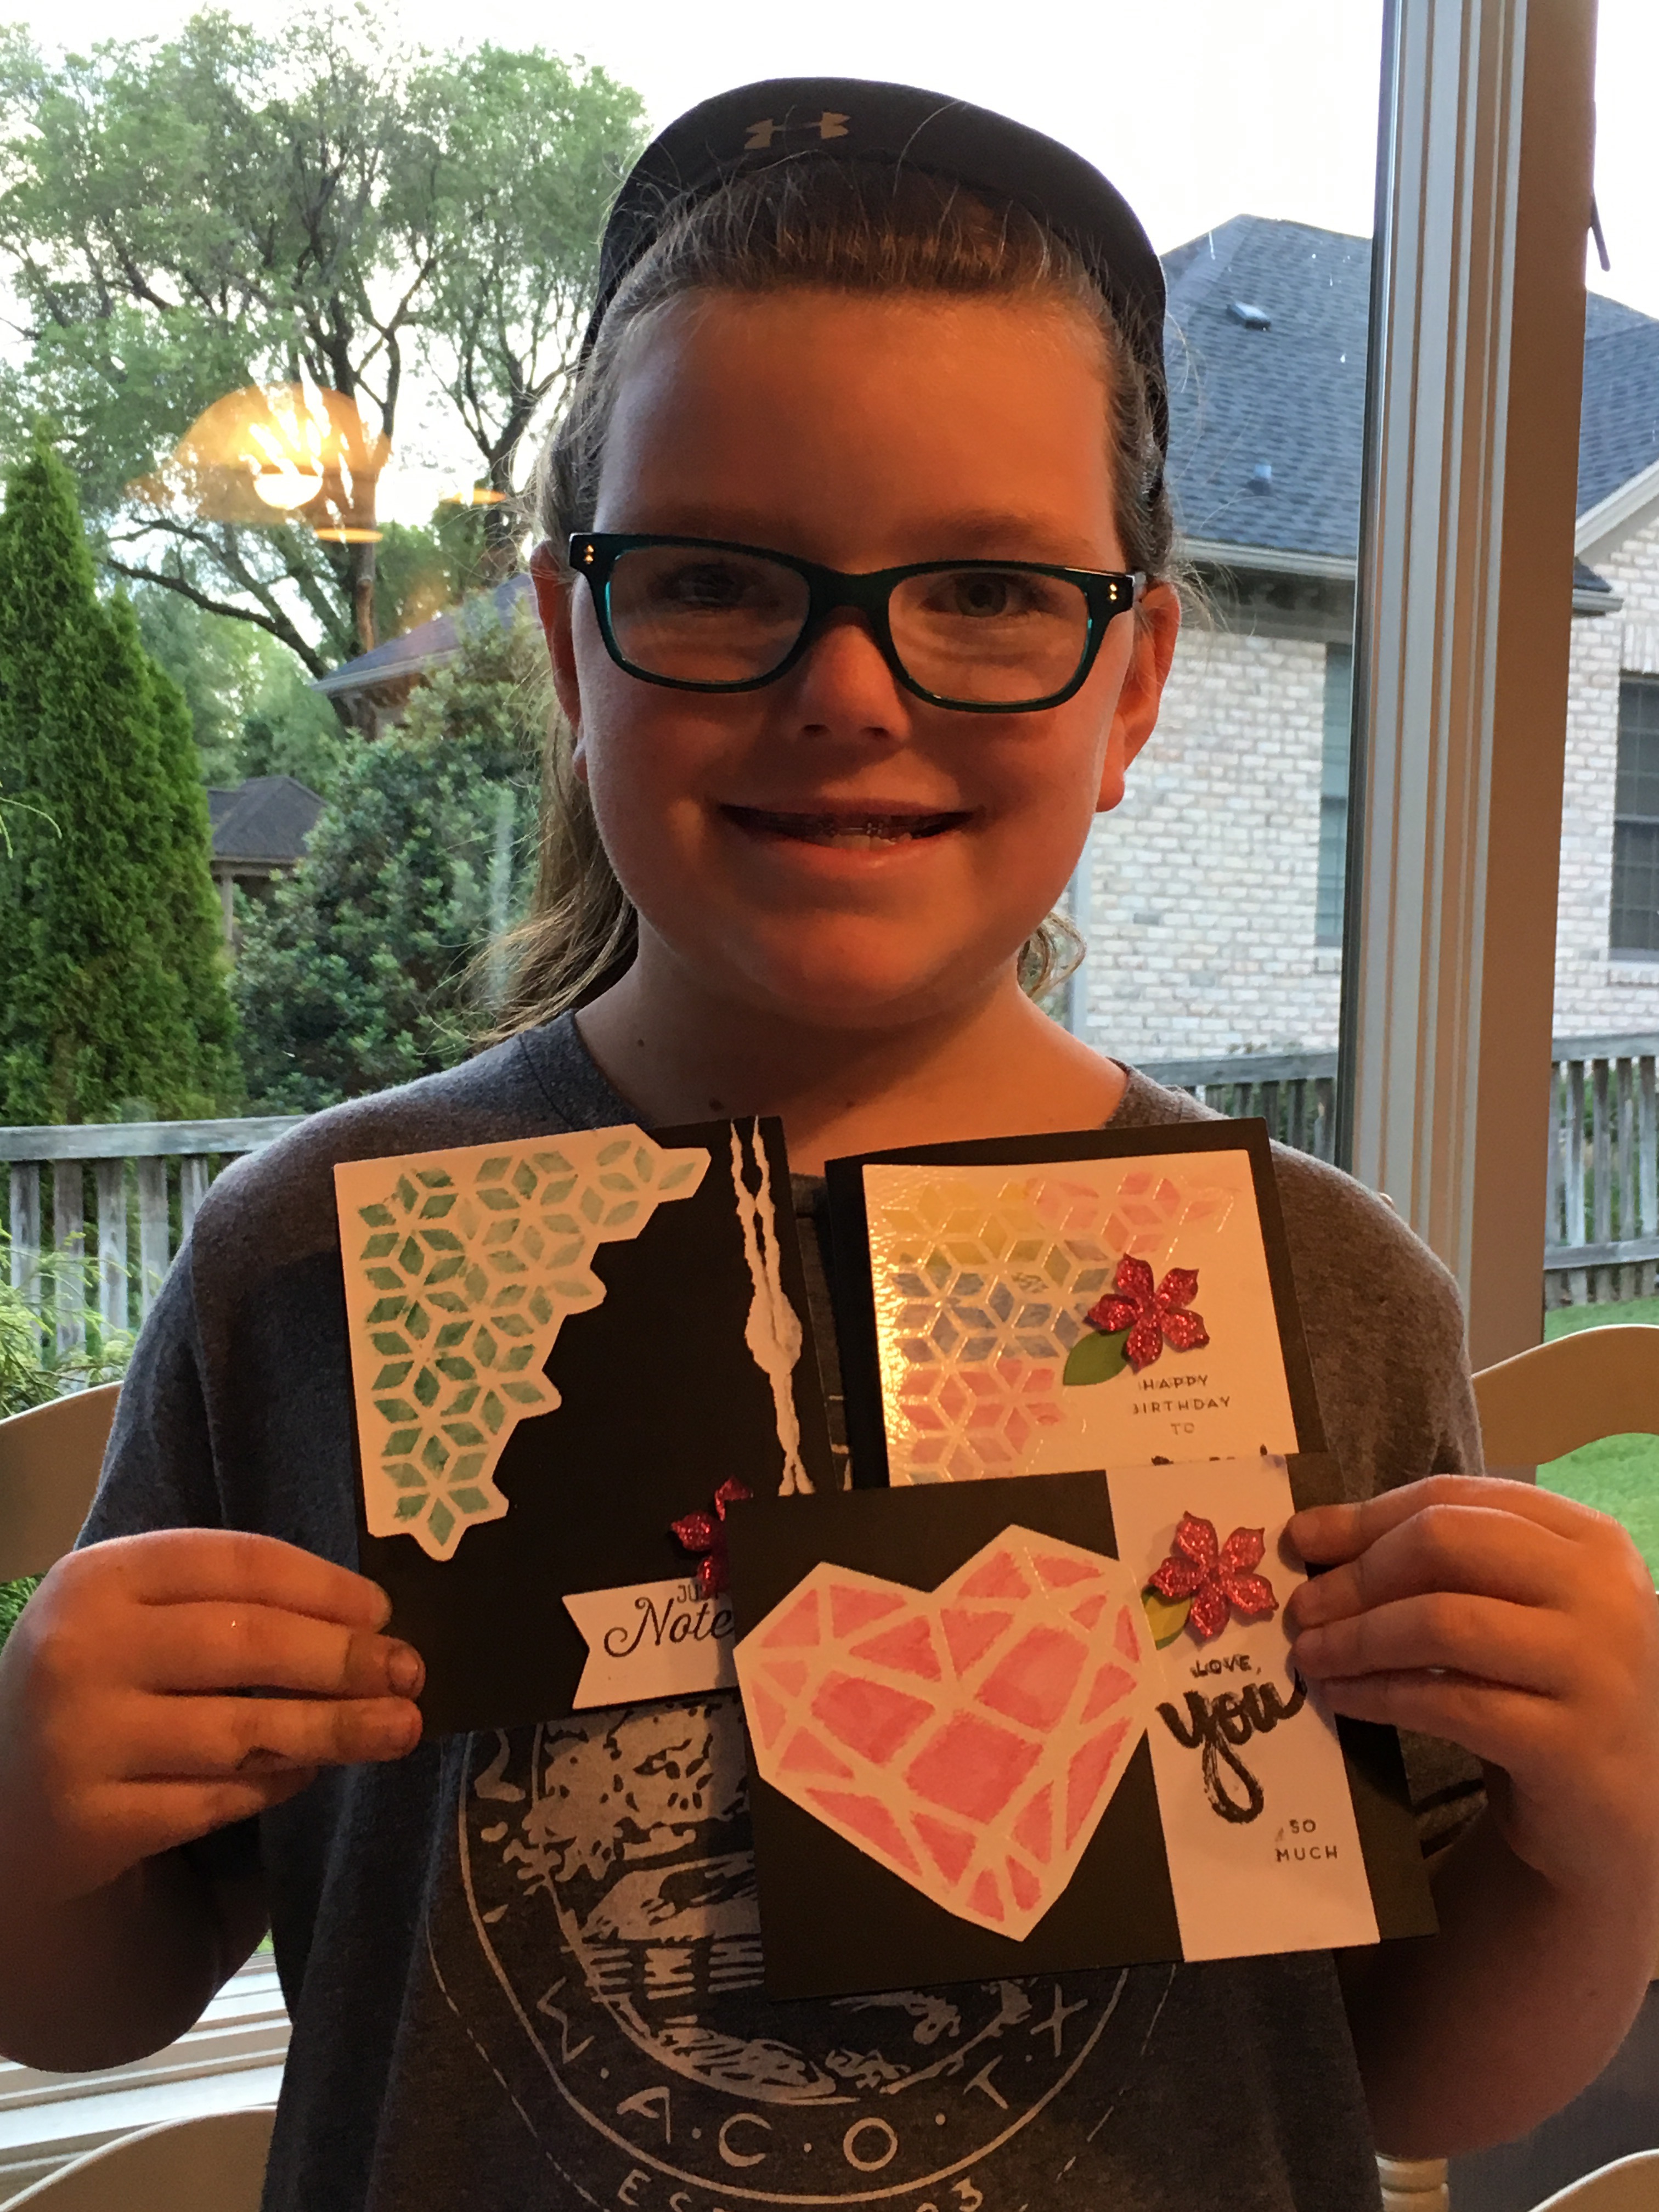
Claire is a pro and knows exactly what she wants to make each month. She turns 10 the end of this month and wants her mom to continue her Paper Pumpkin subscription for her birthday!
Sheila has been stamping for years and just started her Paper Pumpkin subscription. She couldn’t believe all the goodies you get in the kit. It really is a great deal for just $20 (or less when you purchase a prepaid subscription). The April kit came with 12 cards and 12 lined envelopes, a stamp set, ink spot, acrylic flowers, watercolor paper (to use for 2 different techniques), watercolor pencils, paintbrush, die cut hearts, sticker sheets, leaves, washi tape, white cardstock for stamping the inside of the cards, and enough Glue Dots and Stampin’ Dimensionals to use for even more projects after you complete the kit!
Come join the fun!! Start your Paper Pumpkin subscription today!
Click to SHOP PAPER PUMPKIN from my online store. You will get an email with a subscription code. *Make sure you click below to sign up and enter the code. When you subscribe through me you receive a FREE gift as well as quarterly “goodie bags” if you are a long distance subscriber and unable to attend my local monthly get together.
Click HERE to sign up for Paper Pumpkin. Now it’s even easier than ever to sign up and manage your account. Watch this short video below.
Have a wonderful day! Don’t forget to check back tomorrow for a chance to win some blog candy.
Just Stampin’
Jeanie
*All orders placed through my online store are eligible for my FREE monthly gifts (card kits and more!). Click HERE to shop. Please use the current host code below.
May Host Code: K64KSNRE


Yay…alphabet series…love those! Your cards are great and all of you look like you are having so much fun crafting away!
I do enjoy getting together with this group each month! Plus it makes me get my kits done!!! 🙂
Love all your alternatives!!!! Can’t wait to see the new alphabet series!!
Thanks Ramsey!
Taking my PP on Vacation to RI! I am going to CASE your alternate designs! I Love them! Thanks for sharing!!!!
Have a safe trip and lots of fun! I’ll be heading up that way in July! Can’t wait. Best seafood!!!
I love all your alternate design ideas and pictures of the PPPs. I’ve learned to wait a month to do my kit so I can use some of the alternatives–well, that and I don’t always have time when the kit comes! :-). Excited to see what’s new in the alphabet this time. TFS.
Thanks Susan! I love that there is so much in the kit! I made 18 cards and STILL have some supplies left. Love Sara’s handwritten words!
It looks like fun at the PP get together ! I may not follow the project for the month in my PP box ,but
there are lots of things to use in other ways plus the stamps are photopolymer ! I call that a bargain !
Yay ….the Alphabet Series IS-A-COMING !!!!!
It really is a bargain! And I love that it is a surprise every month!
Hi Jeanie! Missed you for a few days and I kind of had the feeling you were getting ready for a great new Alphabet series. Yeah! Love your alternative cards for PP. I’ll be sure to case some of these.
Happy Monday!
🙂
Oh Nancy this is such a busy time of year with wrapping up the school year, etc. The alphabet series actually makes it easier for me to focus as I know what I will be sharing each day and can tailor it to what I need. Basics are covered, just fun creative time each day!
You could have started with the “a” today. Ahhh, absolutely amazing alternative art!!!!
You are amazing! I think I need to consult with you!! You should have been in on my brainstorming session! Make sure you check back tomorrow…you will need to guess the new theme! Also, I decided to wait until after the PALS Blog Hop on Wednesday to start. Plus I had so much other stuff…Mother’s Day, etc. to get ready.
Fantastic alternatives, Jeanie!!