
The other day I showcased the projects we made at our monthly card club. I had a request for the directions to make the pinwheel quilt card. I love playing with color and patterns. I used the Moroccan Designer Series Paper to make my pinwheel quilt card for today.
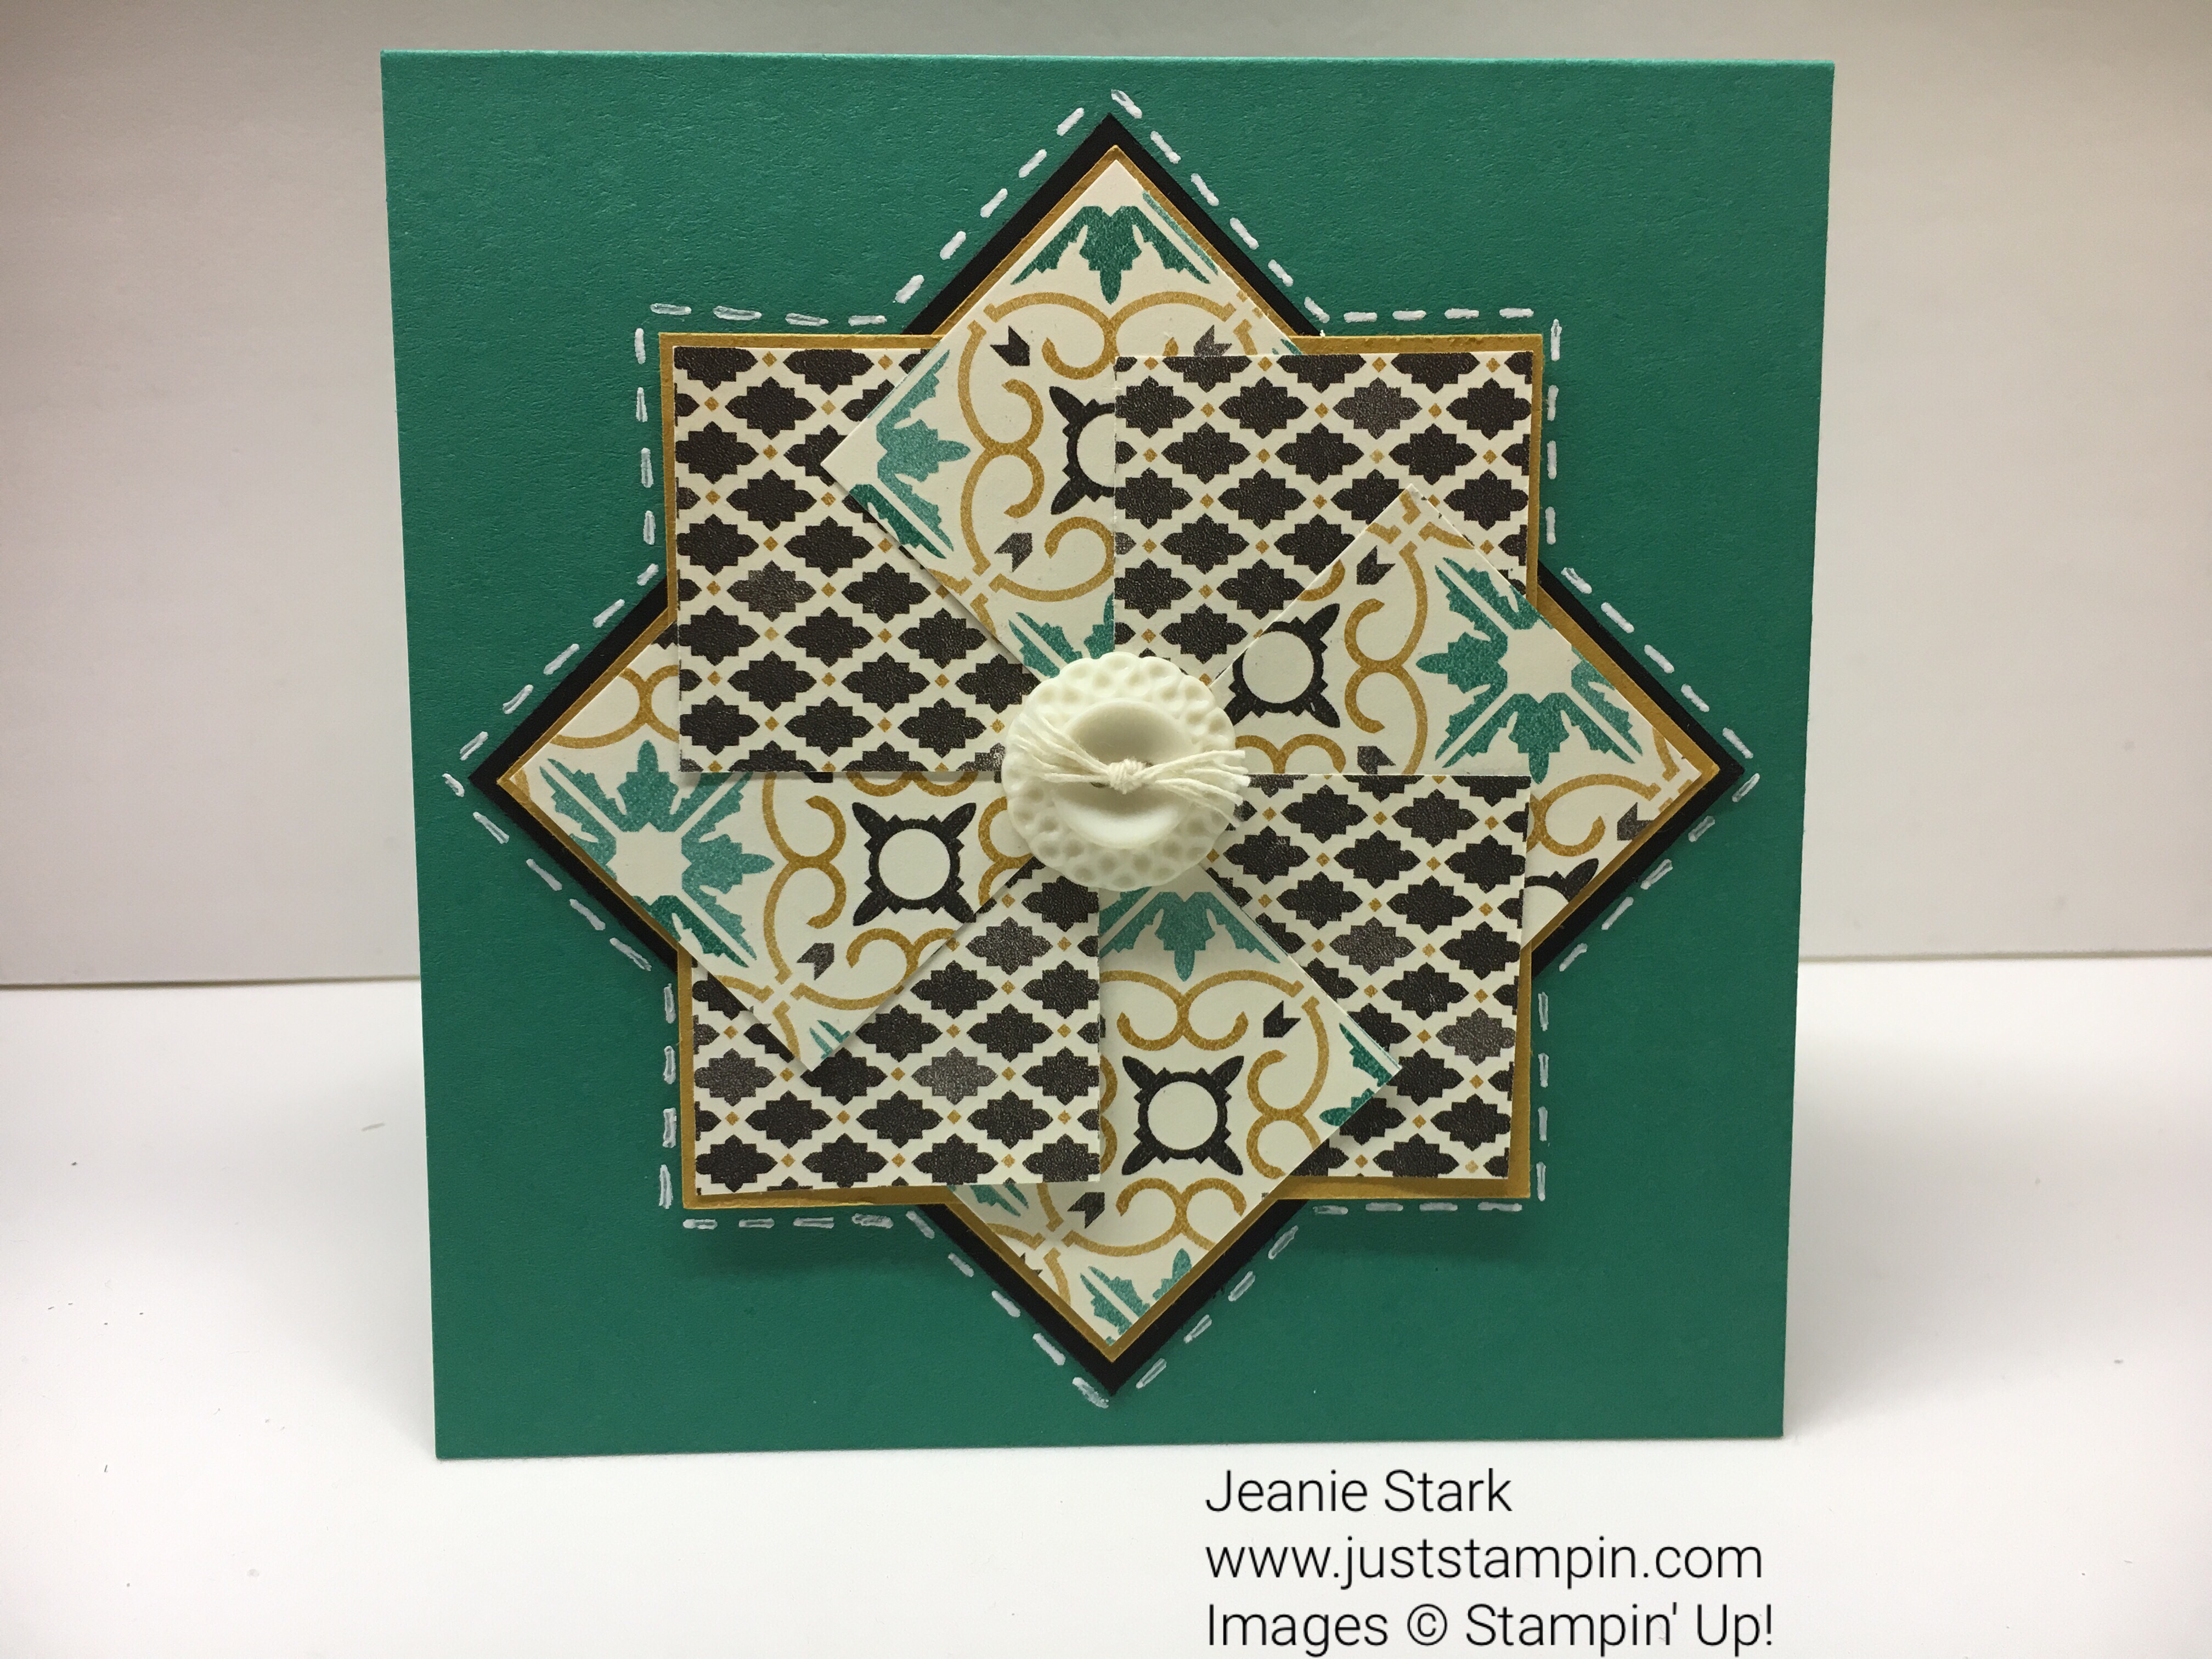
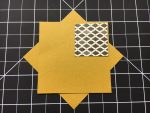
My card is a 4 1/4″ square card. Cut a piece of Emerald Envy cardstock 4 1/4 x 8 1/2 and score it at 4 1/4. The pinwheel is a lot simpler than it looks. You need 2 squares of cardstock 2 5/8 x 2 5/8 and 8 squares of DSP or cardstock 1 1/4 x 1 1/4. I started with Delightful Dijon for my large squares and used two different patterns of DSP from the Morocccan Designer Series Paper. Start by overlapping the two large squares diagonally and adhere. Apply a glue dot or adhesive of choice to one corner of a DSP square (bottom right) and place as shown below.

Using a contrasting pattern, adhere the next piece of DSP. Continue overlapping and adding squares until only one square remains.


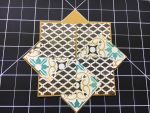
Tuck the final square behind the first square to finish. Add an embellishment to the center. You can use a brad, button, ribbon, or cardstock to make the center. I added a button and used a few strands of the very vanilla bakers twine to tie a knot. I adhered this to the center with a glue dot. I also added another square of cardstock 2 3/4 x 2 3/4 to make the design pop.


I adhered the pinwheel to my Emerald Envy card base and “stitched” around the design. I needed an envelope for my square card so instead of using the envelope punch board to make it, I decided to just cut 1/2″ off each side of a Very Vanilla Medium Envelope and use washi tape on each side to seal it. I also added some matching DSP to the envelope flap. How quick & easy is that?!


I like that you can use this card for anything…no outside sentiment necessary! I think it makes a great note card to send to someone just to let them know you’re thinking of them. I really like how it turned out and think I might just go make a set of these to give as a gift. I have a friend who loves to quilt and I bet she would love a set of “quilted” cards.

You can visit my online store to order any of the supplies needed to create my project. Click HERE to shop. Use the Hostess code when placing your online order to receive your monthly gift from me. This month I’m sending out my birthday party favor bags with DSP, card kits, and more!
March Hostess Code: KUSZJ7ZR

Have a wonderful day!
Just Stampin’
Jeanie
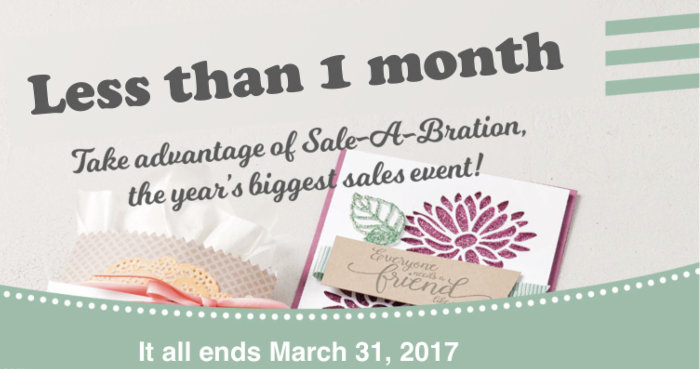
Purchase $50 or more and earn a Free Sale-A-Bration item of your choice.
VIEW: Sale-A-Bration – release 1
VIEW: Sale-A-Bration – release 2 (new)

Beautifully done and the colors are so rich! Nice job, Jeanie. Enjoy this cool day.
Thank you Mary Ann! I hope you are recovering nicely!
Jeannie! Love this! Will also have to CASE this for the Sisters who Quilt!
I bet your Quilting Sisters would appreciate these!! I actually thought of embossing the piece after I adhered it all together. I think that would look cool with the Boho Chic, Elegant Dots, or Sparkle Embossing Folders. I think I may be making some more quilt cards too and give that a try next time!
Thank you for the directions with the great photos. This is so pretty and fun. I made one once that I wasn’t happy with but it was a little different – maybe my choice of prints? No, mine had cut triangles that were not perfectly cut I think is more like it. I belonged to the quilt group here in town until the last couple of years. No, I really don’t quilt but it was a way to meet people when I moved here and they used to meet at the community center across the street. One time they had a speaker who brought all kinds of festive threads more commonly used in needlepoint. I was all over that and discussing such with the speaker. All were impressed with that! I ran home and brought a bunch of other kinds she had not mentioned and boy, everyone was my best friend wanting to try some of these new threads! I loved what you did with the envelope! That is my kind of short cut!
Sort of a silly question, the black grid mat – does it come with those arrows on it to make straight diagonal pieces – I am not very accurate and this would help. I had a quilter’s grid thing and thought oh, I will use pins to hold some tiny pieces that I was heat embossing and severely warped the mat! Duh!
Chris, you never cease to amaze me! Is there anything you don’t do? I bet that quilt group loved you!!! What a great way to meet people! I am sure they loved your threads and ideas!
the black mat came from AC Moore or Hobby Lobby and the arrows are on it to help line up my pieces. I cut the squares with the trimmer….I never was very good with a rotary cutter and fabric and don’t even put one of those blade tools in my hand!!! LOL You can also use the grids on the Stampin’ Up! mat. I use the grid paper all the time to line up my projects when adding layers. Love it!
Great all purpose card.
Thanks! It’s good to have a few of those on hand for when you need to send a quick note! I bet Maura would love one of those!
Your post caught my eye because I’m teaching this “medallion” (what I call it) to a big bunch of ladies later this month. Your name of the doo hickey is much better and a more accurate description. I don’t remember where I learned it but I did jot down the dimensions so it is good to see some written directions so I can be sure I’m explaining it well.
I had to laugh at your “doo hickey” term…I say that all the time when I can’t think what to call something. I say go with what works…I make up names for things all the time. I have no idea what this is “suppose” to be called…to me, it looks like a pinwheel and a quilt hence, pinwheel quilt. I am glad the directions help. I am a visual person so I always try to include photos when I can. Best of luck with your group of ladies!
Very nice Jeanie! I love the way you do the directions. The pictures totally make it for me!
Thanks Ramsey! I am such a visual learner so I try to provide photos when I can to make it easier for others!
Hi Jeanie, oh Thank You! 😊 so much for these easy, great directions. I can’t wait to try this card.
😴
I would love to see what you make Nancy! Email me a photo if you can! Each card looks so different depending on the paper used. I am going to try embossing my next one. I felt this paper was too busy for that. I’ve embossed them before for the alphabet series (Q is for Quilted DSP). Have fun “quilting”.